
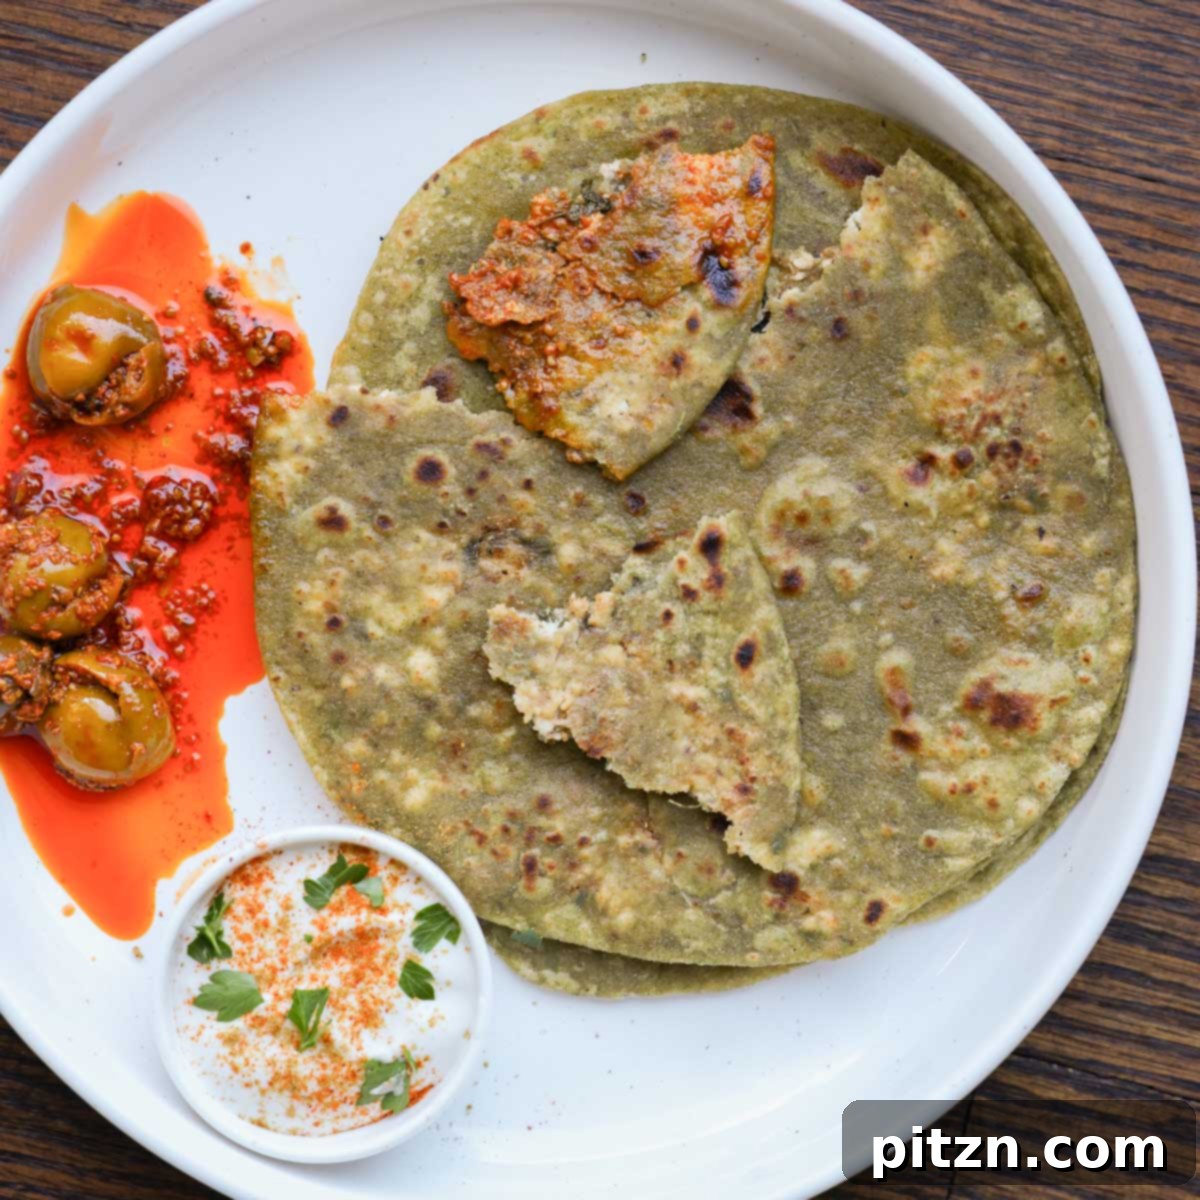
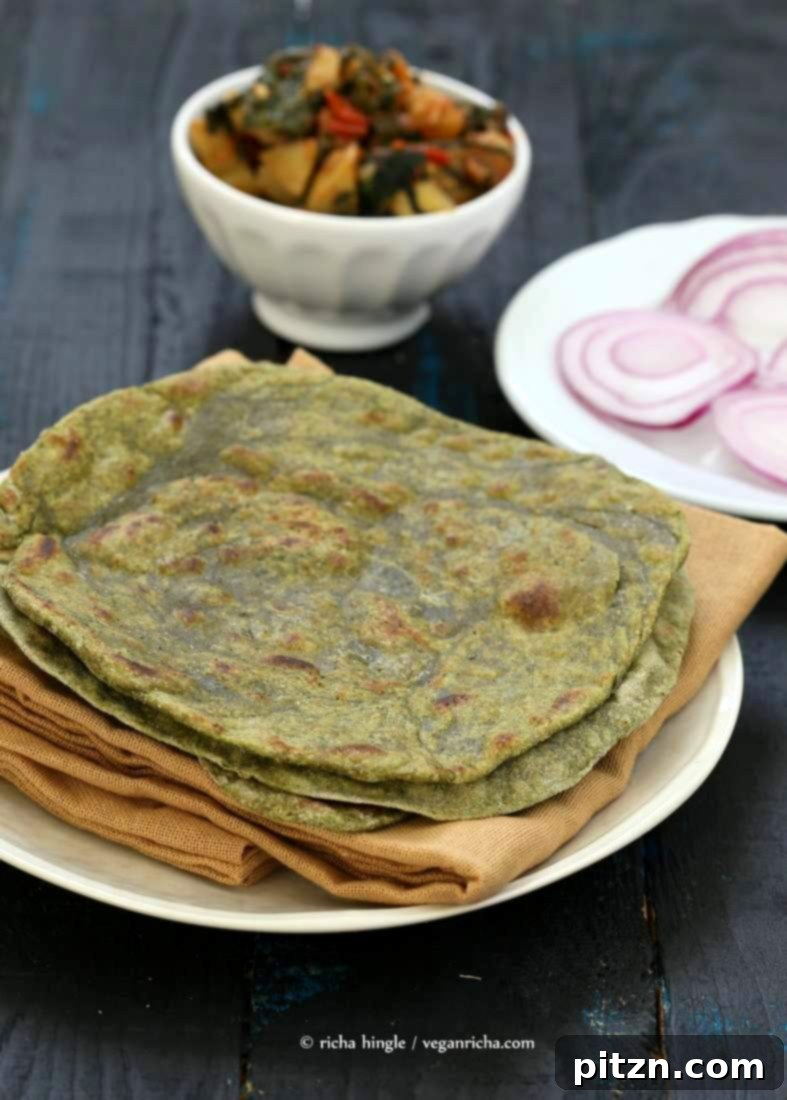
Soft, flavorful, and incredibly versatile, Spinach Paratha is a beloved North Indian flatbread that promises to tantalize your taste buds. This wholesome, yeast-free flatbread is not only packed with the goodness of fresh spinach but also offers a satisfying meal option for breakfast, lunch, or dinner. Whether you enjoy it plain, stuffed with a savory tofu filling, or as a vibrant side dish, Spinach Paratha is a culinary delight that’s surprisingly simple to master. Our recipe is naturally nut-free, with easy options for those seeking gluten-free and soy-free alternatives, ensuring everyone can savor this nutritious Indian classic.
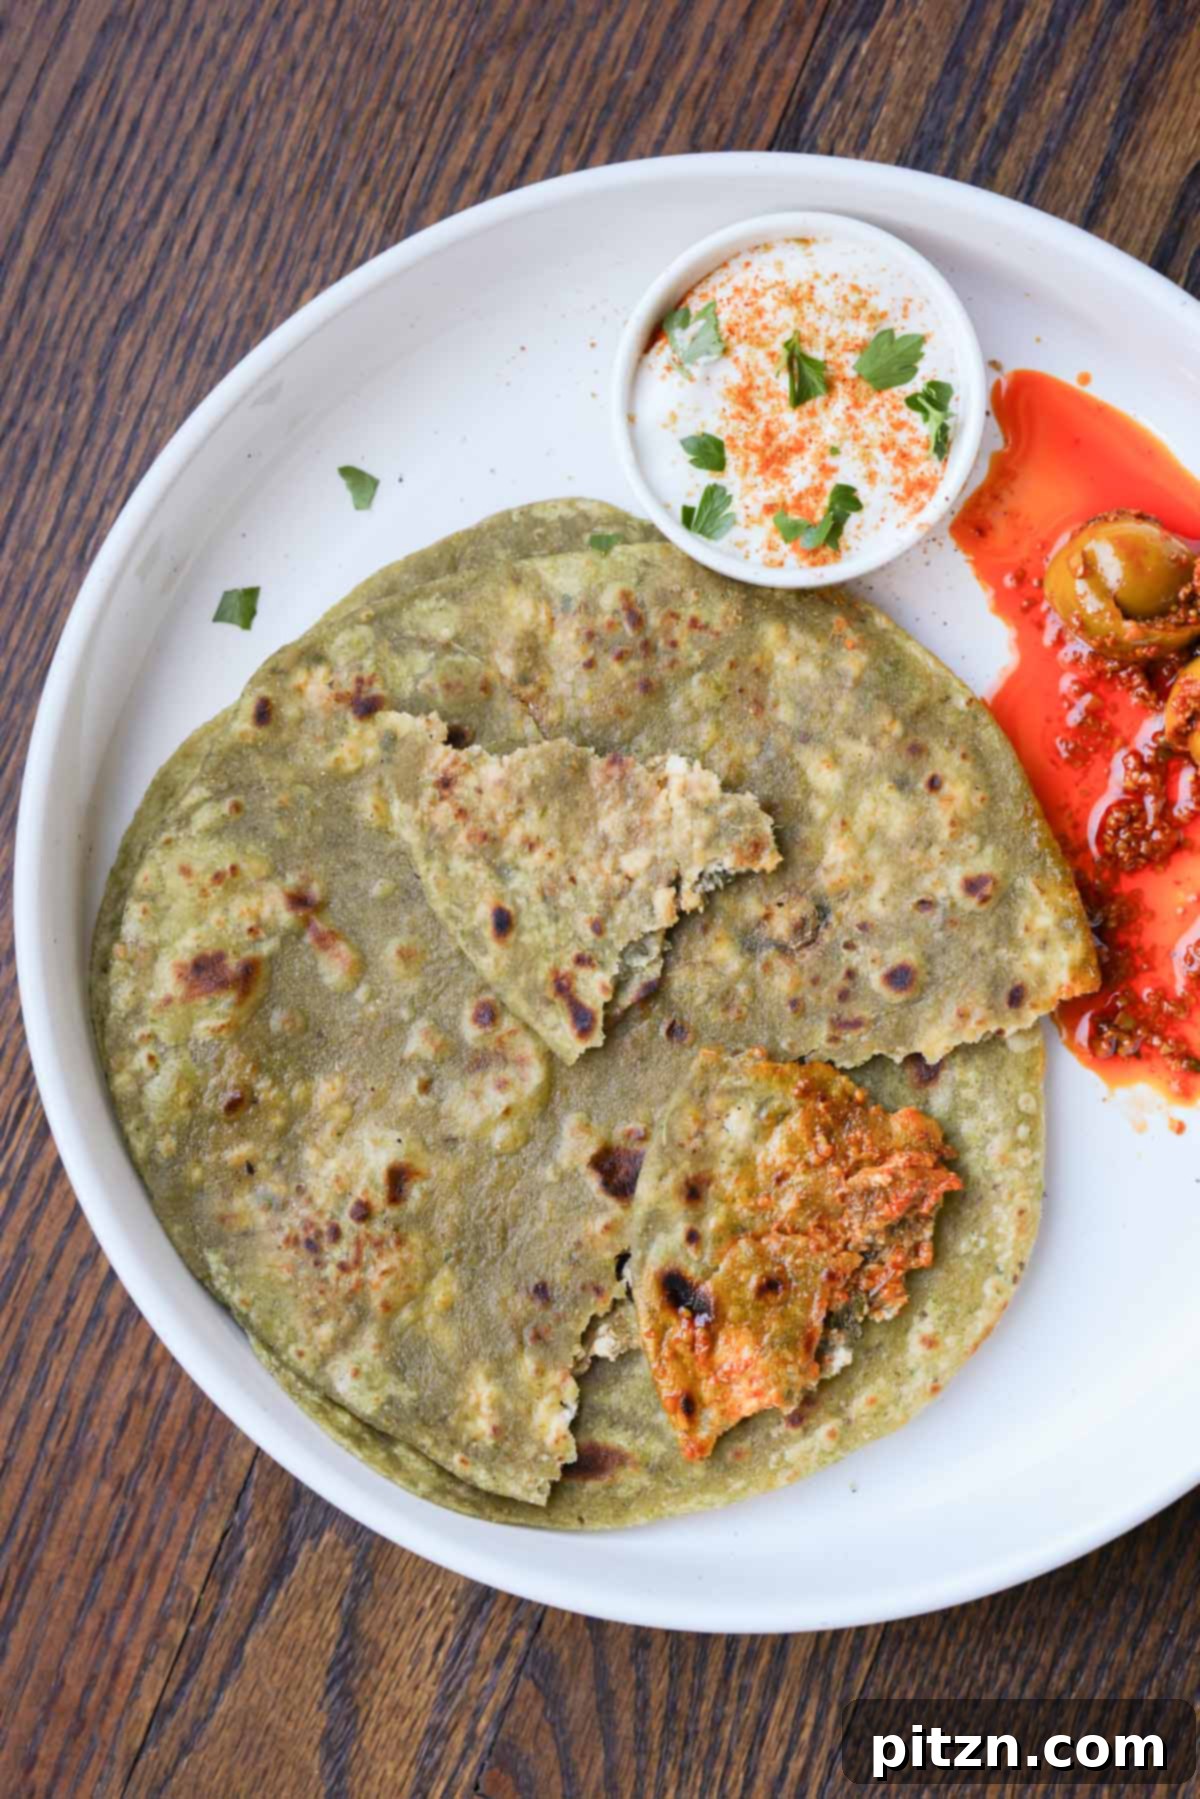
Table of Contents
- Unveiling Parathas: A Staple Indian Flatbread
- Why You’ll Love These Spinach Parathas
- More Paratha Recipes to Explore
- Spinach Paratha (Spinach Flatbreads) Recipe
- Essential Ingredients for Spinach Paratha
- Expert Tips for Perfect Spinach Parathas
- Step-by-Step Guide to Making Spinach Paratha
- What to Serve with Spinach Paratha
- Frequently Asked Questions About Spinach Paratha
Unveiling Parathas: A Staple Indian Flatbread
Parathas are a quintessential part of Indian cuisine, cherished across the subcontinent and beyond. These unleavened flatbreads, traditionally made without yeast or baking powder, vary significantly from region to region. While South Indian parathas might differ in preparation and ingredients, North Indian parathas, like the ones we’re making today, are typically crafted from 100% whole wheat flour, locally known as “atta.” This choice of flour not only contributes to their distinctive texture but also boosts their nutritional profile.
The versatility of parathas extends globally, with adapted versions found in countries like Malaysia, Myanmar, Thailand, and Fiji, showcasing the universal appeal of this delightful flatbread. From plain varieties to intricately stuffed, flaky, or layered (lachha) versions, parathas offer a diverse culinary experience. Our Spinach Parathas, made with authentic Indian atta, are a testament to this tradition, each flatbread boasting approximately 4-5 grams of protein and 3-4 grams of fiber, making them a remarkably healthy choice.
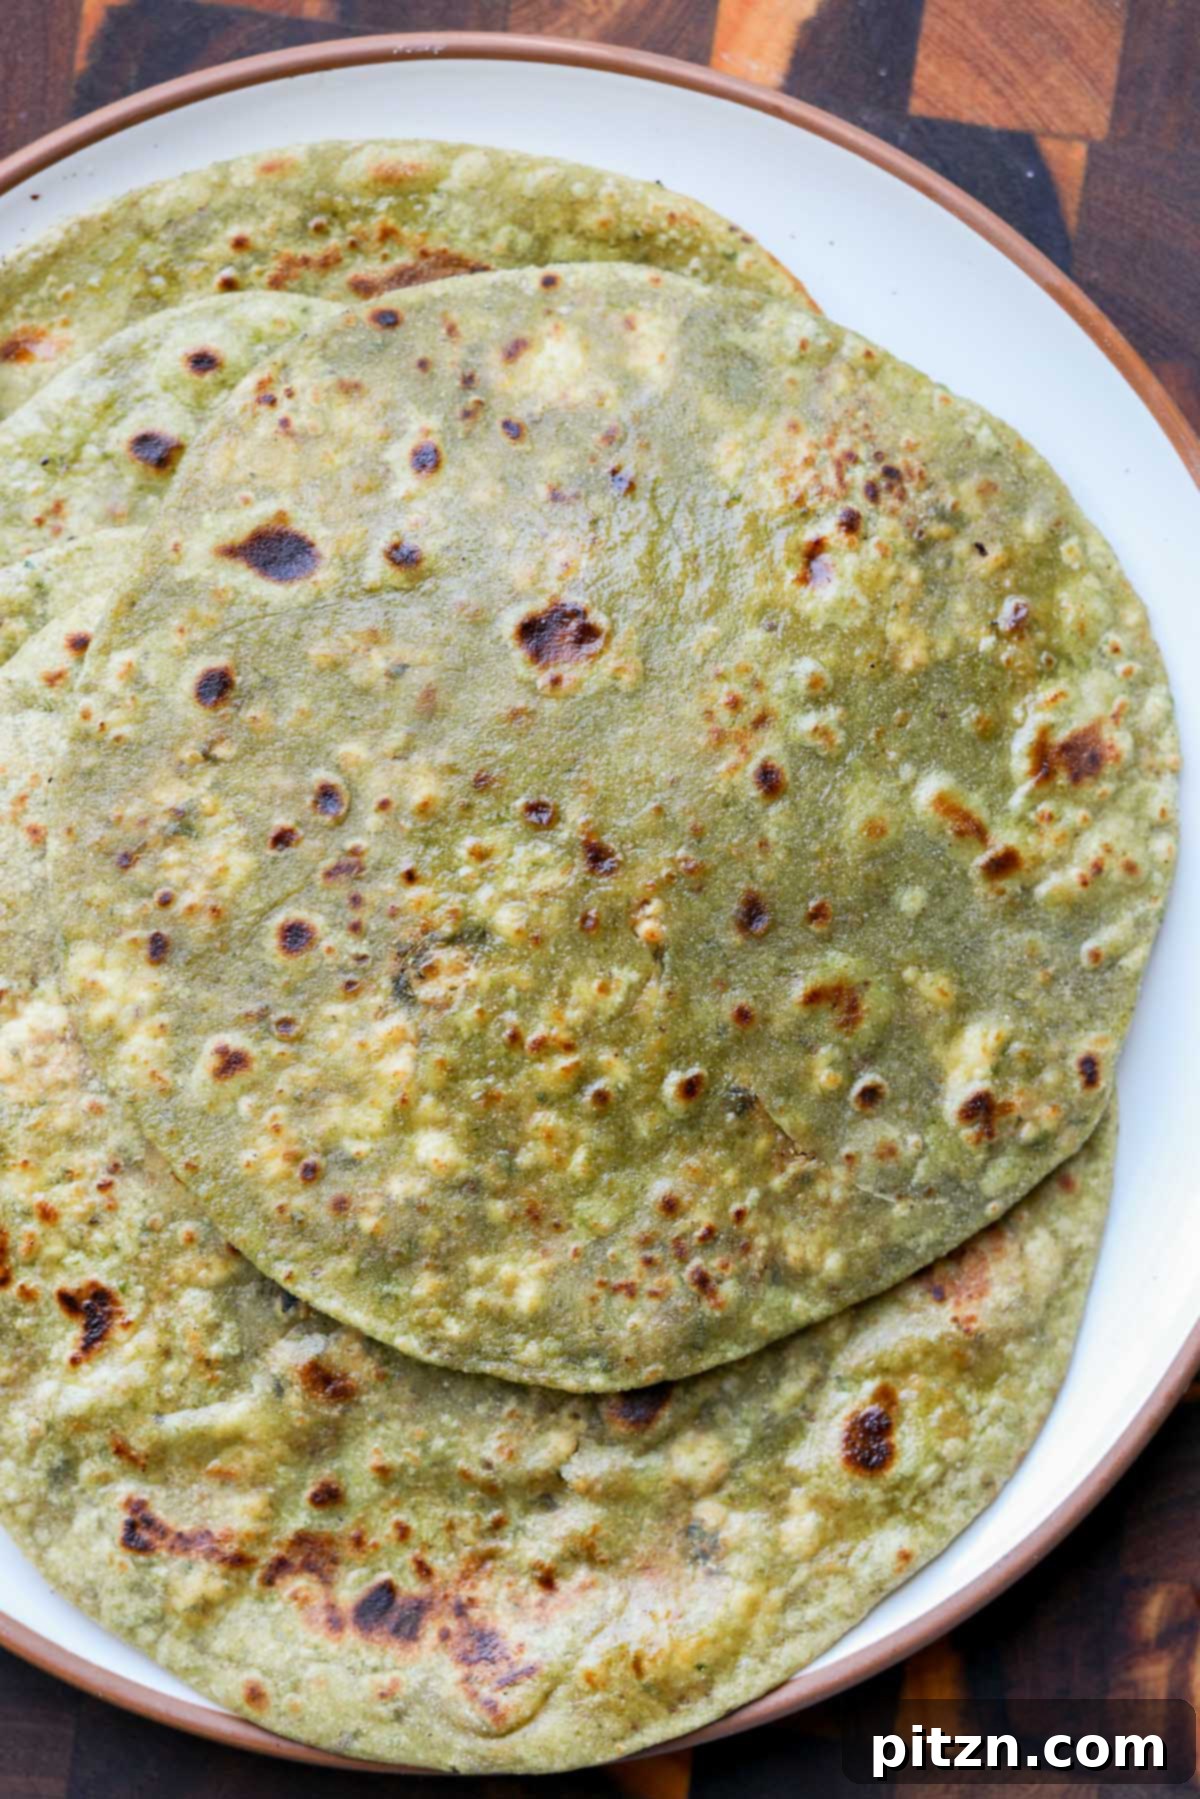
The secret to truly soft and pliable Indian flatbreads lies in the wheat flour itself. Indian roti or chapati flour (atta) is derived from a softer variety of wheat and is more finely ground compared to the coarser whole wheat flour typically found in Western countries. This finer texture and softer wheat translate into flatbreads that are tender and less stiff. If you can source Indian atta flour, it will significantly elevate the softness and authentic texture of your spinach parathas. However, don’t fret if it’s unavailable; standard whole wheat flour will still yield delicious results, albeit with a slightly different consistency.
Parathas are incredibly adaptable, often serving as a canvas for various flavorful fillings. Classic examples include Aloo Paratha, stuffed with spiced potatoes, or Gobi Paratha, featuring seasoned cauliflower. In India, parathas are commonly enjoyed for breakfast or brunch, frequently accompanied by tangy Indian pickles, creamy yogurt, or refreshing raita (a spiced yogurt dip). They also make an excellent side dish, perfect for scooping up rich curries and hearty dals. Our recipe thoughtfully includes instructions for a simple raita in the notes section, ensuring you have the perfect accompaniment.
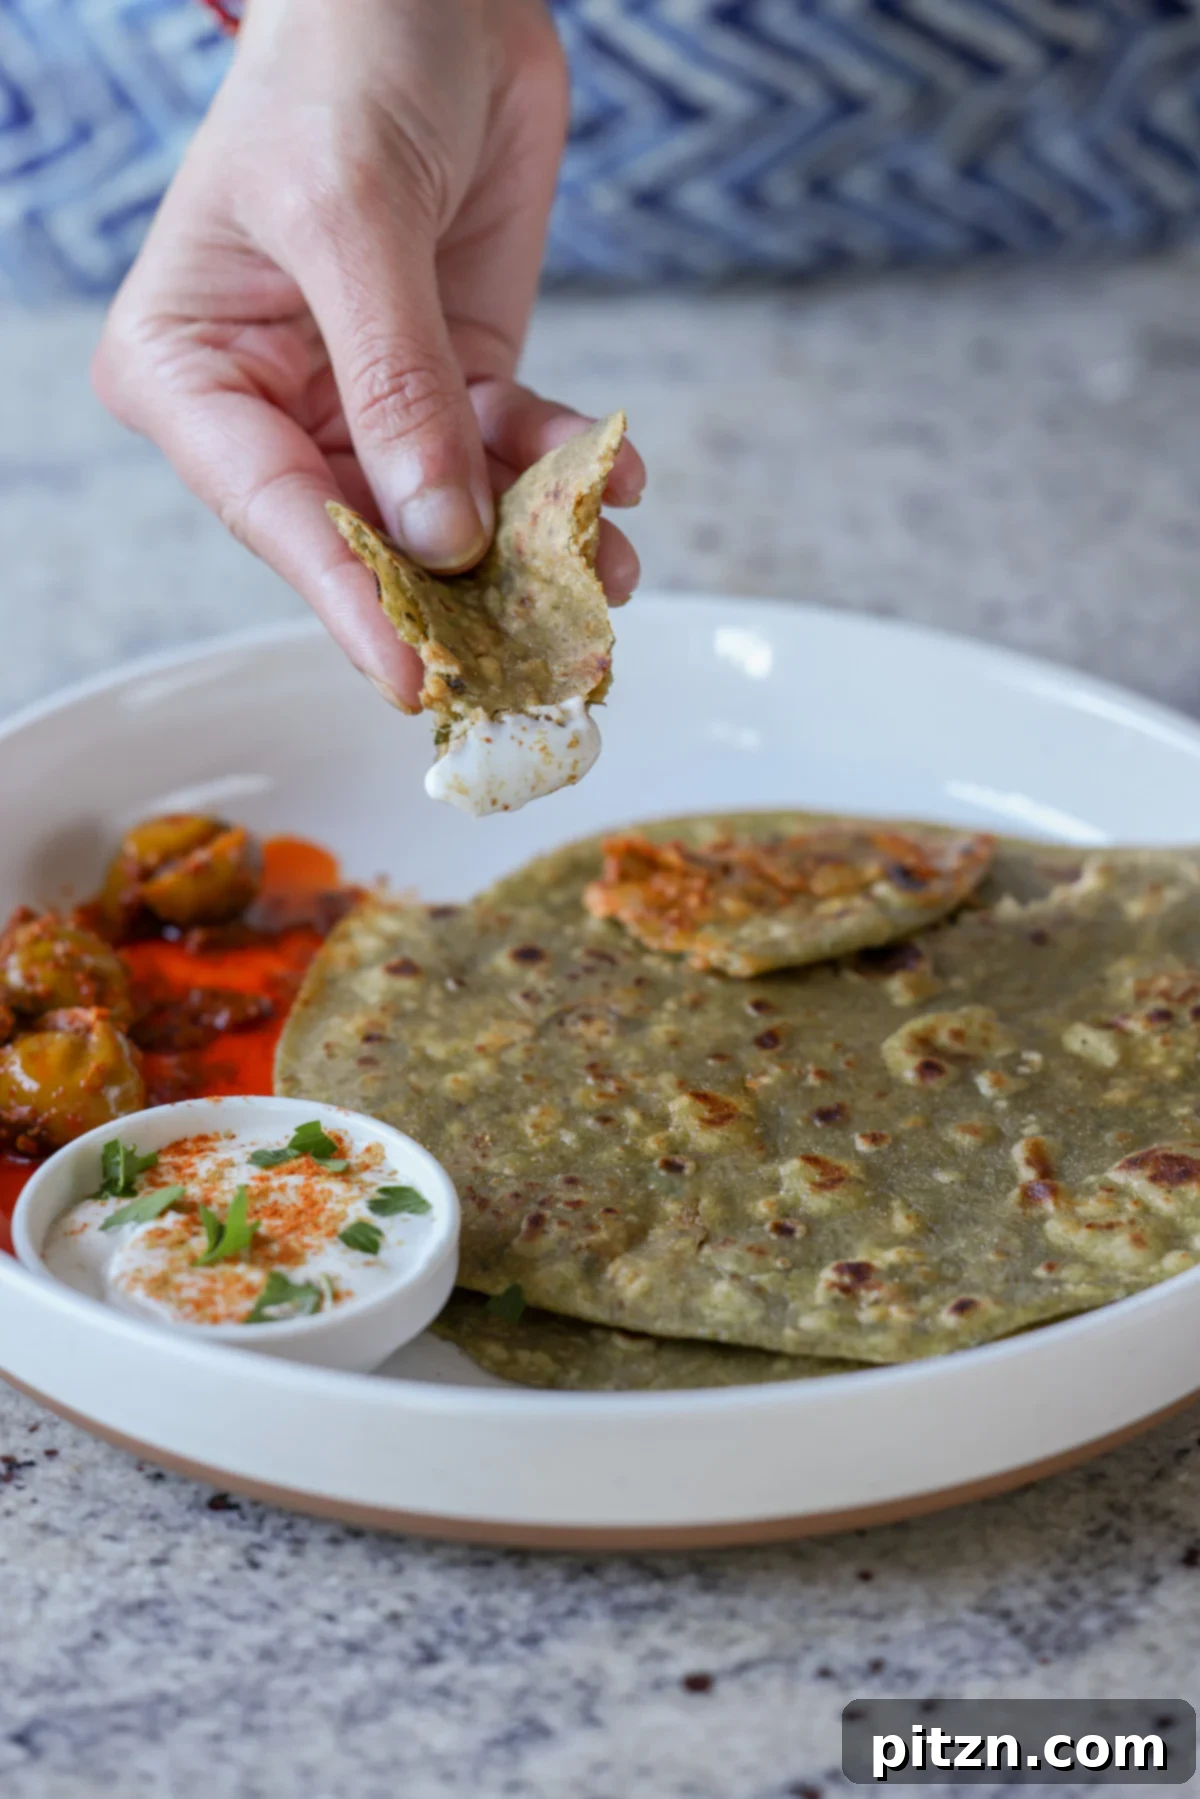
This Spinach Paratha recipe offers a robust and flavorful experience. The whole wheat flour provides a good base of protein, and if you opt for the raita, you’ll benefit from the added protein of non-dairy yogurt. For an extra protein boost, consider incorporating higher-protein fillings such as a spiced tofu mixture or even a sprinkle of hemp seeds directly into the dough or filling. Today’s recipe emphasizes vibrant green parathas achieved by blending fresh or frozen spinach directly into the dough. This method ensures maximum nutrition and a beautiful color without compromising on taste or ease of preparation. Whether served plain with chutney, pickles, or yogurt, these nutritious and easy-to-make flatbreads are a guaranteed hit. Remember, if using fresh spinach, a quick blanching is recommended before blending to achieve the best results.
Why You’ll Love These Spinach Parathas
- Unbeatably Soft and Flavorful: Enjoy a tender, delicious flatbread experience, entirely yeast-free.
- Nutrient-Packed & Easy to Make: Loaded with fresh veggies and aromatic spices, these parathas are simple to prepare and incredibly wholesome.
- Incredibly Versatile: Whether you prefer them plain, with our suggested protein-rich tofu filling, or your own favorite stuffing, the possibilities are endless.
- Allergy-Friendly Options: Naturally nut-free, with readily available options to make them soy-free (by omitting tofu) and gluten-free (using alternative flours).
More Paratha Recipes to Explore
- Masala Paratha
- Multigrain Aloo Paratha
- Lauki Paratha
- Deconstructed Gobi Paratha
Spinach Paratha (Spinach Flatbreads)
Ingredients
For the Dough
- 1 cup well-packed chopped spinach, or other greens of choice, or 1/3 cup frozen spinach, up to 2 ounces
- 1/2 cup water, more as needed
- 1 1/2 cups whole wheat flour, or Indian atta
- 1/3 teaspoon salt
- 1/4 teaspoon carom seeds (ajwain) or use cumin seeds (jeera)
- 2 tablespoon oil, divided
For the Stuffing (Optional)
- 3 ounces tofu
- 1/4 teaspoon salt
- 1/2 teaspoon garam masala
- 1 teaspoon ground coriander
- 1/4 teaspoon cayenne, or black pepper, or both, or use paprika
- 1 teaspoon dried fenugreek leaves (Kasuri methi)
- 1/4 teaspoon garlic powder
- 1 tablespoon whole wheat flour
Instructions
Make the Dough.
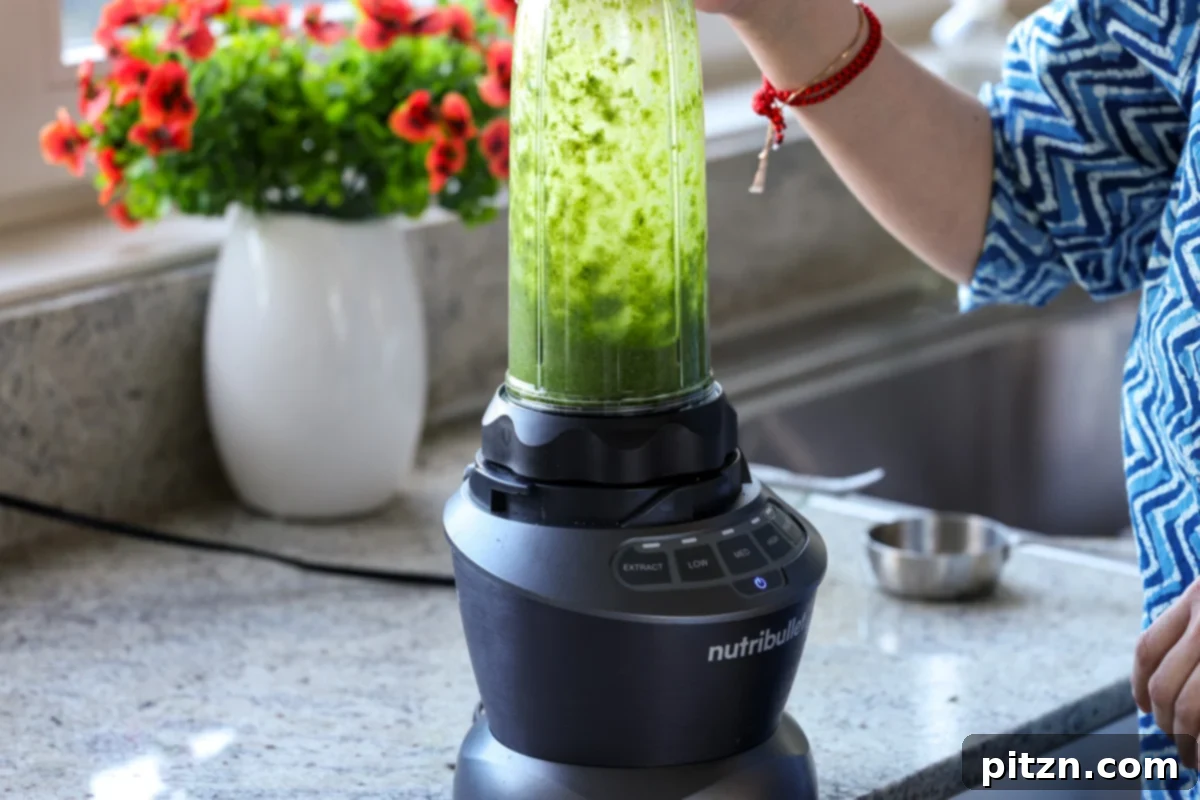
- If using fresh spinach, heat a saucepan over medium-high heat with 3 cups of water. Once boiling, add the spinach and blanch for about 2 minutes, or until it turns bright green. Drain, and then add that to a blender. If using frozen spinach, add it directly to a blender. Add 1/2 cup of water and blend until somewhat smooth.
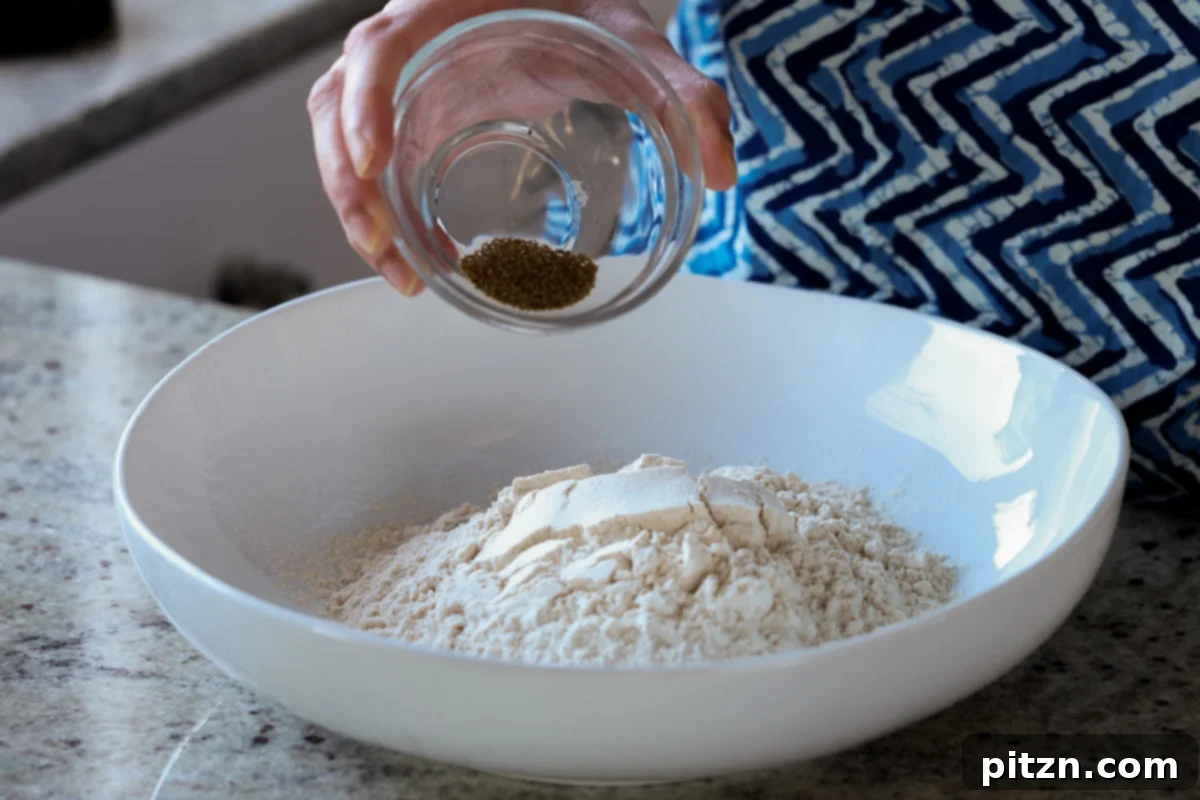
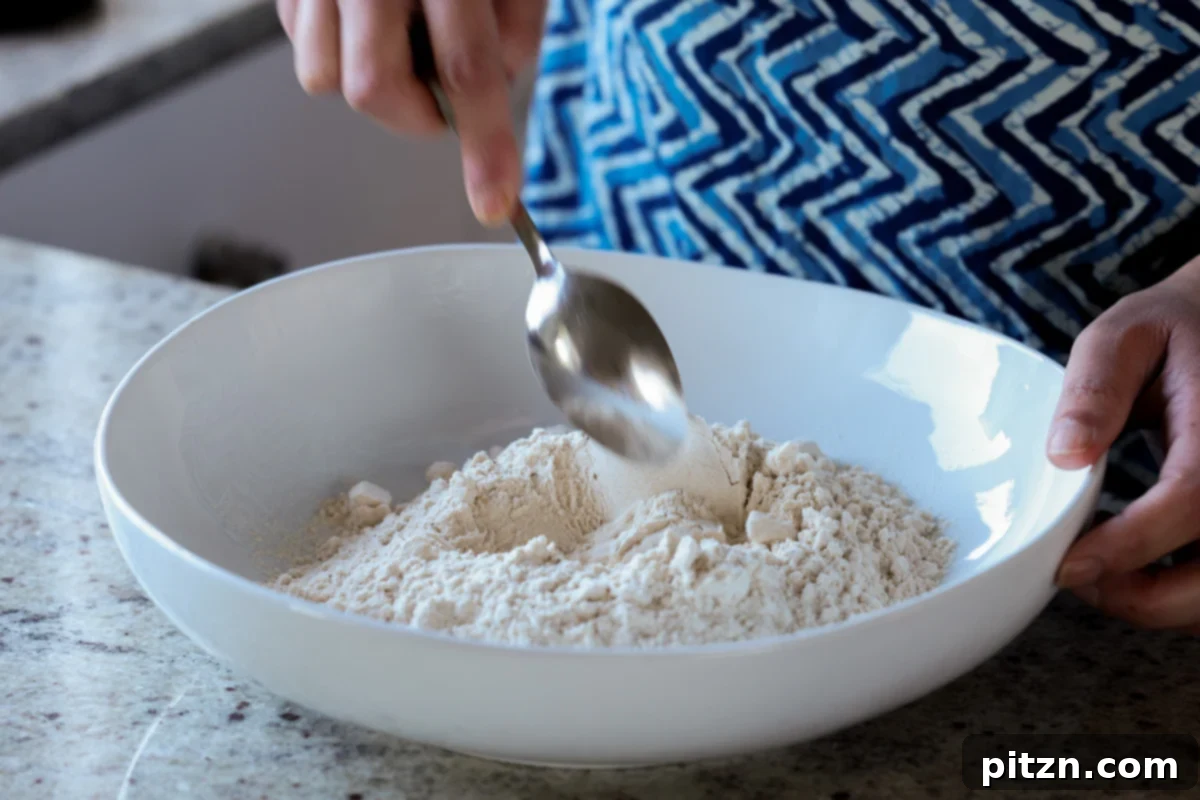
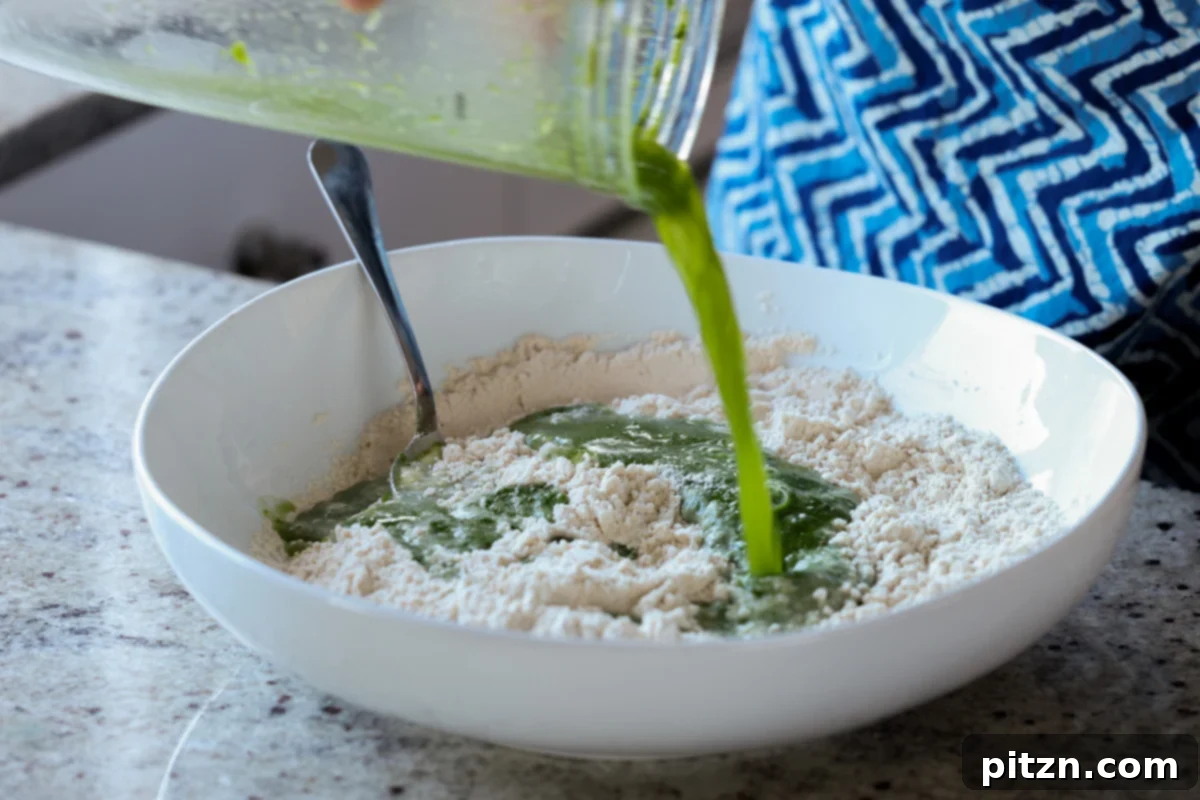
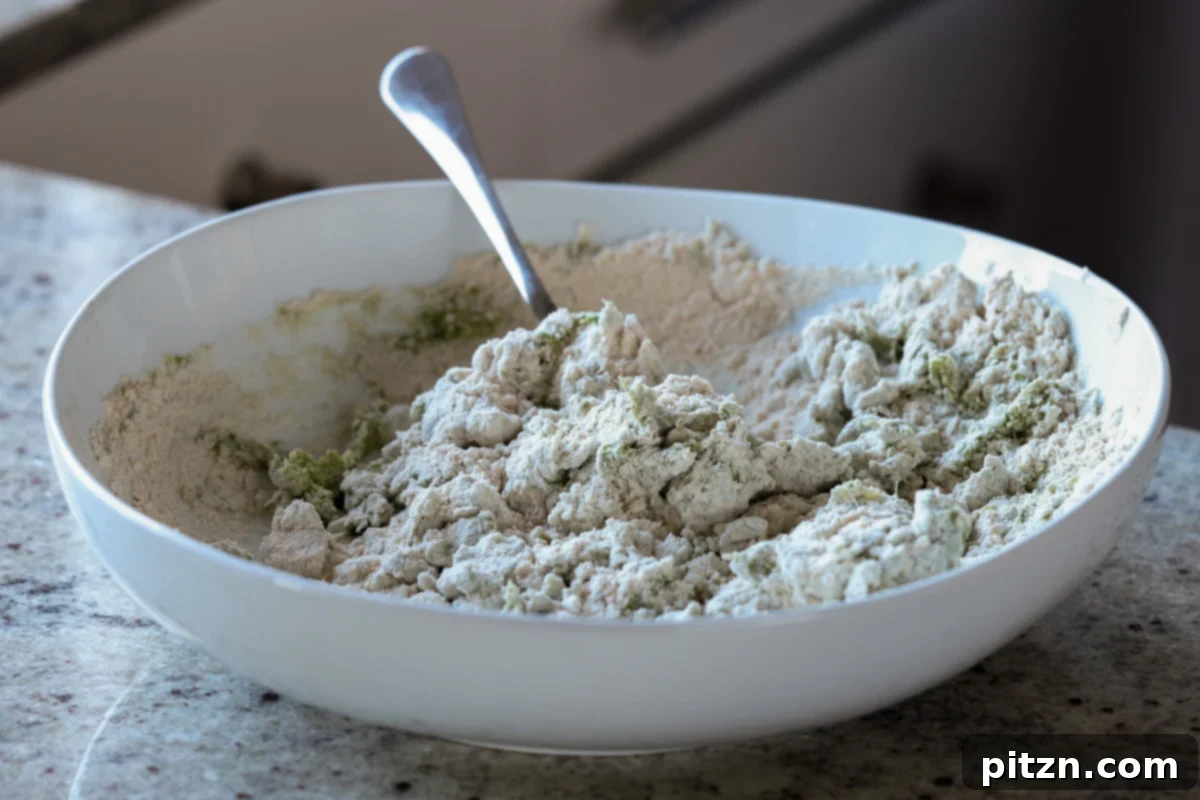
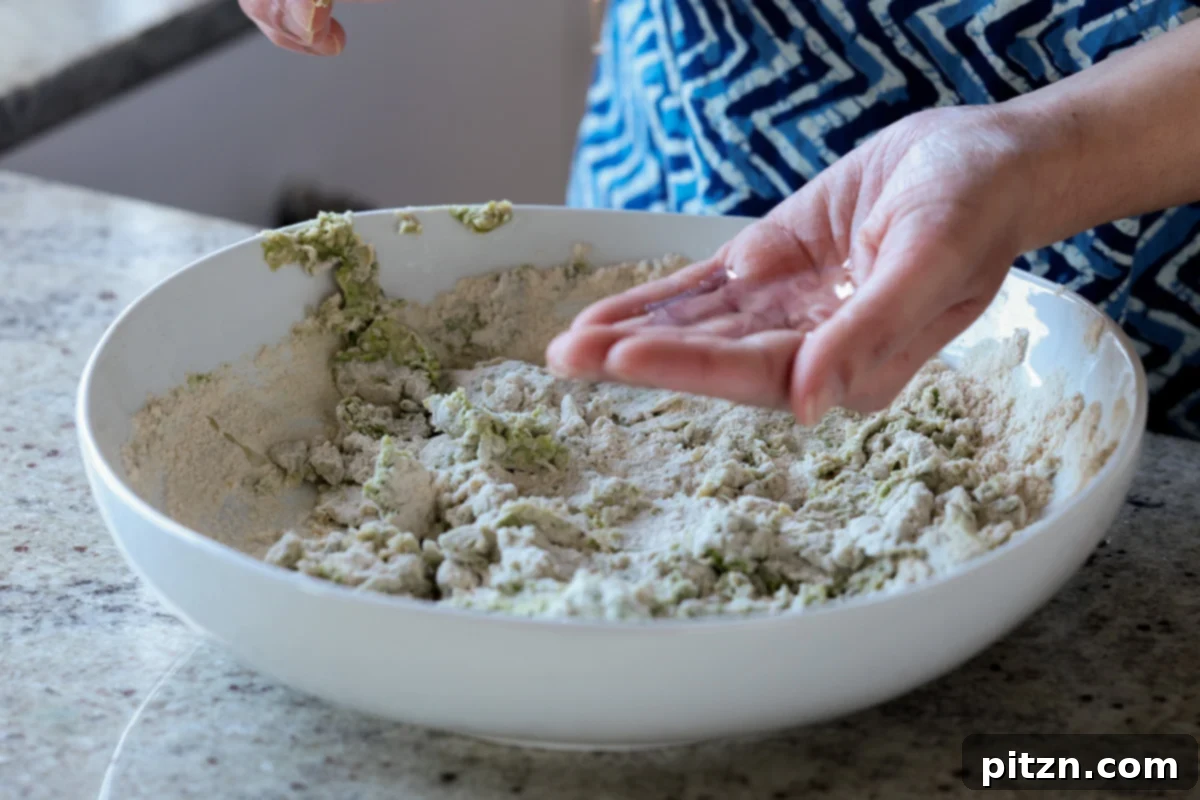
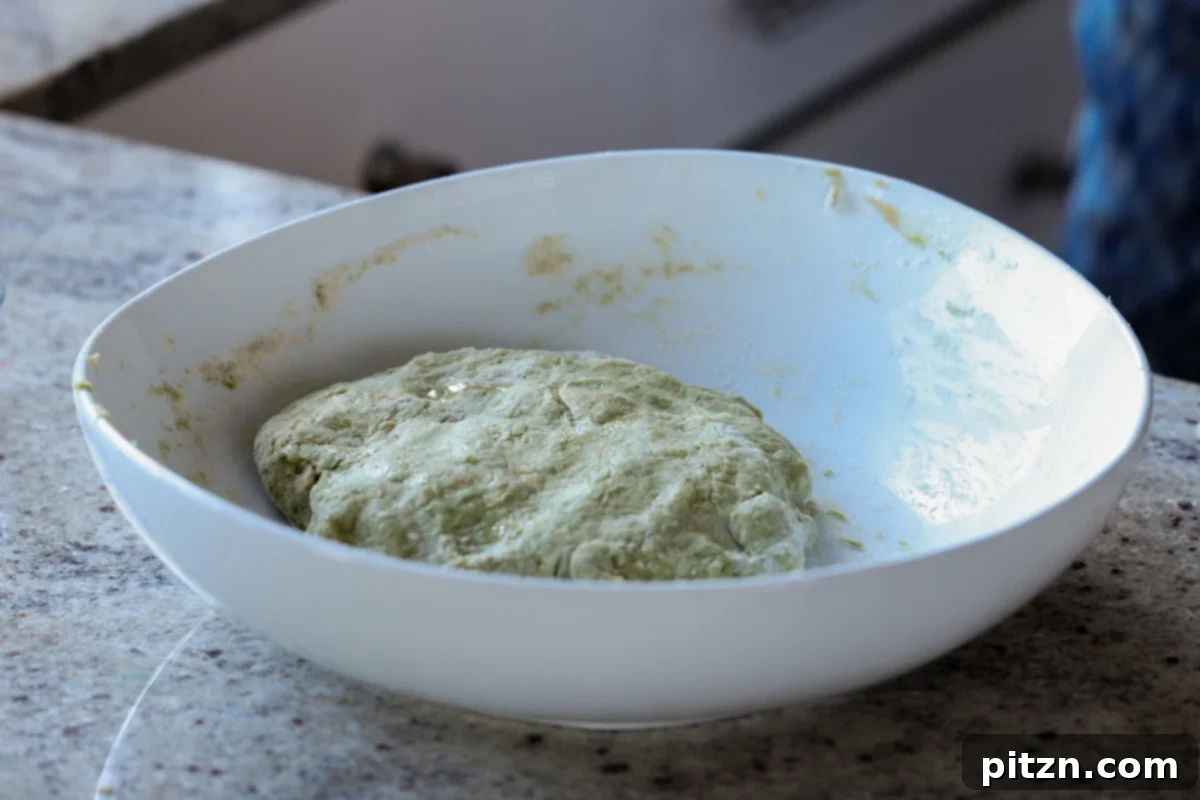
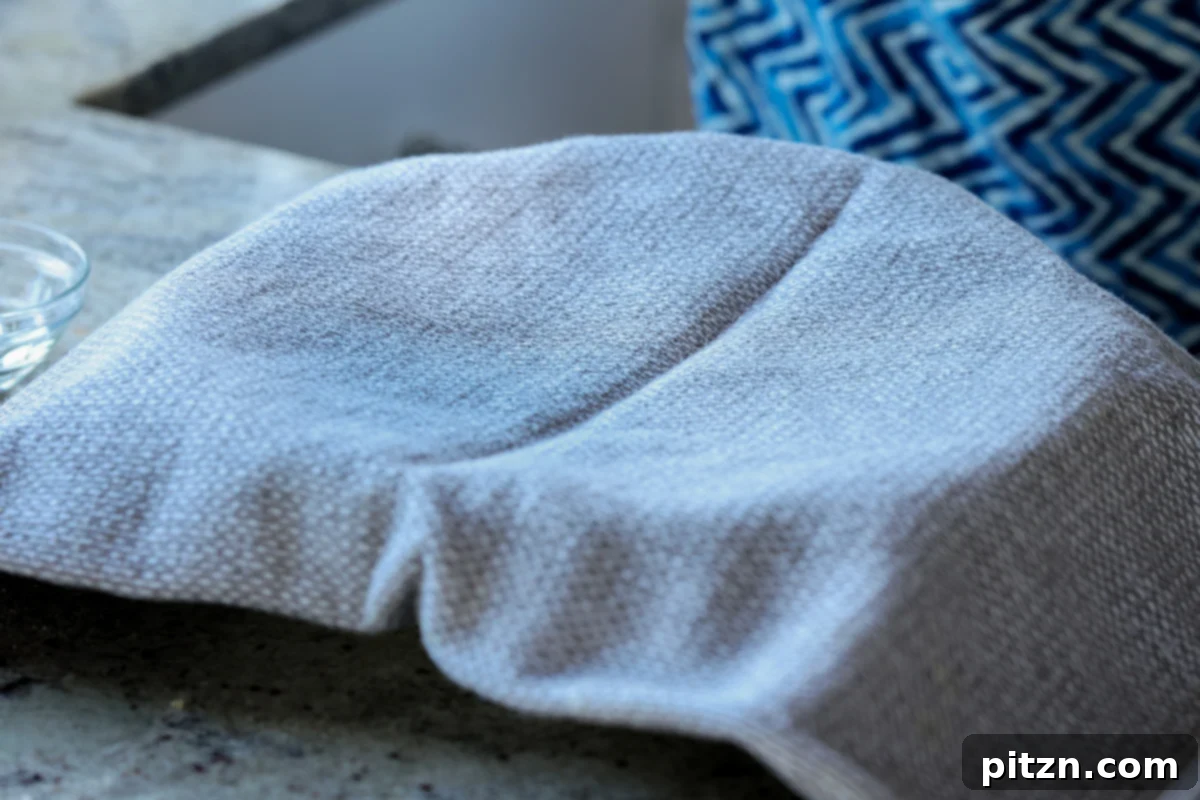
- In a bowl, combine the whole wheat flour, salt, and carom seeds. Pour in the spinach purée. Rinse out the blender with 2 tablespoons of water and add this to the flour mixture. Mix and press the mixture until it starts to form a dough. Be mindful not to add too much water initially, as spinach contains significant moisture; continue pressing and mixing for about a minute. Lightly oil your hands and knead the dough, gently squeezing it together. If it still feels dry, add 1 tablespoon of water. If the dough is sticky, incorporate a little more flour to achieve a smooth consistency. Brush the dough with a thin layer of oil, cover it with a kitchen towel, and allow it to rest for at least 30 minutes. This resting period is crucial as it allows the flour to fully rehydrate and soften the dough, resulting in exceptionally soft flatbreads.
Prepare the Stuffing while the Dough Rests (Optional).
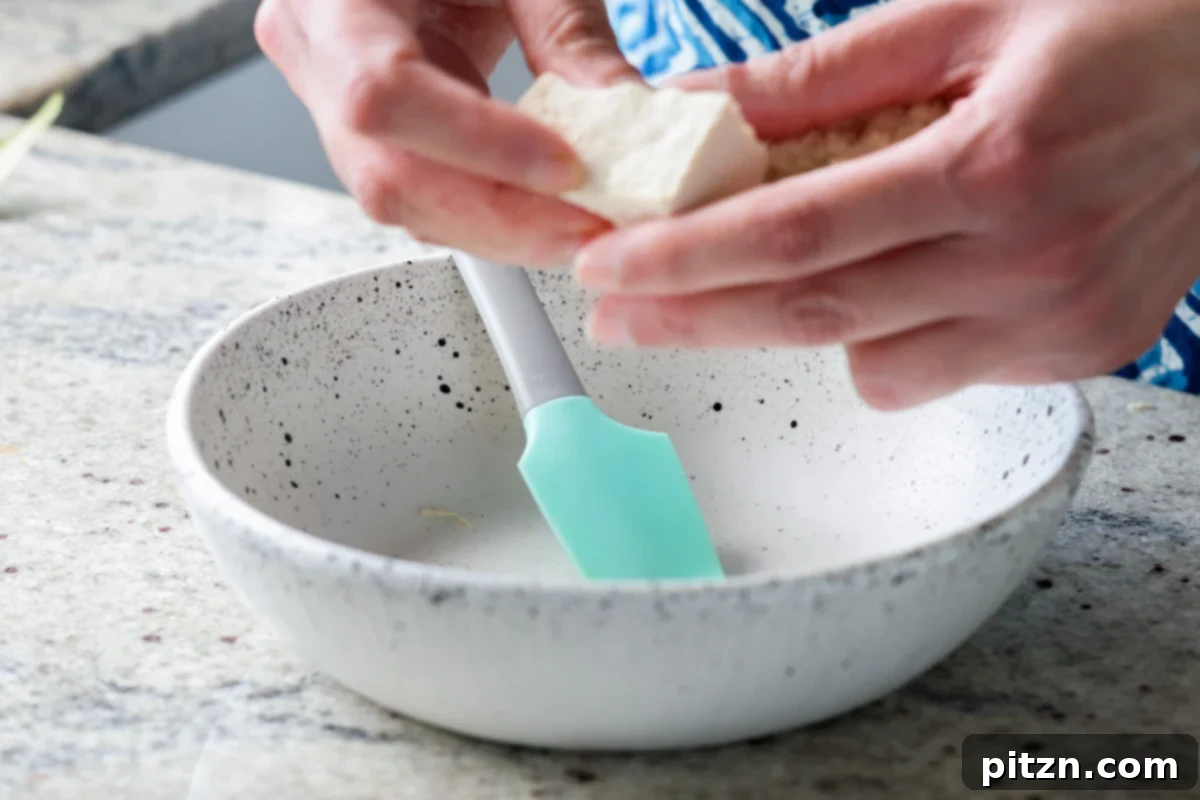
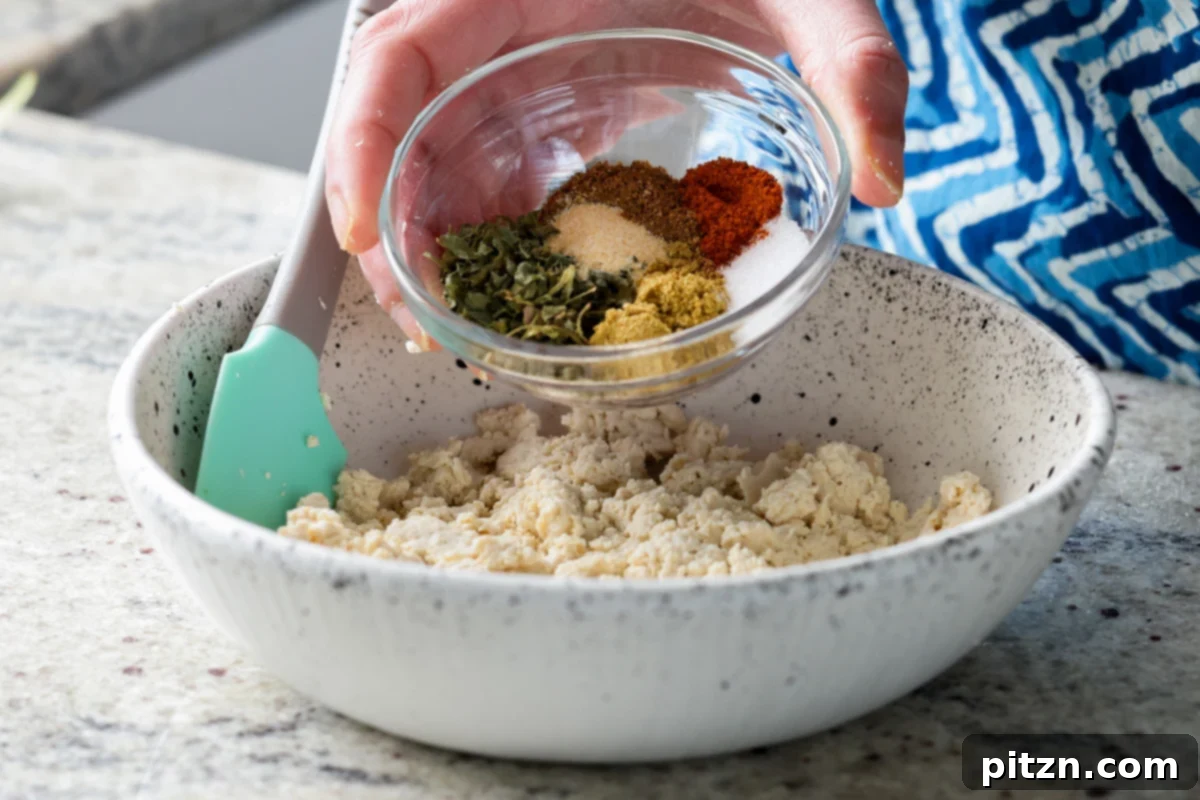
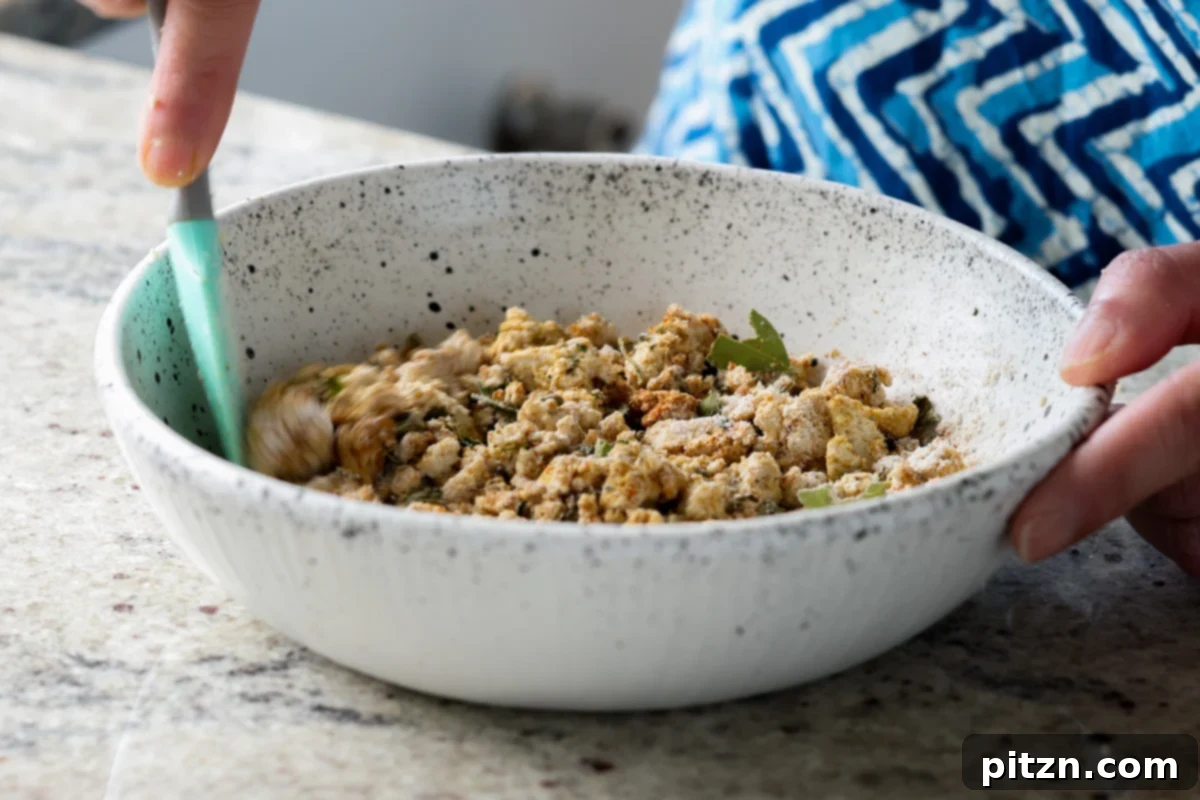
- If you choose to make stuffed parathas, prepare the filling during the dough’s resting time. Press the tofu for 15 minutes if not already done, then crumble it into a bowl. Add all the specified stuffing ingredients and mix thoroughly until well combined. If the tofu makes the filling too moist, add a small amount of flour to absorb excess moisture, then set aside. You can certainly skip the stuffing altogether or experiment with other fillings of your choice for your spinach paratha.
Assemble and Cook the Spinach Parathas.
- After the dough has rested for at least 30 minutes, remove the kitchen towel. Lightly oil your hands and knead the dough for approximately 30 seconds to further smooth it out. If using Indian atta, the dough will have naturally softened during its rest. Divide the dough into 6 to 8 equal portions, rolling each into a smooth ball. Set these dough balls aside, ready for rolling.
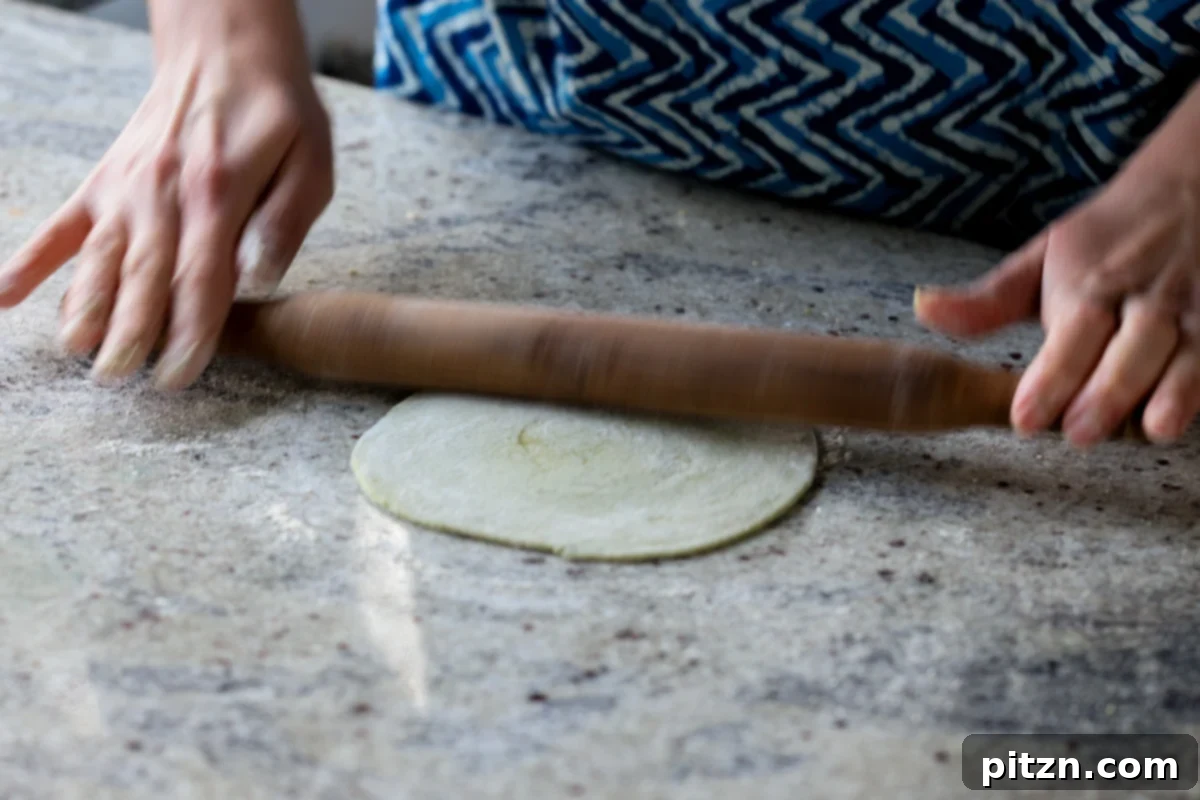
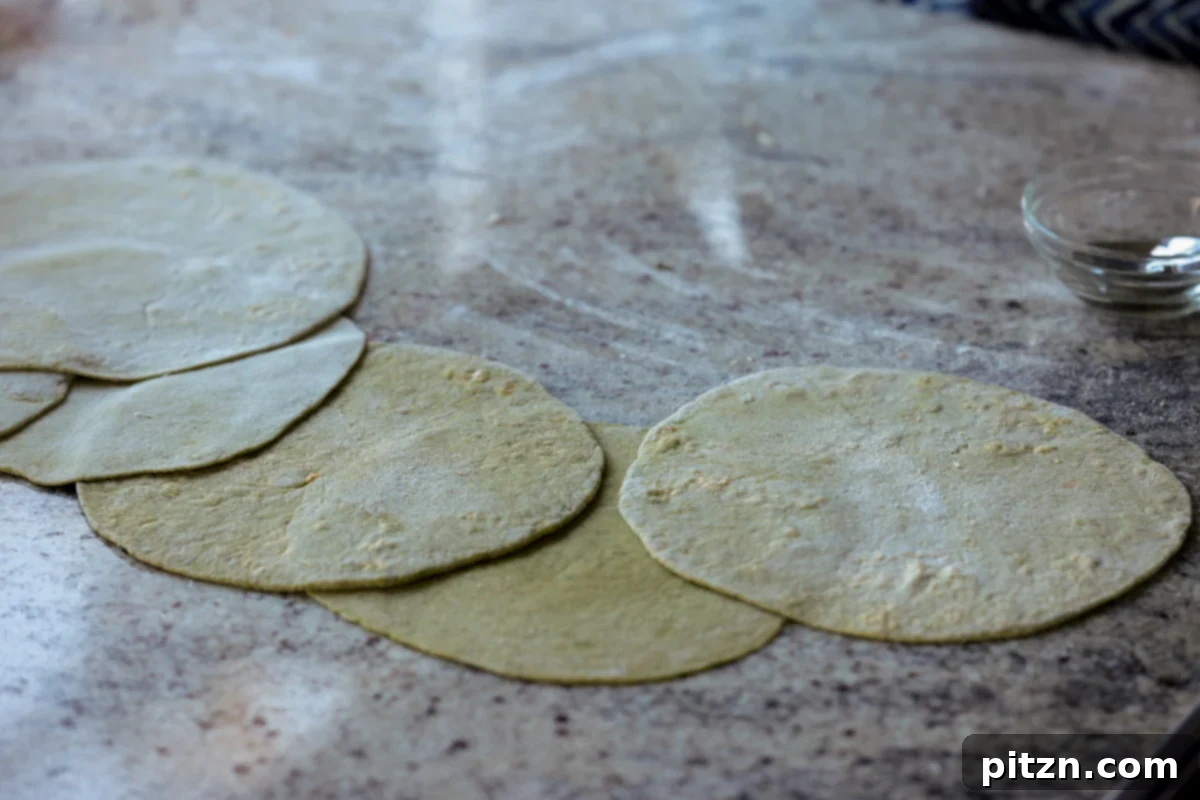
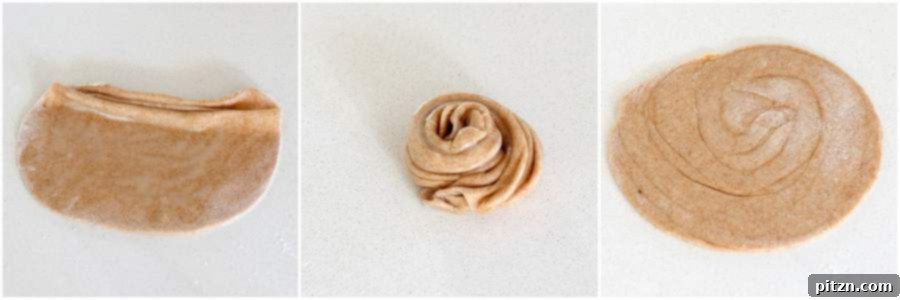
- Take one dough ball, lightly dust it with flour, and gently flatten it with your palm. Using a rolling pin, roll it out evenly into a circle about 6 inches in diameter. For plain parathas, you can roll it even thinner, similar to a thick roti or chapati. To create a delightful lachha paratha (flaky layered flatbread), brush a thin layer of oil over the rolled-out flatbread, then fold it accordion-style from one end to the other (refer to images and video for visual guidance). Coil the folded strip into a cinnamon-roll shape, flatten it, sprinkle with a little more flour, and roll it out again. This technique results in beautifully flaky layers within your spinach paratha. Alternatively, you can achieve a flaky texture by brushing oil on one side of the rolled dough, folding it into a square or gathering the edges like a dumpling, then re-rolling it.
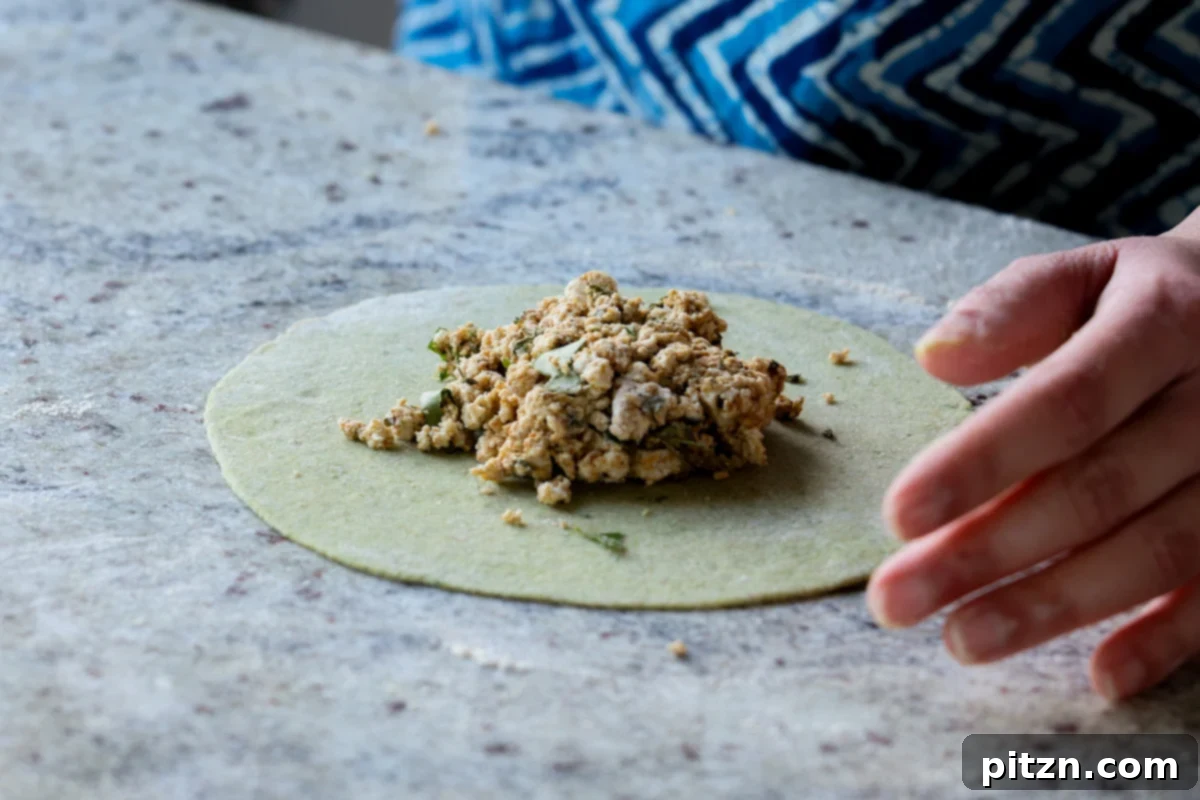
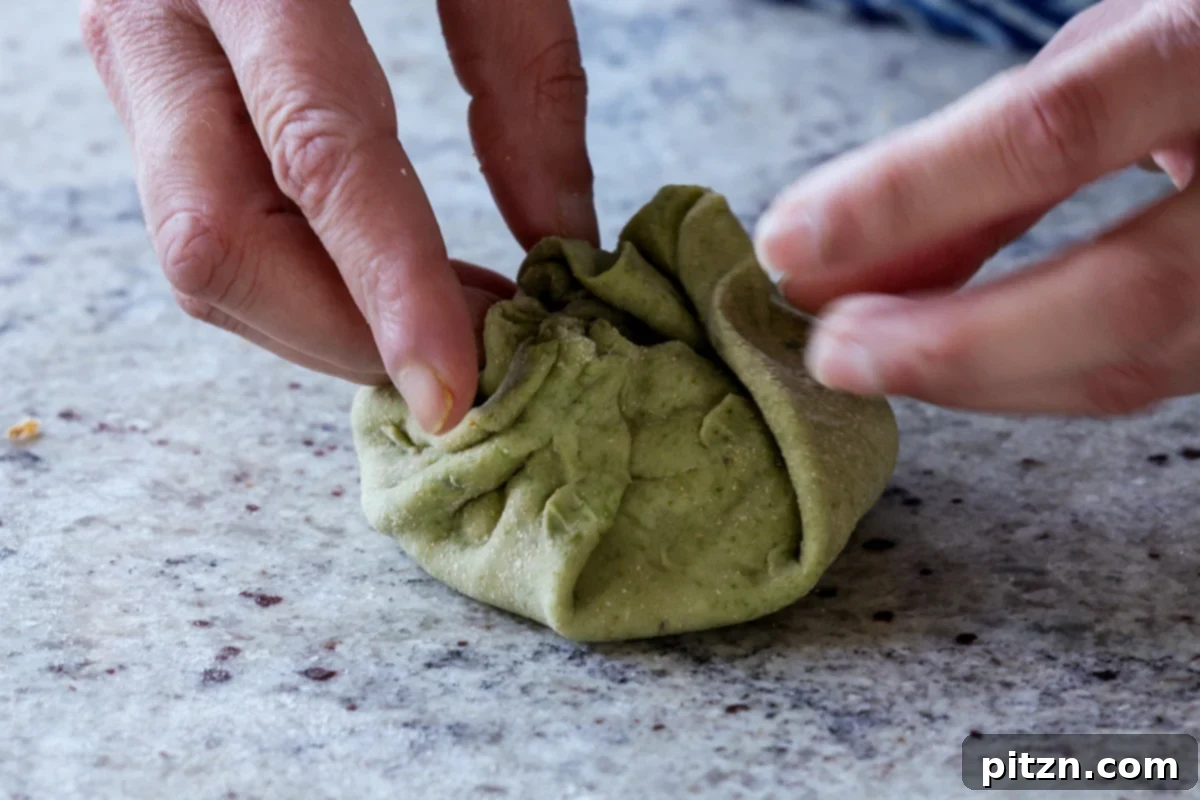
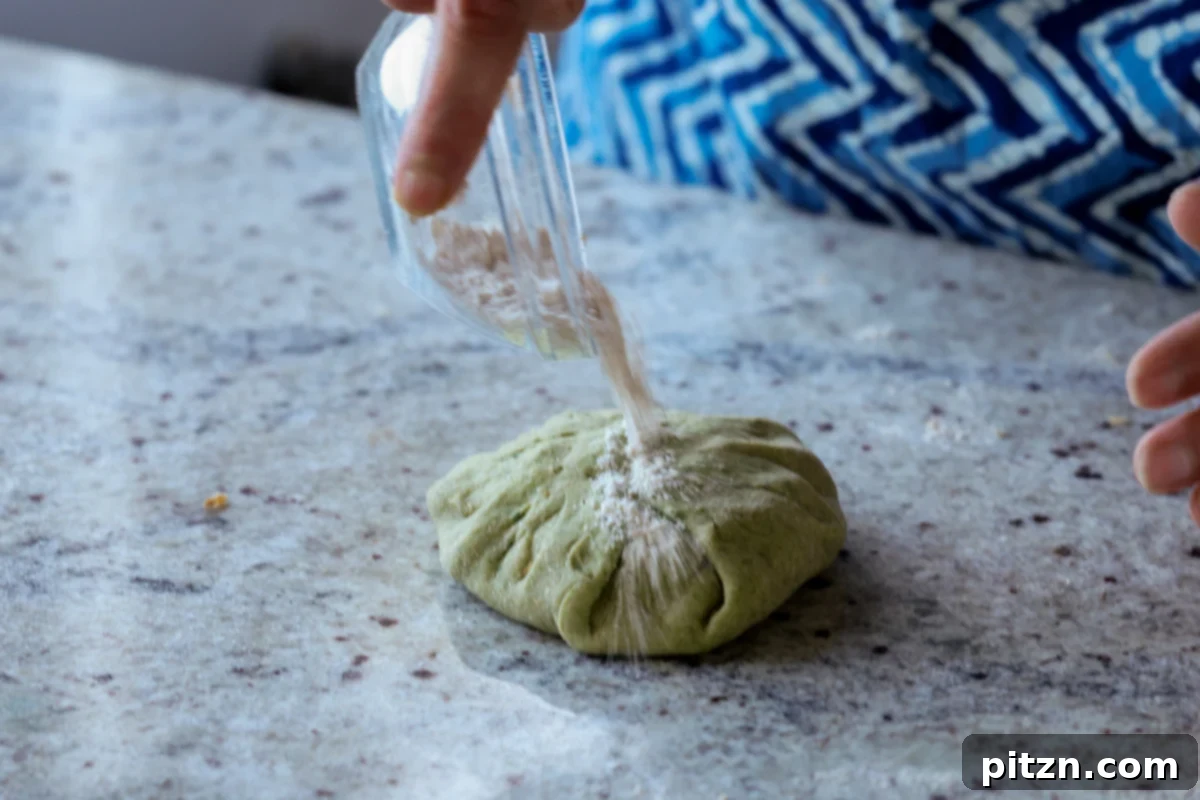
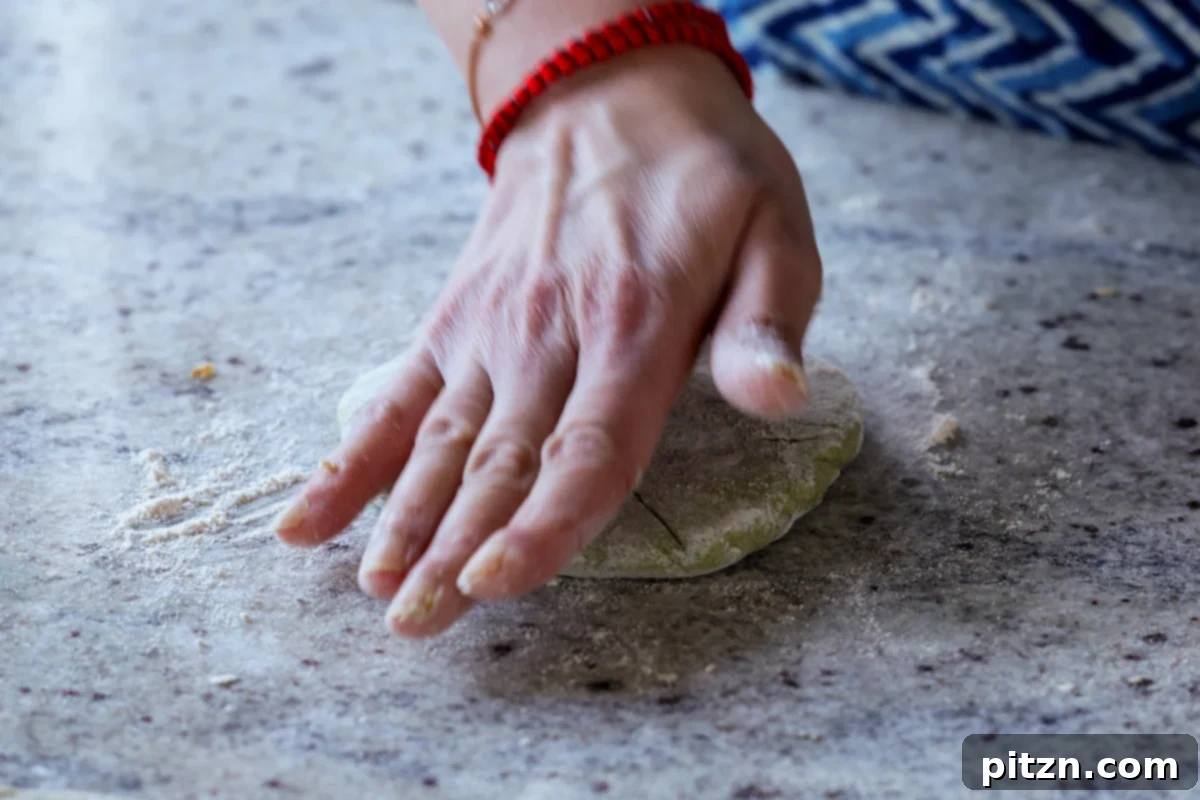
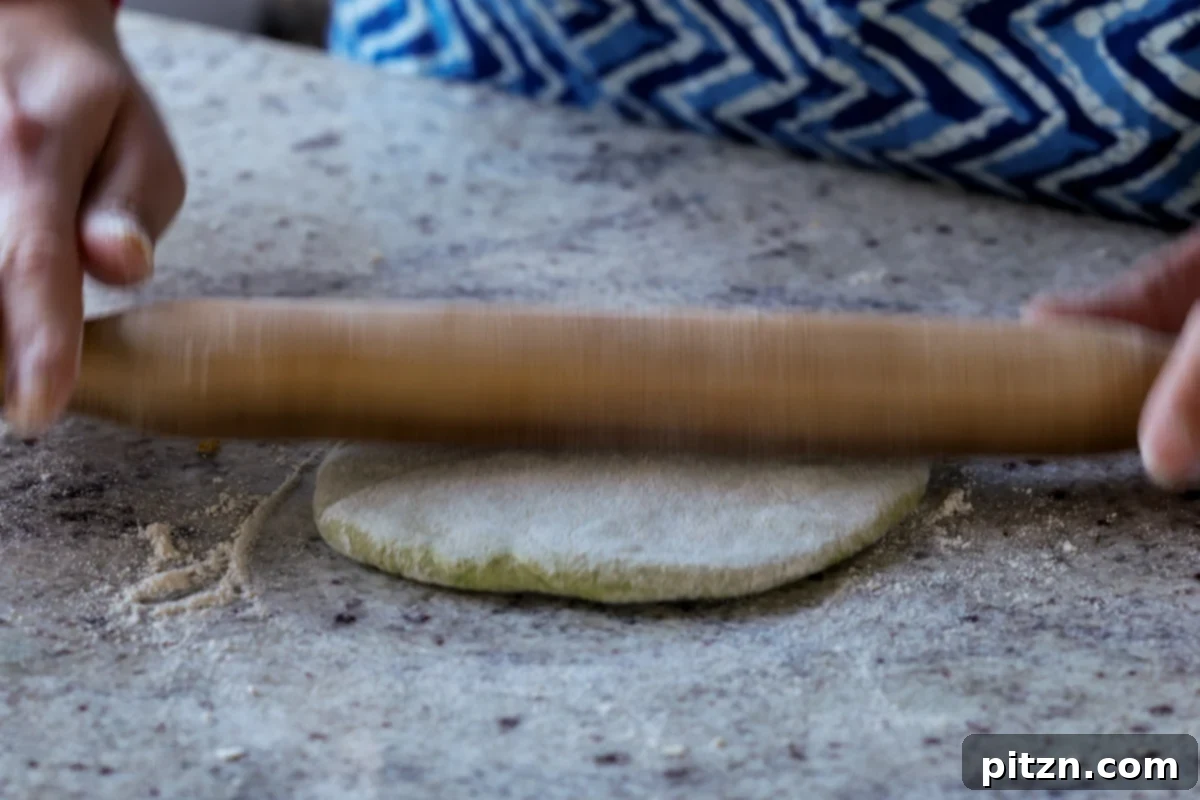
- For stuffed parathas, carefully place a portion of your prepared filling in the center of the rolled-out flatbread. Gently bring the edges of the dough together over the filling, pinching and folding them inwards to seal the stuffing securely, much like sealing a dumpling. Pinch off any excess dough from the top. Lightly sprinkle some flour over the sealed ball, press it down gently with your hands to initially spread the paratha, which helps prevent tearing during rolling. Flip it over, sprinkle a little more flour, and then, with light and even pressure, roll it out with the rolling pin until the spinach paratha is approximately 1–2 mm thick and 6–7 inches in diameter. Repeat this process for all remaining parathas. It’s important to avoid using excessive flour during rolling, as this can lead to dry parathas. Use just enough to prevent sticking to your work surface and rolling pin.
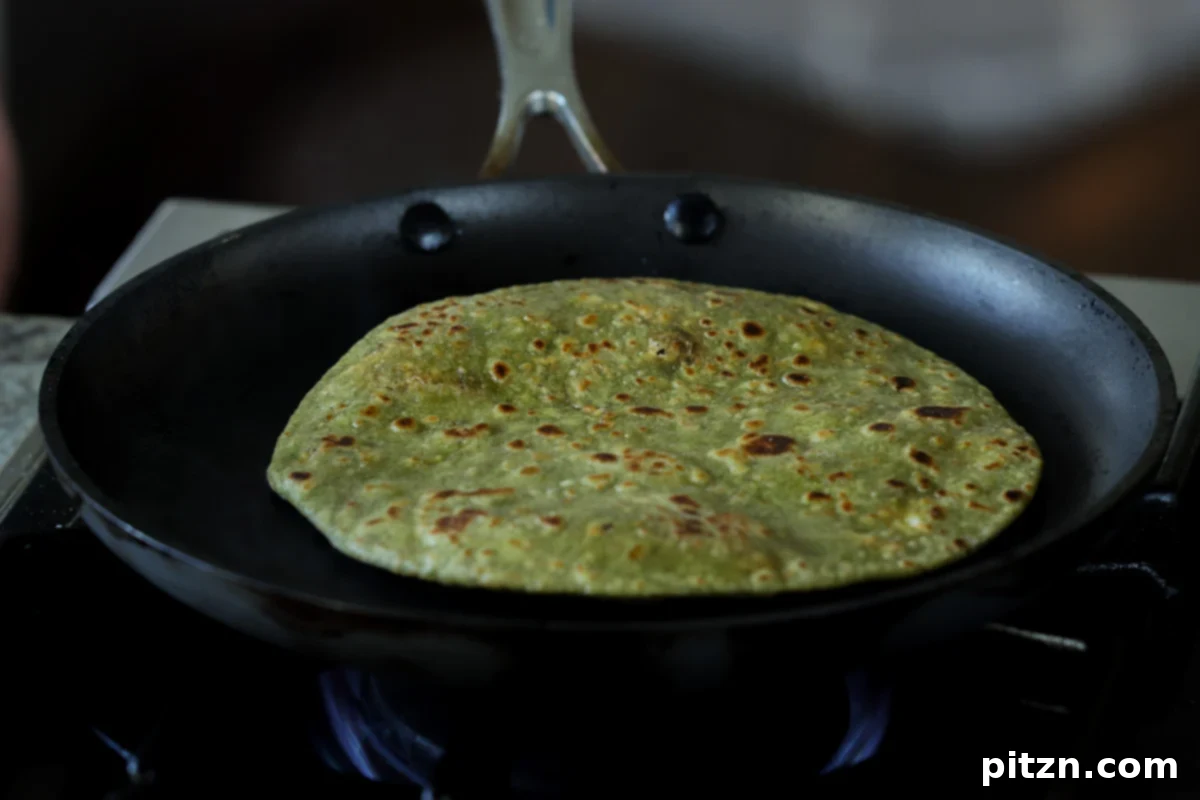
- Heat a skillet (tava) over medium-high heat. Cooking parathas at a slightly higher temperature ensures they cook quickly and remain soft rather than becoming crispy. Once the skillet is hot, place one paratha onto it. Cook for about 30 seconds, or until small bubbles begin to appear on the surface. Flip the paratha and cook the other side. Brush a thin layer of oil onto the top cooked side, using a spoon or spatula to spread the oil evenly and gently press the spinach paratha onto the skillet. Pressing with a spoon can create attractive golden-brown spots, while a spatula offers more even pressure for uniform browning. Flip again after another 30 seconds to 1 minute, oil the second side, and after cooking that side for roughly 30 seconds, flip once more and cook for a final 15–30 seconds until both sides are perfectly cooked and slightly browned. Remove the cooked paratha from the skillet and repeat the process for the remaining dough balls.
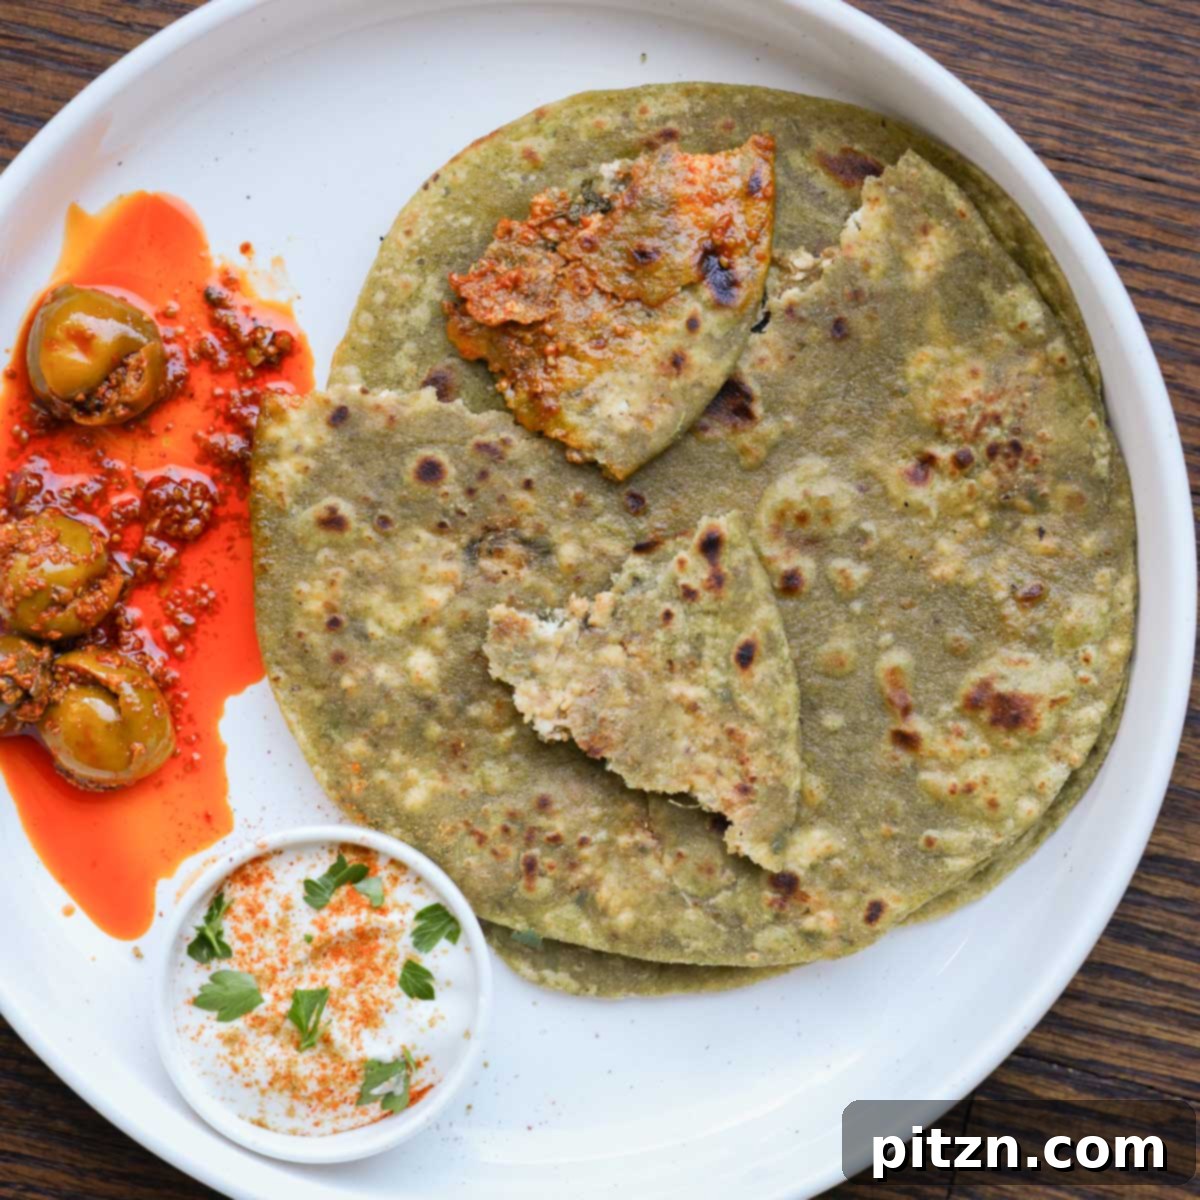
- Transfer the freshly cooked parathas to a kitchen towel or paper towel-lined plate. This prevents condensation from building up and making them sticky. Once all parathas are cooked, wrap them snugly in the kitchen towel to keep them warm until you are ready to serve. Serve them hot with a dollop of vegan butter, non-dairy yogurt, a refreshing raita (see recipe in notes), and/or your favorite Indian pickles.
Video Tutorial
Notes
Making parathas is a skill that improves with practice! Don’t worry if your first few aren’t perfectly round; they will still taste absolutely delicious.
To Make Raita Dip: Combine 1/2 cup non-dairy yogurt with 1/2 cup finely shredded cucumber and a pinch of salt. Adjust the consistency with a little water if needed, then mix well. Finish with a generous dash of ground cumin, cayenne pepper, and freshly chopped cilantro. Kite Hill almond yogurt is a great option for a creamy vegan raita.
Storage Recommendations: Plain parathas can be stored at room temperature for up to one day. Stuffed parathas, however, should be refrigerated within a few hours and can be kept for up to 3 days. To reheat, simply warm them on a skillet or in the microwave. For longer storage, separate them with parchment paper and freeze in an airtight, freezer-safe container for several months. Always reheat thoroughly before serving.
Spinach paratha is inherently nut-free. To make it soy-free, simply omit the tofu filling or choose an alternative, soy-free stuffing. For those seeking a gluten-free option, consider adapting my sweet potato flatbread or cauliflower flatbread dough recipes, substituting spinach purée for the sweet potato or cauliflower.
Nutrition
Nutrition information is automatically calculated and should be used as an approximation only.
Did you make this recipe? We’d love to hear from you! Rate and comment below!
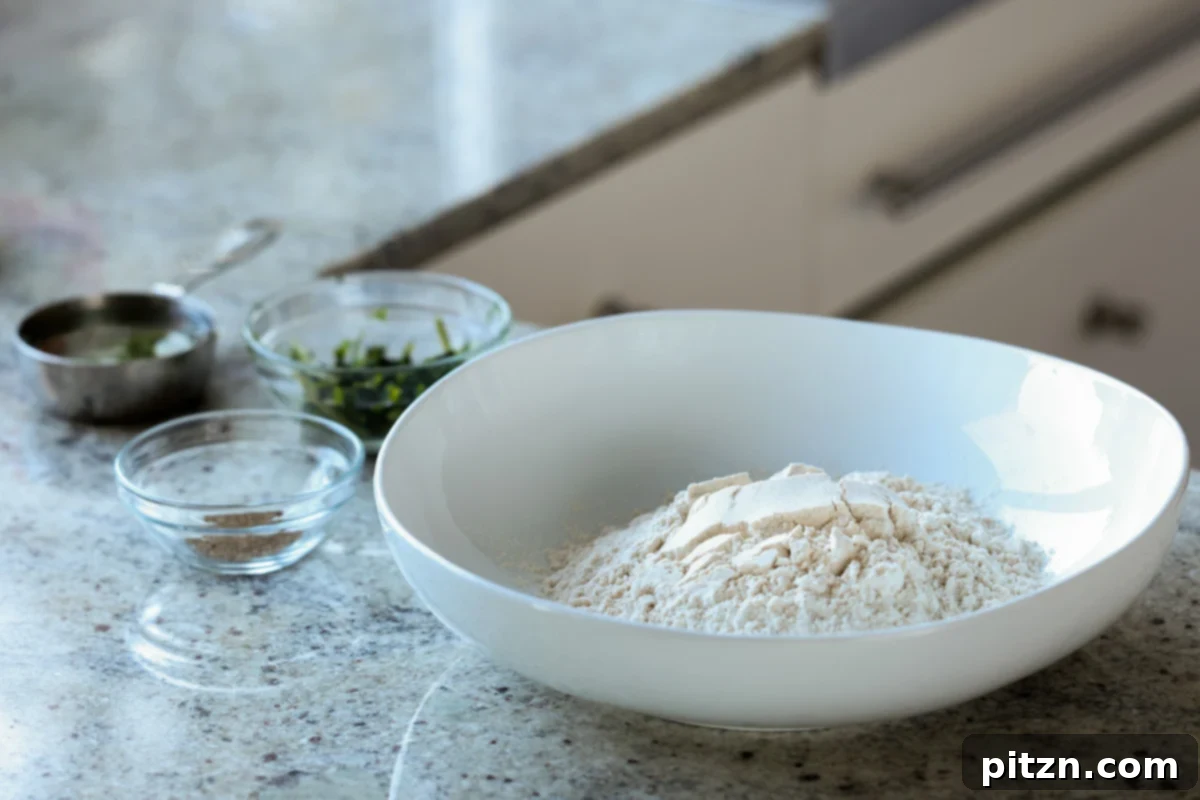
Essential Ingredients for Spinach Paratha
Crafting the perfect Spinach Paratha begins with selecting quality ingredients. Here’s a closer look at what you’ll need and why each component is important:
- Spinach: The star of the dish, spinach infuses these parathas with a vibrant green hue and a wealth of nutrients. Both fresh and frozen spinach work beautifully. Remember to blanch and drain fresh spinach before blending to achieve the best consistency and color.
- Whole Wheat Flour (Atta): For the softest, most authentic parathas, Indian roti flour or chapati flour (also known as atta flour) is highly recommended. This flour, made from a softer wheat and finely ground, yields an unparalleled tenderness. While American whole wheat flour can be used, it tends to be coarser and may result in a slightly firmer texture. Refer to our recipe notes for suitable gluten-free alternatives if needed.
- Carom Seeds (Ajwain): These small, aromatic seeds are a cornerstone of Indian cooking, adding a unique, earthy flavor and aiding digestion. If carom seeds are unavailable, cumin seeds (jeera) make an excellent substitute, offering a similar warm spice profile.
- Tofu (Optional Filling): For a protein-packed and flavorful stuffing, firm or extra-firm tofu is an ideal choice. Ensure it’s pressed thoroughly to remove excess water before crumbling and seasoning.
- Ground Spices (For Filling): A medley of traditional Indian spices elevates the tofu filling. We use garam masala for its warming blend, ground coriander for a citrusy, earthy note, cayenne pepper for a touch of heat (which can be replaced with black pepper or paprika for a milder flavor), fragrant dried fenugreek leaves (Kasuri methi) for their distinctive aroma, and garlic powder for depth.
💡Expert Tips for Perfect Spinach Parathas
- Practice Makes Perfect: Don’t be discouraged if your first few parathas aren’t perfectly round. The taste will be just as amazing, and your rolling technique will improve with each attempt!
- Control Water Content: Be cautious when adding water to the dough, especially at the beginning. Spinach releases a good amount of moisture as you knead, so start with less and add more only if the dough feels too dry.
- Flour Wisely: Use flour sparingly when rolling out the parathas. While essential to prevent sticking, too much flour can absorb moisture from the dough, resulting in dry rather than soft flatbreads. Apply just enough to keep the dough from adhering to your work surface and rolling pin.
How to Make Spinach Paratha: A Step-by-Step Guide
Creating these delightful Spinach Parathas is an enjoyable process. Follow these detailed steps for a successful and delicious outcome:
Preparing the Spinach Purée:
If you’re using fresh spinach, begin by heating a saucepan with 3 cups of water over medium-high heat. Once the water reaches a rolling boil, add the fresh spinach and blanch for approximately 2 minutes, or until the leaves turn a vibrant, bright green. Promptly drain the blanched spinach and transfer it to a blender. If you’re opting for frozen spinach, you can add it directly to the blender without blanching. To both fresh (blanched) or frozen spinach, add 1/2 cup of water and blend until you achieve a relatively smooth purée. This forms the base of your green dough.
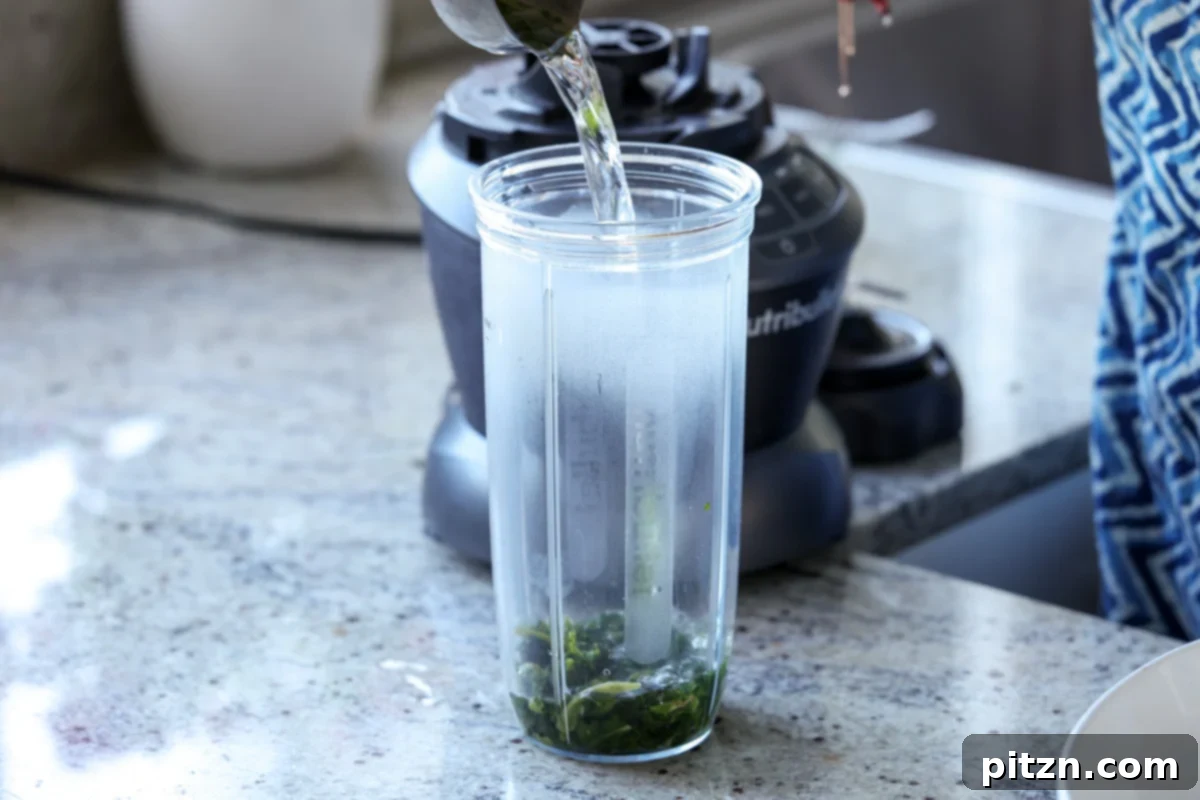
Making the Dough:
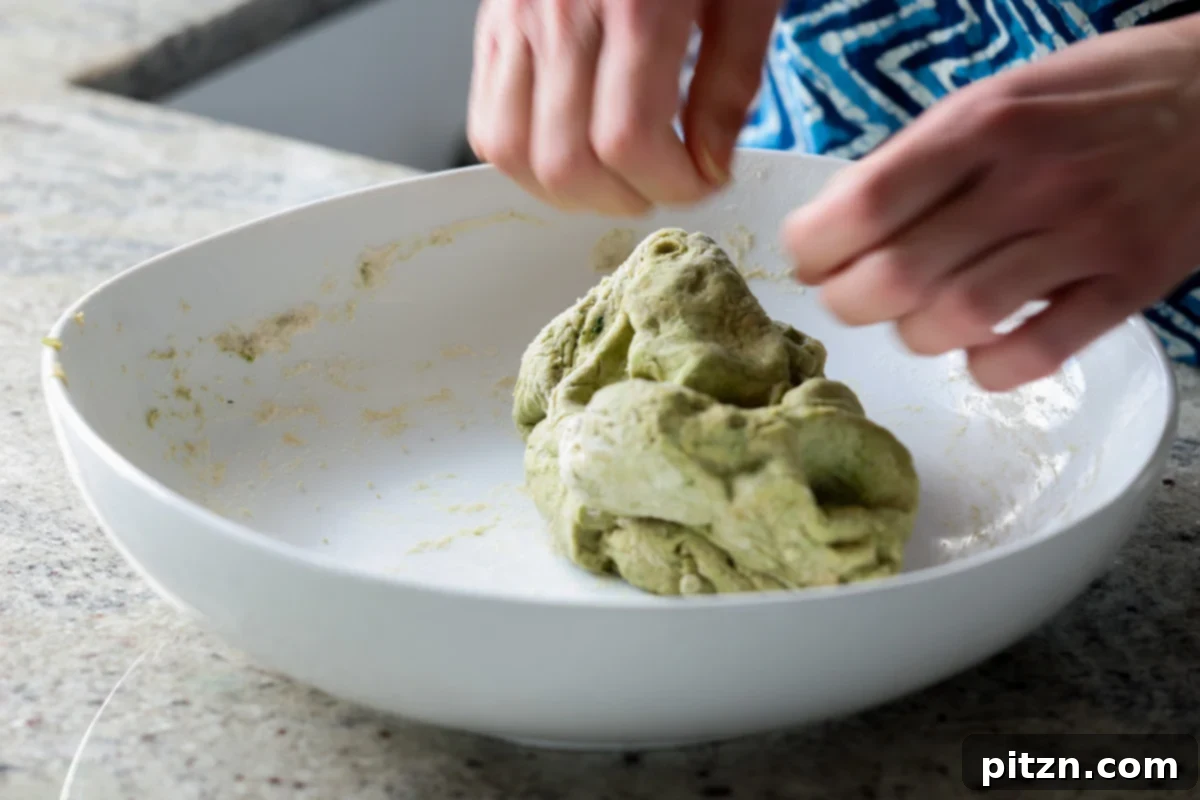
In a large mixing bowl, combine the whole wheat flour, salt, and carom seeds, mixing them thoroughly. Pour the vibrant spinach purée into the dry ingredients. To ensure you don’t waste any of the spinach goodness, rinse out your blender with an additional 2 tablespoons of water and add this to the flour mixture. Begin to mix and press the ingredients together. The dough will start to come together. It’s crucial not to add too much additional water at this stage, as the spinach itself holds a significant amount of moisture. Continue to press and mix the dough for about one minute. Once it begins to form a cohesive mass, lightly oil your hands and begin to knead the dough, squeezing it to fully incorporate all ingredients. If, after kneading for a short while, the dough still feels excessively dry, add just 1 tablespoon of water at a time. Conversely, if the dough is too sticky, gradually add small amounts of flour until it becomes smooth and manageable. Once kneaded, brush the dough ball with a little more oil, cover the bowl with a clean kitchen towel, and let it rest for a minimum of 20-30 minutes. This resting period is vital; it allows the whole wheat flour to properly hydrate, resulting in a softer, more pliable dough that is easier to roll and yields exceptionally tender parathas.
Preparing the Optional Stuffing:
While your dough rests, you have the perfect opportunity to prepare the optional tofu stuffing. If your tofu isn’t pre-pressed, gently press it for about 15 minutes to remove excess water, then crumble it into a clean bowl. Add all the specified stuffing ingredients, including salt, garam masala, ground coriander, cayenne (or black pepper/paprika), dried fenugreek leaves, and garlic powder. Mix everything thoroughly until the spices are evenly distributed throughout the crumbled tofu. If the mixture appears too wet, incorporate a small amount of whole wheat flour to absorb the moisture and create a more manageable filling. Set this flavorful stuffing aside until your dough is ready. Feel free to skip the stuffing if you prefer plain parathas, or get creative with other fillings you enjoy!
Dividing and Rolling the Dough:
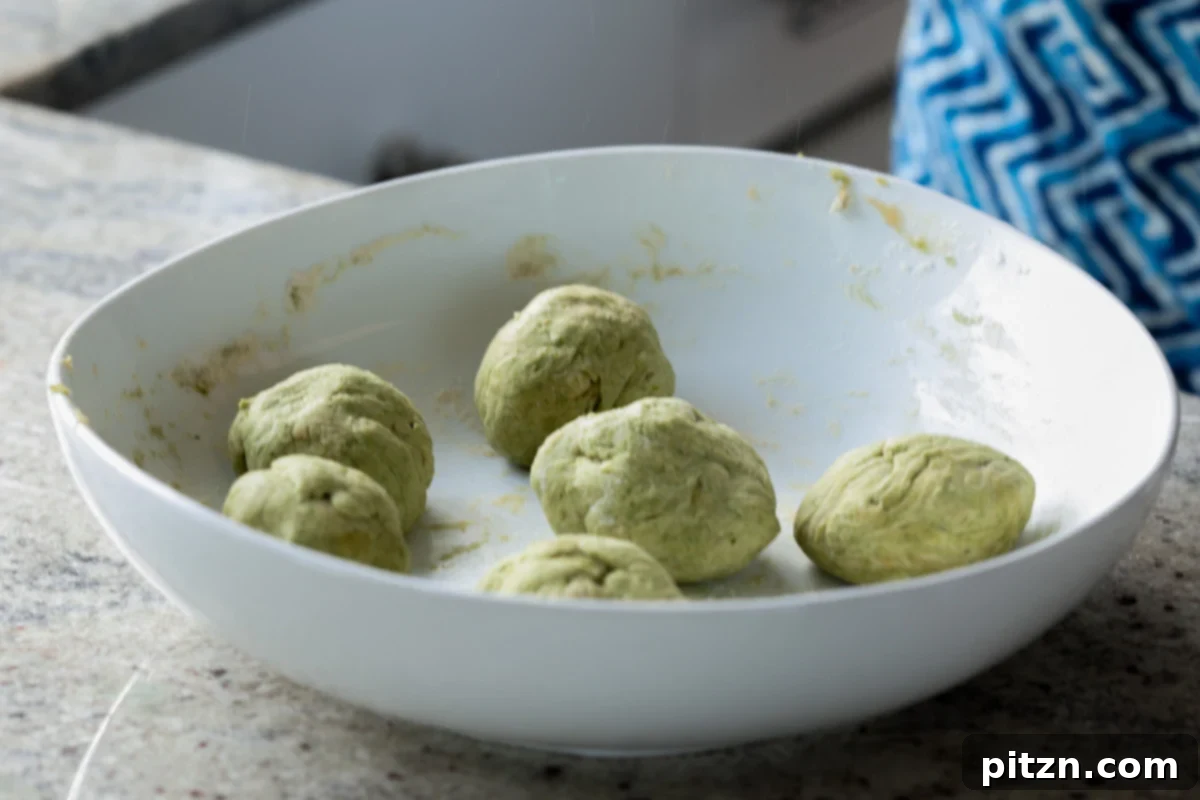
After the dough has rested for at least 30 minutes, remove the kitchen towel. Lightly oil your hands and knead the dough for another 30 seconds to ensure it’s silky smooth. You’ll notice how soft the dough has become, especially if you used Indian atta. Divide the dough into 6 to 8 equal portions. Roll each portion into a smooth ball and set them aside on your clean work surface, ready for rolling.
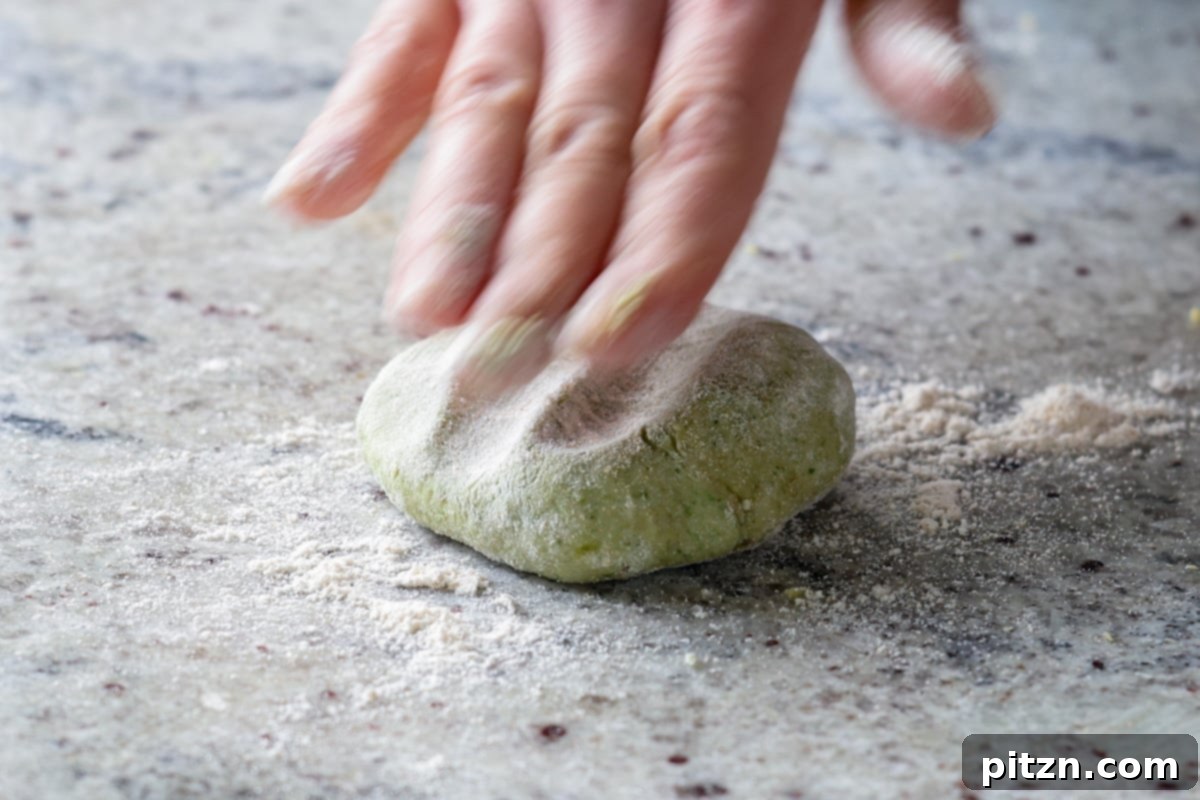
Take one dough ball, press it gently into a small amount of flour, and then flatten it with your palm. Using a rolling pin, carefully roll the dough out until it forms a circle approximately 6 inches in diameter. If you are making plain parathas, you can continue rolling it even thinner, aiming for the thickness of a typical roti or chapati.
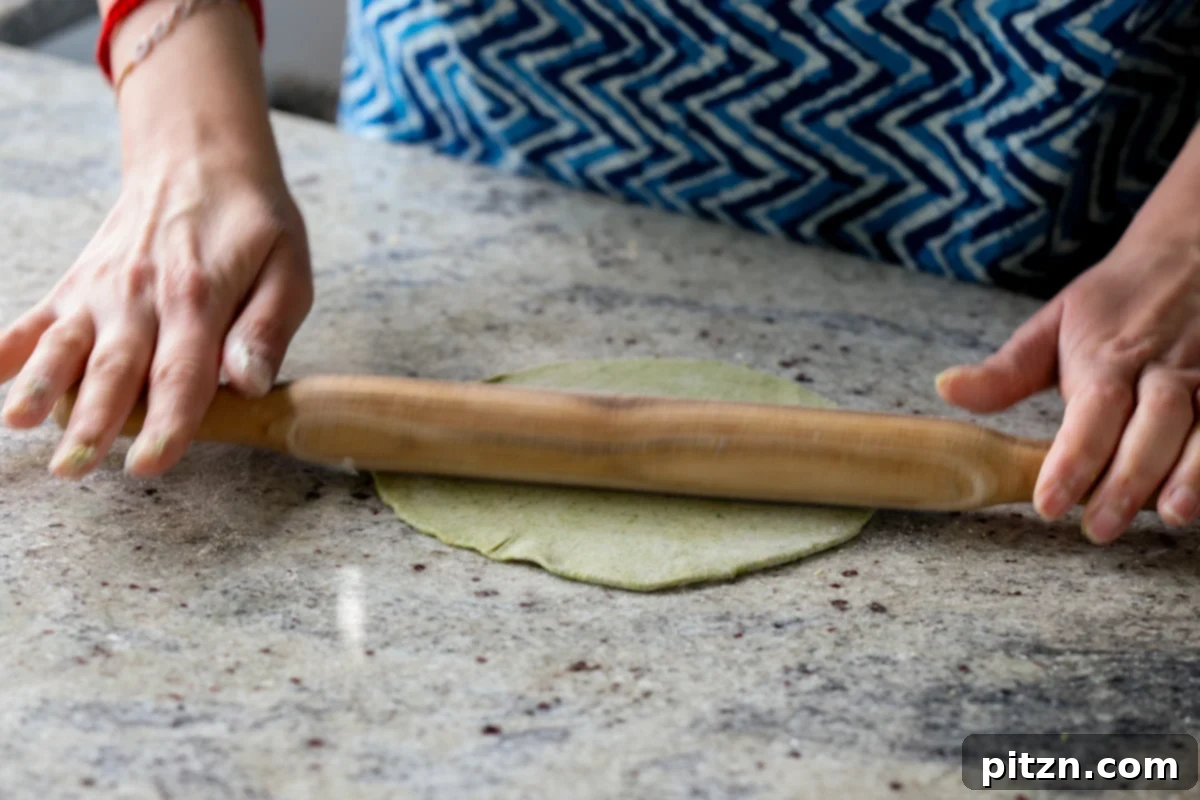
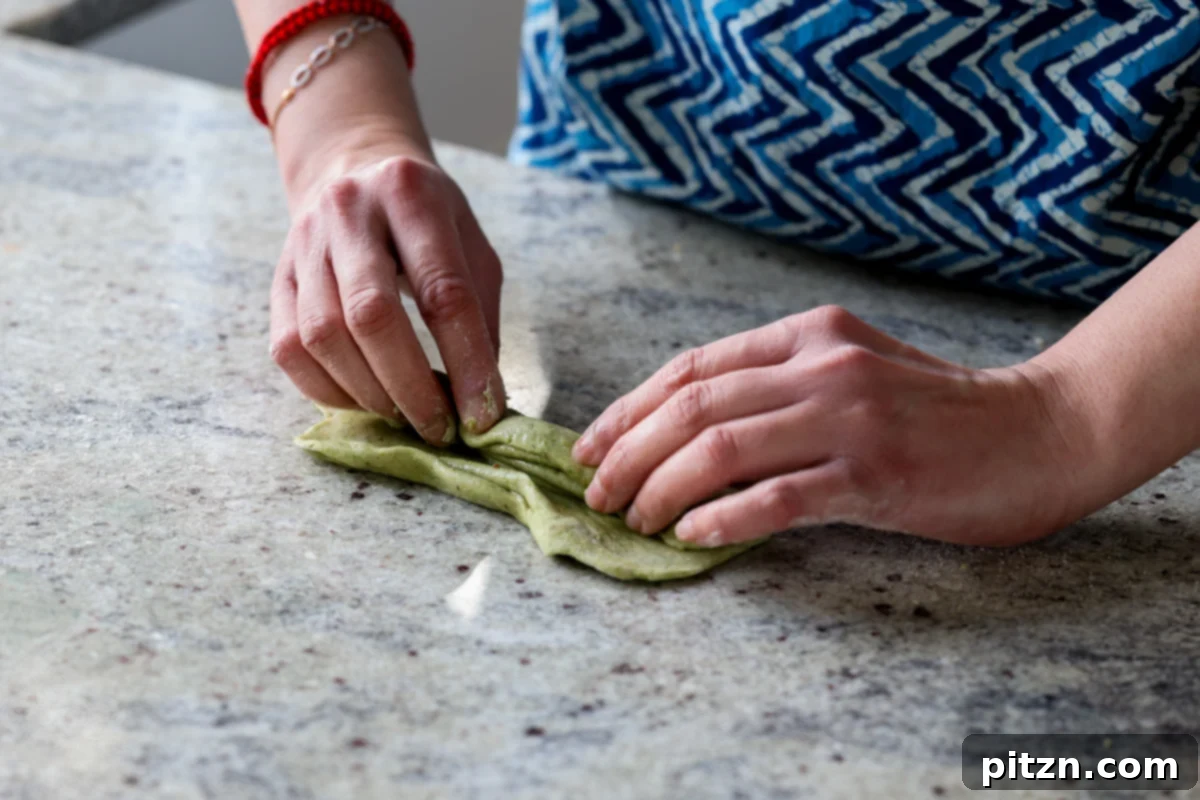
For a beautifully flaky lachha paratha, brush a thin layer of oil over the surface of the rolled-out flatbread. Then, fold the flatbread accordion-style, working from one end to the other. Once folded, roll this strip into a spiral, resembling a cinnamon roll. Gently flatten the coiled dough, sprinkle a little more flour, and roll it out again into a round paratha. This technique creates wonderful, distinct layers. Another method for flaky parathas involves brushing oil on one side of the rolled dough, folding it into a square, or gathering the edges towards the center like a dumpling, and then re-rolling it.
For Stuffed Parathas:
If you’re making stuffed parathas, carefully place a portion of your prepared filling in the very center of a rolled-out flatbread. Gently bring the edges of the dough together over the filling, folding and pinching them to create a sealed packet, similar to how you would close a dumpling. Securely seal these edges, and if there’s any significant excess dough at the very top, you can gently pinch it off. Sprinkle a light dusting of flour over the stuffed dough ball, then use your hands to gently press and spread out the paratha a bit before immediately reaching for the rolling pin. This initial hand-flattening helps distribute the filling evenly and significantly reduces the risk of the dough tearing. Flip the paratha over, sprinkle a little more flour, and then, with light and consistent pressure, roll it out with your rolling pin until it reaches a thickness of 1–2 mm and a diameter of 6–7 inches. Repeat this process for all your stuffed parathas. Remember to use flour sparingly during this stage; too much flour can make the parathas dry. Only use enough to prevent sticking to your work surface and rolling pin.
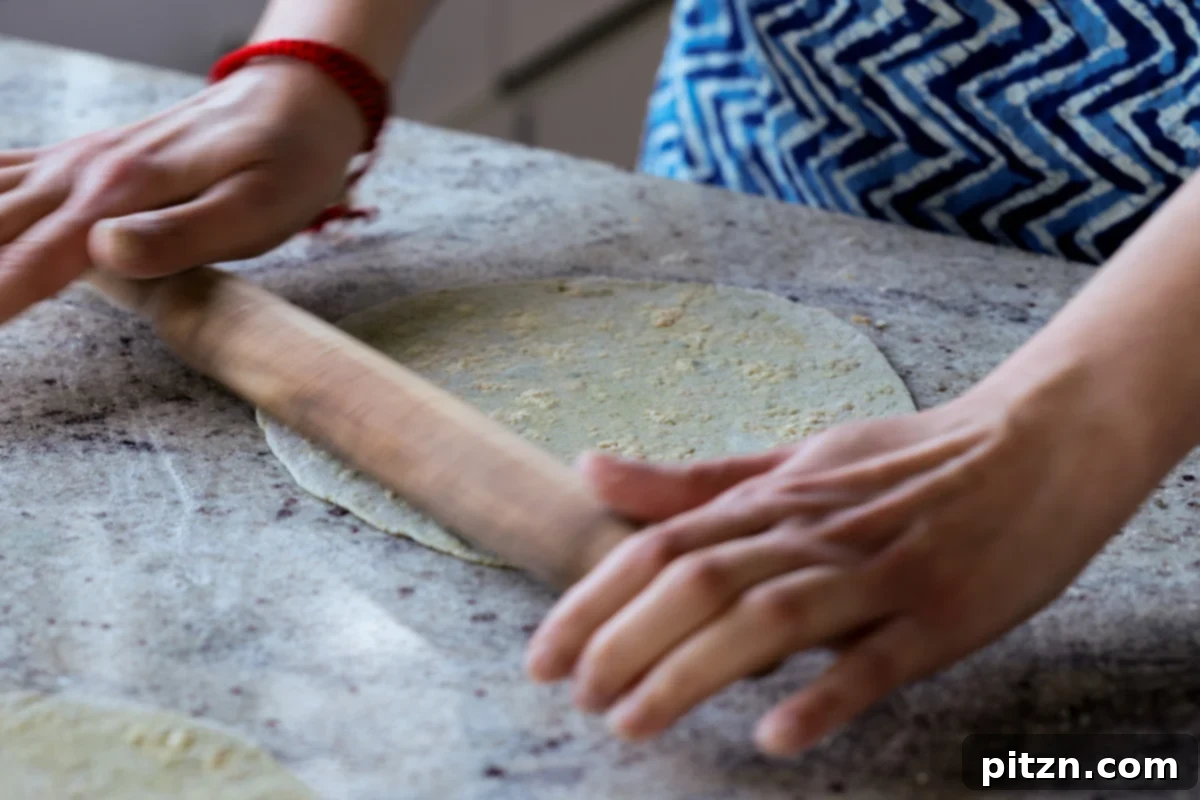
Cooking the Parathas:
Heat a skillet (tava) over medium-high heat. The key to soft, non-crispy flatbreads is to cook them relatively quickly, so ensure your skillet is hot enough. Once hot, carefully place one rolled paratha onto the skillet. Allow it to cook for about 30 seconds, or until you begin to see small bubbles forming on its surface. Flip the paratha over to cook the other side. Now, brush a light layer of oil onto the top, already cooked side. You can use a spoon or a spatula to spread the oil evenly and gently press the paratha onto the skillet. Using a spoon can help create attractive golden-brown spots, while a spatula provides more even pressure for a uniform golden hue. Flip the paratha again after another 30 seconds to 1 minute, then brush oil onto the second side. After cooking this side for approximately 30 seconds, flip it one last time and cook for an additional 15–30 seconds until both sides are beautifully golden with cooked spots. Remove the finished paratha from the skillet and repeat this cooking process for all remaining flatbreads.
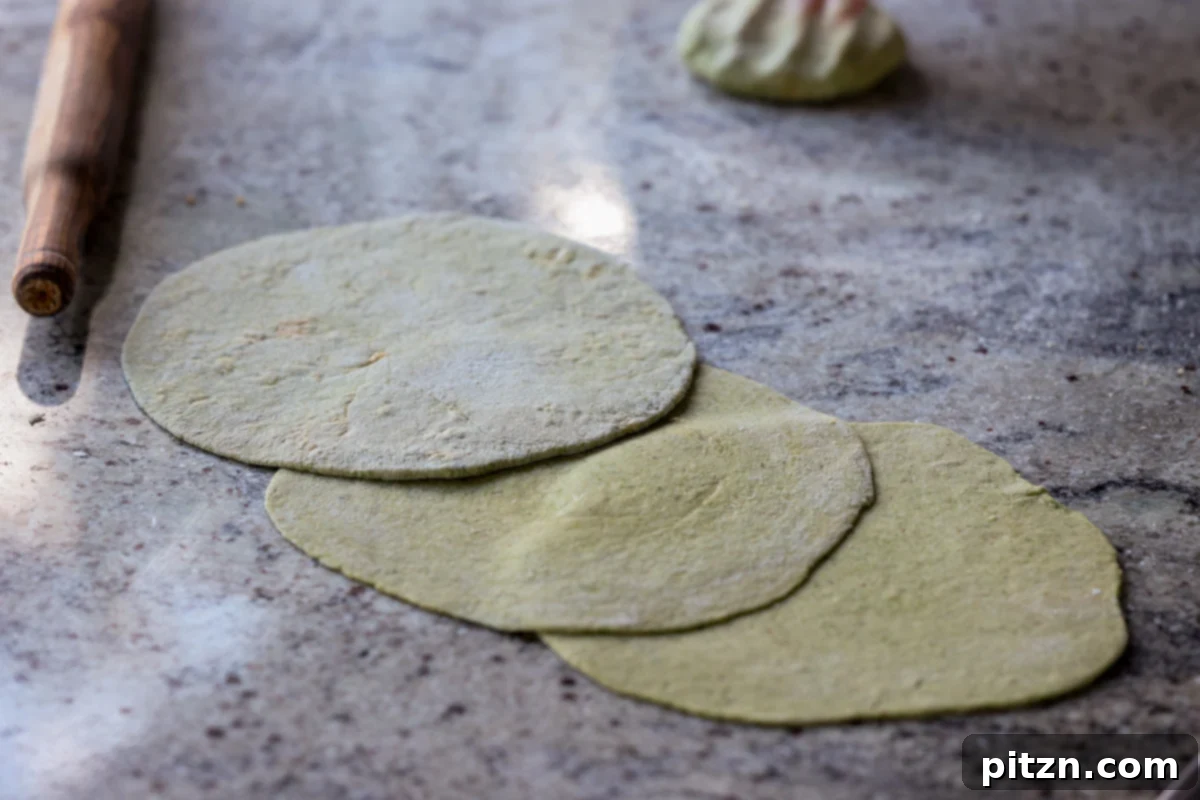
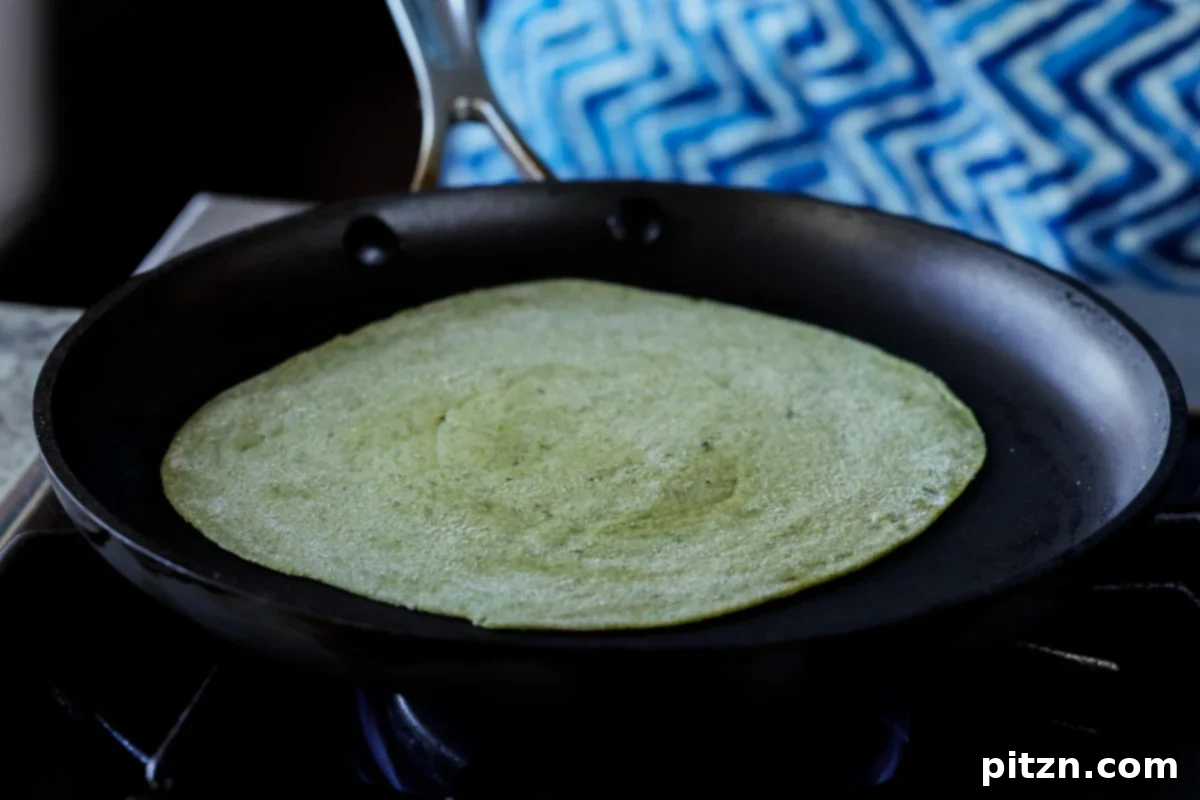
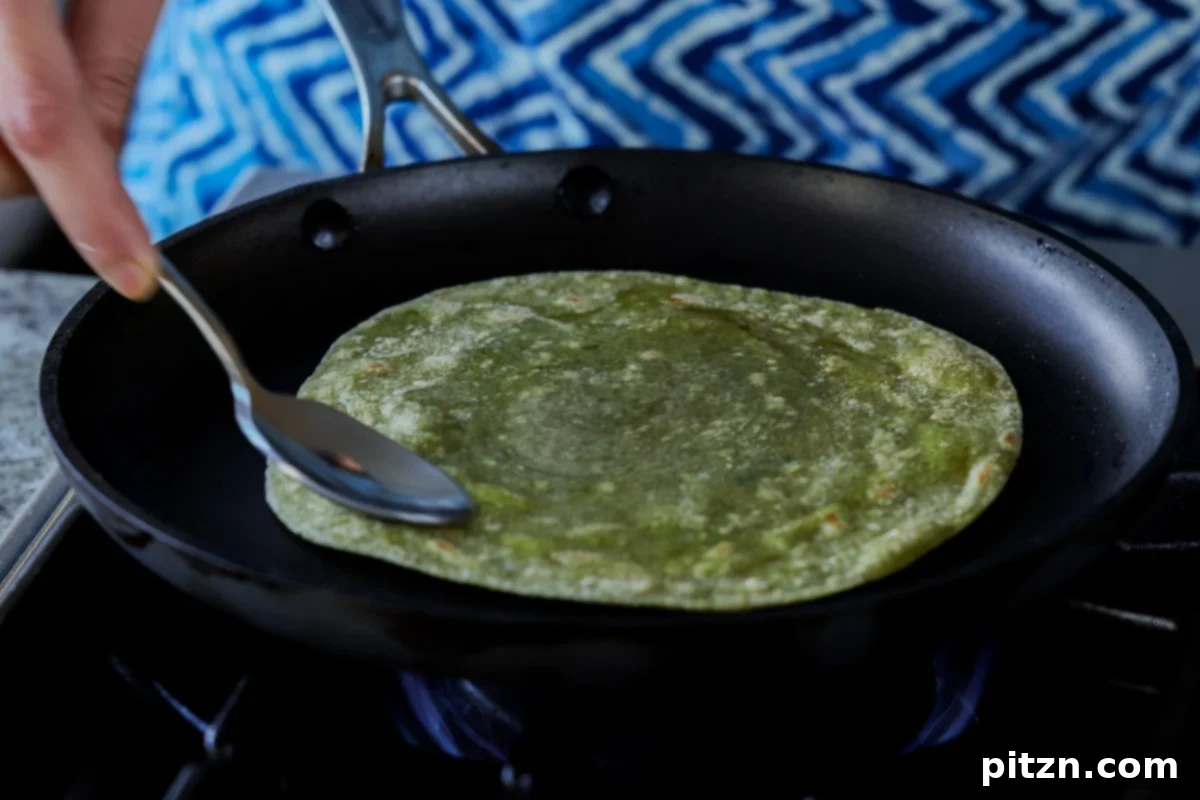
Once cooked, transfer each paratha to a plate lined with a clean kitchen towel or paper towel. This absorbs any excess steam and prevents condensation from making the parathas sticky. As you finish cooking each paratha, gently fold them into the kitchen towel to keep them warm and soft until you’re ready to serve. Serve these delicious Spinach Parathas hot, ideally with a dollop of vegan butter, a side of non-dairy yogurt, our homemade raita (recipe in notes), or your favorite Indian pickles. Enjoy the fresh, wholesome flavors of this authentic Indian flatbread!
What to Serve with Spinach Paratha
Spinach Paratha’s versatility makes it an ideal accompaniment to a wide range of dishes, suitable for any meal of the day. Here are some popular serving suggestions:
- For Breakfast or Brunch: Enjoy these wholesome parathas on their own, or enhance them with a smear of vegan butter, a side of creamy non-dairy yogurt, or a refreshing bowl of homemade raita. The simple yet satisfying flavors make for a perfect start to your day.
- As a Side Dish for Lunch or Dinner: Spinach Paratha shines as a complementary bread for various Indian curries and lentil dishes. Use it to scoop up rich and flavorful curries like a creamy Vegan Butter Chicken, a robust Vegetable Bhuna, or a comforting bowl of Handi Lentils (Dal). Its hearty texture and subtle flavor beautifully balance the complexities of these main courses.
- With Pickles and Chutneys: For a simple yet flavorful experience, serve your parathas alongside a selection of tangy Indian pickles or sweet and savory chutneys. These condiments add a burst of flavor that perfectly complements the paratha.
Frequently Asked Questions About Spinach Paratha
Yes, Spinach Paratha is naturally nut-free, making it a safe choice for those with nut allergies. To ensure it’s soy-free, simply skip the optional tofu filling or use an alternative, soy-free stuffing. For individuals looking for a gluten-free option, you can adapt my sweet potato flatbread or cauliflower flatbread dough recipes by substituting spinach purée for the sweet potato or cauliflower component.
Plain (unstuffed) parathas can be kept at room temperature for up to one day. Stuffed parathas, due to their filling, should be refrigerated within a few hours of cooking and can be stored for up to 3 days. To reheat, simply warm them on a hot skillet until soft and pliable, or use a microwave. For longer storage, parathas freeze exceptionally well. Place parchment paper between each paratha to prevent sticking, then store them in an airtight, freezer-safe container or bag for several months. Thaw and reheat on a skillet before serving for the best texture.
Several factors contribute to soft parathas. Firstly, using Indian atta flour, which is finely ground from a softer wheat, yields a naturally softer dough. Secondly, allowing the dough to rest for at least 30 minutes is crucial, as it allows the flour to fully hydrate and relax, making the dough more pliable. Lastly, cooking the parathas on a medium-high heat ensures they cook quickly without drying out, maintaining their soft texture. Overcooking or cooking on low heat can make them crispy.
Absolutely! This recipe is quite adaptable. You can experiment with other leafy greens such as fenugreek leaves (methi), kale, or collard greens. Ensure that whichever greens you choose are blanched and blended into a smooth purée, similar to the spinach, to maintain the dough’s consistency and moisture balance. Different greens will impart their unique flavor profile to the parathas.
Dry parathas are usually a result of one of two things: either the dough was too dry to begin with (not enough water or spinach moisture) or too much flour was used during the rolling process. Remember to add water sparingly to the dough and only if needed, as spinach releases moisture. When rolling, use just enough flour to prevent sticking, not to heavily coat the dough. Overcooking on the skillet can also dry them out, so keep an eye on cooking times.