
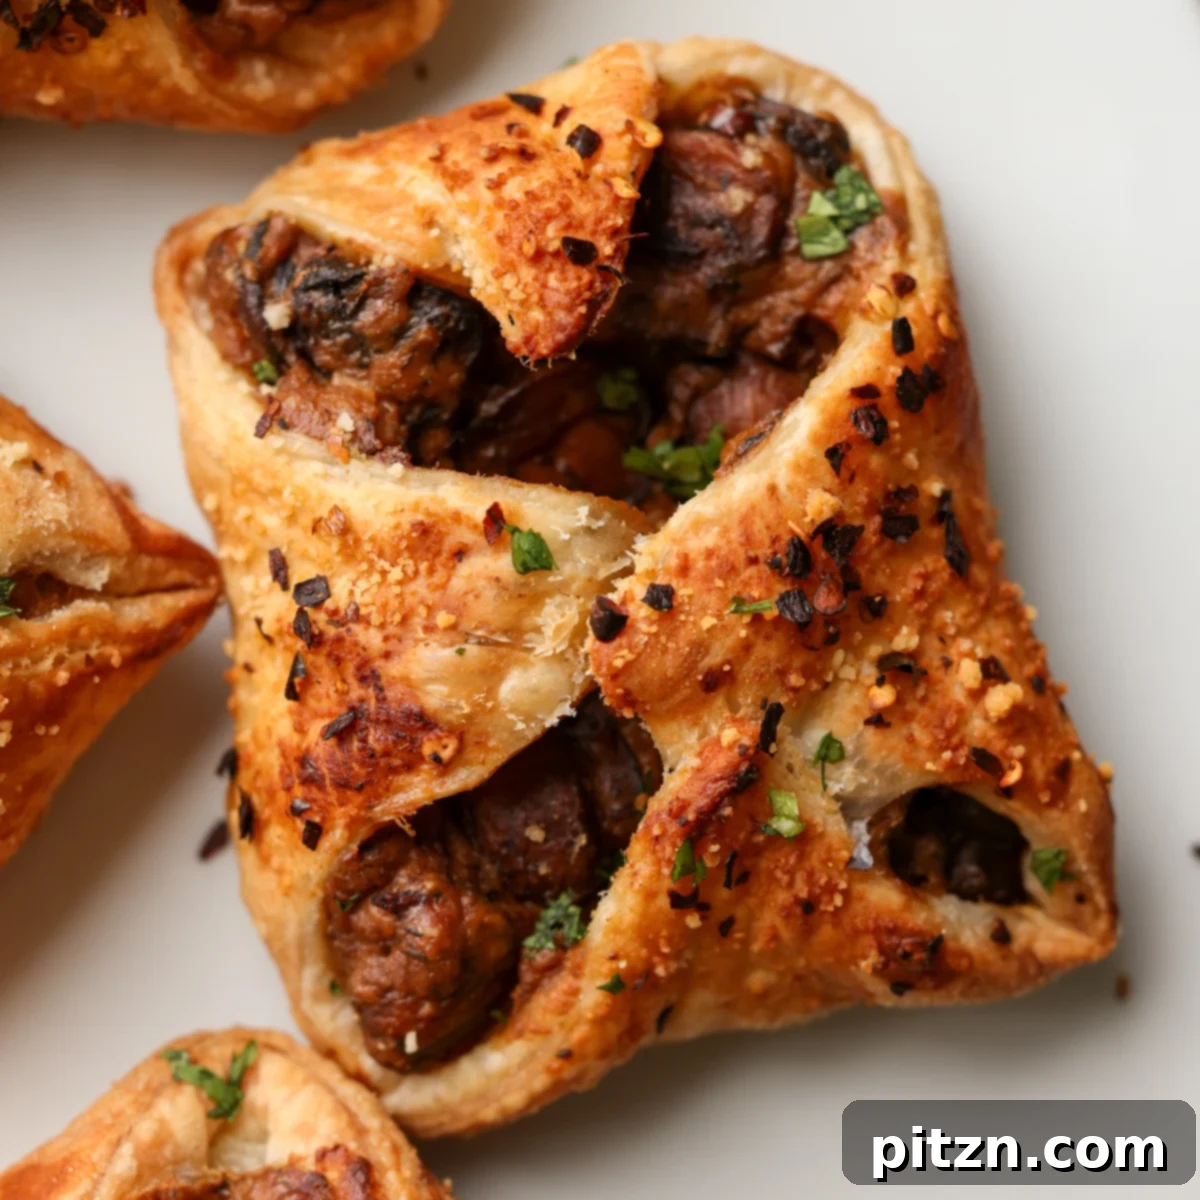
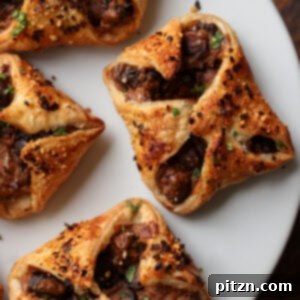
Prepare to impress your guests with these irresistible **Creamy Mushroom Puffs**, nestled in golden, crisp puff pastry and bursting with a rich, velvety, and delightfully cheesy filling. These elegant yet easy-to-make handheld appetizers are an absolute crowd-pleaser, perfect for any festive gathering – be it a holiday party, a sophisticated dinner party, or a casual cocktail event. Imagine perfectly caramelized mushrooms, folded into a luxurious cream sauce, encased in flaky pastry, and baked to golden perfection. We’ve also included versatile options to make them soy-free, nut-free, or gluten-free, ensuring everyone can enjoy this savory delight.
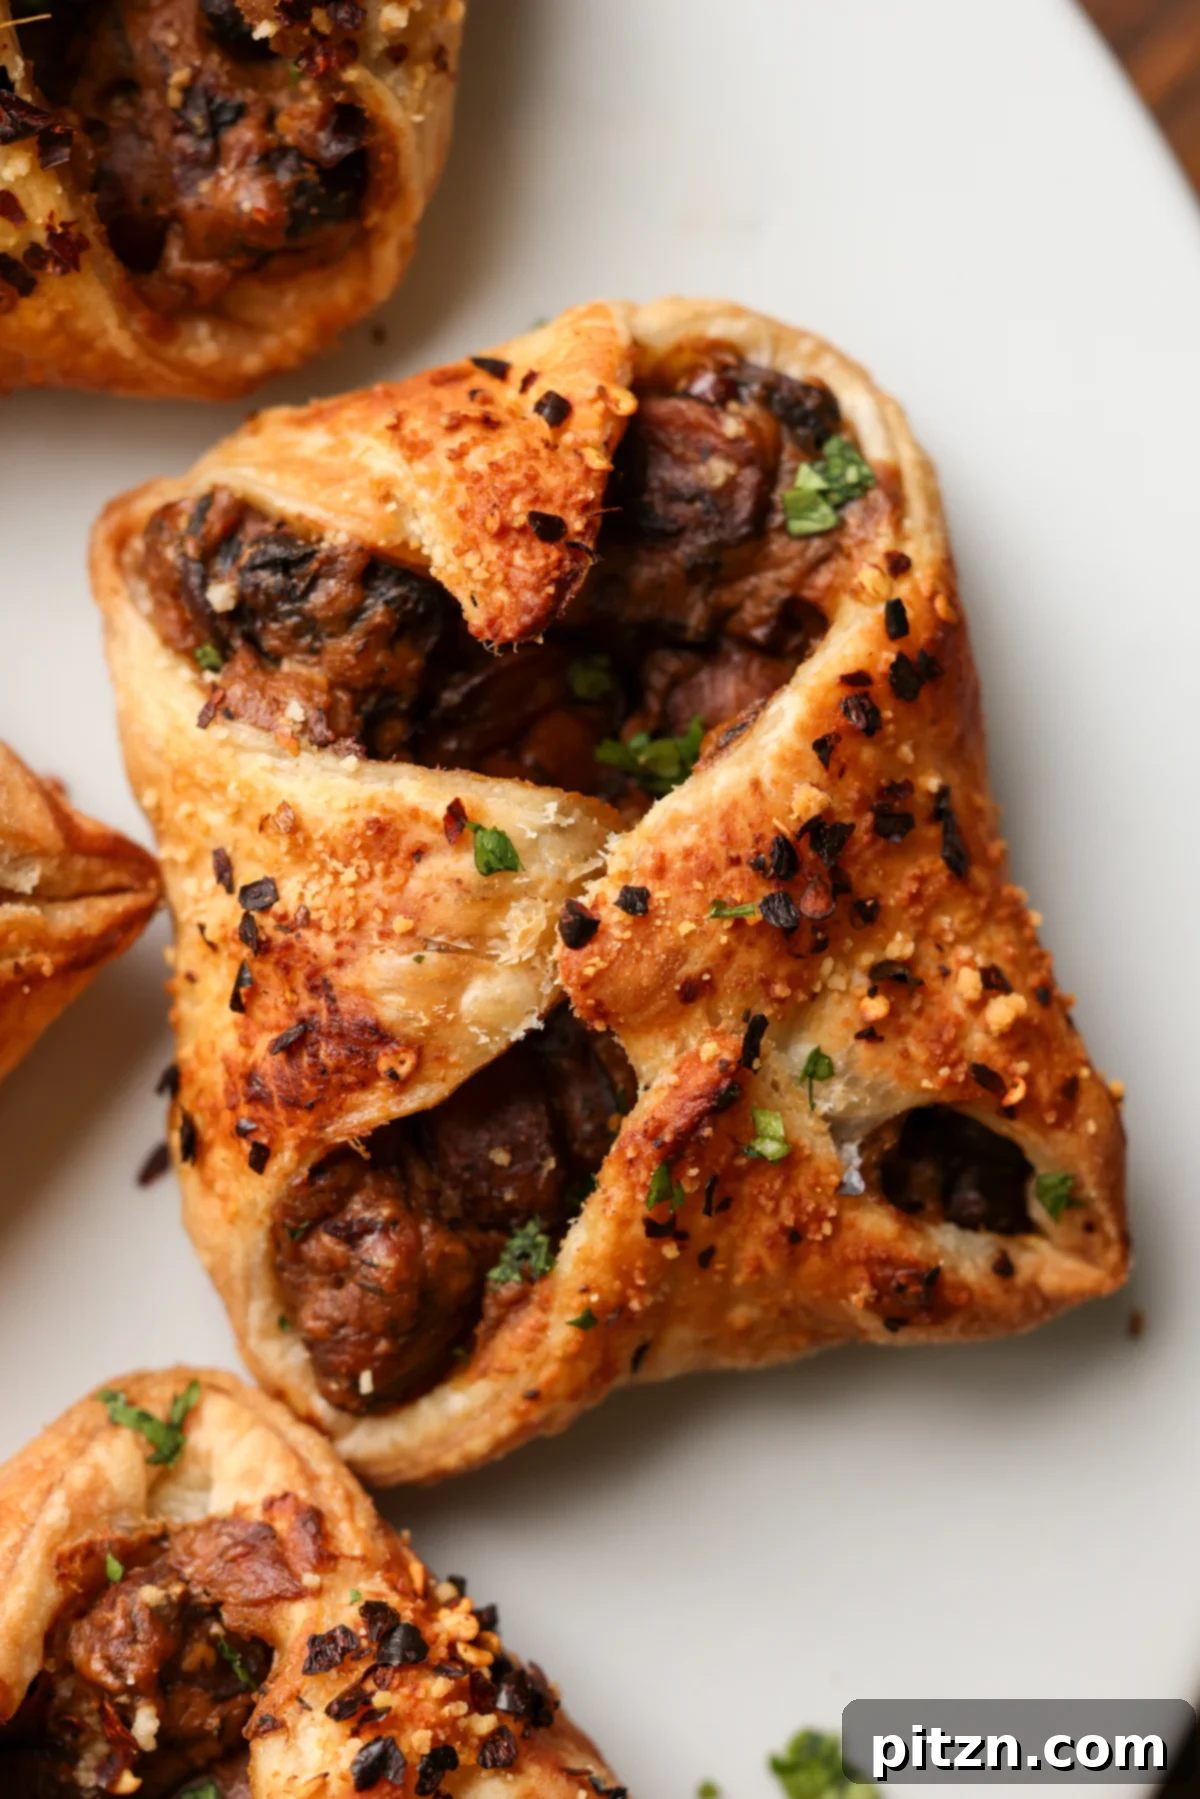
Table of Contents
- Why You’ll Adore These Creamy Mushroom Puffs
- Explore More Puff Pastry Appetizers
- Creamy Mushroom Puffs Recipe
- Essential Ingredients and Smart Substitutions
- 💡 Expert Tips for Perfect Mushroom Puffs
- Step-by-Step: How to Make Mushroom Puffs
- What to Serve Alongside Your Mushroom Puffs
- Frequently Asked Questions About Mushroom Puffs
These incredibly easy and utterly delicious mushroom puffs are stuffed with a velvety, rich, and “cheesy” mushroom filling. They truly are the ideal appetizer for any celebration, whether you’re hosting a grand Thanksgiving dinner, a festive Christmas feast, a vibrant Diwali gathering, or simply need some delectable finger food to elevate your party spread.
The inspiration for this recipe comes from a beloved creamy mushroom sauce, renowned for its deeply caramelized mushrooms folded into a savory, herbed delight. We’ve taken that incredible base, subtly thickened it with a blend of cashews and tofu, then meticulously enclosed this umami-packed mixture within delicate, rolled-out puff pastry sheets before baking them to golden perfection. The result? Luxurious, creamy mushroom pouches that are crispy on the outside, bursting with flavor on the inside, and undeniably scrumptious. They are quite simply, ridiculously delicious!
For the ultimate experience, these savory bites are best enjoyed immediately, straight from the oven, when the creamy filling is still bubbling warmly and the puff pastry is at its absolute crispiest. While best served fresh, their convenience doesn’t stop there; you can easily prepare them ahead of time and freeze them, ensuring you’re always ready for an impromptu gathering or a special occasion.
Why You’ll Adore These Creamy Mushroom Puffs
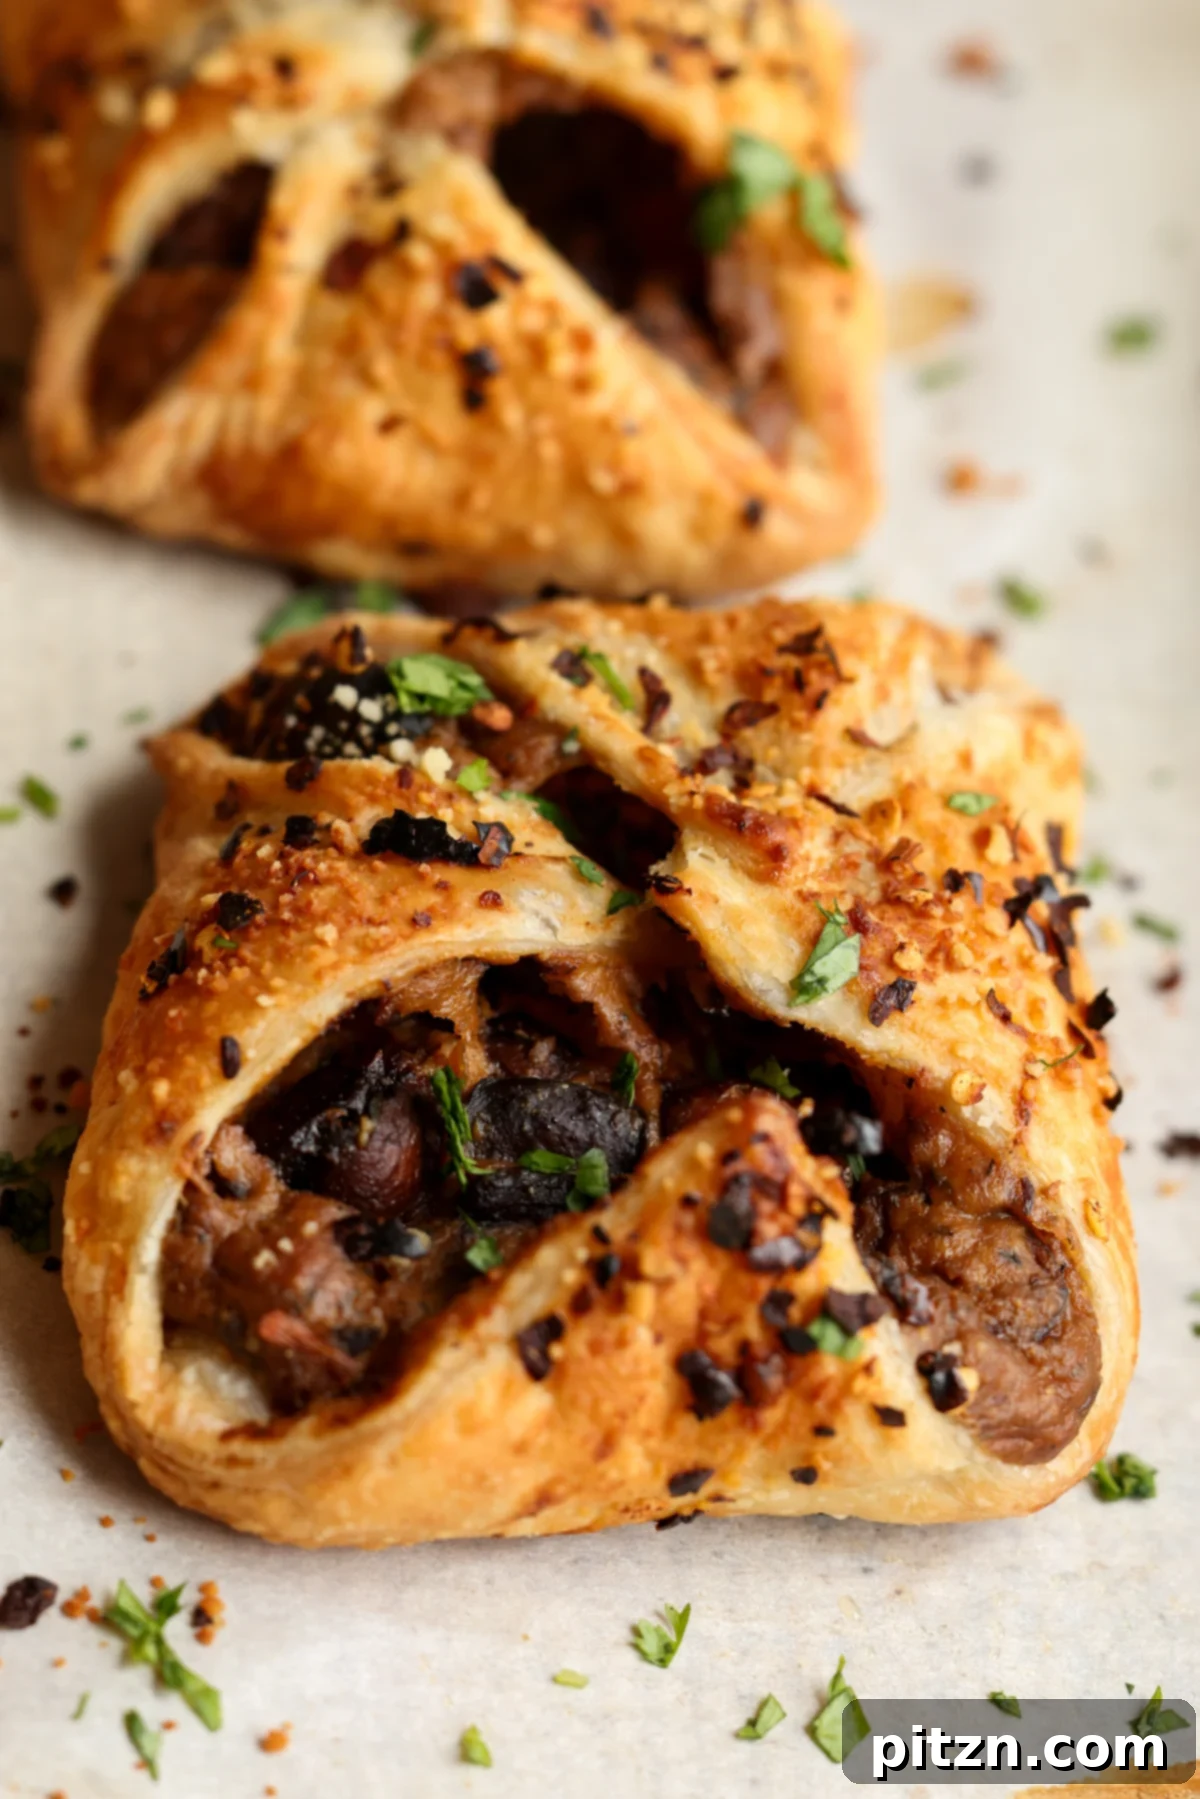
- **Effortlessly Delicious Filling**: Our one-pan creamy mushroom filling is not only incredibly easy to prepare but also exceptionally rich, savory, and bursting with umami. It’s a delightful blend of caramelized mushrooms and a luscious, herb-infused cream sauce that forms the heart of these delectable pastries.
- **Perfectly Crispy Puff Pastry**: Each puff encases the savory filling within layers of light, airy, and wonderfully crisp puff pastry. The contrast between the tender interior and the flaky exterior creates an irresistible texture that will have everyone reaching for more.
- **Convenient Make-Ahead Option**: Planning a party or need a quick snack? These mushroom puffs are fantastic for preparing in advance and freezing. This makes them an ideal solution for busy hosts, allowing you to assemble them ahead of time and bake fresh when needed.
- **Adaptable to Dietary Needs**: We understand diverse dietary preferences. This recipe is designed to be easily modified for gluten-free, soy-free, or nut-free diets without compromising on flavor or texture, ensuring everyone can indulge in these scrumptious treats.
Explore More Puff Pastry Appetizers
If you’ve fallen in love with the convenience and deliciousness of puff pastry, you’re in for a treat! This versatile dough is a secret weapon for creating quick, impressive, and delightful appetizers. Once you master these creamy mushroom puffs, you’ll be eager to explore other savory creations. Here are some more fantastic puff pastry appetizer recipes to inspire your culinary adventures and keep your party menus fresh and exciting:
- Jalapeno Popper Pinwheels
- Indian-Spiced Spinach Puffs
- Chilli Garlic Tofu Puffs
- Samosa Pie
- Kachori Pinwheels
Creamy Mushroom Puffs
Vegan Richa
30
mins
40
mins
15
mins
1
hr
25
mins
12
Appetizer
American
Print Recipe
Don’t miss out on new recipes! Get this recipe sent directly to your inbox, along with fresh culinary inspiration every week. Sign up for our newsletter today!
Ingredients
For the Mushroom Filling
- 1 tablespoon oil, or vegan butter
- 1/2 cup chopped onion
- 5 cloves garlic, minced
- 18 to 20 ounces sliced mushrooms (cremini, white, or baby portabella), sliced 1/4 inch or thinner
- 1/2 teaspoon salt, divided
- 1 tablespoon balsamic vinegar, or 1/4 cup white wine
- 1 teaspoon dried thyme, or 1 teaspoon fresh thyme, chopped
- 1/4 teaspoon black pepper, or pepper flakes, or use both
For the Cream Sauce
- 1/2 cup raw cashews
- 5 ounces silken or firm tofu
- 1 tablespoon all-purpose flour
- 1 teaspoon yellow miso
- 2 tablespoons nutritional yeast
- 1/4 teaspoon salt
- 1/2 cup water
For the Puff Pastry
- 2 puff pastry sheets
- 1 tablespoon non-dairy milk
- 1 teaspoon of maple syrup
For Topping
- Vegan parmesan, sesame seeds or other seeds of choice, pepper flakes
Instructions
Step 1: Prepare the Mushroom Filling
-
Begin by preparing your ingredients: ensure mushrooms are thinly sliced (about 1/4 inch thick or less) and your onion and garlic are finely chopped. Heat a large skillet over medium-high heat. Add the oil or vegan butter to the hot pan. Once the oil shimmers, add the chopped onion, minced garlic, sliced mushrooms, and 1/4 teaspoon of salt. Stir thoroughly to ensure all the mushrooms are coated with the oil and seasonings. Spread the mixture evenly across the pan and allow the mushrooms to cook undisturbed for 2 to 4 minutes. This crucial step helps them brown beautifully on the edges, developing a rich, caramelized flavor. The exact timing may vary based on your skillet and stove intensity.
-
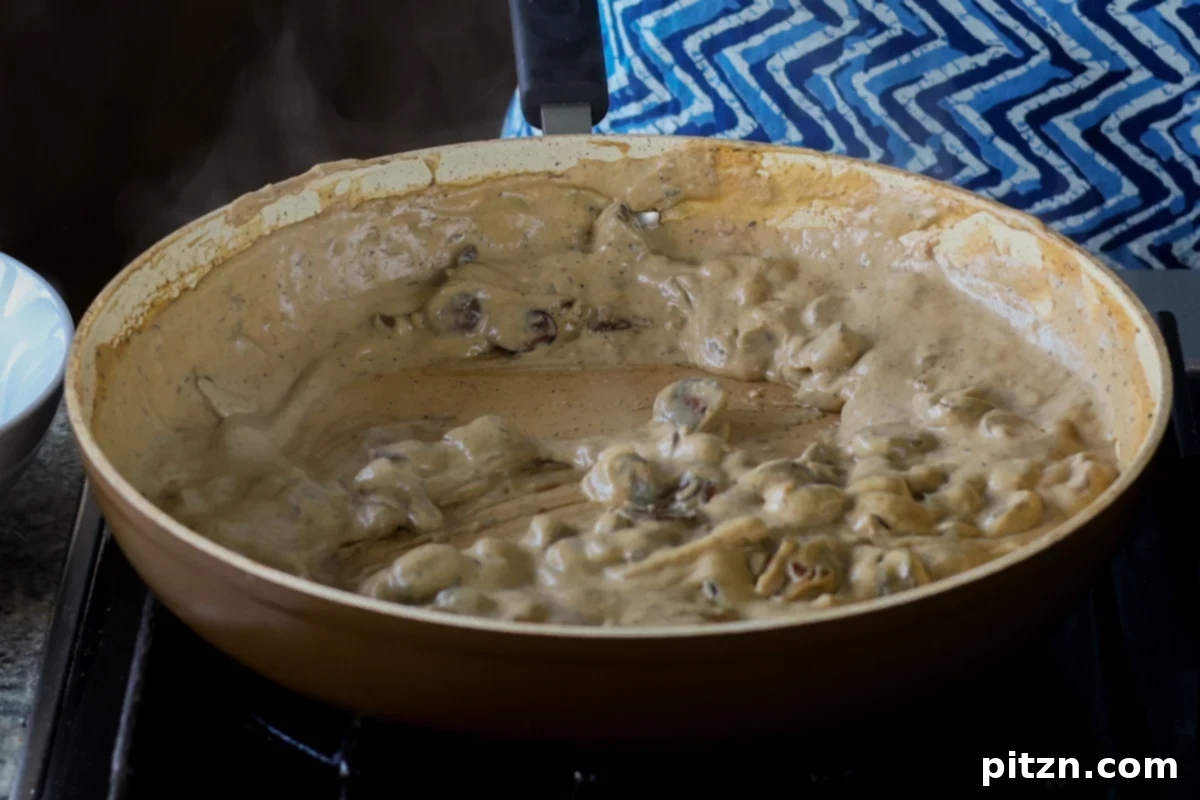
Next, incorporate the remaining seasonings: add the black pepper or pepper flakes, dried thyme, the remaining salt, and the balsamic vinegar or white wine. Mix vigorously to deglaze the pan, scraping up any delicious browned bits from the bottom. If the pan appears too dry, add a small splash of water to aid the deglazing process. Continue cooking for another 2 to 3 minutes. Then, cover the skillet with a lid and let it cook for an additional 5 minutes. After this time, remove the lid, stir everything well, and check the mushrooms. If they seem to be drying out, add another splash of water. Re-cover and continue cooking until the mushrooms are tender and fully cooked, checking and stirring every 3 to 4 minutes. The total cooking time for the mushrooms will generally range from 11 to 15 minutes, depending on your equipment and mushroom thickness.
Step 2: Create the Cream Sauce
-
While the mushrooms are cooking, prepare the decadent cream sauce. Combine all the cream sauce ingredients (cashews, tofu, flour, miso, nutritional yeast, salt, and water) in a high-speed blender. Blend for approximately one minute until a coarse mixture forms. To achieve an exceptionally smooth and velvety texture, let the mixture rest for a minute to allow the cashews to rehydrate further. Then, blend again for about 30 seconds, repeating this process once more after another brief rest. If your blender struggles with the thickness, gradually add up to an additional 1/4 cup of water, blending until perfectly smooth and creamy.
-
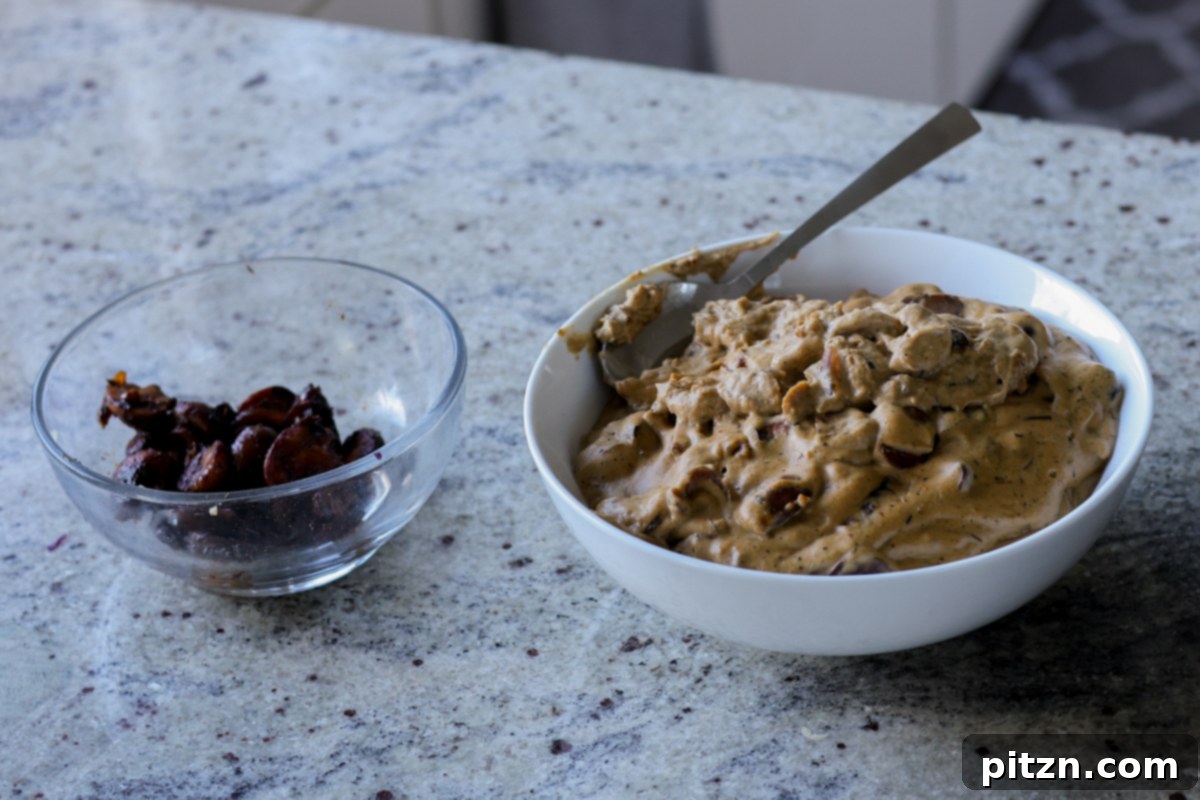
Once the mushrooms have reached your desired tenderness, remove about one-third of the cooked mushrooms from the pan and set them aside. These will be used for topping later, adding textural contrast. Reduce the heat in the skillet to medium, then pour in your freshly blended cream mixture. Bring the sauce to a gentle boil, stirring continuously. Taste the sauce and adjust seasonings as needed, adding more salt, herbs, black pepper, a pinch of heat, or any other flavors you prefer to perfect its profile. Continue to cook the cream mixture for an additional 2 to 3 minutes, stirring constantly, until it thickens uniformly and achieves a luscious consistency. Remove from heat and allow the mixture to cool for 10 to 15 minutes. For optimal thickness and ease of handling when assembling the puffs, transfer the cooled mushroom cream to the fridge to chill for at least 15 minutes.
Step 3: Assemble and Bake the Puffs
-
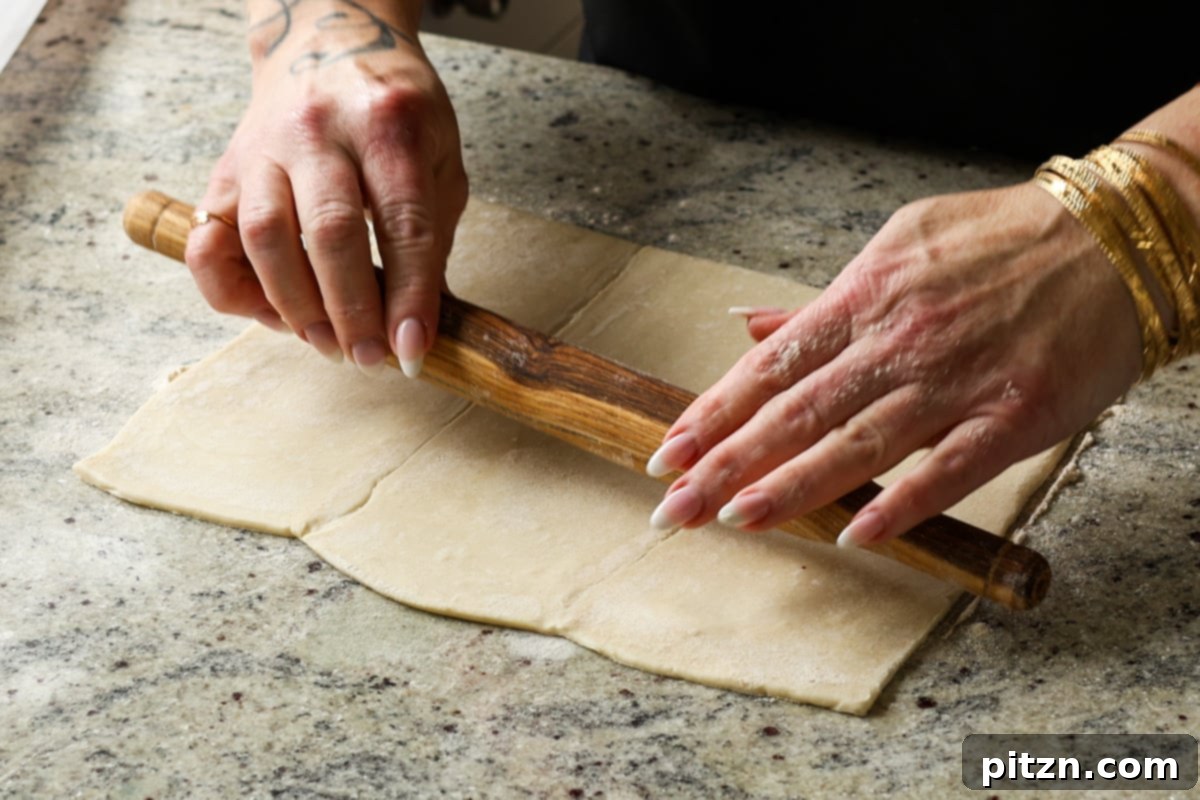
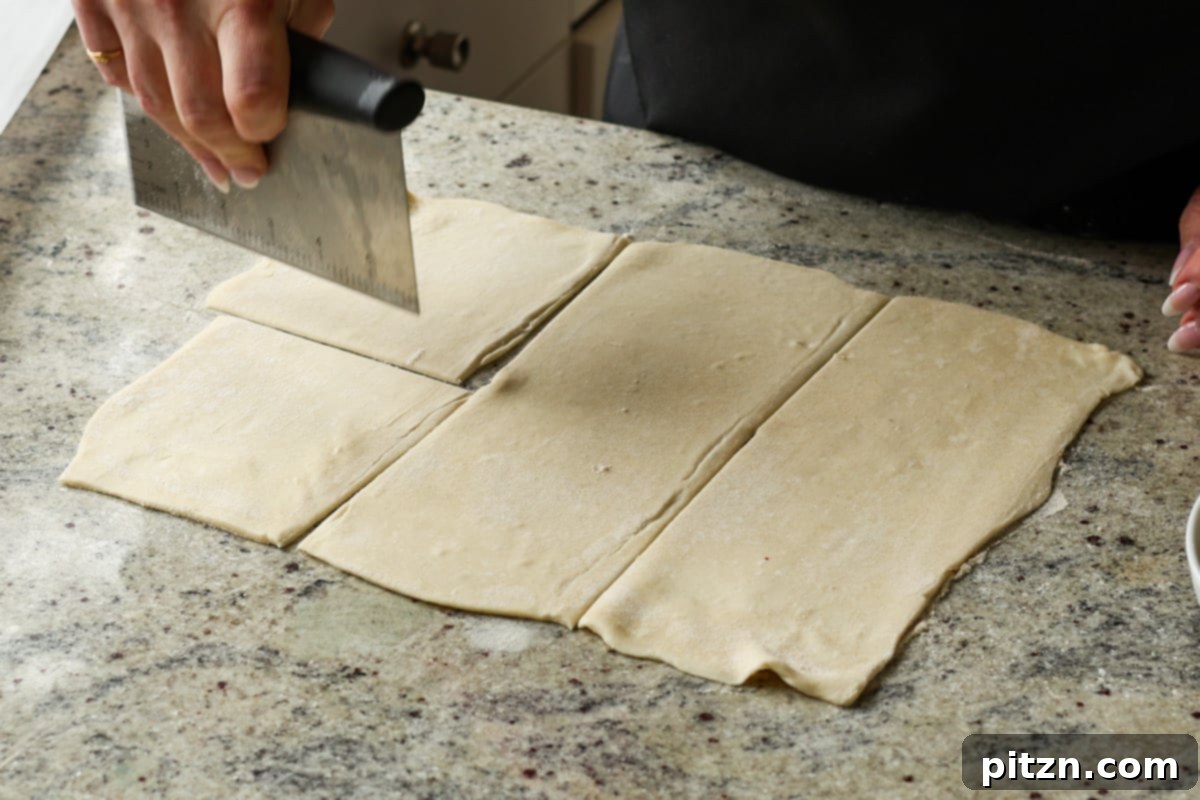
Preheat your oven to 400°F (205°C). While your mushroom cream mixture chills, remove the puff pastry sheets from the freezer and place them on your kitchen counter to thaw. This usually takes about 10-15 minutes until they become pliable. Once thawed, carefully unfold the puff pastry sheets. Lightly flour your work surface and a rolling pin. Roll out each pastry sheet to be approximately 1 to 2 inches larger than its original size. This extra rolling helps to create even more flaky layers, resulting in a better rise and a more exquisite texture. Once rolled, slice each sheet into six equal rectangles, yielding a total of 12 pastry squares for your puffs.
-
Retrieve the thickened creamy mushrooms from the fridge. Prepare your pastry wash by whisking together the non-dairy milk and maple syrup in a small bowl. Lightly brush the corners of each puff pastry square with this wash. Scoop out a generous tablespoon or two of the creamy mushroom mixture onto the center of each square, ensuring you leave at least an inch of clear pastry around the edges. To enhance both flavor and texture, top the creamy mushrooms with a portion of the reserved sautéed mushrooms. For an extra touch of indulgence, you may optionally sprinkle some vegan Parmesan over the filling at this stage.
-
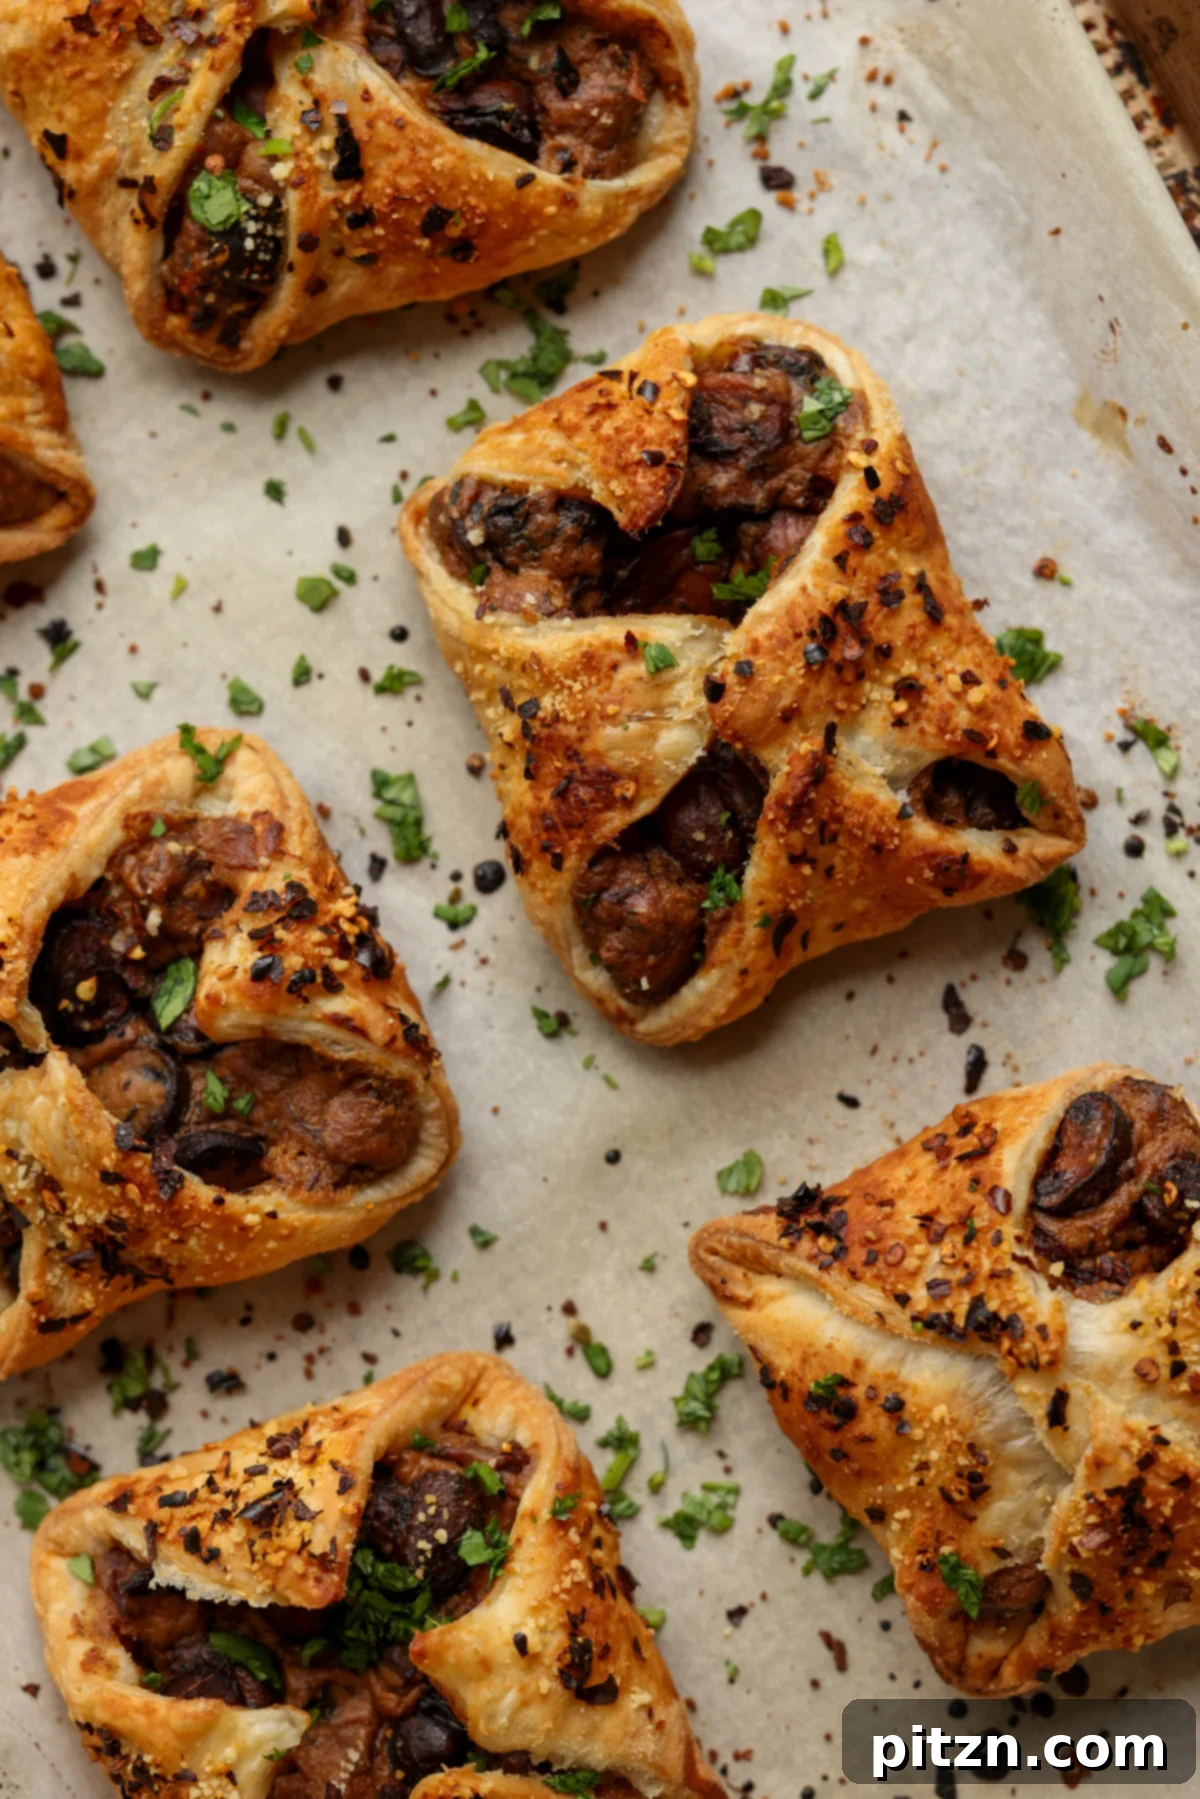
To seal the pastries, gently bring the diagonal corners of each square together over the filling, meeting them loosely in the middle. Press firmly at the center to seal them. The pastry wash previously applied will act as a natural adhesive, helping the corners stick securely. Repeat this process for all 12 squares, creating beautifully enclosed mushroom puffs. Place the assembled puffs on a parchment-lined baking sheet. Brush all the puffs once more with the pastry wash, then sprinkle generously with your chosen toppings—vegan parmesan, sesame seeds, and/or pepper flakes. Bake for 25 to 35 minutes, keeping in mind that oven temperatures can vary. Begin checking your puffs around the 25-minute mark. If they are developing a lovely golden hue, gently rotate the baking sheet for even browning and continue baking for a few more minutes until golden brown spots appear on the edges. Remove the puffs from the oven, and if desired, garnish with fresh herbs like parsley or chives. Serve these delightful mushroom puffs immediately, savoring the moment when the creamy interior is still bubbling and the pastry is at its crispiest. Refer to the notes below for detailed make-ahead and storage instructions.
Video Tutorial
Watch our step-by-step video guide to see just how easy it is to create these show-stopping creamy mushroom puffs! From preparing the savory filling to achieving perfectly golden pastry, our tutorial will walk you through every detail, ensuring your success in the kitchen.
Notes and Variations
Storage and Reheating: Baked mushroom puffs can be stored in an airtight container in the refrigerator for up to 3 days. For longer storage, they can be frozen for up to 2 months. To reheat baked puffs, warm them in a preheated oven at 350°F (175°C) for about 10-15 minutes, or use an air fryer until crisp and heated through. If reheating from frozen (baked puffs), allow them to thaw on the counter for 30 minutes before air frying or reheating in the oven.
Flavor Variations:
- **Extra Cheesy Filling**: For an even richer, more intensely cheesy experience, consider blending in a quarter cup of your favorite vegan mozzarella shreds or grated vegan Parmesan directly into the cashew tofu cream sauce.
- **Herb Combinations**: Experiment with different fresh or dried herbs. Rosemary, sage, or a blend of Italian herbs can offer unique aromatic profiles that complement the mushrooms beautifully.
- **Spiced Mushroom Filling**: Introduce exciting global flavors by adding spice blends such as a pinch of vibrant Berbere or fragrant Garam Masala to the mushroom mixture during the sautéing process.
Dietary Adjustments:
- **For Soy-Free**: If avoiding soy, simply use approximately 1/4 cup more raw cashews in place of the tofu in the cream sauce. Ensure cashews are well-soaked for best blending.
- **For Nut-Free**: For a nut-free version, increase the amount of tofu by 3 ounces (total 8 ounces) and omit the cashews. You might need to add a little more water to the blender to achieve the desired smooth consistency for the sauce.
- **For Gluten-Free**: To make this recipe gluten-free, substitute the all-purpose flour in the cream sauce with a gluten-free all-purpose flour blend. Crucially, use a certified gluten-free puff pastry sheet, or alternatively, a gluten-free pie crust can be used, keeping in mind the texture will differ slightly.
Nutrition Facts (Approximate per serving)
Calories: 300 kcal
Carbohydrates: 25g
Protein: 7g
Fat: 18g
Saturated Fat: 4g
Polyunsaturated Fat: 3g
Monounsaturated Fat: 11g
Sodium: 272mg
Potassium: 241mg
Fiber: 2g
Sugar: 2g
Vitamin A: 4 IU
Vitamin C: 2mg
Calcium: 31mg
Iron: 2mg
Nutrition information is automatically calculated and should only be used as an approximation. Values may vary based on specific ingredients and preparation methods.
Did you make this delightful recipe?
We’d love to hear about your experience! Please consider rating and leaving a comment below to share your feedback. Your insights help fellow home cooks and inspire new creations!
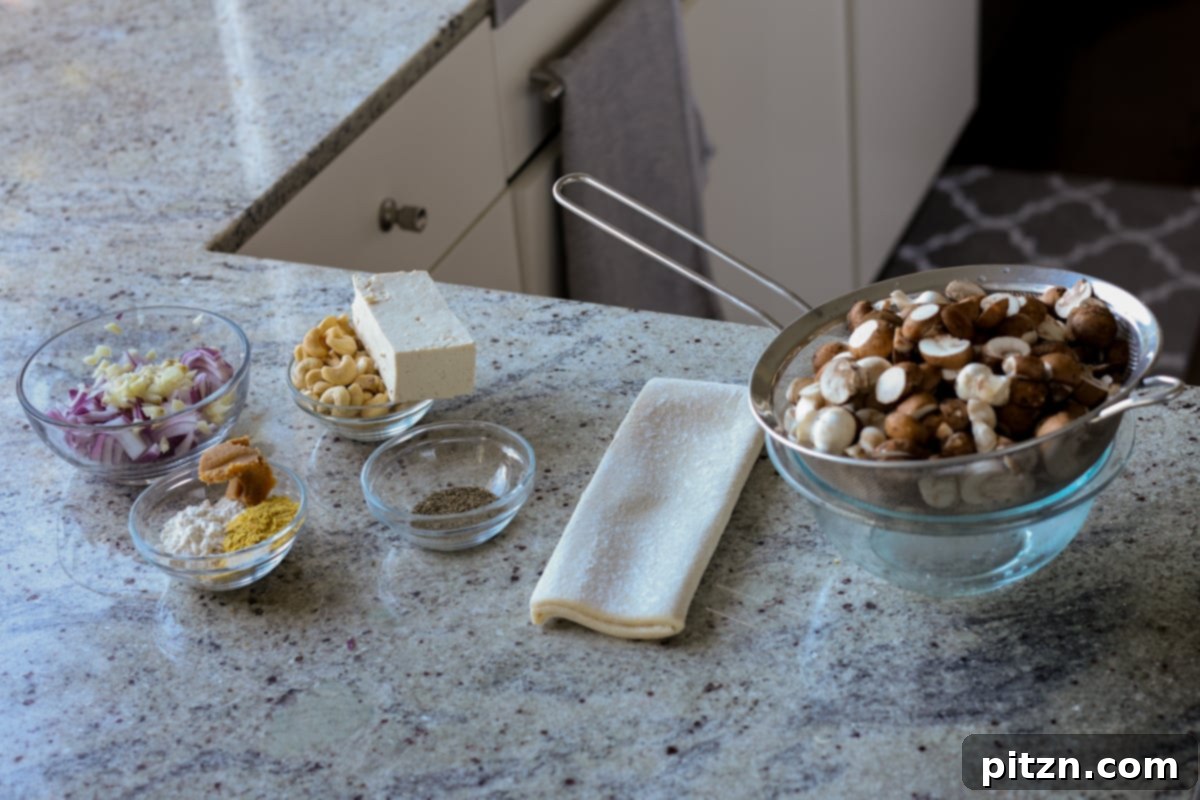
Essential Ingredients and Smart Substitutions
Crafting the perfect creamy mushroom puffs begins with understanding the role of each ingredient. Here’s a breakdown of what you’ll need and how you can make smart substitutions to suit your pantry and dietary needs:
- Oil or Vegan Butter: This is your starting point for sautéing, helping to build the base of flavor. Either option will work beautifully to caramelize your aromatics and mushrooms.
- Aromatics (Onion and Garlic): These culinary staples are essential for creating a deep, savory umami foundation that truly elevates the mushroom filling. Don’t skimp on these for maximum flavor.
- Mushrooms: The star of the show! Use about 18-20 ounces of sliced cremini, white button, or baby portabella mushrooms. Slicing them uniformly, ideally 1/4 inch thick or thinner, ensures they cook evenly and caramelize beautifully. Feel free to mix varieties for added depth of flavor.
- Balsamic Vinegar: A splash of balsamic vinegar adds a wonderful complexity—a hint of sweetness and a tangy counterpoint that brightens the rich mushroom flavor. As an alternative, 1/4 cup of dry white wine can be used to deglaze the pan, imparting a sophisticated note.
- Dried Thyme: This earthy herb pairs exceptionally well with mushrooms, infusing the filling with a classic, aromatic touch. If you have fresh thyme, use 1 teaspoon of chopped fresh herbs for an even more vibrant flavor.
- Black Pepper or Pepper Flakes: To introduce a gentle warmth and a subtle kick. You can adjust the amount to your preference or even use a combination of both. A final sprinkle of crushed red pepper flakes after baking can add visual appeal and an extra touch of heat.
- Cashews and Silken Tofu: These two ingredients form the ingenious base for our incredibly creamy and luscious sauce, providing richness and body without dairy.
- For Nut-Free: If you need a nut-free option, simply omit the cashews and increase the amount of tofu by 3 ounces (using a total of 8 ounces). You might need a little extra water when blending to achieve the perfect smooth consistency.
- For Soy-Free: If avoiding soy, use an additional 1/4 cup of raw cashews in place of the tofu. Ensure the cashews are well-soaked before blending for the creamiest result.
- All-Purpose Flour: A small amount of flour helps to thicken the cream sauce, giving it that luxurious, velvety texture. It’s also handy for lightly dusting your work surface when rolling out the puff pastry.
- For Gluten-Free: Easily swap regular all-purpose flour for a gluten-free all-purpose flour blend to make the filling gluten-friendly.
- Yellow Miso: This fermented soybean paste is a secret weapon for adding an incredible depth of umami and a subtle “cheesy” funk to the cream sauce.
- For Soy-Free Miso: Opt for chickpea miso as a delicious soy-free alternative that still provides that essential umami kick.
- Nutritional Yeast: Known as “vegan cheese powder,” nutritional yeast is crucial for imparting a distinct cheesy flavor to the cream sauce, making it truly irresistible.
- Puff Pastry Sheets: These store-bought wonders are the key to effortlessly achieving flaky, buttery layers for your puffs.
- For Gluten-Free Puff Pastry: Look for readily available gluten-free puff pastry sheets in well-stocked grocery stores. Alternatively, a gluten-free pie crust can be used as a delicious, albeit slightly different, substitute for the pastry shell.
- Non-Dairy Milk and Maple Syrup (Pastry Wash): This simple mixture serves as an excellent vegan egg wash substitute. It helps the pastry corners stick together securely during assembly and gives the baked puffs a beautiful golden sheen while ensuring toppings adhere perfectly.
- Toppings: Before baking, enhance both flavor and visual appeal with your choice of toppings. Vegan parmesan, sesame seeds (black or white), or other seeds like poppy or nigella, along with a sprinkle of pepper flakes, add texture and savory notes. After baking, a scattering of fresh chopped herbs like parsley or chives brings a vibrant finish.
💡 Expert Tips for Perfect Mushroom Puffs
Achieving culinary perfection with these creamy mushroom puffs is easier than you think with these expert tips:
- **Mastering Mushroom Caramelization**: The secret to a deeply flavorful filling lies in properly caramelizing your mushrooms. Ensure your skillet is hot enough and avoid overcrowding the pan. Let the mushrooms cook undisturbed for a few minutes on each side to develop those beautiful brown edges. Keep a close eye on them and stir frequently to prevent burning, adding a splash of water if they start to dry out excessively. You’re aiming for tender mushrooms with slightly crisp, golden-brown edges, not scorched.
- **Achieving a Velvety Smooth Cream Sauce**: For the silkiest cream sauce, patience with your blender is key. After an initial blend, allow the cashew and tofu mixture to sit for a minute or two. This brief pause helps the cashews rehydrate more thoroughly, ensuring a smoother consistency. Repeat the blending and resting process a couple of times. If your blender is struggling, gradually add a little extra water, one tablespoon at a time, until the sauce becomes perfectly velvety and lump-free.
- **The Art of Puff Pastry Handling**: Puff pastry is best worked with when chilled but pliable. If it’s too cold, it will crack; if too warm, it becomes sticky and hard to handle. Remove it from the freezer and let it sit on the counter for just 10-15 minutes. When rolling, a light dusting of flour is all you need to prevent sticking. Rolling the pastry slightly larger than its original size helps create even more delicate, flaky layers, enhancing the puffiness.
- **Secure Sealing is Key**: When forming your puffs, ensure the diagonal corners are pressed together firmly in the center. The non-dairy milk and maple syrup wash acts as a vital adhesive, preventing the filling from escaping during baking and ensuring your puffs maintain their elegant shape.
- **Even Baking for Golden Perfection**: Ovens can have hot spots, so for uniform golden-brown puffs, remember to rotate your baking sheet halfway through the baking time. Keep an eye on the puffs around the 25-minute mark; if they are browning quickly, you might need to adjust the oven temperature slightly or move the tray.
Step-by-Step: How to Make Creamy Mushroom Puffs
Embark on your culinary journey to create these delightful creamy mushroom puffs with our detailed, easy-to-follow guide. Each step is designed for clarity, ensuring you achieve perfect results every time.
Part 1: Crafting the Rich Mushroom Filling
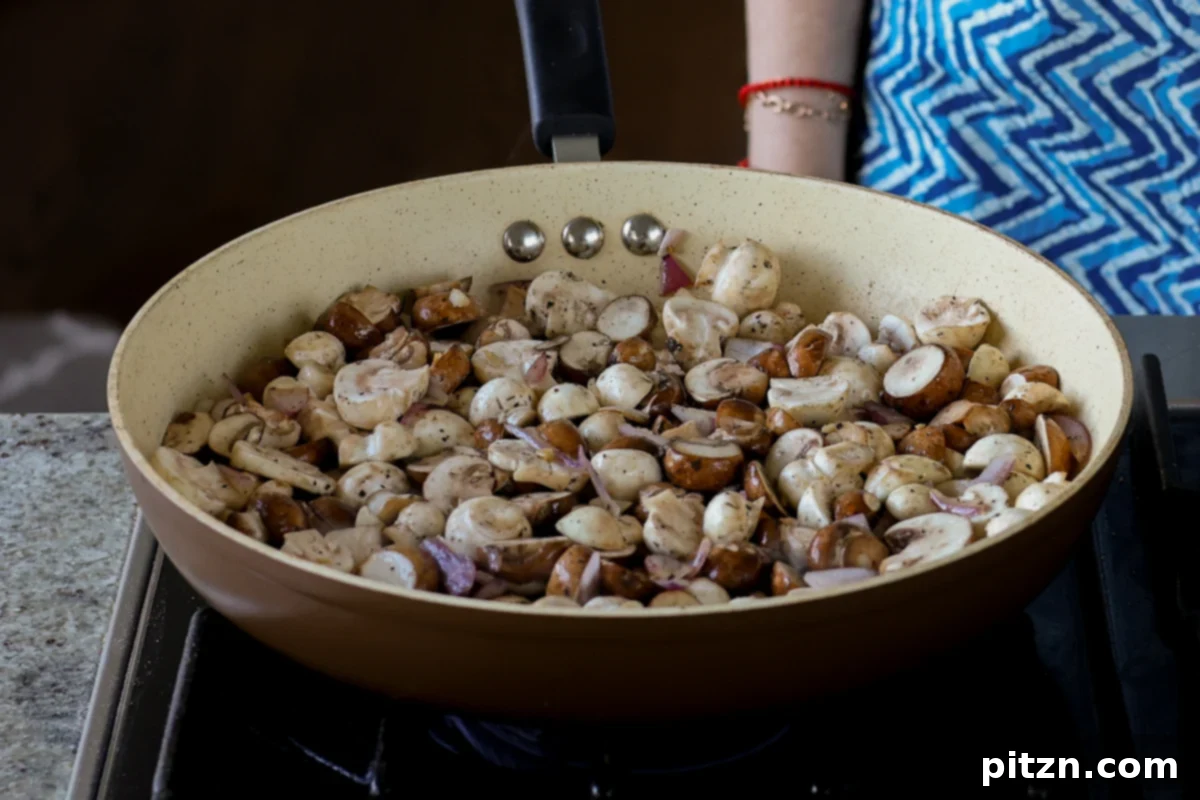
Start by preparing your main ingredients. Make sure your mushrooms are uniformly sliced (about 1/4 inch thick for optimal caramelization), and your onion and garlic are finely chopped. Heat a large, heavy-bottomed skillet over medium-high heat. Add the oil or vegan butter. Once the fat is hot and shimmering, introduce the chopped onion, minced garlic, all the sliced mushrooms, and 1/4 teaspoon of the salt. Stir everything thoroughly until every mushroom slice is coated with the oil and seasonings.
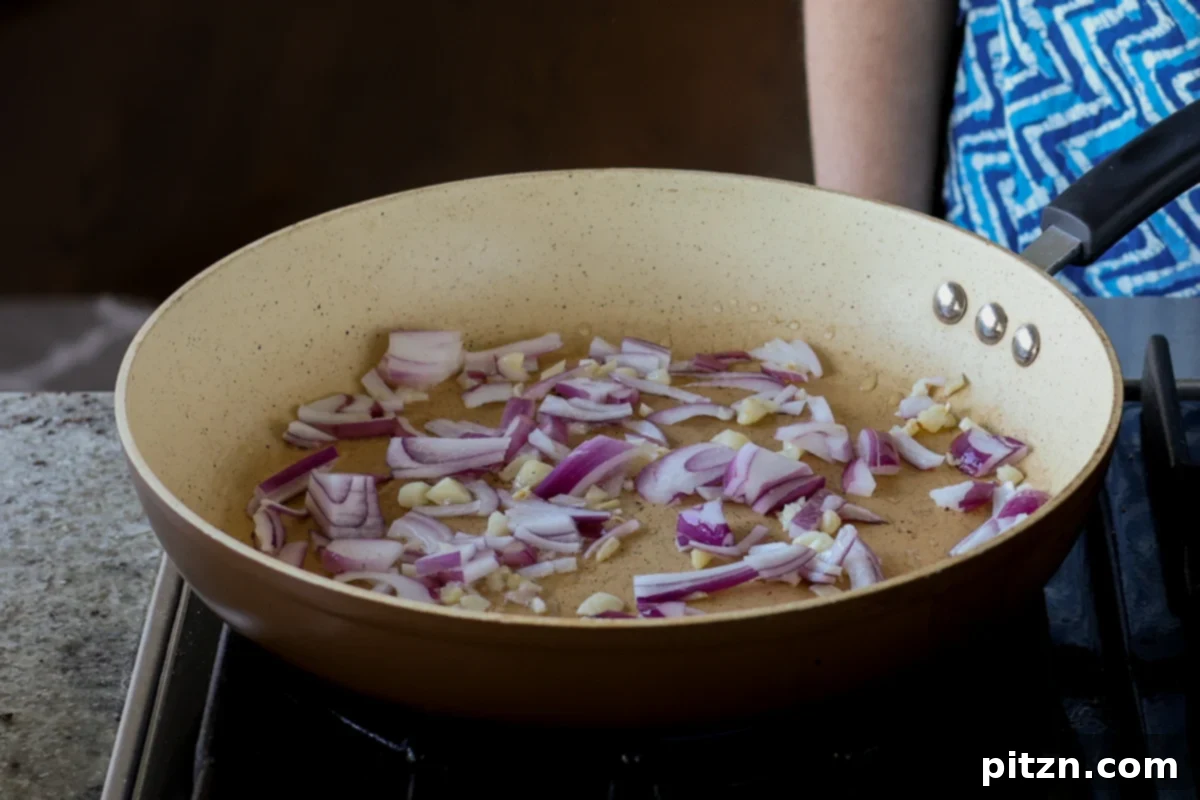
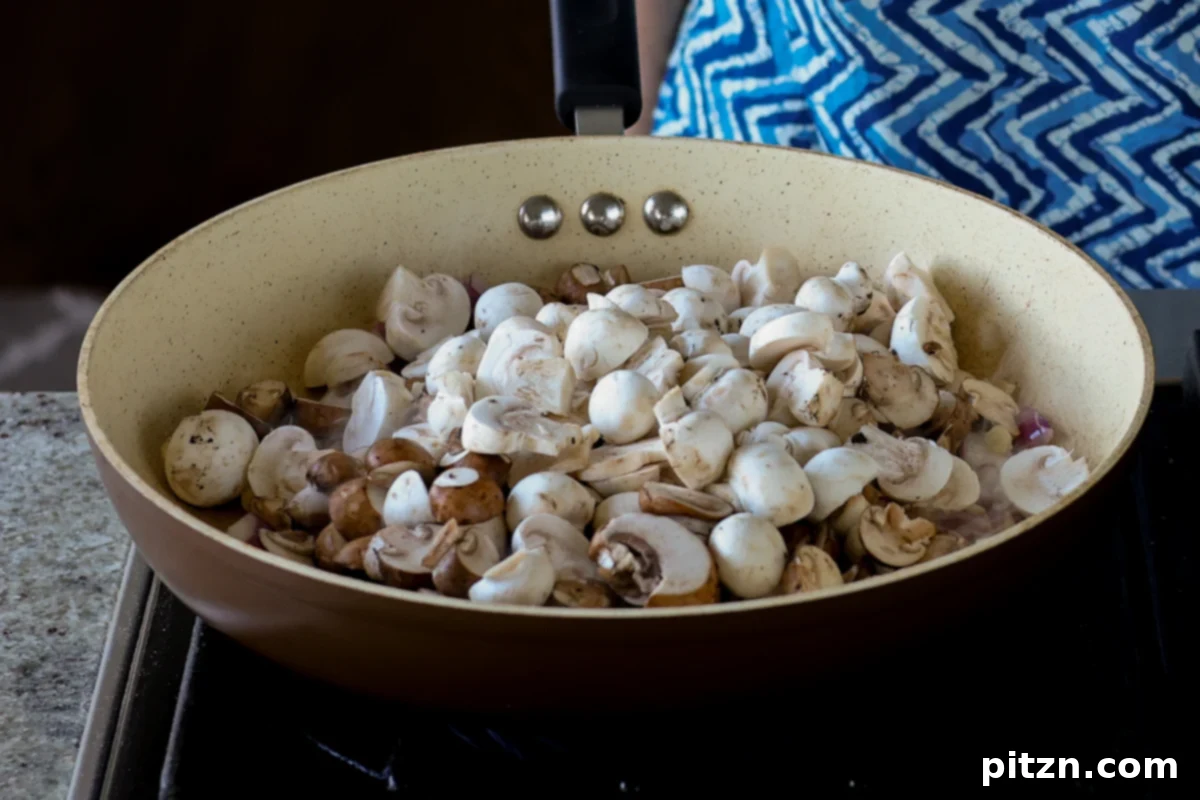
Spread the mushroom mixture evenly across the pan, creating a single layer, and resist the urge to stir it. Let the mushrooms cook undisturbed for 2 to 4 minutes. This initial searing is crucial for allowing them to develop a beautiful, deep brown color and rich, caramelized flavor on some of their edges. The exact time will depend on the heat retention of your skillet and the intensity of your stove.
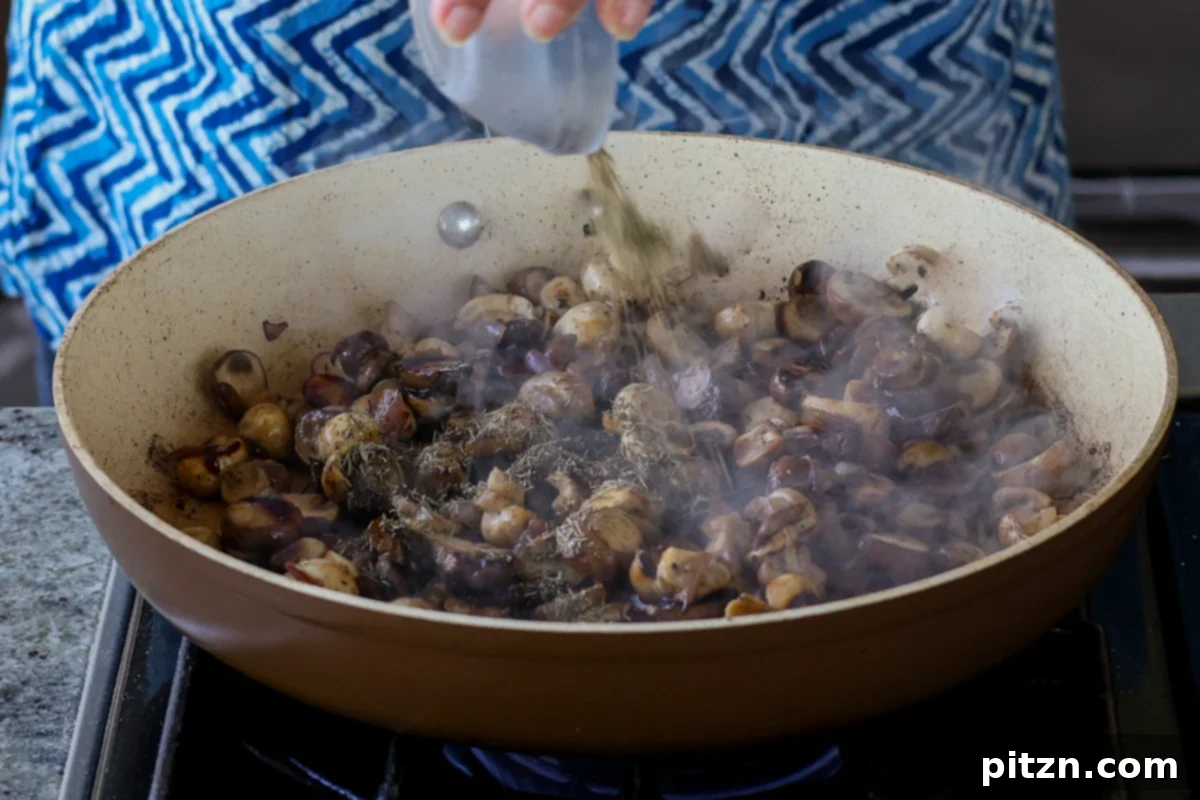
Now, add the black pepper or pepper flakes, dried thyme, the remaining salt, and the balsamic vinegar or white wine to the skillet. Stir vigorously to deglaze the pan, scraping up any delicious browned bits that have stuck to the bottom. If the pan appears too dry, a small splash of water can be added to assist with deglazing. Continue to cook this mixture for another 2 to 3 minutes, then cover the pan with a lid and cook for an additional 5 minutes to allow the flavors to meld.
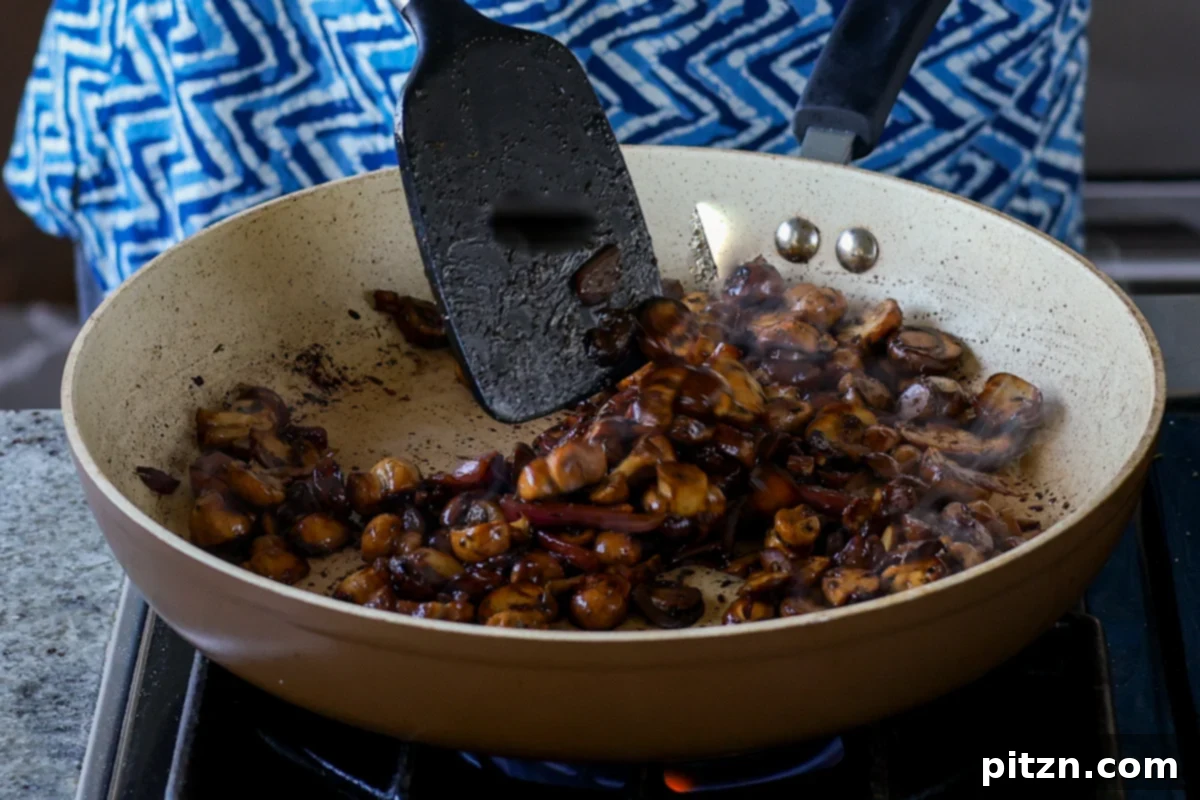
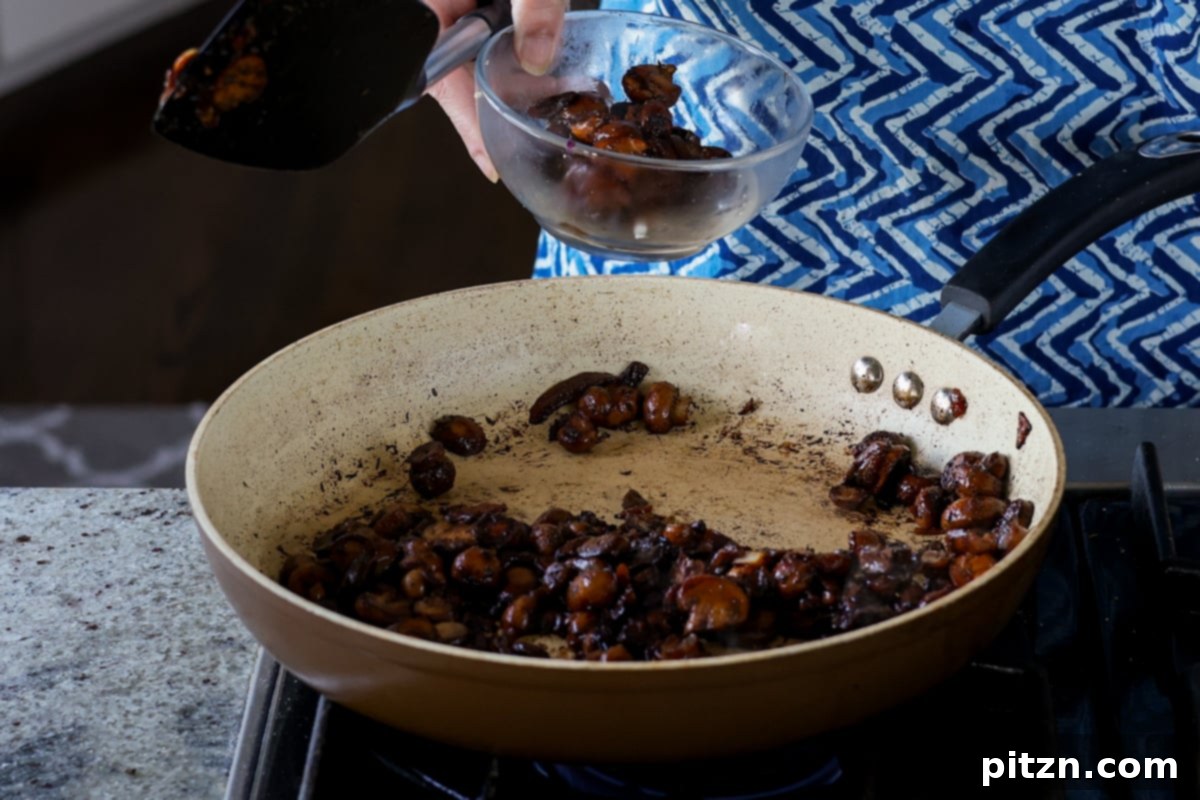
After the covered cooking, lift the lid, stir the mushrooms thoroughly, and check their tenderness. If they seem to be drying out, add a small splash of water, then re-cover the pan and continue cooking until the mushrooms are fully tender and cooked through, checking and stirring every 3 to 4 minutes. Depending on your skillet and stove, the total cooking time for the mushrooms typically ranges from 11 to 15 minutes.
Part 2: Preparing the Velvety Cream Sauce
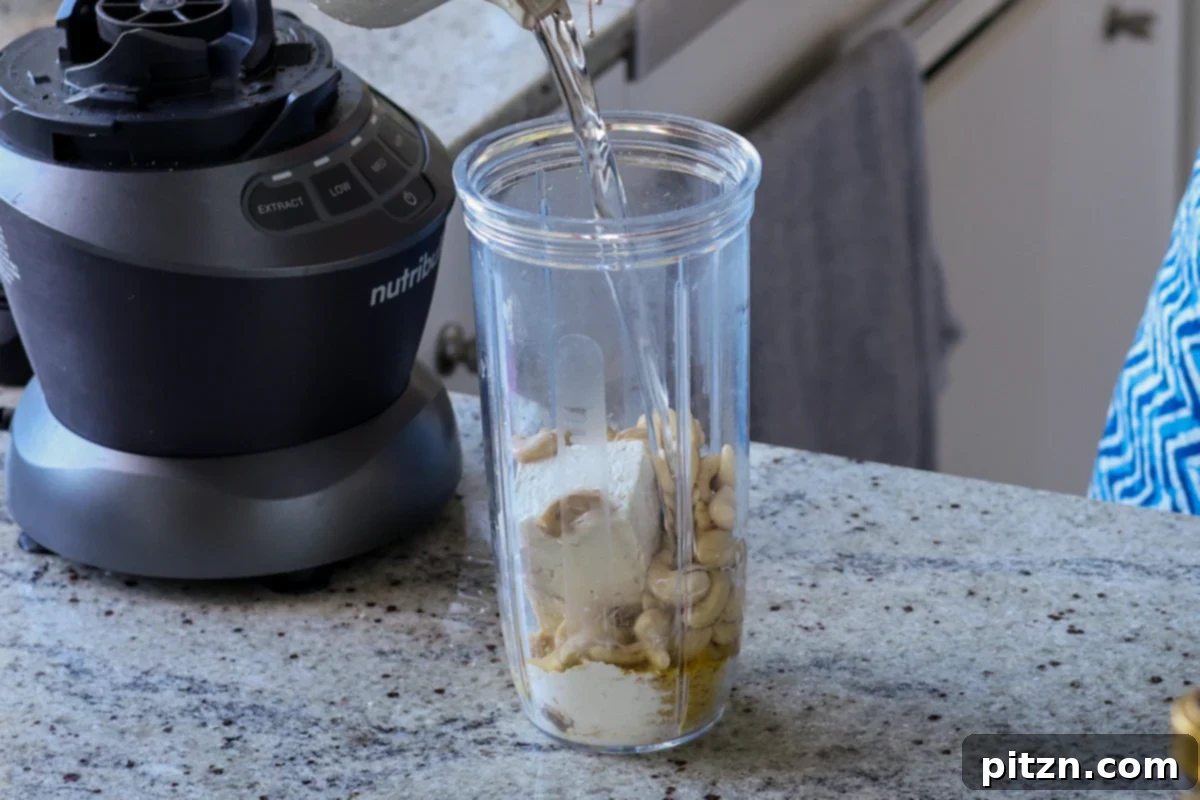
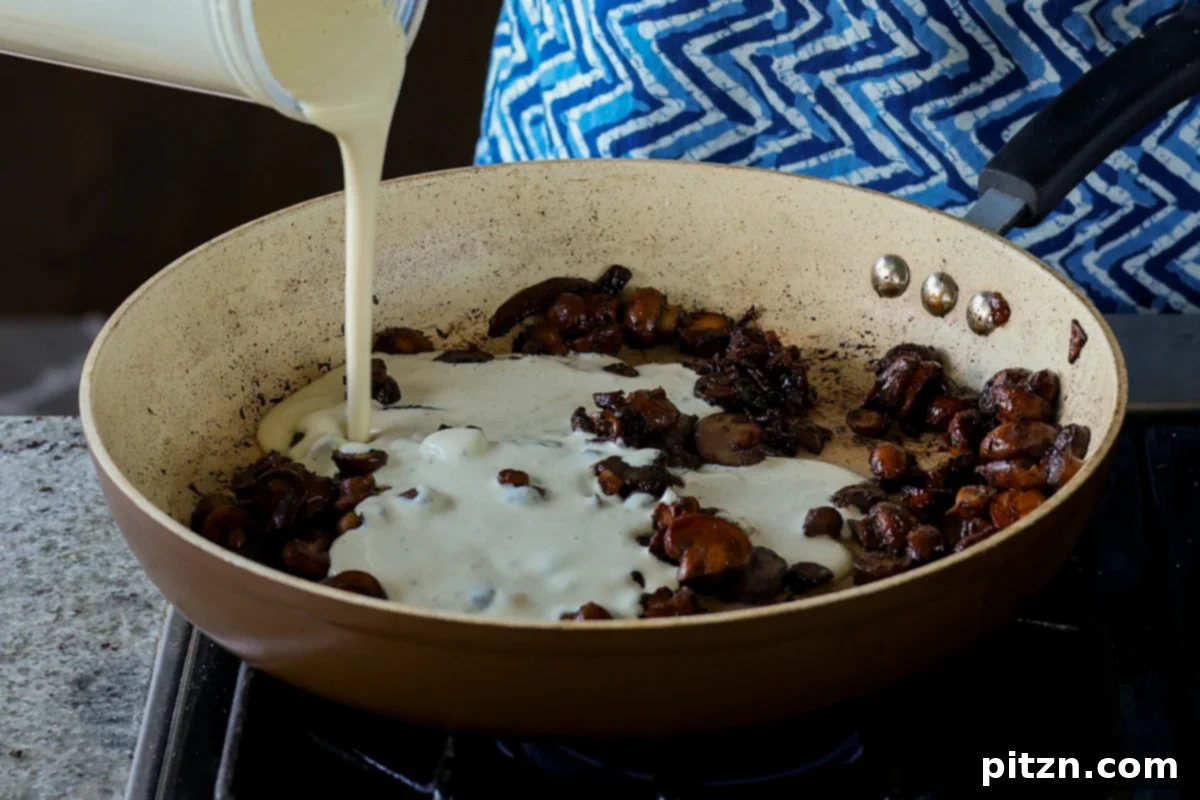
While the mushrooms are finishing, add all of your cream sauce ingredients (raw cashews, silken or firm tofu, all-purpose flour, yellow miso, nutritional yeast, salt, and 1/2 cup water) into a high-speed blender. Blend for approximately one minute. To ensure an incredibly smooth and lump-free sauce, allow the mixture to sit for a minute to rehydrate the ingredients, then blend again for about 30 seconds. Repeat this blend-and-rest cycle once more. If your blender is struggling due to thickness, incrementally add another 1/4 cup of water, blending until the sauce is perfectly smooth and velvety.
Once the mushrooms are cooked to your preference, carefully remove about one-third of them and transfer to a small bowl; these will be used as a flavorful topping for your puffs. Reduce the heat under the skillet to medium, then pour in your freshly blended cream mixture with the remaining mushrooms. Bring the cream to a gentle boil, stirring continuously. Taste the mixture and adjust the seasoning as needed. This is your chance to fine-tune the flavor—add more salt, your favorite herbs, a touch more black pepper, or a pinch of heat to suit your palate.
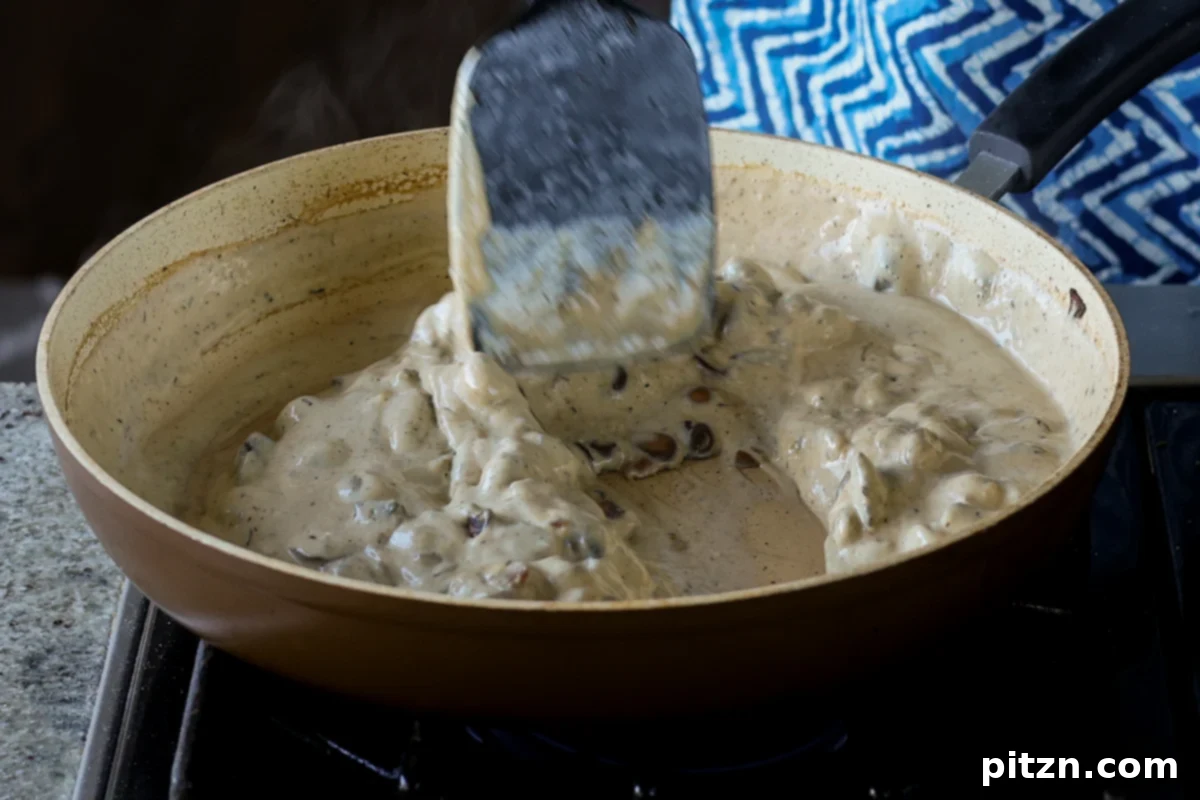
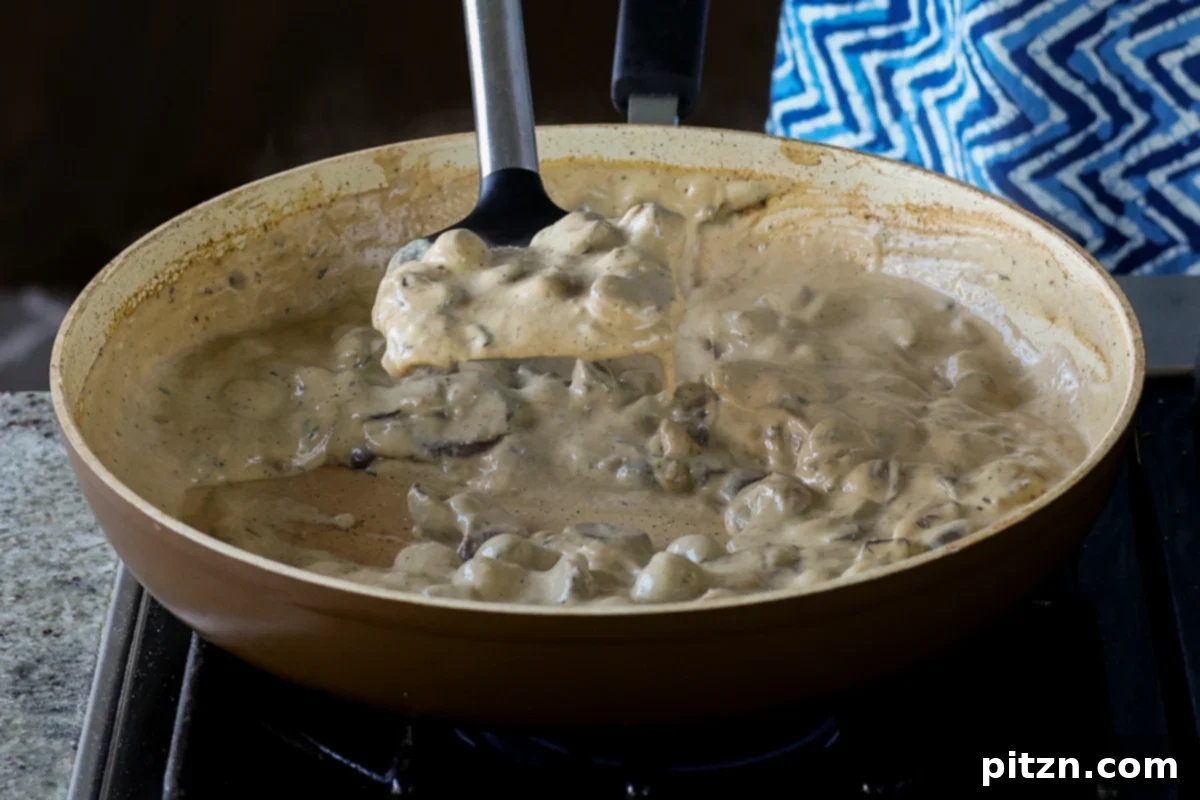
Continue to cook the cream mixture for an additional 2 to 3 minutes, stirring constantly, until it thickens evenly and coats the back of a spoon. Once thickened, turn off the heat and allow the mixture to cool in the pan for 10 to 15 minutes. For best results and easier assembly, transfer the cooled mushroom cream filling to a bowl and place it in the fridge to chill and thicken further for at least 15 minutes.
Part 3: Assembling and Baking Your Puffs
Preheat your oven to 400°F (205°C). While your mushroom cream mixture is chilling in the fridge, take the puff pastry sheets out of your freezer and lay them on the counter to thaw for approximately 10-15 minutes until they become pliable and easy to work with.
Once the puff pastry sheets are pliable (in about 15 minutes), gently unfold them. Lightly dust your work surface and a rolling pin with a little all-purpose flour. Roll out each puff pastry sheet until it’s about 1 to 2 inches larger than its original dimensions. This extra rolling helps to create more distinct and flaky layers, ensuring a better puff when baked. Then, using a sharp knife or pastry wheel, slice each sheet into six equal rectangular pieces, giving you a total of 12 pastry squares.
Remove the creamy mushroom filling from the fridge. In a small bowl, whisk together the non-dairy milk and maple syrup to create your pastry wash. Lightly brush the corners of each puff pastry square with this wash. Scoop a generous couple of tablespoons of the creamy mushroom mixture onto the center of each square, making sure to leave at least an inch of clear pastry around all sides. Then, top the creamy mushrooms with a portion of the reserved sautéed mushrooms, which will add a lovely textural contrast. Optionally, for an extra burst of flavor, sprinkle some vegan Parmesan over the filling at this point.
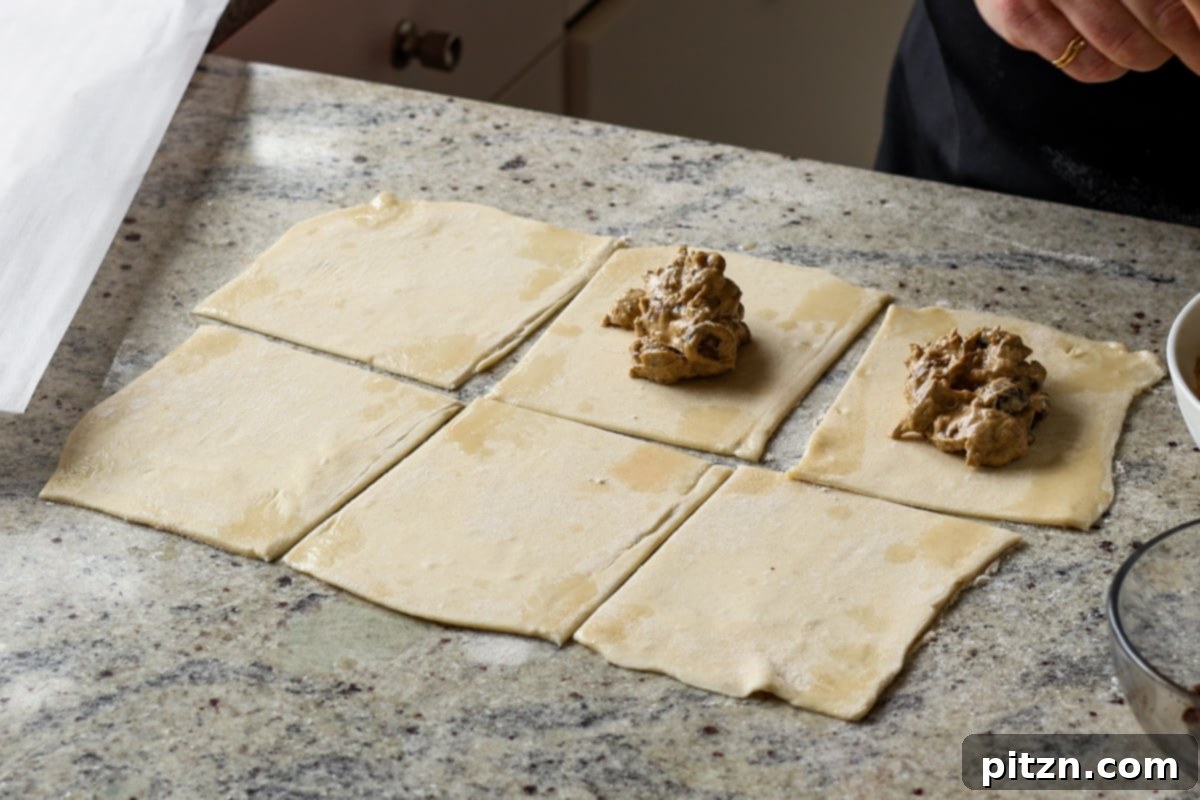
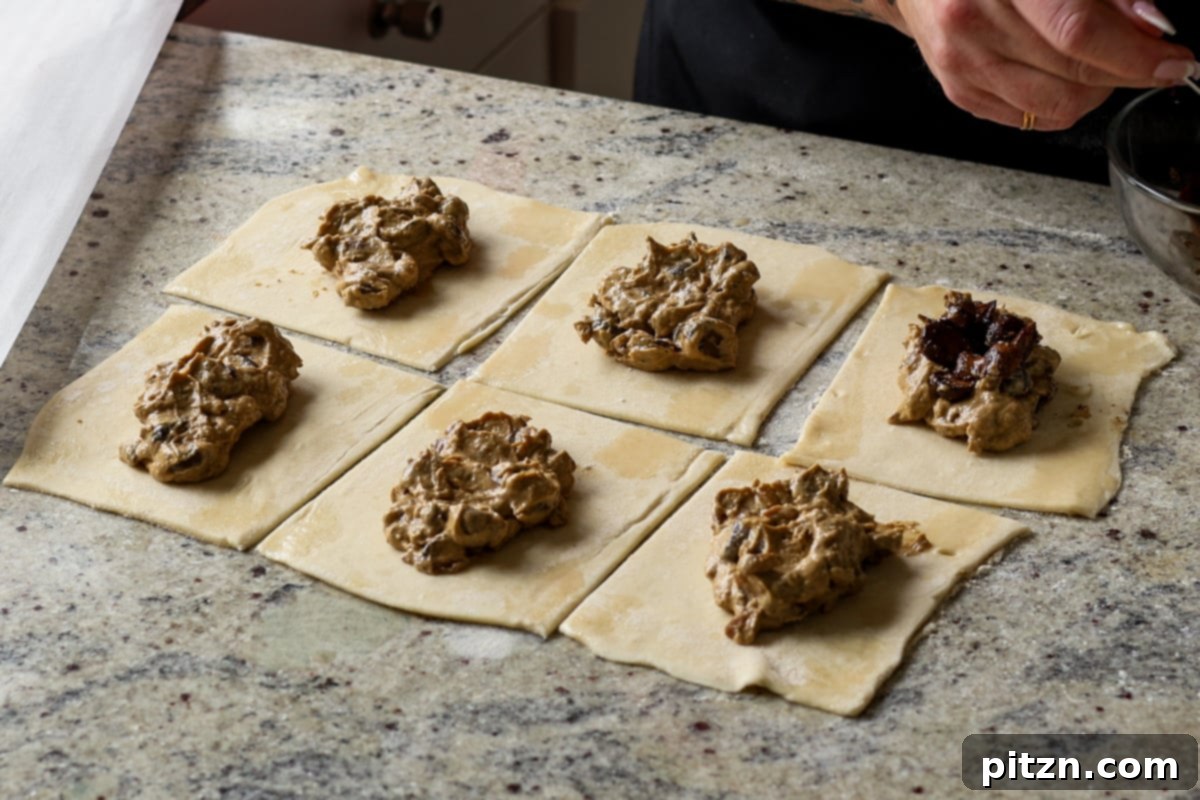
To seal the pastries, carefully bring the diagonal corners of each square loosely together over the filling, meeting them in the middle. Press down gently but firmly at the center to secure the seal. The pastry wash you applied earlier will act as an adhesive, helping the corners stick together effectively. Repeat this process for all of your 12 pastry squares.
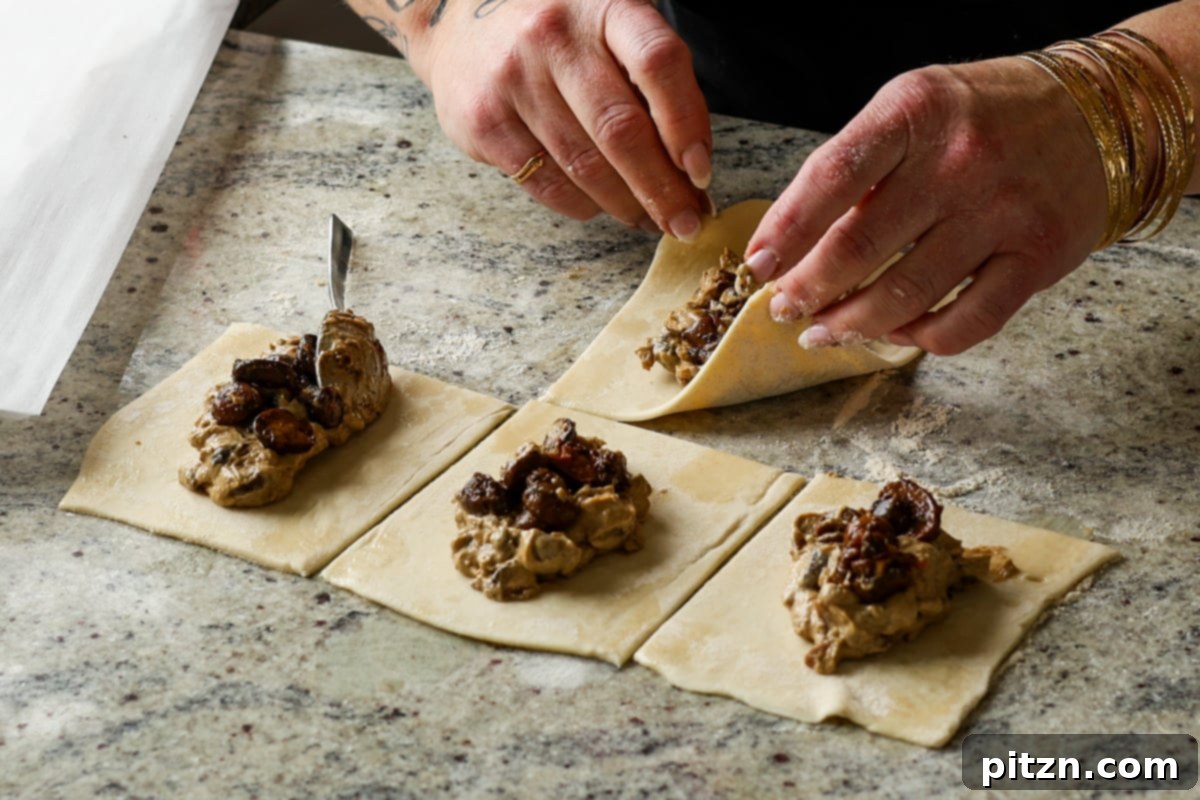
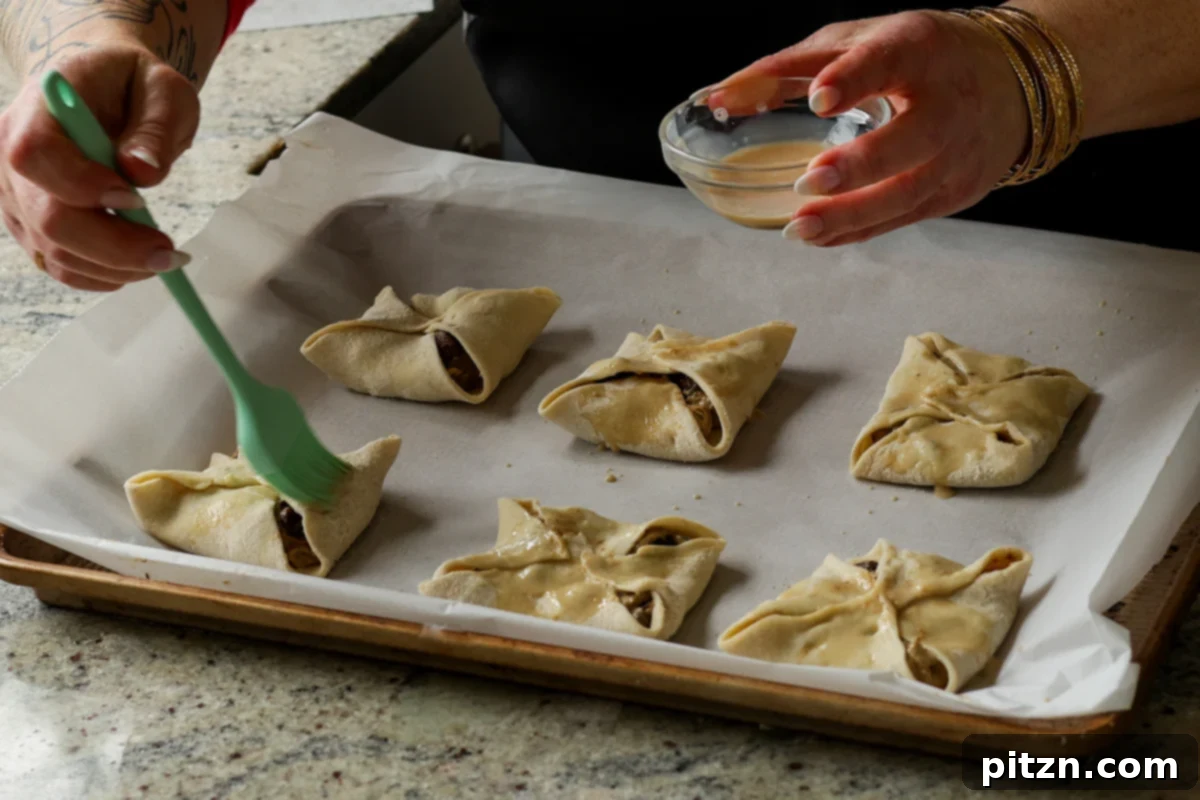
Arrange the sealed puffs on a parchment-lined baking sheet. Brush all the puffs generously with the remaining pastry wash, ensuring a beautiful golden finish. Then, sprinkle your chosen toppings—vegan Parmesan, sesame seeds, and/or pepper flakes—over each puff. Bake in the preheated oven for 25 to 35 minutes. Begin checking on your puffs around the 25-minute mark. If they are turning a lovely golden color, gently rotate the baking sheet to ensure even browning and continue baking for a few more minutes until you see desirable brown spots on some of the edges, indicating perfect crispness.
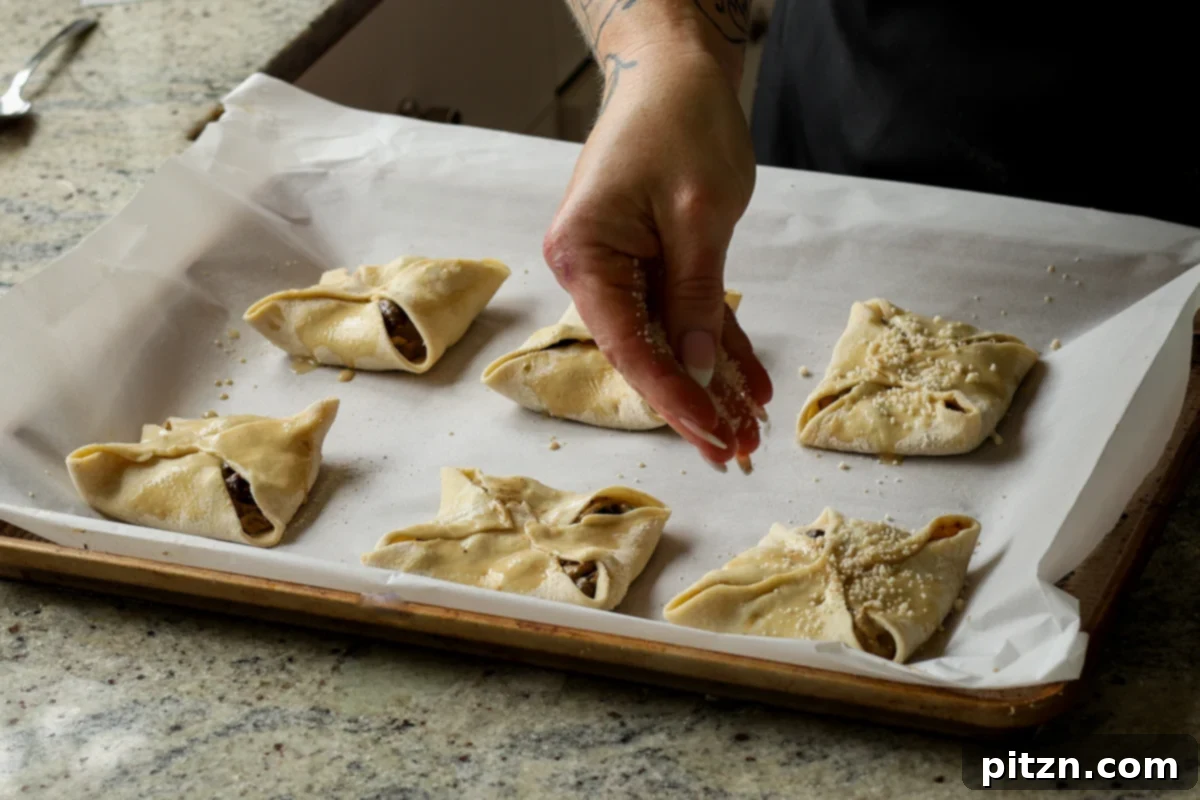
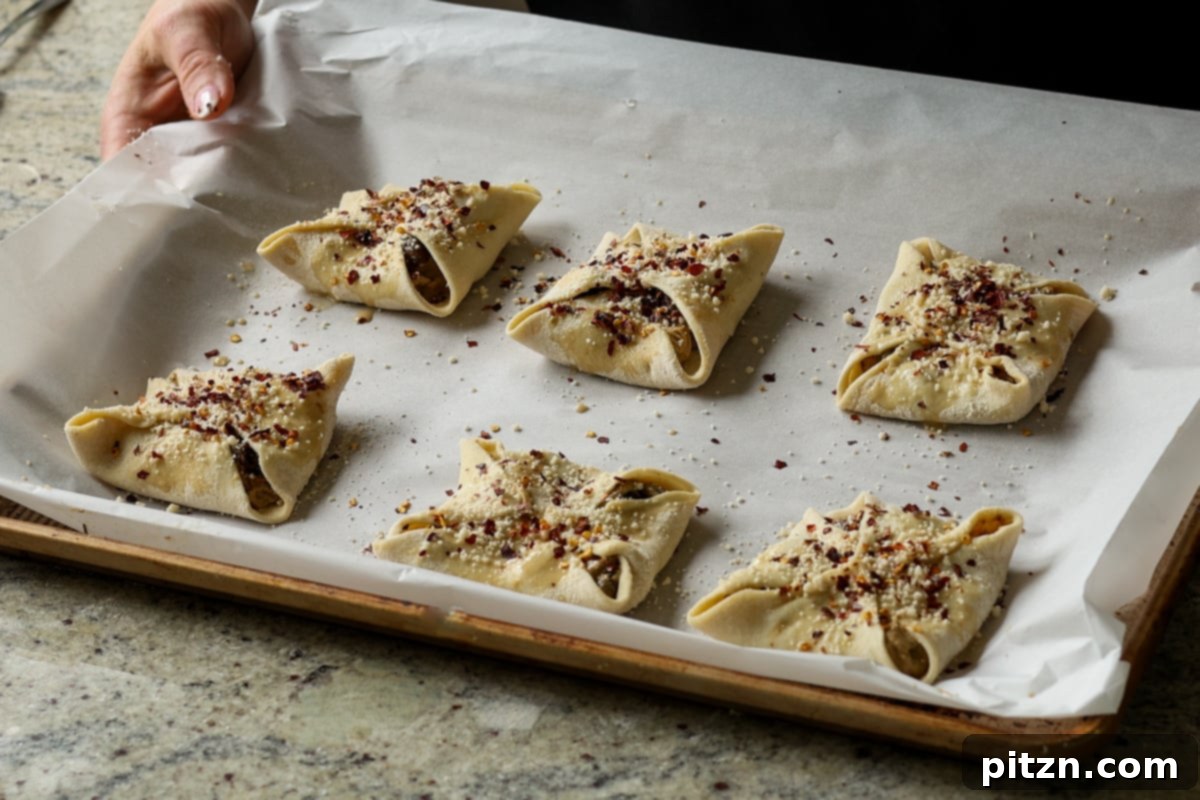
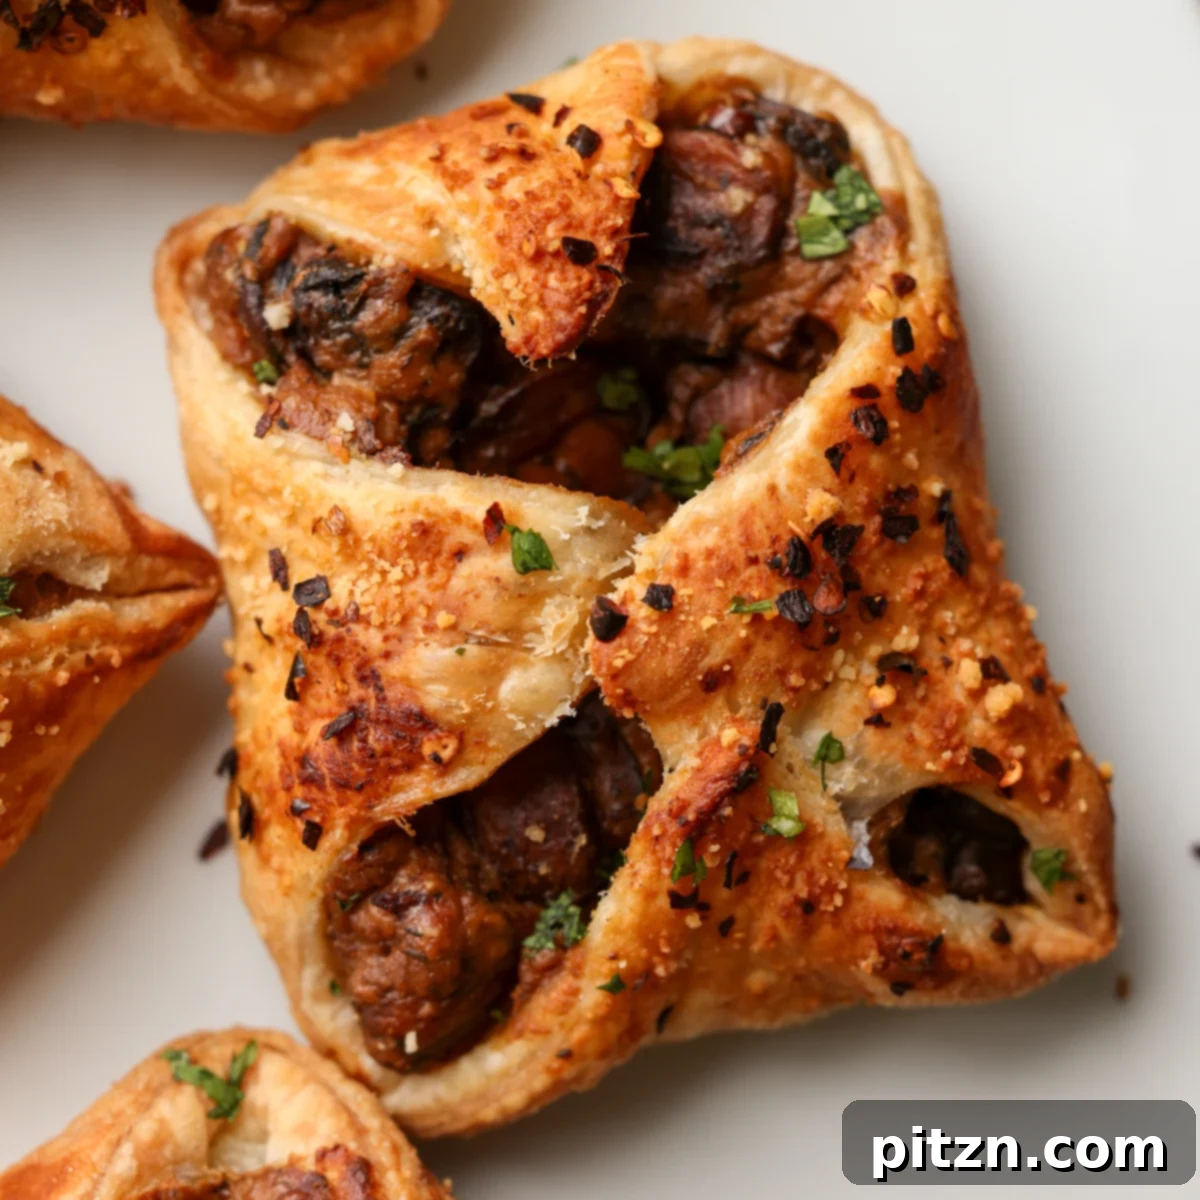
Remove the puffs from the oven when they have achieved a beautiful golden-brown color and show some crispy brown spots on the edges. If desired, garnish with freshly chopped herbs like parsley or chives for a burst of color and freshness. Serve these delightful Creamy Mushroom Puffs immediately. At this moment, the creamy mushroom filling inside will be wonderfully bubbling, and the puff pastry will be at its peak crispness, offering an irresistible sensory experience.
What to Serve Alongside Your Mushroom Puffs
These versatile Creamy Mushroom Puffs are an ideal addition to a wide array of menus, enhancing any meal with their savory charm and elegant presentation. Their rich flavor and delightful texture make them particularly well-suited for festive gatherings and diverse appetizer spreads.
As a holiday appetizer, they fit seamlessly into your Thanksgiving menu or Christmas menu, offering a sophisticated plant-based option that caters to all palates. Their handheld nature makes them perfect for mingling and easy enjoyment.
For a lively cocktail party, pair these puffs with an assortment of other delectable handhelds and finger foods. Consider serving them alongside vibrant carrot zucchini chickpea fritters for a pop of color and fresh flavor, or indulgent butter chicken bao (vegan version) for an international twist. A classic favorite like French onion dip served with crispy chips or an array of fresh, crunchy vegetables provides a comforting counterpoint. The rich and savory profile of the mushroom puffs also complements lighter salads or a hearty soup, creating a balanced and satisfying appetizer course or light meal.
Frequently Asked Questions About Mushroom Puffs
Absolutely! We’ve made sure this recipe is highly adaptable for various dietary needs:
- To make this recipe soy-free: Replace the tofu in the cream sauce with an additional 1/4 cup of raw cashews. Additionally, ensure you use chickpea miso instead of yellow miso, as yellow miso often contains soy.
- To make this recipe nut-free: Omit the cashews entirely and increase the amount of tofu by 3 ounces (using a total of 8 ounces of tofu). You may find that you need to add a slightly larger splash of water when blending the sauce to achieve the desired smooth consistency.
- To make this recipe gluten-free: Substitute the all-purpose flour in the cream sauce with a gluten-free all-purpose flour blend. For the pastry, use a certified gluten-free puff pastry sheet. Alternatively, a homemade gluten-free pie crust can be used, offering a different but equally delicious texture.
Yes, these creamy mushroom puffs are perfect for making ahead, which makes them incredibly convenient for entertaining!
You can assemble the puffs completely – fill them, seal them, and place them on a baking sheet. Once assembled, flash freeze them until they are solid. Then, transfer the frozen, unbaked puffs to an airtight container or freezer-safe bag. They can be stored in the freezer for up to two months.
When you’re ready to bake, remove the desired number of puffs from the freezer and arrange them on a parchment-lined baking sheet. Brush them with the non-dairy milk and maple syrup pastry wash, add your preferred toppings, and then bake as directed. Keep in mind that baking from frozen may require an extra few minutes (typically 5-10 minutes) to ensure they are thoroughly cooked through and golden brown. This make-ahead option ensures you always have a sophisticated appetizer ready to go!
Baked mushroom puffs store wonderfully. Keep any leftovers in an airtight container in the refrigerator for up to 3 days. To reheat, place them on a baking sheet in a preheated oven at 350°F (175°C) for about 10-15 minutes, or use an air fryer at 325°F (160°C) for 5-7 minutes, until they are heated through and the pastry is crispy again. For frozen baked puffs, allow them to thaw on the counter for about 30 minutes before reheating for the best texture.