
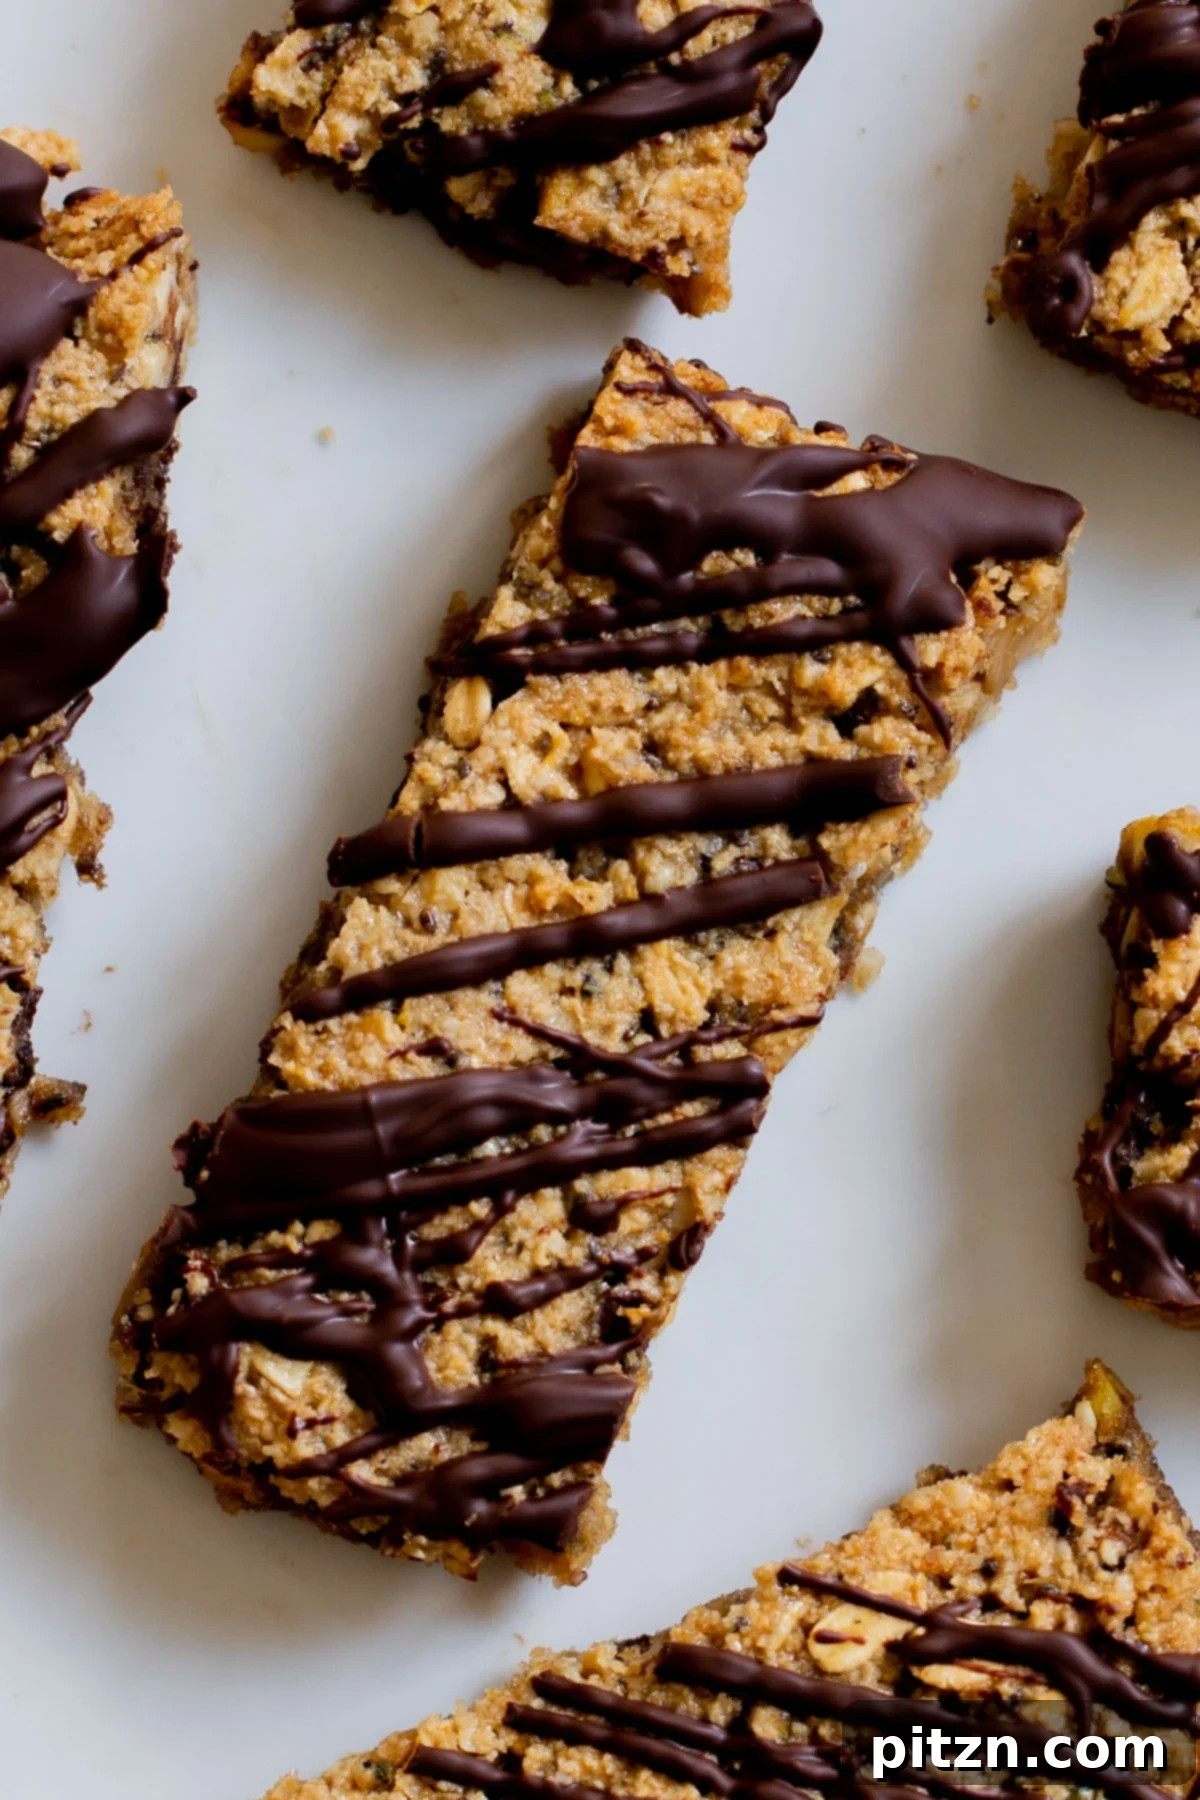
Deliciously Crunchy & Non-Sticky Granola Bars: The Perfect Brace-Friendly Snack
Are you searching for a delightful snack that’s both healthy and satisfyingly crunchy, yet miraculously non-sticky? Look no further! This recipe for homemade granola bars is an absolute game-changer, especially for anyone who finds traditional sticky bars a challenge – think kids with braces or adults simply preferring a cleaner snack experience. Crafted with wholesome almond flour, hearty oats, nutrient-dense seeds, and luscious chocolate chips, these bars are not only incredibly easy to make in just one bowl but also naturally gluten-free.
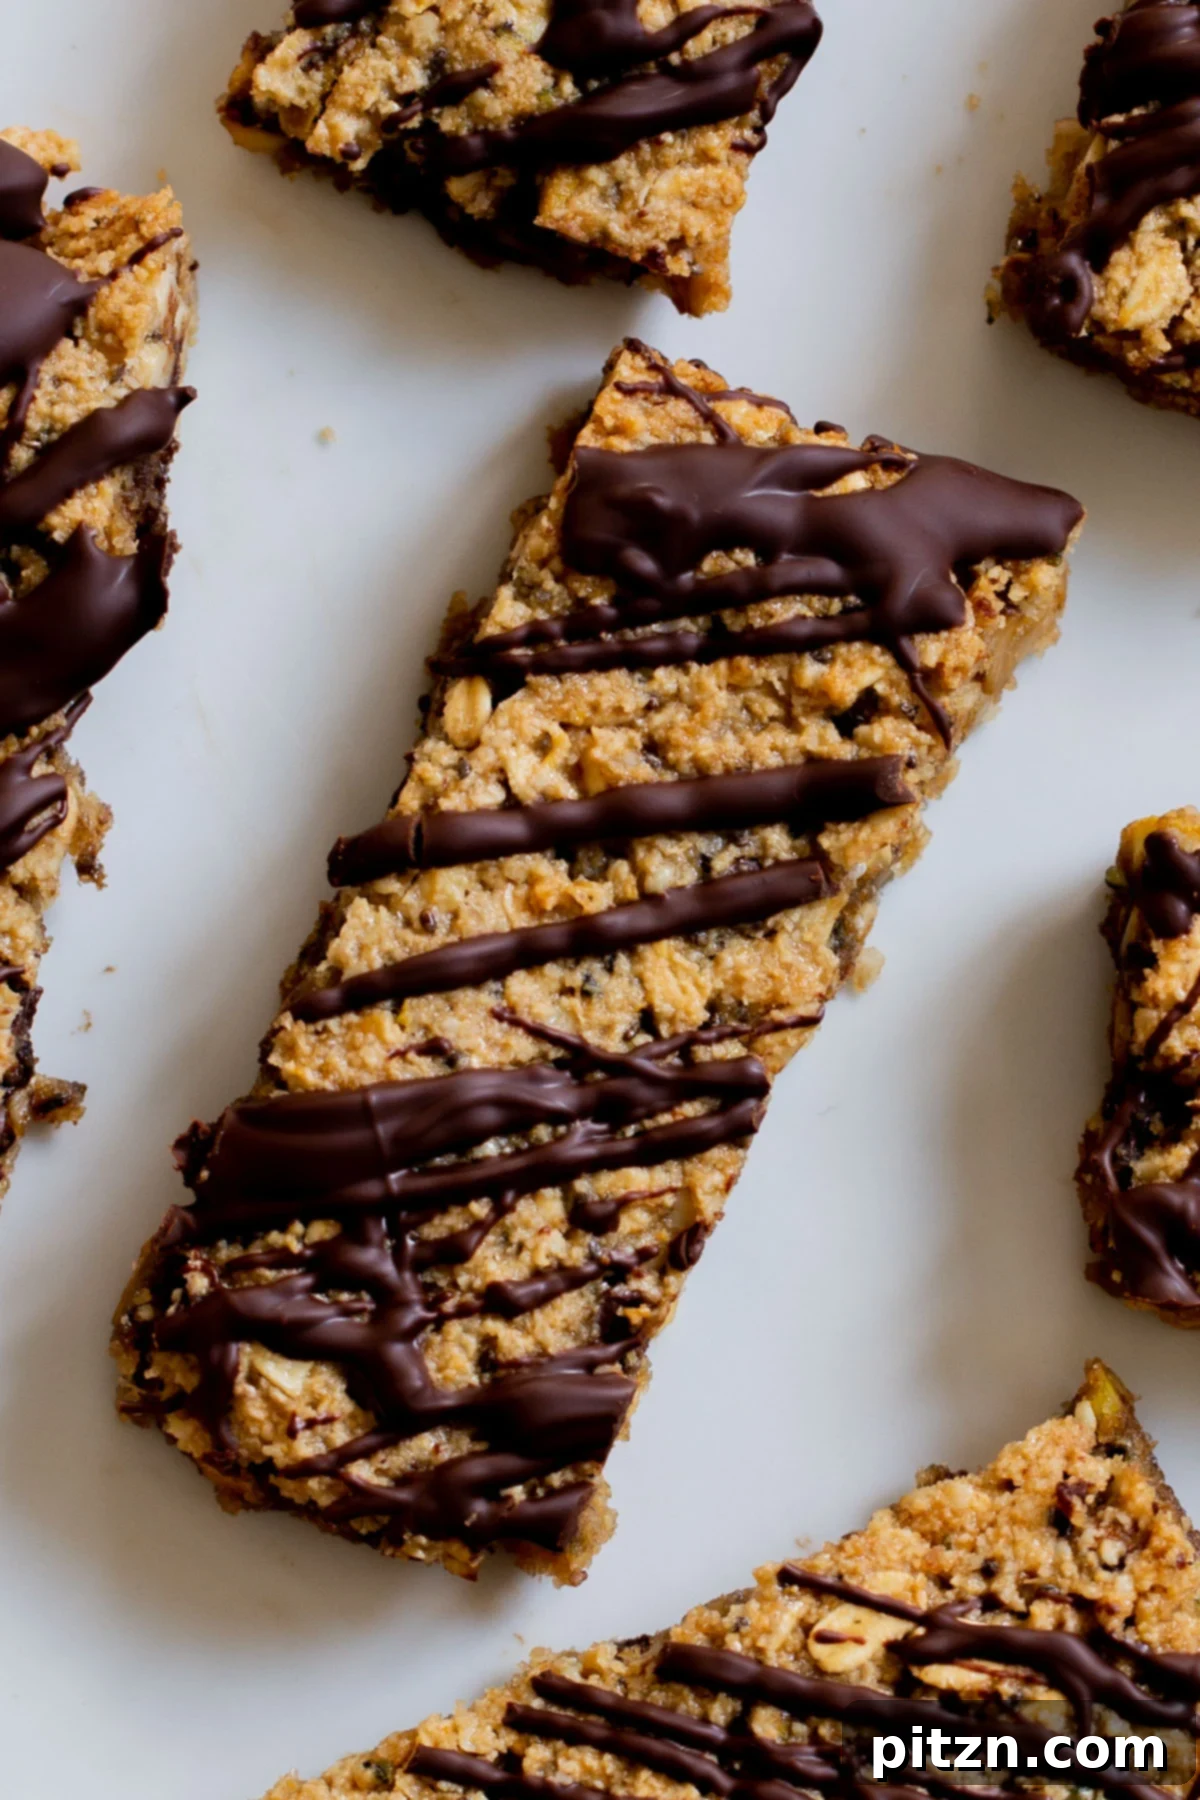
Table of Contents
- A Snack Solution for Everyone
- Why You’ll Love These Crunchy Granola Bars
- The Magic of Almond Flour in Granola Bars
- Ingredients and Smart Substitutions
- Tips for Perfect Granola Bars
- How to Make Crunchy Granola Bars Step-by-Step
- Storage and Shelf Life
- Serving Suggestions
- Frequently Asked Questions
- More Homemade Granola Bars to Explore
A Snack Solution for Everyone
The inspiration for these delightful non-sticky granola bars came from a very specific need: my niece recently got braces and expanders, making many of her favorite sticky snacks off-limits. Determined to bring back the joy of a sweet, satisfying snack, I set out to create a version she could enjoy without worry. The result? Not one, but two innovative granola bar recipes – this wonderfully sweet and crunchy rendition, and a savory “Doritos-style” bar that’s coming soon!
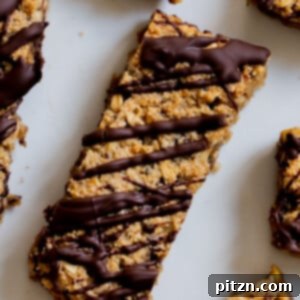
These crunchy granola bars are fundamentally different from their chewy counterparts. Instead of relying on overly sticky binders, we use a generous amount of almond flour as the base, combined with just enough maple syrup to sweeten and bind without making them tacky. This clever use of almond flour gives the bars a unique, crisp, shortbread-like texture that’s incredibly satisfying. Beyond being brace-friendly, this also makes them a remarkably filling and substantial option, perfect for a quick breakfast on the go or a wholesome snack to fuel your day.
Of course, no sweet granola bar is complete without the classic combination of oats, a medley of nuts and seeds for added texture and nutrition, and a generous scattering of chocolate chips. While chocolate chips are a must-have for many, you have the flexibility to customize these bars with other mix-ins. Consider adding dried cranberries for a tart counterpoint, though be mindful that dried fruit can sometimes introduce a touch of stickiness. The beauty of homemade granola bars lies in their adaptability to your personal preferences and dietary needs.
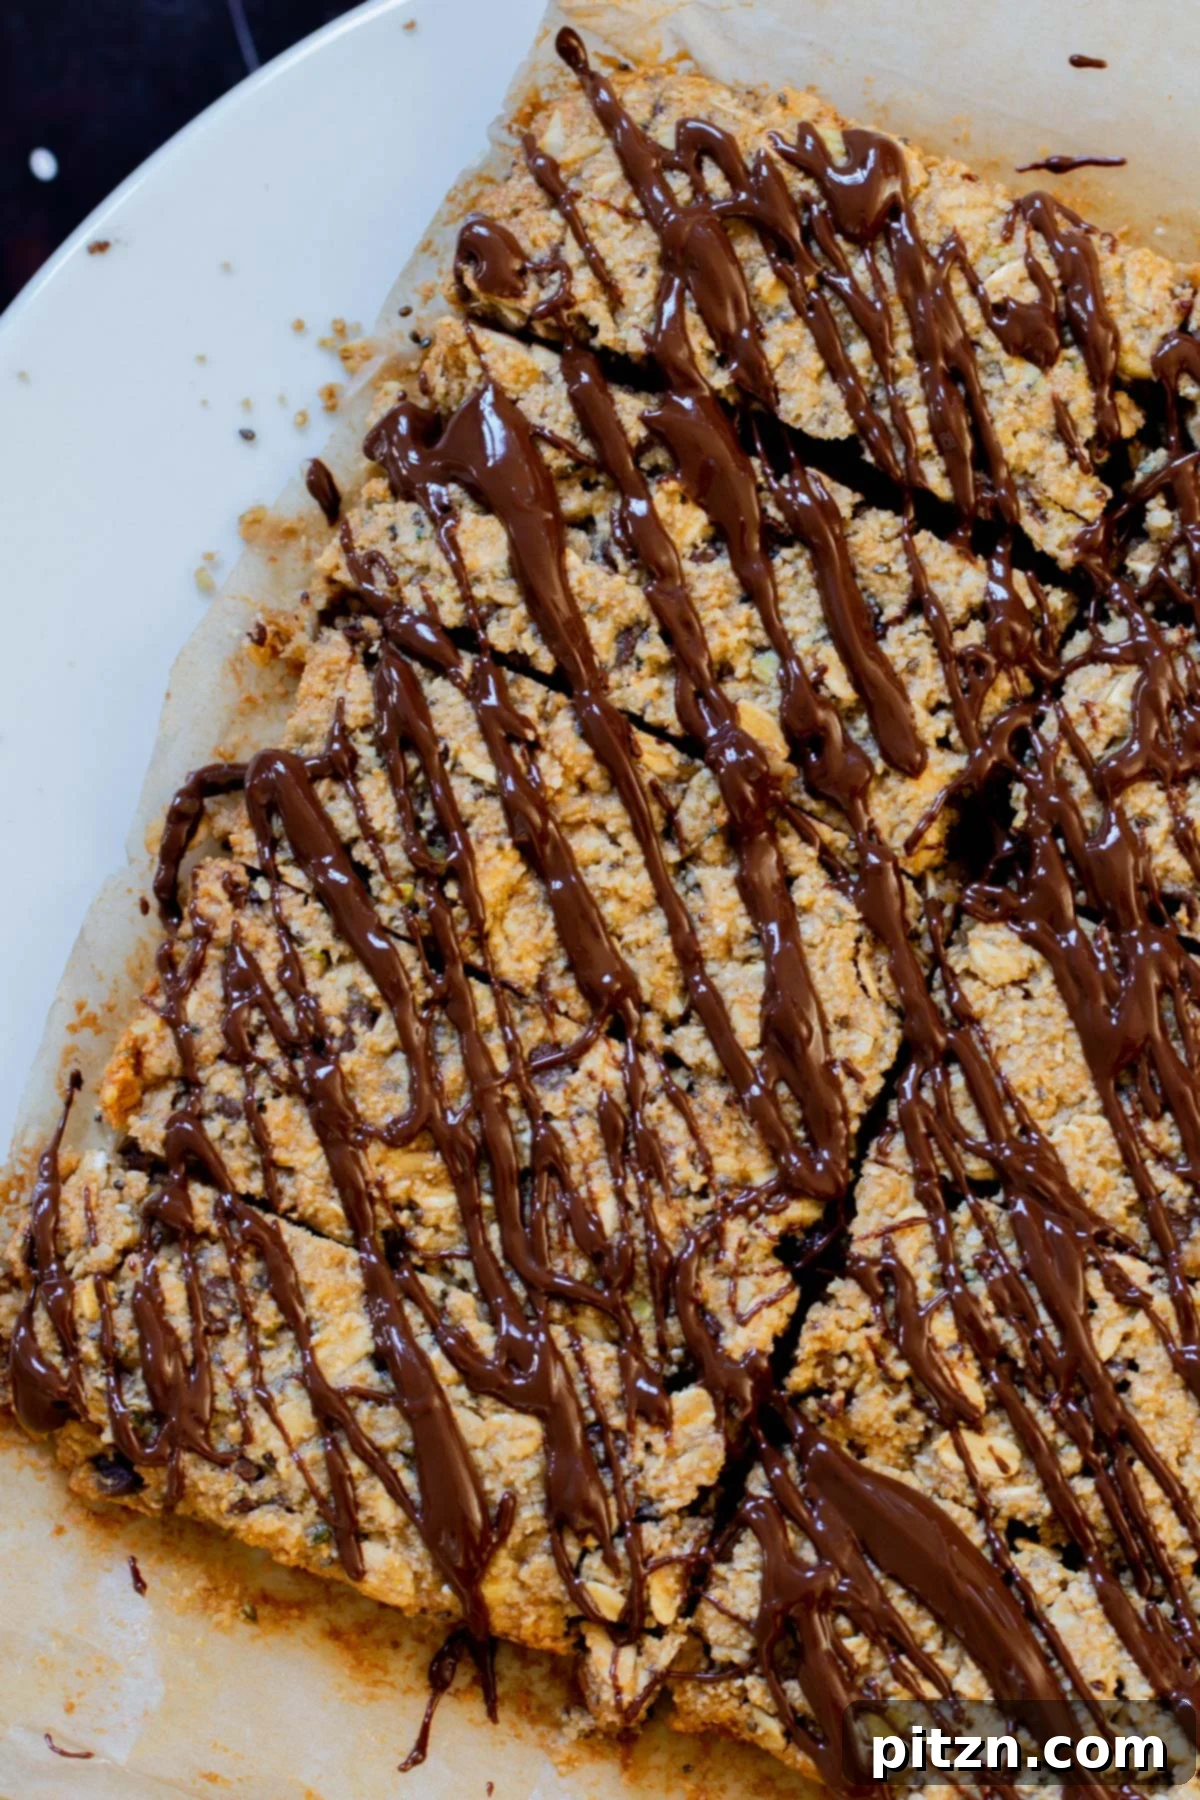
Why You’ll Love These Crunchy Granola Bars
Prepare to fall in love with these homemade crunchy granola bars. Here’s why they’re destined to become a staple in your kitchen:
- Irresistibly Sweet and Crunchy: Experience the perfect balance of sweetness with an amazing, satisfying crunch in every bite. And yes, they come with plenty of chocolate!
- Non-Sticky Perfection: The unique almond flour base ensures these bars are never sticky or chewy. This makes them ideal for snacking on the go, packing in lunchboxes, and most importantly, they are perfectly safe and comfortable for anyone with braces or dental work.
- Highly Customizable: This recipe is a fantastic canvas for your creativity. Easily swap out nuts, seeds, and even the chocolate chips to suit your taste or what you have on hand.
- Naturally Gluten-Free: Made with almond flour and certified gluten-free oats, these bars are a safe and delicious option for those avoiding gluten.
- Dietary Flexibility: We offer clear options for making these bars oil-free or coconut-free, catering to various dietary preferences and needs without compromising on flavor or texture.
- Did We Mention Chocolate?: For the chocolate lovers out there, these bars deliver! The inclusion of chocolate chips throughout the bar, plus an optional decadent drizzle on top, makes them a true treat.
- Quick & Easy: Prepared in just one bowl, the minimal cleanup means you can enjoy these delicious bars with less fuss.
- Wholesome Ingredients: Packed with plant-based protein from almond flour and nuts, fiber from oats and seeds, and natural sweetness from maple syrup, these bars offer sustained energy and nutritional benefits.
The Magic of Almond Flour in Granola Bars
The secret to the perfect non-sticky, delightfully crunchy texture of these granola bars lies in the intelligent use of almond flour. Unlike traditional flour or excessive amounts of sticky binders, almond flour provides a robust yet tender structure that prevents the bars from becoming overly chewy or clinging to teeth. Its fine texture and natural oils contribute to a crumbly, shortbread-like quality when baked, delivering that satisfying crunch we all crave in a granola bar.
Beyond texture, almond flour brings a wealth of nutritional benefits. It’s an excellent source of plant-based protein, healthy fats, and dietary fiber, making these bars incredibly filling and energy-sustaining. For those following a gluten-free diet, almond flour is a fantastic alternative, offering a rich, subtly nutty flavor that complements the other ingredients beautifully. Its versatility allows us to create a truly unique granola bar experience that stands out from the often-too-soft or overly sweet store-bought varieties.
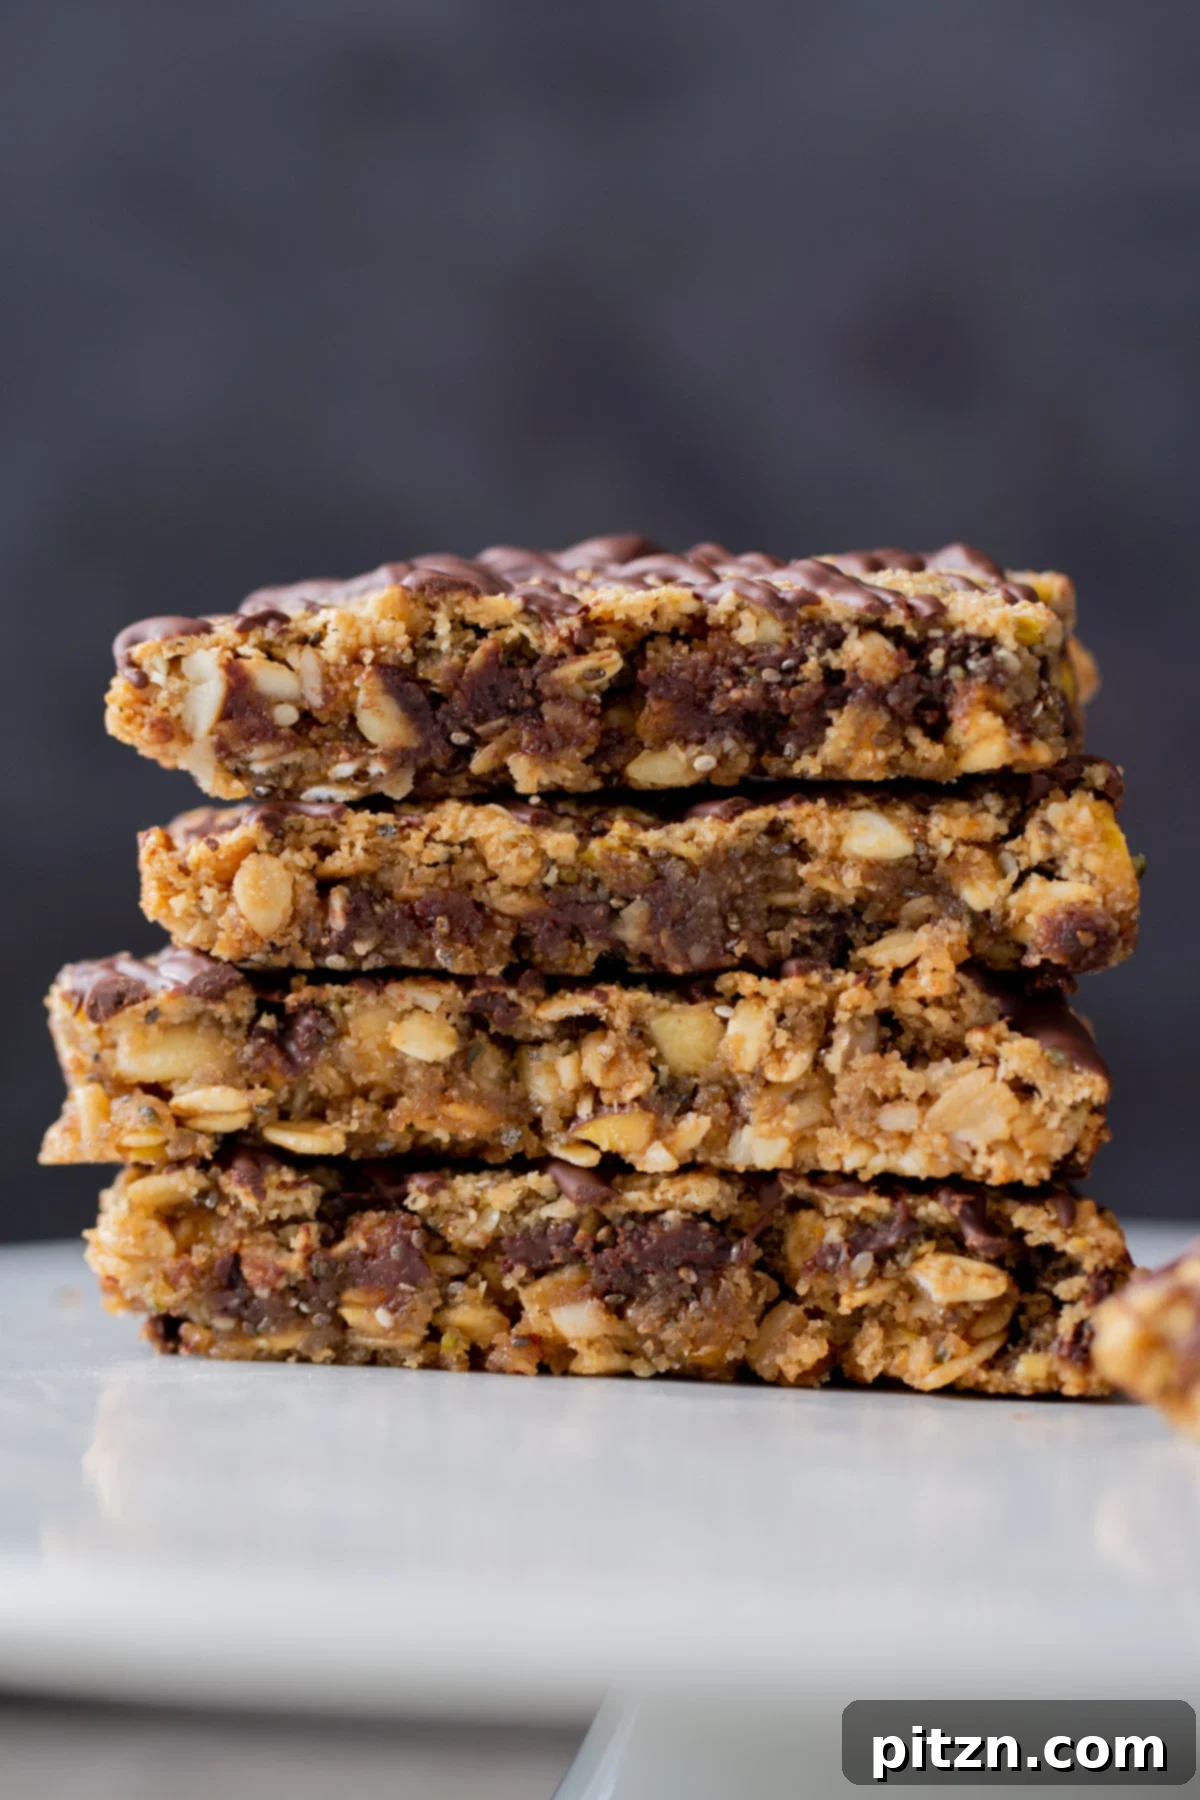
Crunchy Granola Bars Non Sticky
Ingredients
Dry Ingredients
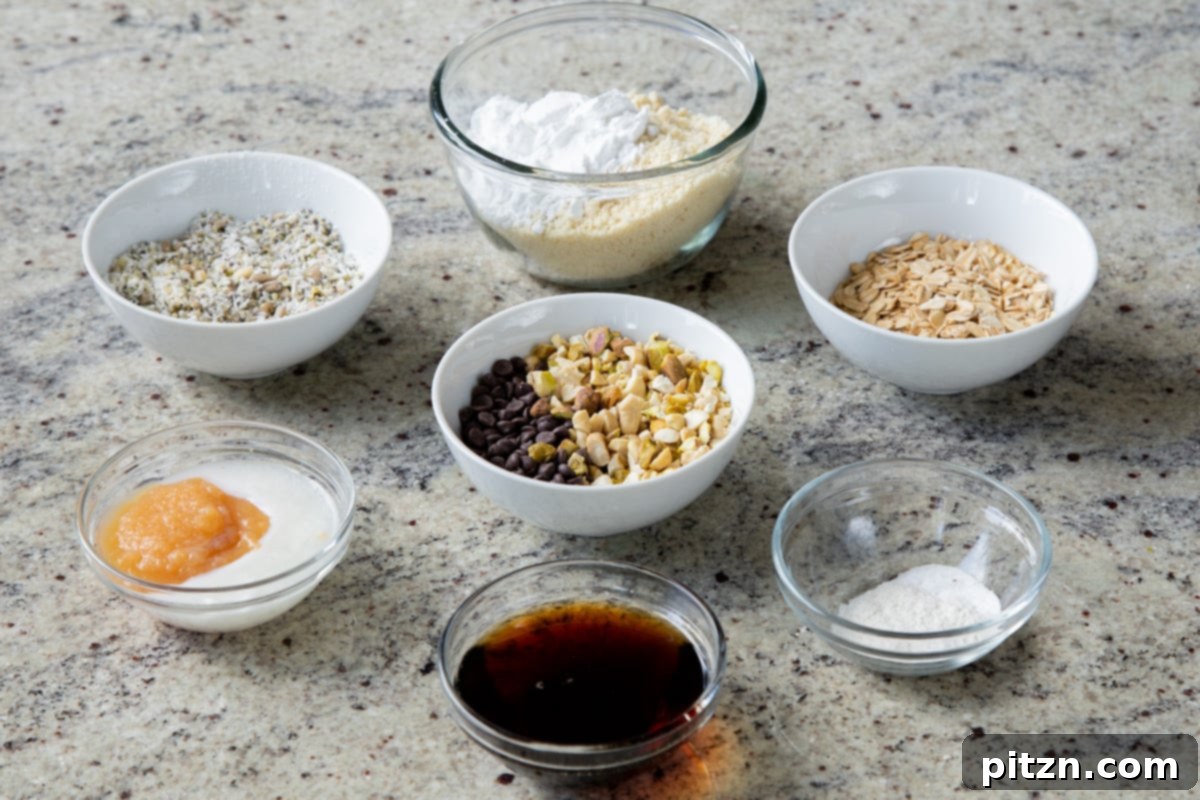
- 1 cup almond flour
- 2 tablespoons tapioca starch
- 1/8 teaspoon salt
- 2 tablespoons shredded coconut, optional
- 1/3 cup old fashioned oats
- 1/4 cup chopped nuts and seeds (e.g., pistachios, chia seeds, hemp seeds)
- 1/4 teaspoon baking soda
Wet Ingredients
- 1 1/2 tablespoons melted coconut oil (refined for less coconut flavor)
- 1/2 teaspoon vanilla extract, or more, to taste
- 4 to 5 tablespoons maple syrup
- 1 tablespoon applesauce
- 3 tablespoons chocolate chips
For Topping (Optional)
- 3 tablespoons chocolate chips
Instructions
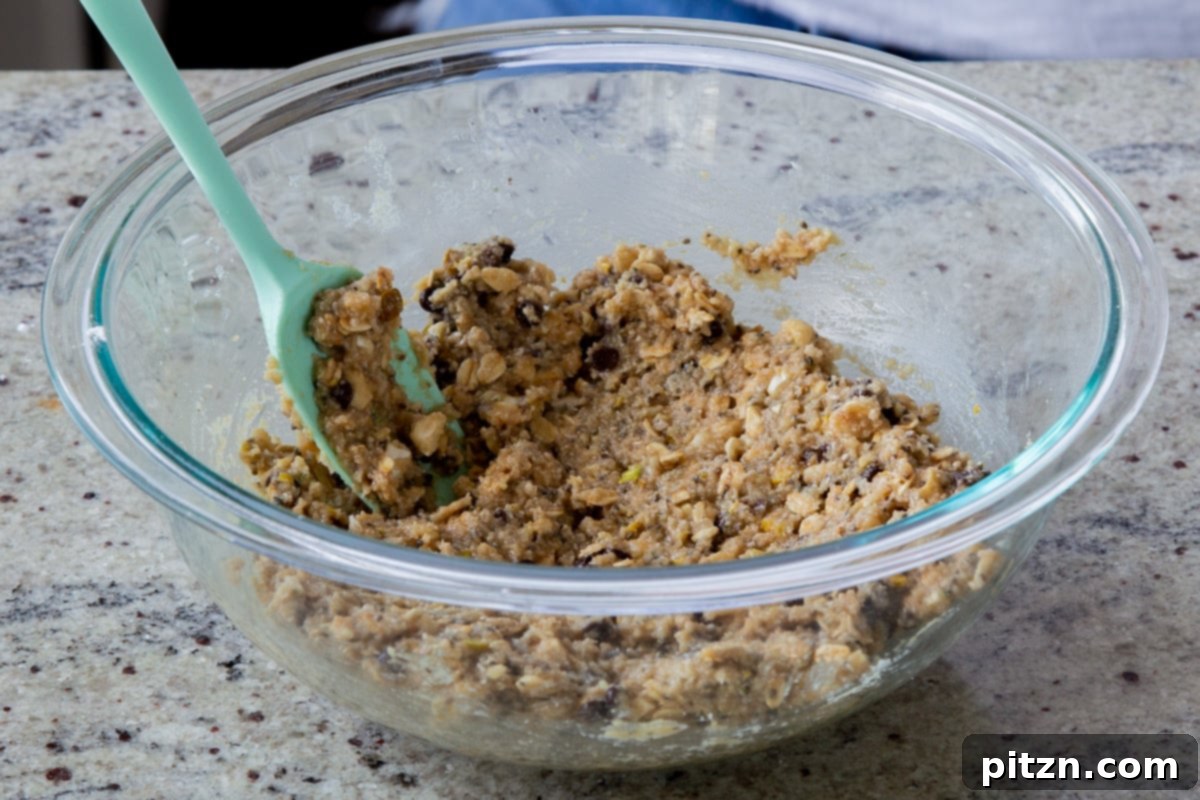
- In a large bowl, combine all the dry ingredients: almond flour, tapioca starch, salt, shredded coconut (if using), old-fashioned oats, chopped nuts and seeds, and baking soda. Mix them thoroughly, pressing to break up any lumps of almond flour to ensure a homogeneous mixture.
- Add the melted coconut oil, 4 tablespoons of maple syrup, applesauce, and vanilla extract to the dry ingredients. Mix and press again until a soft, uniform dough forms. If the mixture feels too dry, add the remaining 1 tablespoon of maple syrup, 1 teaspoon at a time, until the desired consistency is achieved.
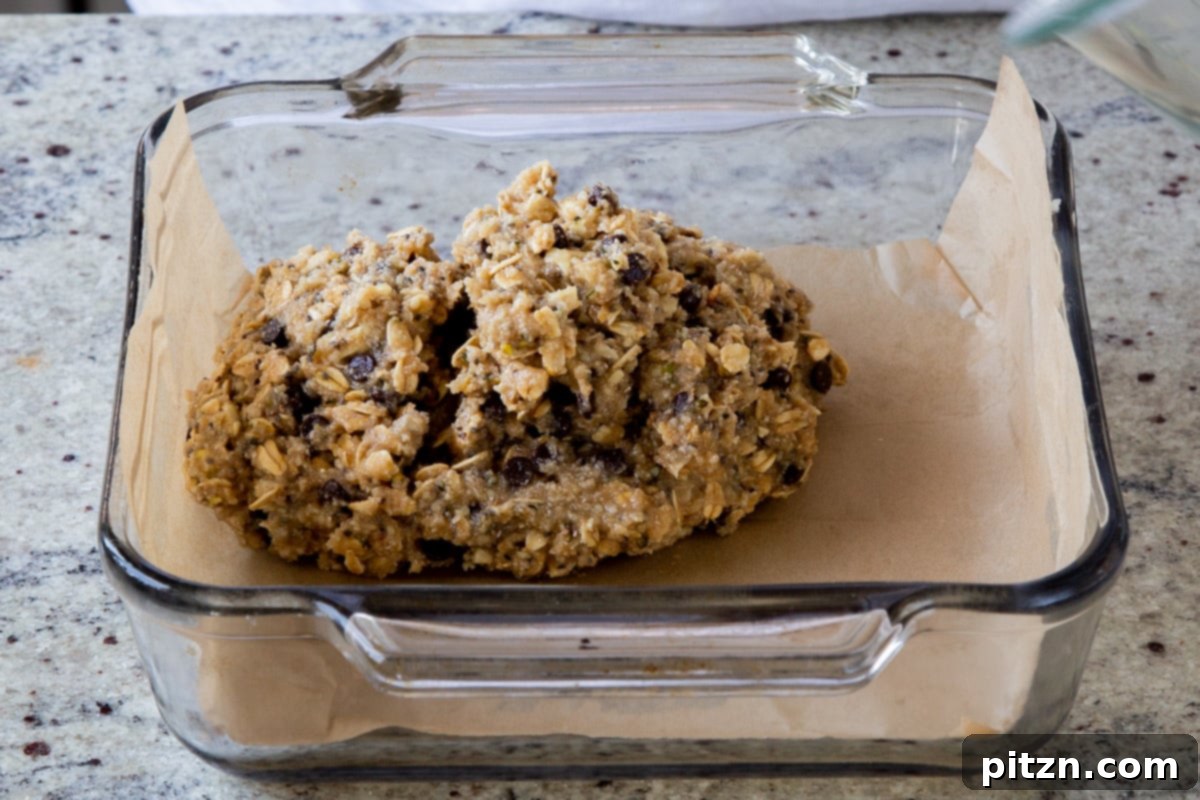
- Gently fold in the chocolate chips. Line an 8×8-inch brownie pan or baking dish with parchment paper, then press the mixture firmly and evenly into the pan using a spatula or your hands. Ensure it’s packed tightly for sturdy bars.
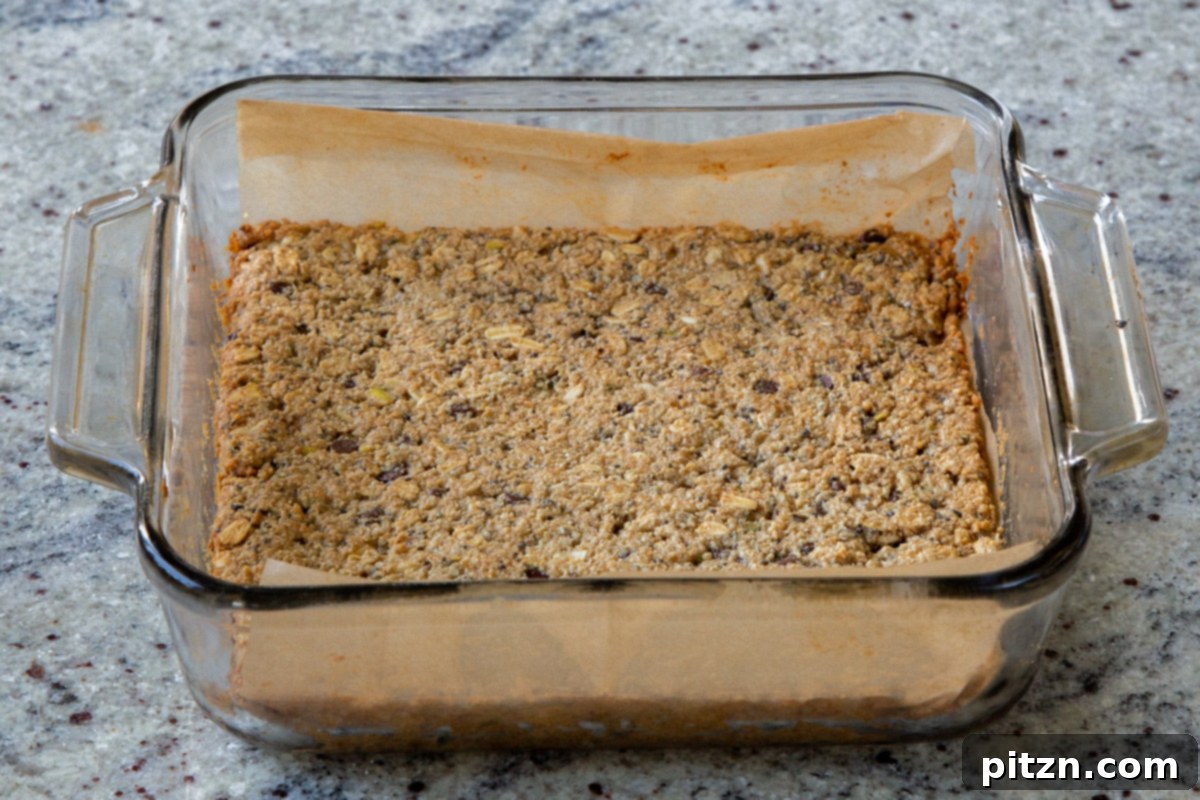
- Bake in a preheated oven at 330°F (165°C) for 20 to 28 minutes. The baking time will vary based on your oven and baking dish, as well as your preference for crispiness.
- For softer, cookie-like bars, bake for approximately 22 minutes. For truly crispy and shelf-stable bars, you have two options: bake for the full 28-32 minutes, or bake for 25 minutes, remove from the oven, let cool slightly, slice into bars, and then return them to a baking sheet to bake for an additional 10-15 minutes until extra crisp.
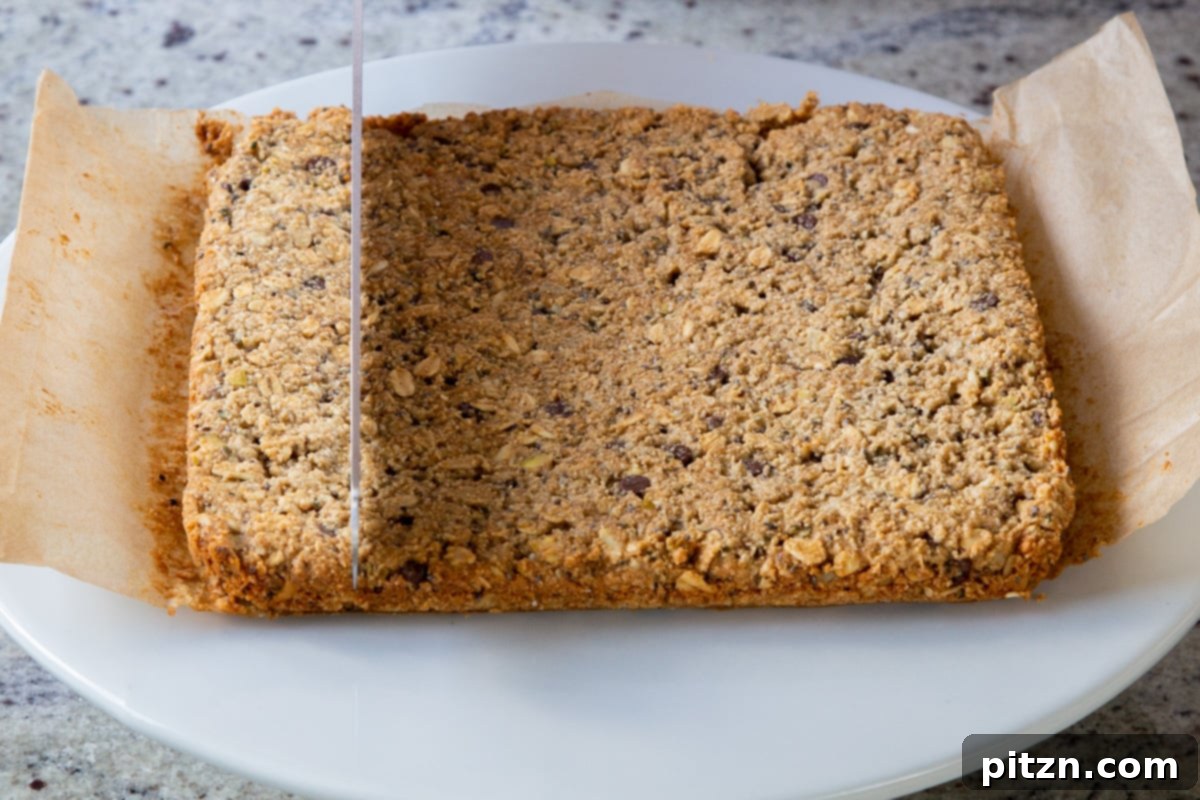
- Once baked, remove the bars from the oven and let them cool in the pan for 5 minutes before carefully transferring to a wire rack. Slice them using a sharp, serrated knife.
- To add the optional chocolate topping, melt the reserved chocolate chips using a double boiler or microwave. Drizzle the melted chocolate generously over the sliced bars. Place the bars in the fridge for a short period to allow the chocolate to set, then separate and store. For longer storage (up to 3 weeks), refrigeration is recommended.
- If you chose the re-baking method for extra crispiness, once the initial bake is done and the bars are sliced, you can add the chocolate topping before the second bake, or leave them plain. Re-bake at 350°F (177°C) for 10-15 minutes, or until they reach your desired crispness. Cool completely before storing.
Video
Notes & Customization
Nuts: While almond flour forms the crucial non-sticky base and is difficult to omit, you can easily customize the chopped nuts and seeds. Feel free to use a mix of your favorite seeds (like sunflower, pumpkin, or sesame) or other nuts if pistachios are not preferred.
Oil-Free Option: To make these granola bars entirely oil-free, simply omit the coconut oil from the recipe. You will need to increase the maple syrup slightly, adding about an extra tablespoon, to compensate for the lost moisture and ensure the dough binds properly.
Oat-Free Option: If you need to make these bars oat-free, you can easily omit the old-fashioned oats. You might find the mixture becomes a little softer, so adjust the maple syrup by reducing it by a few teaspoons as needed.
Coconut-Free Option: For a coconut-free version, simply leave out the shredded coconut. If you still want a bit more moisture or richness, you can replace the coconut oil with another neutral-flavored oil of your choice, such as sunflower or avocado oil.
Sweetness Adjustment: The amount of maple syrup can be adjusted to your taste. Start with 4 tablespoons and add the fifth only if you prefer a sweeter bar or if the dough needs more binding moisture. Remember, less liquid means a crunchier bar.
Spice It Up: For an extra layer of flavor, consider adding a pinch of cinnamon, nutmeg, or cardamom to the dry ingredients. These spices pair wonderfully with the nutty base and chocolate.
Nutrition
Calories: 148kcal | Carbohydrates: 13g | Protein: 4g | Fat: 9g | Saturated Fat: 3g | Sodium: 51mg | Potassium: 32mg | Fiber: 2g | Sugar: 7g | Vitamin A: 26IU | Vitamin C: 0.1mg | Calcium: 37mg | Iron: 1mg
Nutrition information is automatically calculated, so should only be used as an approximation.
Ingredients and Smart Substitutions
Crafting the perfect non-sticky granola bar begins with understanding each ingredient’s role. Here’s a deeper dive into what you’ll need and how you can adapt the recipe to your pantry and preferences:
- Almond Flour: This is the hero ingredient that ensures our granola bars are perfectly crunchy and delightfully non-sticky. It provides a superb, tender crumb, similar to shortbread, and is rich in protein and healthy fats. For this recipe, fine almond flour works best to achieve the desired texture.
- Tapioca Starch: A crucial binder in gluten-free baking, tapioca starch helps hold the bars together, contributing to their firm yet delicate structure. It ensures the bars don’t crumble too easily.
- Salt and Baking Soda: These essential components not only enhance the flavor profile by balancing the sweetness but also contribute to the ideal texture and slight lift of the bars.
- Shredded Coconut (Optional): Adds a wonderful depth of flavor and a touch of extra texture. If you’re not a fan of coconut or need a coconut-free option, feel free to omit it without significantly altering the bar’s core structure.
- Old-Fashioned Oats: Also known as rolled oats, these provide a classic granola bar chewiness and a boost of fiber. Ensure you use certified gluten-free oats if necessary. Avoid instant or steel-cut oats, as they will alter the texture. If you need an oat-free version, simply omit them, and slightly reduce the maple syrup.
- Nuts and Seeds: A blend of chopped nuts and seeds adds fantastic crunch, healthy fats, and a significant protein boost. My personal favorites for this recipe include pistachios, chia seeds, and hemp seeds, which offer diverse textures and nutrients. However, feel free to use walnuts, pecans, almonds, sunflower seeds, or pumpkin seeds based on your preference.
- Melted Coconut Oil: This ingredient provides essential moisture and richness, helping to bind the dry ingredients. I recommend refined coconut oil for a more neutral flavor that won’t overpower the other ingredients. If you prefer an oil-free bar, you can substitute with additional maple syrup (about 1 tablespoon more). Other neutral oils like sunflower or avocado oil can also be used for a coconut-free alternative.
- Vanilla Extract: A splash of vanilla extract elevates the overall flavor, adding a warm, aromatic note that complements the chocolate and nuts beautifully. Adjust to your taste!
- Maple Syrup and Applesauce: These provide natural, unrefined sweetness and contribute to the moistness and binding of the dough. Maple syrup is a fantastic liquid sweetener, while applesauce adds a subtle fruity note and helps with moisture without making the bars sticky. You can slightly adjust the maple syrup depending on your desired sweetness and dough consistency.
- Chocolate Chips: Because, well, chocolate! They melt slightly during baking, creating pockets of gooey deliciousness. Dark chocolate chips are a great choice for a richer flavor, but any variety works. You can also experiment with white chocolate chips or even chopped dried fruits (though remember dried fruits can add a little stickiness).
Tips for Perfect Granola Bars
Achieving perfectly crunchy, non-sticky granola bars is simple with a few key techniques:
- Thorough Mixing is Key: When combining the dry ingredients, take your time to mix them exceptionally well. Almond flour has a tendency to clump, so press and mix vigorously to break up any lumps. A homogeneous dry mixture ensures even distribution of ingredients and consistent texture throughout your bars.
- Packing the Dough: After adding the wet ingredients and forming the dough, it’s crucial to press the mixture firmly and evenly into your baking pan. Use a spatula or the bottom of a flat glass to really compact the dough. This compression is vital for creating dense, sturdy bars that hold their shape and achieve that desired crunch rather than falling apart.
- Baking for Optimal Crispiness: The baking time is flexible and can be adjusted based on your desired level of crispiness. For a softer, chewier bar (more like a cookie), bake on the shorter end of the recommended time (around 20-22 minutes). If you crave maximum crunch and shelf stability, consider a two-stage baking process:
- Bake the bars for about 25 minutes until lightly golden.
- Remove from the oven, let them cool for 5-10 minutes, then slice them into individual bars.
- Return the sliced bars to the oven on a baking sheet and bake for an additional 10-15 minutes at a slightly higher temperature (e.g., 350°F / 177°C) until they are golden brown and crisp to your liking. This “biscotti-style” second bake draws out more moisture, resulting in a much crisper and more shelf-stable bar.
- Cooling Completely: Patience is a virtue, especially with granola bars! Allow the bars to cool completely in the pan before attempting to slice them, especially if you’re not doing the two-stage bake. This cooling period allows them to firm up and prevents crumbling. If applying a chocolate drizzle, ensure the bars are cooled before drizzling, and then chill them again to set the chocolate.
How to Make Crunchy Granola Bars Step-by-Step
Follow these simple steps to create your own batch of delicious, non-sticky granola bars:
Step 1: Combine Dry Ingredients
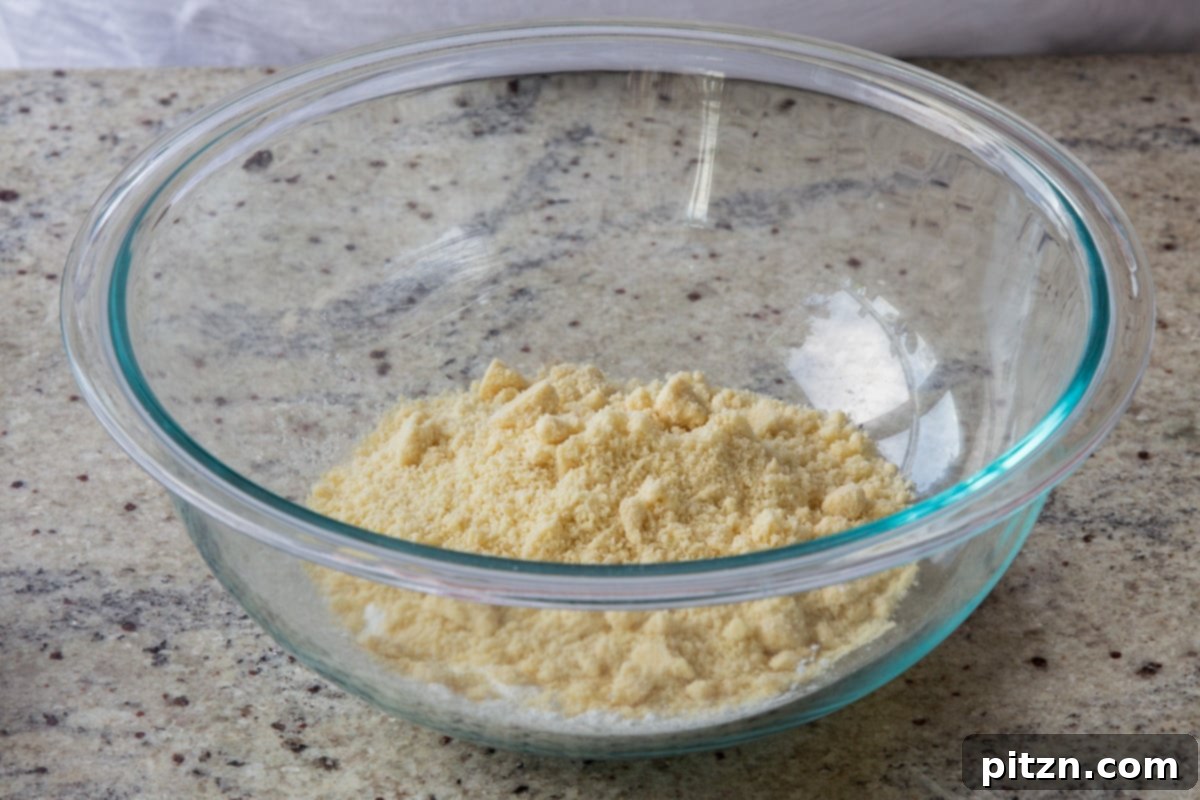
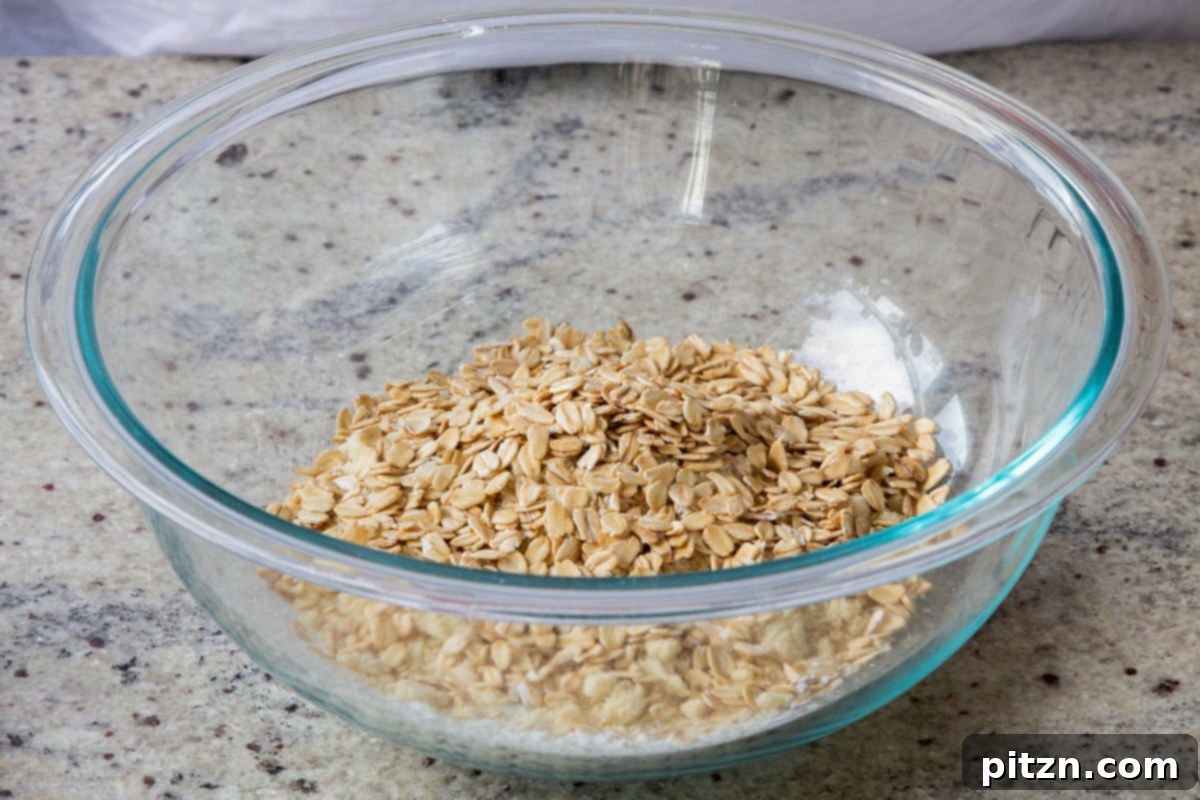
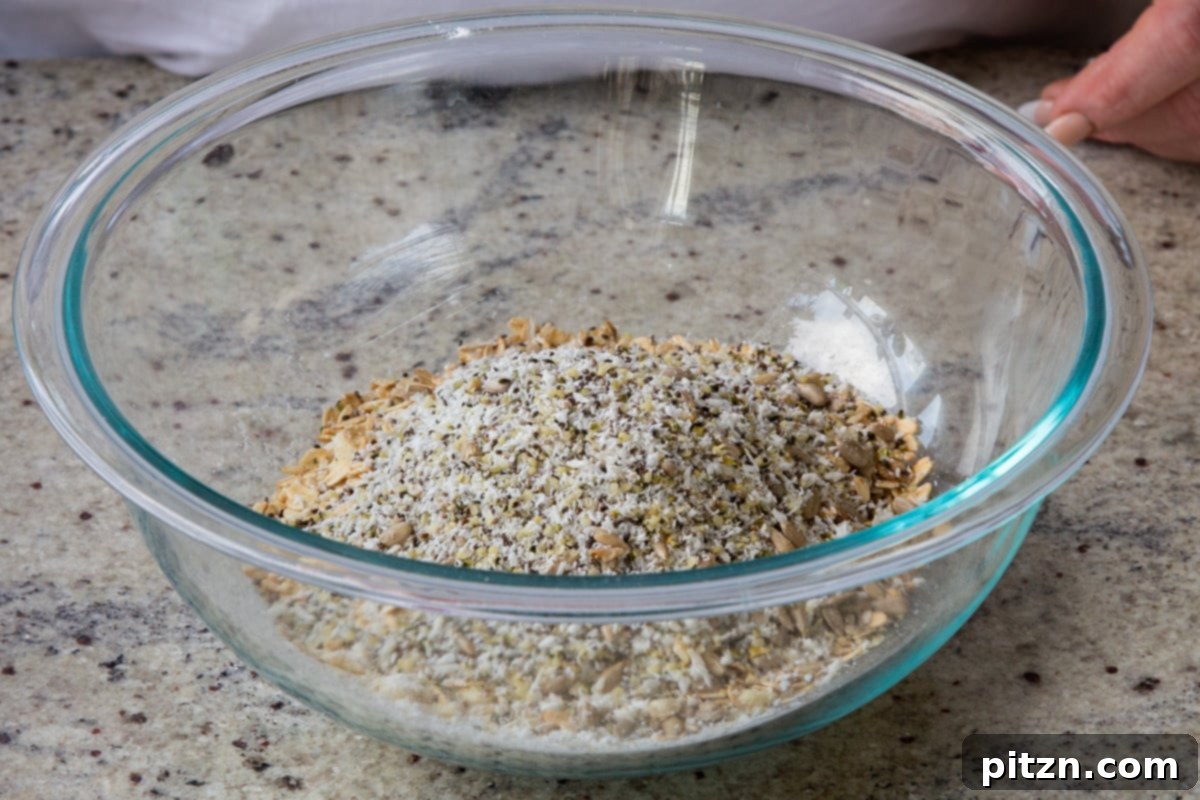
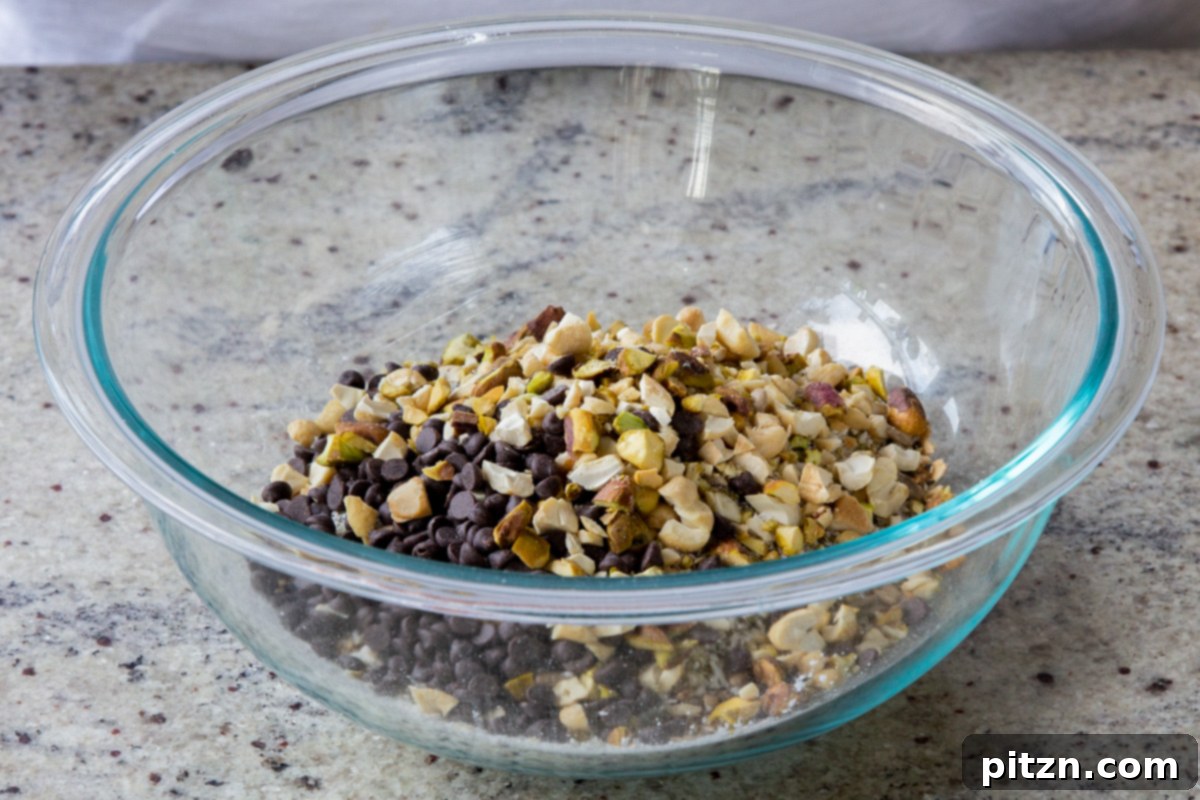
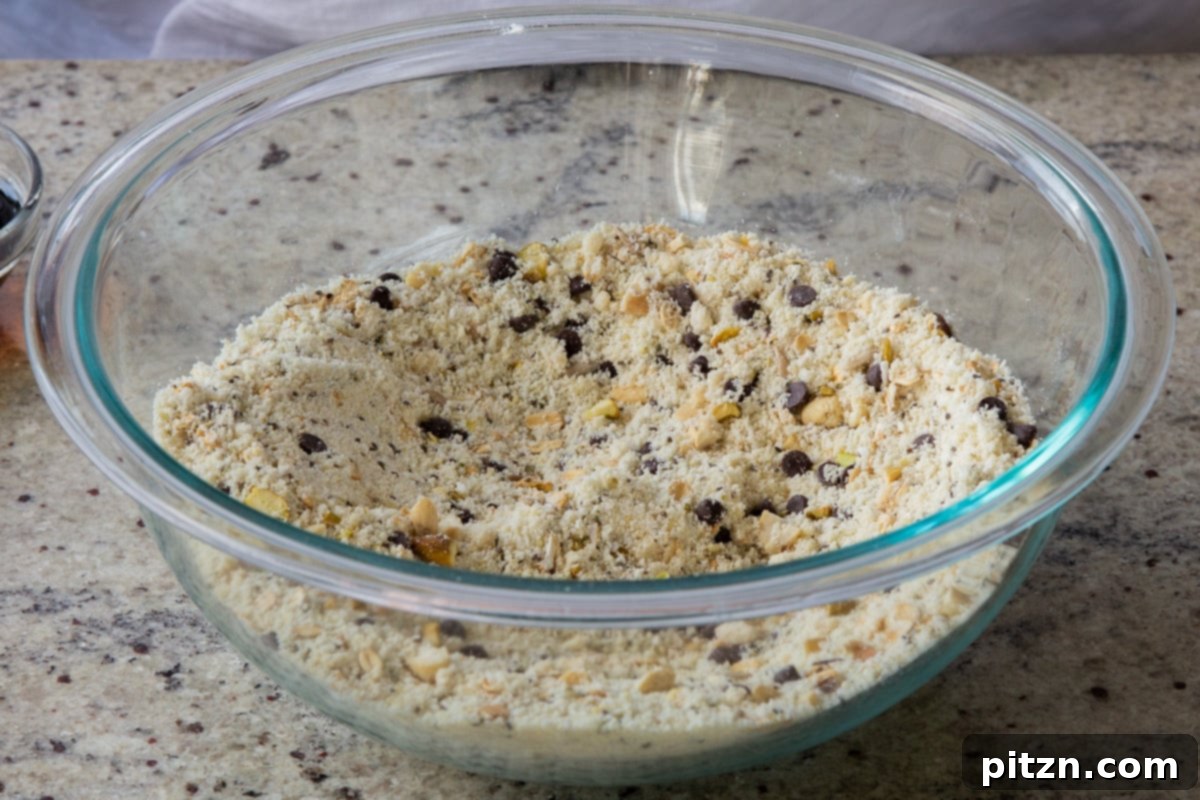
In a spacious mixing bowl, add all the dry ingredients: almond flour, tapioca starch, salt, shredded coconut (if using), old-fashioned oats, your chosen chopped nuts and seeds, and baking soda. Mix everything together thoroughly. It’s important to press and mix to break up any potential lumps of almond flour, ensuring a smooth and consistent base for your bars.
Step 2: Add Wet Ingredients and Form Dough
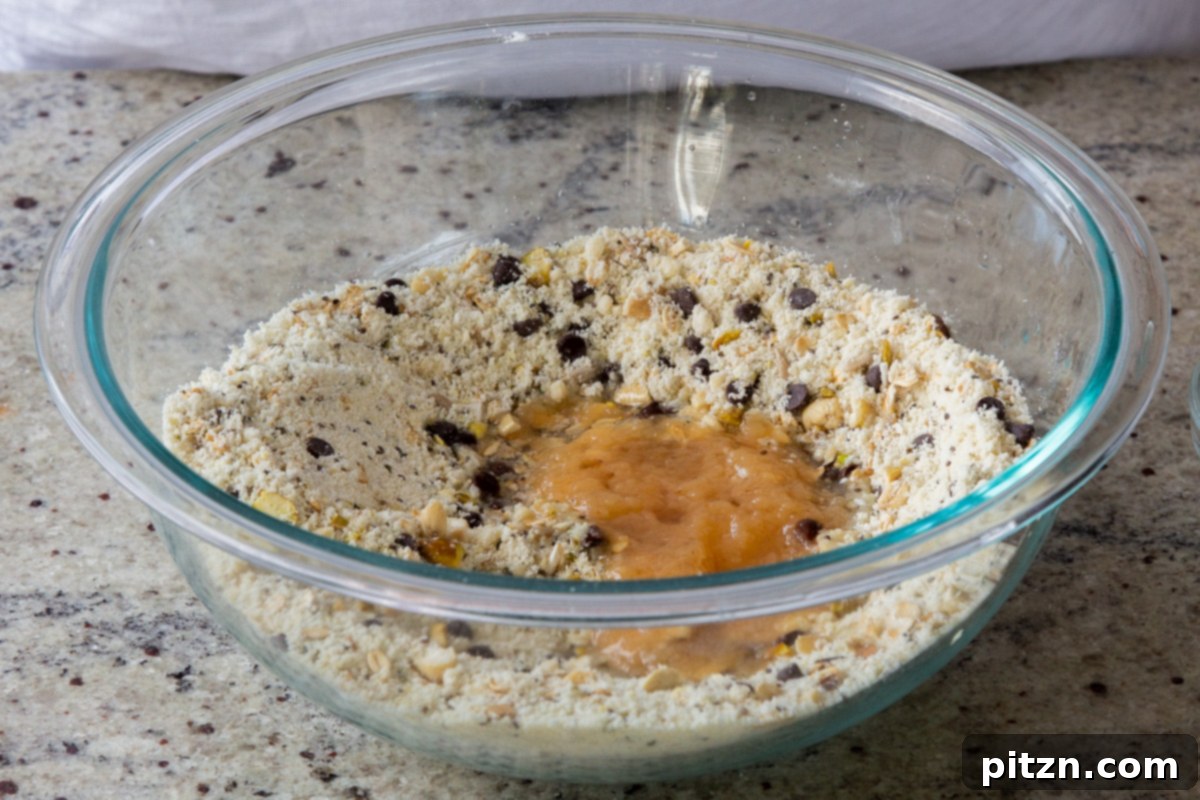
Pour in the melted coconut oil, 4 tablespoons of maple syrup, applesauce, and vanilla extract. Mix and press the ingredients together thoroughly until a homogeneous, soft dough forms. If the mixture seems too dry or isn’t holding together well, add the remaining 1 tablespoon of maple syrup, one teaspoon at a time, until the dough reaches a pliable consistency.
Step 3: Incorporate Chocolate Chips and Press into Pan
Gently fold in the chocolate chips. Line an 8×8-inch brownie pan or baking dish with parchment paper, leaving an overhang on the sides for easy removal. Transfer the granola bar mixture into the prepared pan and press it down very firmly and evenly with a spatula or the back of a spoon. This firm compression is crucial for creating well-structured, non-crumbly bars.
Step 4: Bake to Perfection
Bake the granola bars in a preheated oven at 330°F (165°C) for 20 to 28 minutes. The baking time can vary based on your oven’s calibration and how crispy you prefer your bars. For a softer texture (like a chewy cookie), aim for the shorter baking time. For a super crispy and more shelf-stable bar, you can bake for the full 28 minutes or even a bit longer.
Step 5: Cool and Slice
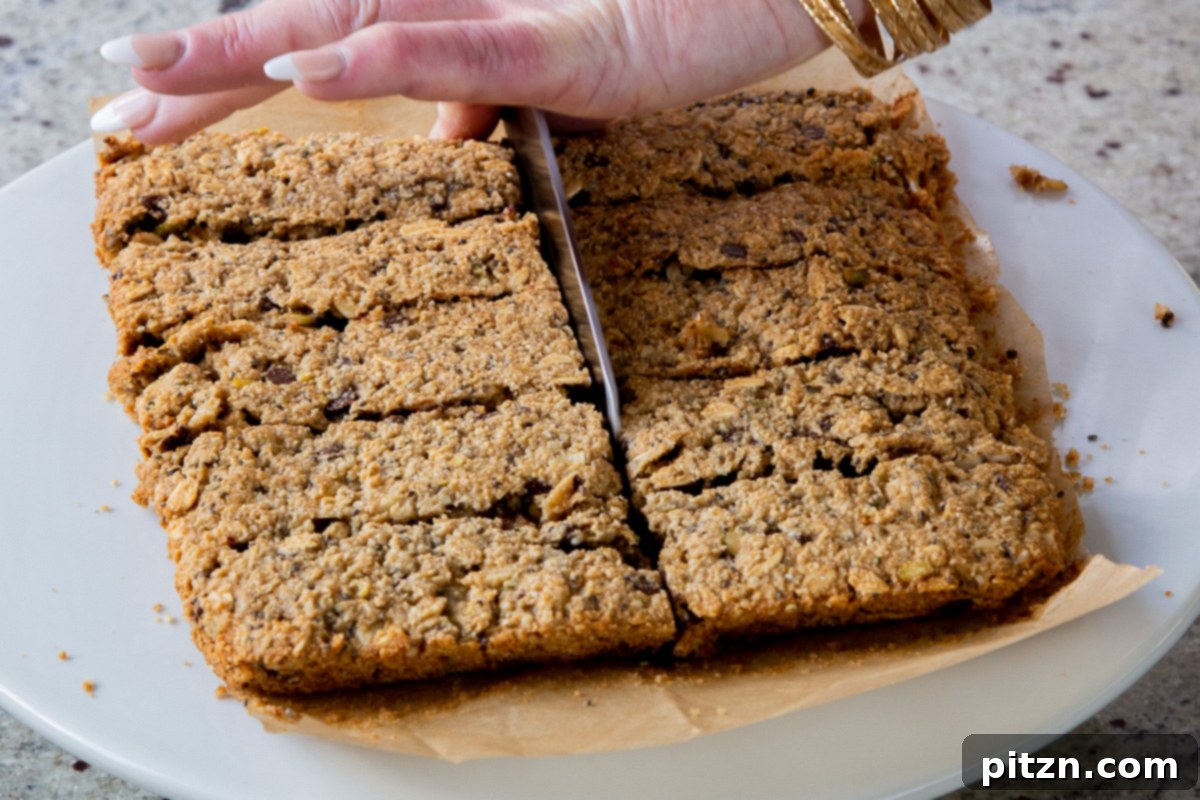
Once baked, remove the pan from the oven and let the bars cool for at least 5 minutes before attempting to slice them. Cooling helps them set and prevents crumbling. Use a really sharp serrated knife to cut them into your desired bar size.
Step 6: Add Optional Chocolate Topping
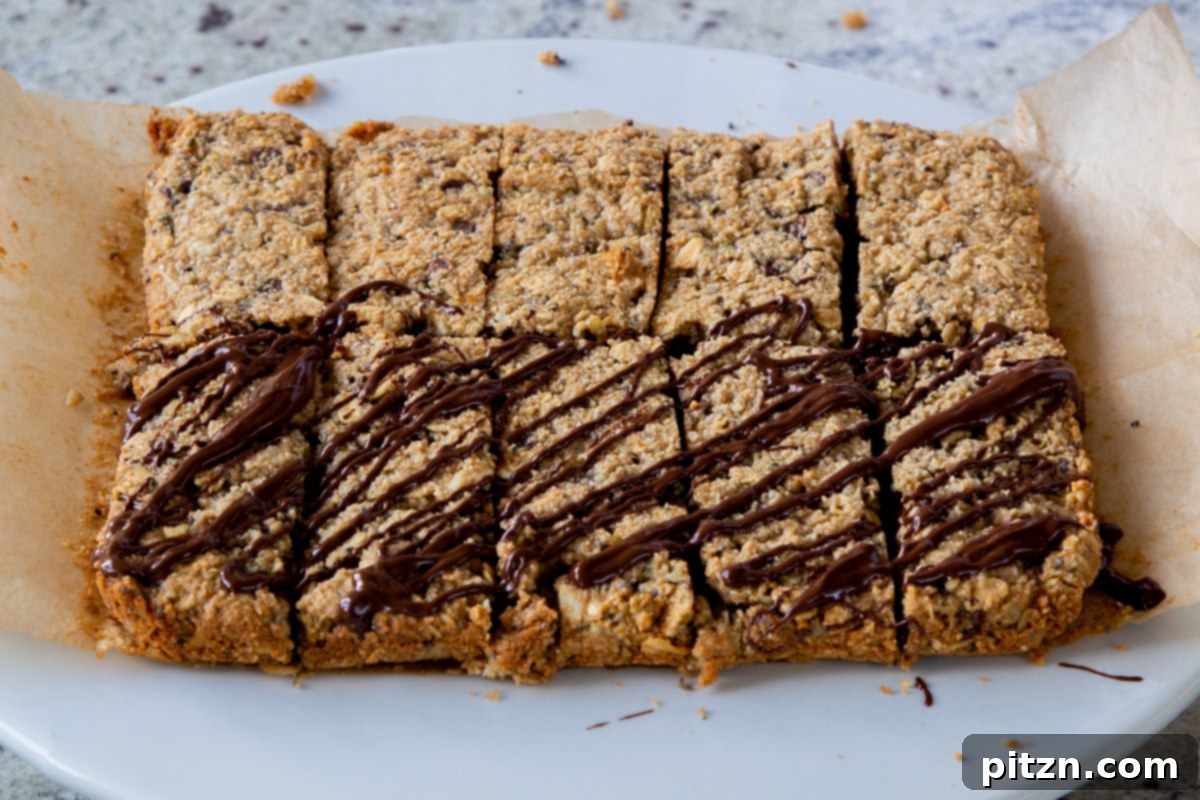
For an extra touch of decadence, prepare the optional melted chocolate topping. Melt 3 tablespoons of chocolate chips using a double boiler or in the microwave (heating in 15-second intervals, stirring in between). Drizzle the melted chocolate generously over the cooled, sliced bars. Place the bars in the refrigerator briefly to allow the chocolate to set completely.
Step 7: Final Cooling and Storage
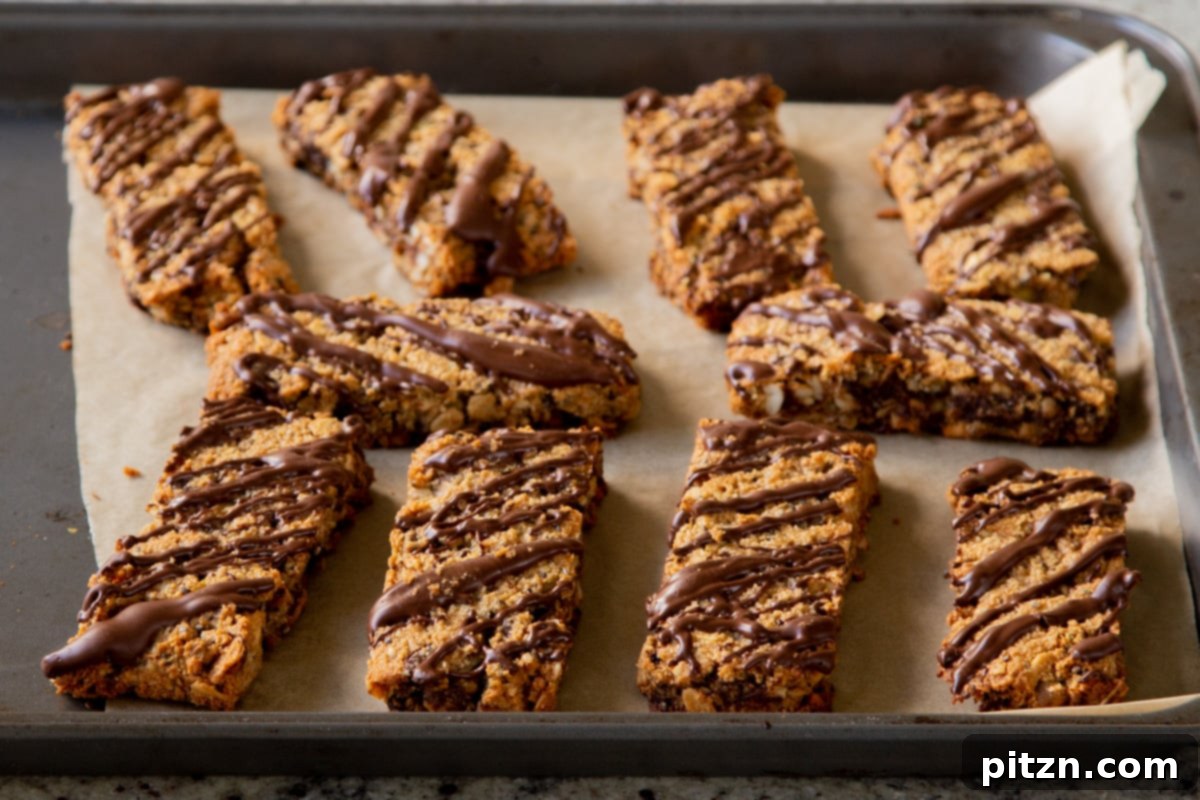
Once the chocolate has set, separate the bars and let them cool completely at room temperature before storing. If you opted for the re-baking method for extra crispiness, separate the bars (with or without chocolate topping) and bake them “biscotti-style” at 350°F (177°C) for 10 to 15 minutes, or until they reach your preferred level of crispness. Cool completely before storing. This longer baking time significantly enhances their shelf stability.
Storage and Shelf Life
To keep your delicious crunchy granola bars fresh for as long as possible, proper storage is key:
- Room Temperature: Store your granola bars in an airtight container on the kitchen counter for up to one week. Ensure they are completely cool before storing to prevent condensation, which can make them soft.
- Refrigeration: For extended freshness, especially if you live in a warm climate or prefer a firmer bar, refrigerate them in an airtight container for up to 3 weeks. This is also ideal if you’ve added the chocolate drizzle, as it helps the chocolate stay firm.
- Freezing: For even longer storage, these granola bars freeze beautifully. Wrap individual bars tightly in parchment paper or plastic wrap, then place them in a freezer-safe bag or container. They can be frozen for up to 2-3 months. Thaw at room temperature or in the refrigerator before enjoying.
Serving Suggestions
These versatile crunchy granola bars are perfect on their own, but here are a few ideas to elevate your snacking experience:
- Breakfast on the Go: Grab a bar for a quick, wholesome breakfast when you’re short on time. Pair it with a cup of coffee or a smoothie.
- Mid-Day Energy Boost: These bars are packed with protein and fiber, making them an excellent choice to beat the afternoon slump.
- Workout Fuel: Enjoy a bar before or after your workout for sustained energy and muscle recovery.
- Lunchbox Treat: A delicious and healthier alternative to store-bought snacks, perfect for school or work lunchboxes.
- Crumbled Topping: Crumble a bar over yogurt, oatmeal, or a fruit salad for added crunch and flavor.
- Dessert Enhancement: Serve alongside a scoop of vegan ice cream or a dollop of coconut whipped cream for a simple, satisfying dessert.
Frequently Asked Questions
The foundation of these bars relies heavily on almond flour for its unique non-sticky texture. Therefore, completely omitting almonds is quite challenging without significantly altering the recipe. However, you can eliminate any other chopped nuts from the mix and replace them with a greater variety of seeds (like sunflower seeds, pumpkin seeds, or sesame seeds) to make them mostly nut-free, excluding the almond flour base.
Yes, absolutely! To make these crunchy granola bars oil-free, simply omit the melted coconut oil. You will need to compensate for the lost liquid by adding about an extra tablespoon of maple syrup to ensure the mixture binds properly and maintains its desired consistency.
For a coconut-free version, simply leave out the shredded coconut from the dry ingredients. If you’re also avoiding coconut oil, you can substitute it with another neutral-flavored oil such as refined sunflower oil, avocado oil, or a similar liquid plant-based oil.
These granola bars can be stored in an airtight container at room temperature for up to one week. For longer freshness, especially in warmer climates or if you prefer a firmer texture, they can be refrigerated for up to three weeks. For even longer storage, they freeze exceptionally well for up to two months.
Yes, you can certainly make these granola bars without oats. Just omit the old-fashioned oats from the dry ingredients. You might find the mixture slightly softer, so you may need to reduce the maple syrup by a few teaspoons to achieve the right dough consistency.
For a rich, intense flavor, dark chocolate chips are an excellent choice. However, any type of chocolate chips you enjoy will work perfectly, including semi-sweet, milk chocolate (if not strictly vegan), or even white chocolate chips. Ensure your chosen brand is vegan if following a plant-based diet.
More Homemade Granola Bars to Explore
If you loved these non-sticky granola bars, you might enjoy exploring other homemade varieties. Here are a few more recipes to inspire your snacking adventures:
- No-Bake Sun Butter Granola Bars
- No Bake Ginger Chocolate Granola Bars
- Caramelized Banana Granola Bars
- Banana Oatmeal Bars with Cinnamon Crumb