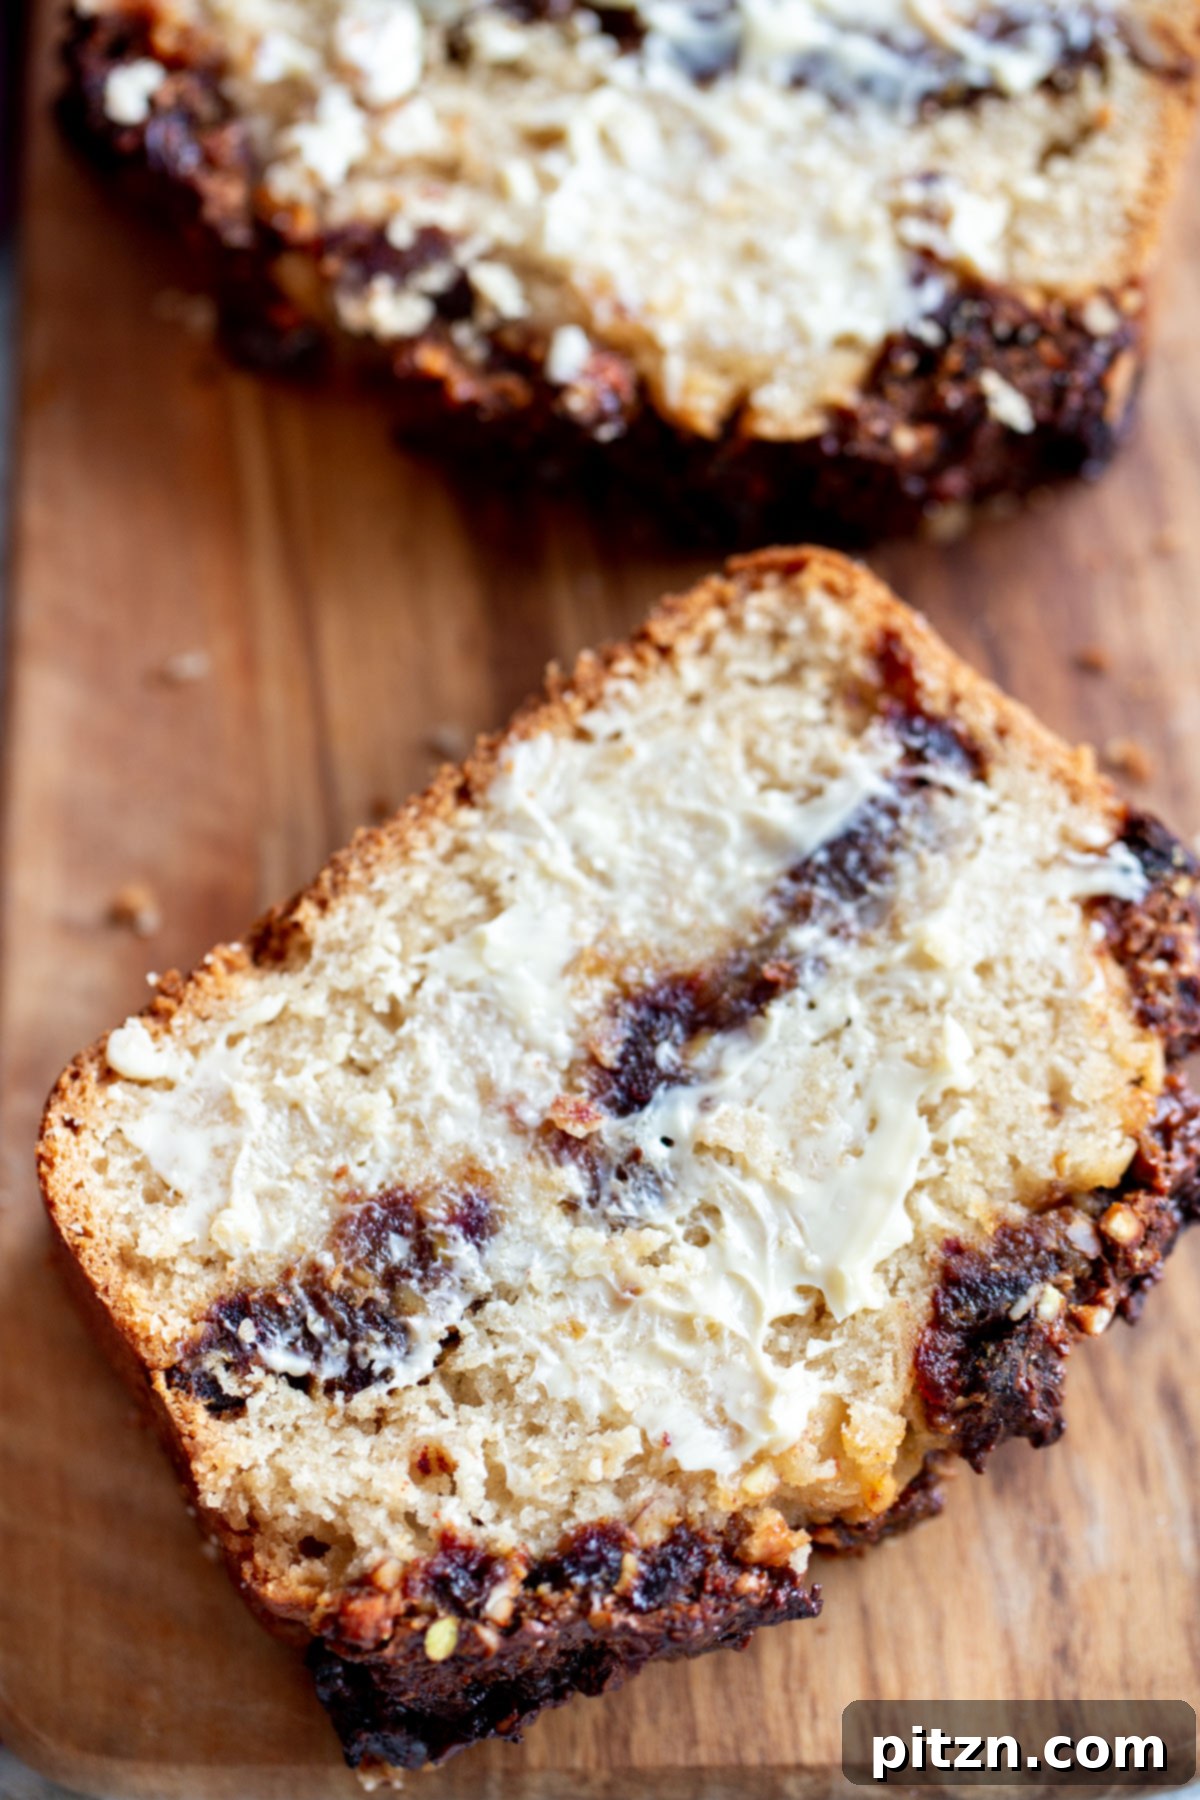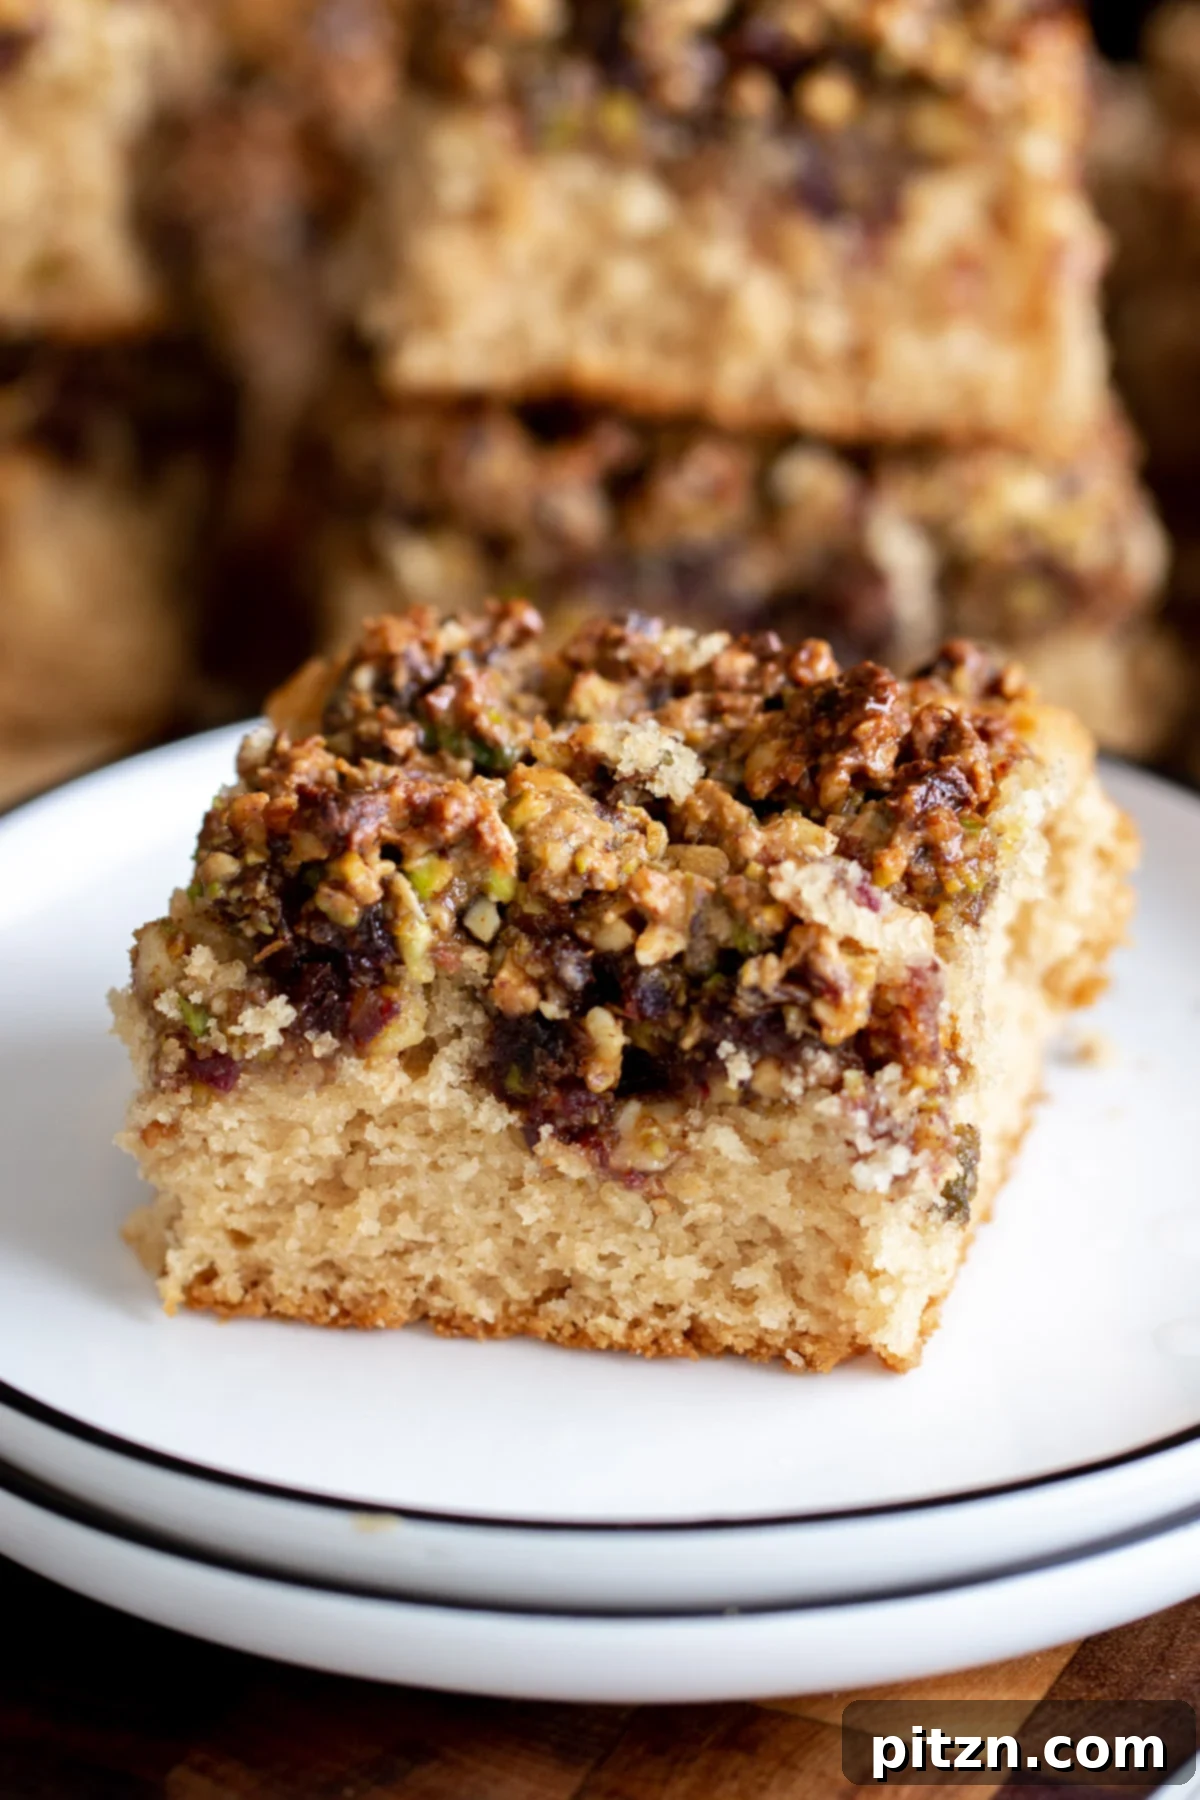
Indulge in the Decadent Vegan Baklava Cake: A Nutty, Moist Delight
Prepare to be enchanted by this easy-to-make vegan baklava cake, a truly moist and delicious dessert that captures the essence of traditional baklava without the fuss. Featuring a rich, nutty filling that swirls through the cake and forms a delightful topping, this treat offers a decadent experience that is perfectly balanced in sweetness. Crafted for those who appreciate gourmet flavors, it also includes options for gluten-free and oil-free dietary needs, ensuring everyone can enjoy a slice of this magnificent creation.
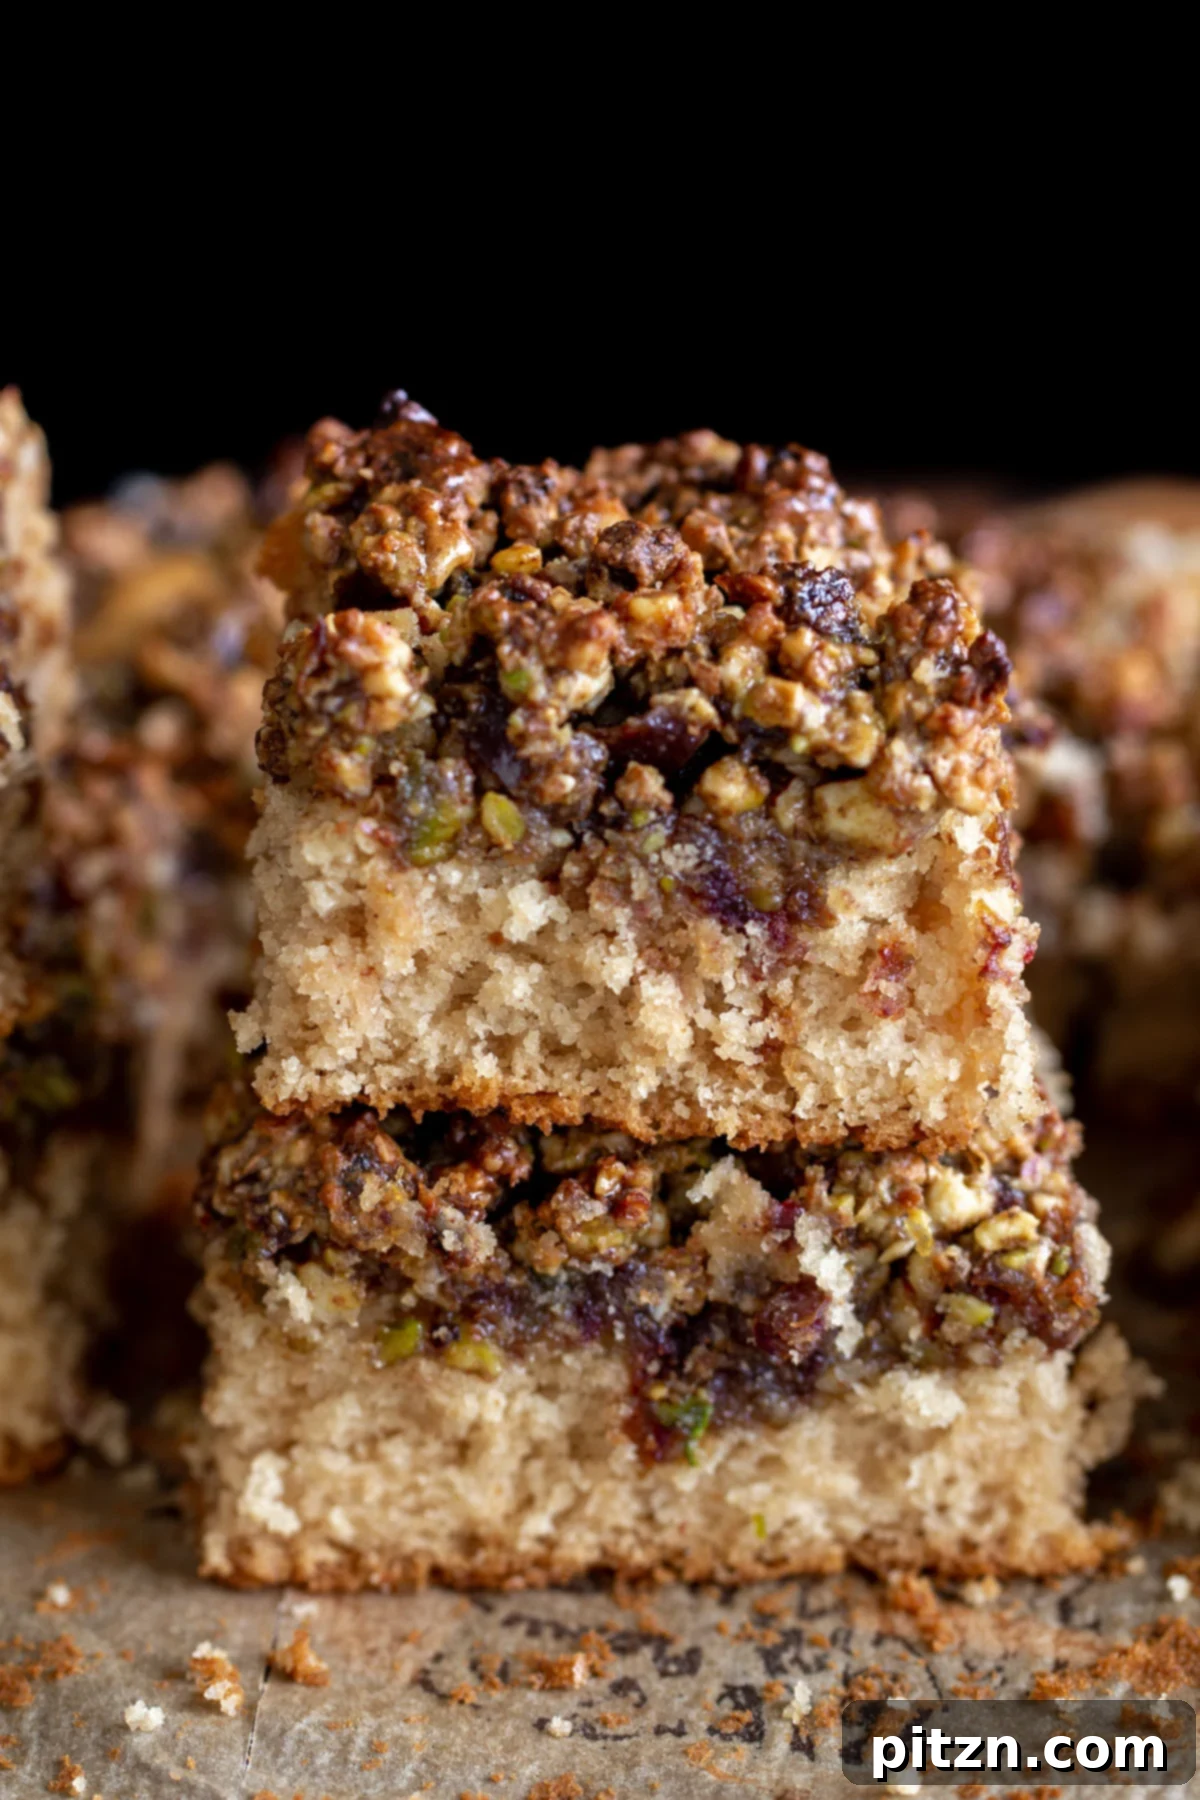
The Magic of Baklava, Reimagined as a Cake
My adoration for baklava runs deep. That iconic Middle Eastern pastry, with its countless layers of golden, crisp filo dough, generously filled with finely chopped nuts, and drenched in a sticky, sweet syrup, is nothing short of a culinary masterpiece. The idea of capturing those complex, luxurious flavors and textures within the comforting embrace of a cake became an irresistible challenge. And thus, this vegan baklava cake was born – a true labor of love that marries the best of both worlds.
This baklava-inspired cake is more than just a dessert; it’s a shortcut to baklava bliss. It serves as an exquisite centerpiece for any gathering, whether it’s a casual coffee date with friends, a festive holiday celebration, or simply an evening indulgence. Its stunning appearance is matched only by its incredible taste, making it a showstopper that will earn you rave reviews.
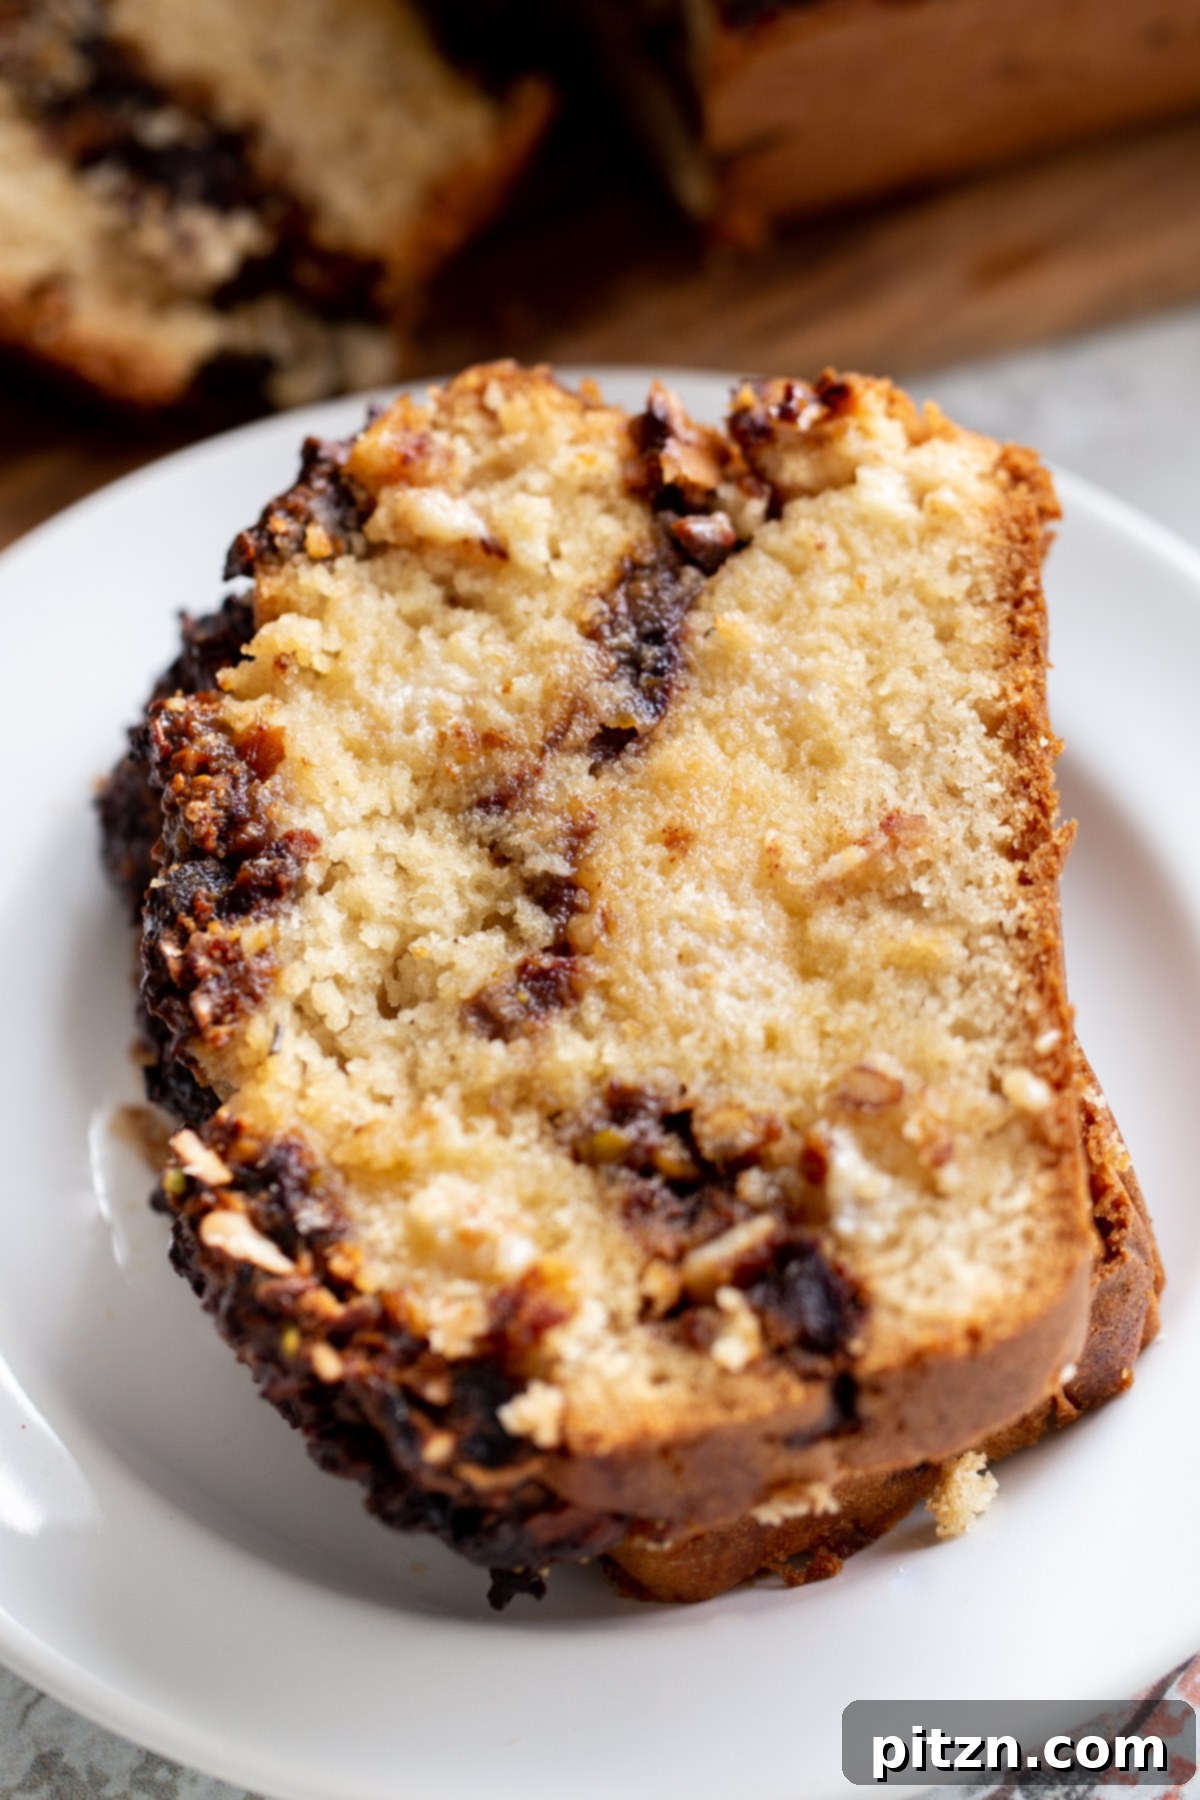
Imagine a cake that combines the delightful moisture of a classic sponge with the aromatic crunch of a baklava filling, used both as a rich topping and a delicious swirl throughout. This creation is truly decadent and delicious, yet thoughtfully crafted to avoid being overly sweet. It strikes a perfect balance, making it an ideal companion for afternoon tea or as a satisfying dessert after any meal—sweet enough to satisfy cravings, but light enough not to feel heavy.
A key element to this cake’s unparalleled moisture and flavor is the zesty syrup. Immediately after baking, while the cake is still warm, we generously brush it with a vibrant, citrus-infused syrup. This allows the cake to absorb every drop of sweetness and tang, resulting in an exceptionally moist and flavorful bite. The contrast between the warm, soft cake and the refreshing syrup is simply divine.
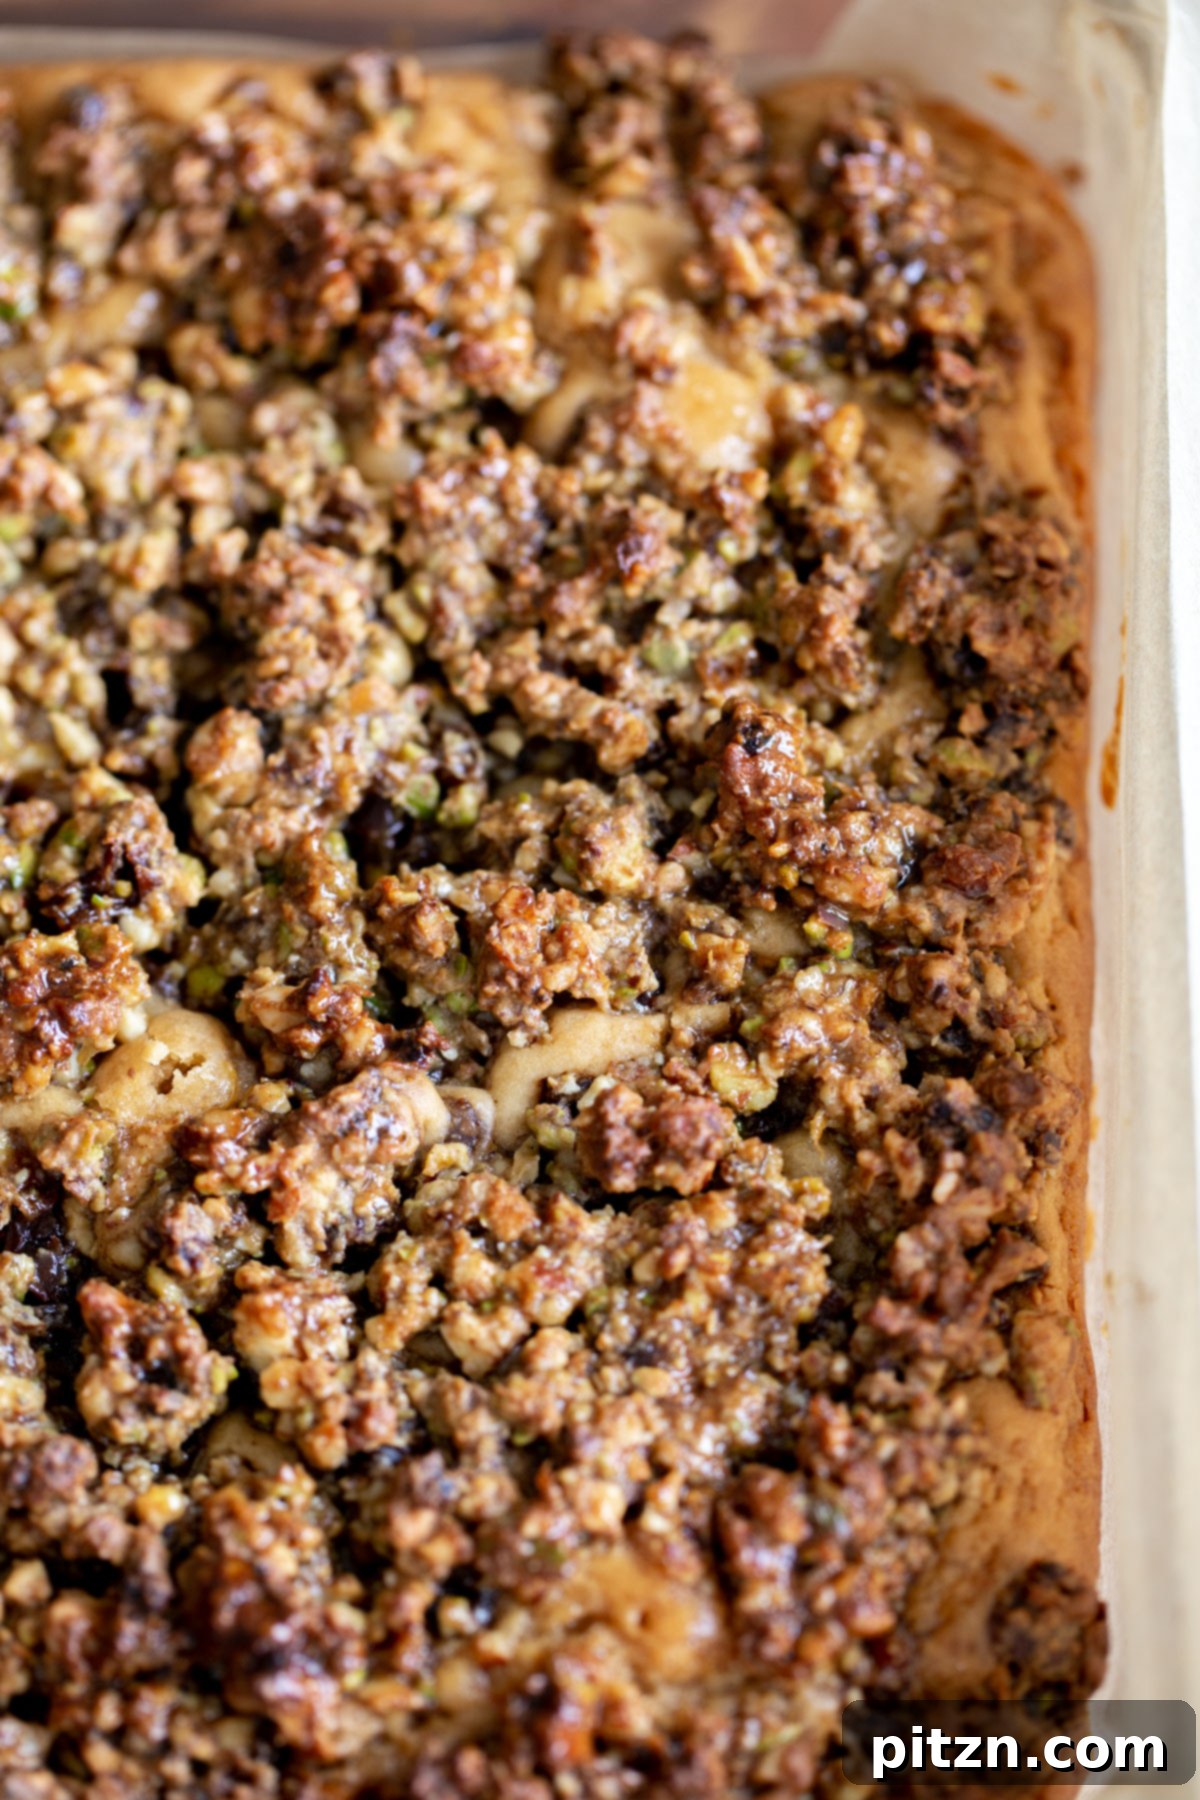
Versatile Baking Options: Loaf or Brownie Pan
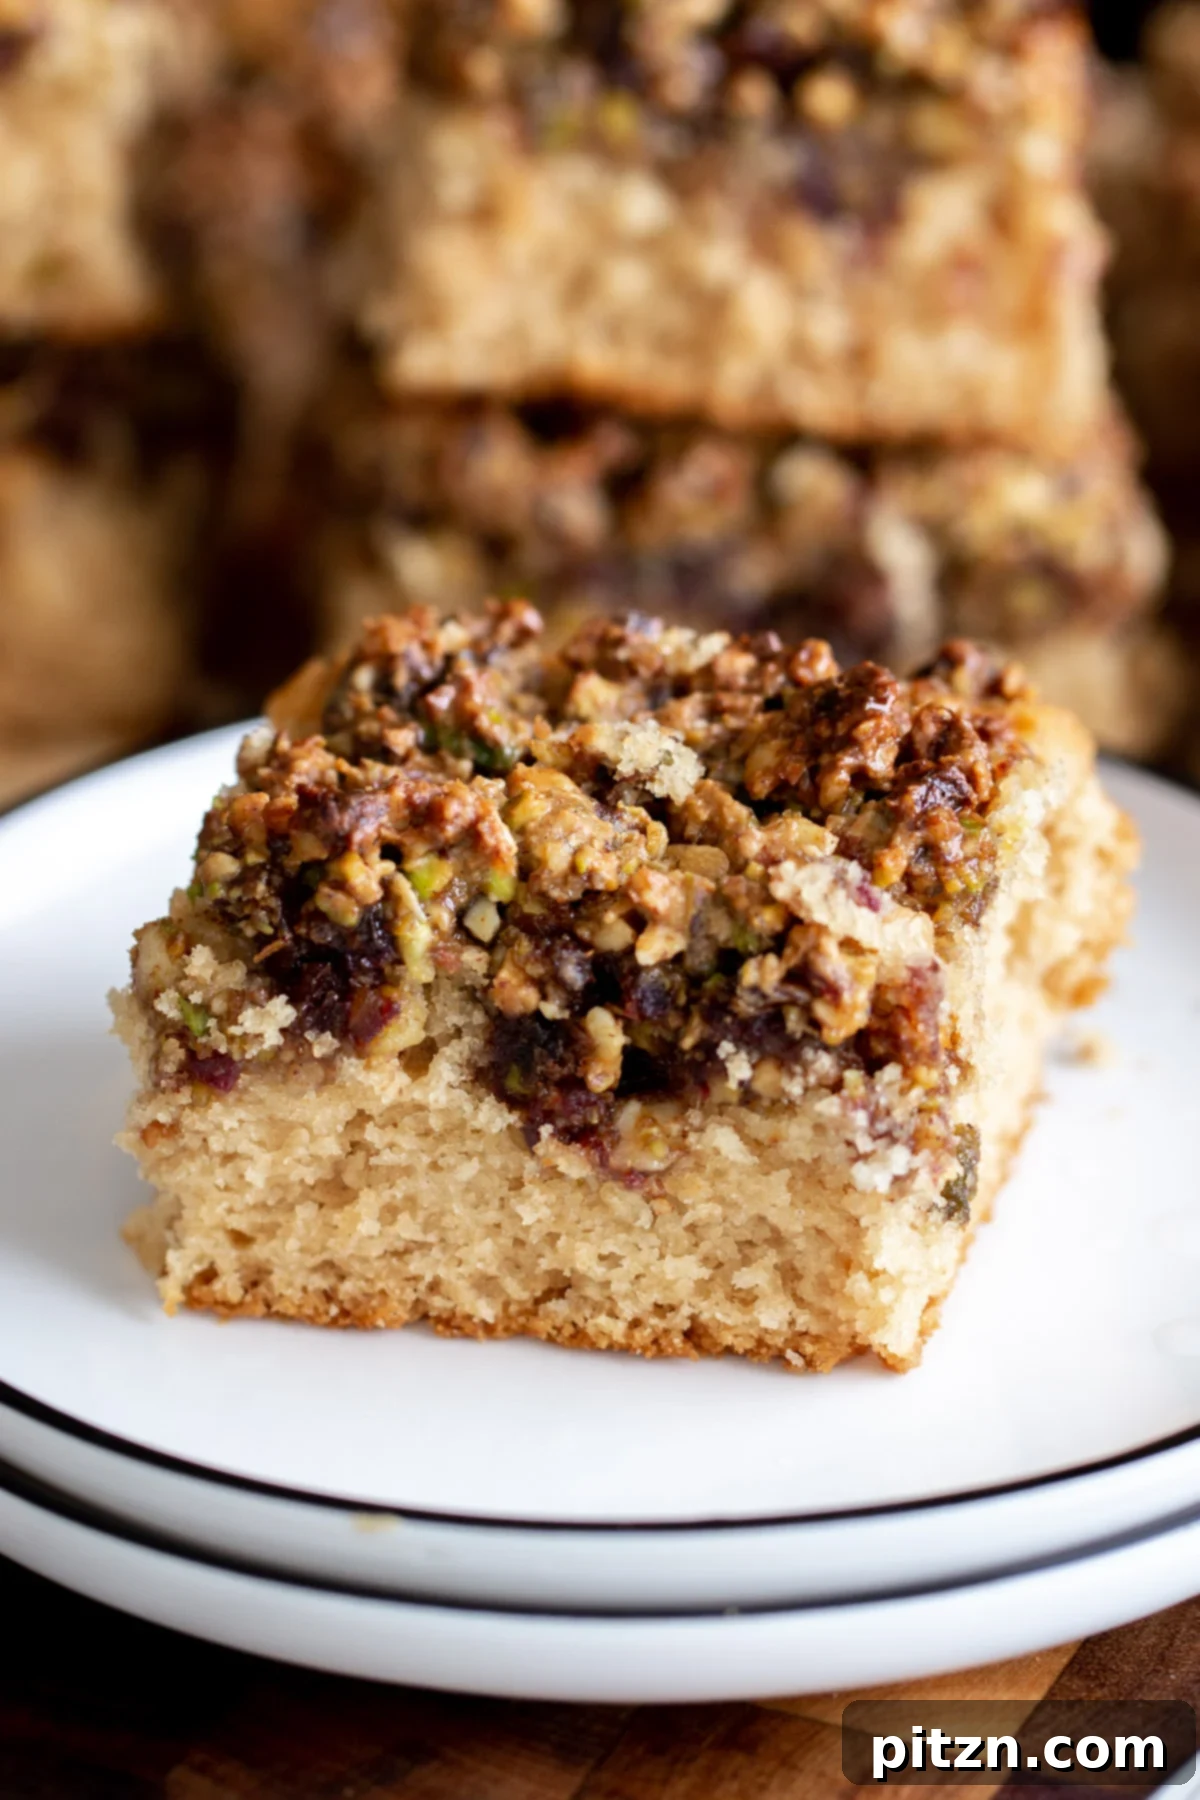
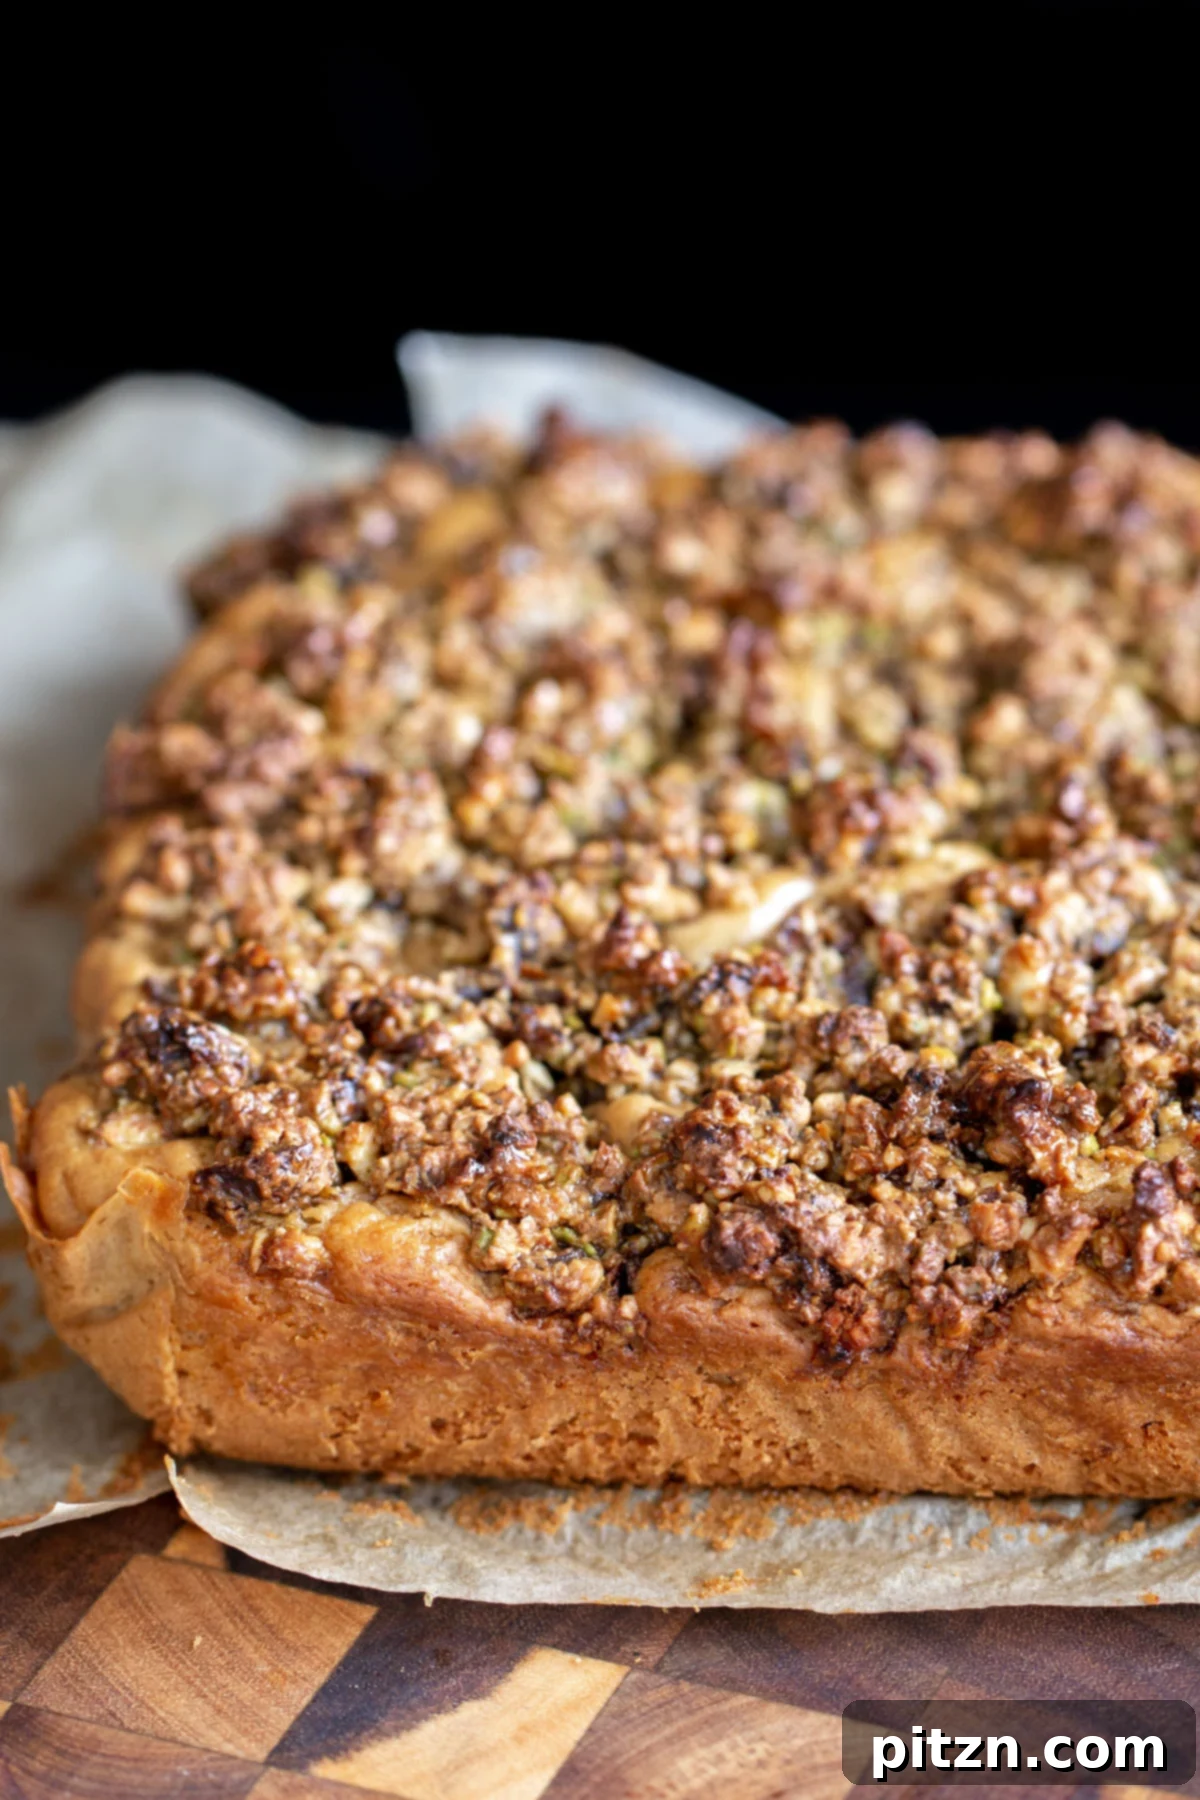
One of the great advantages of this baklava cake recipe is its flexibility in baking. You can choose to bake it in either an 8×8 or 9×9 inch brownie pan, yielding beautiful squares as pictured, or opt for a 9×5 inch loaf pan for a more traditional cake slice. I personally favor the square pan because it allows the cake to bake faster and more evenly. When using a loaf pan, the longer baking time can sometimes lead to the nuts on top becoming overly toasted or even burning, which we definitely want to avoid for that perfect golden crunch. Detailed instructions for both pan types are included in the recipe to guide you to success.
More Delicious Vegan Cake Recipes:
If you’ve enjoyed this baklava cake, be sure to explore some of our other delightful plant-based cake creations:
- German Chocolate Loaf Cake
- Vegan Mango Cake
- Vegan Date Nut Cake (Eggless)
- Vegan Chocolate Gingerbread Cake
- Vegan Gluten-Free Chocolate Cake
Vegan Baklava Cake
Vegan Richa
25
35
1
12
Dessert, Snack
American, Middle Eastern
Ingredients
For the cake:
Wet Ingredients:
- 1 cup non-dairy milk, such as almond, soy or oat milk
- 2 tablespoons applesauce or non-dairy yogurt
- 1 teaspoon vinegar, use apple cider or white vinegar
- 1/3 cup sugar
- 1/4 cup oil , or use 2 tablespoons more applesauce to make it oil-free
- 1 teaspoon vanilla extract
- a few drops of almond extract
Dry Ingredients:
- 1.5 cups all-purpose flour
- 2 teaspoon baking powder
- 1/4 teaspoon baking soda
- 1/2 teaspoon salt
For the nut layer:
- 1/2 cup raw almonds
- 1/3 cup raw walnuts
- 1/3 cup raw pistachios
- 1 cup soft dates pitted
- zest of a lemon
- 1/2 teaspoon cinnamon
- 1/4 teaspoon salt
- 2 tablespoons maple syrup
For the syrup dressing:
- 1.5 tablespoons maple syrup
- 2 teaspoons lemon juice
- a drop of vanilla extract
- 2 teaspoons water
Instructions
-
1. Prepare the Cake Batter: In a large mixing bowl, combine all the wet ingredients (non-dairy milk, applesauce or yogurt, vinegar, sugar, oil, vanilla extract, and almond extract). Whisk them together thoroughly until well combined and the sugar has dissolved.
-
2. Combine Dry Ingredients: Add the dry ingredients (all-purpose flour, baking powder, baking soda, and salt) directly into the bowl with the wet ingredients. You can lightly mix the flour, baking powder, and soda on top of the wet ingredients before folding them all together, or whisk the dry ingredients in a separate bowl and then add to the wet.
-
3. Mix the Batter: Gently mix the batter until just combined. Be careful not to overmix, as this can lead to a tough cake. A few lumps are perfectly fine. If the batter seems too runny, gradually add 1-2 extra tablespoons of flour until it reaches a thick, pourable consistency.
-
4. Prepare the Nut Layer: Add the raw almonds, walnuts, and pistachios to a food processor. Pulse until the nuts are coarsely chopped, resembling a coarse meal. Be careful not to over-process them into a paste.
-
5. Create the Sticky Nut Mixture: Add the pitted soft dates, lemon zest, and salt to the food processor with the chopped nuts. Process again until the dates break down and are well incorporated. Finally, add the maple syrup and pulse for about 15 seconds more. This will help the maple syrup bind the mixture into a sticky, cohesive “dough.” Set this flavorful nut mixture aside.
-
6. Make the Dressing Syrup: In a small saucepan, combine all the syrup ingredients: maple syrup, lemon juice, vanilla extract, and water. Bring the mixture to a gentle boil over medium heat, then immediately remove it from the heat. Set it aside to cool slightly.
-
7. Prepare Your Baking Pan: Preheat your oven to 350°F (180°C). Line an 8×8 or 9×9 inch brownie pan, or a 9×5 inch loaf pan, with parchment paper, leaving an overhang on the sides for easy removal.
-
8. Layer the Cake: Pour the entire cake batter into the prepared brownie pan and spread it evenly. If using a loaf pan, pour half of the cake batter into the pan and smooth it out.
9. Add the Nut Filling: For a brownie pan, distribute the entire nut mixture evenly over the top of the cake batter. For a loaf pan, spread half of the nut mixture over the first layer of batter. Then, carefully add the remaining cake batter on top, followed by the rest of the nut mixture, spreading it out evenly. -
10. Bake the Cake: Place the pan in the preheated oven and begin baking.
-
11. Prevent Burning: After about 15-20 minutes of baking, the nuts on top might start to brown. To prevent them from burning, loosely cover the pan with a piece of parchment paper or aluminum foil. Continue to bake for another 10-15 minutes for a brownie pan, or 25-35 minutes for a loaf pan.
-
12. Check for Doneness: To ensure the cake is fully baked, insert a toothpick into the center. If it comes out mostly clean with a few moist crumbs attached, the cake is ready. If it comes out wet, continue baking for a few more minutes and check again.
-
13. Syrup Application and Cooling: Once baked, remove the cake from the oven and let it cool in the pan for 10 minutes. While still warm, generously brush the prepared syrup mixture all over the cake’s surface. Let the cake cool for another 15 minutes in the pan. Then, using the parchment paper overhangs, carefully lift the cake out of the pan and transfer it to a wire rack. Cover it loosely with the parchment paper and let it cool for at least another 15 minutes before slicing and serving for the best texture.
Video
Notes
- For a different citrus twist, use orange zest instead of lemon zest in the nut layer.
- While cinnamon offers a classic flavor, feel free to experiment with other warm spices. A touch of cardamom or nutmeg in the nut layer can add a delightful aromatic complexity.
- Gluten-free Option: To make this cake gluten-free, use a specialized flour blend. A good option is to mix 3/4 cup almond flour, 3/4 cup oat flour, and 1/2 cup potato starch. Start with 1.5 cups of this mixture for the dry ingredients, adding more as needed to achieve the correct batter consistency. For the wet ingredients, consider using 1/2 cup non-dairy milk and 1/2 cup unsweetened club soda to help with the rise and texture in gluten-free baking.
- Nuts are central to the authentic baklava flavor and texture. However, if you need an alternative due to allergies or preference, you could try a mix of seeds such as pumpkin, sunflower, and hemp. To balance the seed texture and fat content, add about 1/4 cup of fine breadcrumbs (gluten-free if needed).
Nutrition
Carbohydrates: 34g,
Protein: 4g,
Fat: 12g,
Saturated Fat: 1g,
Sodium: 197mg,
Potassium: 274mg,
Fiber: 3g,
Sugar: 18g,
Vitamin A: 17IU,
Vitamin C: 1mg,
Calcium: 91mg,
Iron: 1mg
Nutrition information is automatically calculated, so should only be used as an approximation.
Did you make this recipe? Rate and comment below!
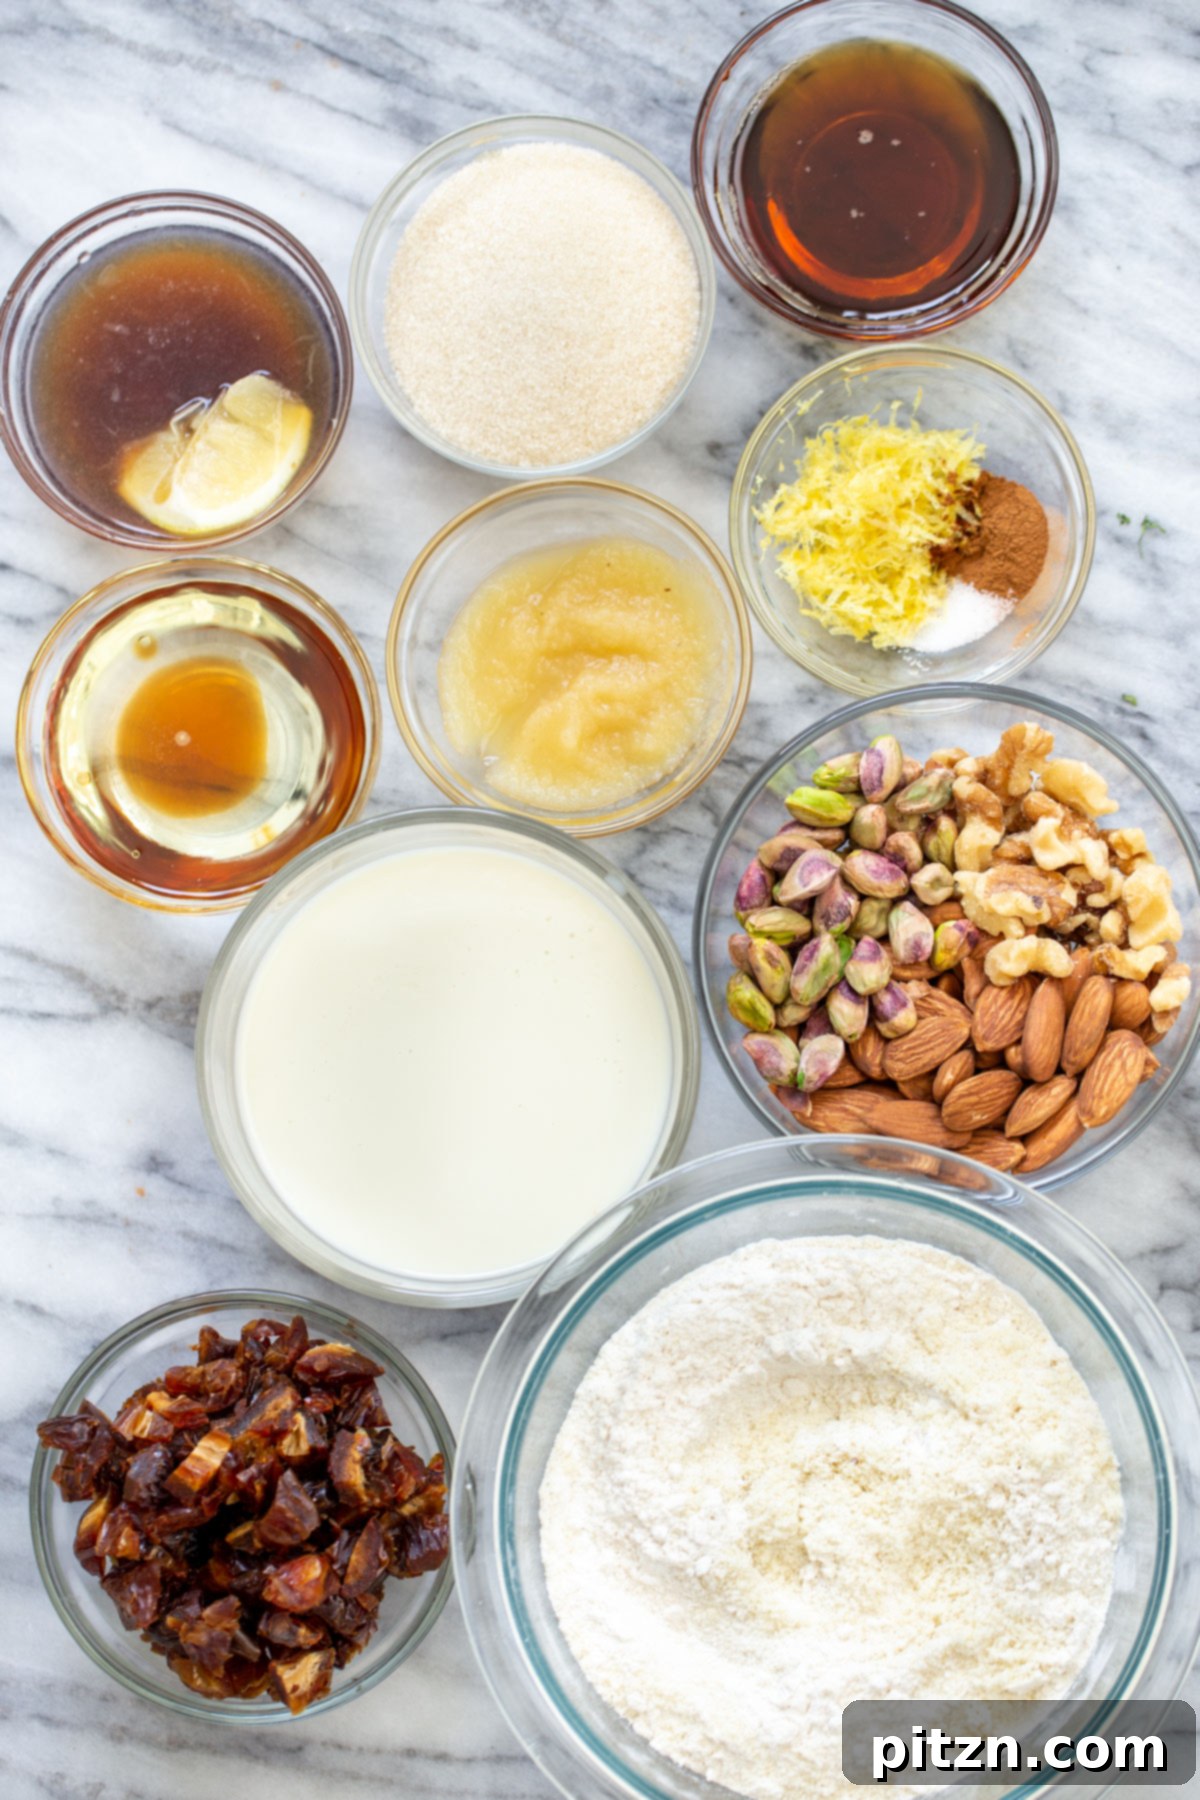
Understanding the Ingredients
Crafting this incredible vegan baklava cake relies on a thoughtful blend of plant-based ingredients that deliver on flavor, texture, and moisture. Let’s break down the key components and their roles:
- Wet Ingredients: The base of our moist cake batter comes from a combination of non-dairy milk (almond, soy, or oat milk all work beautifully) and applesauce. Applesauce not only adds moisture but also acts as a natural sweetener and can even replace oil for an oil-free option.
- Flavor Enhancers: Vanilla extract brings a classic warmth, while a few drops of almond extract elevate the flavor profile, giving it that distinct, irresistible baklava aroma.
- Leavening Agents: Vinegar, when combined with baking powder and baking soda, creates a chemical reaction that helps the cake rise perfectly, resulting in a light and airy crumb.
- Sweetness and Moisture: A modest amount of sugar provides sweetness to the cake. For added moisture, a small quantity of oil is used, though as mentioned, applesauce is an excellent oil-free substitute.
- Dry Foundation: All-purpose flour forms the structural base of the cake. For gluten-free variations, a specific blend of flours is recommended.
- The Signature Nut Layer: This is where the baklava magic truly shines! We use a blend of raw almonds, walnuts, and pistachios for a diverse texture and rich flavor. These nuts are finely chopped to create that authentic baklava filling consistency.
- Natural Sweeteners for the Filling: Soft, pitted dates add natural sweetness and bind the nut mixture, creating a delightful sticky texture. Maple syrup further enhances the sweetness and cohesion of the filling.
- Aromatic Zest: The zest of a lemon brightens the entire nut filling with a refreshing citrus note. If you prefer, orange zest can be used for a slightly different aromatic twist.
- Spice: Ground cinnamon is a must-have for that characteristic Middle Eastern warmth in the nut layer.
- Syrup Dressing: The finishing touch is a simple yet potent syrup made from maple syrup, fresh lemon juice, and a drop of vanilla extract. This syrup is brushed onto the warm cake, ensuring every bite is incredibly moist and flavorful.
Expert Tips for Baking Your Best Baklava Cake
Achieving baklava cake perfection is easy with these helpful tips:
- Yogurt Substitute: Instead of applesauce, you can successfully use an equal amount of plain, unsweetened non-dairy yogurt for a similar moist result.
- Citrus Variations: Don’t hesitate to experiment with the citrus zest in your nut layer. Orange zest offers a lovely alternative to lemon, providing a sweeter, more fragrant aroma.
- Spice it Up: While cinnamon is wonderful on its own, adding a pinch of ground cardamom or nutmeg to the nut layer can introduce even more depth and a truly exotic flavor, reminiscent of traditional baklava.
- Oil-Free Adaptation: For an entirely oil-free cake, simply substitute the ¼ cup of oil in the batter with an additional 2 tablespoons of applesauce. This adjustment maintains moisture without compromising texture.
- Don’t Overmix: When combining wet and dry ingredients for the cake batter, mix until just combined. Overmixing can develop the gluten in the flour, leading to a tough, dense cake. A few small lumps are perfectly acceptable.
- Parchment Paper is Your Friend: Always line your baking pan with parchment paper, allowing it to overhang on the sides. This makes lifting the cake out of the pan incredibly easy once baked, preventing sticking and ensuring a clean presentation.
- Monitor Nut Browning: Keep a close eye on the cake during baking, especially the nut topping. If it starts to brown too quickly, gently cover the pan with aluminum foil or another piece of parchment paper to protect it from excessive heat.
- Allow for Proper Cooling: While it’s tempting to slice into a warm cake, allowing it to cool for the recommended time (even with the syrup) helps the cake set properly, makes it easier to cut clean slices, and allows the flavors to meld beautifully.
How to Make Your Vegan Baklava Cake: A Step-by-Step Guide
Follow these detailed steps to create a show-stopping vegan baklava cake that will impress everyone.
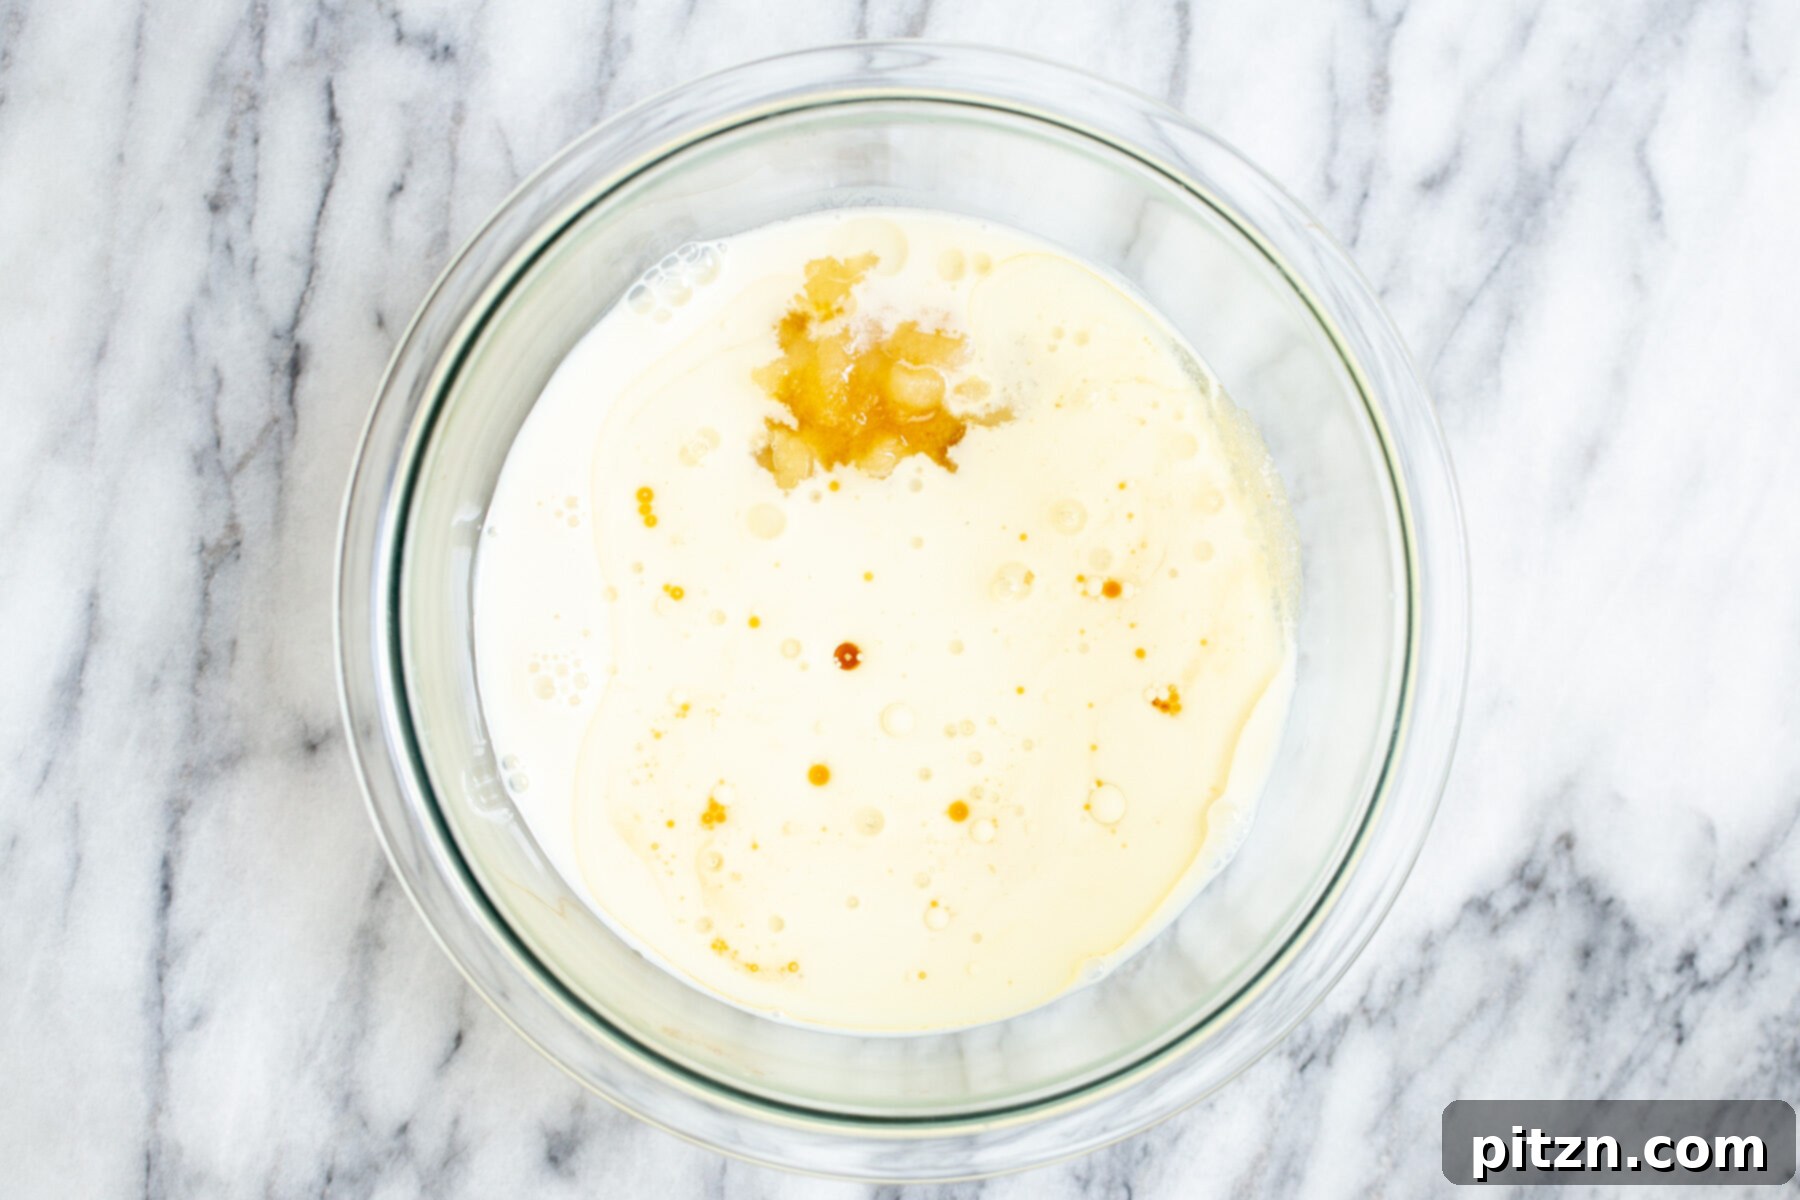
Step 1: Make the Cake Batter
Begin by adding all the wet ingredients – non-dairy milk, applesauce or non-dairy yogurt, vinegar, sugar, oil (if using), vanilla extract, and almond extract – to a large mixing bowl. Whisk them together vigorously until they are thoroughly combined and the sugar crystals have dissolved. This ensures an even distribution of flavors and moisture throughout your cake.
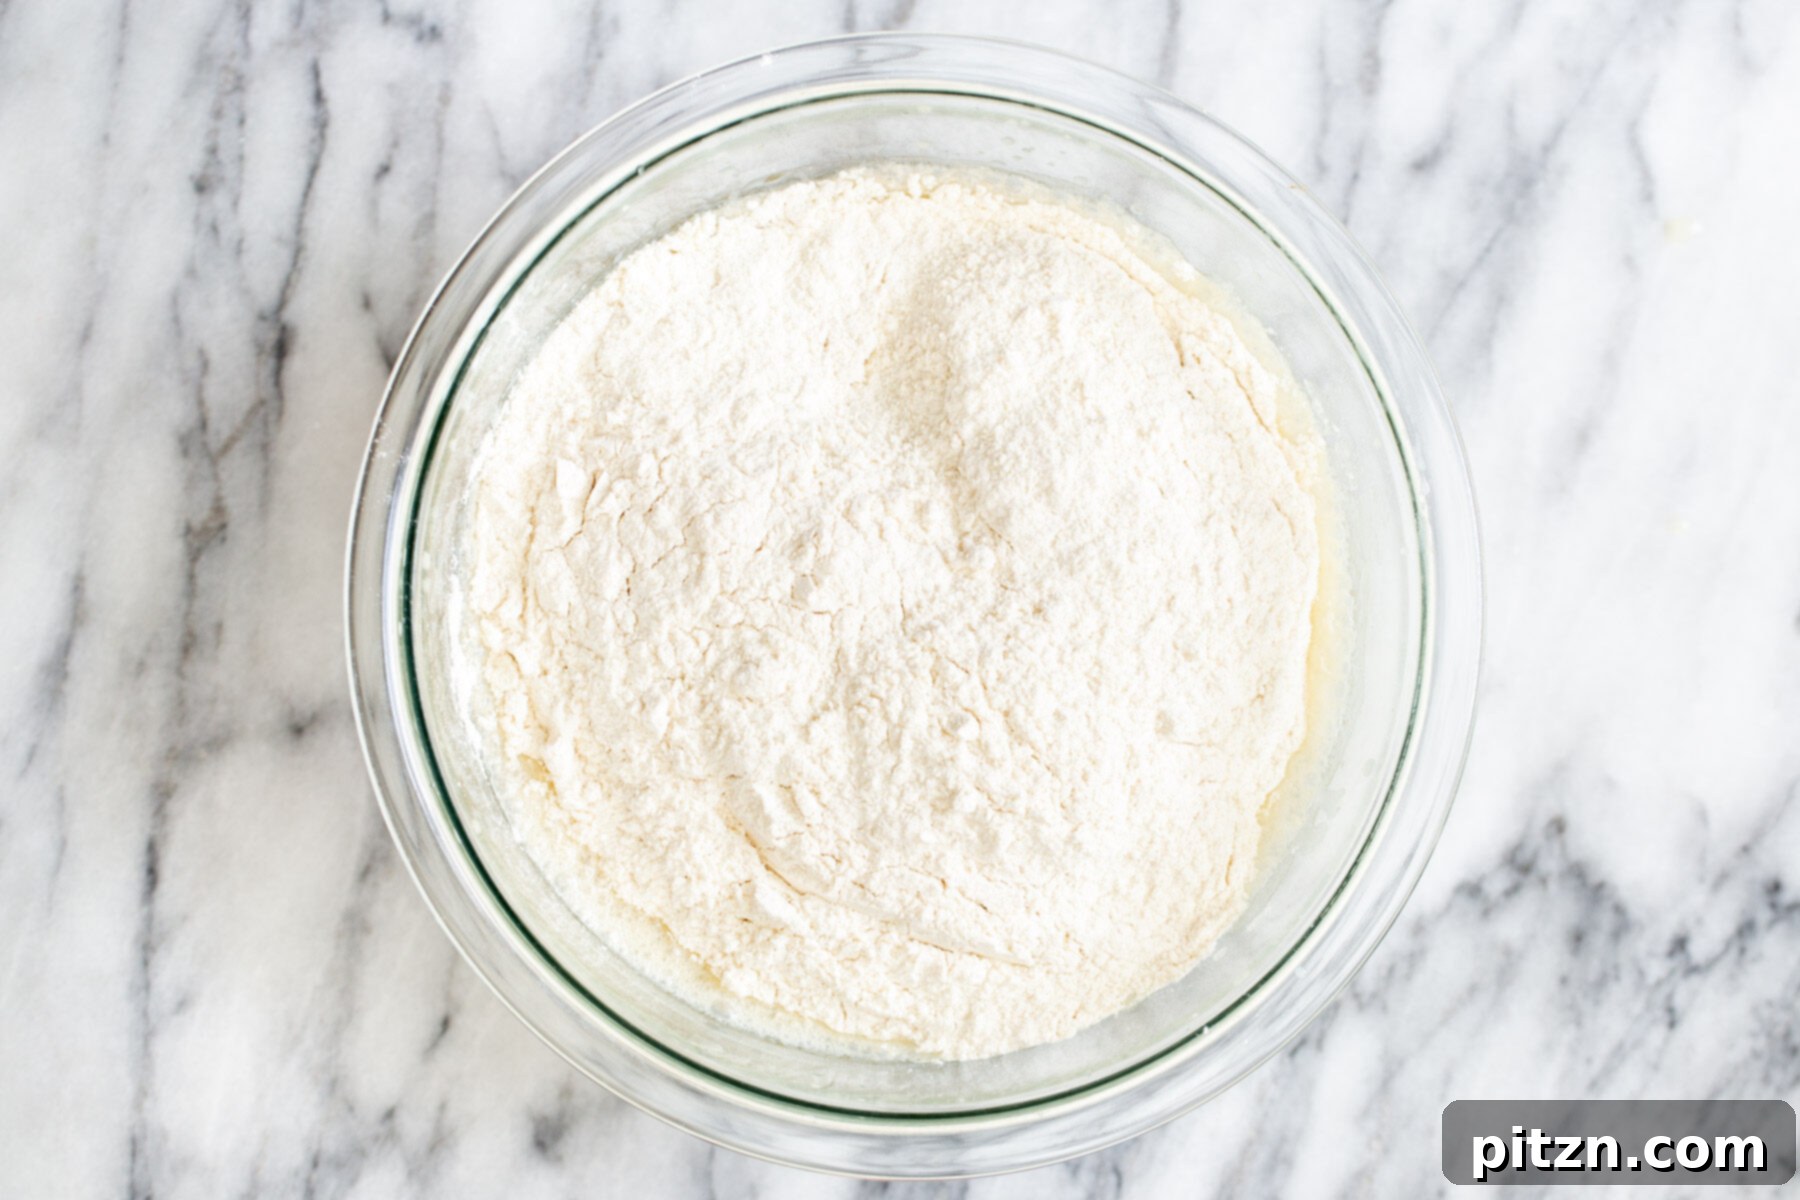
Next, introduce the dry ingredients. You can sprinkle the flour, baking powder, baking soda, and salt directly over the wet ingredients. Gently mix the flour with the leavening agents on top before folding all the ingredients together. Alternatively, for a more controlled approach, whisk the dry ingredients together in a separate bowl before adding them to the wet mixture.
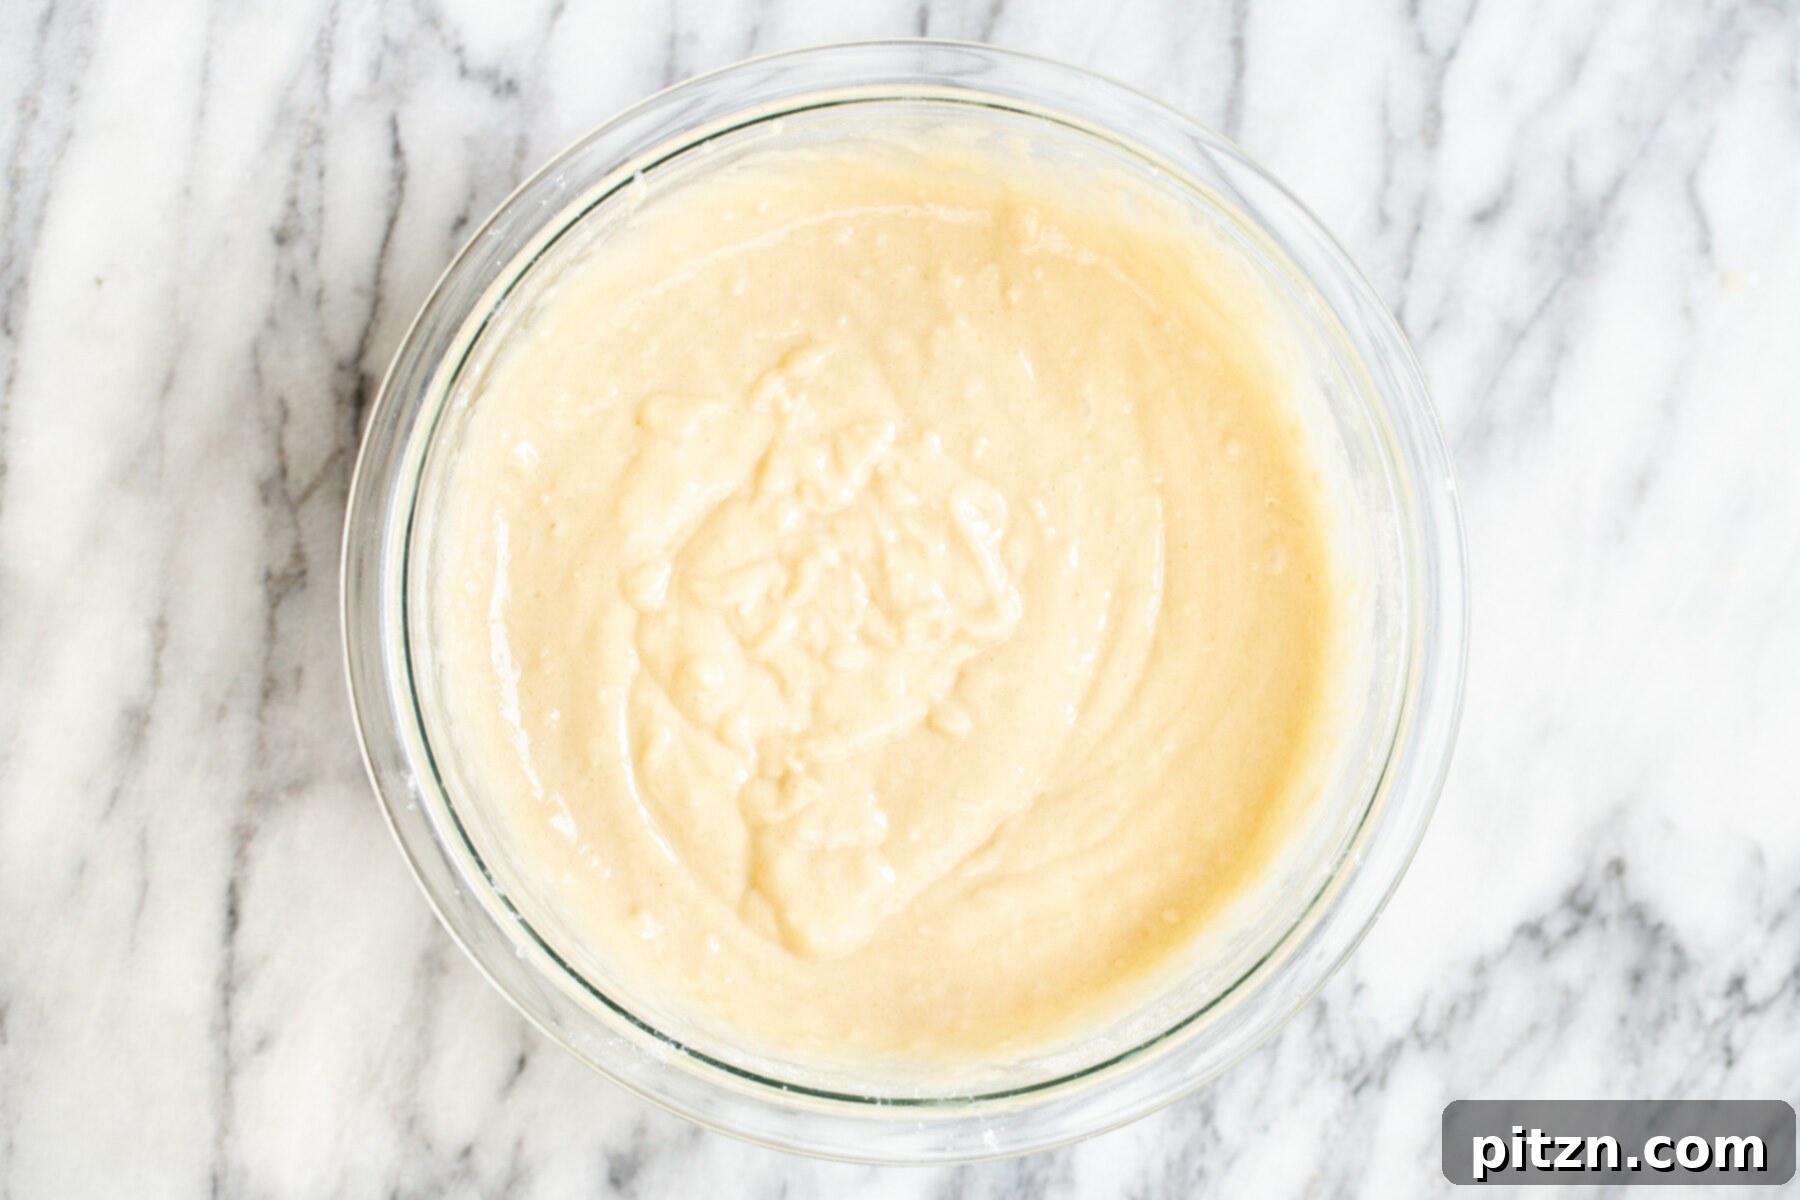
Mix the batter until just about combined. It’s crucial not to overmix, as this can lead to a dense, tough cake. A few small lumps are perfectly fine. If, after mixing, the batter appears too thin or runny, incorporate an additional 1-2 tablespoons of flour, mixing just until the desired consistency is achieved.
Step 2: Prepare the Nut Layer
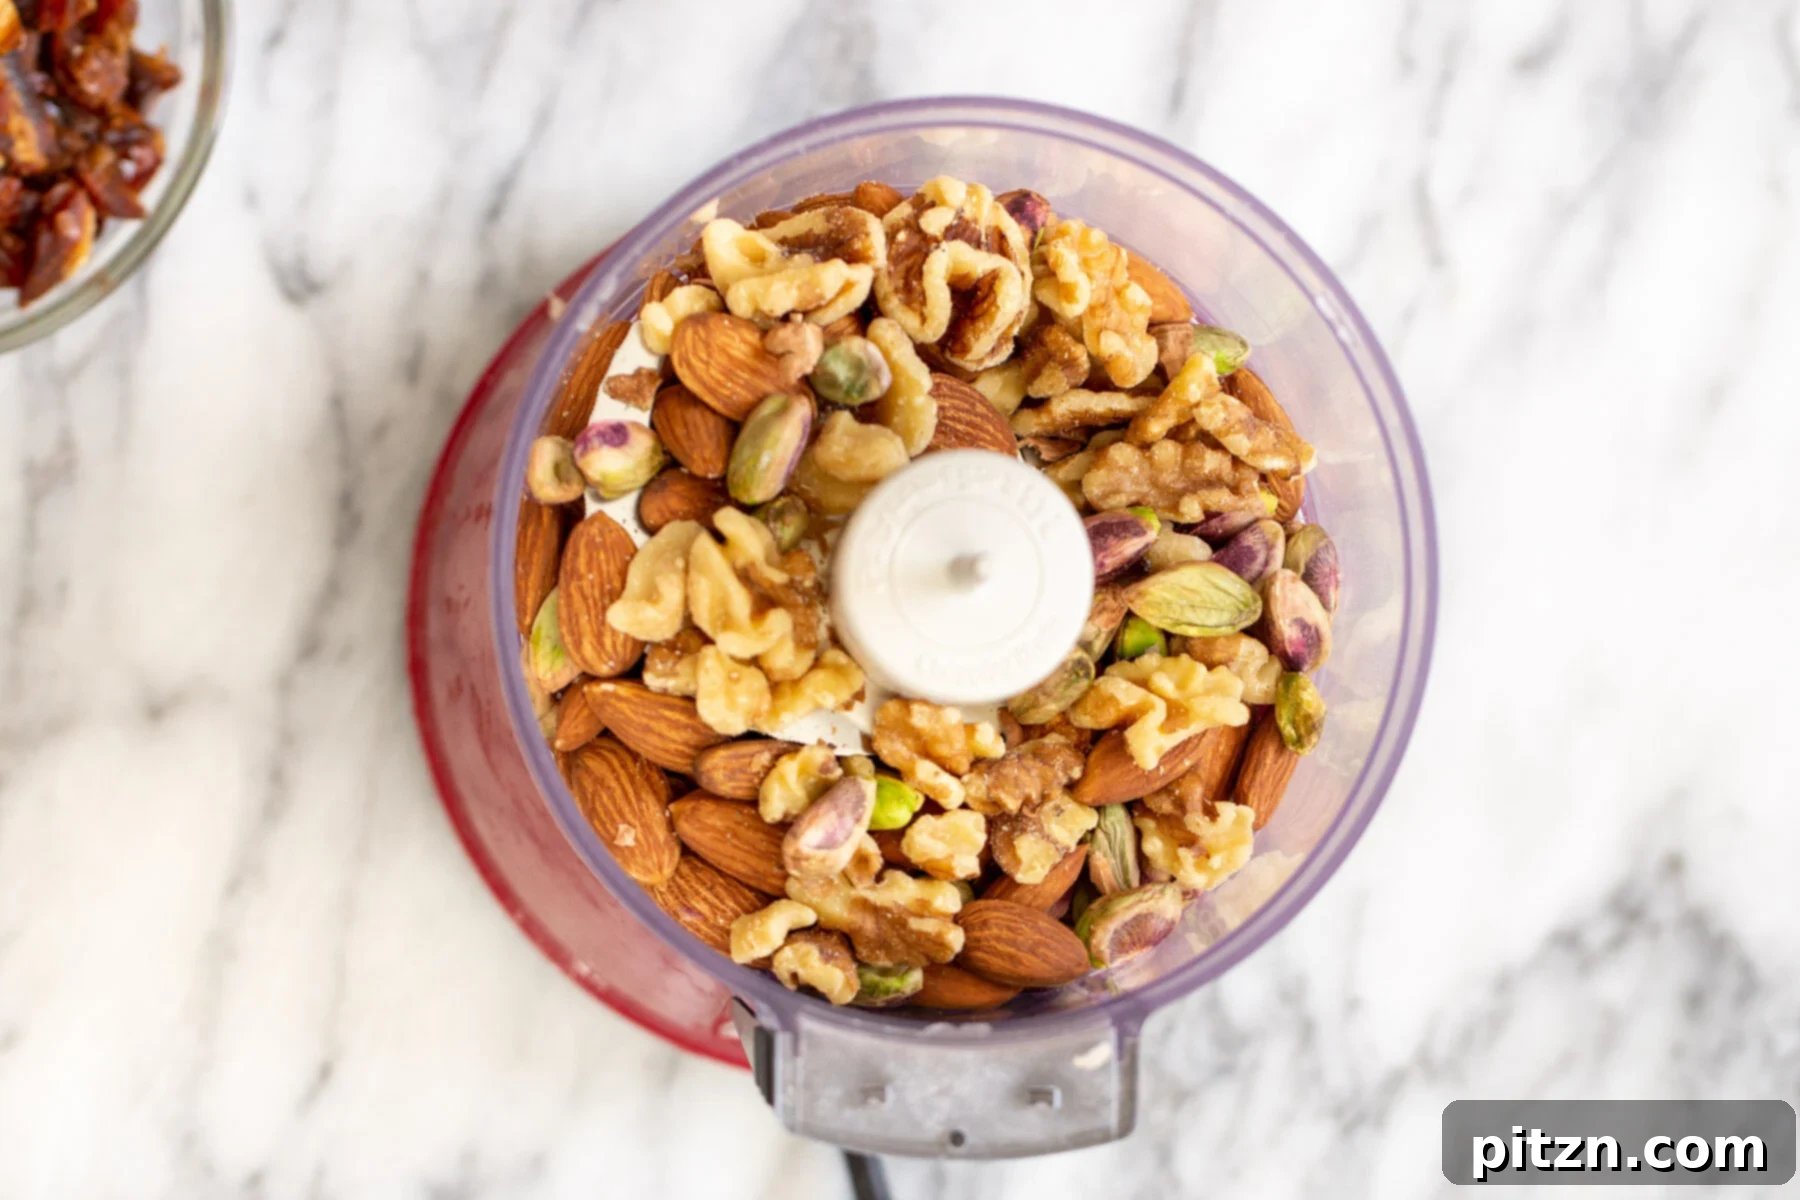
To begin the nut layer, add the raw almonds, walnuts, and pistachios into a food processor. Pulse the nuts until they break down into a coarse mixture. Be careful not to over-process them into a fine powder or a butter, as we want to retain some texture.
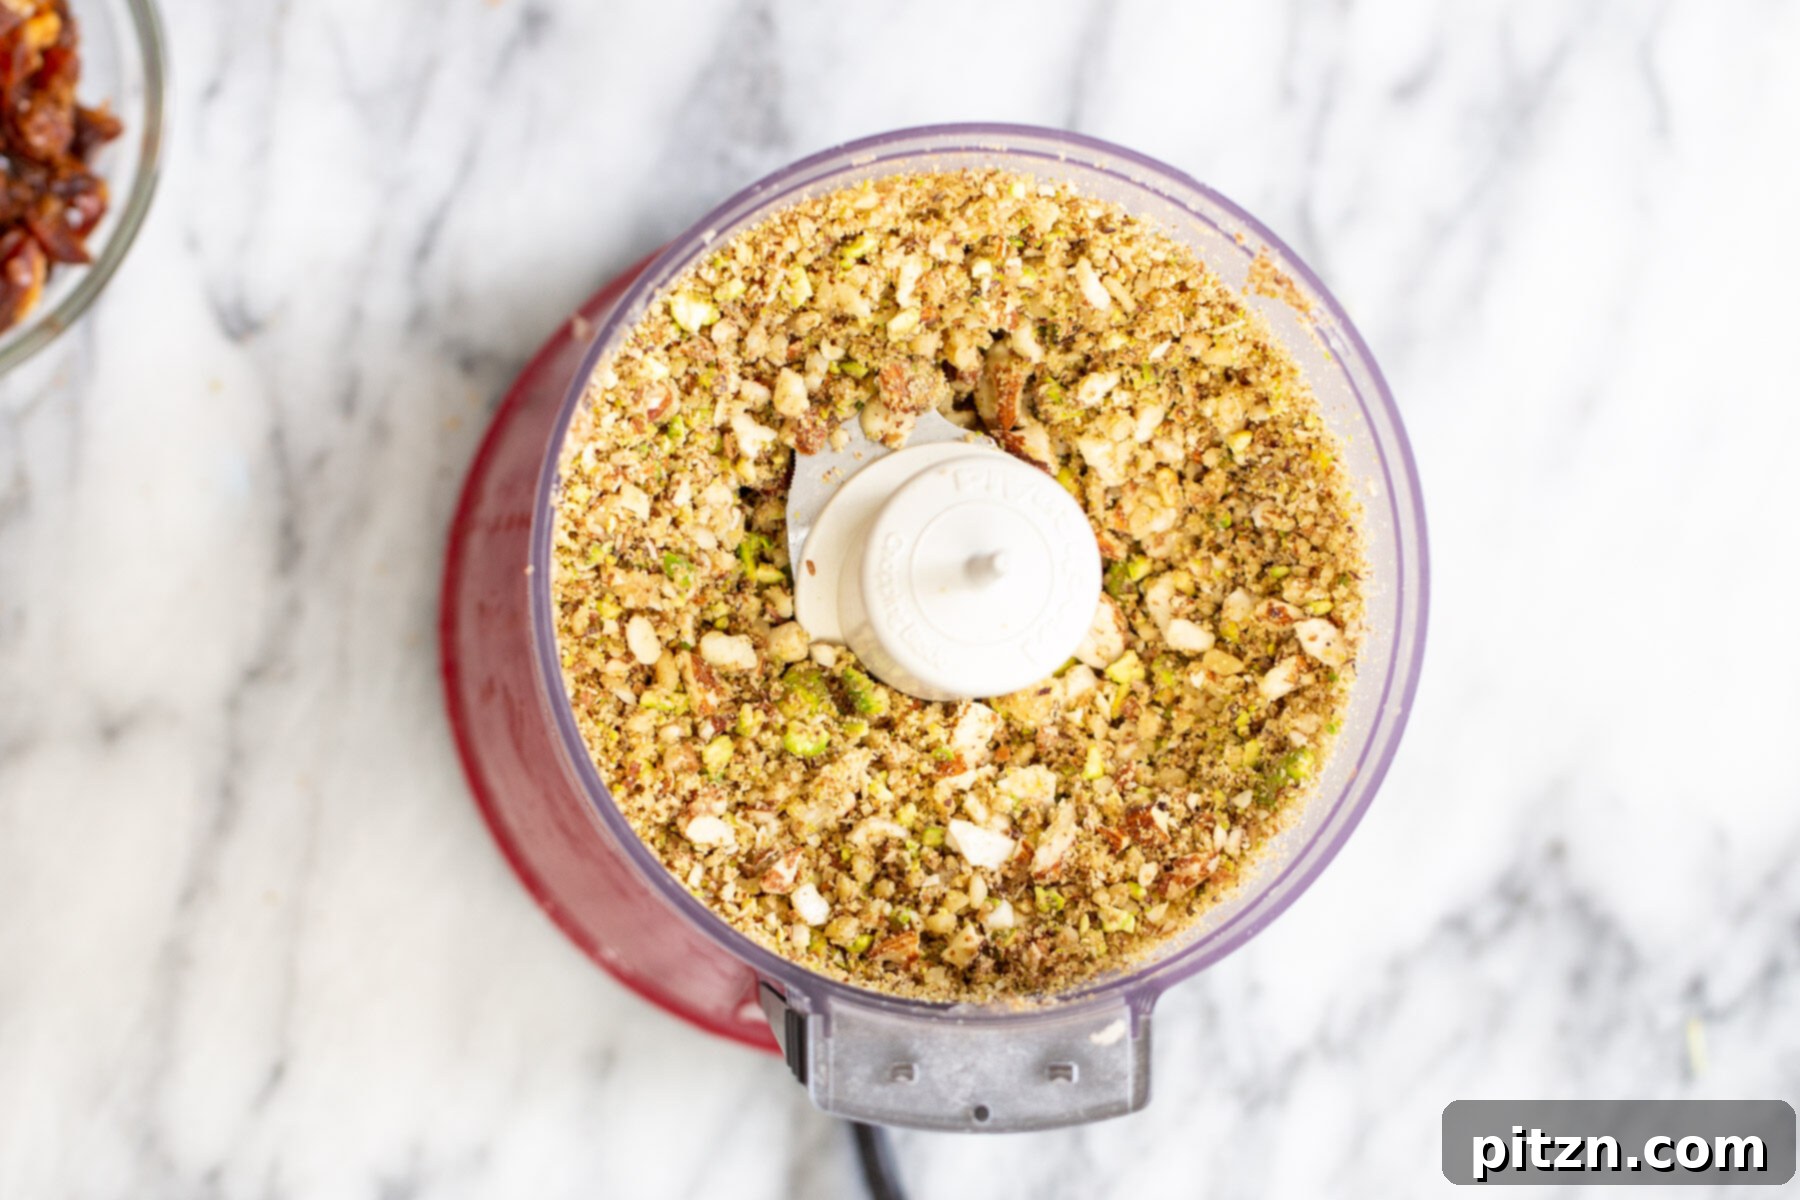
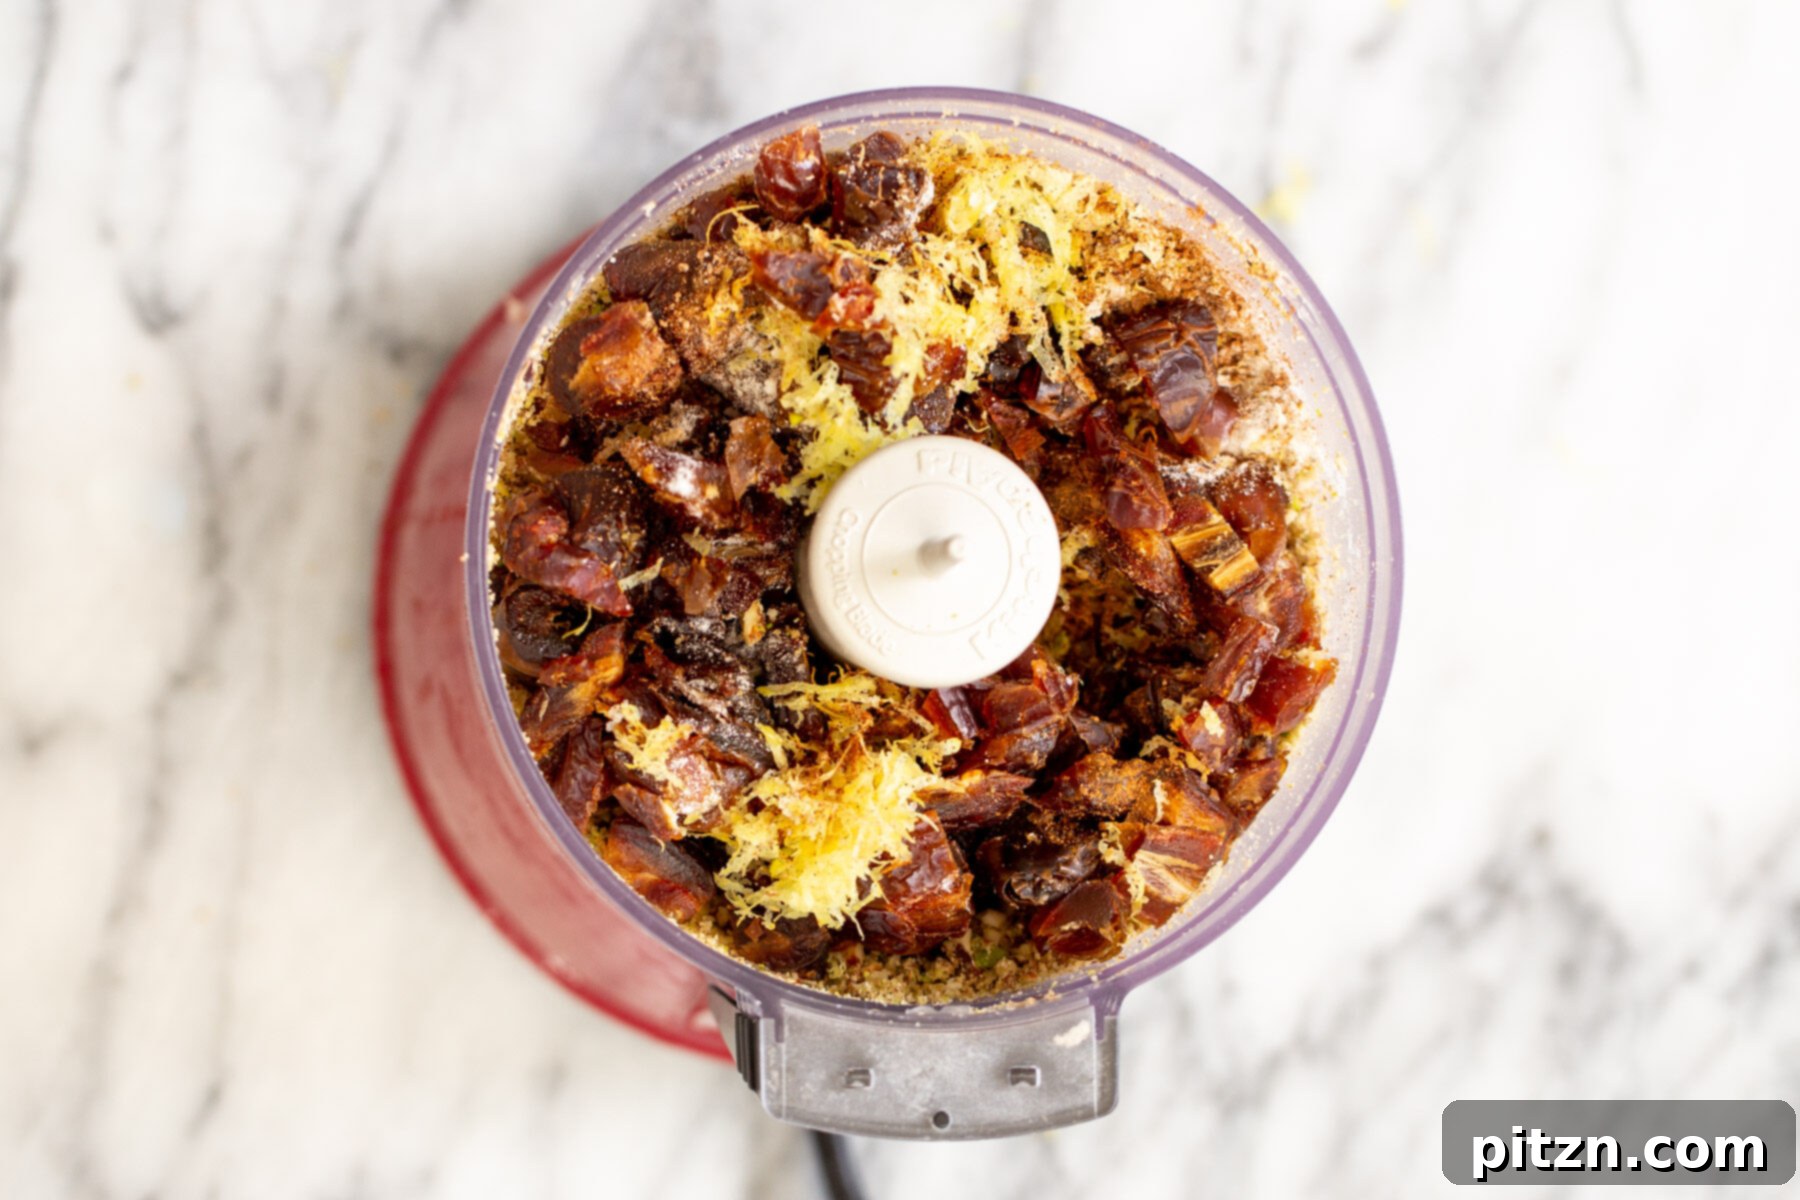
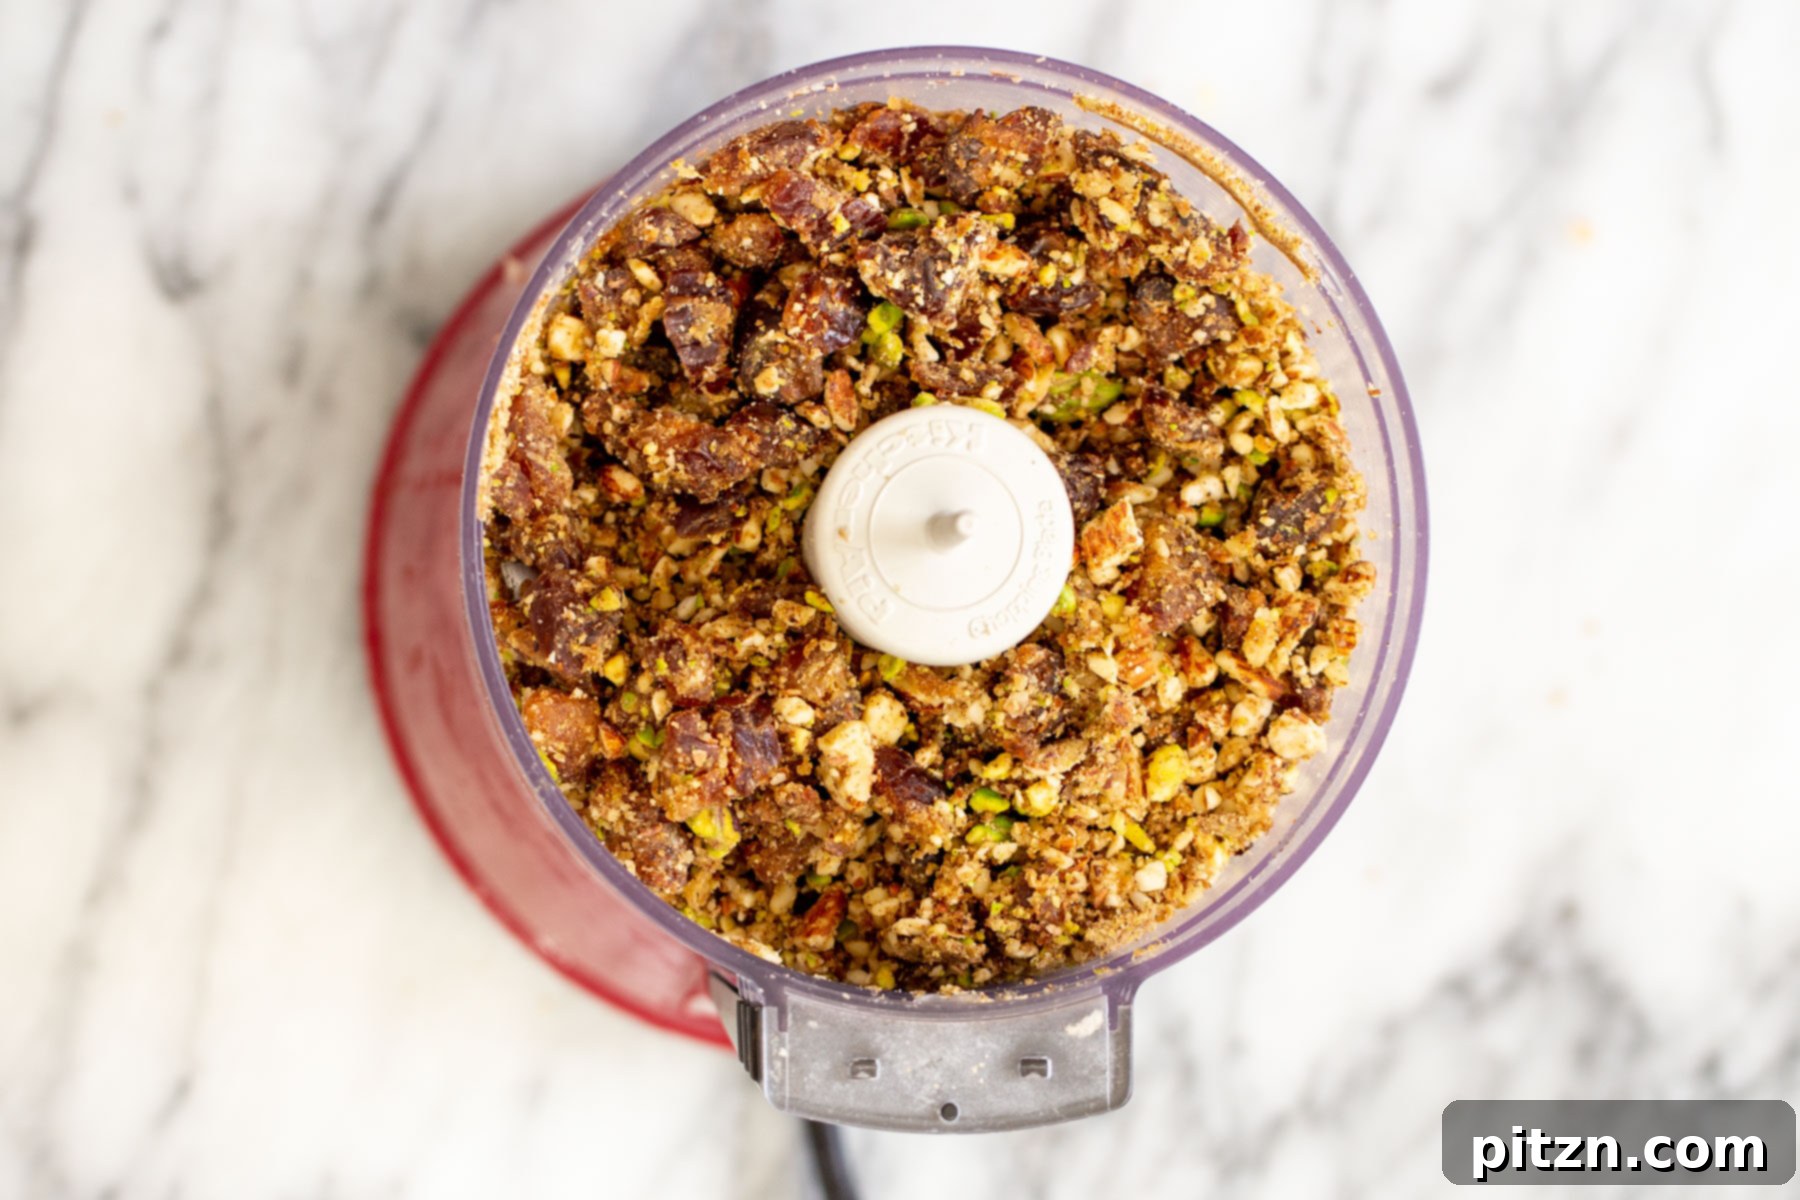
Next, add the pitted soft dates, lemon zest, and salt to the food processor with the chopped nuts. Process again until the dates are thoroughly broken down and evenly incorporated into the nut mixture. This step ensures a wonderfully sticky and flavorful filling. Finally, pour in the maple syrup and process for approximately 15 seconds. This will allow the maple syrup to bind all the ingredients together, creating a cohesive, sticky, and aromatic nut “dough.” Once prepared, set this mixture aside.
Step 3: Make the Dressing Syrup
In a small saucepan, combine the maple syrup, lemon juice, vanilla extract, and water. Bring this mixture to a gentle boil over medium heat, then immediately remove it from the heat. Set the syrup aside to cool slightly while you prepare the cake for baking.
Step 4: Assemble and Bake
Preheat your oven to 350°F (180°C). Prepare your chosen baking pan: either an 8×8 or 9×9 inch brownie pan, or a 9×5 inch loaf pan. Line the pan with parchment paper, ensuring there is an overhang on all sides; this will make removing the cake much easier later. Pour the cake batter into the prepared pan and spread it out evenly. If you are using a loaf pan, add only half of the cake batter as the first layer.
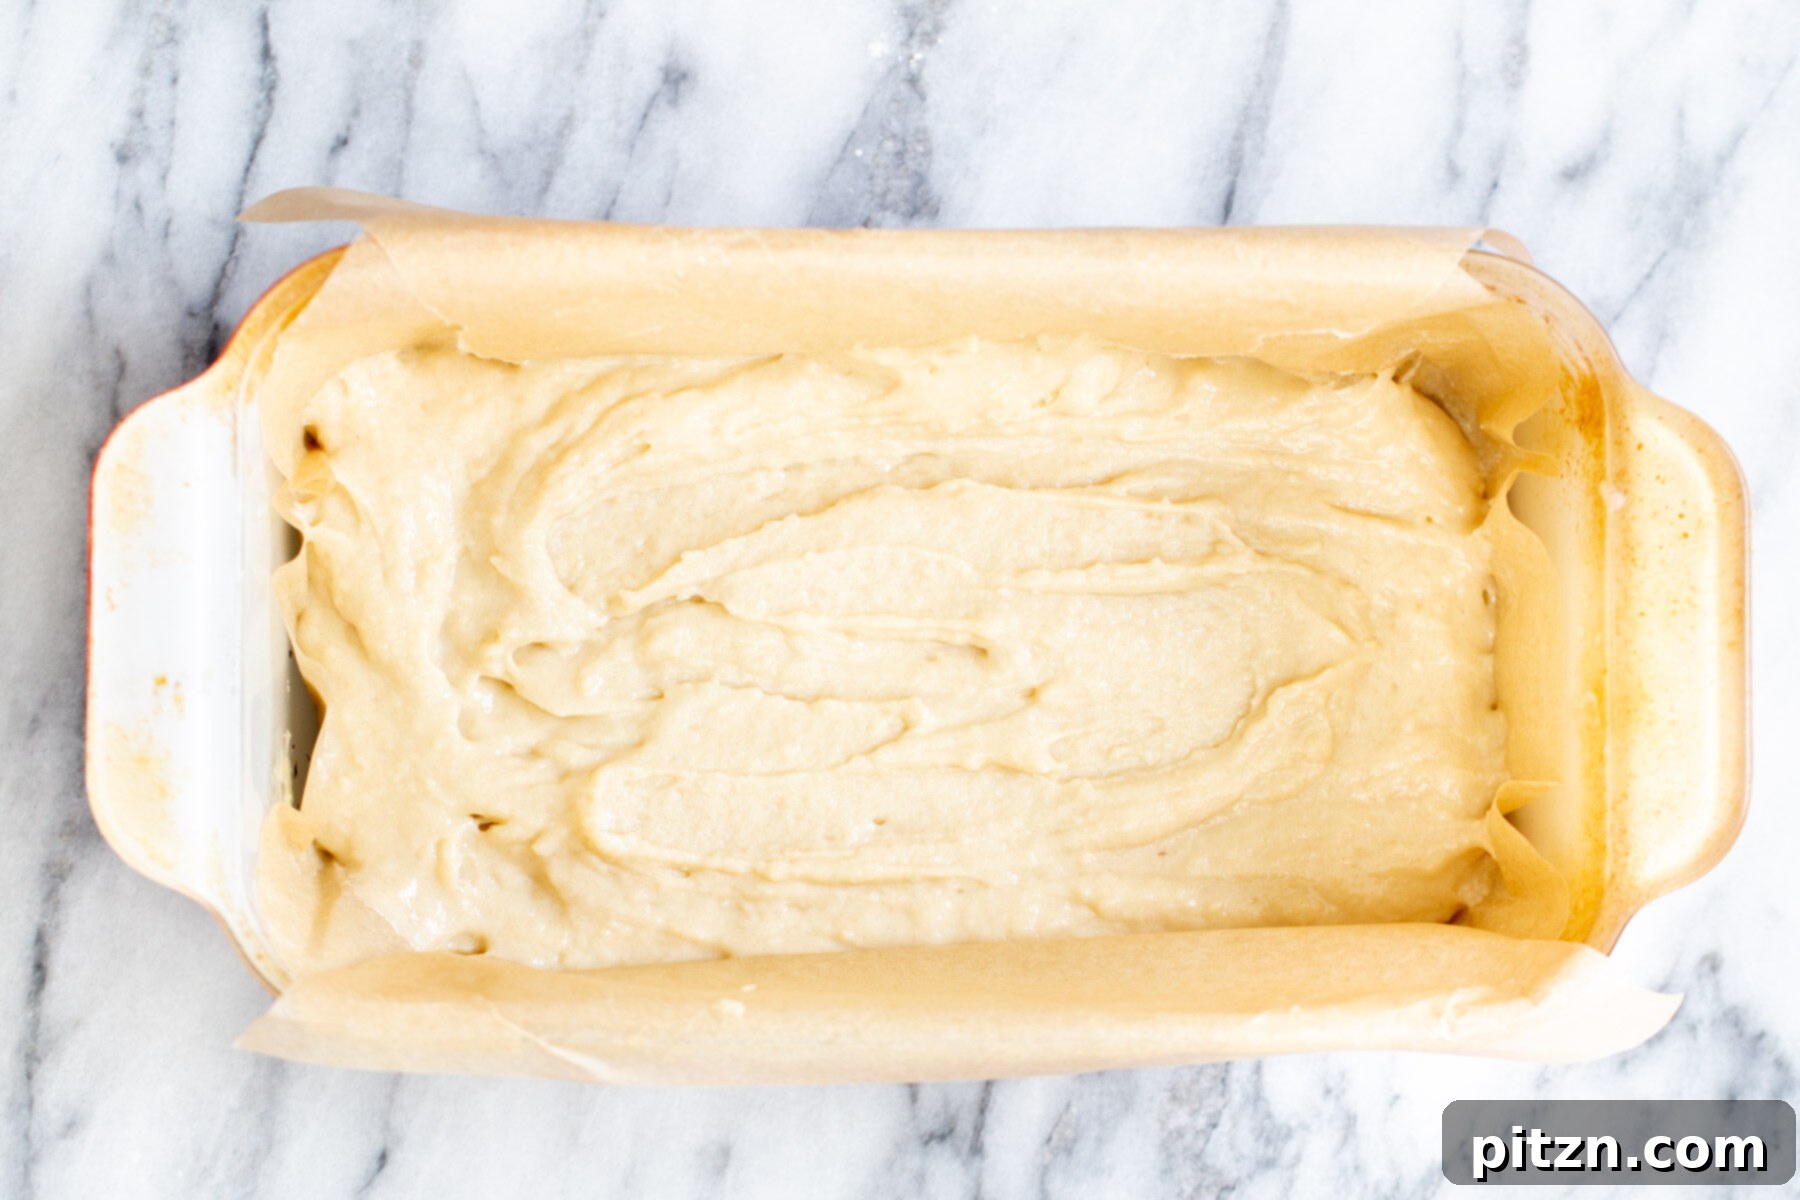
Now, it’s time to add the flavorful nut mixture. If you’re using a brownie pan, distribute the entire nut mixture evenly over the top of the cake batter. For a loaf pan, spread half of the nut mixture over the initial layer of batter, ensuring it’s evenly distributed. Then, carefully add the remaining cake batter on top of the nut layer, spreading it gently to cover. Finally, top with the rest of the nut mixture for the loaf pan, creating a beautiful layered effect.
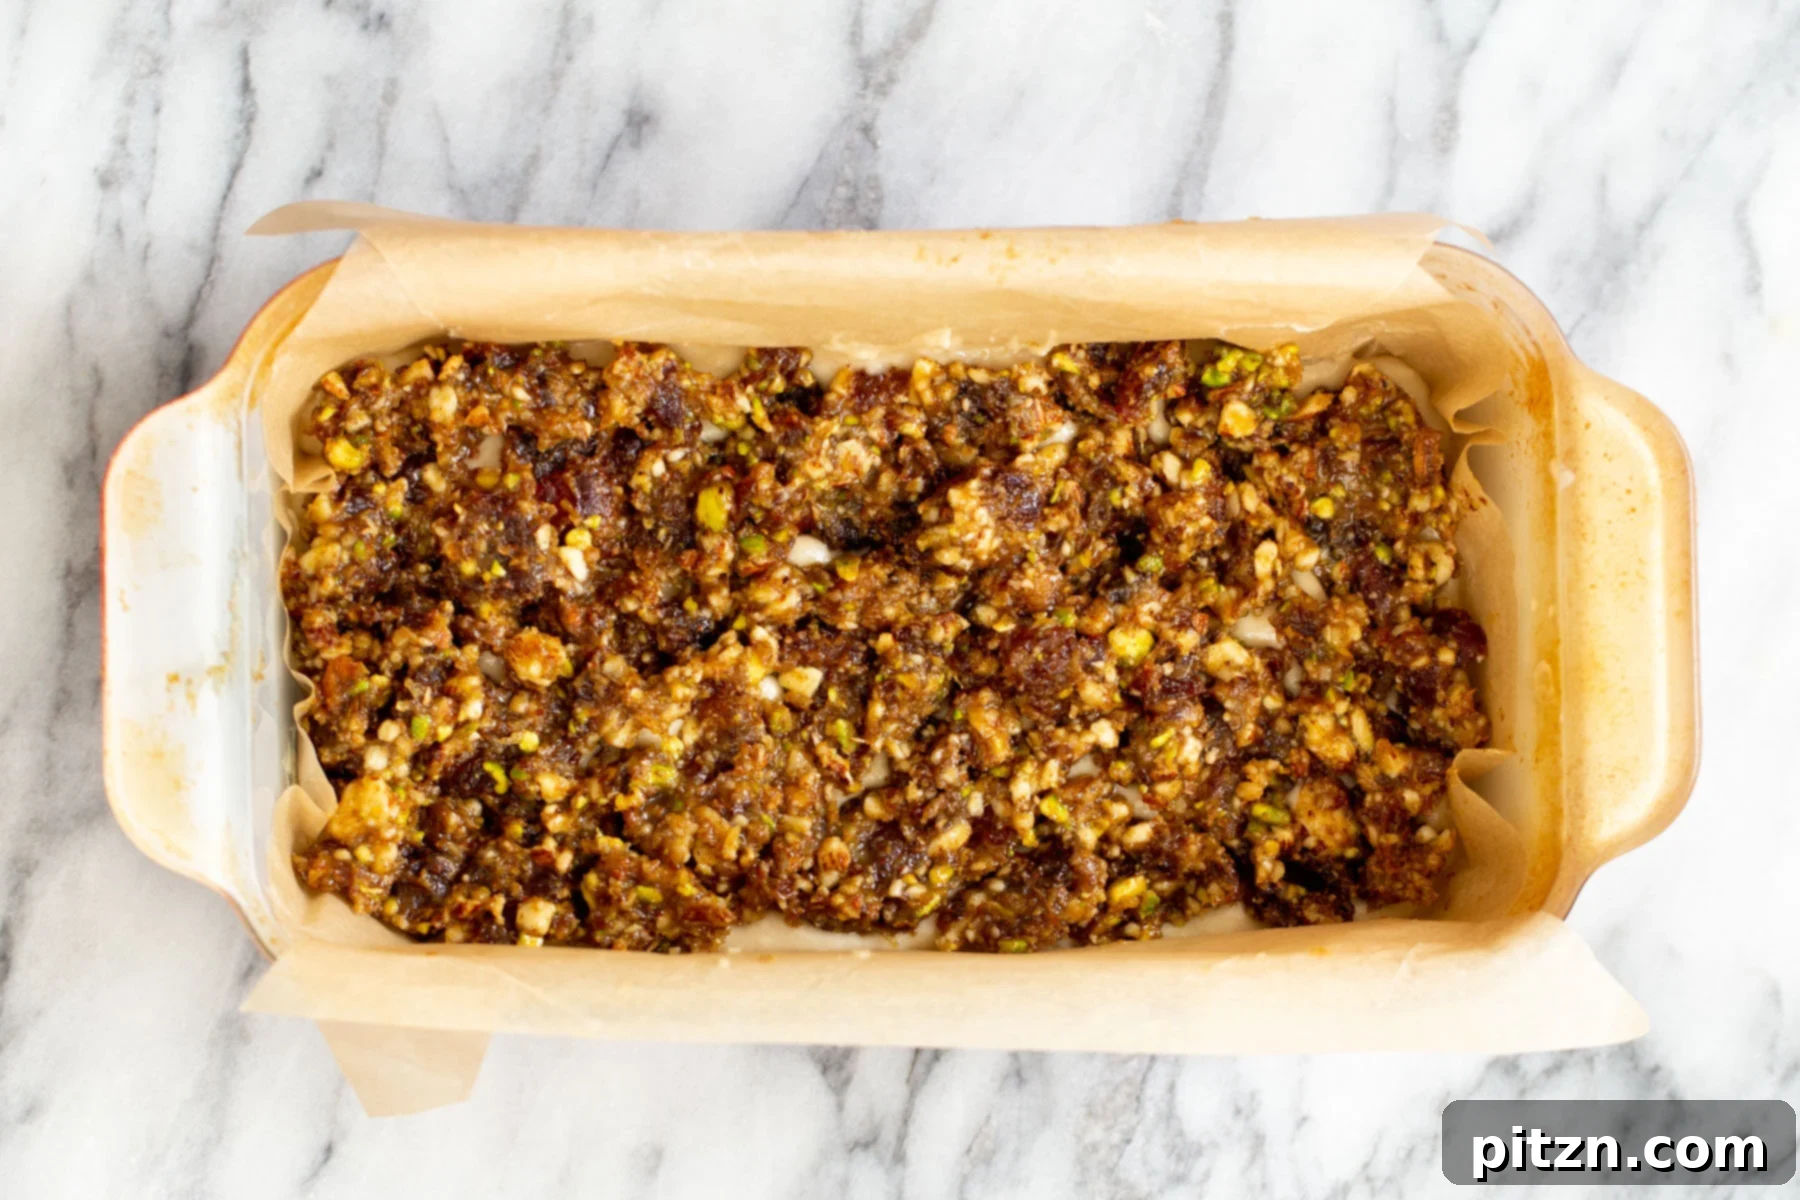
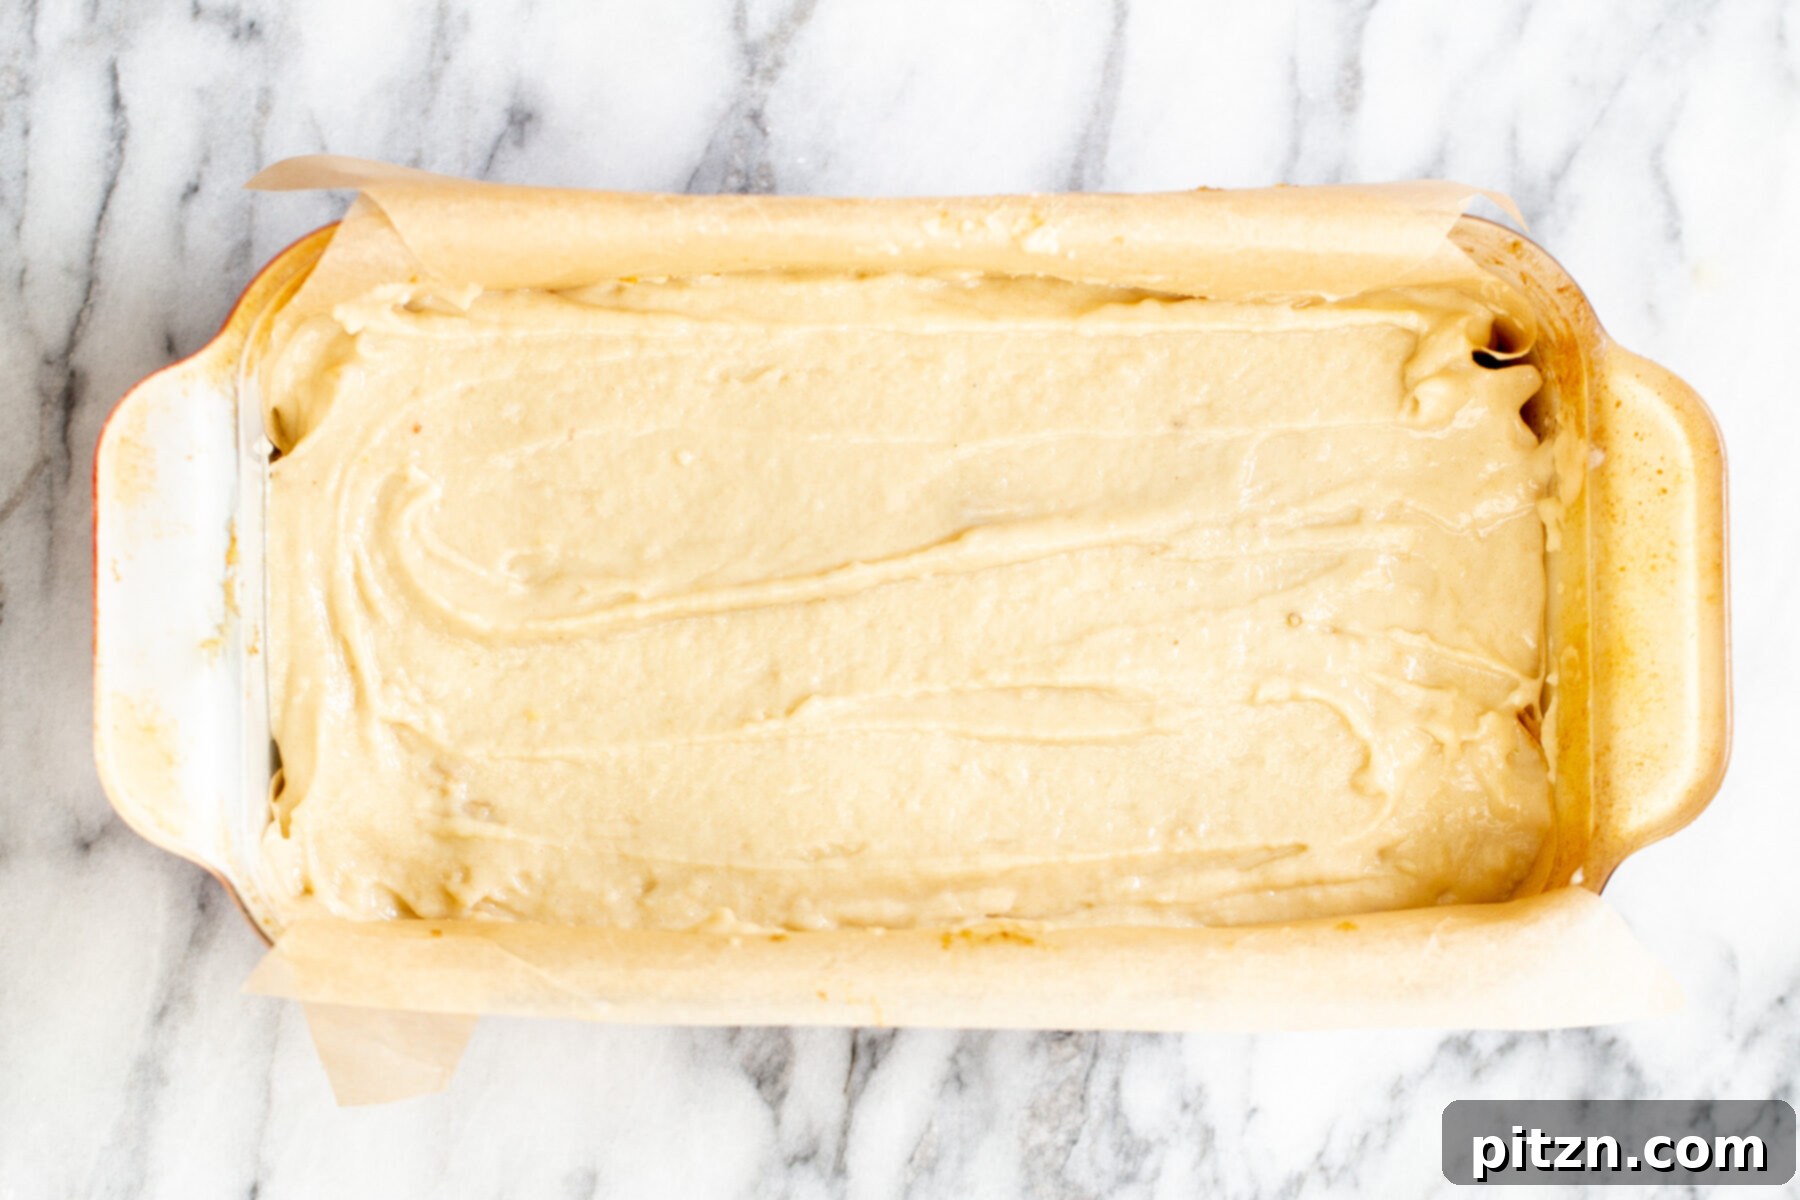
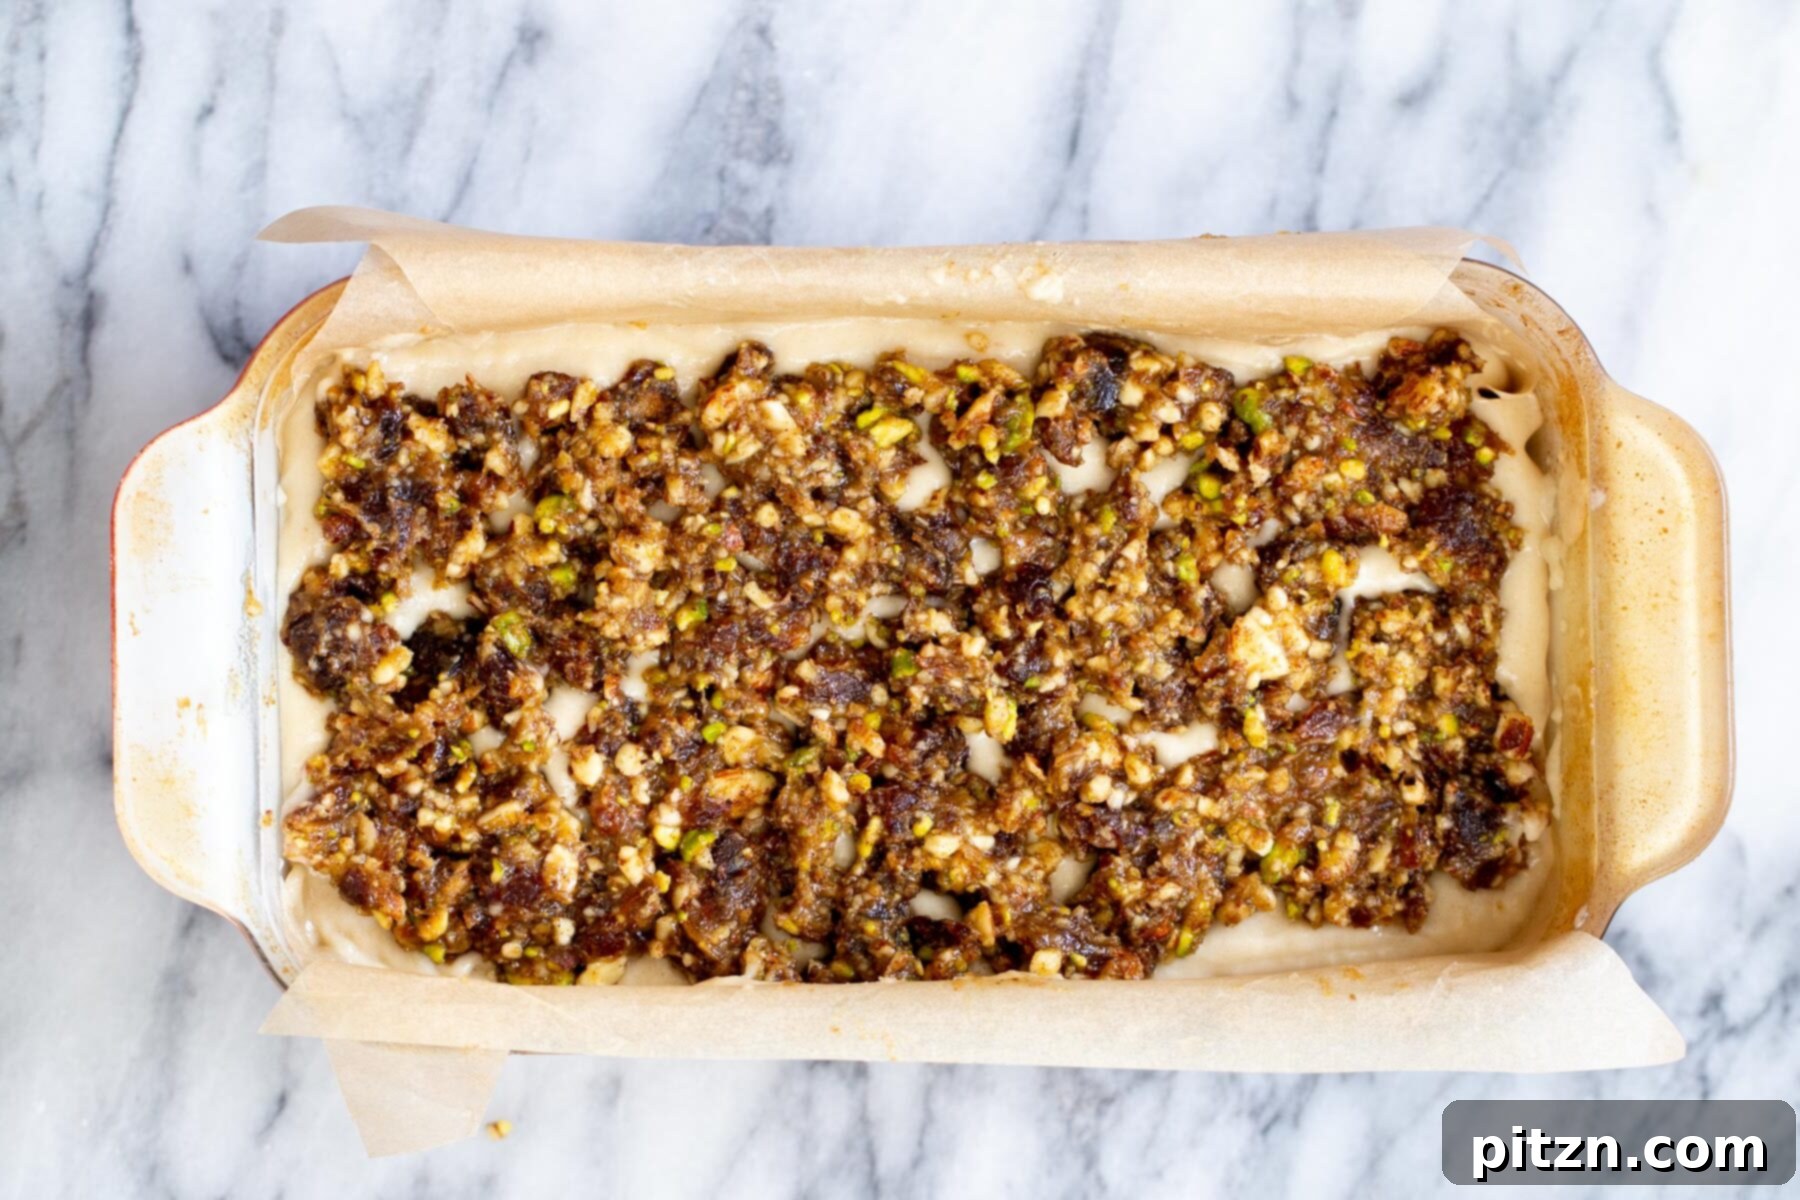
Place the pan into the preheated oven at 350°F (180°C) and begin the baking process.
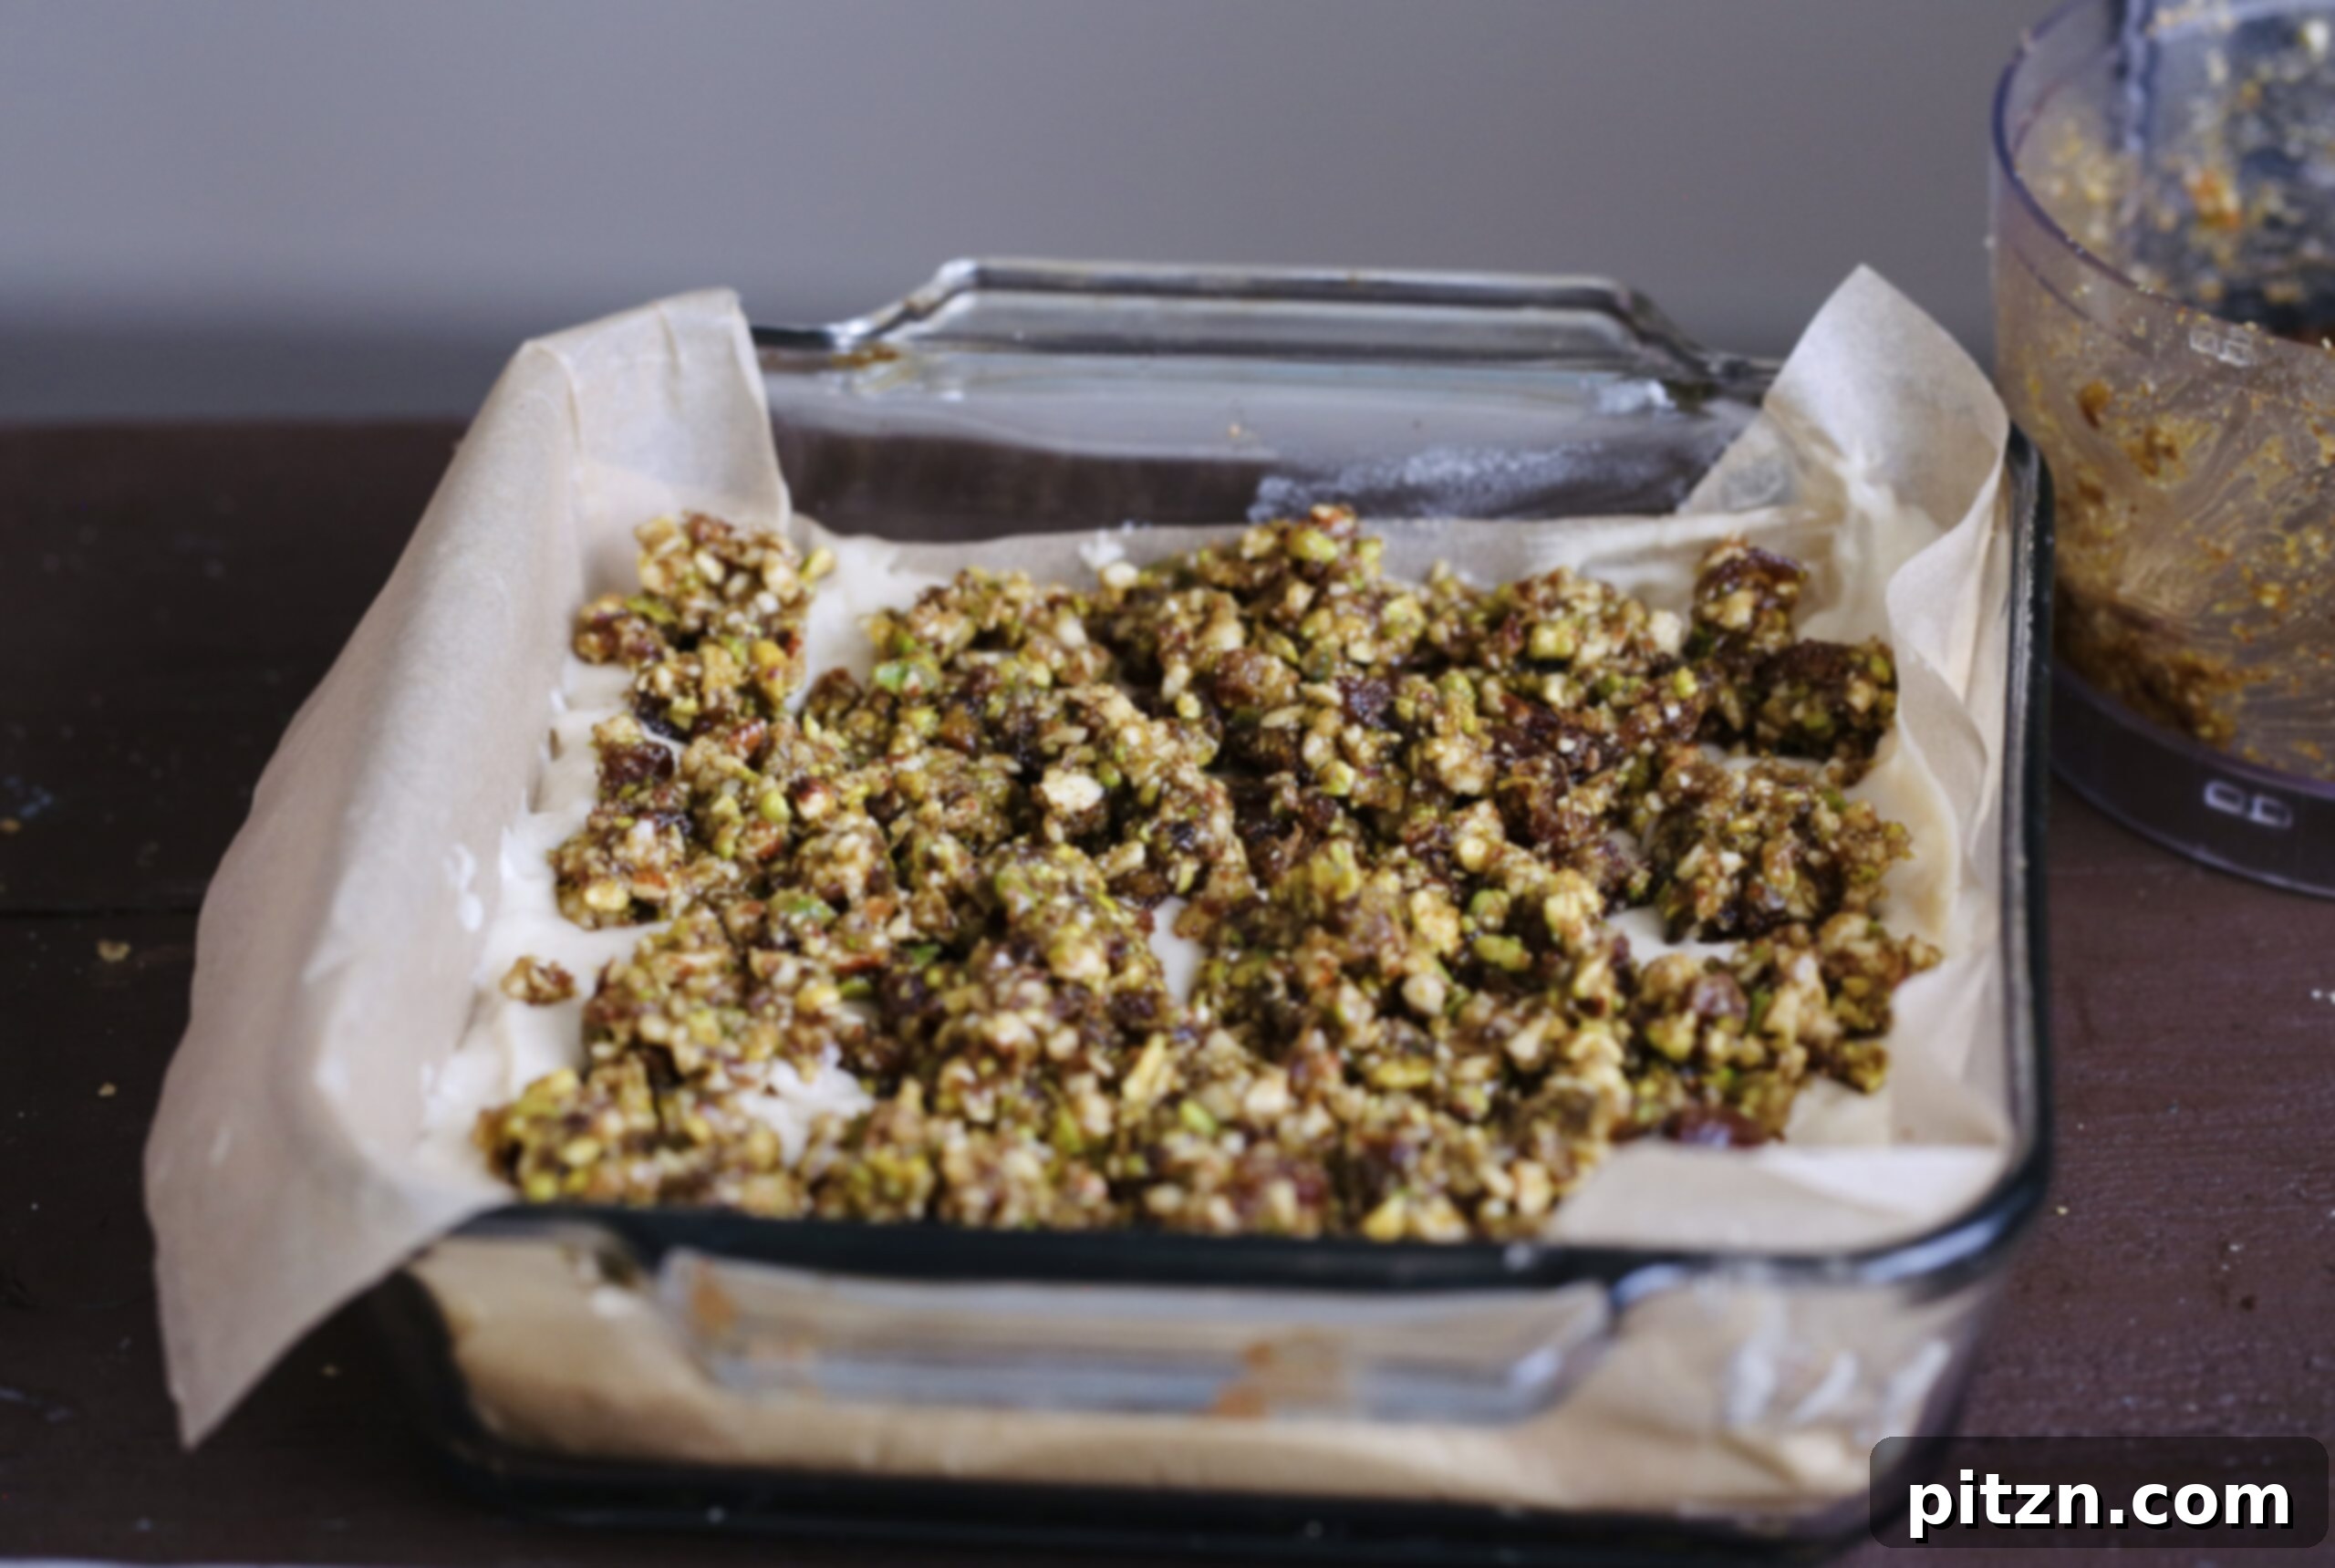
After approximately 15-20 minutes of baking, carefully cover the pan loosely with parchment paper or aluminum foil. This prevents the nut layer on top from burning while the cake continues to bake through. Continue baking for another 10-15 minutes for the brownie pan, and 25-35 minutes for a loaf pan.
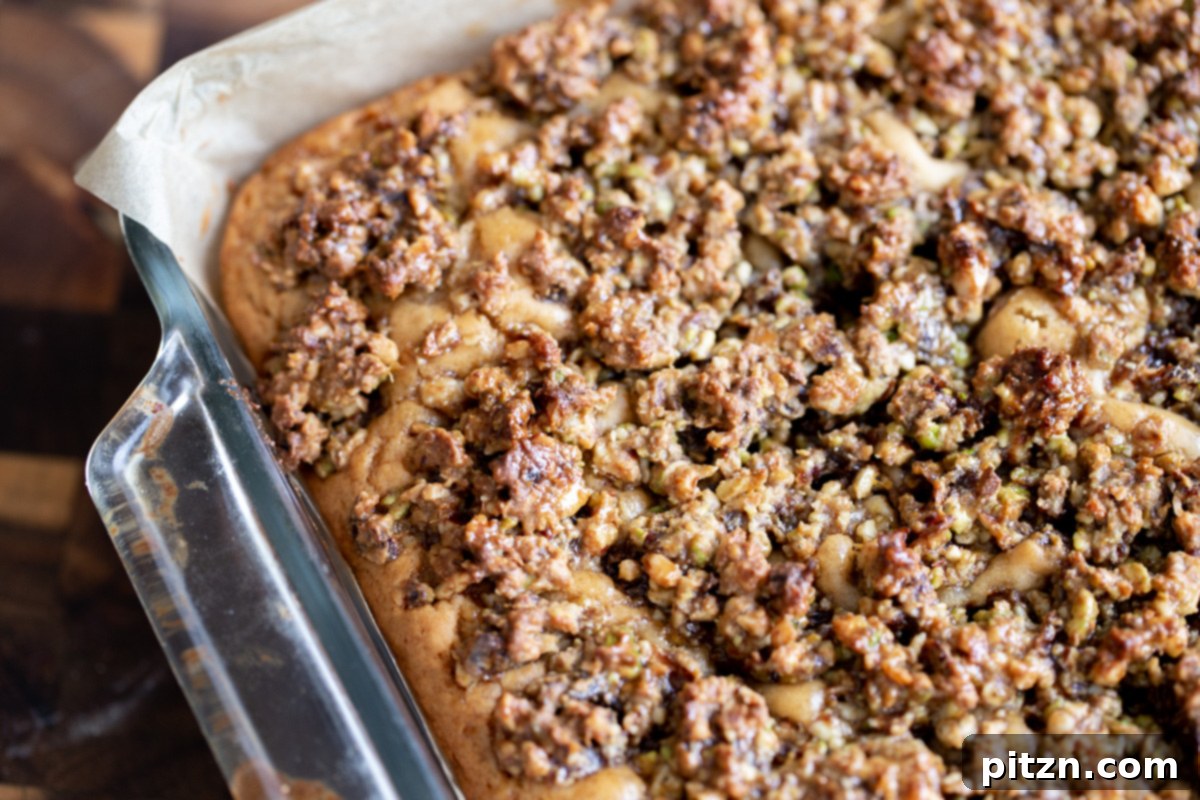
To check for doneness, insert a toothpick into the center of the cake. If it comes out almost clean, with only a few moist crumbs attached, the cake is ready. If the toothpick comes out wet, continue baking for a few more minutes and re-test.
Once the cake is perfectly baked, remove it from the oven and allow it to cool in the pan for about 10 minutes. While it’s still warm, generously brush the prepared syrup mixture all over the surface of the cake. This allows the cake to absorb the syrup, enhancing its moisture and flavor. Let the cake cool in the pan for another 15 minutes before carefully removing it using the parchment paper overhangs. Transfer the cake to a wire rack. Cover it loosely with the parchment paper and let it cool for another 15 minutes before slicing and serving. This resting period helps the cake set and makes for cleaner cuts.
Serving and Storage Suggestions
This exquisite vegan baklava cake is truly at its best when served slightly warm, allowing its aromatic spices and moist texture to fully shine. For an extra touch of indulgence, consider serving it with a side of additional syrup for drizzling, catering to those with a sweeter tooth.
To elevate the dessert experience further, pair a slice with a dollop of creamy whipped coconut cream, which provides a light, refreshing counterpoint to the rich cake. Alternatively, a scoop of pistachio ice cream or classic vanilla ice cream makes for a delightful and cooling accompaniment, perfect for any season.
Storage: To maintain its freshness and deliciousness, store any leftover baklava cake in an airtight container. It will keep beautifully in the refrigerator for up to a week. If you plan to enjoy the cake within a day or two, it can also be stored at room temperature, provided your kitchen isn’t overly warm or humid. Always ensure it’s properly covered to prevent it from drying out.