

Prepare to fall in love with these delightful **Vegan Tuscan Mini Pot Pies**! Perfectly portioned and packed with a rich, creamy filling inspired by the vibrant flavors of Tuscan chicken, these savory treats are as adorable as they are delicious. Baked conveniently in a muffin tin, they offer a hassle-free alternative to traditional large pot pies, making them ideal for any occasion, from festive holiday gatherings to a cozy weeknight dinner. Plus, with easy-to-follow options for gluten-free, soy-free, and nut-free dietary needs, everyone can enjoy this comforting classic.

Table of Contents
- Why You’ll Love These Mini Pot Pies
- The Irresistible Tuscan Filling
- Simplifying the Crust with Puff Pastry
- More Delicious Pot Pie Recipes
- Mini Tuscan Pot Pies Recipe
- Key Ingredients and Clever Substitutions
- Expert Tips for Perfect Mini Pot Pies
- How to Make Tuscan Mini Pot Pies: Step-by-Step Guide
- What to Serve with Your Mini Pot Pies
- Frequently Asked Questions
Why You’ll Love These Mini Pot Pies
These individual pot pies are more than just a meal; they’re a culinary experience designed for convenience and gourmet taste. Here’s why they’re sure to become a new favorite:
- Perfectly Portioned Comfort Food: Forget the mess of serving a large pie. These mini pot pies are ideal single servings, making them perfect for elegant holiday spreads, casual family dinners, or quick grab-and-go meals. Each person gets their own beautiful, golden-crusted pie.
- Exquisite Tuscan-Inspired Flavor: Our unique filling takes inspiration from the rich, aromatic flavors of Tuscan cuisine. It features a luxuriously creamy sauce, vibrant sun-dried tomatoes, robust Italian herbs, earthy mushrooms, and hearty chickpeas, creating a symphony of tastes that will tantalize your palate.
- Effortless Flaky Crust: We’ve bypassed the complexities of homemade pie crusts by utilizing store-bought puff pastry. This means no kneading, no rolling from scratch – just wonderfully crisp, golden, and flaky crusts that bake up beautifully with minimal effort. It’s the ultimate shortcut to gourmet results!
- Easily Customizable for All Diets: Whether you’re navigating allergies or specific dietary preferences, this recipe is incredibly adaptable. We provide clear instructions for making these mini pot pies gluten-free, soy-free, and nut-free, ensuring everyone at your table can enjoy this delightful dish.
The Irresistible Tuscan Filling
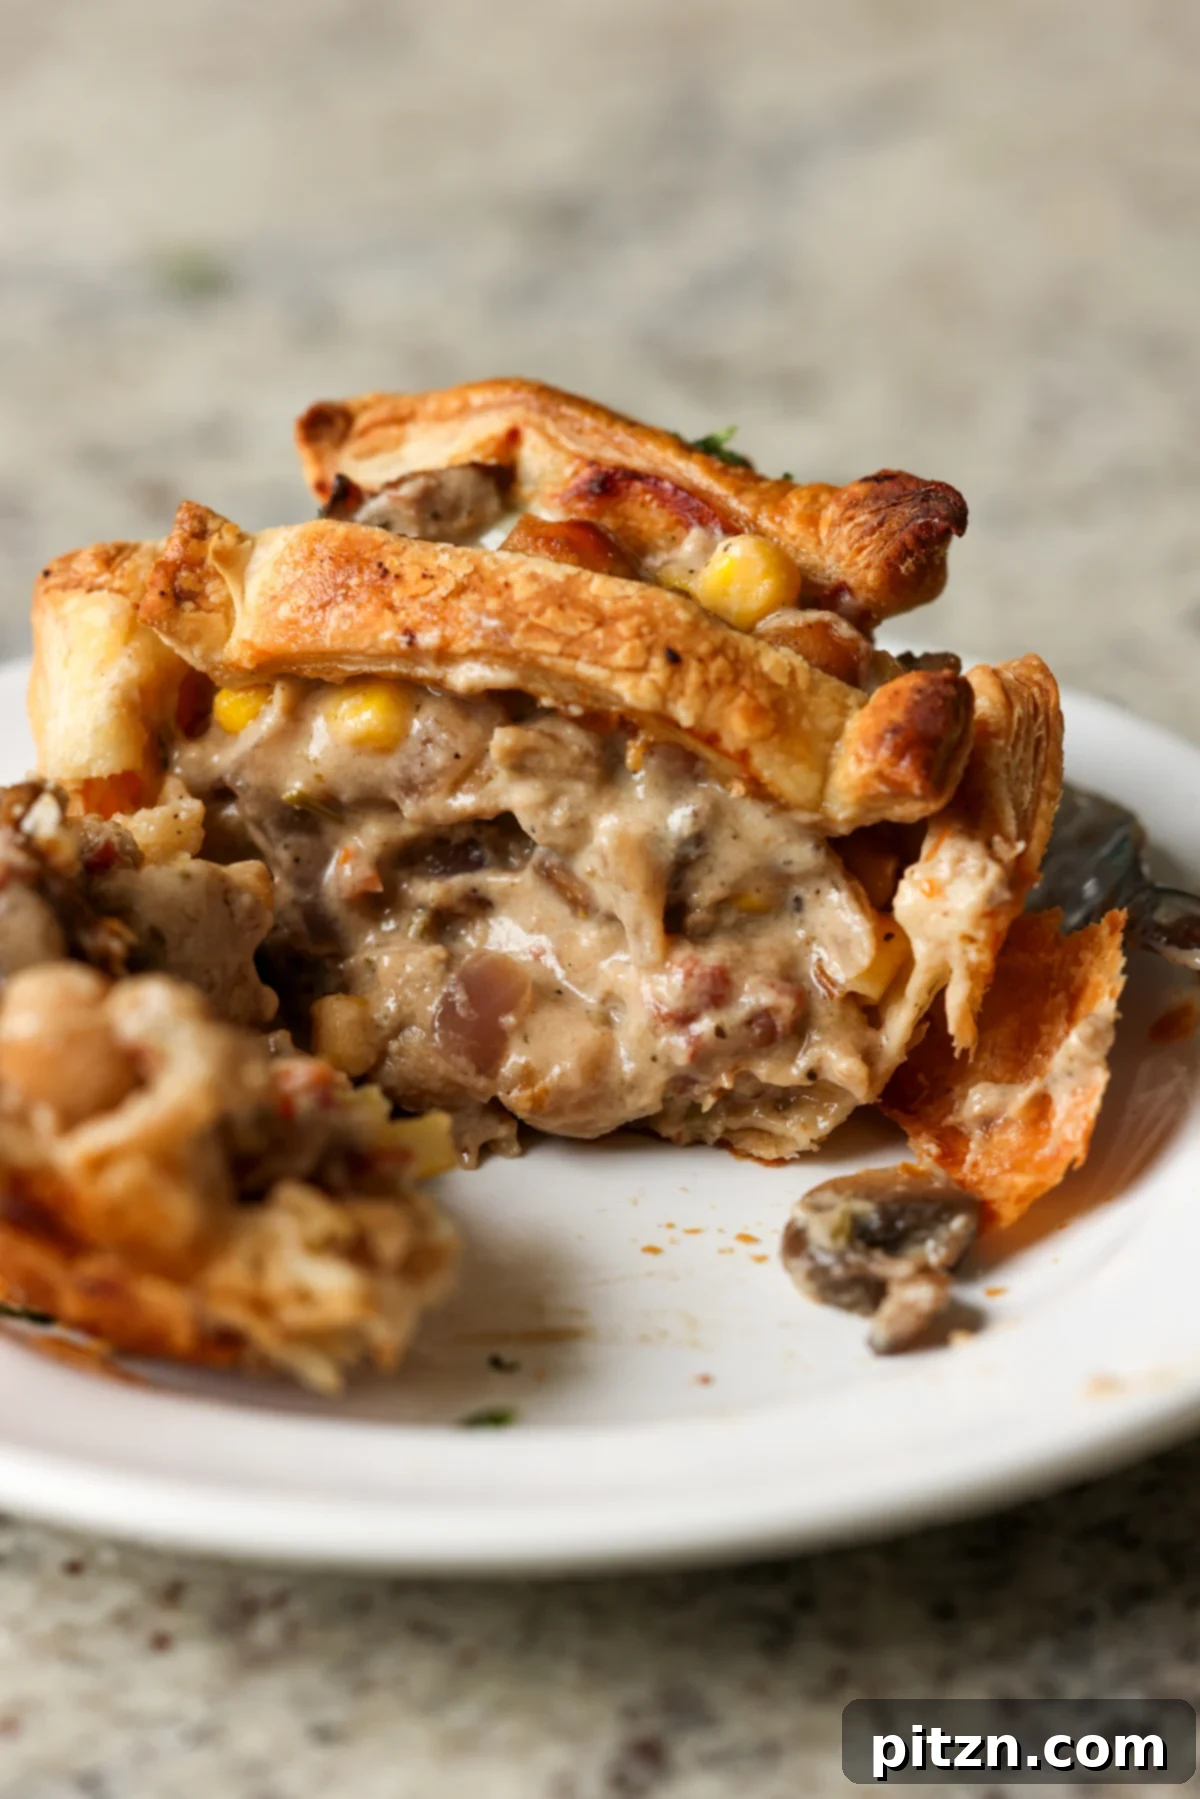
The heart of these mini pot pies lies in their incredibly flavorful filling, which has been reimagined from a classic pot pie to embrace the aromatic essence of Tuscan chicken. Drawing inspiration from recipes like my Tuscan white beans, this filling is a celebration of textures and tastes. Imagine a creamy, savory sauce infused with the tangy sweetness of sun-dried tomatoes and a generous blend of Italian herbs. This rich base cradles a medley of tender vegetables, protein-packed chickpeas, and umami-rich mushrooms, creating a deeply satisfying and surprisingly light interior.
Simplifying the Crust with Puff Pastry
One of the brilliant aspects of this recipe is the use of pre-made puff pastry, which transforms the crust-making process from daunting to delightful. Instead of wrestling with a traditional pie crust from scratch, we simply cut and shape puff pastry sheets to fit into a muffin tin or small ramekins. This ingenious method not only saves a tremendous amount of time but also guarantees an effortlessly flaky, golden-brown crust every single time. Each mini pot pie emerges from the oven with a beautifully crisp exterior, perfectly complementing the creamy, veggie-packed filling inside.
Using a muffin tin streamlines the baking process even further. You can prepare an entire batch simultaneously, placing the whole tray into the oven, rather than managing individual ramekins. This efficiency makes these mini pot pies a fantastic choice for busy hosts or anyone looking to enjoy homemade comfort food without the extensive prep time. They are particularly well-suited for holiday spreads, allowing you to easily gauge portion sizes and ensure there’s enough room for other appetizers, sides, and desserts. For larger portions, consider using a Texas muffin tin, or simply bake the entire filling in a single large pot pie dish for a more traditional presentation.


More Delicious Pot Pie Recipes
If you’re a fan of comforting pot pies, explore these other fantastic plant-based creations:
- Classic Vegan Pot Pie with Black Pepper Biscuits
- Indian Butter Sauce Pot Pie
- Everything Bagel Pot Pie
- 1-Hour Masala Vegetable Pot Pie
- Mushroom Pot Pie with Sweet Potato Crust
Mini Tuscan Pot Pies
Vegan Richa
30 mins
45 mins
5 mins
1 hr 20 mins
12
Appetizer, Main, Main Course, Side, Side Dish
Italian, Mediterranean

Equipment
-
muffin tin or ramekins
-
Skillet
Ingredients
For the Pot Pie Filling
- 2 teaspoons oil
- 4 cloves garlic, finely chopped
- 1/2 cup chopped onion
- 1/2 cup chopped celery
- 2 ounces mushrooms, or more, quartered if small, sliced if large
- 1 tablespoon balsamic vinegar
- 1 cup cooked chickpeas, or white beans or chopped tofu
- 1 1/2 to 2 cups chopped mixed vegetables (e.g., carrots, green beans, peas, potato, frozen mix)
- 2 bay leaves
- 1/2 to 1 teaspoon dried rosemary, or thyme, or 1/2 tsp each
- 1 teaspoon Italian seasoning
- 1/2 teaspoon black pepper
- 1/2 teaspoon onion powder
- 1/4 cup chopped sun-dried tomato
- 1/2 teaspoon salt
For the Cashew Cream (or Nut-Free Alternative)
- 1/4 cup raw cashews, soaked in hot water for 15 minutes (or 2 tbsp hemp seeds + 1/4 cup tofu for nut-free)
- 1 cup water
- 1 teaspoon white miso (use chickpea miso for soy-free)
- 1 tablespoon all-purpose flour (use gluten-free flour blend for gluten-free)
For the Puff Pastry
- 2 puff pastry sheets (ensure vegan, gluten-free if needed)
- oil for brushing
- fresh herbs, such as parsley or green onions, for garnish, optional
Instructions
Make the Pot Pie Filling
-
Heat a deep skillet or a saucepan over medium heat. Add the oil, and once shimmering, add the finely chopped garlic. Sauté for about 15 to 20 seconds until fragrant. Immediately add the chopped onion and celery along with a good pinch of salt. Cook for 3 minutes, stirring occasionally, until the onions begin to turn translucent and soften.
-
Next, stir in the prepared mushrooms and balsamic vinegar. Continue to cook for 3 to 5 minutes, allowing the mushrooms to release their moisture and soften. The balsamic vinegar will deglaze the pan and add a lovely depth of flavor.
-
While the vegetables cook, prepare your cashew cream mixture. In a blender, combine the drained cashews (or nut-free alternative), water, miso, and flour. Blend until the mixture is completely smooth and creamy. For best results, blend for a minute, let it sit for 4-5 minutes, then blend again for 30 seconds, repeating 1-2 times. Set this rich, dairy-free cream aside.
-
Once the mushrooms show slight golden edges, stir in the chickpeas, mixed vegetables, bay leaves, dried herbs (rosemary/thyme), Italian seasoning, black pepper, onion powder, sun-dried tomato, and the remaining salt. Cook for about 2 minutes to meld the flavors. Then, pour in the prepared cashew cream mixture and bring the filling to a gentle boil, stirring occasionally to prevent sticking.
-
Once the filling is boiling, reduce the heat to medium-low and continue to cook for 5 minutes or longer, until the vegetables are cooked to an al dente texture and the sauce has thickened beautifully. Remove from heat. At this stage, take your puff pastry out of the freezer to thaw for 15 to 20 minutes, ensuring it’s pliable for handling.
-
Allow the thickened filling to cool on the counter for 10 minutes, then transfer it to the fridge for at least 15 minutes. This crucial cooling step helps the filling thicken further, preventing the puff pastry from becoming soggy when assembled and ensuring a perfectly crisp crust. The filling can be made up to 3 days in advance and stored in the refrigerator.
Assemble and Bake the Mini Pot Pies
-
Preheat your oven to 400° F (205° C).
-
Once the puff pastry is pliable and easy to work with, lightly flour your counter. Roll out each puff pastry sheet to about 2 inches larger than its original size. Slice each sheet into 6 equal squares. Use a pizza cutter or knife to trim any uneven edges, making them more uniform. Don’t discard the trimmed edges; they’ll be used for decorative tops! Repeat with the second puff pastry sheet.
-
Prepare your muffin tin or ramekins by greasing them thoroughly, including the insides and edges, or lining them with parchment paper. This ensures the mini pot pies can be easily removed after baking. Carefully place one puff pastry square into each muffin cup or ramekin, gently pressing it to conform to the shape and create a base.
-
Retrieve your chilled filling from the fridge. Spoon generous portions of the delicious Tuscan filling into each puff pastry-lined cup. Now for the fun part: use the reserved puff pastry strips to create decorative tops! Whether you prefer a classic lattice design, simple circles, or more intricate shapes like flowers or hearts, get creative.
-
Lightly brush the exposed puff pastry edges and tops with a little oil for a beautiful golden finish. Bake for 25 to 30 minutes. At the 25-minute mark, check for golden-brown edges. If not evenly browned, rotate the tray and continue baking for another 3 to 5 minutes until perfectly golden and flaky.
-
Carefully remove the baked pot pies from the oven. Let them cool in the muffin tin or ramekins for about 5 minutes. This brief cooling period helps them set before you gently pop them out. Garnish with fresh chopped herbs like parsley or green onions for a burst of color and flavor, then serve immediately. Enjoy the bubbly, creamy filling and the wonderfully golden, crispy, and flaky crust!
Video
Notes
Nutrition
Carbohydrates: 30g,
Protein: 7g,
Fat: 18g,
Saturated Fat: 4g,
Polyunsaturated Fat: 3g,
Monounsaturated Fat: 10g,
Sodium: 237mg,
Potassium: 256mg,
Fiber: 3g,
Sugar: 3g,
Vitamin A: 1203IU,
Vitamin C: 5mg,
Calcium: 30mg,
Iron: 2mg
Nutrition information is automatically calculated, so should only be used as an approximation.
Key Ingredients and Clever Substitutions
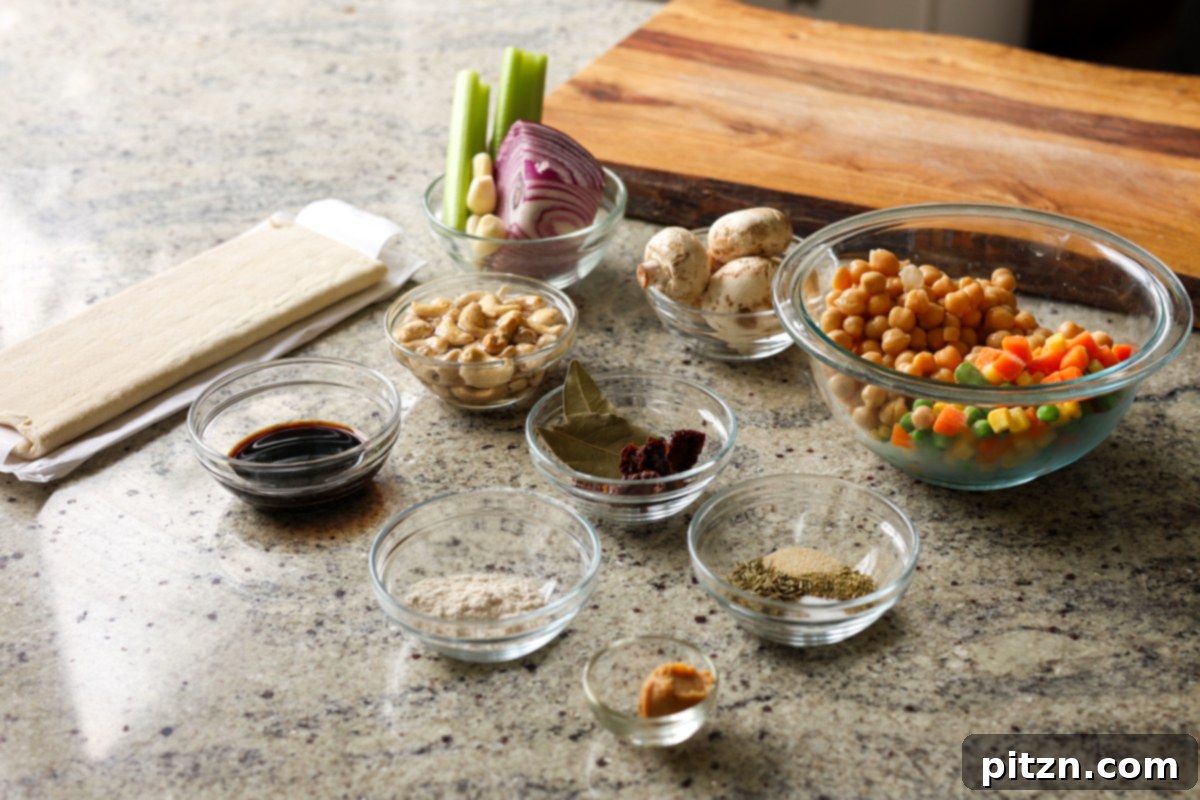
Crafting the perfect Tuscan Mini Pot Pie starts with understanding each ingredient’s role and knowing how to adapt for dietary needs. Here’s a deeper dive:
- Oil: Used for sautéing your aromatics and brushing the puff pastry for that irresistible golden crust. Olive oil is a fantastic choice for its authentic Mediterranean flavor, but avocado oil or any high-heat neutral oil works well.
- Aromatics (Garlic, Onion, Celery): This classic trifecta forms the foundational flavor base of our filling. Finely chopped garlic brings pungency, while diced onion and celery add sweetness and a subtle crunch. Don’t skip these; they are crucial for depth!
- Mushrooms: These fungi add a wonderful “meaty” texture and rich umami flavor that is essential to any savory pot pie. Cremini or button mushrooms are common choices, but feel free to experiment with shiitake or oyster mushrooms for more complex notes. Quarter small mushrooms or slice larger ones for the best texture.
- Balsamic Vinegar: A touch of balsamic vinegar adds a delightful sweet-tart acidity, brightening the rich flavors of the filling and helping to deglaze the pan, capturing all those delicious browned bits.
- Chickpeas: Our primary protein source, chickpeas provide a hearty, satisfying texture. They absorb the flavors beautifully. You can easily substitute with cannellini beans for a different white bean flavor, firm chopped tofu, seitan, soy curls, or even a store-bought vegan chicken alternative for variety.
- Mixed Vegetables: This is where you can truly customize! A blend of chopped carrots, green beans, peas, and potatoes creates a traditional pot pie medley. For convenience, I often reach for a bag of frozen mixed vegetables. Feel free to use fresh seasonal vegetables like zucchini, bell peppers, or spinach, adjusting cooking times accordingly.
- Herbs and Spices: This blend elevates the Tuscan profile. Bay leaves infuse a subtle, lingering aroma. Dried rosemary and/or thyme offer earthy, piney notes characteristic of Mediterranean cuisine. Italian seasoning provides a harmonious mix of herbs. Black pepper and onion powder enhance the overall savory depth, while salt balances all the flavors.
- Chopped Sun-Dried Tomatoes: These concentrated gems are a superstar in Tuscan-inspired dishes. They provide intense umami and a tangy sweetness that’s simply irresistible. Look for them pre-chopped to save prep time, or snip them yourself.
- Cashew Cream: This luscious, dairy-free cream is made by blending raw cashews with water, miso, and flour. The cashews create a velvety smooth base, miso adds a powerful punch of umami, and a touch of all-purpose flour helps to thicken the sauce to perfection.
- Puff Pastry Sheets: The key to an easy, flaky crust! Ensure your puff pastry is vegan-friendly (most are, but always check labels). If you need a gluten-free option, use a reliable gluten-free puff pastry, or opt for a gluten-free vegan pie crust, ensuring you pre-bake it before adding the filling.
- Fresh Herbs (for garnish): A sprinkle of fresh parsley or chopped green onions just before serving adds a vibrant pop of color and a fresh, herbaceous counterpoint to the rich filling. This optional step makes a big difference in presentation and taste.
💡 Expert Tips for Perfect Mini Pot Pies
- Streamline Your Prep: Master the art of overlapping tasks! While your Tuscan filling is simmering, let your puff pastry thaw. As the filling cools, you can begin preparing your muffin tin and shaping the pastry squares. This multi-tasking approach significantly reduces overall preparation time.
- Cool the Filling Completely: This tip is crucial for a perfectly crisp crust. A warm or thin filling will inevitably lead to a soggy puff pastry. Allow the filling to cool for at least 10 minutes on the counter, then refrigerate for another 15 minutes to ensure it’s thick and cool. This firmness makes it much easier to spoon into the muffin tins and prevents steam from making your pastry limp.
- Keep Your Pastry Chilled: The secret to a beautifully flaky, golden crust is maintaining a cold puff pastry. If your pastry becomes too warm and soft during assembly, the butter layers can melt, resulting in a less flaky texture. If this happens, simply place the filled muffin tin or ramekins in the freezer for 15 minutes before baking. This will firm up the pastry, ensuring a superior bake.
- Customize Your Protein: While chickpeas offer a fantastic texture and protein, don’t hesitate to experiment! Cooked cannellini beans, crumbled firm tofu, rehydrated soy curls, or a pre-cooked vegan chicken substitute can all be delightful additions, allowing you to tailor the pot pies to your preference.
- Advanced Prep & Freezing: These mini pot pies are excellent for meal prepping. You can make the filling up to 3 days ahead of time. For longer storage, assemble the pot pies (with puff pastry) in parchment-lined muffin tins, then freeze for about an hour until solid. Once frozen, pop them out and transfer them to an airtight freezer-safe container. They’ll keep for months! When ready to bake, place frozen pot pies back into a greased or lined muffin tin and bake as usual, possibly adding a few extra minutes to the cooking time.
- Scaling Up or Down: The recipe is designed for 12 mini pot pies, perfect for a crowd or meal prep. If you desire one large pot pie, simply transfer the cooked filling into a pie dish, top with a rolled-out puff pastry sheet (snip a few holes for steam), and bake for 25-30 minutes. For a bottom crust on a large pie, grease the dish, line with pastry, prick holes, bake for 15 minutes, then add filling and top crust, baking for another 25-30 minutes.
How to Make Tuscan Mini Pot Pies: Step-by-Step Guide
Follow these detailed steps to create your own batch of delicious Vegan Tuscan Mini Pot Pies:
Step 1: Begin the Filling (Aromatics and Mushrooms)
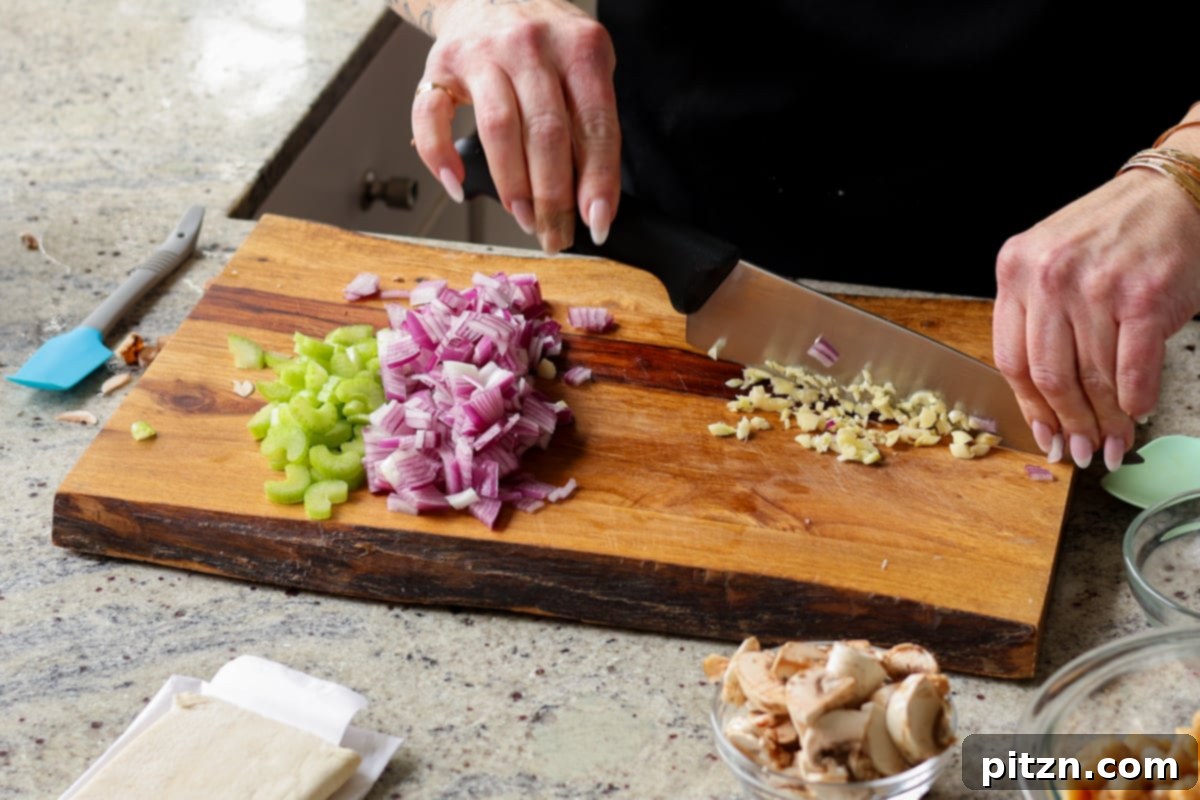
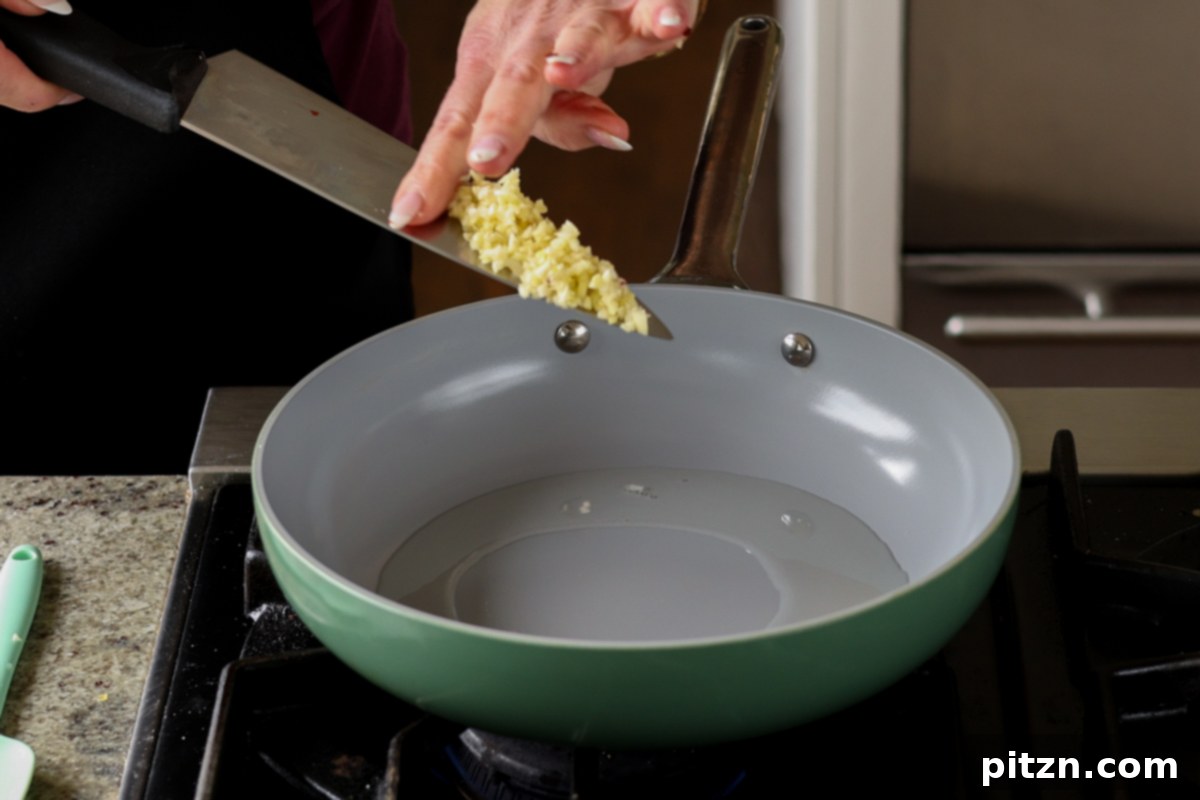
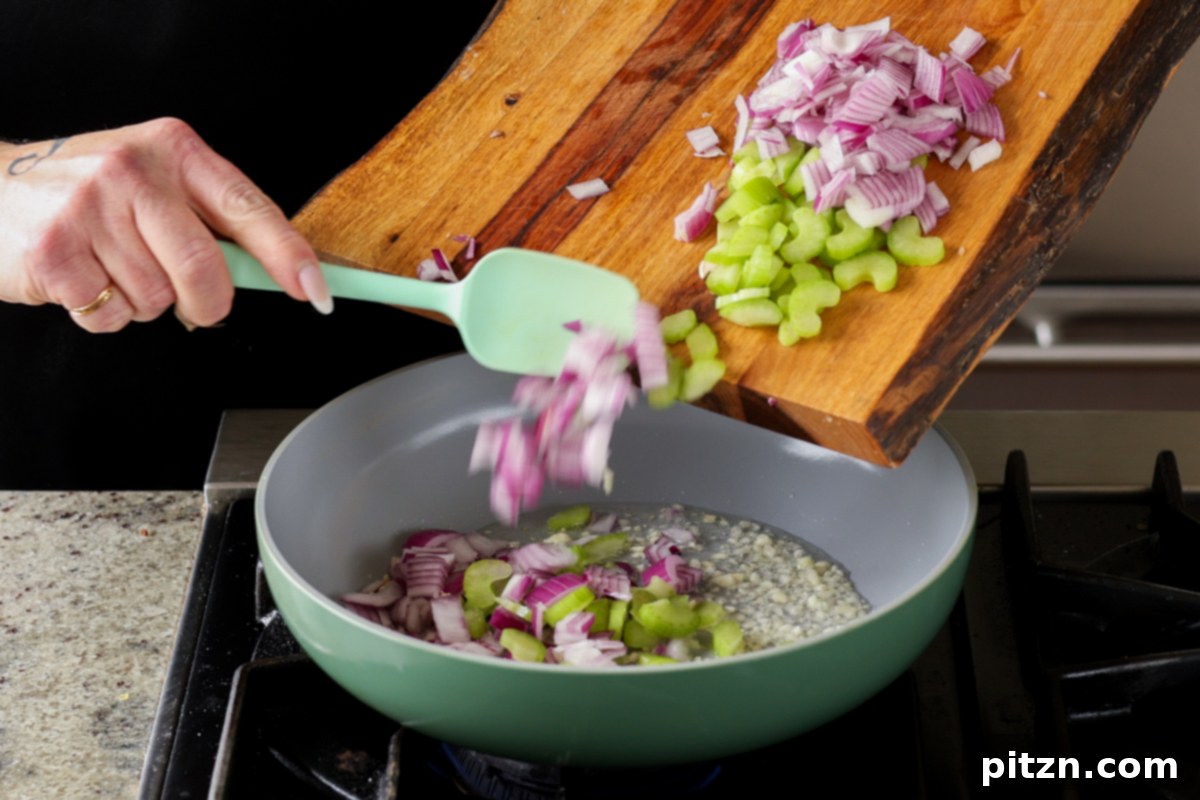
Heat a deep skillet or a saucepan over medium heat. Add 2 teaspoons of oil. Once the oil is shimmering and hot, add the 4 finely chopped garlic cloves. Sauté for just 15 to 20 seconds until you can smell its inviting aroma. Immediately follow with 1/2 cup of chopped onion and 1/2 cup of chopped celery, along with a generous pinch of salt. Cook this mixture for approximately 3 minutes, stirring occasionally, until the onions begin to soften and turn translucent. This step builds the foundational flavor of your pot pie.
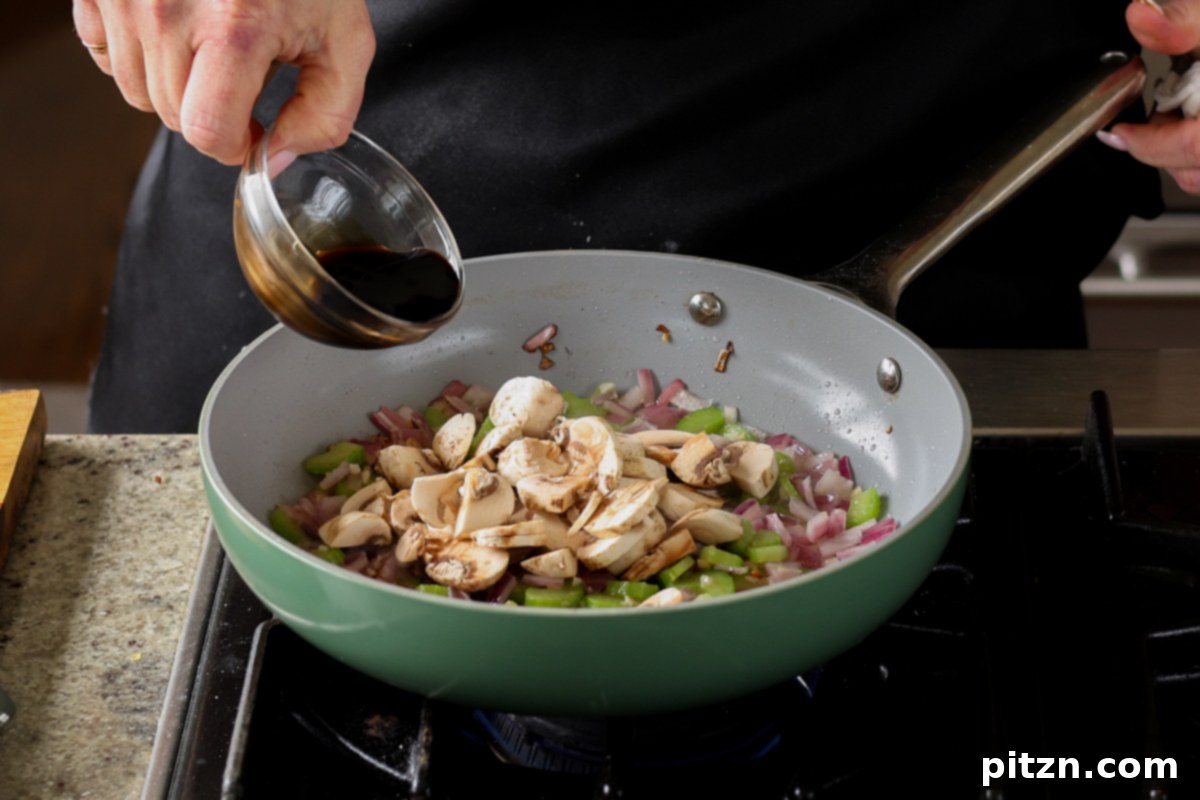
Next, mix in 2 ounces of prepared mushrooms (quartered if small, sliced if large) and 1 tablespoon of balsamic vinegar. Stir well, ensuring the balsamic vinegar deglazes the pan and coats the vegetables. Let the mushrooms cook for 3 to 5 minutes, allowing them to release their moisture and develop a beautiful golden hue. This step adds a crucial umami depth to the filling.
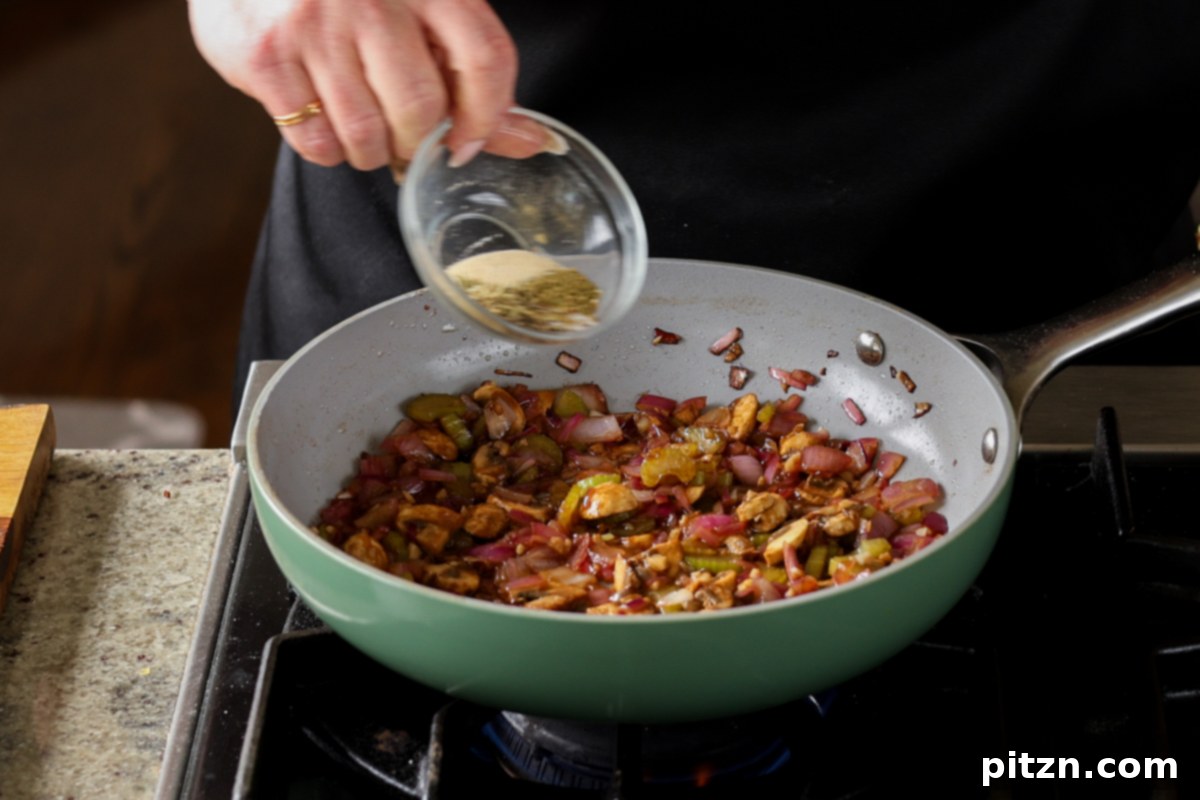
Step 2: Prepare the Cashew Cream
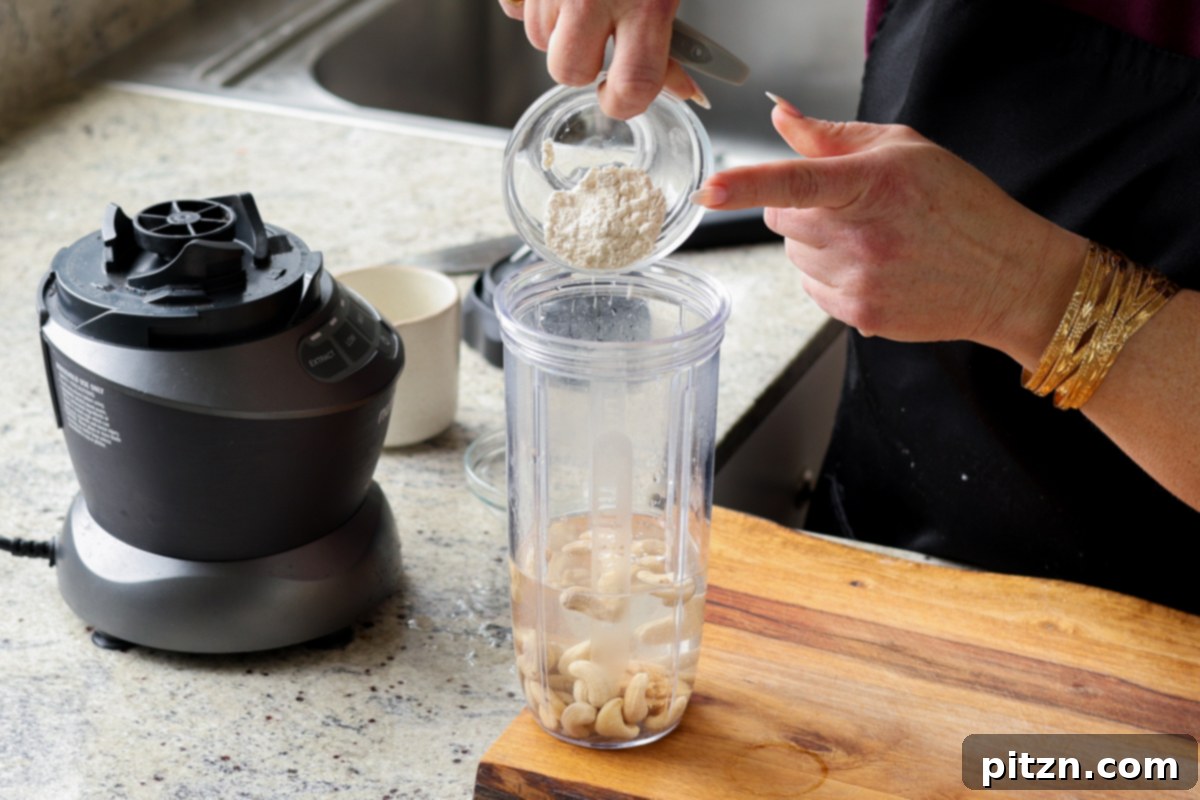
Meanwhile, as your vegetables cook, prepare the rich and creamy **cashew cream mixture**. In a high-speed blender, combine the 1/4 cup of raw cashews (which should have been soaked in hot water for 15 minutes and drained), 1 cup of water, 1 teaspoon of white miso, and 1 tablespoon of all-purpose flour. Blend until the mixture is completely smooth and free of any gritty cashew bits. For optimal smoothness, I recommend blending for a minute, letting it rest for 4 to 5 minutes, and then blending again for 30 seconds, repeating this process once or twice. Set this creamy mixture aside; it will be added to the pot pie filling soon.
Step 3: Combine and Thicken the Filling
Once the mushrooms have turned slightly golden on some edges, it’s time to add the remaining solid ingredients. Stir in the 1 cup of cooked chickpeas, 1 1/2 to 2 cups of chopped mixed vegetables, 2 bay leaves, 1/2 to 1 teaspoon of dried rosemary/thyme, 1 teaspoon of Italian seasoning, 1/2 teaspoon of black pepper, 1/2 teaspoon of onion powder, 1/4 cup of chopped sun-dried tomato, and the remaining 1/2 teaspoon of salt. Cook this mixture for about 2 minutes, allowing the flavors to meld together.
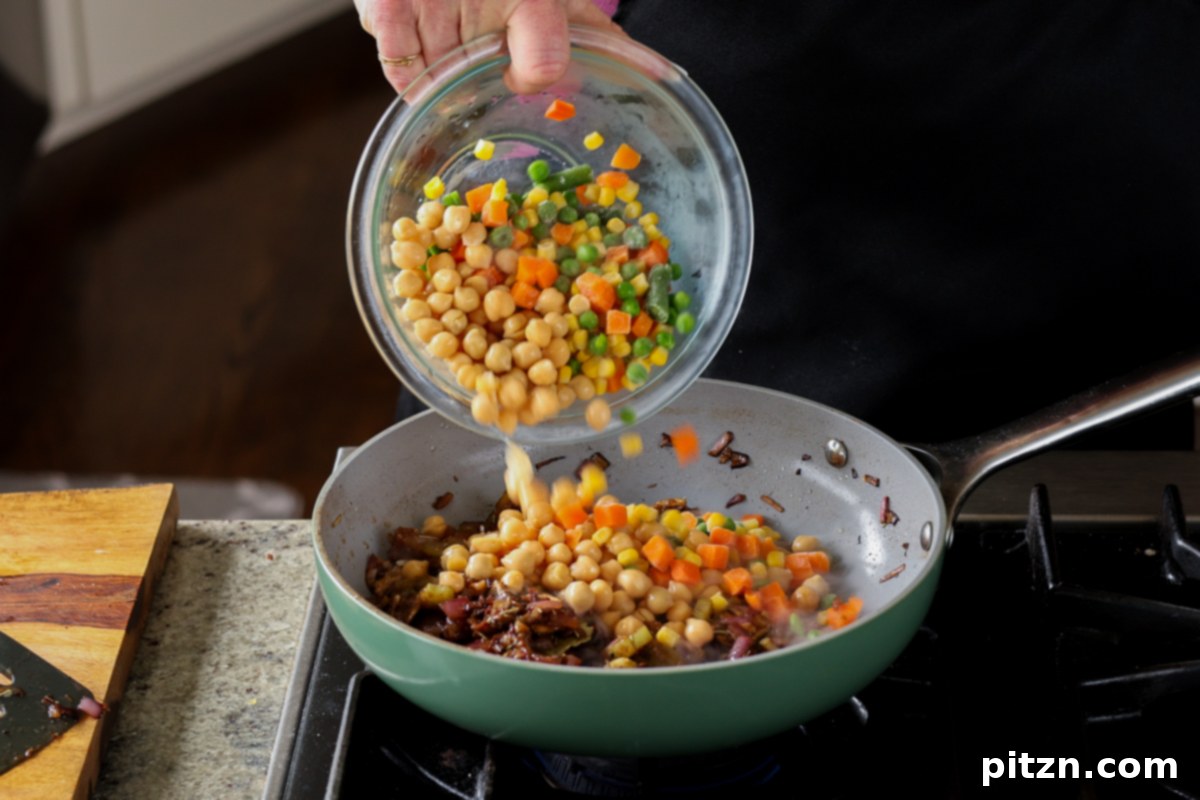
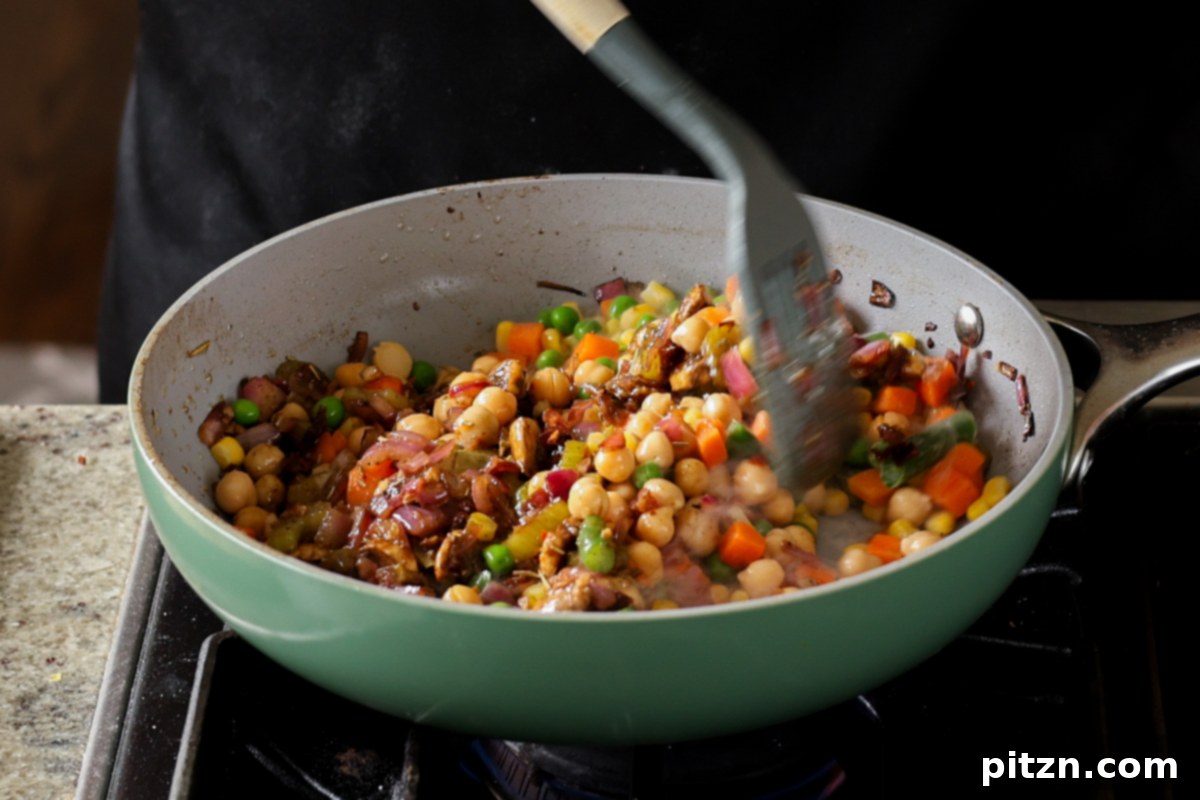
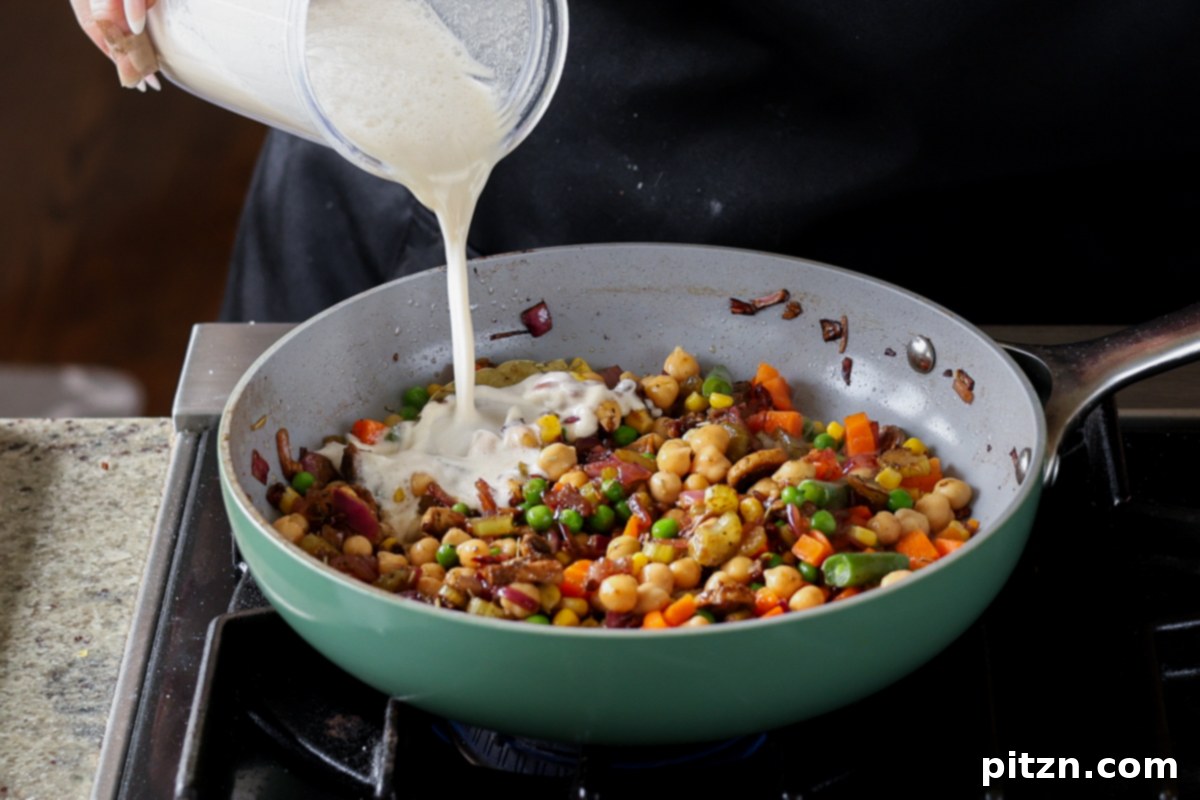
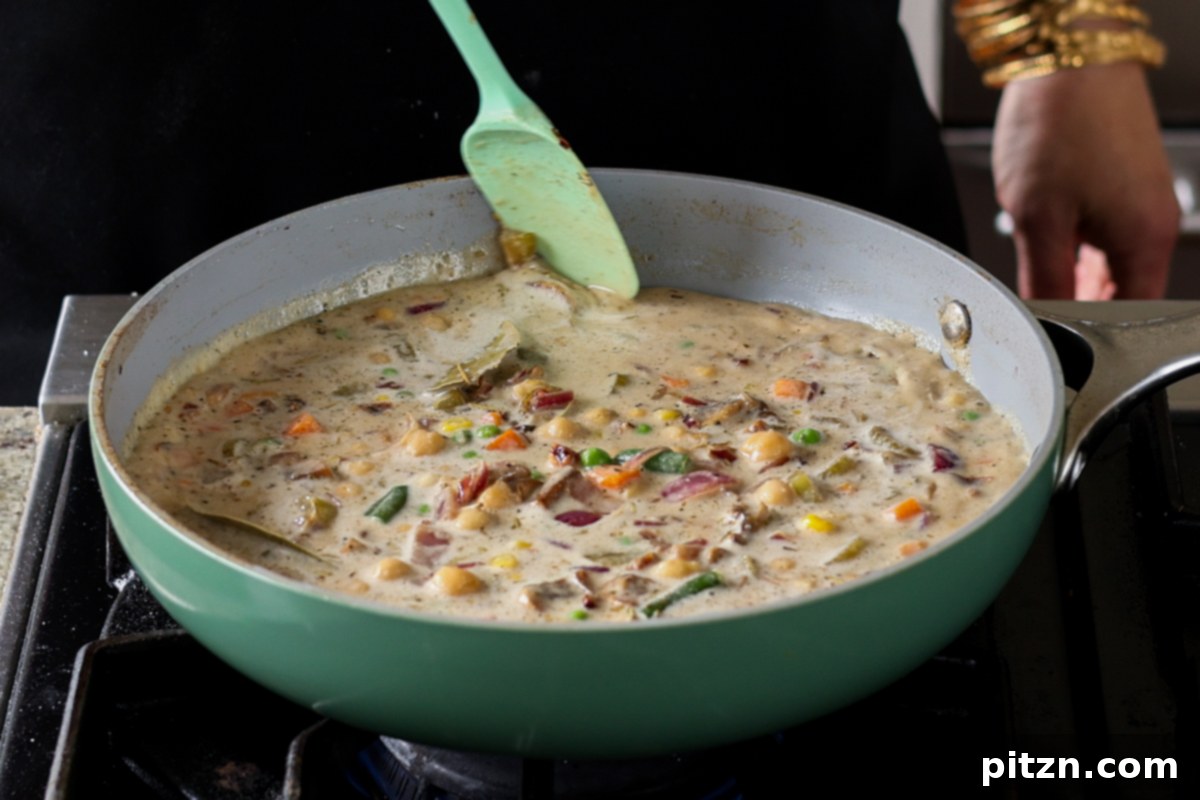
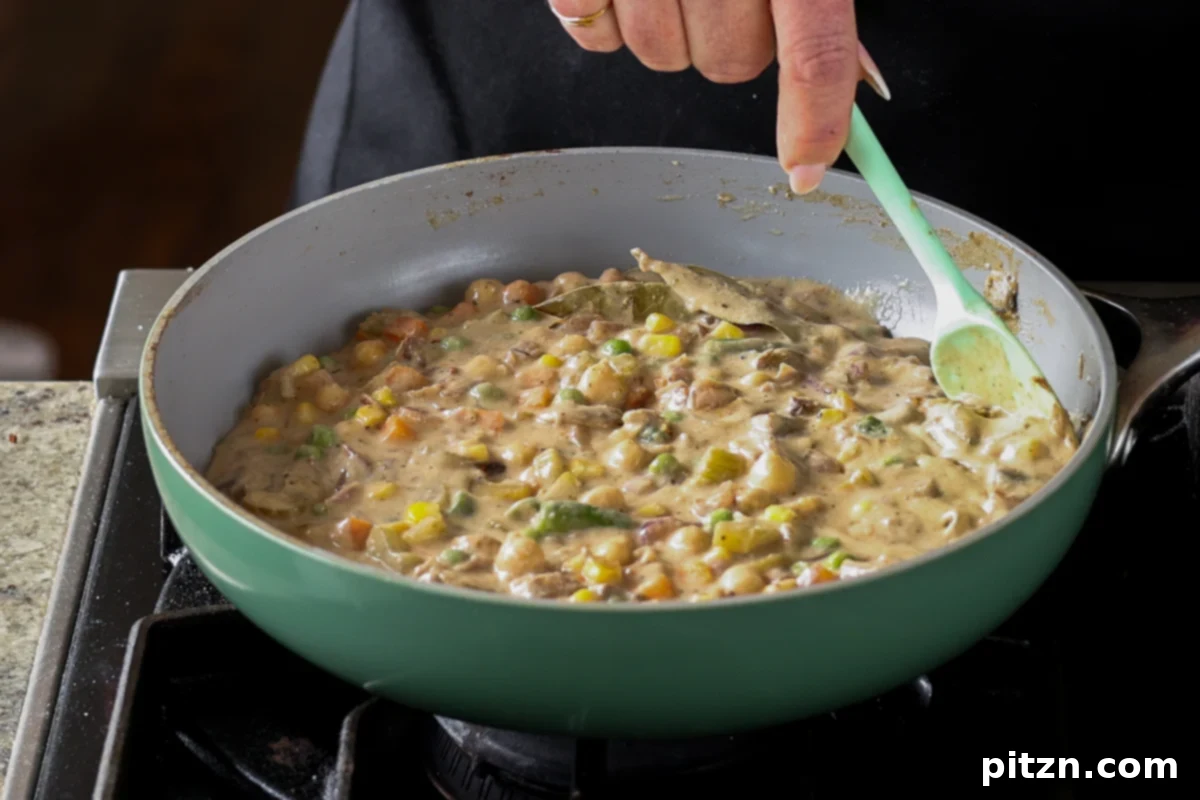
Now, pour in your prepared cashew cream mixture and bring the entire filling to a good boil. Stir occasionally to prevent the mixture from sticking to the bottom of the pan. Once it reaches a boil, reduce the heat to medium-low and continue to cook for another 5 minutes or longer, until the vegetables are cooked to an al dente tenderness and the sauce has significantly thickened to a rich, creamy consistency. This is also the perfect time to remove your **2 puff pastry sheets** from the freezer so they can thaw and become pliable (this takes about 15 to 20 minutes).
Step 4: Cool the Filling
Once the filling has reached the desired consistency, switch off the heat. The filling will have thickened considerably, but for the best results, it needs to cool further. Let it cool on the counter for about 10 minutes, then transfer it to the fridge for at least 15 minutes. This chilling process is essential; a thoroughly cooled and thickened filling will ensure your puff pastry crust remains wonderfully crisp and prevents sogginess during baking.
Step 5: Prepare Puff Pastry and Muffin Tin
Preheat your oven to 400° F (205° C).
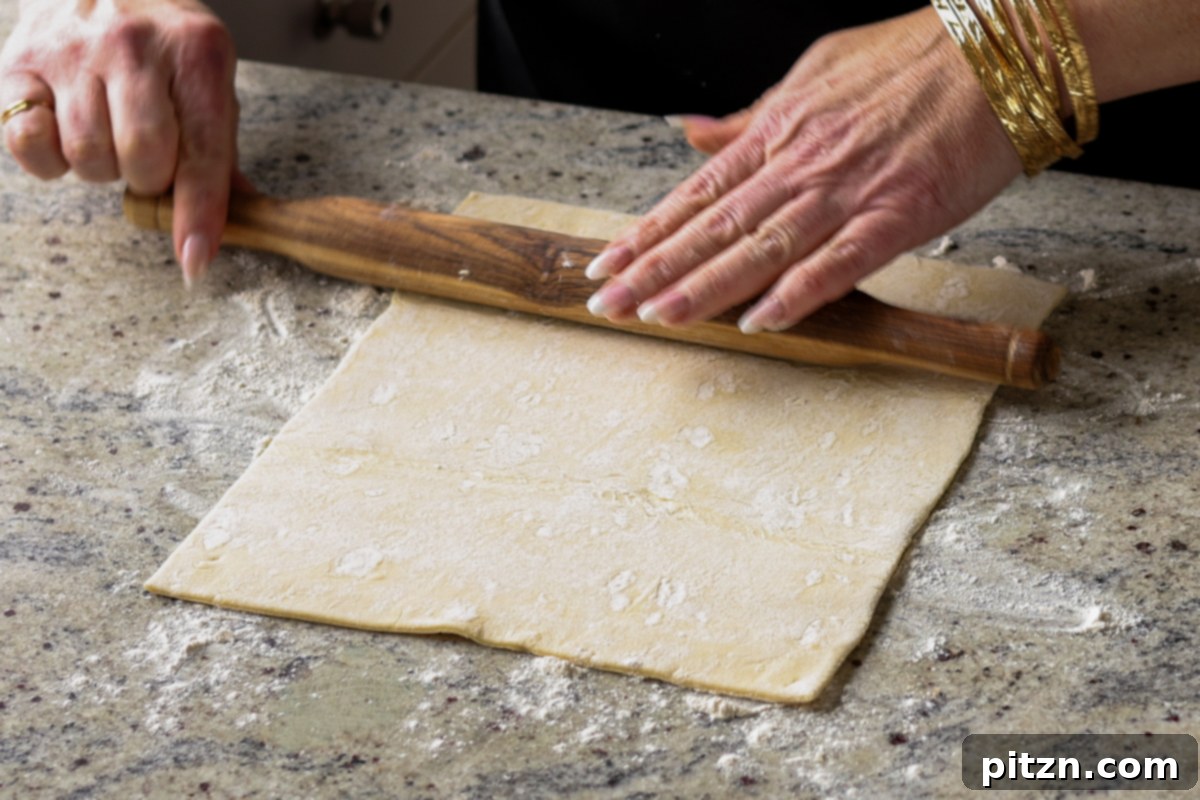
Once your **puff pastry** is pliable and easy to handle, lightly dust your counter with a little flour. Roll out each puff pastry sheet until it is about 2 inches larger than its original size. Using a pizza cutter or a sharp knife, slice each rolled sheet into 6 equal squares. For a neat finish, trim any excess edges from each portion to create more uniform squares. **Important:** do not discard these trimmed edges, as they will be used to create charming decorative tops for your mini pot pies! Repeat this process with the second puff pastry sheet.
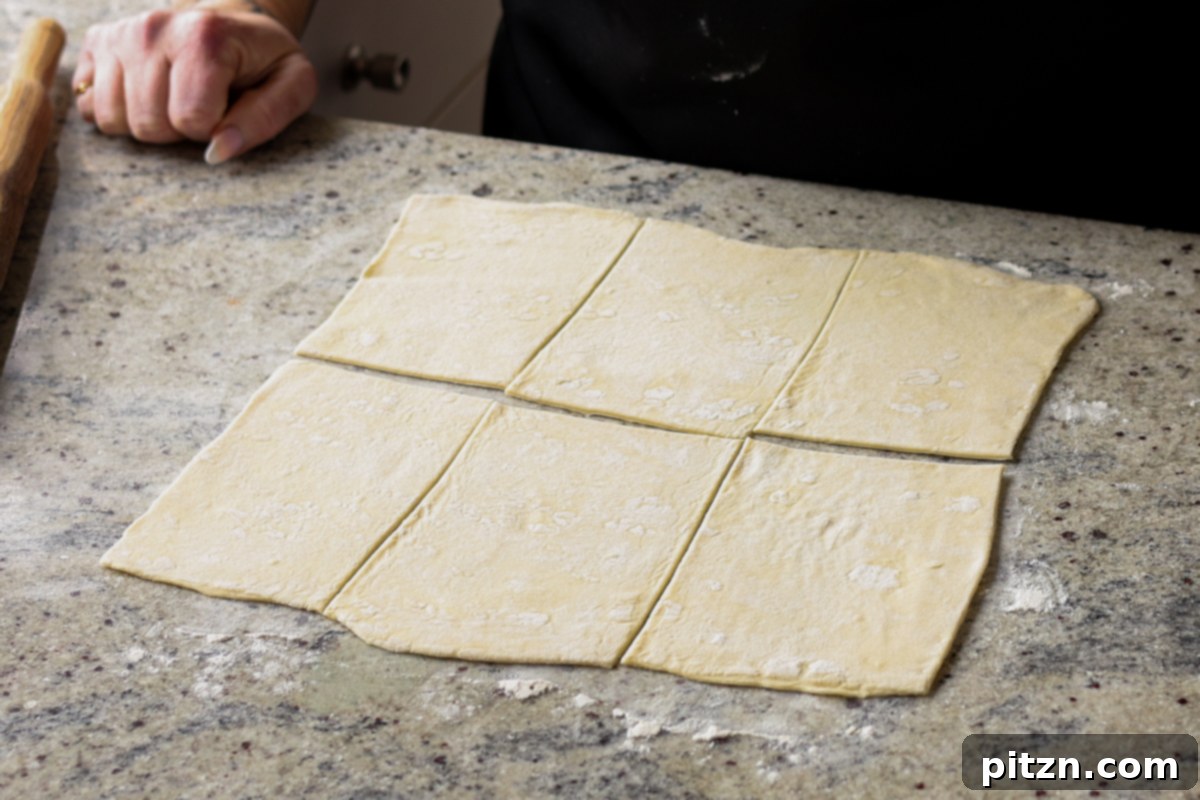
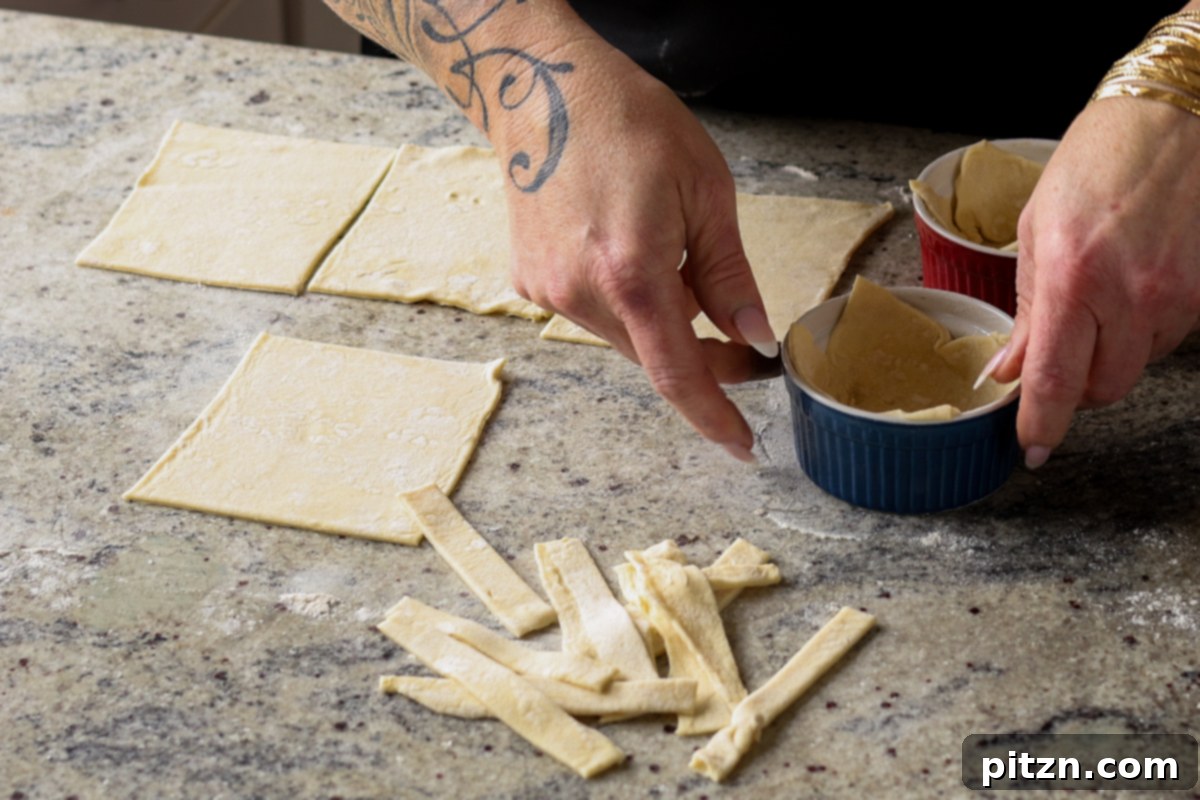
Prepare your muffin tin or oven-safe ramekins by greasing them exceptionally well, or by lining them with parchment paper. Ensure you grease all the insides as well as the edges to facilitate easy removal of the baked pot pies. Carefully place one puff pastry square into each muffin cup or ramekin, gently pressing it down to form a cup that will hold the filling.
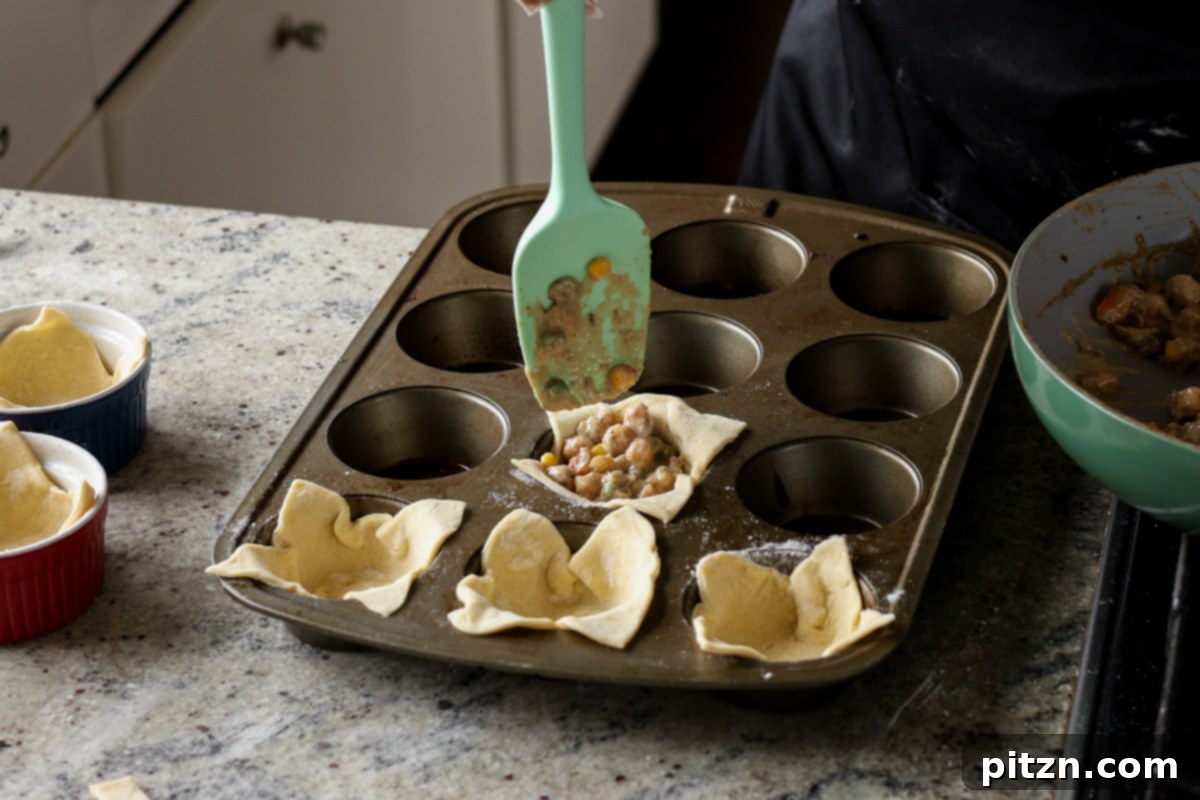
Step 6: Fill and Decorate
Retrieve your thoroughly cooled filling from the fridge. Spoon generous portions of the rich Tuscan filling into each puff pastry square nestled in the muffin tin or ramekin. Now for the creative touch! Use the remaining strips of puff pastry (from the trimmed edges) to create any design you desire for the tops of your mini pot pies. A classic lattice pattern is always elegant, or you can cut out circles, small flowers, or hearts. Let your imagination guide you!
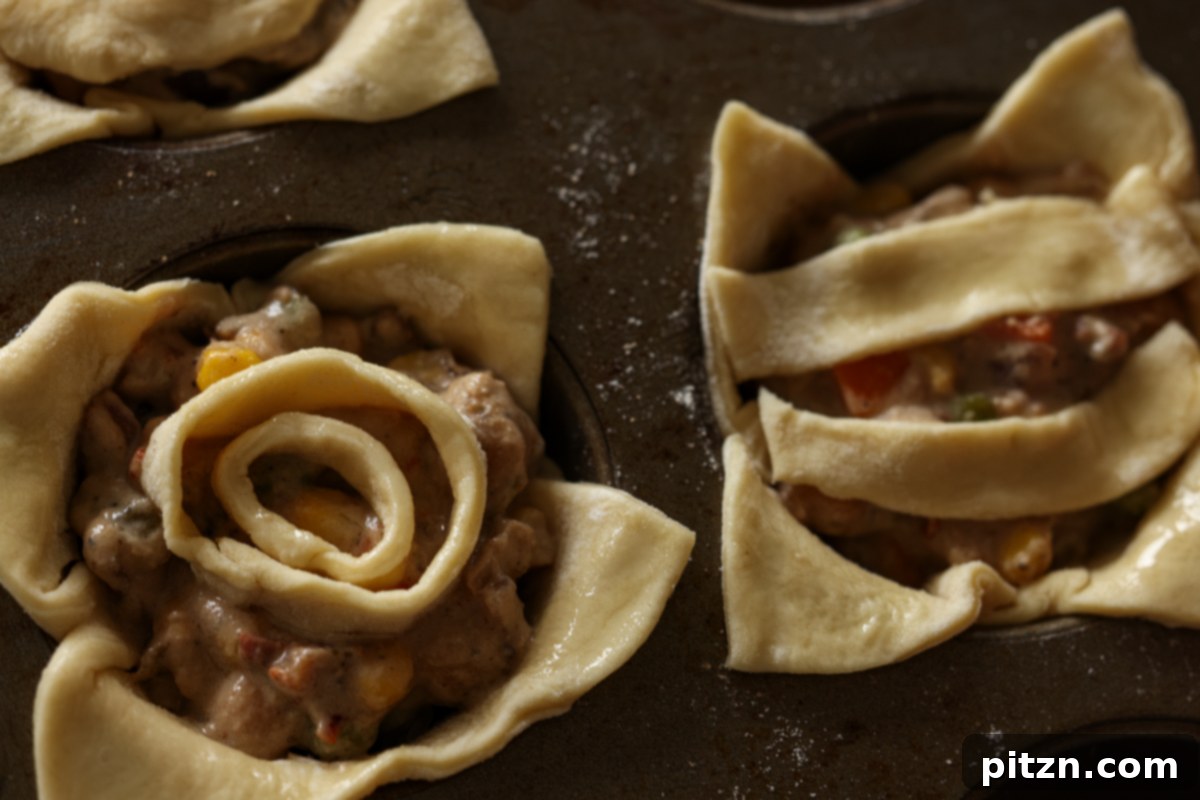
Step 7: Bake to Golden Perfection
Lightly brush the exposed puff pastry edges and decorative tops with a little bit of oil. This will help them achieve that beautiful, irresistible golden-brown color during baking. Place the muffin tin or ramekins in your preheated oven and bake for 25 to 30 minutes. At the 25-minute mark, check on your pot pies to see if they’ve developed a nice golden hue on most of the edges. If not, rotate the tray for even browning and continue baking for another 3 to 5 minutes, until the crusts are deeply golden and flaky.
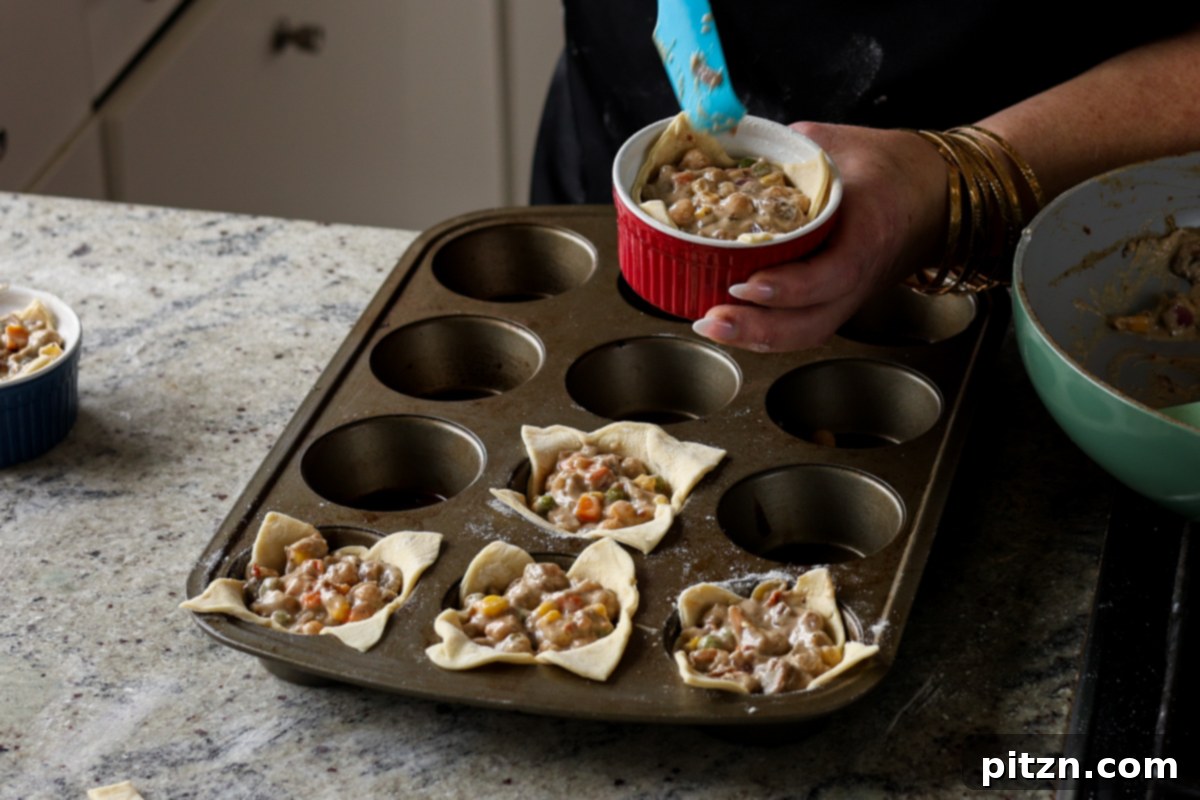
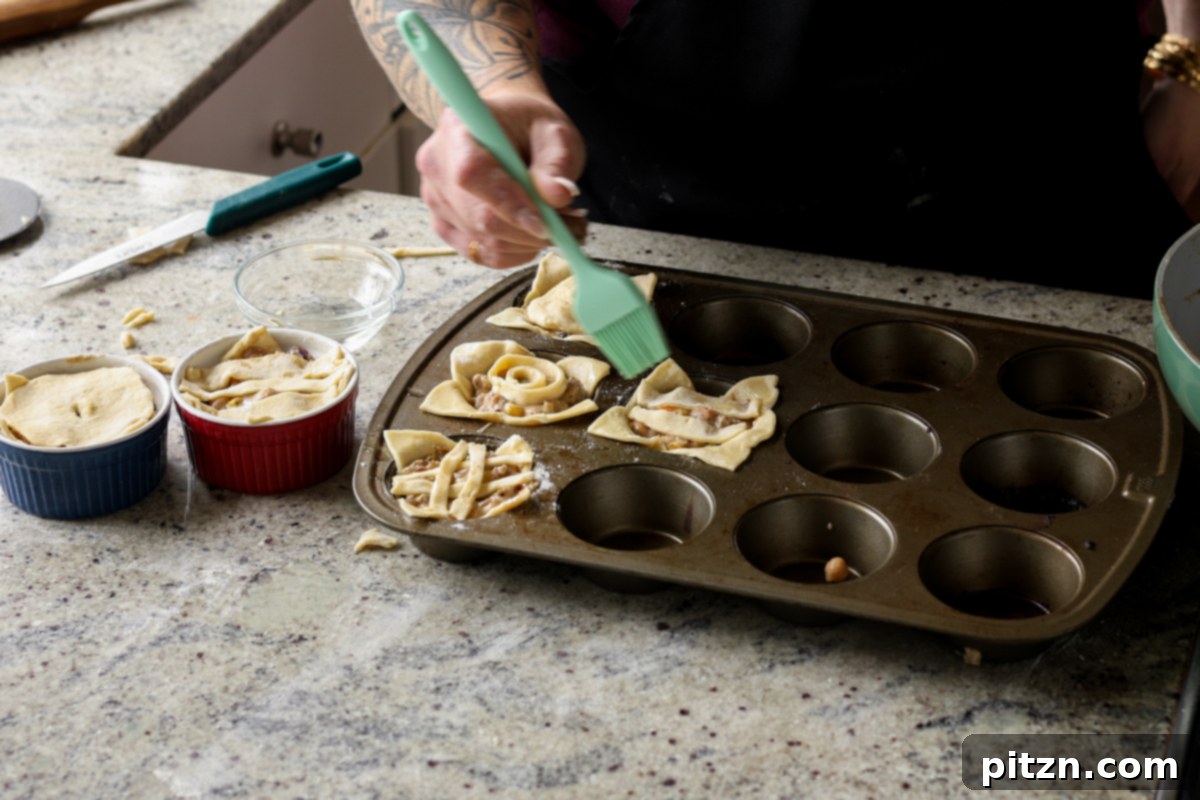
Step 8: Cool, Garnish, and Serve!
Once baked to perfection, carefully remove the mini pot pies from the oven. Let them cool in the muffin tin or ramekins for about 5 minutes. This brief cooling period helps the filling set and makes them easier to handle. Then, gently pop them out of their molds. For a final flourish, garnish with some fresh chopped herbs, such as parsley or green onions. Serve immediately and savor the moment! The filling will be wonderfully bubbly and creamy, encased in a beautifully golden, crispy, and flaky puff pastry crust.

What to Serve with Your Mini Pot Pies
These Vegan Tuscan Mini Pot Pies are incredibly versatile, making them a delicious addition to any meal, from a casual family dinner to an elaborate holiday feast. Here are some pairing suggestions to complement their rich flavors:
- For a Holiday Spread: Serve them alongside other festive favorites like hearty roasted root vegetables, a savory chickpea sausage stuffing, or elegant lentil-stuffed butternut squash. For appetizers, consider an everything bagel vegan cheese ball, and for a grand main, a rich butternut squash lasagna.
- Simple Sides: A crisp green salad with a light vinaigrette provides a refreshing contrast to the creamy pot pies. Steamed asparagus, broccoli, or a simple side of roasted potatoes would also be excellent choices.
- Bread: A crusty baguette or some warm focaccia bread is perfect for soaking up any leftover creamy sauce.
- Dessert Pairings: Complete your meal with delectable plant-based desserts. My pecan pie bars, charming mini pumpkin pies, a comforting pumpkin pie crisp, or a delightful sweet potato crumb cake would all make splendid endings to your meal.
Frequently Asked Questions
Absolutely! This recipe is highly adaptable for various dietary needs:
- Gluten-Free: For a gluten-free version, swap the all-purpose flour in the pot pie filling with a gluten-free flour blend (ensure it’s a 1:1 baking blend for best results). For the crust, use a certified gluten-free puff pastry. Alternatively, you can use a gluten-free vegan pie crust. If using a pie crust, pre-bake the crust shells for 15 to 20 minutes before adding the filling, then fill and bake again according to the recipe instructions.
- Soy-Free: To make this recipe soy-free, ensure your puff pastry is soy-free (always check labels, as some brands may contain soy). For the cashew cream, substitute white miso with chickpea miso, which provides similar umami depth without soy.
- Nut-Free: If you need a nut-free option, replace the cashews in the cream mixture. A great alternative is to use 2 tablespoons of hemp seeds combined with 1/4 cup of firm silken tofu, blended until smooth with the water, miso, and flour. This combination creates a similar creamy texture.
Yes, these mini pot pies are excellent for making ahead and freezing, making meal prep a breeze!
- Storage (Baked): Baked mini pot pies can be stored in an airtight container in the refrigerator for up to 3 days. To reheat, warm them in the oven at 350°F (175°C) for about 8 minutes, or in an air fryer for 4 minutes, until heated through and the crust is crisp again.
- Make Ahead (Unbaked and Frozen): For longer storage, you can assemble the pot pies completely (filling in the puff pastry with tops) in parchment-lined muffin tins or ramekins. Freeze them for about an hour until they are solid. Once frozen, carefully pop them out of the tins and transfer them to an airtight freezer-safe container or bag. They can be stored this way for several months. When you’re ready to enjoy them, simply place the frozen pot pies back into a greased or lined muffin tin and bake from frozen in a preheated oven (400°F/205°C) for approximately 35-45 minutes, or until the crust is golden and the filling is bubbly and heated through.
- Filling Only: The pot pie filling can be prepared up to 3 days in advance and stored separately in the refrigerator. This allows you to quickly assemble and bake the pot pies on the day you plan to serve them.