
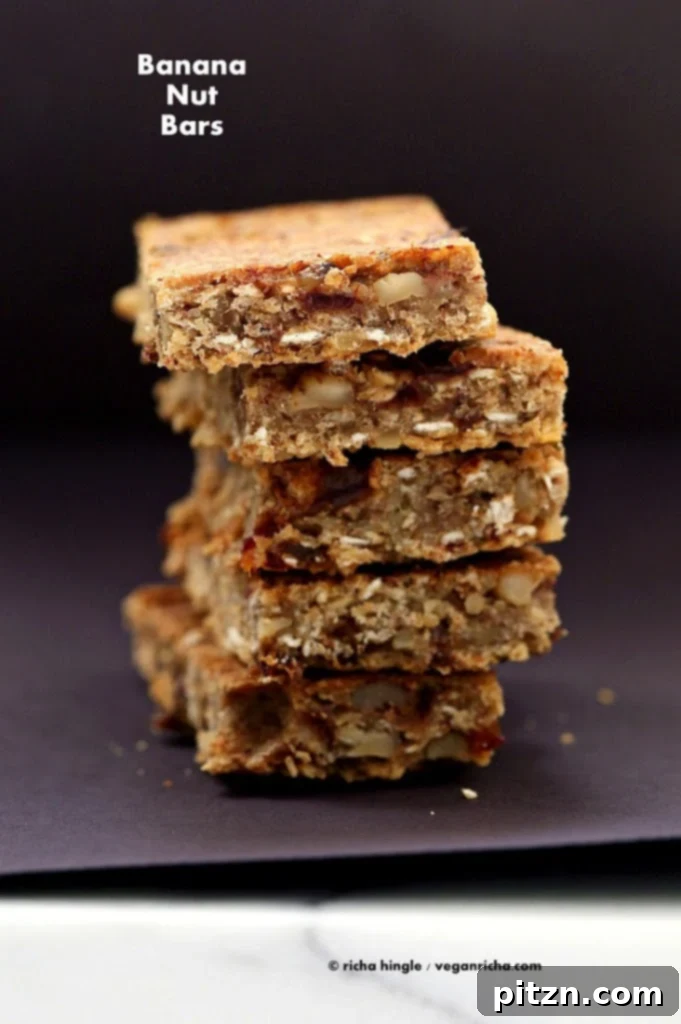
Homemade Banana Nut Snack Bars: Your Go-To Healthy Treat
gluten-free, vegan, refined oil-free, and refined sugar-free, they derive their delightful
sweetness solely from natural dried dates. These bars are not just a healthy snack; their portability and
delicious flavor make them an ideal grab-and-go breakfast option for busy mornings. Perfect for satisfying
sweet cravings while fueling your body with wholesome ingredients, they promise a burst of natural goodness in
every bite.
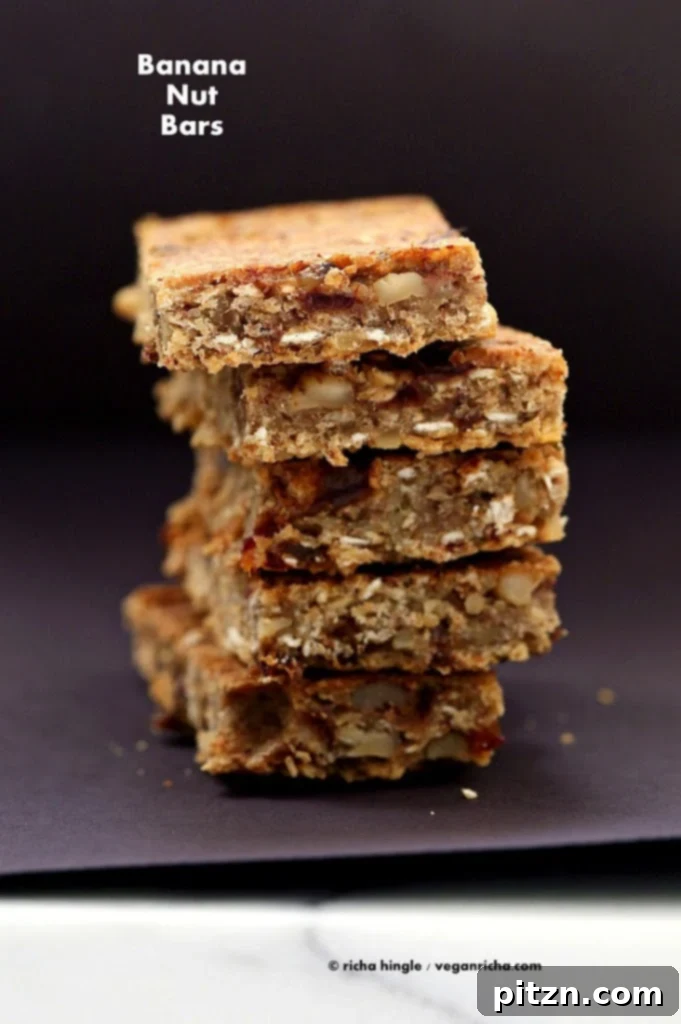
The Quest for the Perfect Healthy Snack Bar
For a long time, my snacking habits revolved around convenient store-bought bars. I particularly enjoyed a
certain banana nut bar from Odwalla, which perfectly balanced flavor and nutrition. However, a sudden,
prolonged unavailability of these bars on shelves forced me to rethink my approach to snacking. I found
myself reaching for plain nuts, which, while healthy in moderation, weren’t quite hitting the spot and, in my
case, led to some unwanted side effects when consumed in excess. It became clear: I needed a reliable,
delicious, and genuinely healthy homemade alternative.
This personal snack crisis ignited a culinary mission to create a banana nut snack bar that was not only
nutritious but also incredibly satisfying. After experimenting with various ingredients and ratios, I finally
perfected this recipe – a delightful blend that captures the essence of those beloved store-bought bars
without any of the refined sugars, oils, or artificial additives. This recipe quickly became a staple in my
kitchen, proving that healthy eating doesn’t mean sacrificing flavor or convenience. Now, I’m thrilled to
share one of my all-time favorite snack bar recipes, designed to nourish and delight with every bite.
Why Choose Homemade Banana Nut Snack Bars?
In today’s fast-paced world, convenience often trumps nutrition. Store-bought snack bars, while handy, are
frequently loaded with hidden sugars, unhealthy fats, and artificial ingredients. Opting for homemade banana
nut snack bars offers a multitude of benefits, empowering you to take control of what you consume. You gain
complete transparency over the ingredients, ensuring only the freshest, most wholesome components make it into
your body.
Beyond ingredient control, these homemade bars are a testament to healthy eating made easy and delicious. They
are naturally sweetened with dates, providing a sustained energy release without the sharp spike and crash
associated with refined sugars. The combination of oats, nuts, and seeds delivers a powerhouse of fiber,
protein, and healthy fats, promoting satiety and supporting overall well-being. Moreover, making your own
snack bars is often more cost-effective than purchasing them regularly, allowing you to enjoy premium quality
without the premium price tag. Embrace the simple joy of creating nutritious snacks that truly nourish your
body and delight your taste buds.
Key Ingredients for Your Wholesome Snack Bars
Each ingredient in these banana nut snack bars plays a vital role, contributing to their incredible flavor,
texture, and nutritional profile. We focus on whole, unprocessed foods to ensure maximum health benefits and
a truly satisfying bite.
- Ripe Bananas: The star of the show! Very ripe bananas, often with brown spots, are
essential not just for their distinct flavor but also for their natural sweetness and binding properties,
reducing the need for added sugars and helping hold the bars together. - Cinnamon: This warm spice adds a comforting aroma and complements the banana flavor
beautifully, offering subtle notes of warmth and enhancing overall taste. - Cloves: A touch of ground cloves introduces a rich, aromatic depth, elevating the spice
profile beyond just cinnamon and nutmeg. - Nutmeg: Freshly grated or ground nutmeg provides a sweet, slightly nutty, and spicy
undertone, perfectly rounding out the classic banana bread flavor. - Old-Fashioned Oats: These provide a hearty base, contributing essential fiber and a
chewy texture. For a gluten-free option, ensure you use certified gluten-free oats. - Dried Dates: Nature’s candy! Dates are our primary sweetener, offering natural sugars
alongside beneficial fiber, potassium, and antioxidants. They also contribute to the bars’ moist, chewy
texture. - Walnuts: Packed with omega-3 fatty acids, walnuts add a delightful crunch and a rich,
earthy flavor that pairs wonderfully with banana. - Cashews: For a slightly creamier texture and a milder, buttery note, cashews complement
the walnuts and contribute to the healthy fat content. - Hemp Seeds: These tiny powerhouses are excellent sources of plant-based protein, healthy
fats (including omega-3s and omega-6s), and various minerals, boosting the nutritional value of each bar. - Vanilla Extract: Enhances all the sweet flavors, adding a comforting and familiar
aroma. - Sea Salt: A pinch of salt balances the sweetness and brings out the full spectrum of
flavors in the bars. - Coconut Oil (Optional): A small amount can help with texture and a subtle richness,
though it can be omitted for an oil-free version.
Selecting high-quality, fresh ingredients is key to the success and flavor of these bars. Opt for organic
where possible, and always choose very ripe bananas for the best natural sweetness and consistency.
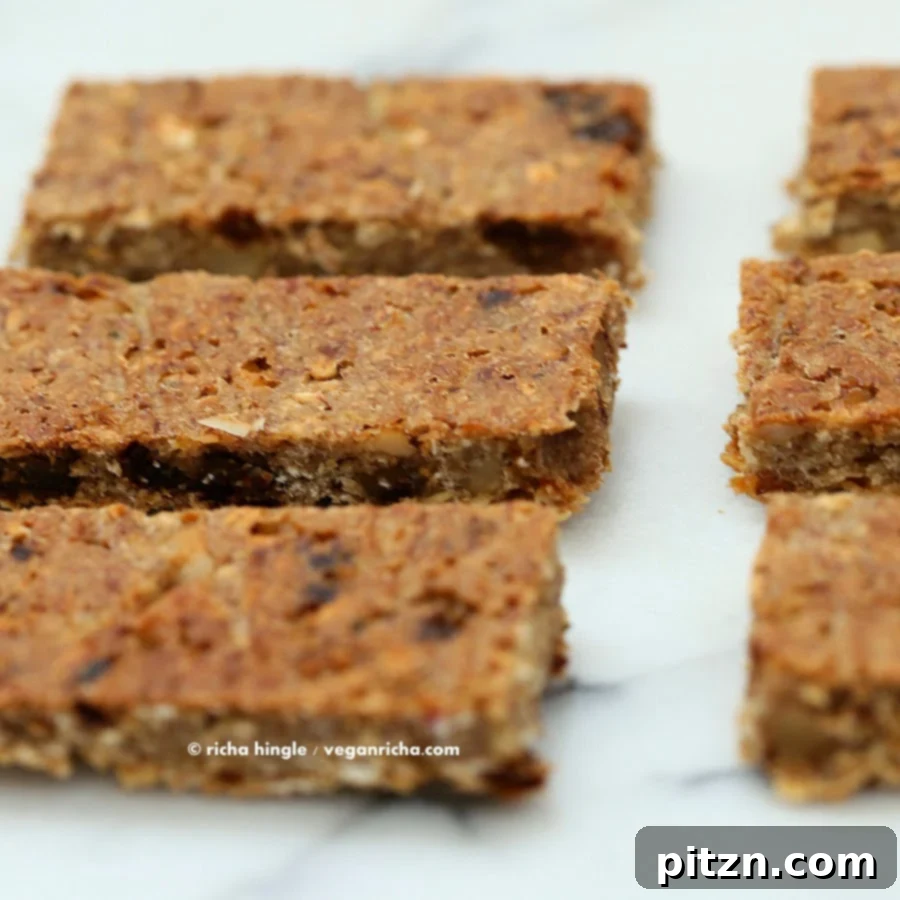
Customizing Your Banana Nut Snack Bars: Delicious Variations
One of the best aspects of making your own snack bars is the freedom to customize them to your preferences
or dietary needs. This recipe serves as a fantastic base, inviting you to experiment with different nuts,
seeds, and dried fruits to create endless flavor combinations.
Nut-Free Options
- To make these banana nut snack bars completely nut-free, simply replace the walnuts and
cashews with a combination of various seeds. Excellent choices include sunflower seeds, pumpkin seeds,
chia seeds, or even additional hemp seeds. This ensures a safe option for those with nut allergies while
still providing healthy fats and a satisfying crunch.
Adding Other Dried Fruits
- For more flavor and texture variation, feel free to add other dried fruits alongside
or in place of some of the dates. Chopped dried cherries, apricots, strawberries, blueberries, or even
raisins can introduce different dimensions of sweetness and tanginess. Ensure they are unsweetened
and sulfur-free for the healthiest option.
Oil-Free Version
- If you’re aiming for an even leaner snack, you can easily make these snack bars oil-free by
omitting the coconut oil. The natural moisture from the bananas and dates, combined with the
binding properties of the oats, will still ensure the bars hold together beautifully.
Spice Variations
- Don’t be afraid to adjust the spices to your liking! A touch of ginger powder can add a zesty kick,
while allspice can enhance the warm, autumnal notes. Cardamom offers a unique, fragrant twist that pairs
surprisingly well with banana.
Sweetness Adjustment
- The amount of dates can be adjusted based on your preferred level of sweetness. For a less sweet bar, use
3/4 cup of dates. If you have a sweeter tooth, go for a full cup. Remember that very ripe bananas also
contribute significantly to the overall sweetness.
How to Make Wholesome Banana Nut Snack Bars
These healthy banana oat bars are surprisingly simple to prepare and come together quickly, especially with
the help of a food processor. Follow these straightforward steps to create your delicious and nutritious
homemade snack bars.
- Prepare Your Baking Dish: Preheat your oven to 325 degrees F (160 degrees C). Line a
baking dish (approximately 8×8 or 9×9 inches for thicker bars, or a larger sheet pan for thinner ones)
with parchment paper, ensuring enough overhang to easily lift the bars out once baked and cooled. This
prevents sticking and makes for easy cleanup. - Mash and Mix Wet Ingredients: In a medium-sized bowl, thoroughly mash the ripe bananas
until smooth. Then, stir in the vanilla extract, sea salt, cinnamon, cloves, nutmeg, and coconut oil (if
using). Mix everything together until well combined, creating a fragrant and flavorful wet base. - Process Dry Ingredients: In your food processor, combine the old-fashioned oats, dried
dates, walnuts, cashews (if using), and hemp seeds. Pulse the mixture until it forms a coarse, crumbly
texture. You can pulse for a shorter time if you prefer a chunkier bar with more distinct nut and date
pieces, or process longer for a finer, more uniform consistency. - Combine and Form: Gradually add the dry mixture from the food processor to the mashed
banana mixture in the bowl, a cup at a time. Mix thoroughly after each addition until all ingredients
are well incorporated and a thick, cohesive dough forms. If the mixture seems too wet, add a tablespoon
or two of extra oats until it reaches a pressable consistency. - Press into Baking Dish: Transfer the combined mixture onto your parchment-lined baking
sheet. Using your hands or a spatula, press the mixture down firmly and evenly into a rectangle, aiming
for about 1/4 inch thickness. Ensure the surface is as flat and uniform as possible for even baking. - Bake to Perfection: Place the baking dish in the preheated oven and bake for 20 minutes.
After 20 minutes, rotate the baking sheet to ensure even browning. Continue baking for another 7 to 10
minutes, or until the edges are golden brown and the center feels dry to the touch. The bars should be
set but still slightly soft. - Cool Completely Before Slicing: This step is crucial! Remove the baking dish from the
oven and let the snack bars cool completely on the baking sheet at room temperature. Rushing this step
will result in crumbly bars. Once fully cooled, the bars will firm up and be much easier to slice neatly.
Carefully lift the parchment paper with the cooled slab and transfer it to a cutting board. Slice into
your desired bar size (e.g., 4in x 1.5in).
Make a generous batch of these delightful snack bars to keep on hand! They are perfect for meal prepping
and will quickly become a favorite for both adults and children.
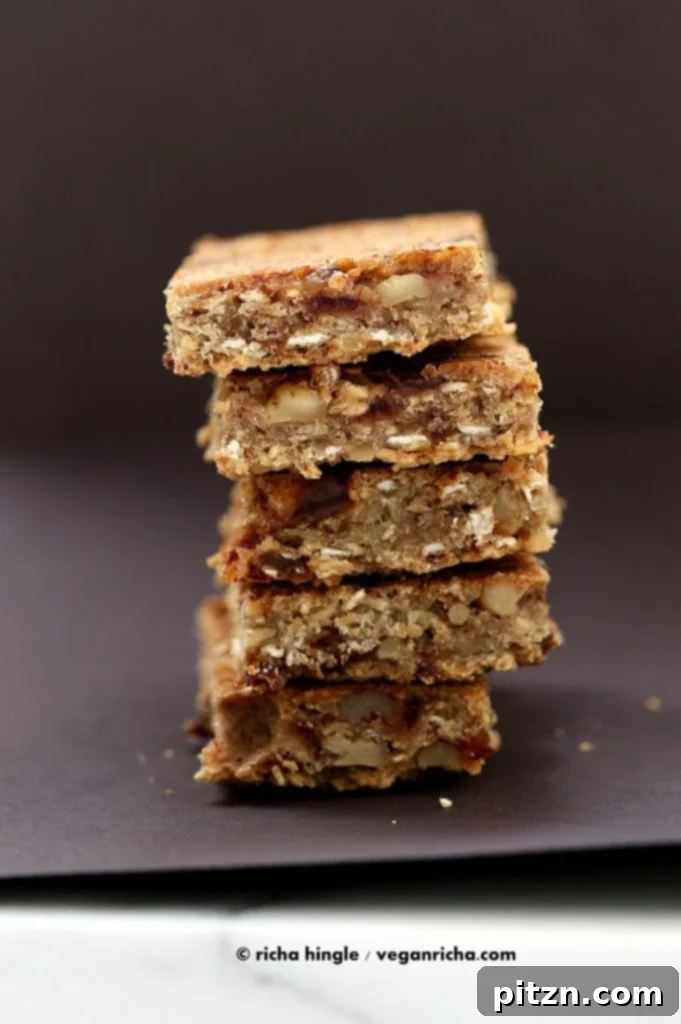
Storage and Serving Suggestions
Proper storage is key to enjoying your homemade banana nut snack bars for as long as possible. These bars
are incredibly versatile and can be enjoyed in many ways.
Storage
- Refrigerator: Store the cooled and sliced bars in an airtight container in the
refrigerator for up to one week. The cool temperature helps maintain their firmness and freshness. - Freezer: For longer storage, these bars freeze exceptionally well! Wrap individual bars
tightly in parchment paper or plastic wrap, then place them in a freezer-safe bag or container. They can
be stored in the freezer for up to a month. To enjoy, simply thaw at room temperature for about 15-30
minutes or warm gently in a microwave for a few seconds.
Serving Ideas
These banana nut snack bars are perfect for any time of day, offering a quick and satisfying boost:
- Grab-and-Go Breakfast: Pair with a cup of coffee or a smoothie for a quick, balanced
start to your day. - Mid-Morning or Afternoon Snack: A perfect pick-me-up to stave off hunger between meals.
- Post-Workout Refuel: The blend of complex carbs, protein, and healthy fats makes them an
excellent recovery snack. - Dessert Alternative: A healthier option to satisfy your sweet tooth without the guilt.
- Kids’ Lunchbox Treat: A wholesome and delicious addition to any child’s lunch.
The subtle spices and natural sweetness also make them a comforting treat on a chilly evening.
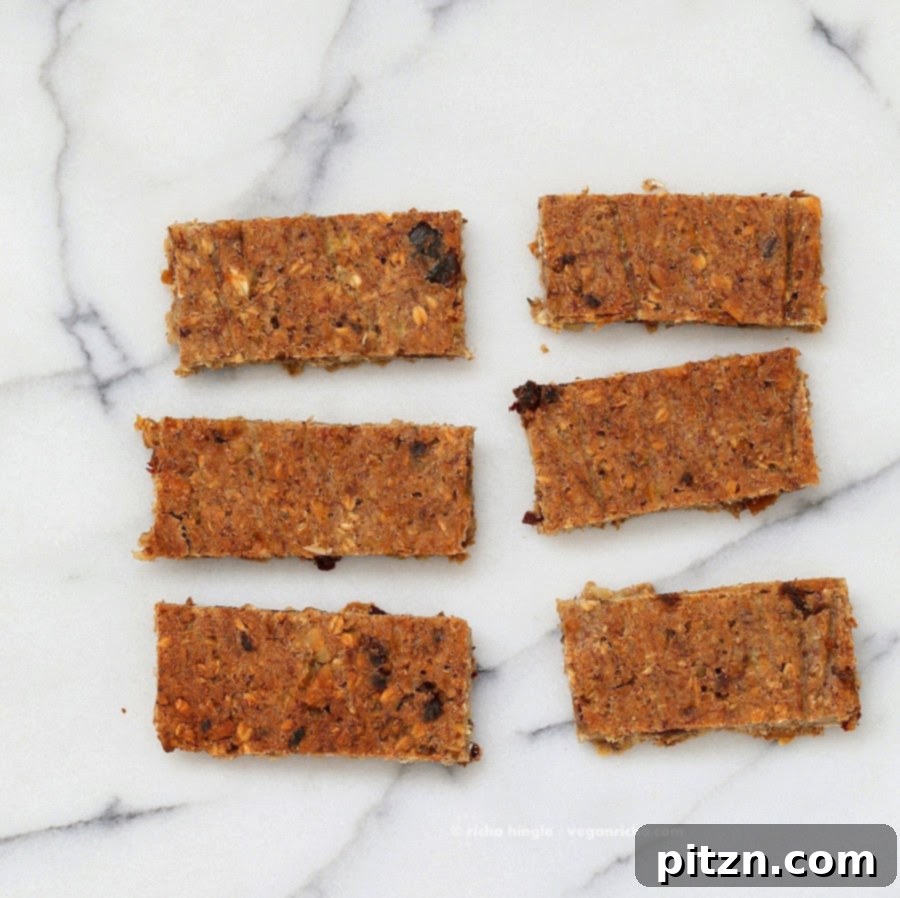
Banana Nut Snack Bars
By: Vegan Richa
Prep Time: 10 mins | Cook Time: 30 mins |
Total Time: 40 mins
Yields: 10 (4in x 1.5in) bars | Course: Snack
| Cuisine: American
Print Recipe
These Banana Nut Snack Bars are a quick and easy treat any time of day! This healthy snack bar recipe
is gluten-free, vegan, refined oil-free, and refined sugar-free thanks to the sweetness from dried
dates. Sweet and portable, they make the perfect grab-and-go breakfast, too!
Ingredients
- 3 ripe bananas
- 1 tsp vanilla extract
- 1/8 tsp sea salt
- 1/2 tsp cinnamon
- 1/8 tsp cloves powder
- A generous pinch of nutmeg
- 2 tsp coconut oil (optional, for oil-free bars)
- 2 cups old-fashioned oats (use certified gluten-free if needed)
- 3/4-1 cup dates, pitted (adjust based on desired sweetness)
- 3/4 cup walnuts (or a combination of walnuts and cashews, or seeds for nut-free)
- 1/4 cup hemp seeds
Instructions
- Preheat oven to 325 degrees F (160 degrees C). Line a baking sheet with parchment paper.
- In a bowl, mash the bananas well. Mix in the vanilla, salt, cinnamon, cloves, nutmeg, and coconut
oil (if using) until combined. - In a food processor, add oats, pitted dates, walnuts (and/or cashews), and hemp seeds. Pulse
until a coarse mixture forms. For chunkier bars, pulse less; for finer bars, process longer. - Add this dry mixture to the banana mixture, about a cup at a time, and mix thoroughly until
everything is well combined. If the mixture feels too wet, add a little more oats. - Press the mixture evenly onto the parchment-lined baking sheet into a 1/4 inch thick rectangle.
- Bake for 20 minutes. Rotate the baking sheet and bake for another 7 to 10 minutes, or until the
edges are golden and the center is dry to the touch. - Let the bars cool completely on the baking sheet before slicing. This is crucial to prevent them
from falling apart. - Store the cooled and sliced bars in an airtight container in the refrigerator for up to a week or
freeze for up to a month.
Notes
For variations, consider adding other dried fruits such as chopped cherries, apricots, strawberries, or
blueberries to the mixture. This can introduce new flavors and textures to your snack bars.
Nutrition Facts (per serving)
Calories: 189kcal, Carbohydrates: 21g, Protein: 6g, Fat: 10g, Saturated Fat: 2g, Sodium: 31mg,
Potassium: 170mg, Fiber: 3g, Sugar: 7g, Vitamin A: 25IU, Vitamin C: 0.1mg, Calcium: 30mg, Iron: 1.7mg
Nutrition information is automatically calculated and should be used as an approximation.
More Healthy & Delicious Gluten-Free Snacks You Might Enjoy
If you loved these banana nut snack bars, you’re in for a treat! Here are a few more of my favorite
gluten-free snack and protein bar recipes that are perfect for meal prep, quick bites, or satisfying
cravings without compromising on health.
- No Bake Chocolate Almond
Zesty Snack Bars, 2 Ways (Vegan & Gluten-Free) - No Bake Sunbutter Granola Bars
- Seedy Ginger Chocolate No
Bake Granola Bars
These recipes offer a fantastic variety of flavors and textures, ensuring you always have a healthy, homemade
option on hand to keep you fueled throughout the day. Happy snacking!
Editor’s Note: This post was originally published in July 2014 and has been updated for accuracy and
comprehensiveness.