
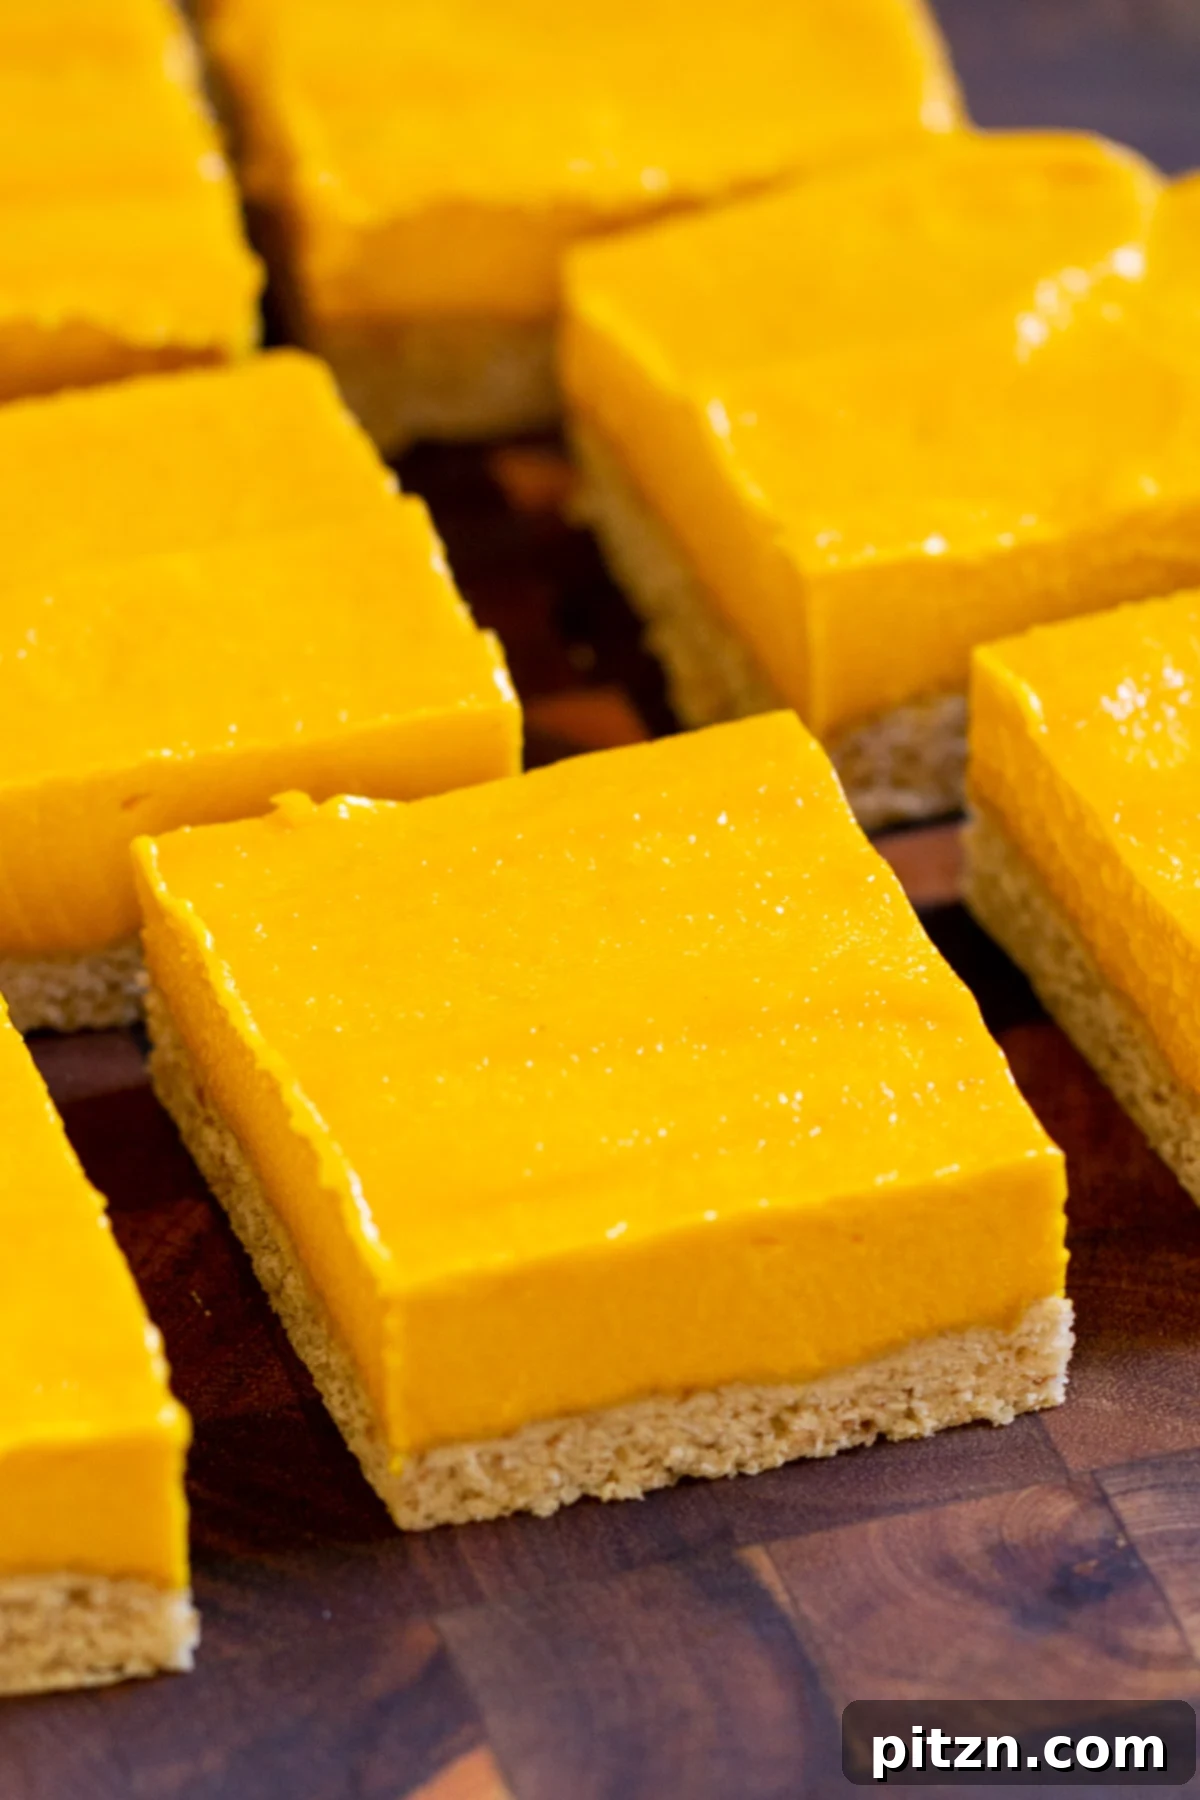
Indulge in the vibrant flavors of summer with these exquisite **Vegan Mango Bars**. A truly decadent and refreshing dessert, these bars feature a simple, oil-free crust perfectly complemented by a luscious, creamy mango cashew filling. They are not only dairy-free but can also be effortlessly made gluten-free, making them a perfect treat for a wide range of dietary preferences. Prepare to be enchanted by their bright, tropical taste and smooth texture!
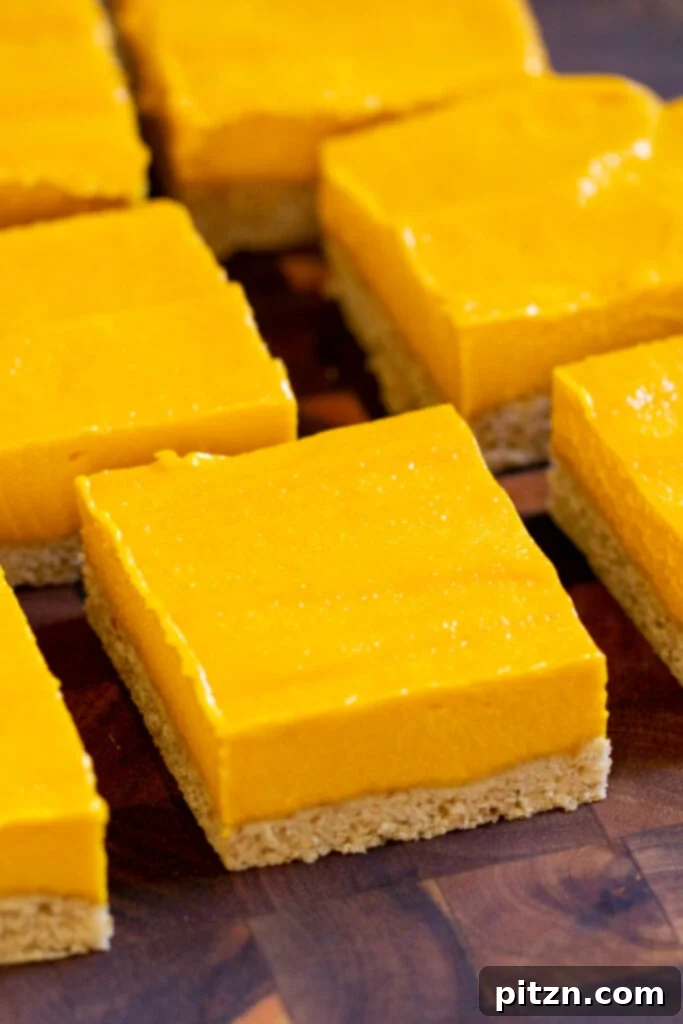
Table of Contents
- Why You’ll Love These Mango Bars
- The Magic of Mangoes: Choosing and Preparing Your Fruit
- More Vegan Mango Recipes
- Mango Bars Vegan Recipe
- Essential Equipment for Mango Bars
- Ingredients and Substitutions
- Pro Tips for Perfect Mango Bars
- How to Make Creamy Vegan Mango Squares
- Frequently Asked Questions
Step aside, traditional lemon bars! It’s time to welcome these incredible Mango Bars into your dessert repertoire. Much like their lemon-flavored counterparts, these bars feature a simple yet satisfying crust made from a blend of flour and almond flour, requiring absolutely no added oil. This wholesome base provides the perfect foundation for the star of the show: a wonderfully creamy mango-cashew filling.
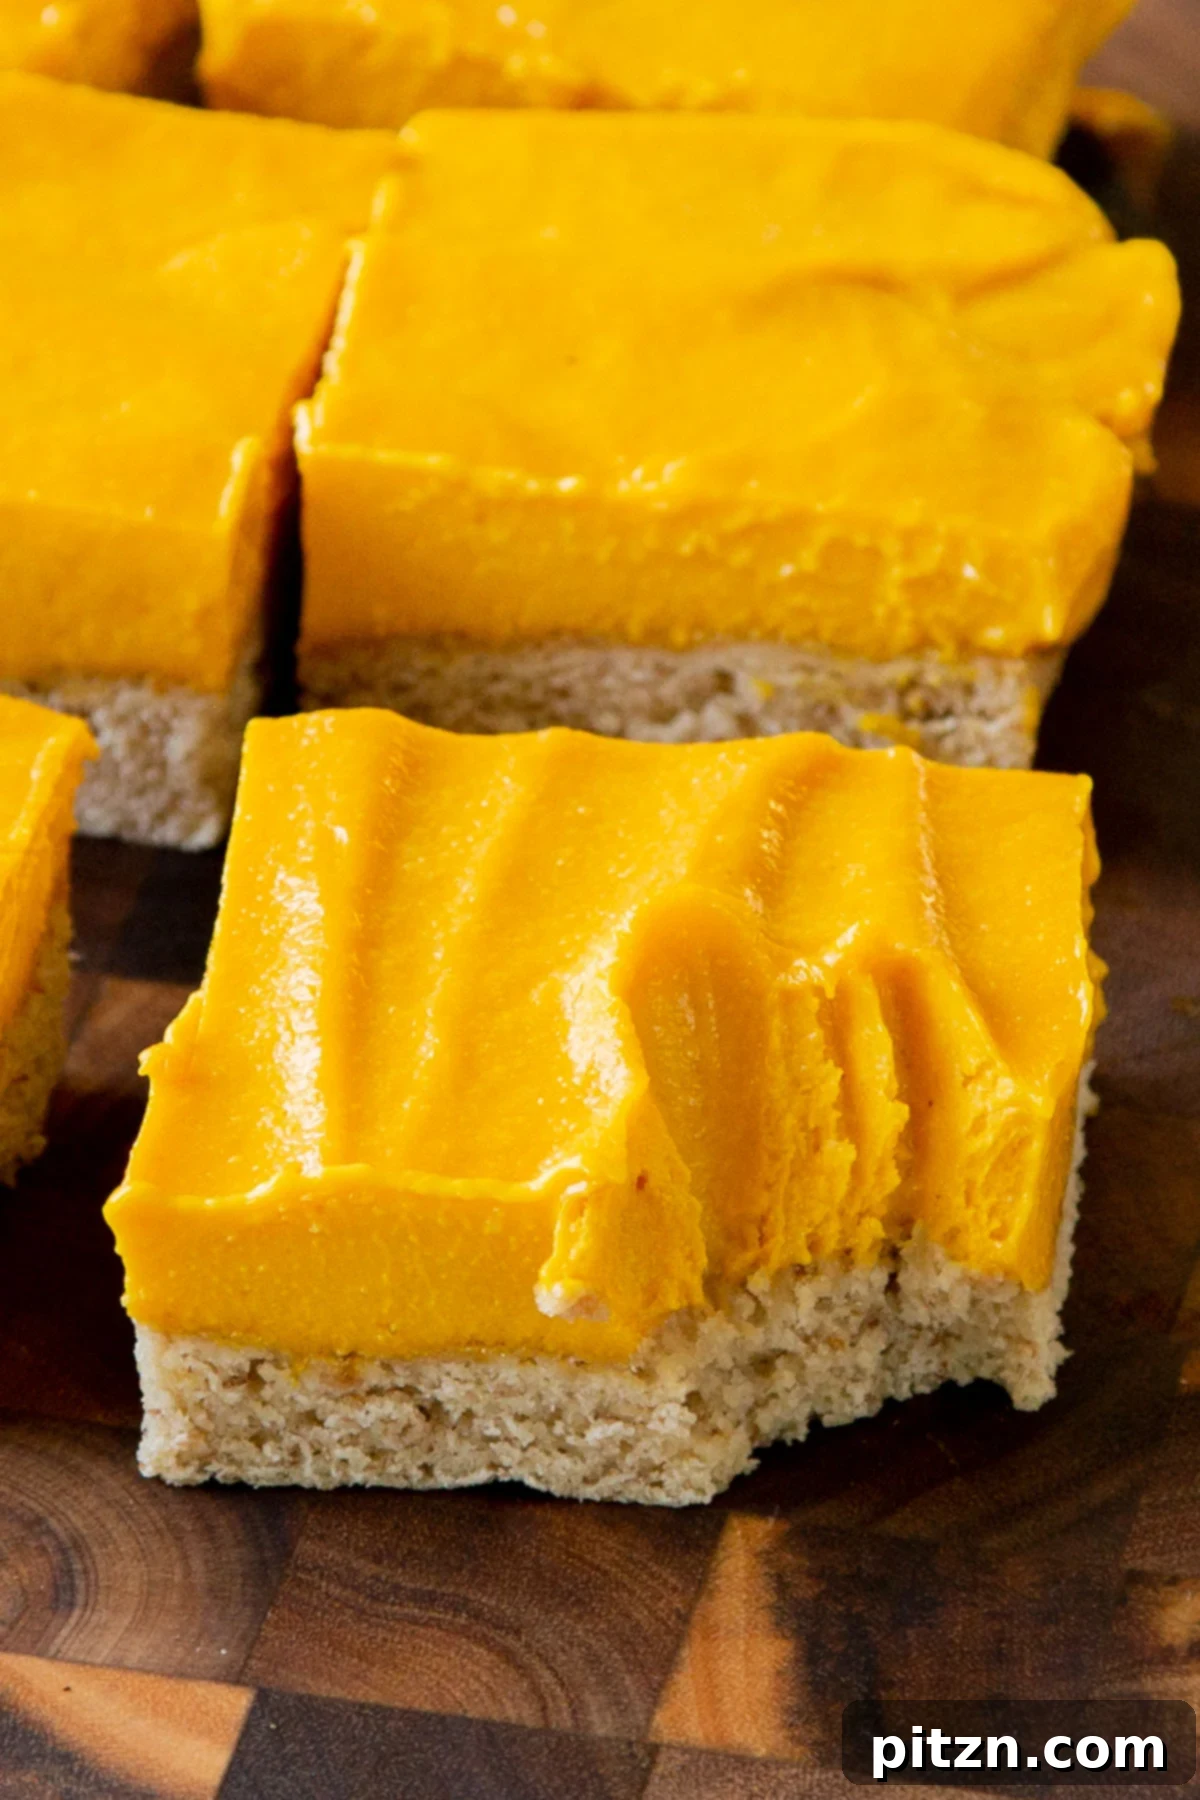
Once you pour this vibrant, fruity mixture over the baked crust, a quick chill in the freezer transforms it into a firm, sliceable masterpiece. The result? Mango squares that are exceptionally creamy, intensely mango-flavored, and utterly delicious. They are the quintessential dessert to celebrate the summer mango season, offering a burst of tropical sunshine in every bite.
Whether you’re celebrating a special occasion or simply craving a refreshing treat, these vegan mango bars deliver a truly gourmet experience without the fuss. Their delightful texture and irresistible flavor make them an instant favorite, guaranteed to impress anyone who tries them. So, get ready to dive into a world of sweet, tangy, and unbelievably smooth mango bliss!
Why You’ll Love These Mango Bars
-
Creamy, Refreshing Summer Dessert Packed with Mango Goodness: These bars are the ultimate expression of summer. The rich, velvety mango filling melts in your mouth, offering a burst of sweet, tangy mango flavor that’s both invigorating and deeply satisfying. Perfect for cooling down on a warm day, they capture the essence of tropical indulgence.
-
Easy and Fun to Make – No Need to Soak Your Cashews: Don’t let the elegance of these bars intimidate you. The recipe is surprisingly straightforward, and a clever blending technique means you can skip the time-consuming step of soaking cashews. This makes the preparation process quicker and more enjoyable, allowing you to whip up a gourmet dessert with minimal effort.
-
Oil-Free and Wholesome: For those seeking healthier dessert options, these mango bars are a dream come true. The crust is made without any added oils, relying on the natural binders and flours to create a perfectly crisp base. This focus on natural ingredients means you can enjoy a decadent treat guilt-free.
-
Gluten-Free Option Available: Catering to diverse dietary needs is simple with this recipe. The crust can easily be adapted using oat flour or a high-quality gluten-free flour blend, ensuring that everyone can enjoy these delightful mango bars. It’s a versatile recipe that doesn’t compromise on taste or texture.
-
Dairy-Free and Vegan: These bars are entirely plant-based, making them suitable for vegan diets and those avoiding dairy. The creaminess comes from cashews, creating a rich, smooth texture that rivals any dairy-based dessert, proving that vegan treats can be just as, if not more, delicious.
The Magic of Mangoes: Choosing and Preparing Your Fruit
Mangoes are truly a magical fruit, especially during their peak season. Having grown up with the incredible mangoes from India, I understand the unparalleled joy they bring. While those specific varieties can be hard to find globally, the good news is that many stores in the US offer excellent mango choices that are perfect for these bars.
When selecting fresh mangoes, look for varieties like **yellow Mexican mangoes (Ataulfo)** or other types known for their sweetness and smooth, non-stringy flesh. These varieties offer a buttery texture and intense flavor that will elevate your mango bars. Choose mangoes that are slightly soft to the touch, indicating ripeness, and have a fragrant aroma near the stem.
However, the convenience of **canned mango puree or pulp** cannot be overstated, and it’s what I often use in this recipe for consistent results and ease. You can easily find high-quality mango puree in Indian grocery stores. I personally recommend **Kesar Mango Pulp**, as it’s celebrated for its exceptional sweetness and wonderfully concentrated mango flavor. Using a good canned puree ensures a deep, authentic mango taste every time.
If you opt for fresh mangoes, ensure they are very ripe for the best flavor and texture. Simply peel, pit, and blend the mango flesh until it forms a thick, smooth puree. Avoid adding water unless absolutely necessary, as you want a concentrated mango flavor. The quality of your mangoes, whether fresh or canned, will directly impact the deliciousness of your bars, so choose wisely!
More Vegan Mango Recipes
- Mango Cake
- Mango Curry Chickpeas
- Mango Curry Tofu
- One Bowl Mango Cupcakes
- Mango Lassi
Mango Bars Vegan Recipe
Essential Equipment
-
8×8-inch baking pan or 9×9-inch brownie pan, lined with parchment paper for easy removal.
-
High-speed blender for achieving a silky-smooth mango cashew cream.
-
Mixing bowls, spatula, fork.
Ingredients
For the Crust
- 3/4 cup all-purpose flour, for a gluten-free option, use oat flour or your favorite gluten-free all-purpose blend. Ensure the GF blend contains a binder like xanthan gum.
- 1/2 cup almond flour, adds a delightful nutty flavor and tender crumb to the crust.
- 1/8 teaspoon baking soda, helps to slightly leaven the crust, contributing to a lighter texture.
- 1/2 teaspoon salt, enhances all the flavors in the crust.
- 1 flax egg, prepared by mixing 1 tablespoon of flax meal with 2.5 tablespoons of warm water. This acts as a binder, holding the crust together.
- 3 to 4 tablespoons maple syrup, sweetens the crust naturally and helps achieve the right dough consistency. Adjust to your desired sweetness.
For the Mango Layer
- 1 cup raw cashews, no soaking required! They provide the creamy, rich base for the mango custard.
- 2 cups mango puree, I typically use canned Kesar mango puree for its intense flavor and sweetness. See notes for making puree from fresh mango.
- 1/4 teaspoon salt, a pinch of salt balances the sweetness and enhances the mango flavor.
- 2 tablespoons sugar, optional, depending on the sweetness of your mango puree. Adjust to taste.
Instructions
Part 1: Prepare the Crust
-
Begin by preheating your oven to 350° F (176 °C). This ensures your oven is at the correct temperature for an even bake when the crust goes in.
-
In a medium-sized mixing bowl, combine the all-purpose flour (or gluten-free blend), almond flour, baking soda, and salt. Use your fingers or a whisk to press and mix these dry ingredients thoroughly, breaking up any lumps, especially in the almond flour, which tends to clump. Create a small well in the center of your dry mixture.
-
Pour the prepared flax egg into the well, followed by 3 tablespoons of maple syrup. Mix these ingredients using a spatula or your hands until a cohesive dough starts to form. If the dough appears too crumbly and doesn’t hold together when pressed, add the remaining 1 tablespoon of maple syrup, or a little more if needed, until you achieve a soft, pliable dough.
-
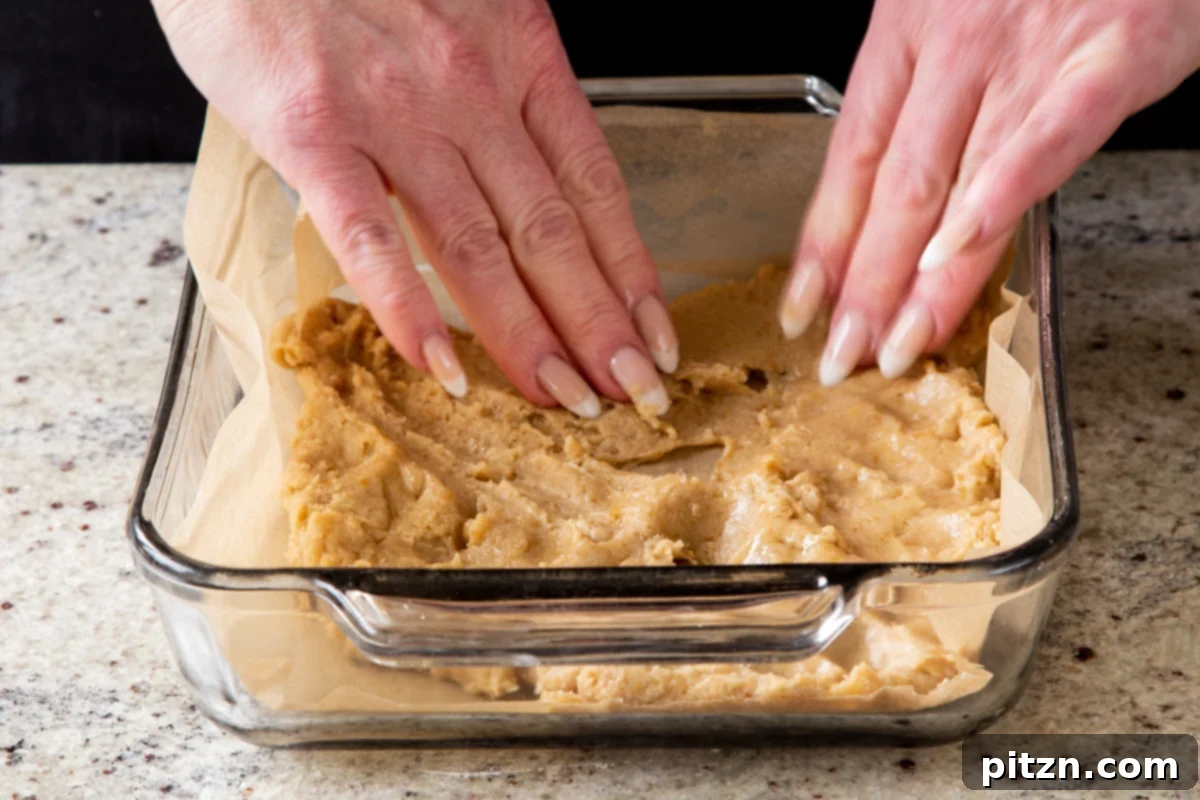
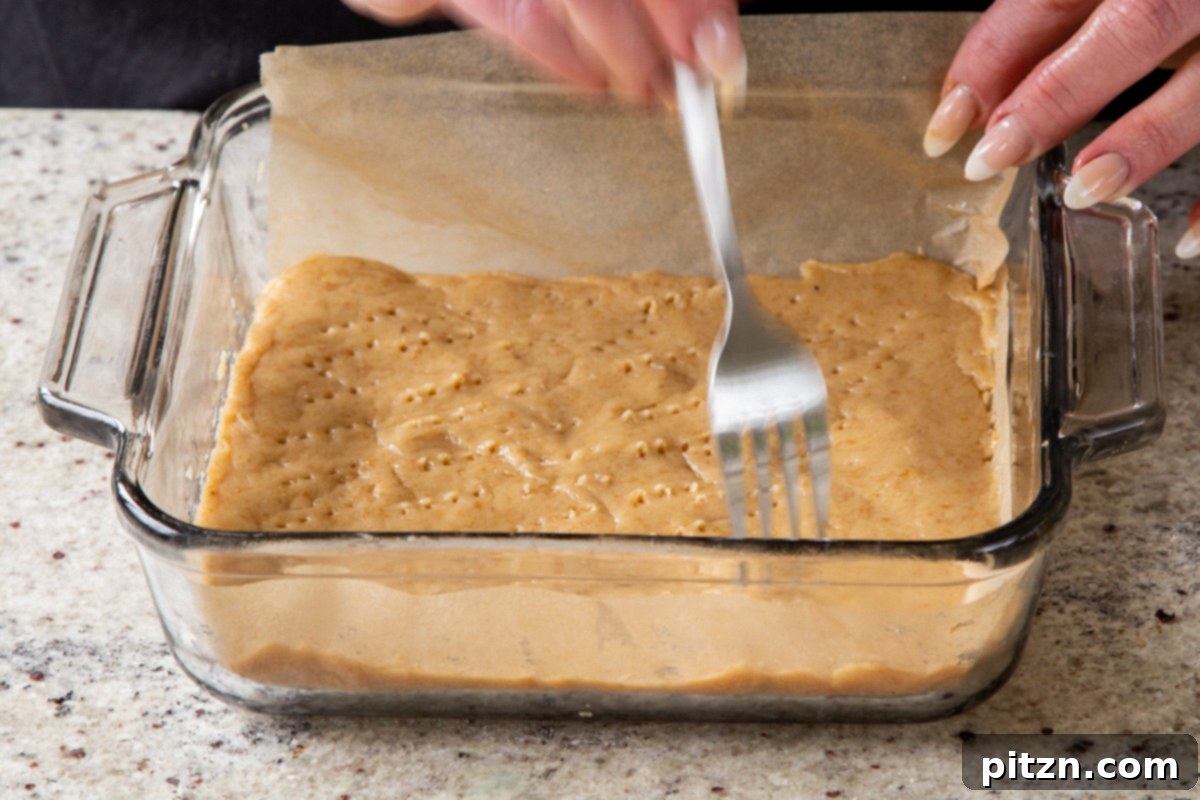
Line an 8×8-inch or 9×9-inch baking dish or brownie pan with parchment paper, leaving an overhang on the sides for easy removal later. Press the prepared dough evenly into the bottom of the lined pan. Use the back of a spatula or your fingers to ensure the crust is flat and extends to the edges. Pierce the crust all over with a fork; this prevents it from puffing up during baking. Bake for 18 to 22 minutes, or until the edges are beautifully golden brown.
-
Once baked, remove the crust from the oven and set it aside to cool completely on a wire rack. A fully cooled crust is essential to prevent the mango layer from melting or becoming runny.
Part 2: Create the Mango Layer (while the crust bakes and cools)
-
Add the raw cashews, mango puree, salt, and optional sugar (if using) into a high-speed blender. Blend for approximately one minute until the mixture begins to smooth out. Then, turn off the blender and let the mixture sit for 5 to 10 minutes. This resting period allows the cashews to rehydrate and soften further from the moisture in the mango puree, which is key to achieving an ultra-creamy consistency without prior soaking. After resting, blend again for another minute. Stop, scrape down the sides, let it sit for another minute, and then blend for an additional 30 seconds. Repeat this process of blending and resting until the mixture is incredibly smooth, thick, and completely creamy. Taste the mixture and adjust sweetness if desired, or add a hint of vanilla extract for extra depth of flavor.
Part 3: Assemble and Chill the Mango Bars
-
Once the crust has cooled completely, pour or scoop the creamy mango cashew mixture over it. The consistency will vary depending on your mango puree and blending, but it should be thick enough to spread. Use a spatula to carefully spread the mango layer evenly across the crust, creating a smooth, inviting top surface. Place the baking dish into the freezer for 1 to 2 hours, or until the mango bars are firm and mostly set. This freezing step ensures clean, beautiful slices. Once set, remove from the freezer, lift the bars out of the pan using the parchment paper overhang, slice into squares, and serve immediately or after a slight thaw.
Video
Notes for Success and Variations
Storage: These delightful mango bars store wonderfully in the freezer for up to 2 months. For the best enjoyment, transfer them to an airtight container once fully frozen. When you’re ready to serve, simply take them out of the freezer and let them sit on the counter for about 5 to 10 minutes to allow them to soften slightly, achieving that perfect creamy texture before slicing and serving.
Cashew-Free Option: If you or your guests have a cashew allergy or prefer a different flavor profile, you can easily make these bars cashew-free. Simply replace the 1 cup of raw cashews in the mango layer with 1 cup of full-fat coconut cream (the thick part from a can of refrigerated coconut milk). This substitution will still yield a rich, creamy texture with a subtle hint of coconut that beautifully complements the mango.
Using Fresh Mango for Puree: To make fresh mango pulp at home, select exceptionally ripe mangoes for maximum sweetness and flavor. Peel the mangoes, remove the pit, and scoop the flesh directly into your blender. Blend until it forms a smooth, thick puree. It’s crucial not to add any water or liquid unless absolutely necessary, as you want to maintain a concentrated mango flavor. If your blender struggles, you may add just a tablespoon or two of water to help it along, but no more. Measure out 2 cups of this homemade puree to use in the recipe.
Flavor Variations: Customize your mango bars with additional aromatic flavors. A dash of vanilla extract in the mango layer can enhance its sweetness. For a more exotic twist, consider adding a pinch of ground cardamom or a few strands of saffron infused in a tablespoon of warm plant-based milk to the mango mixture. These spices beautifully complement the natural taste of mango.
Nutrition
Nutrition information is automatically calculated, so should only be used as an approximation.
Did you make this recipe? Share your thoughts below!
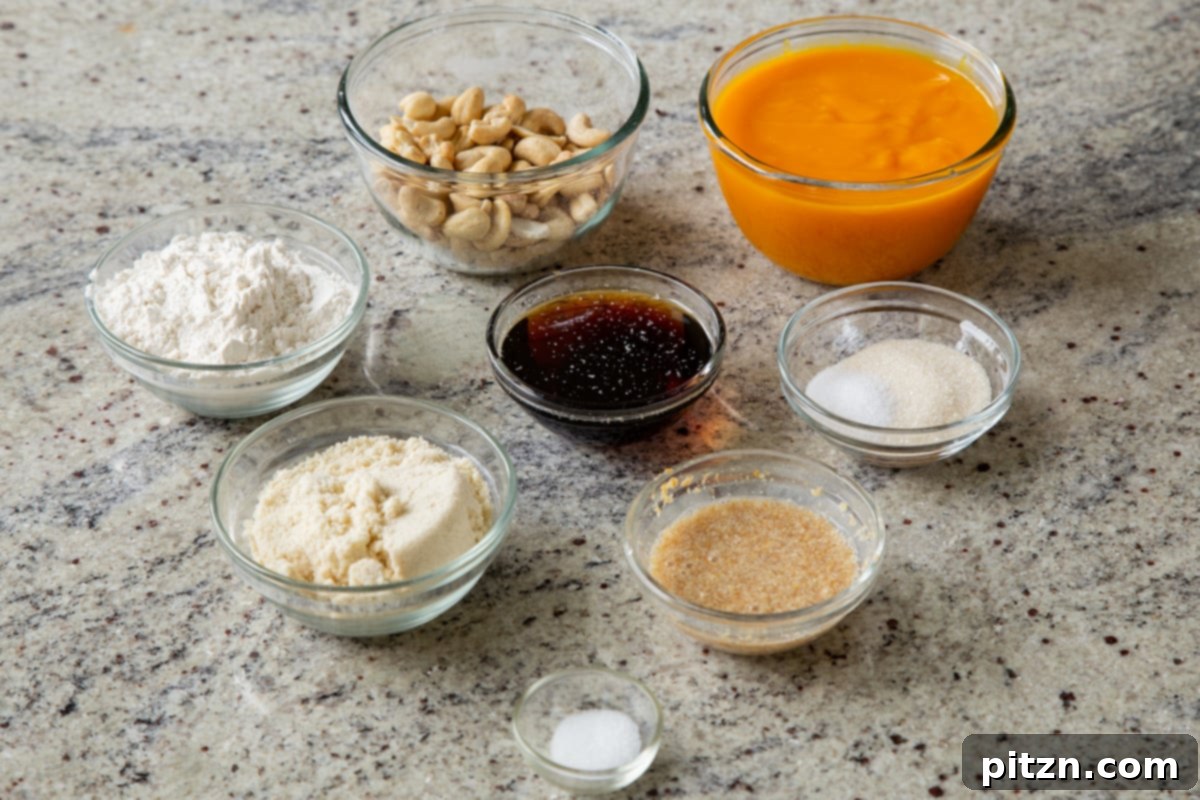
Ingredients and Substitutions: A Detailed Look
-
Flour: The base of our oil-free crust. You can use standard all-purpose flour for a classic texture. For a gluten-free option, oat flour works beautifully, offering a slightly nutty flavor. Alternatively, a good quality gluten-free all-purpose blend (ensure it contains xanthan gum for binding) can also be used to achieve a similar result.
-
Almond Flour: This ingredient is key to adding richness, a delicate flavor, and a tender crumb to the crust without needing any oil. It also helps achieve a perfect consistency when combined with regular flour.
-
Baking Soda and Salt: These essential pantry staples play important roles. Baking soda provides a slight lift to the crust, making it less dense, while salt balances the sweetness and enhances all the flavors present in both the crust and the mango layer.
-
Flax Egg: A fantastic vegan binder, the flax egg replaces traditional eggs in the crust. It’s made by combining 1 tablespoon of ground flax meal with 2.5 tablespoons of warm water and letting it sit for a few minutes until it thickens into a gel-like consistency. This helps hold the crust together without adding any animal products.
-
Raw Cashews: The secret to the incredibly creamy, dairy-free mango filling. What’s even better is that there’s no need for pre-soaking! Our clever blending method allows them to soften and create a silky-smooth texture with the mango puree. For a cashew-free alternative, please refer to the notes section for using coconut cream.
-
Mango Puree: The heart of these bars! You have the flexibility to use either high-quality canned mango puree (also known as mango pulp) or fresh homemade puree. I highly recommend Kesar Mango Pulp, commonly found in Indian grocery stores, for its concentrated, sweet, and aromatic flavor. If using fresh mangoes, select very ripe, sweet varieties like Ataulfo. Peel, pit, and blend the mango flesh until completely smooth, adding only a tiny splash of water if necessary to aid blending, to keep the flavor intense.
-
Sugar: This is an optional ingredient for the mango custard layer, depending on the natural sweetness of your mango puree. Taste your puree first; if it’s already very sweet, you might not need any additional sugar. If using a less sweet or tart mango, add a tablespoon or two of granulated sugar to achieve your desired level of sweetness.
Pro Tips for Perfect Mango Bars
-
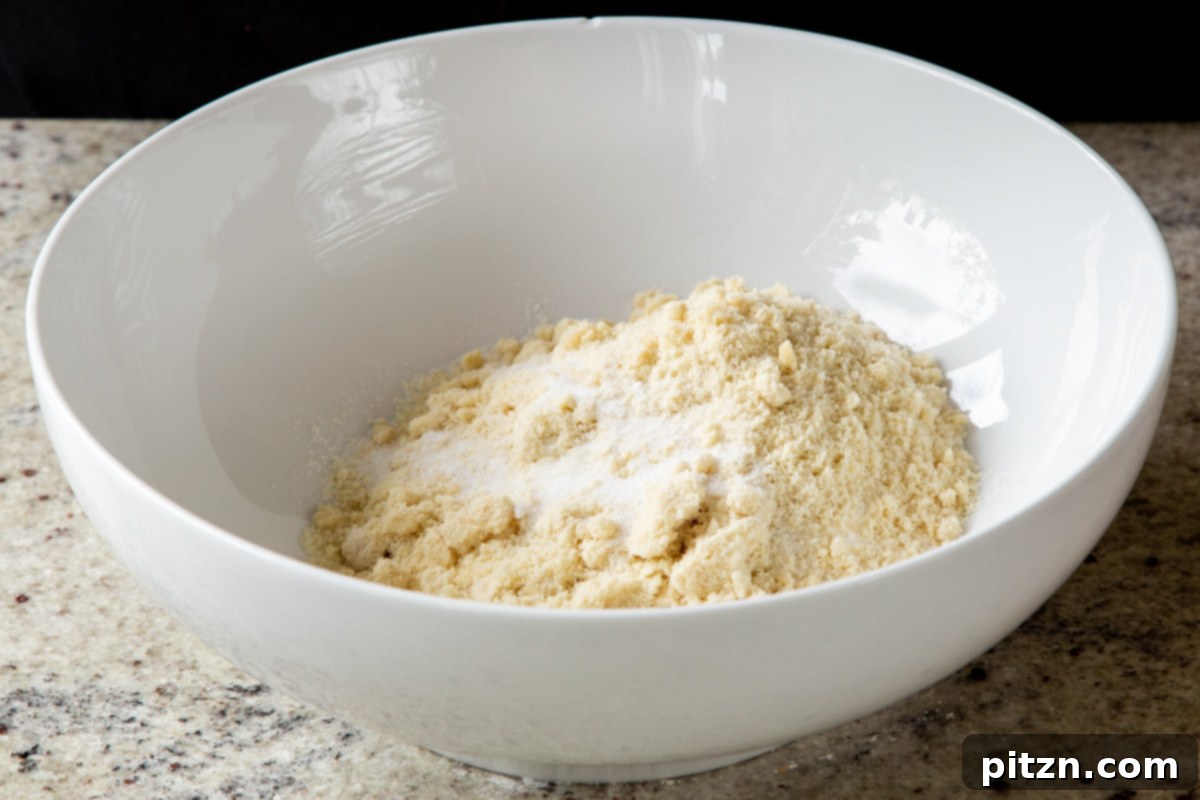
Lump-Free Almond Flour: Almond flour has a tendency to clump, especially when exposed to moisture or packed during storage. Before adding it to your dry ingredients, ensure you vigorously whisk or press it with the back of a spoon to break up any lumps. This step is crucial for an even texture in your crust.
-
Achieving the Right Dough Consistency: The crust dough should be cohesive and able to hold its shape when pressed. It shouldn’t be overly crumbly or too sticky. If your dough feels too dry and crumbly after adding 3 tablespoons of maple syrup, gradually add more, one teaspoon at a time, until it comes together into a workable, soft dough. The amount of liquid needed can vary slightly depending on your flour type and humidity.
-
The Secret to Unsoaked Cashew Creaminess: The resting periods during blending are vital for the mango layer. While you don’t need to pre-soak the cashews, allowing the mixture to sit for 5-10 minutes (and then subsequent shorter rests) enables the cashews to absorb moisture from the mango puree. This rehydration process helps them break down into an incredibly smooth, velvety cream, eliminating any gritty texture. Don’t rush this step for the best results!
-
Cooling the Crust Completely: Patience is key! Make sure your baked crust is completely cool before pouring the mango filling over it. A warm crust can cause the mango mixture to melt prematurely, leading to a less stable and potentially messy bar. A wire rack helps speed up the cooling process.
-
For Easier Slicing: Freezing the bars for at least an hour (or up to two) is essential for clean, sharp slices. If they are too soft, they will be difficult to cut neatly. A firm, chilled bar will slice like a dream, revealing distinct layers.
How to Make Creamy Vegan Mango Squares
Creating these luscious vegan mango bars is a straightforward process that yields incredibly rewarding results. Follow these detailed steps for a perfect batch.
Step 1: Prepare the Crust
Start by preheating your oven to 350° F (176 °C). Line an 8×8-inch or 9×9-inch baking dish with parchment paper, allowing some overhang on the sides. This makes lifting the finished bars out of the pan much easier.
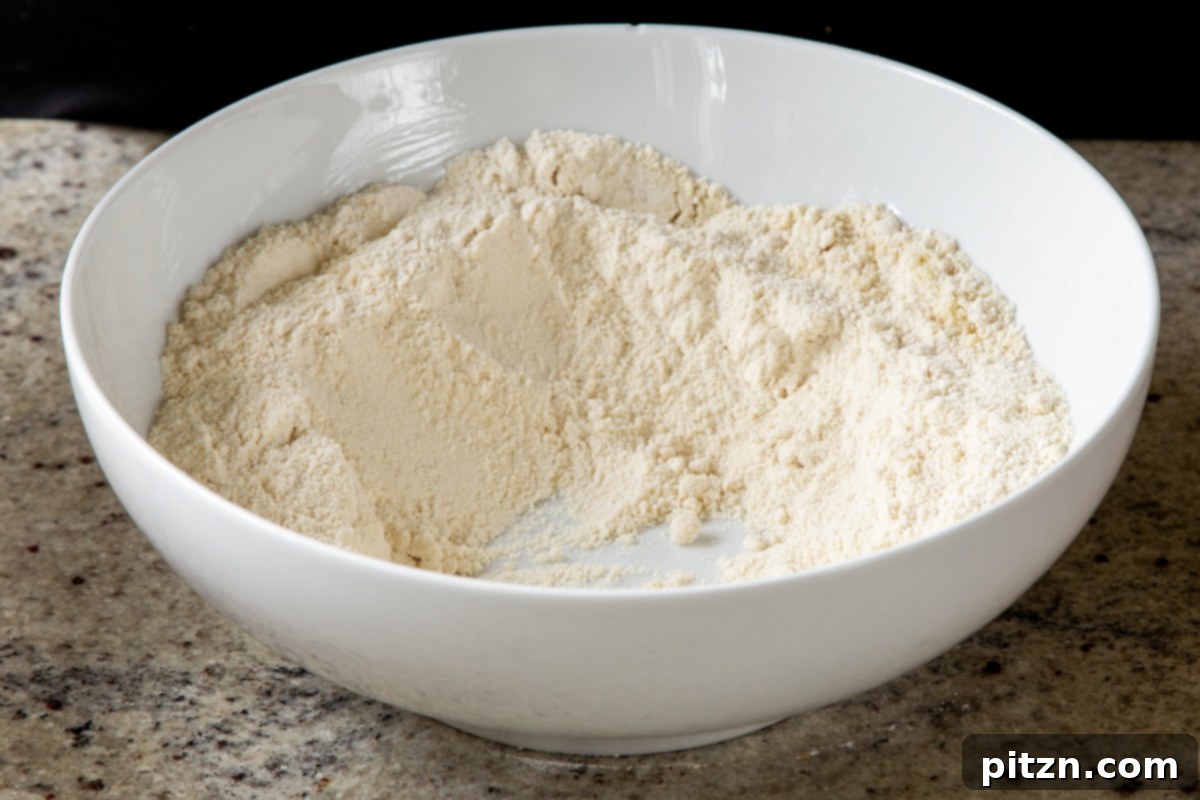
In a large mixing bowl, combine the all-purpose flour (or your chosen gluten-free flour blend), almond flour, baking soda, and salt. Use a whisk or your fingers to thoroughly mix the dry ingredients, ensuring that any lumps in the almond flour are broken up. Once combined, create a small well in the center of the mixture.
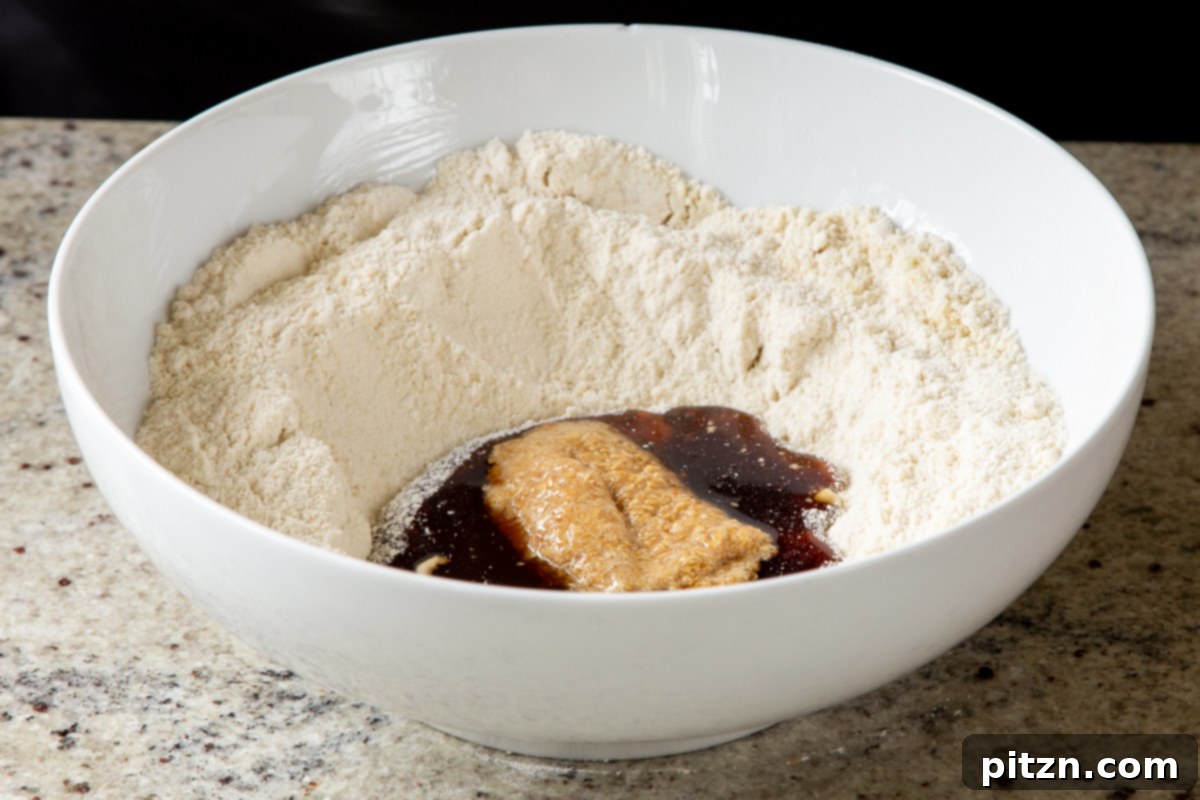
Pour the prepared flax egg and three tablespoons of maple syrup into the well. Mix everything together until a soft, pliable dough begins to form. The dough should come together when pressed. If it’s too crumbly, add another tablespoon of maple syrup, or a little more if necessary, until you achieve the right consistency.
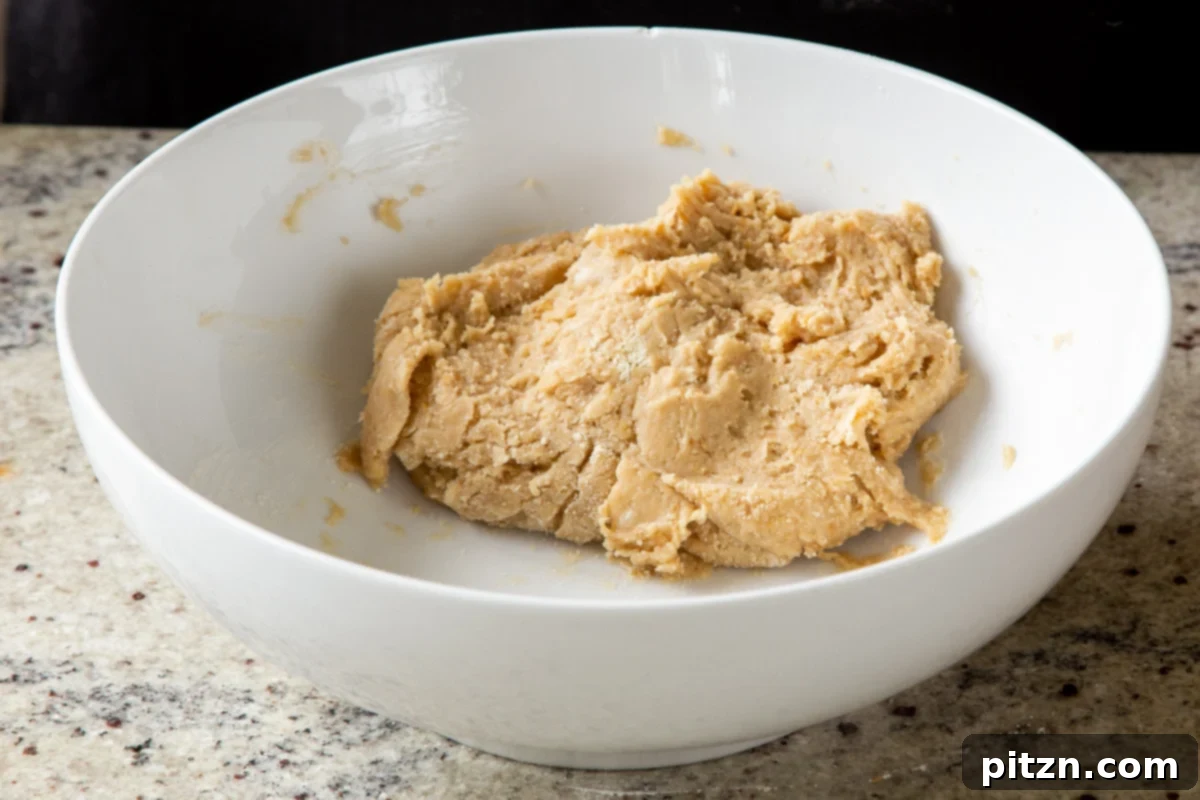
Transfer the dough to your prepared baking dish. Press it evenly into the bottom of the pan, using a spatula or your fingers to create a smooth, compact layer that extends to all edges. Using a fork, prick holes all over the surface of the crust. This helps prevent it from puffing up and ensures an even bake.
Bake the crust in the preheated oven for 18 to 22 minutes, or until the edges are beautifully golden brown and the center is set. Once baked, remove the crust from the oven and allow it to cool completely on a wire rack. It’s important for the crust to be fully cooled before adding the mango layer.
Step 2: Craft the Creamy Mango Layer
While the crust is baking and cooling, prepare the luscious mango layer. Add the raw cashews, mango puree, salt, and optional sugar (if using) to a high-speed blender. Blend for about one minute until the ingredients start to combine.
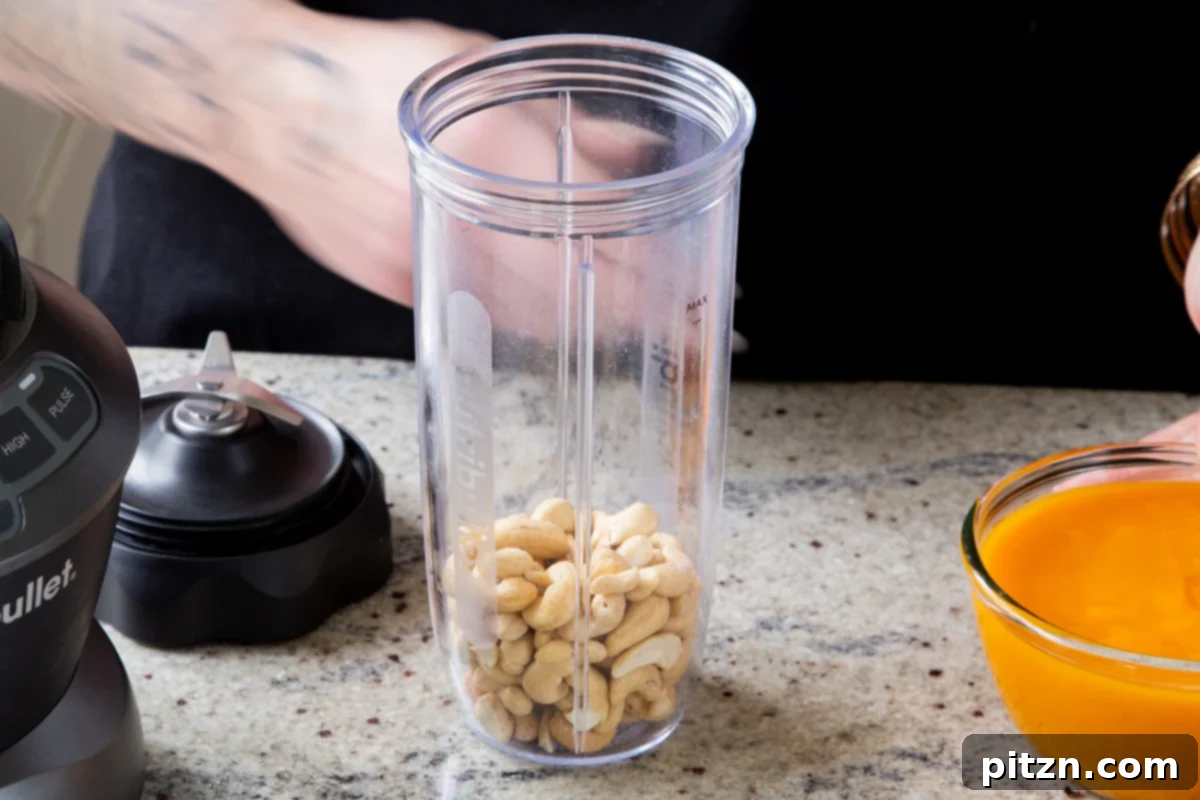
Now for the magic step that eliminates the need for soaking cashews: turn off the blender and let the mixture sit in the blender jar for 5 to 10 minutes. This allows the cashews to rehydrate and soften significantly from the moisture in the mango puree. After the rest, blend again for another minute. Then, stop, scrape down the sides, let it sit for another minute, and blend one more time for about 30 seconds. Repeat this process until the mixture is incredibly smooth, thick, and perfectly creamy, with no trace of cashew grit.
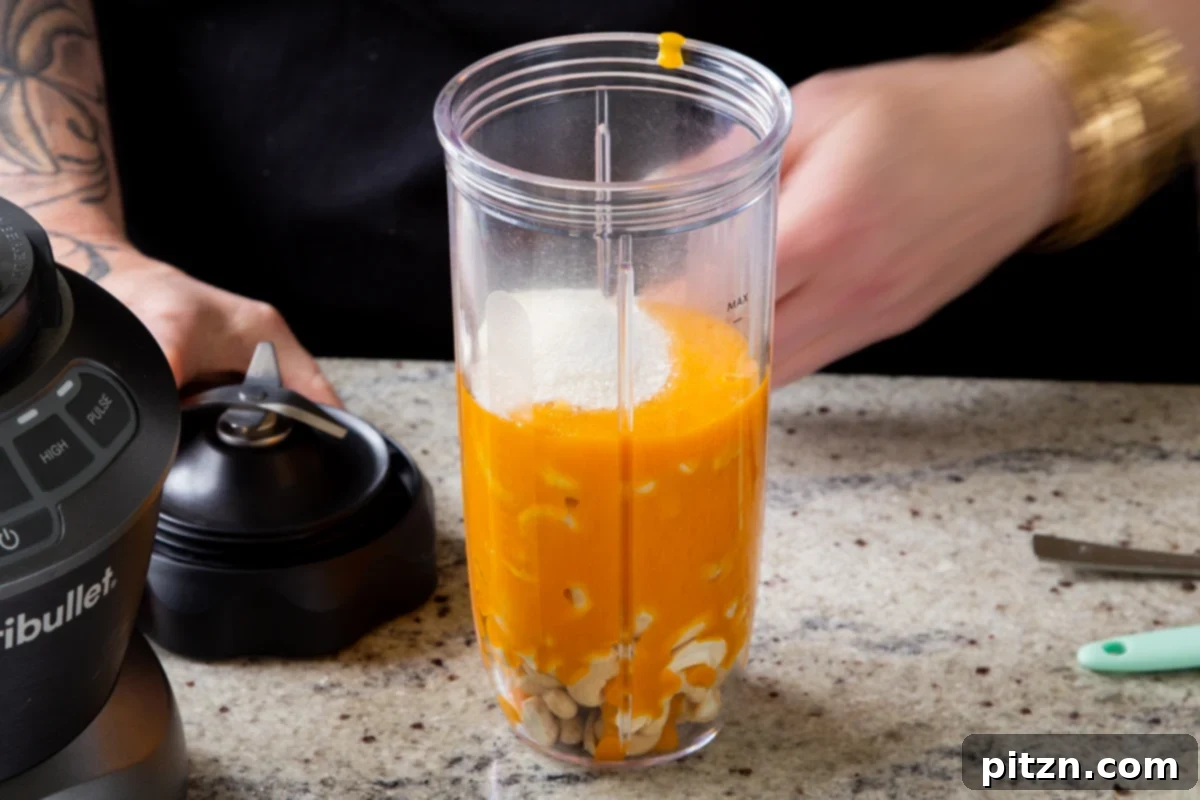
Taste the mango cream and adjust the sweetness or flavor as desired. You can add an extra spoonful of sugar if your mangoes are tart, or a touch of vanilla extract for a deeper flavor profile.
Step 3: Assemble and Chill the Bars
Once the baked crust is completely cooled, pour or scoop the creamy mango mixture over it. The consistency will be fairly thick. Use a spatula to carefully spread the mango layer evenly over the crust, ensuring a smooth and inviting top surface.
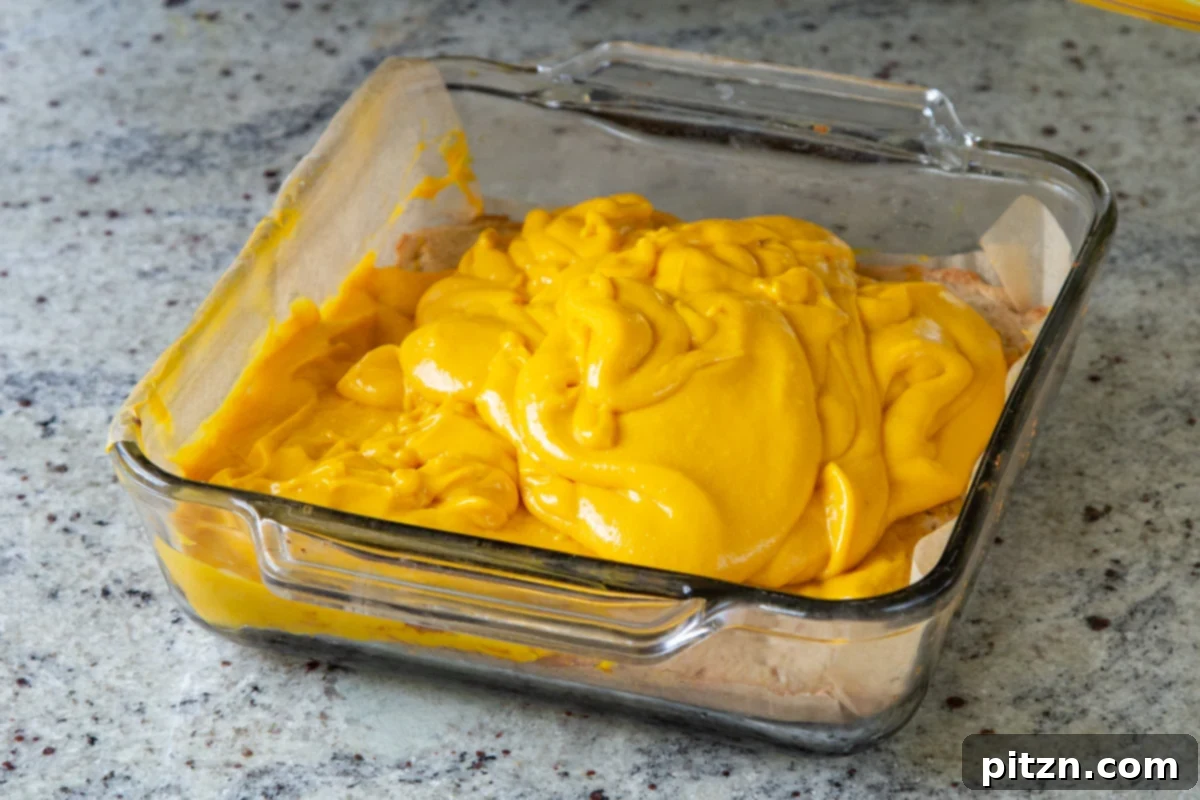
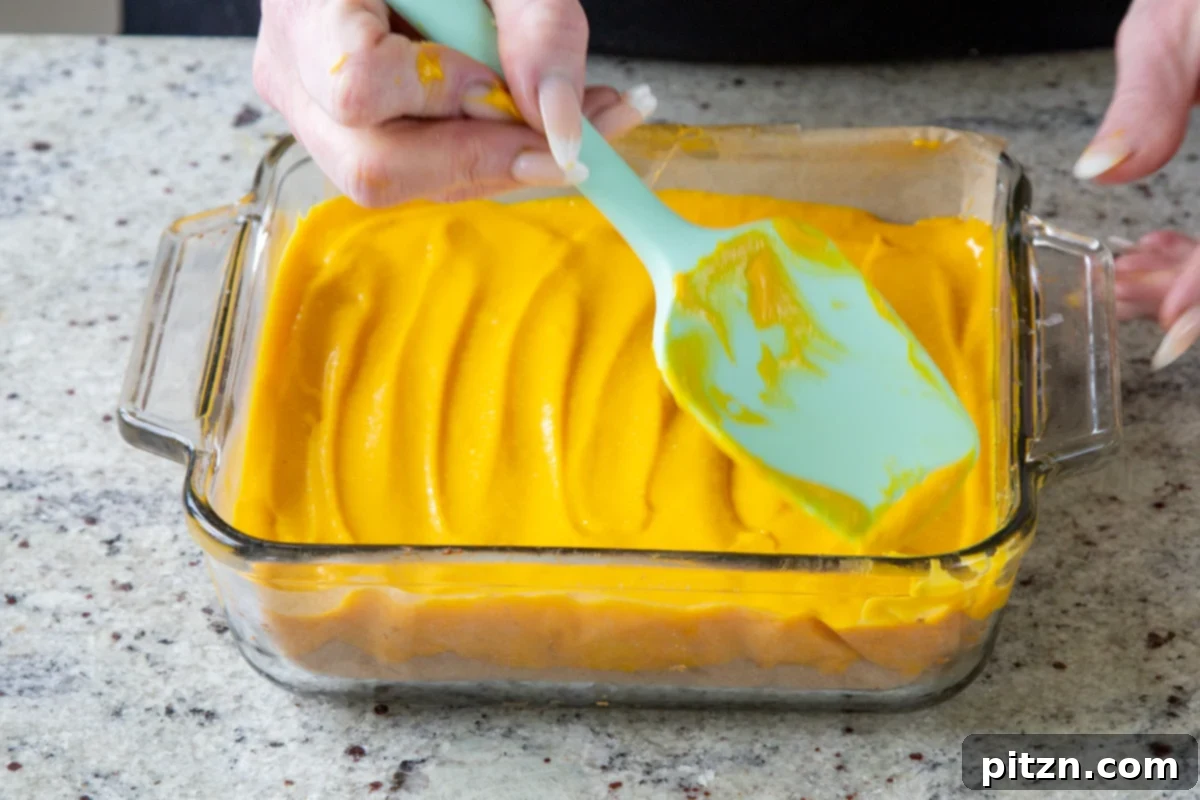
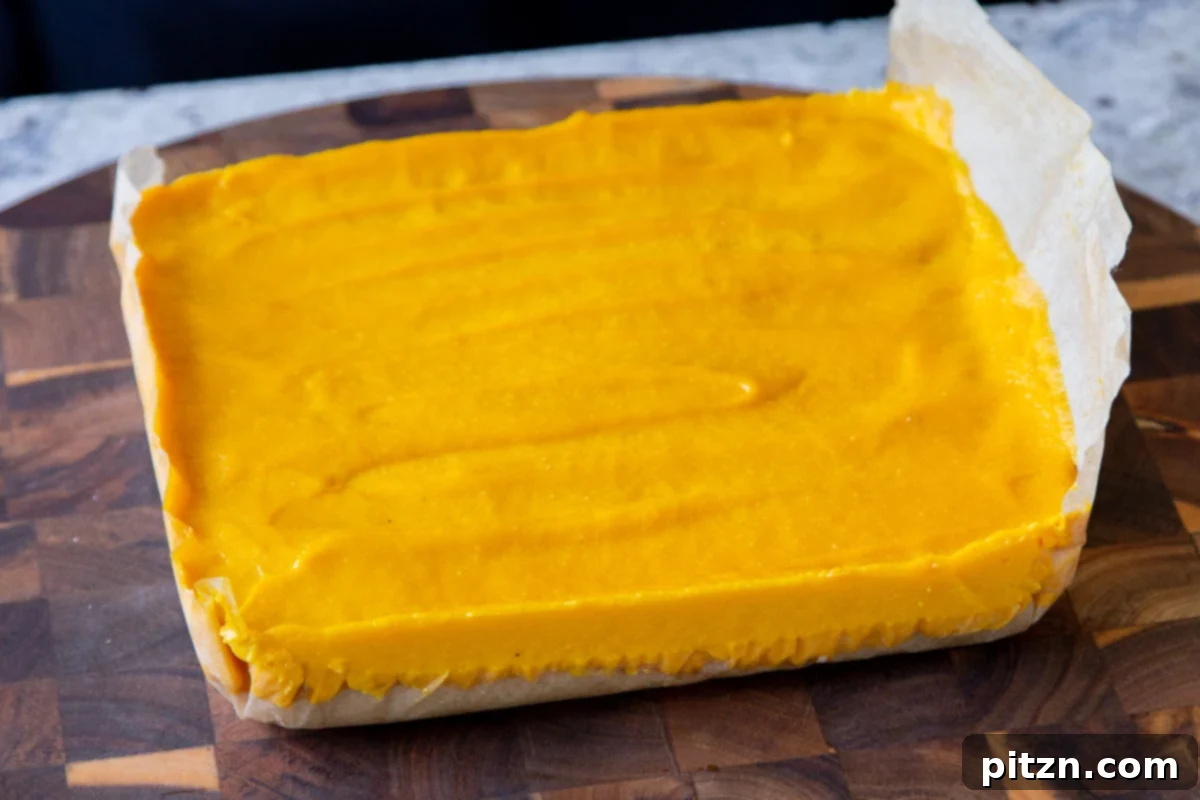
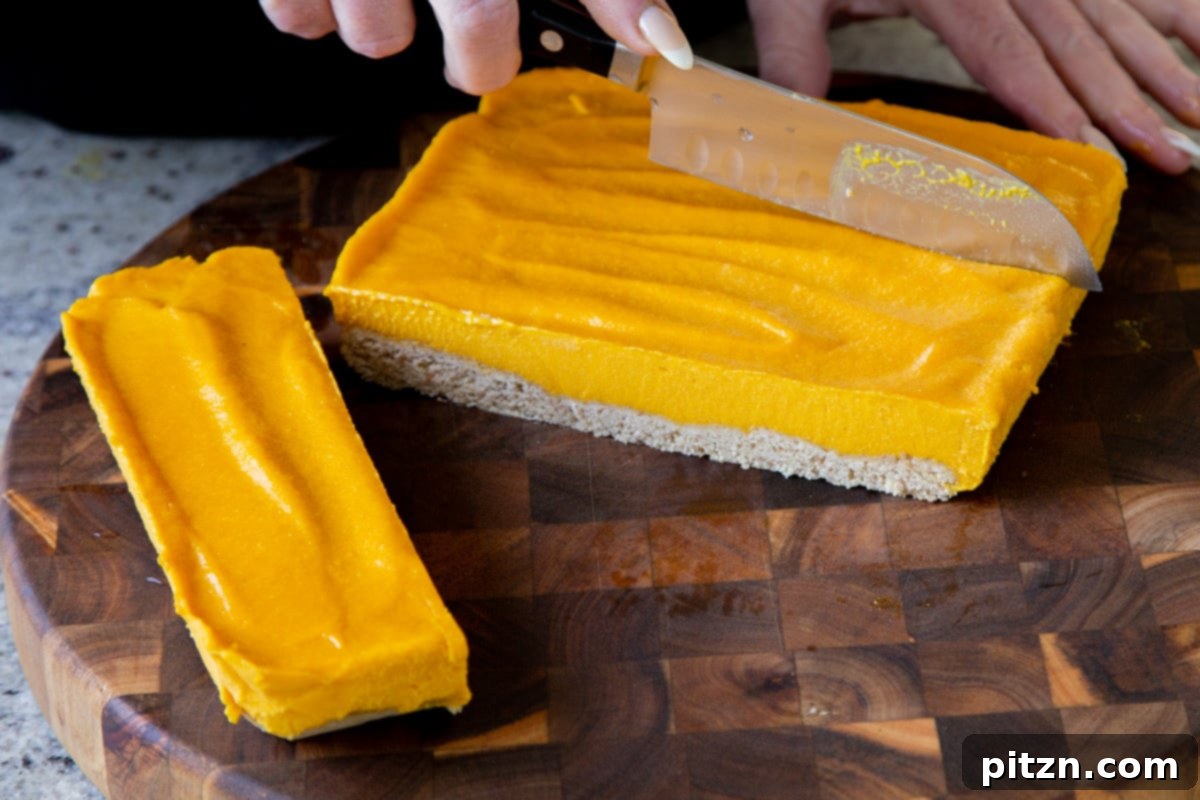
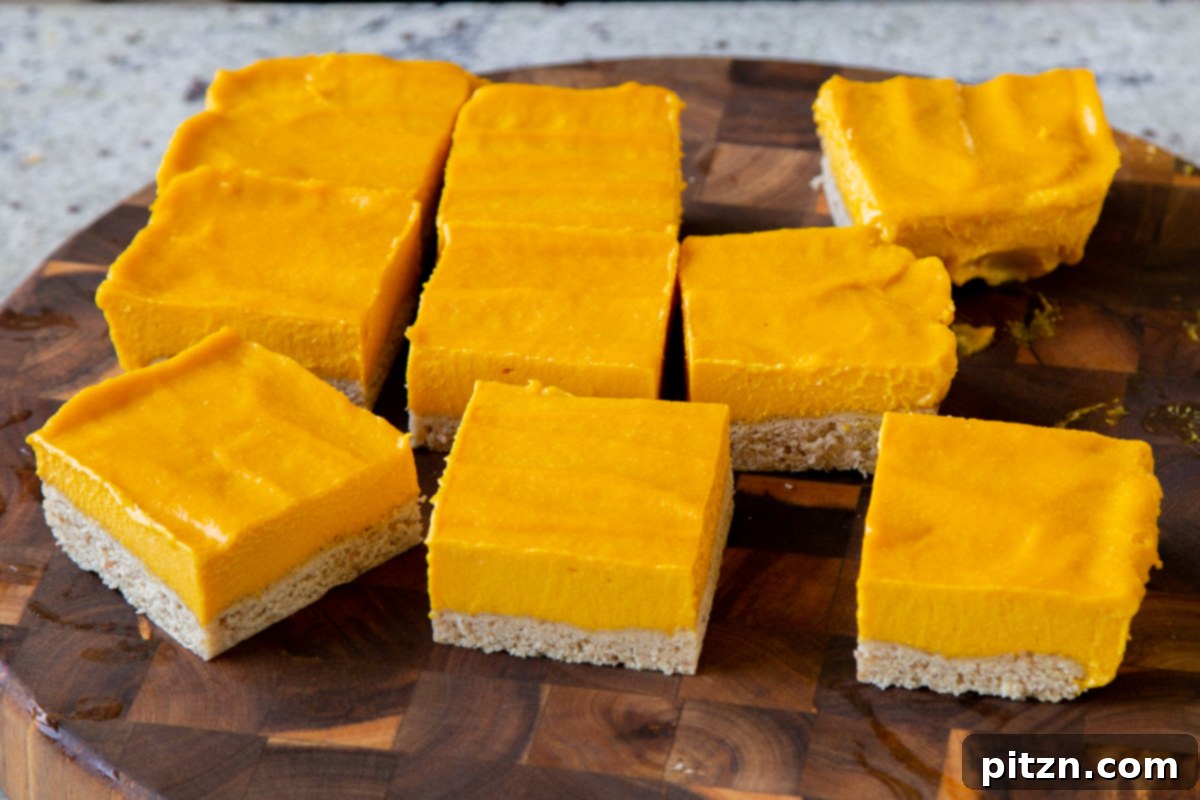
Carefully transfer the baking dish to the freezer. Allow the mango bars to chill for at least one to two hours, or until they are firmly set. This freezing step is crucial for achieving clean, neat slices. Once the bars are firm, remove them from the freezer. Use the parchment paper overhang to gently lift the entire block of bars out of the pan onto a cutting board. Slice them into individual squares using a sharp knife. You can serve them immediately, or let them thaw slightly for 5-10 minutes for a softer texture. Enjoy your homemade, refreshing mango squares!
Frequently Asked Questions
To prepare fresh mango pulp, start with very ripe mangoes. Peel the mangoes, carefully remove the pit, and scoop the vibrant flesh into your blender. Blend the mango flesh until it forms a smooth, thick puree. It’s best not to add any water or other liquids, as you want the puree to be as concentrated as possible for maximum mango flavor. If your blender needs a little help to get the mixture moving, you can add just one or two tablespoons of water, but aim to keep it minimal to preserve the rich flavor and thick consistency.
These delicious mango bars are excellent for make-ahead convenience! They will keep beautifully in the freezer for up to two months. To store them, place the sliced bars in an airtight container, separating layers with parchment paper to prevent sticking. When you’re ready to enjoy them, simply take the desired number of bars out of the freezer and let them sit at room temperature for about 5 to 10 minutes to soften slightly before serving. This brief thawing period enhances their creamy texture.
Absolutely! If you need a cashew-free option, you can easily substitute the cashews with full-fat coconut cream. For the mango layer, use one cup of thick coconut cream (the solid part scooped from a can of refrigerated full-fat coconut milk) in place of the raw cashews. This will provide a similar creamy texture with a delightful, subtle coconut flavor that pairs wonderfully with the mango.
A crumbly crust typically indicates insufficient moisture. The amount of maple syrup needed can vary slightly based on the type of flour and even ambient humidity. If your dough is too crumbly to press into the pan, add the maple syrup one teaspoon at a time, mixing well after each addition, until the dough holds together when squeezed. Avoid adding too much liquid, as it can make the crust tough. You’re looking for a soft, malleable dough.