
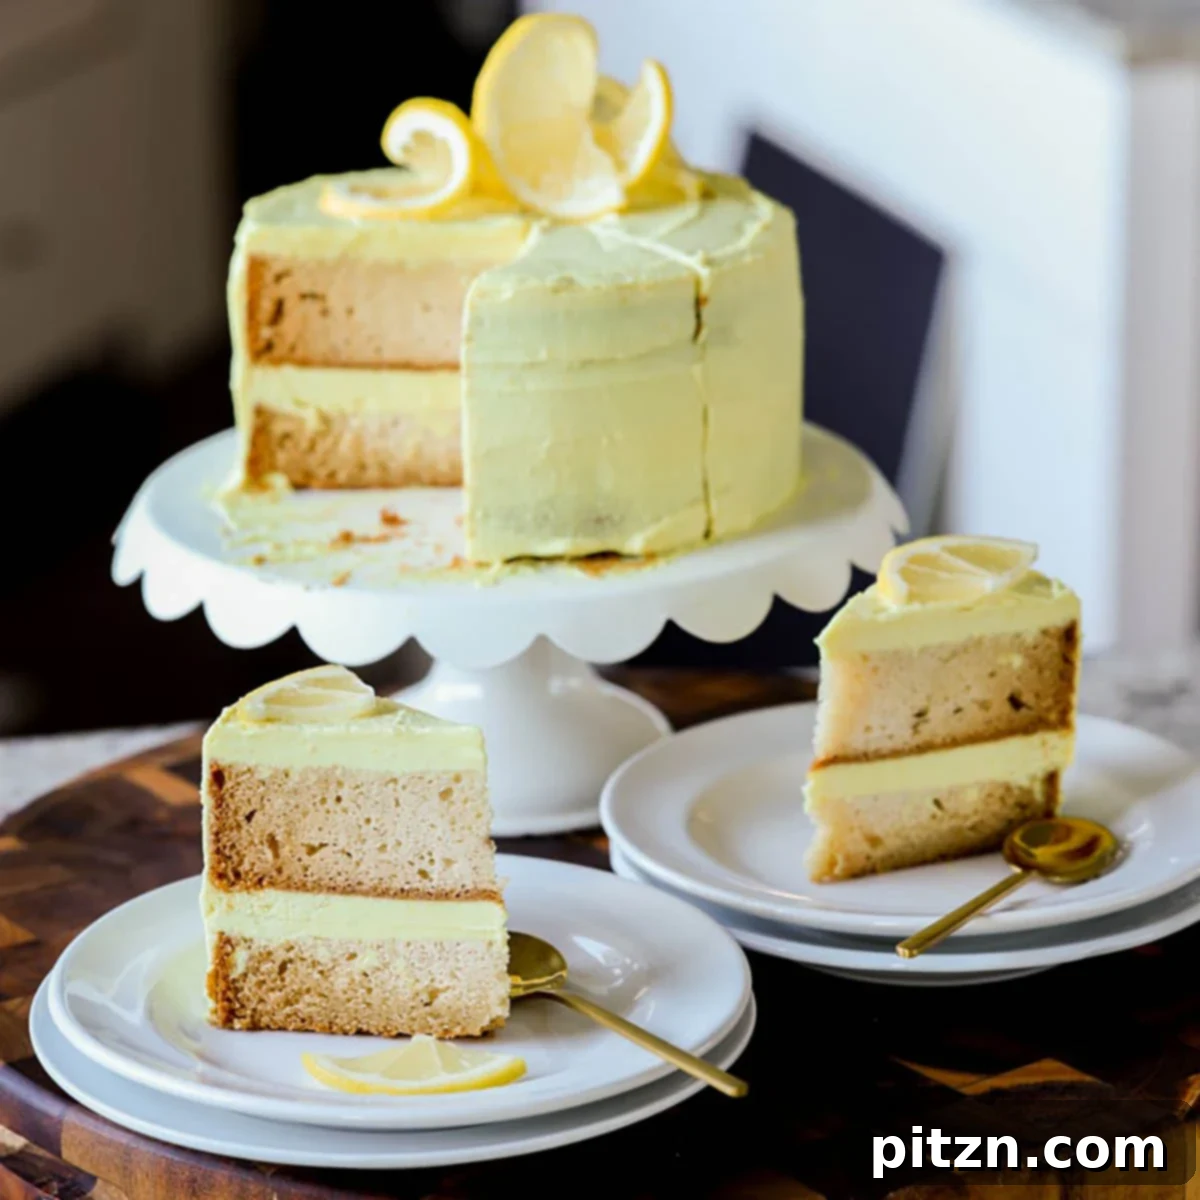
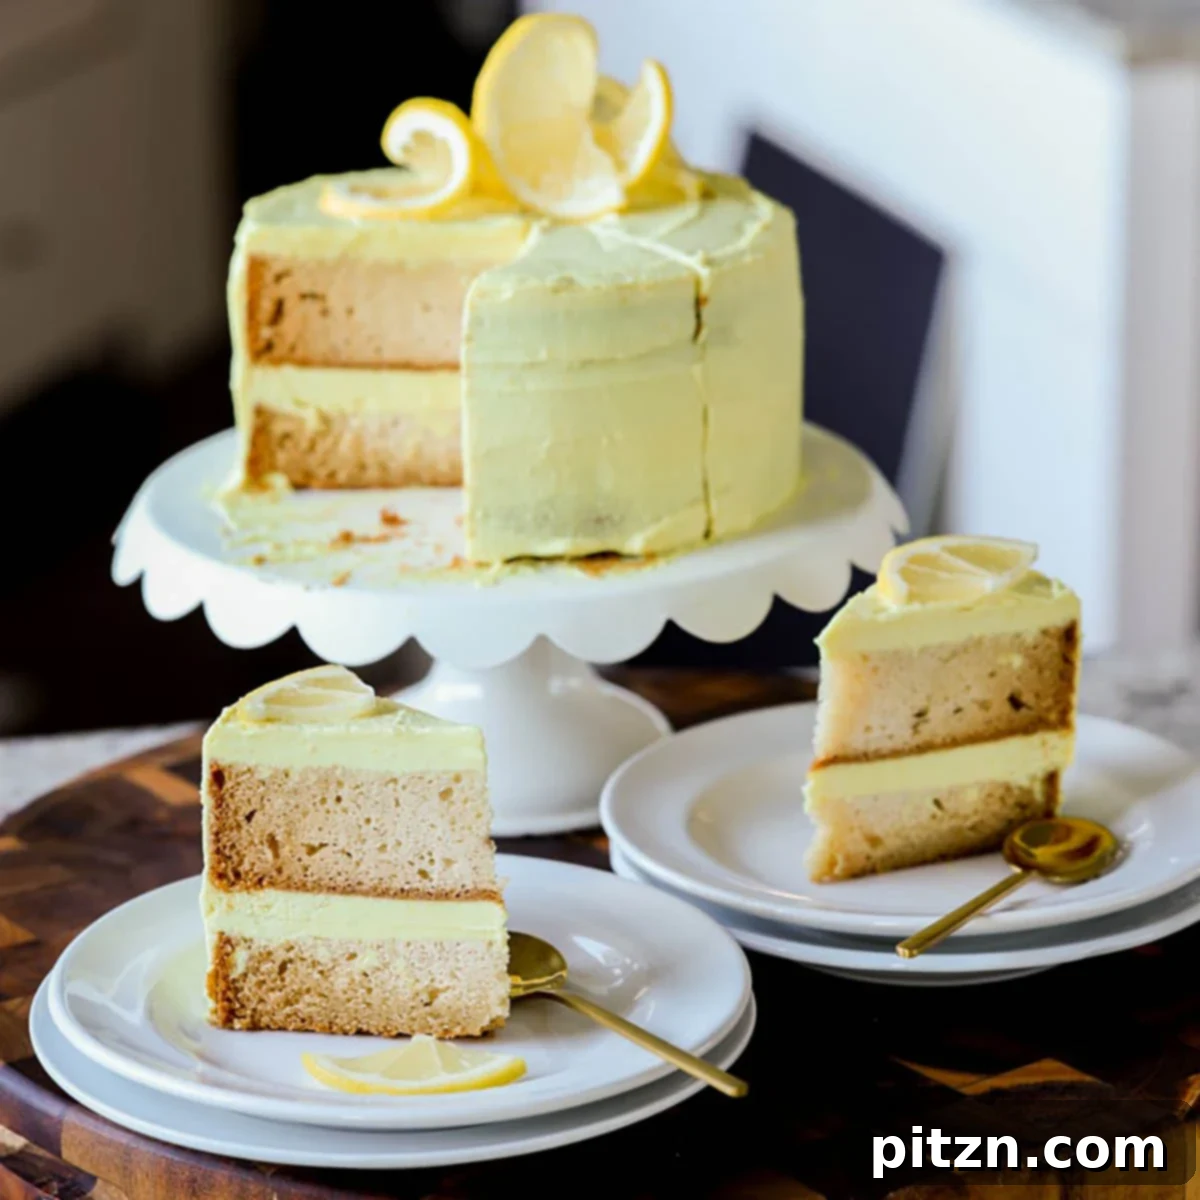
Prepare to delight your taste buds with this absolutely exquisite, wonderfully moist, and vibrantly citrusy vegan lemon cake. What truly sets this dessert apart is its incredible, velvety lemon cream, which is generously spread between layers and elegantly draped over the entire cake, ensuring an explosion of fresh lemon flavor in every bite.
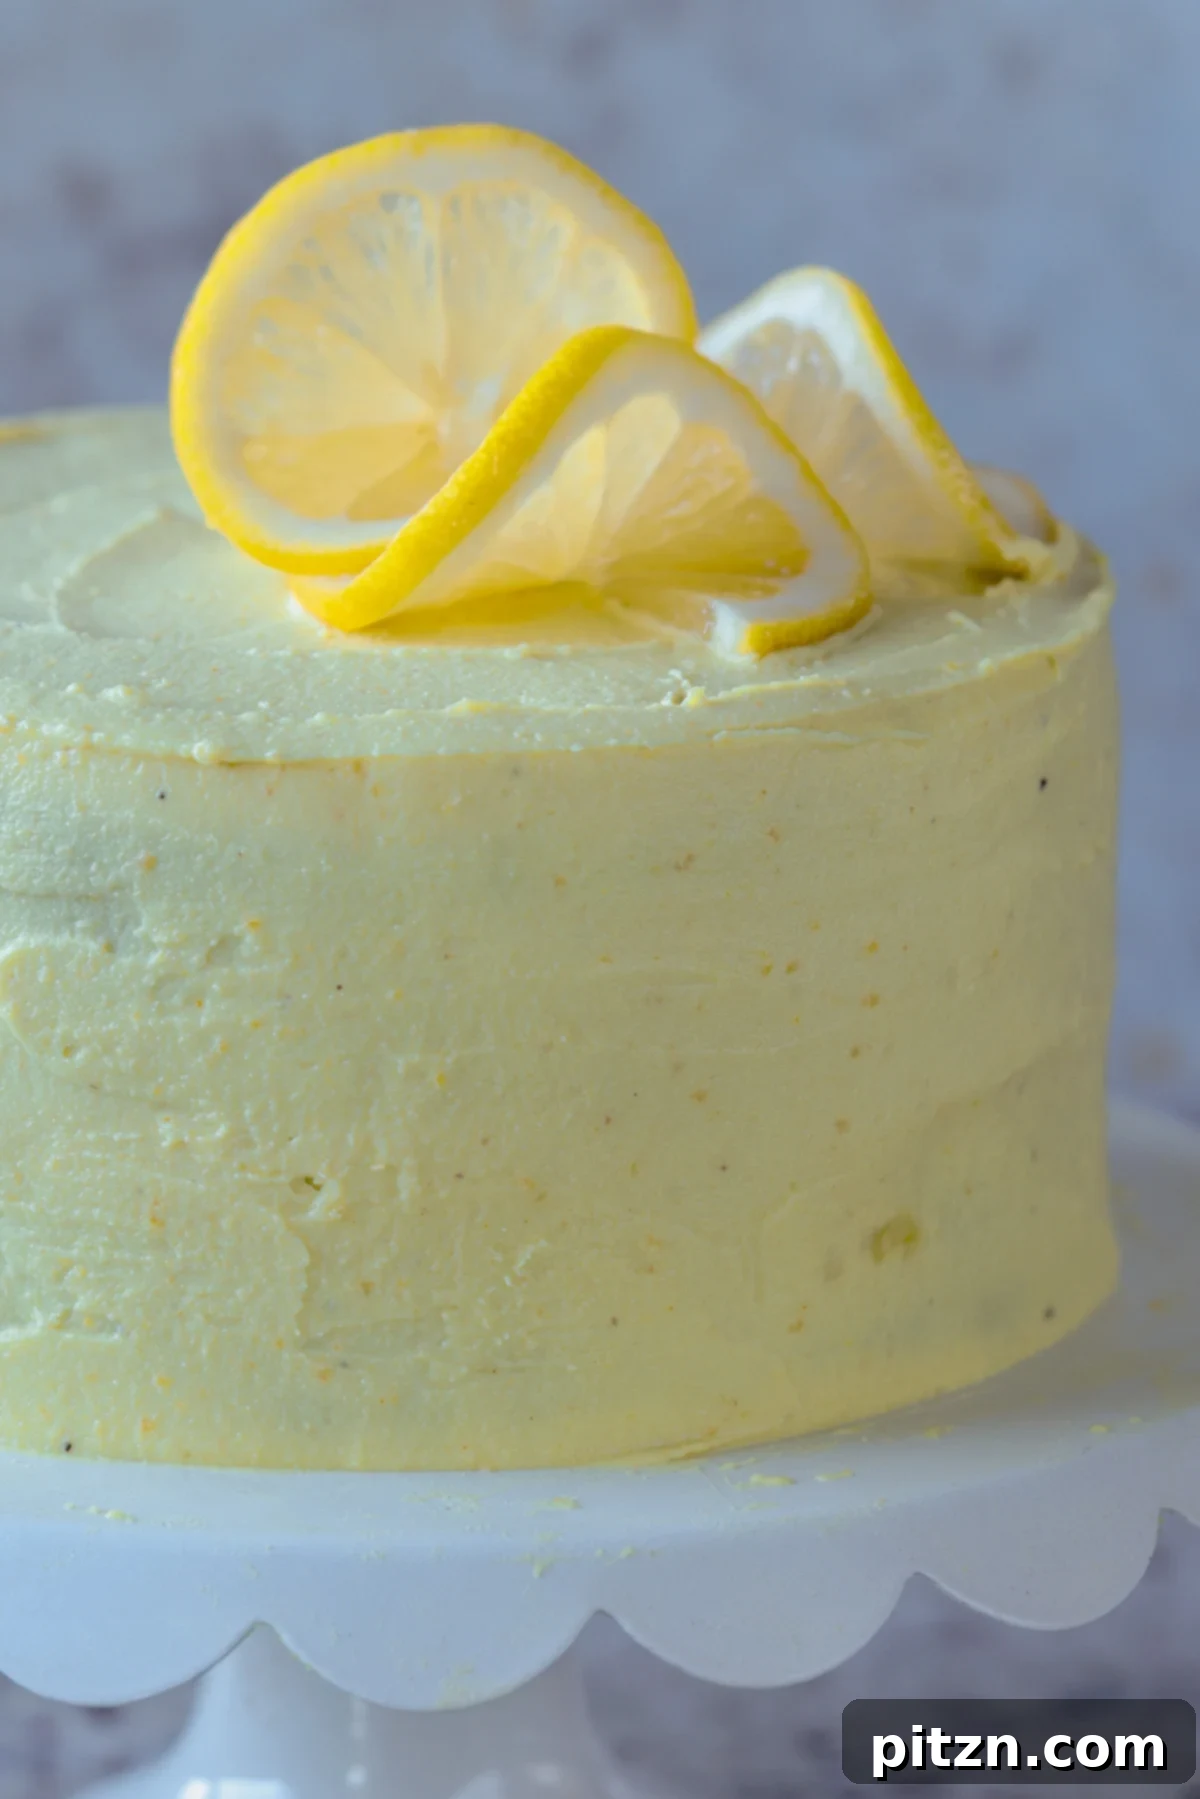
Table of Contents
- Why You’ll Love this Vegan Lemon Cake
- More Delicious Lemon Desserts
- Vegan Lemon Cream Cake Recipe
- Ingredients and Substitutions
- Expert Baking Tips for Success
- How to Make a Luscious Vegan Lemon Layer Cake
- Frequently Asked Questions About Vegan Lemon Cake
Unlike many overly sweet desserts, this vegan lemon cake recipe boasts a perfectly balanced sweetness, especially in its dreamy lemon cream frosting. Inspired by our popular no-cook lemon pudding, this frosting achieves its luxurious texture and bright, zesty flavor using a combination of creamy cashews and rich coconut cream, with just a touch of sugar. The result is a mousse-like lemon cream that transforms this cake into a heavenly, moist, and wonderfully zesty experience, ideal for any celebration or a simple, delightful treat.
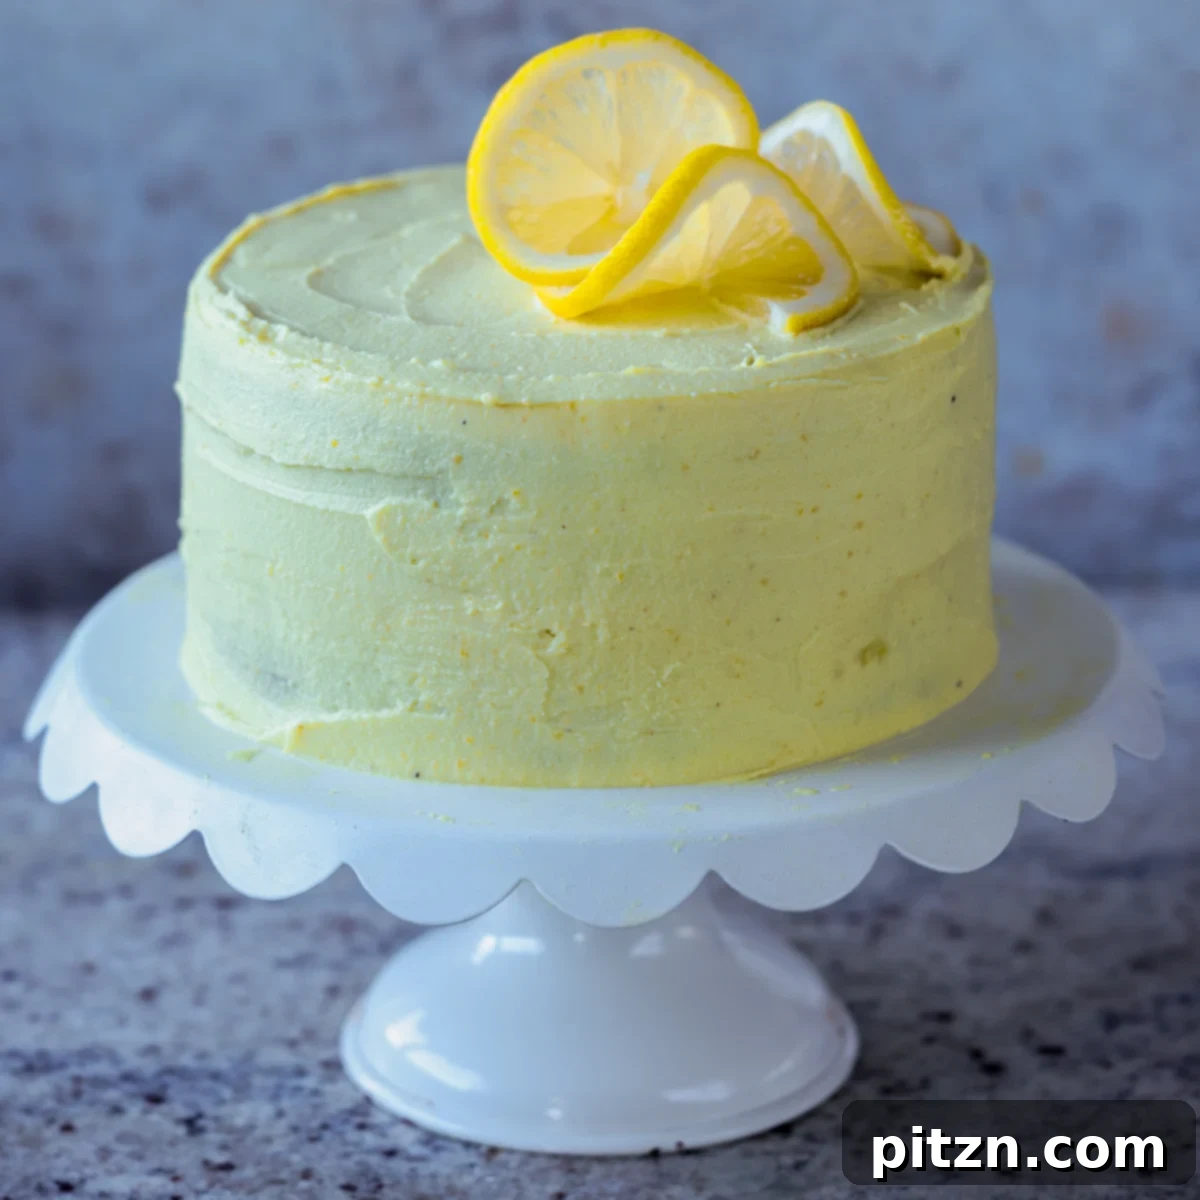
The cake itself features a simple, moist batter infused with a subtle lemon essence. When combined with the exquisitely lemony, thick cream, it creates a perfectly zesty springtime dessert. This elegant yet easy-to-make cake is perfect as a birthday centerpiece, a holiday treat, or a special event dessert. Garnish with fresh lemon slices, vibrant lemon zest, or delicate edible flowers to elevate its presentation.
This versatile recipe allows you to bake either one single cake or two separate layers. If you opt for a single cake, simply slice it horizontally once cooled, then assemble with the decadent lemon frosting. Allow it to chill thoroughly for the frosting to set beautifully, then even out the edges and decorate as desired. A note on appearance: the lemon juice in the cake batter can sometimes lead to slightly browned cake edges during baking. If you prefer a lighter edge, you can reduce or omit the lemon juice in the cake batter and rely more on the lemon zest for flavor. However, the slight browning does not affect the delicious taste or moist texture of this delightful vegan cake.
The cake itself is incredibly moist and wonderfully fluffy, and we’ve thoughtfully provided a simple-to-follow gluten-free adaptation for those with dietary restrictions. The batter is designed to come together effortlessly, making this a fantastic option for both experienced and novice bakers alike.
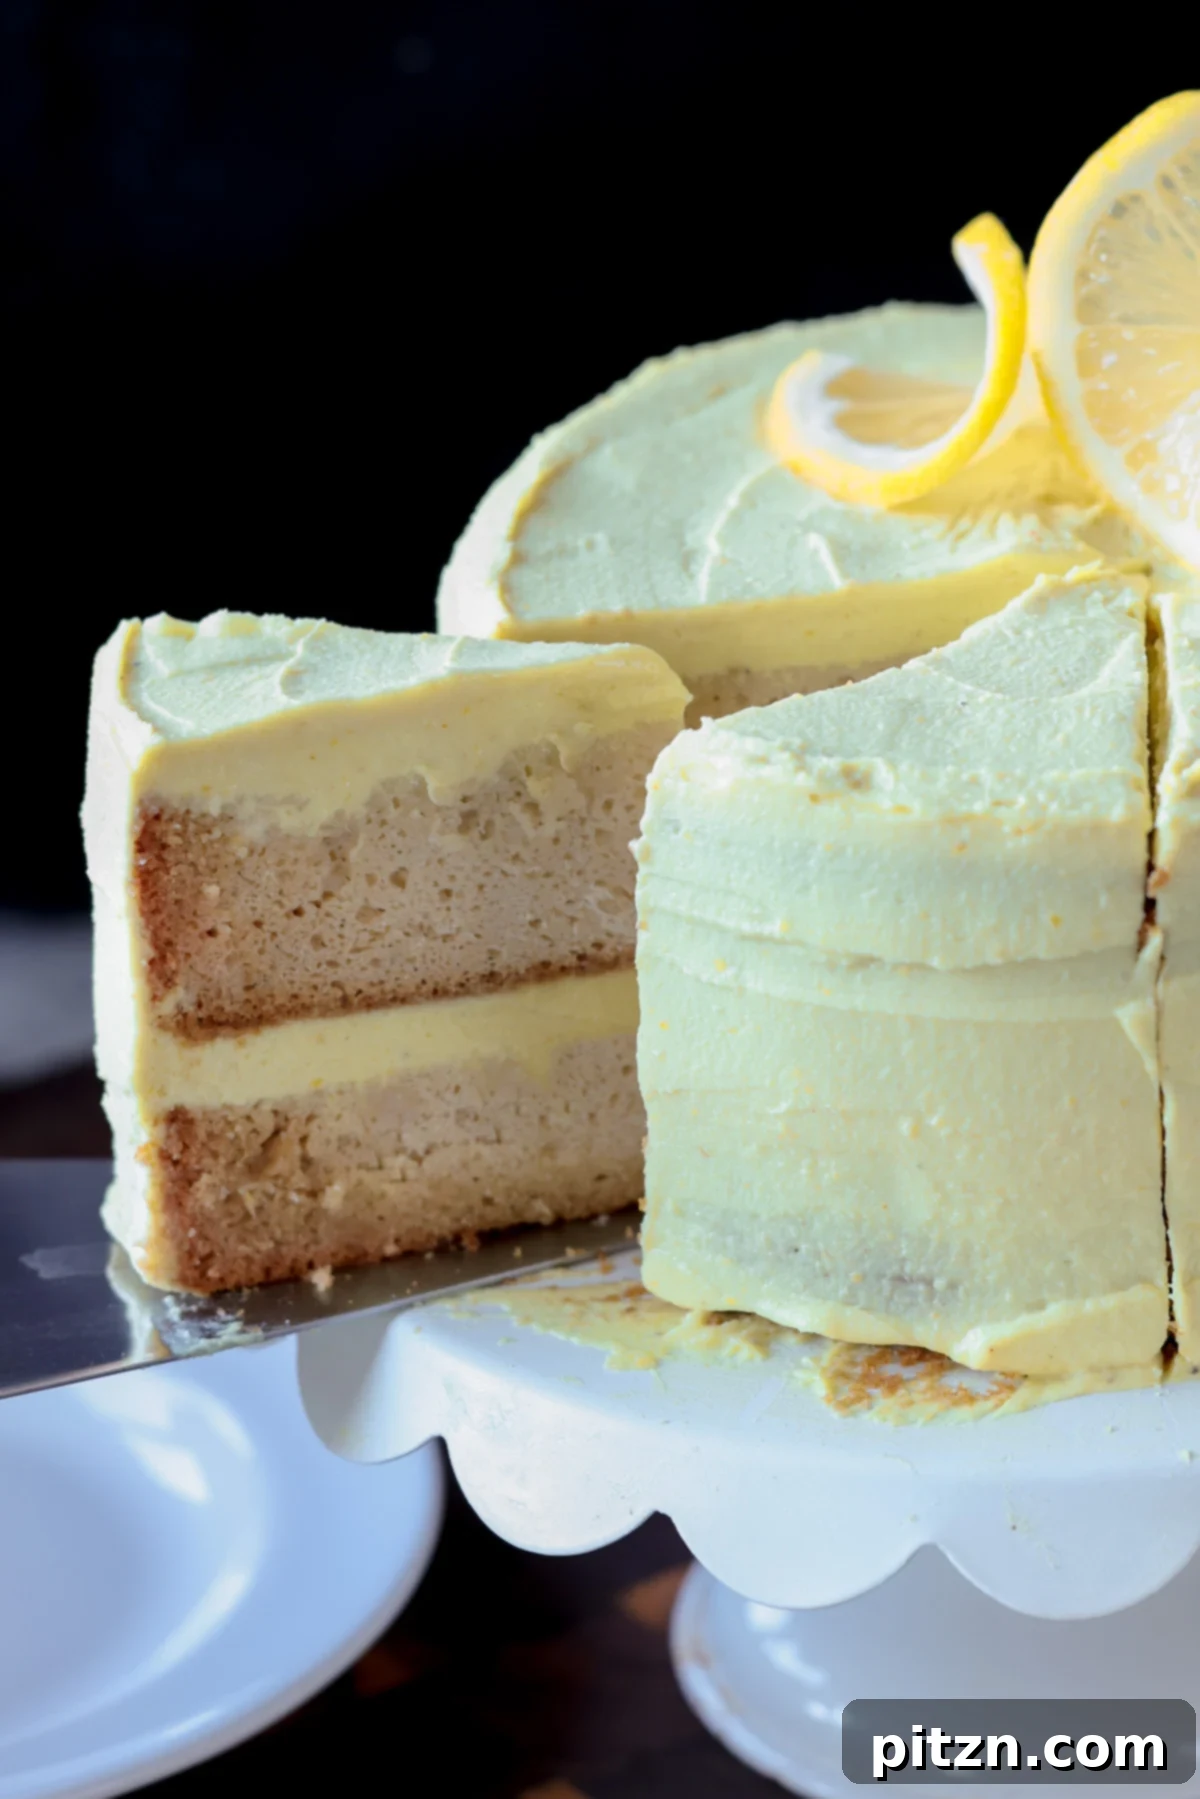
One of the many joys of this easy vegan lemon cake recipe is its minimal cleanup. The cake batter conveniently mixes in a single bowl, and the luxurious lemony cream is prepared quickly in a blender. For an even quicker dessert, you can simply pour the lemon cream over a single-layer cake baked in a pan, then chill until set. This offers a delightful “dump cake” style presentation that’s just as delicious and impressive.
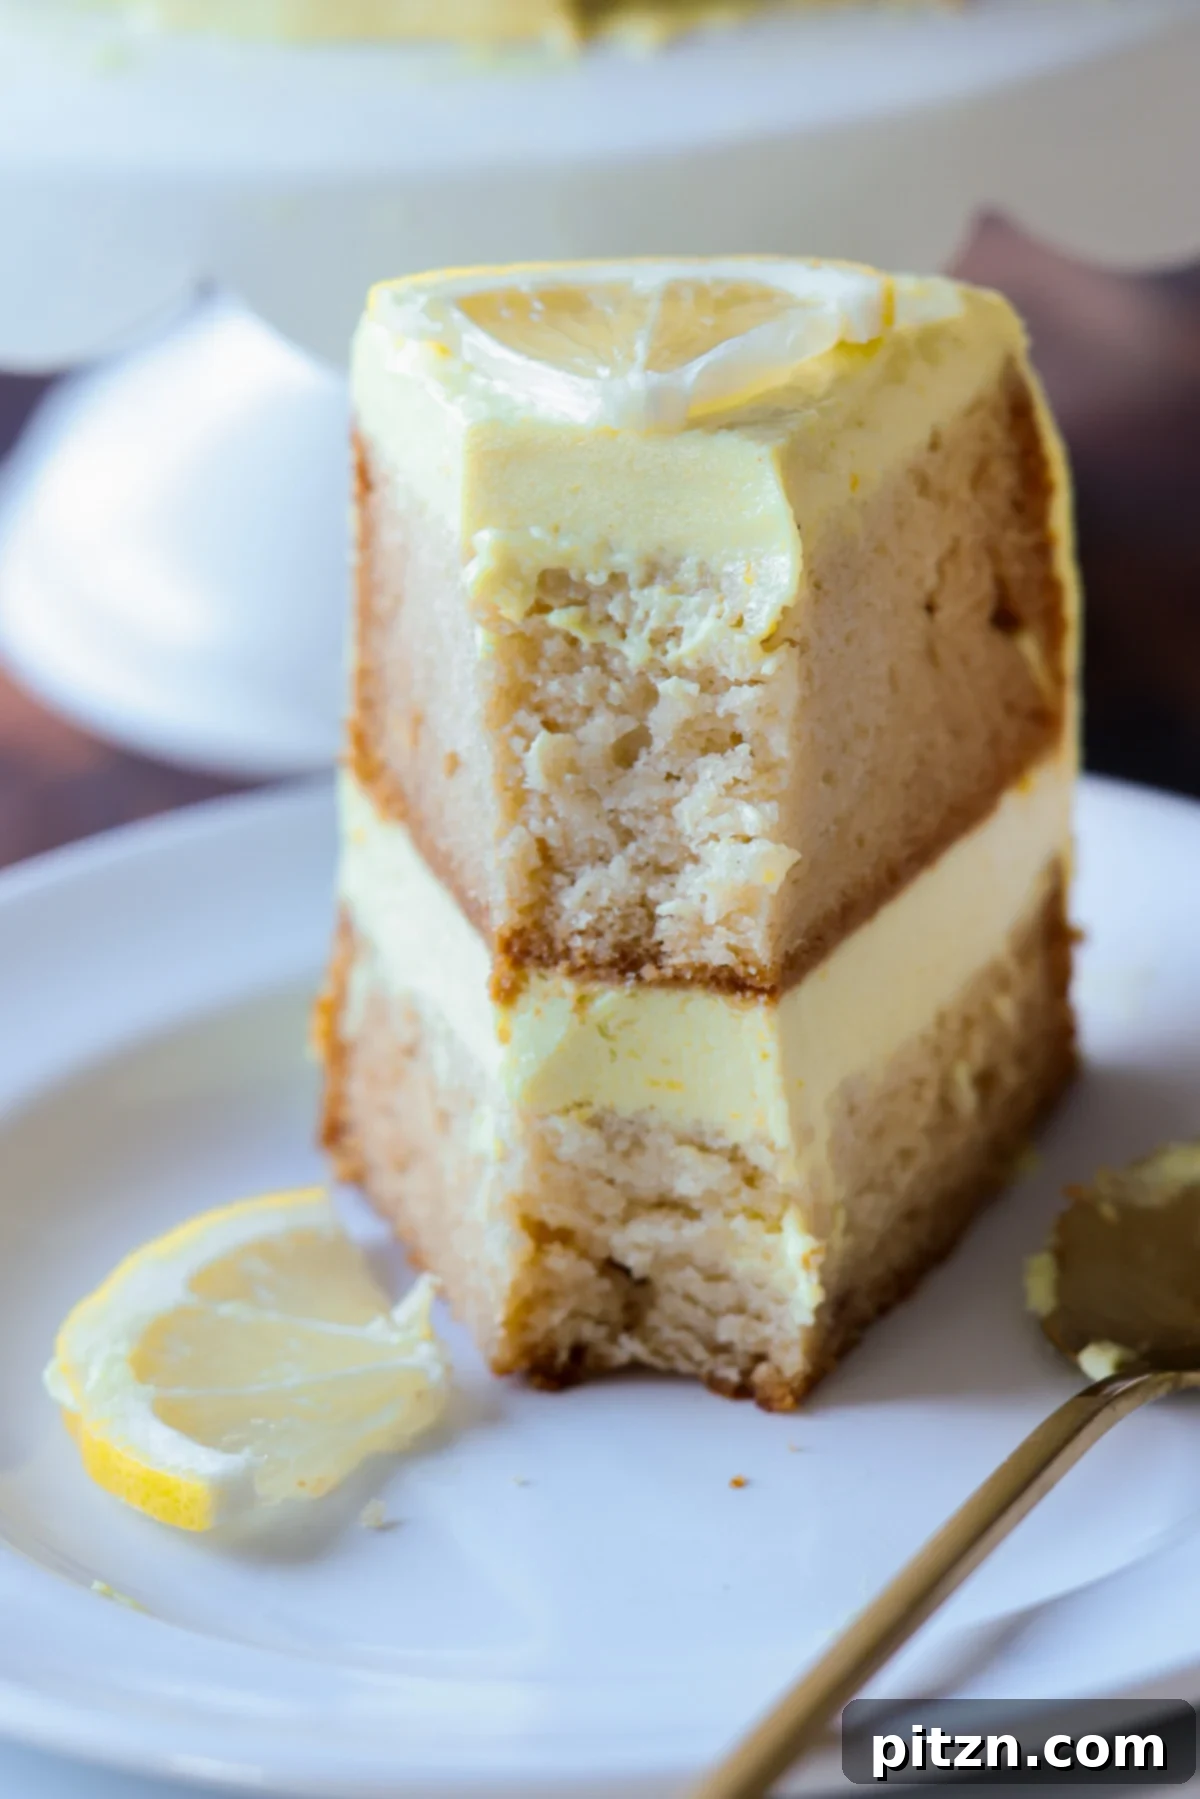
Why You’ll Love this Irresistible Vegan Lemon Cake
- Moist, Fluffy Perfection: This vegan lemon cake delivers an unbelievably moist and airy texture, boasting a delicate yet distinct lemon flavor that is both refreshing and comforting. It’s a true crowd-pleaser that defies common expectations of vegan baking.
- Dreamy, Mousse-like Frosting: The star of this cake is undoubtedly its light, fluffy, and intensely lemony frosting. It strikes the perfect balance between richness and tang, creating a mousse-like texture that melts in your mouth and complements the cake layers beautifully without being overly heavy or sweet.
- Effortless One-Bowl Batter: Say goodbye to complicated baking processes! The cake batter for this dairy-free lemon cake comes together quickly and easily in just one bowl, minimizing cleanup and making the baking experience enjoyable and stress-free.
- Blender-Made Frosting: Even the luxurious lemon cream frosting is incredibly simple to prepare. All you need is a blender to achieve its smooth, velvety consistency, meaning less fuss and more time to enjoy your delicious creation.
- Customizable for All Dietary Needs: This vegan lemon cream cake is remarkably adaptable, easily modified to be nut-free, soy-free, or gluten-free. With simple substitutions detailed below, everyone can enjoy a slice of this delightful dessert.
- Perfect for Any Occasion: Whether it’s a casual get-together, a special celebration, or just a treat for yourself, this cake fits every moment. Its bright flavor and elegant appearance make it a showstopper.
- Balanced Sweetness: Designed for those who appreciate true flavor over excessive sugar, this cake offers a perfectly balanced sweetness that lets the natural tang of the lemon shine through, creating a sophisticated and refreshing dessert.
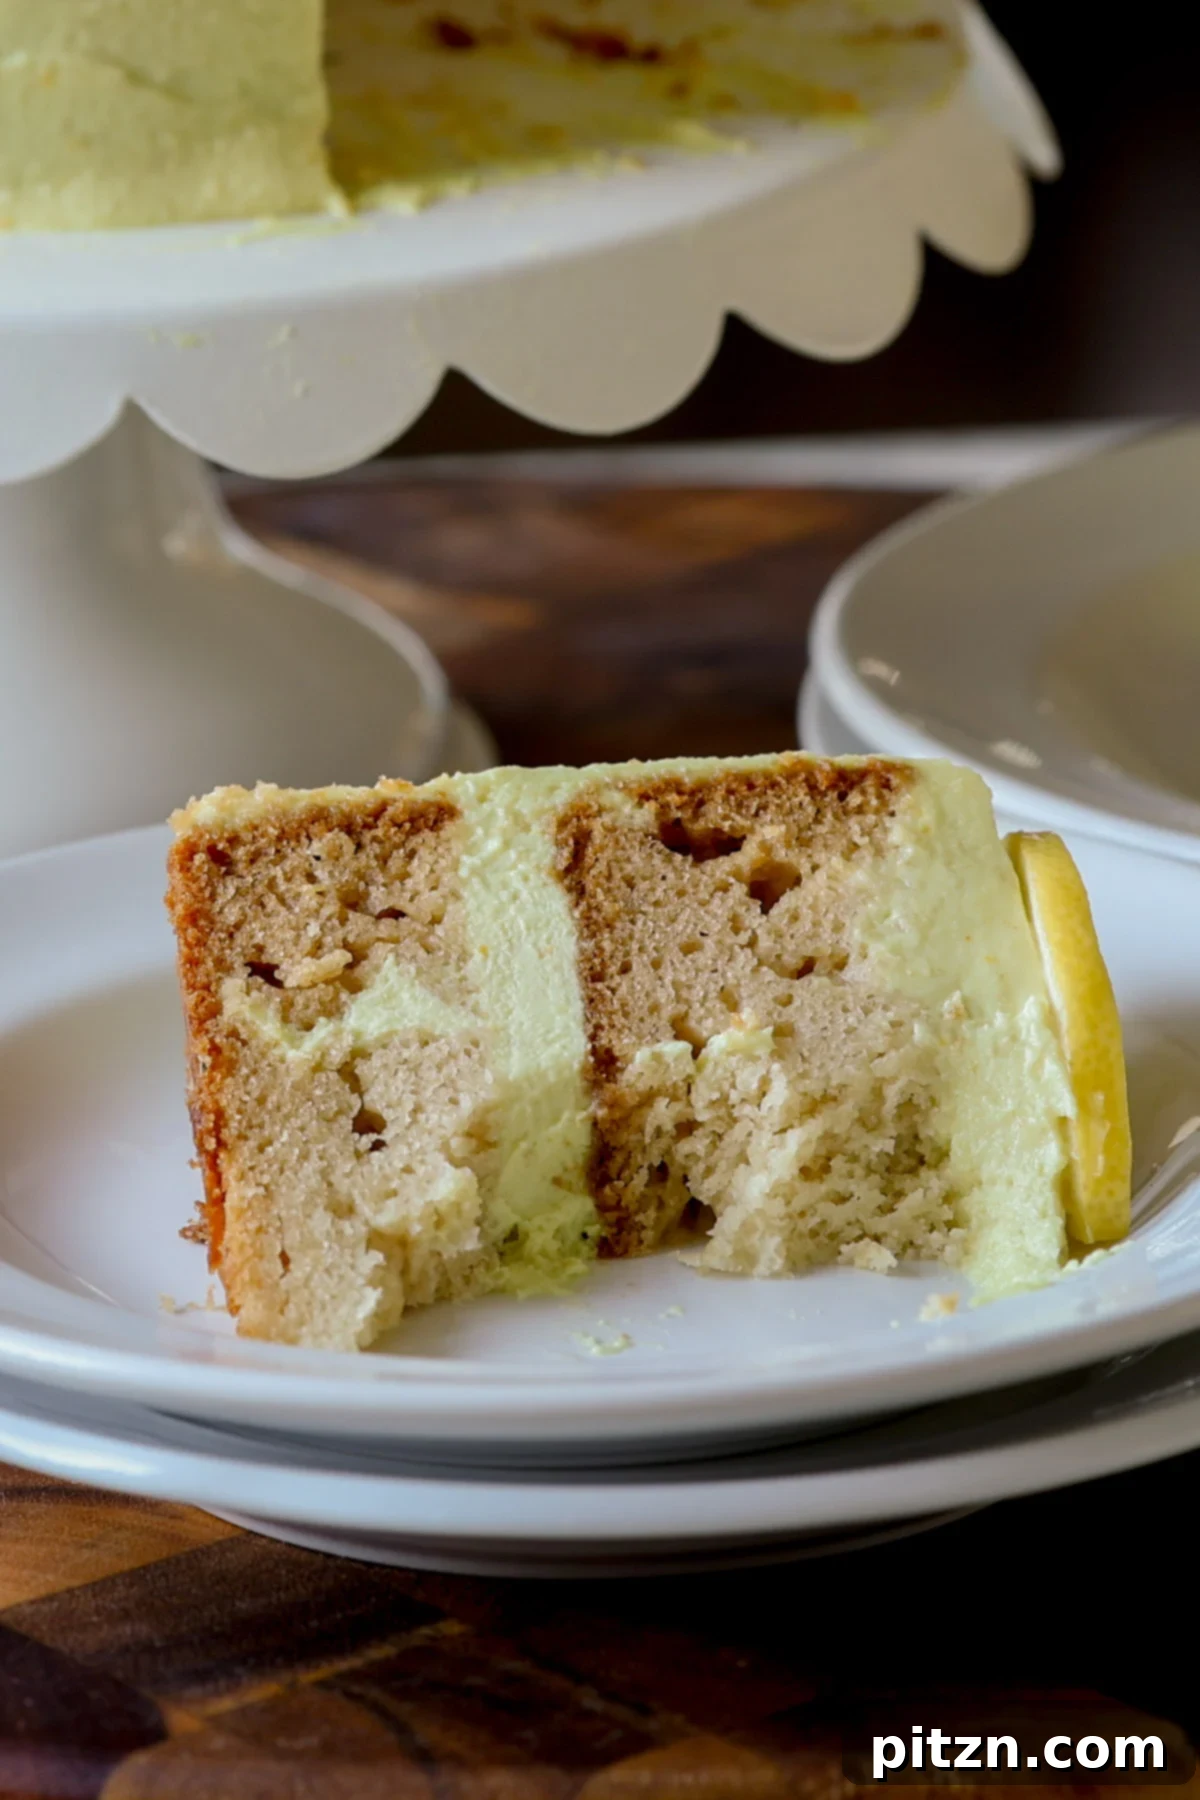
More Delicious Vegan Lemon Desserts to Try
If you’re a fan of bright, zesty lemon flavors, you’ll love exploring these other incredible vegan dessert recipes. Each one captures the refreshing essence of lemon in its own unique and delightful way:
- Lemon Curd Chia Pudding: A light, refreshing, and nutritious dessert or breakfast, bursting with lemony goodness and a creamy texture.
- Classic Vegan Lemon Bars: Tangy, sweet, and perfectly chewy, these bars feature a vibrant lemon filling atop a buttery shortbread crust.
- Zesty Chia Lemon Cookies: Soft and chewy cookies infused with fresh lemon and the added texture of chia seeds for a healthy twist.
- Unique Miso Lemon Pepper Chocolate Chunk Cookies: An adventurous blend of savory miso, bright lemon, a hint of pepper, and sweet chocolate chunks for an unforgettable flavor profile.
- Refreshing Strawberry Lemonade Slushie: A frosty, sweet-tart beverage that’s perfect for hot days, combining juicy strawberries with classic lemonade.
Vegan Lemon Cream Cake
Print Recipe
Equipment You’ll Need
-
2 6″ cake pans (or one 8″ or 9″ cake pan for a single layer cake)
-
Blender (for the frosting)
-
Large mixing bowl
-
Parchment paper
-
Whisk or spatula
Ingredients for Your Vegan Lemon Cake
For the Moist Cake Layers:
- 1 3/4 cup all-purpose flour (see notes for gluten-free option)
- 1 1/2 tablespoons cornstarch, or tapioca starch for tenderness
- 1/3 cup granulated sugar, add 2 tablespoons more for a sweeter cake
- 2 teaspoons baking powder (for lift)
- 1/4 teaspoon baking soda (reacts with acid for rise)
- 1/2 teaspoon salt (enhances flavors)
Wet Ingredients for the Cake:
- 1 cup non-dairy milk (almond, soy, oat, or cashew milk work well)
- 1 1/2 tablespoons non-dairy yogurt, or unsweetened applesauce for added moisture and tang
- 1 tablespoon fresh lemon juice, or use 1 tablespoon more non-dairy milk if you prefer less browning on cake edges
- 1 teaspoon apple cider vinegar, or white vinegar to activate baking soda
- 1/4 cup neutral oil (e.g., canola, sunflower, or melted coconut oil)
- 1/2 teaspoon vanilla extract
- a few drops of almond extract, optional, for a subtle depth of flavor. Omit for nut-free.
- 1 teaspoon lemon zest (finely grated, from about 1 medium lemon)
For the Velvety Lemon Cream Frosting:
- 1 cup raw cashews, soaked in warm water for at least 15 minutes (or boiling water for 5-10 minutes) and then drained. Use 1 cup extra coconut cream for nut-free.
- 1 cup full-fat coconut cream, (this is the thick white part from a can of full-fat coconut milk, chilled overnight to separate)
- 1/4 cup fresh lemon juice (from about 1-2 lemons, for bright tang)
- 1/3 cup granulated sugar, add 2 tablespoons more for a sweeter frosting if desired
- 1/8 teaspoon salt
- 1/8 teaspoon turmeric, optional, for a lovely natural yellow color
- 1 tablespoon lemon zest (finely grated, enhances lemon aroma)
- 1/2 teaspoon vanilla extract
Step-by-Step Instructions for Vegan Lemon Cake
Part 1: Prepare the Cake Layers
-
Begin by preheating your oven to 350° F (177° C). This ensures your oven is at the correct temperature for even baking. Prepare your cake pans by greasing them lightly and then lining the bottoms with parchment paper. This step is crucial for preventing sticking and ensuring easy release of your delicate vegan cakes.
-
In a large mixing bowl, combine all of your dry ingredients for the cake: all-purpose flour, cornstarch (or tapioca starch), sugar, baking powder, baking soda, and salt. Whisk them together thoroughly, ensuring there are no lumps and that the leavening agents are evenly distributed throughout the flour mixture. This helps in achieving a consistent rise and texture.
-
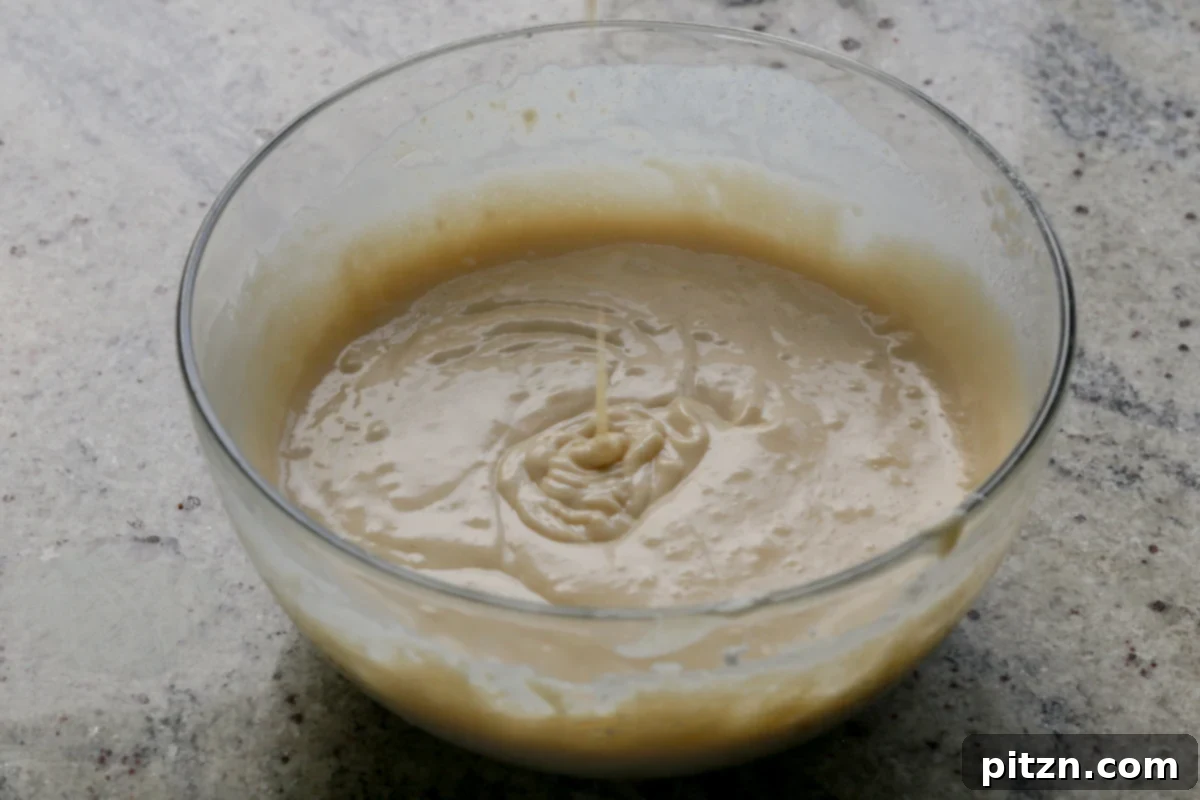
Next, pour in all the wet ingredients: non-dairy milk, non-dairy yogurt (or applesauce), lemon juice, apple cider vinegar, oil, vanilla extract, almond extract (if using), and lemon zest. Mix everything together just until a smooth batter forms. Be careful not to overmix, as this can lead to a tougher cake. The batter should have a consistency similar to a thick pancake batter – pourable but not overly thin. If it appears too thin, add 1 to 2 tablespoons of extra flour and mix gently. Remember, vegan cakes rely on a slightly thicker batter to maintain structure without eggs.
-
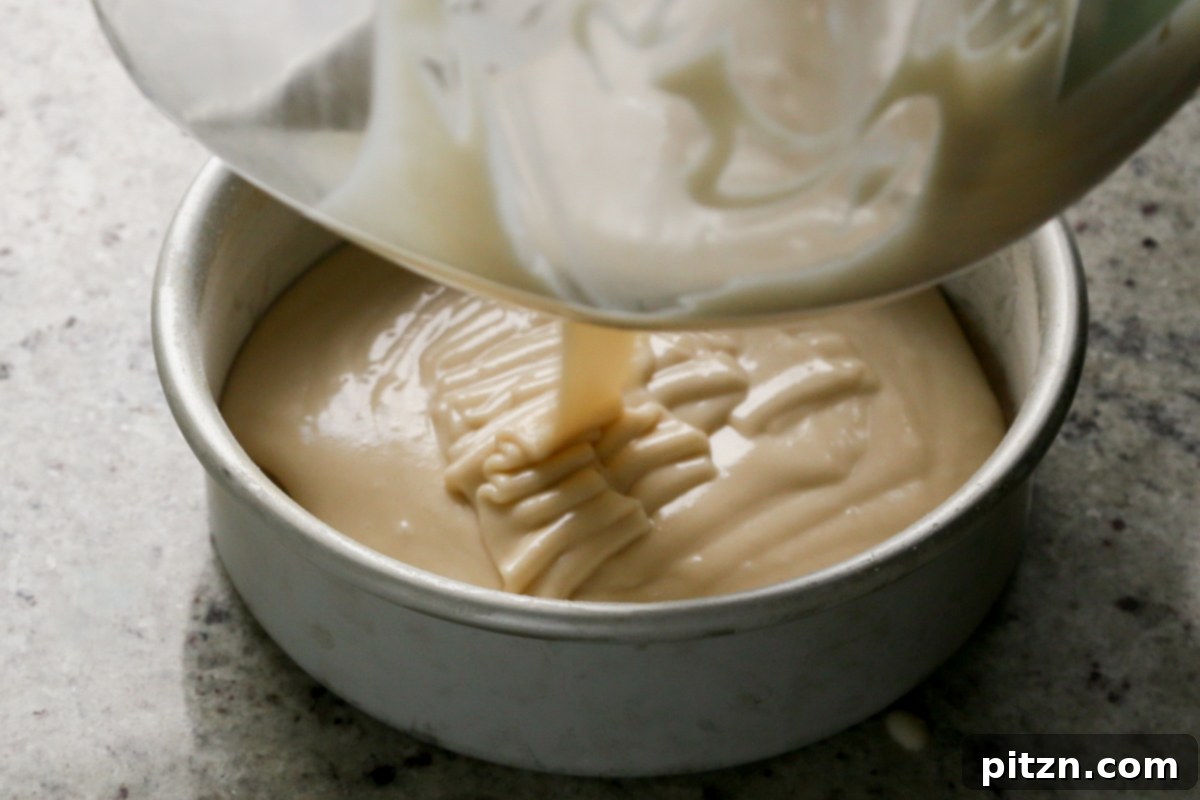
Once your batter is perfectly mixed, divide it evenly among your prepared baking pans. This recipe is designed to yield two 6-inch cake layers, or one taller 6-inch or 8-inch cake. If you’re using an 8-inch pan, your cake will be thinner but still absolutely delicious.
-
Place the filled cake pan(s) into the preheated oven and bake. For two 6-inch cakes, bake for approximately 20 to 22 minutes. If you’re baking a single tall 6-inch or 8-inch cake, it will require a slightly longer baking time, usually around 28 to 30 minutes. To check for doneness, insert a toothpick into the center of the cake; if it comes out clean, your cake is ready. If not, continue baking in 5-10 minute increments until fully baked.
Part 2: Craft the Velvety Lemon Cream Frosting
-
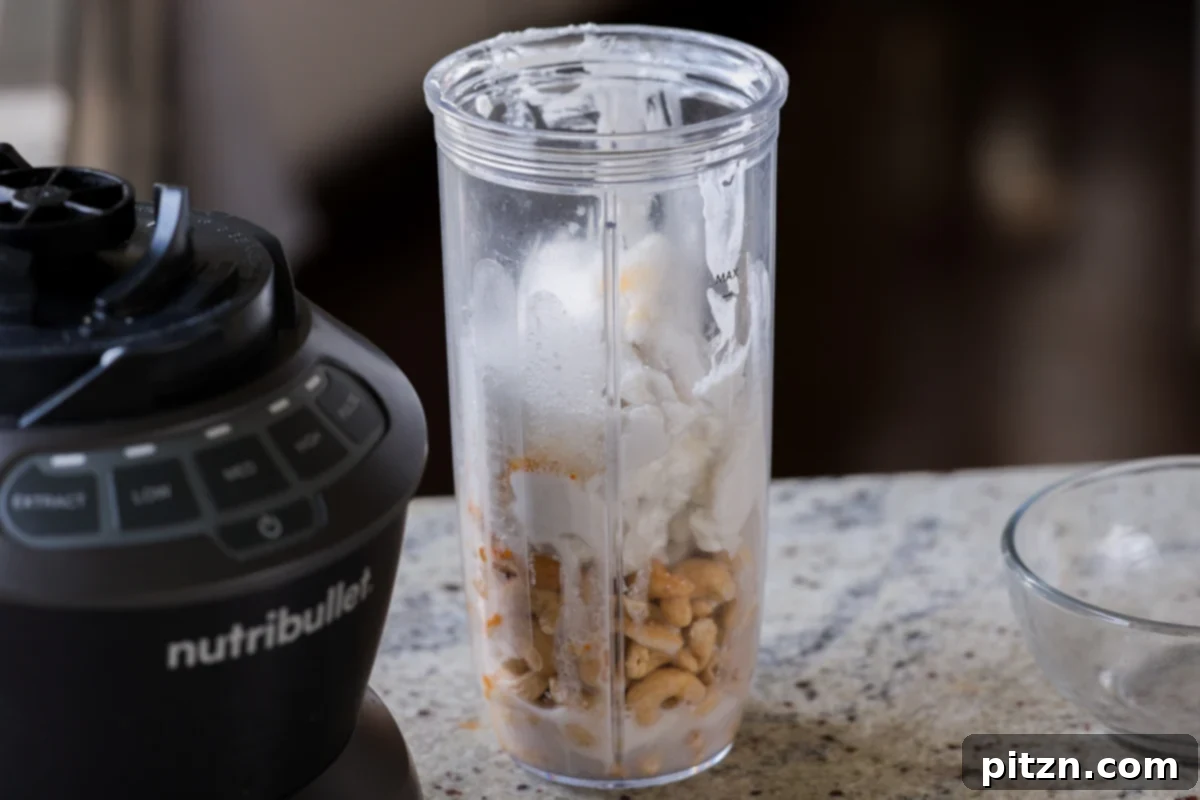
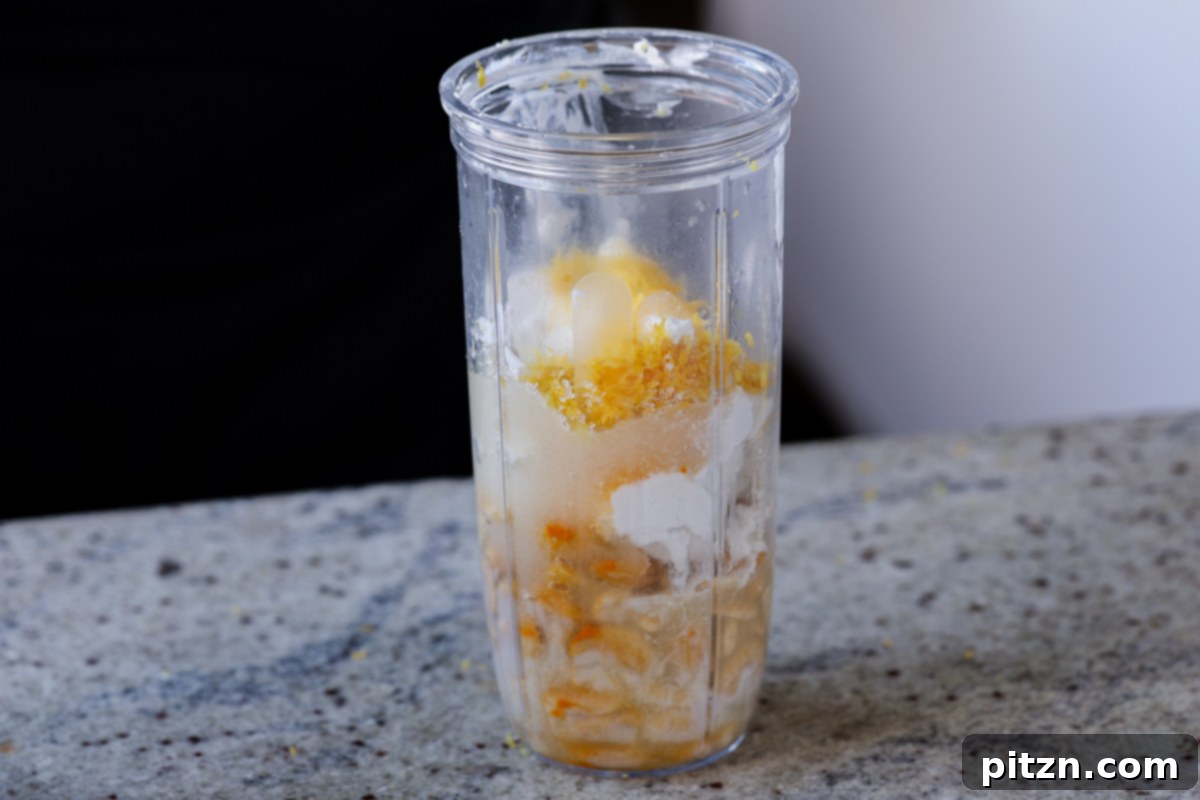
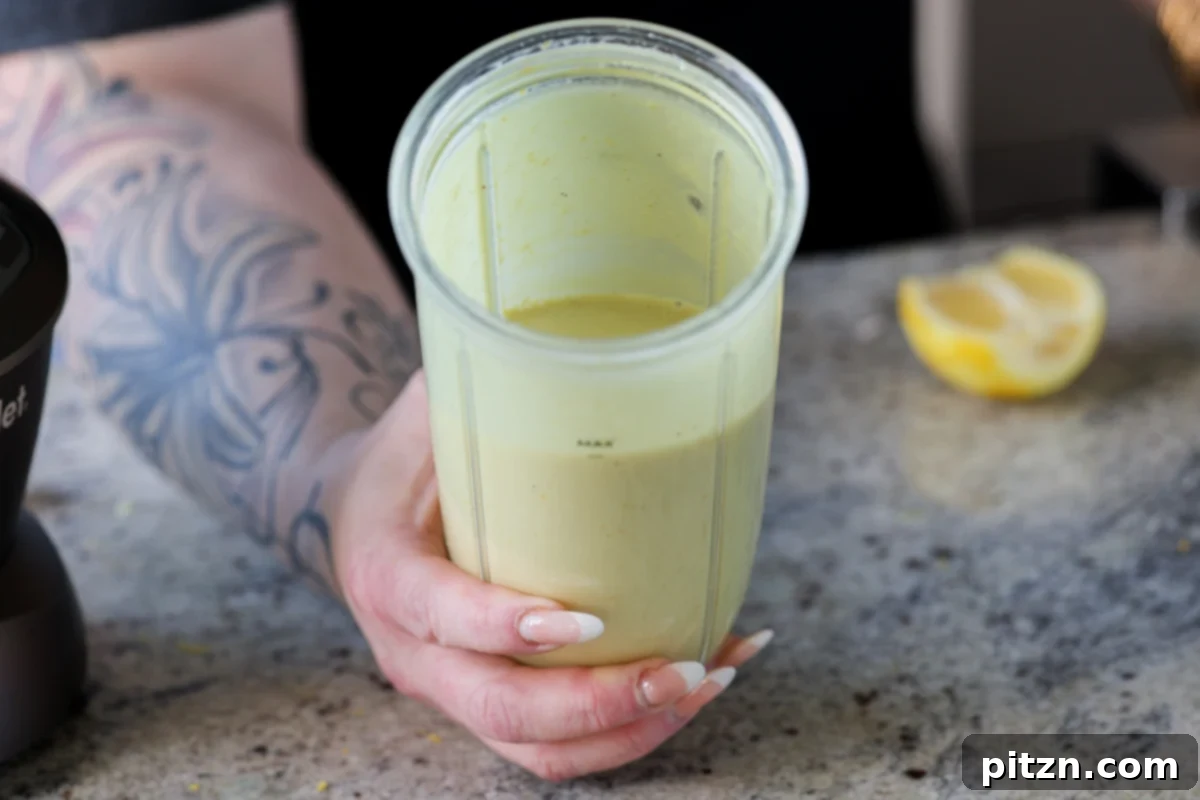
While your cakes are baking, prepare the incredible lemon cream frosting. First, ensure your cashews are properly soaked and drained. Transfer the drained cashews to a high-speed blender, along with the coconut cream (make sure it’s the thick, solid part from a chilled can of full-fat coconut milk), fresh lemon juice, sugar, salt, turmeric (if using, for a beautiful natural yellow hue), lemon zest, and vanilla extract. Blend for about one minute until the mixture starts to smooth out.
-
To achieve the ultimate smooth and velvety texture, let the mixture sit in the blender for 5 minutes. This allows the cashews to absorb more moisture, facilitating a creamier blend. Blend again for 30 seconds. Repeat this process: let it sit for another minute, then blend for a final 30 seconds. This intermittent blending technique ensures all cashew pieces are thoroughly pulverized, resulting in a supremely smooth, mousse-like frosting.
-
Once blended, open the blender and taste your frosting. Now is the time to adjust the flavors to your preference. If you desire a sweeter frosting, add an additional 1 or 2 tablespoons of sugar and blend again. For more tang, incorporate a little more lemon zest. Remember, the lemon flavor will intensify as the frosting chills, so avoid making it excessively lemony at this stage. After any adjustments, blend one last time to incorporate, then transfer the frosting to an airtight container and place it in the fridge to chill and thicken. This chilling step is vital for the frosting to achieve its perfect spreadable consistency.
Part 3: Cool, Assemble, and Frost Your Cake
-
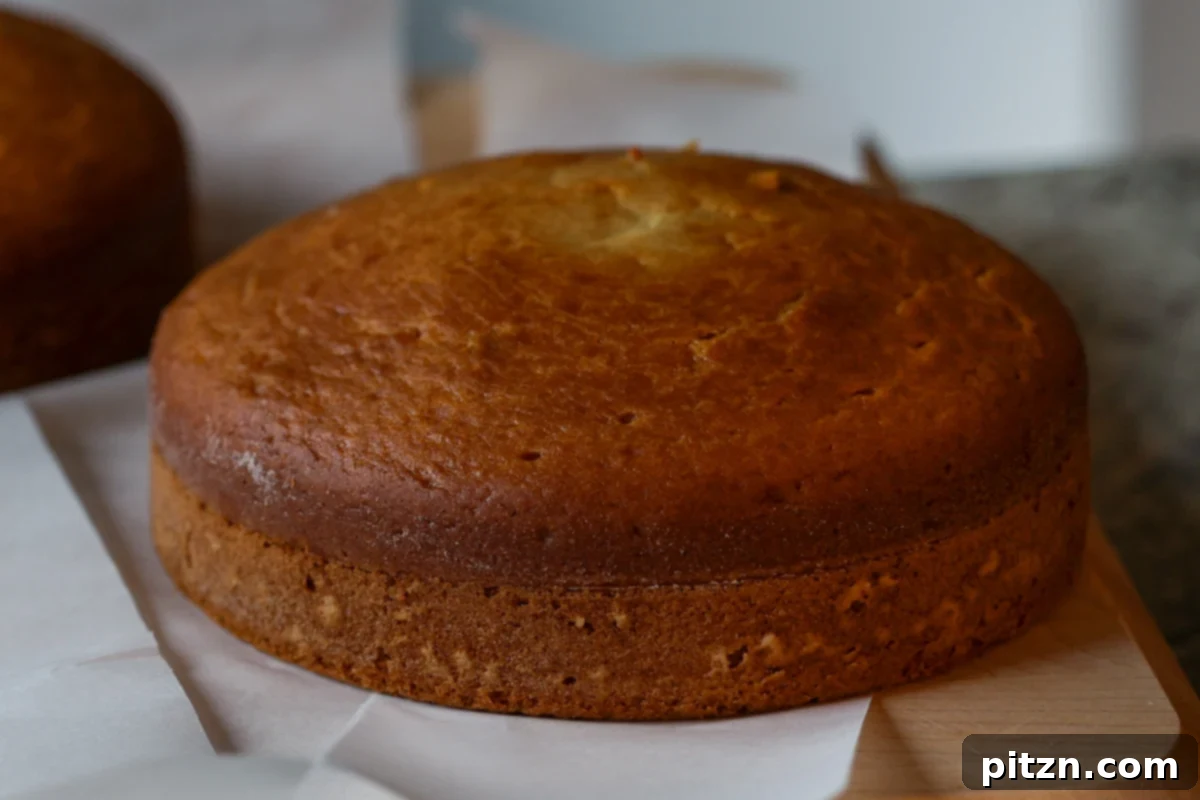
Once the cakes are baked, remove them from the oven and allow them to cool in their pans for about 5 minutes. This brief cooling period helps them firm up before handling. Gently invert the cakes onto a wire rack, remove the parchment paper, and transfer them to the fridge to cool completely for an additional 15 to 20 minutes. Ensuring the cakes are thoroughly chilled before frosting is key to preventing the frosting from melting.
-
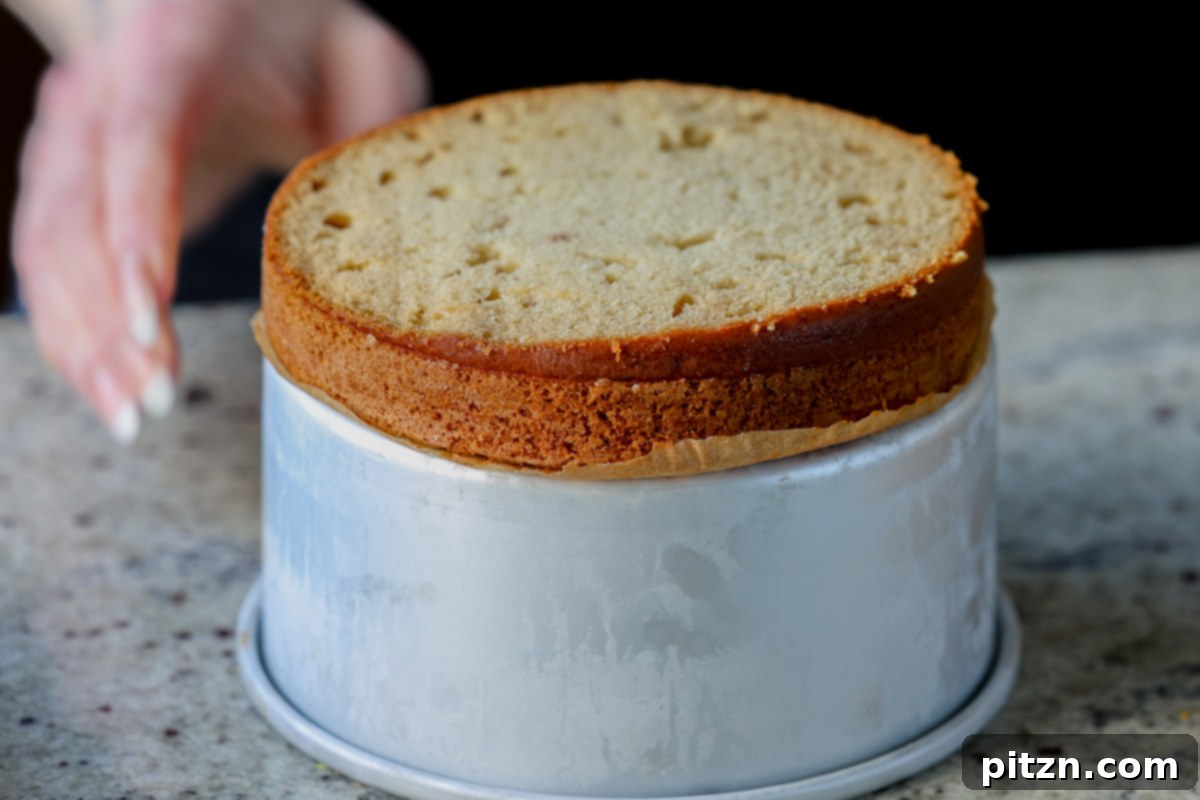
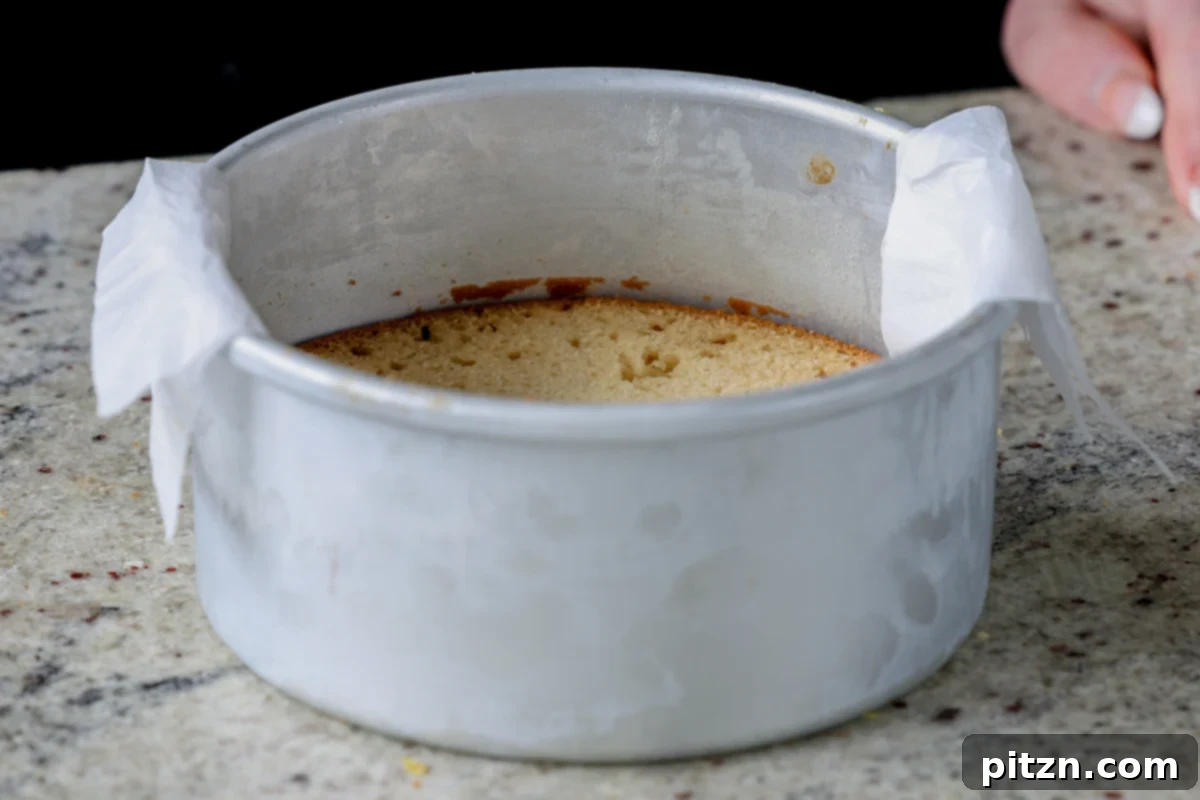
Once cooled, use a sharp, serrated knife to carefully level the tops of your cakes by slicing off any domes. This creates flat surfaces for easy stacking and a professional appearance. If making a layered cake, line a tall 6-inch or 8-inch cake pan with strips of parchment paper, allowing them to hang over the edges (these “slings” will help you easily remove the finished cake). Place one of your leveled cake layers into the bottom of this pan. (Refer to the Notes section for an easier alternate cake assembly if you prefer a single-layer cake).
-
Retrieve your chilled lemon cream frosting from the fridge. It should now have a thick, mousse-like consistency. Scoop or pour a generous amount of frosting over the first cake layer in the pan and spread it evenly to create a luscious, thick layer.
-
Carefully place the second cake layer directly on top of the frosting. If your frosting seems a little too soft to support the top cake without it sinking, you can place the bottom cake layer with its frosting into the freezer for 10 to 15 minutes to firm up before adding the second layer. Once the second layer is in place, add another layer of frosting on top, reserving some for the sides later. Place the entire cake pan back into the fridge for 2 to 3 hours, or into the freezer for about 30 minutes, allowing the frosting to set firm and bind the layers together perfectly. This chilling process is essential for a stable and beautifully layered cake.
-
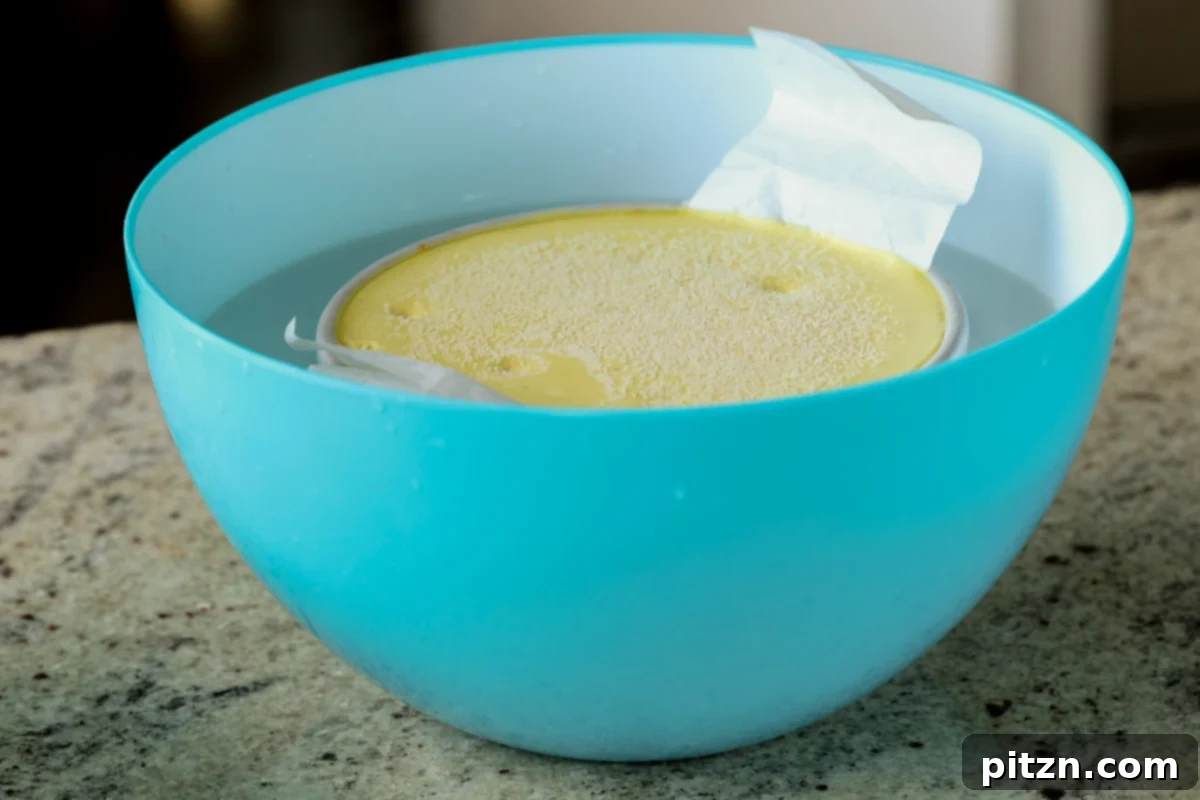
Once the frosting layers are firmly set, remove the cake pan from the fridge or freezer. To easily release the cake, prepare a large bowl with hot water. Briefly dip the bottom of the cake pan into the hot water for a few seconds. This gentle warmth helps loosen the cake from the pan. Then, using the parchment paper strips as handles, carefully lift the cake out of the pan. Gently peel off the parchment paper from the sides of the cake.
-
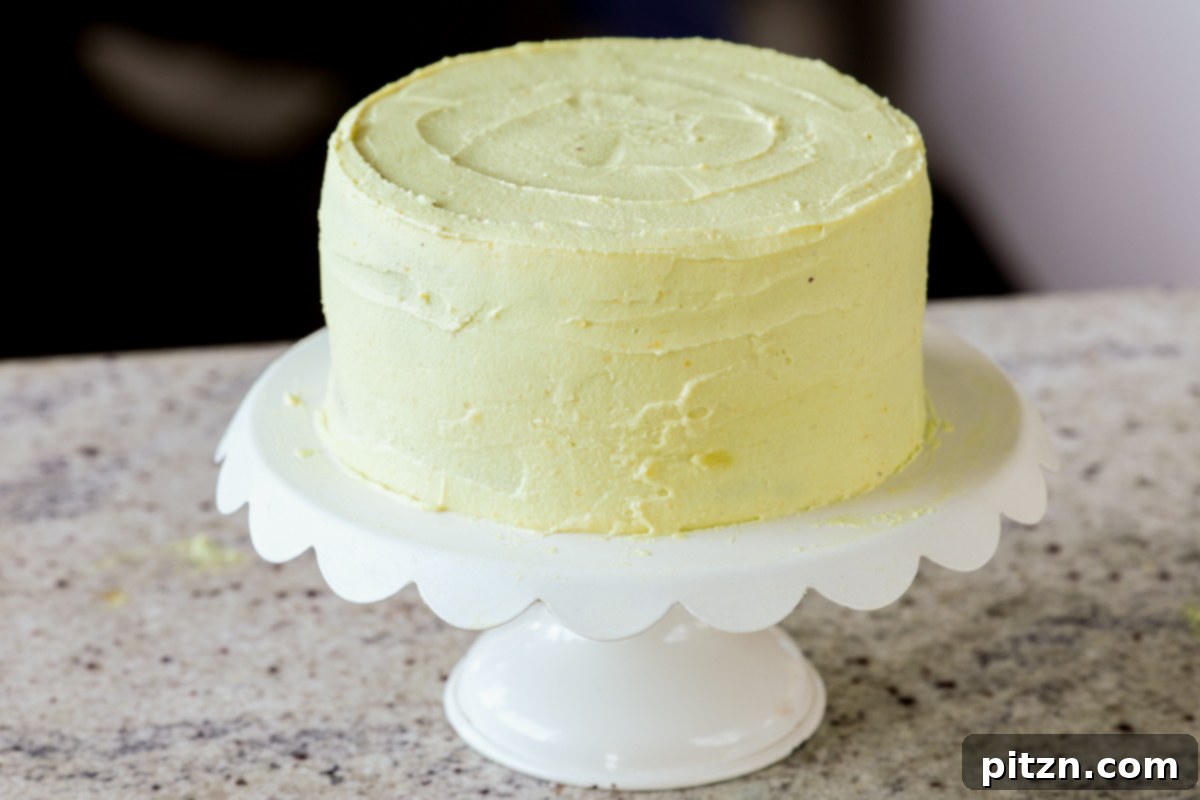
Transfer your beautifully layered cake to a serving plate or cake stand. Now, use the remaining reserved frosting to generously coat the sides of the cake. If the frosting starts to become too soft or runny while you are working on the sides, simply place the cake back in the freezer for 10 minutes to firm up again before continuing. Once the entire cake is frosted, unleash your creativity! You can use any leftover frosting to pipe decorative designs on top, or adorn it with fresh lemon slices, bright lemon zest, or delicate edible flowers for a stunning presentation. Refrigerate the finished cake until you are ready to serve to ensure the frosting remains firm and delightful.
Watch the Recipe Video
Important Notes for Your Vegan Lemon Cake
Alternate, Simpler Assembly Method: For a quicker, fuss-free dessert without layers, bake the cake batter in a single 8 or 9-inch cake pan. Once baked, let the cake cool for at least 30 minutes. Then, simply pour all the prepared lemon cream frosting directly over the cake in the pan. Refrigerate for at least one hour to allow the frosting to set firm, then slice and serve. This method is perfect for a delicious everyday treat.
Using Lemon Cream as a Pourable Glaze or Thicker Frosting: The versatility of this lemon cream is remarkable. If you let the lemon cream chill for a bit, it will naturally thicken to a beautiful frosting consistency, perfect for piping or spreading as demonstrated in the layered cake instructions. If you prefer a thinner, pourable glaze-like topping (ideal for the simpler assembly method), use it before it fully sets in the fridge.
Making This Cake Soy-Free: This vegan lemon cake is naturally soy-free, provided you select soy-free non-dairy milk and either use a soy-free non-dairy yogurt alternative or opt for unsweetened applesauce in the cake batter. Always double-check ingredient labels to ensure no hidden soy products.
Achieving a Nut-Free Vegan Lemon Cake: To transform this into a nut-free vegan lemon cake, simply replace the raw cashews in the frosting with an additional cup of full-fat coconut cream (chilled). Also, remember to omit the almond extract from the cake batter. Crucially, ensure that your chosen non-dairy milk and yogurt products are certified nut-free to avoid any cross-contamination.
Gluten-Free Adaptation for Your Lemon Cake: To make this vegan lemon cake gluten-free, replace the all-purpose flour with a custom gluten-free flour blend. Combine 3/4 cup almond flour, 3/4 cup oat flour, and 1/2 cup potato starch. Mix these flours very well, pressing out any lumps, especially in the almond flour. Use 1 3/4 cups of this homemade gluten-free mixture in place of the all-purpose flour. You may also need to adjust the wet ingredients slightly: use 3/4 cup non-dairy milk and replace the remaining 1/4 cup with club soda. Gluten-free flours absorb moisture differently, so observe your batter’s consistency and add a tiny bit more of the gluten-free flour mix if it seems too thin.
Utilizing Leftover Coconut Milk: Don’t let any leftover full-fat coconut milk go to waste! It’s excellent in savory dishes. Consider using it in delicious curries or dals, like this lentil coconut curry, for a flavorful meal.
Nutrition Information (per serving)
Nutrition information is automatically calculated, so should only be used as an approximation.
Did you make this recipe? We’d love to hear from you! Rate and comment below to share your experience!
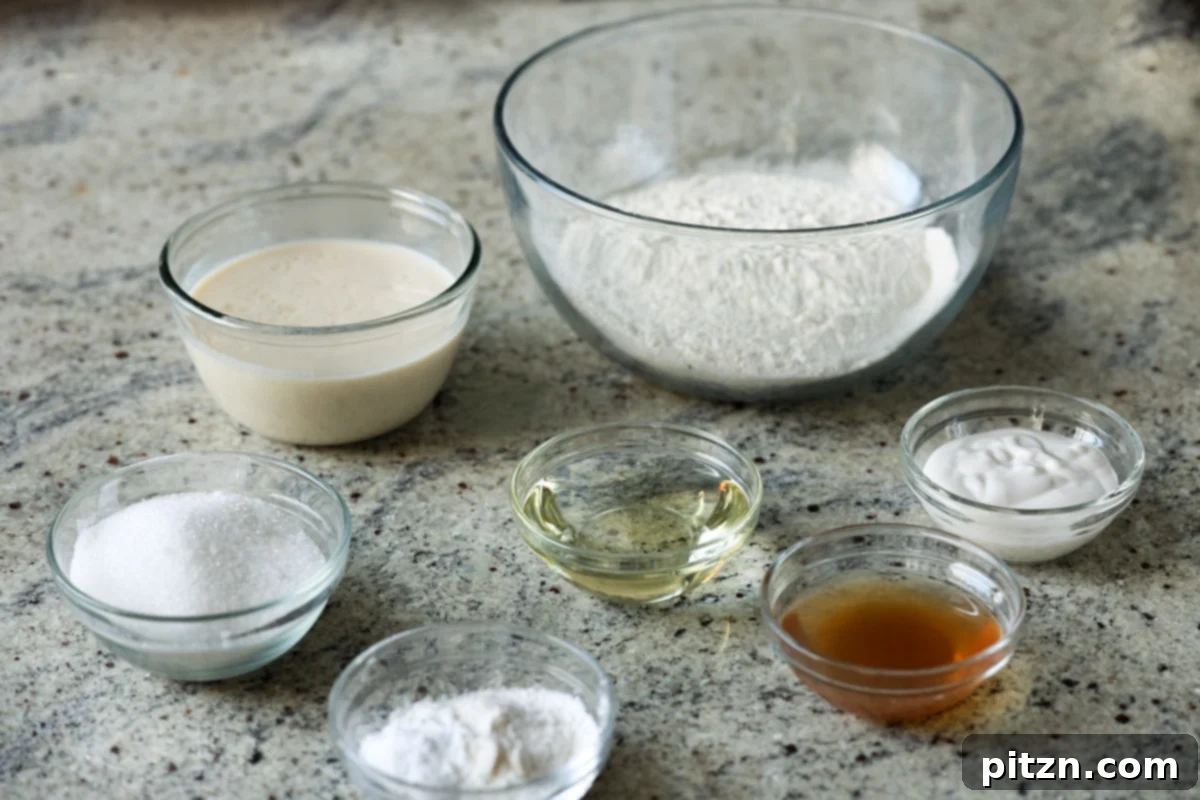
Essential Ingredients and Thoughtful Substitutions
Crafting the perfect vegan lemon cake involves a carefully selected list of ingredients that work together to create its unique flavor and texture. Here’s a detailed look at each component and how you can adapt it for various dietary needs or preferences:
- Flour: The base of our cake. You can confidently use standard all-purpose flour for a classic texture. For a gluten-free option, we recommend a specific blend to ensure the best results: combine 3/4 cup almond flour, 3/4 cup oat flour, and 1/2 cup potato starch. Mix these thoroughly, pressing out any lumps, especially in the almond flour, before measuring out 1 3/4 cups of this blend to replace the all-purpose flour. Note that when using this gluten-free mix, you might need to adjust the liquid slightly, using 3/4 cup non-dairy milk and replacing the remaining 1/4 cup with club soda for optimal moisture absorption and rise.
- Granulated Sugar: While this recipe is intentionally less sugary than many traditional cakes, a moderate amount of granulated sugar is necessary to sweeten both the cake layers and the luxurious frosting. You can adjust the amount slightly to suit your personal preference for sweetness.
- Cornstarch (or Tapioca Starch): This ingredient acts as a conditioning agent for the cake batter, contributing to a wonderfully tender and moist crumb, a characteristic often sought after in vegan baking where eggs are absent.
- Baking Powder & Baking Soda: These are our primary leavening agents. Baking powder provides initial lift, while baking soda reacts with the acidic components (lemon juice, vinegar, and non-dairy yogurt) in the batter to create air pockets, ensuring a light and airy texture.
- Salt: A crucial flavor enhancer, salt not only balances the sweetness but also brightens and amplifies the vibrant lemon notes in both the cake and the frosting, making every bite more impactful.
- Non-Dairy Milk: You can use any unsweetened non-dairy milk you prefer, such as almond, soy, oat, or cashew milk. This provides the necessary liquid for the cake batter.
- Non-Dairy Yogurt (or Applesauce): This ingredient is essential for adding extra moisture and a subtle tang to the cake batter, which contributes to its incredible richness and delicate crumb. If you need a nut-free or soy-free option, ensure your yogurt choice aligns, or simply use unsweetened applesauce as a reliable substitute.
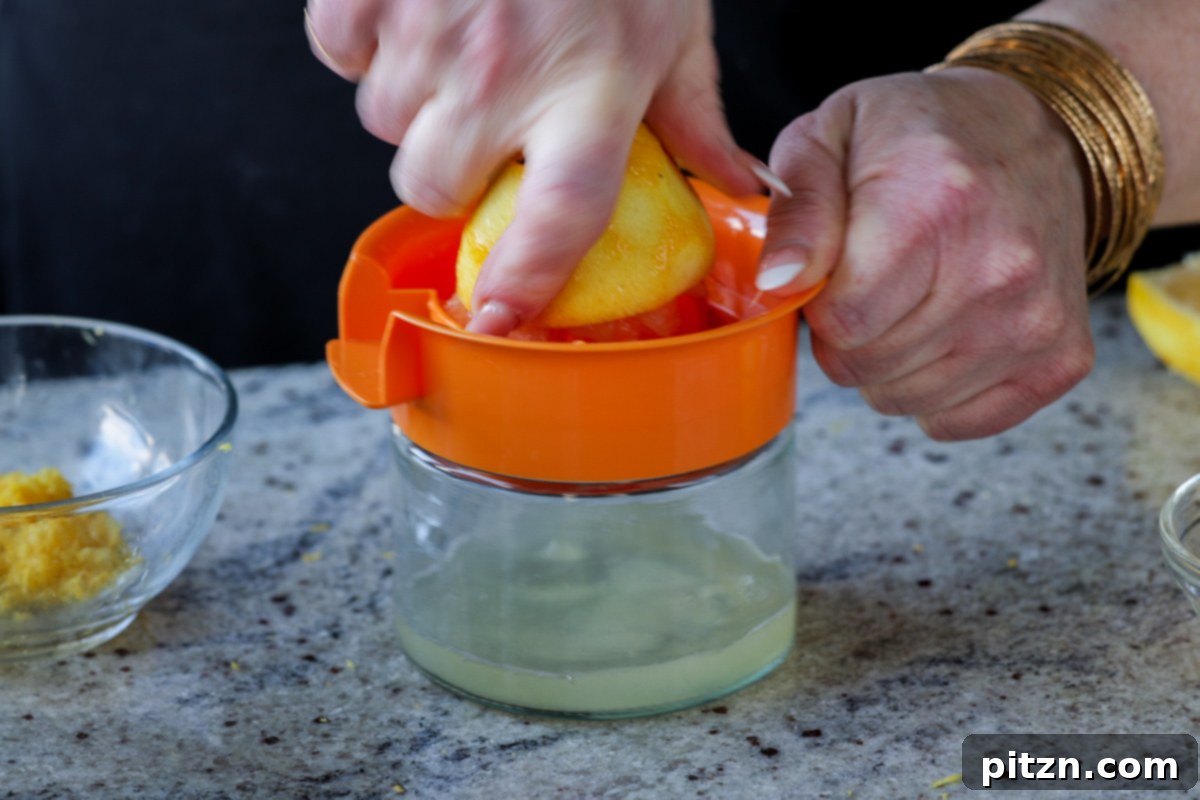
- Fresh Lemon Juice: This provides the signature tangy, bright flavor in both the cake and the frosting. Be aware that lemon juice in the cake batter can sometimes cause the edges to brown slightly more during baking. If you prefer a lighter-colored cake, you can omit the lemon juice from the cake batter and rely more heavily on lemon zest for flavor in the cake itself, while still using plenty in the frosting.
- Apple Cider Vinegar (or White Vinegar): A small amount of vinegar provides the acidity needed to activate the baking soda, resulting in a perfectly risen and fluffy cake.
- Neutral Oil: Any neutral-flavored oil, such as canola, sunflower, or melted coconut oil (ensure it’s melted if solid), adds essential moisture to the cake, ensuring it remains wonderfully tender and never dry.
- Lemon Zest: The true heart of lemon flavor! Finely grated lemon zest is packed with aromatic oils that infuse both the cake and the frosting with an intense, fresh, and bright lemon essence. Always zest before juicing your lemons.
- Vanilla Extract: A classic baking ingredient, vanilla extract enhances and rounds out the overall flavor profile of both the cake batter and the frosting, adding a comforting depth.
- Almond Extract: This is an optional addition to the cake batter that offers a subtle, sophisticated almond note, beautifully complementing the lemon. If you need to make the cake nut-free, simply omit this extract.
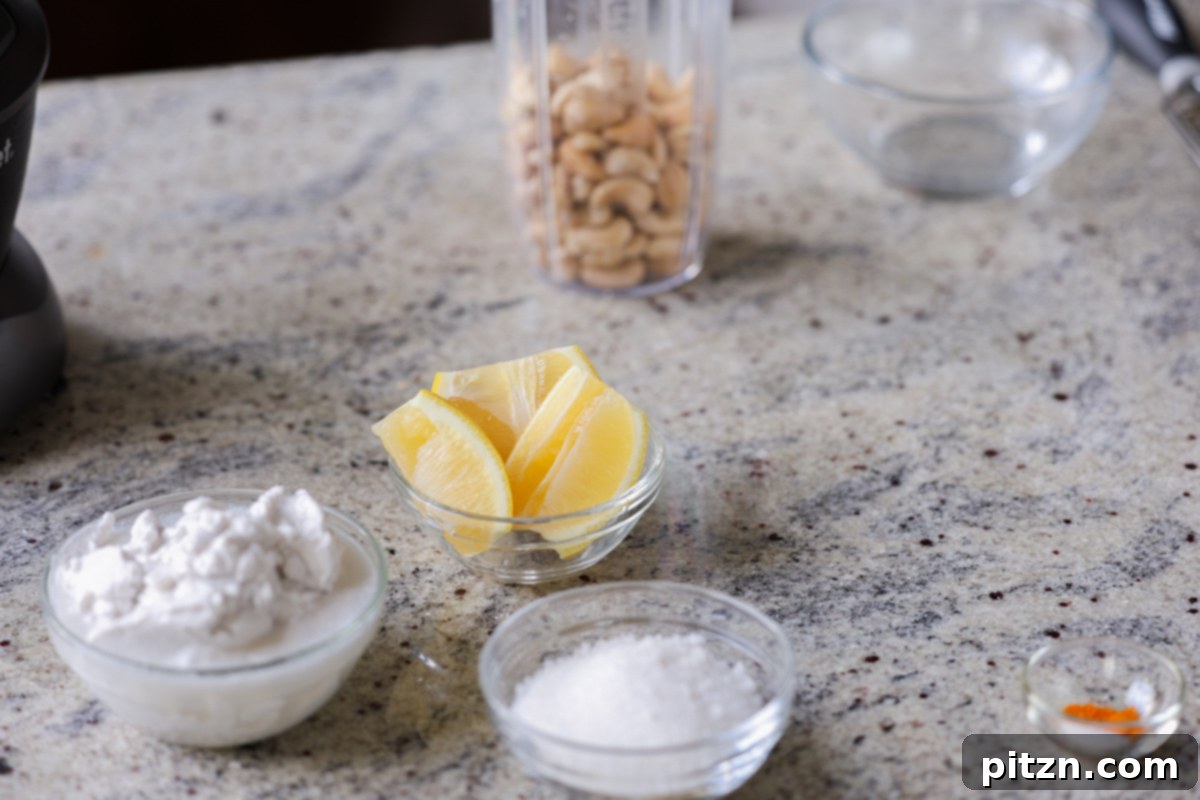
- Raw Cashews: Soaked raw cashews form a crucial part of the rich and creamy base for our velvety lemon frosting. When blended, they create an incredibly smooth, dairy-free texture. For a completely nut-free frosting, you can easily substitute the cashews with an additional cup of chilled full-fat coconut cream.
- Full-Fat Coconut Cream: This is the thick, solid white part that separates and rises to the top when a can of full-fat coconut milk is chilled overnight. It’s essential for achieving the luxurious, thick, and creamy consistency of the frosting.
- Turmeric: A tiny pinch of turmeric is an optional but wonderful addition to the frosting. It provides a beautiful, natural yellow hue that enhances the visual appeal of your lemon cake without imparting any noticeable flavor.
Expert Baking Tips for a Perfect Vegan Lemon Cake
Achieving a truly spectacular vegan lemon cake is simple with these expert tips:
- Preventing Cake Browning: If you prefer your vegan lemon cake to have a lighter, less browned crust, simply omit the tablespoon of lemon juice from the cake batter. Instead, replace that liquid with an equal amount of non-dairy milk. This subtle adjustment will help maintain a lighter color while still allowing the lemon zest to provide ample flavor.
- Optimal Batter Consistency: The ideal consistency for your cake batter should be similar to that of a thick pancake batter – pourable, but not too thin or watery. Since vegan cakes don’t rely on eggs for structure, a slightly thicker batter ensures stability and a beautiful rise. If your batter appears too runny, incorporate an additional 1 to 2 tablespoons of flour until the desired thickness is achieved.
- Achieving Silky Smooth Frosting: For the ultimate velvety lemon cream frosting, don’t rush the blending process. After the initial blend, allow the mixture to sit in the blender for 5 minutes. This pause gives the cashews time to further absorb moisture, making them easier to blend into a super-smooth consistency. Repeat this short resting and blending cycle one more time. This technique is key to eliminating any grittiness and achieving a luxurious, mousse-like texture.
- Ensure Cakes are Fully Cooled: Patience is a virtue, especially when it comes to frosting! It is absolutely crucial that your cake layers are completely and thoroughly cooled before you begin applying the frosting. Attempting to frost a warm cake will result in a melted, runny mess as the frosting will simply slide off. Chilling the cakes in the fridge for 15-20 minutes after baking further ensures they are ready.
- Patience for Frosting to Set: The lemon cream frosting, with its cashew and coconut cream base, requires adequate chilling time to firm up and achieve its perfect mousse-like texture. While it’s delightful directly from the blender, it truly transforms into a spreadable, stable frosting after chilling. Once applied to the cake, further refrigeration is essential to allow the frosting to fully set, making for clean slices and a stable cake. Don’t skip these chilling steps for the best results!
- Consider a Simpler Cake: If a layered cake feels too daunting, remember the alternate assembly method mentioned in the notes: bake a single cake, cool, then pour all the frosting over it in the pan and chill. This still yields an incredibly delicious and beautiful lemon cake with less effort.
- Quality Ingredients Matter: Using fresh, ripe lemons for both juice and zest will make a significant difference in the vibrancy of your cake’s flavor. High-quality non-dairy milk and coconut cream will also contribute to the overall richness and texture.
How to Make a Luscious Vegan Lemon Layer Cake
Creating this stunning vegan lemon cake is a rewarding experience. Follow these detailed steps to ensure every layer is perfect and every bite is pure bliss.
Phase 1: Preparing the Cake Layers
- Preheat Oven and Prepare Pans: Start by preheating your oven to 350° F (177° C). This consistent temperature is crucial for even baking. Next, prepare your cake pans. Lightly grease two 6-inch round cake pans (or one 8-inch or 9-inch pan for a single-layer cake) and line the bottoms with parchment paper. This simple step is vital for easy cake release.
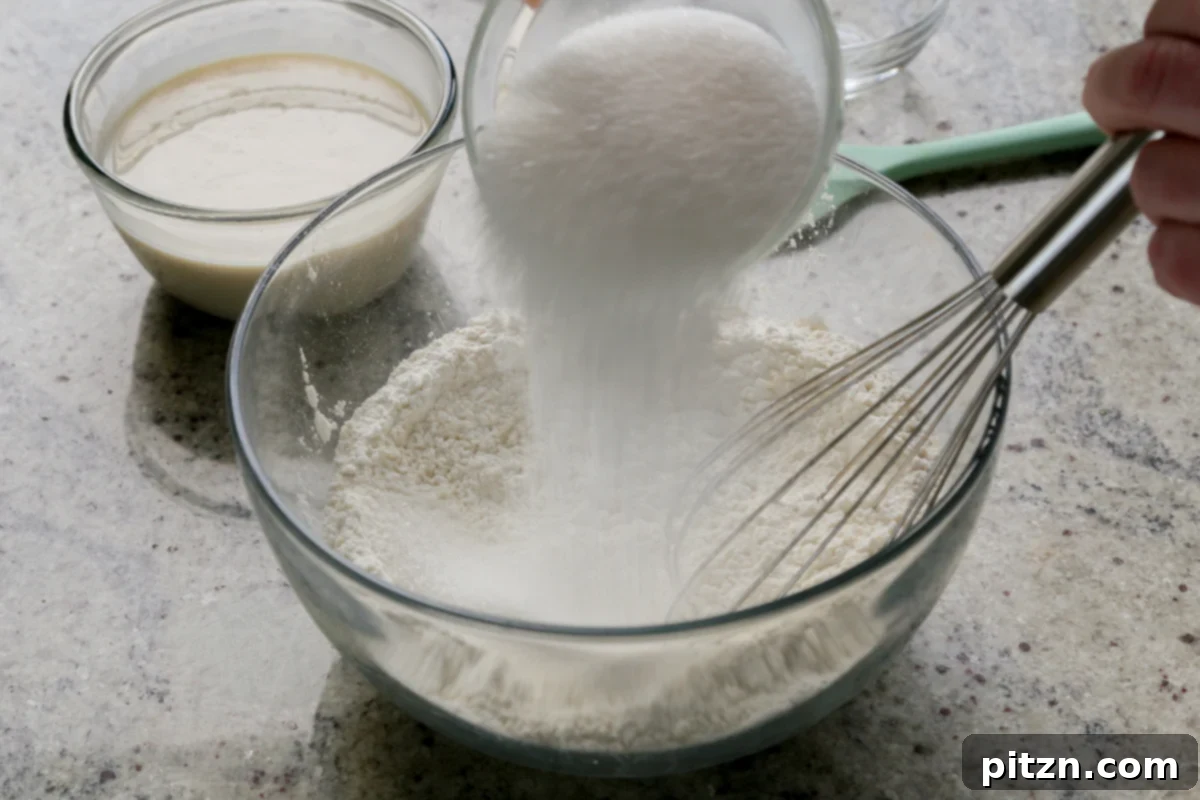
- Combine Dry Ingredients: In a large mixing bowl, thoroughly whisk together all the dry cake ingredients: 1 3/4 cups all-purpose flour (or gluten-free blend), 1 1/2 tablespoons cornstarch (or tapioca starch), 1/3 cup granulated sugar, 2 teaspoons baking powder, 1/4 teaspoon baking soda, and 1/2 teaspoon salt. Ensure there are no lumps and that everything is evenly distributed.
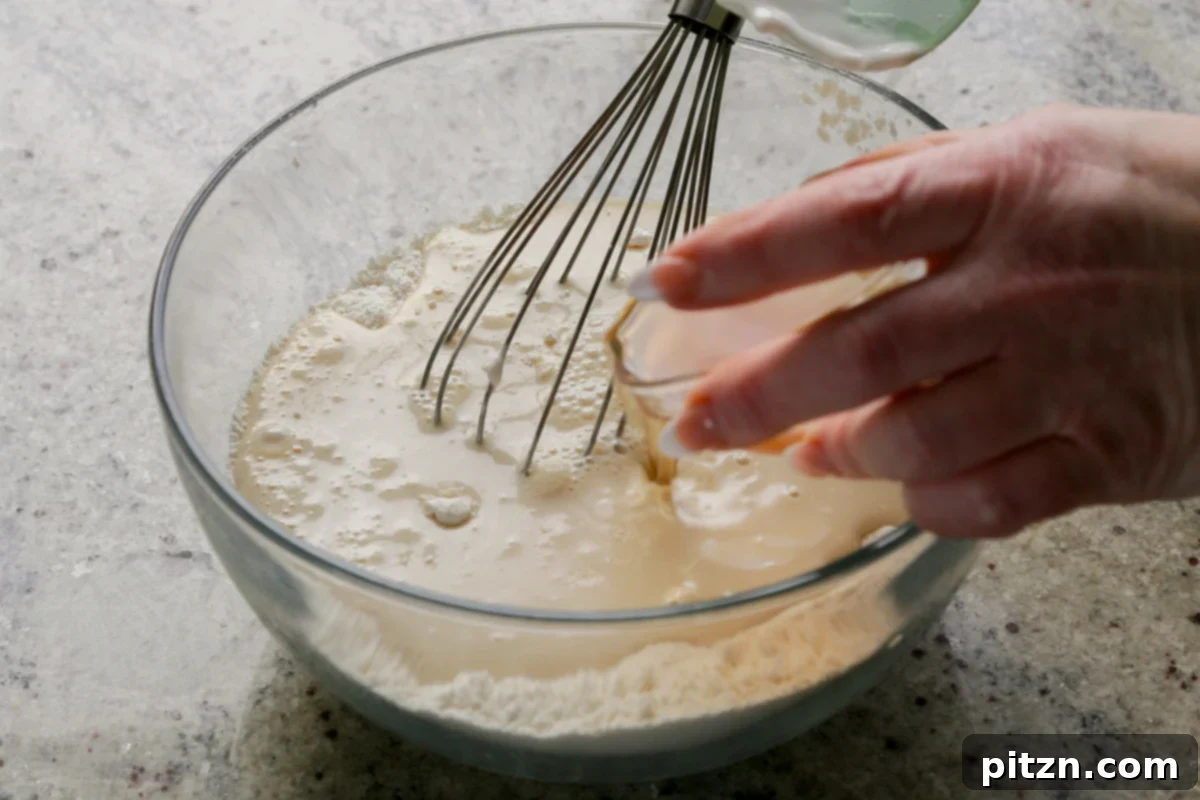
- Add Wet Ingredients and Mix Batter: Pour all the wet ingredients into the bowl with the dry mixture: 1 cup non-dairy milk, 1 1/2 tablespoons non-dairy yogurt (or applesauce), 1 tablespoon fresh lemon juice, 1 teaspoon apple cider vinegar, 1/4 cup neutral oil, 1/2 teaspoon vanilla extract, a few drops of almond extract (if using), and 1 teaspoon lemon zest. Mix gently until just combined and a smooth batter forms. Be careful not to overmix. The batter should resemble a thick pancake batter – pourable but not overly thin. If it appears too liquidy, add another 1 to 2 tablespoons of flour and mix until the correct consistency is achieved.
- Pour and Bake: Divide the prepared batter evenly between your lined baking pan(s). If making two 6-inch cakes, pour half into each. If using a single 6-inch or 8-inch pan, pour all the batter into it. Place the pan(s) into the preheated oven. Two 6-inch cakes typically bake in about 20 to 22 minutes. A single tall 6-inch or 8-inch cake will need approximately 28 to 30 minutes. To confirm doneness, insert a toothpick into the center of the cake; it should come out clean. If not, continue baking for an additional 5 to 10 minutes, checking periodically.
Phase 2: Crafting the Velvety Lemon Frosting
- Prepare Frosting Ingredients for Blending: While your cakes are baking, begin preparing the sensational lemon cream frosting. Ensure your 1 cup of raw cashews are properly soaked (warm water for 15 mins or boiling water for 5-10 mins) and thoroughly drained. Add the drained cashews to your high-speed blender. Then, scoop in 1 cup of chilled, solid coconut cream (the thick white part from the top of a refrigerated can of full-fat coconut milk). Add 1/4 cup fresh lemon juice, 1/3 cup granulated sugar, 1/8 teaspoon salt, 1/8 teaspoon turmeric (optional, for color), 1 tablespoon lemon zest, and 1/2 teaspoon vanilla extract.
- Blend to Perfection: Begin blending the mixture for about one minute until it starts to smooth out. To achieve an incredibly smooth, mousse-like consistency, let the mixture sit for 5 minutes (this allows cashews to soften further). Then, blend again for 30 seconds. Repeat this process one more time: let it sit for another minute, then blend for a final 30 seconds. This ensures a truly velvety, lump-free frosting.
- Taste and Chill: Once blended, open the blender and taste the frosting. This is your chance to customize! If you prefer it sweeter, add 1-2 more tablespoons of sugar and blend again. For a stronger tang, add a bit more lemon zest. Remember that the lemon flavor will become more pronounced as the frosting chills. Blend once more if you’ve made any adjustments, then transfer the frosting to an airtight container and place it in the fridge to chill and thicken. This chilling step is crucial for achieving a firm, spreadable frosting.
Phase 3: Cooling, Assembling, and Frosting the Cake
- Cool the Cakes Completely: Remove the baked cakes from the oven and let them cool in their pans for 5 minutes. Then, invert them onto a wire rack, carefully remove the parchment paper, and transfer them to the fridge to cool down completely for another 15 to 20 minutes. Ensuring the cakes are thoroughly chilled is paramount for a successful frosting application.
- Prepare for Layering: Once the cakes are completely cool, use a sharp, serrated knife to carefully slice off any domed tops, creating flat, even layers. This ensures a stable and professional-looking layered cake. Line a tall 6-inch or 8-inch cake pan with strips of parchment paper, letting the ends hang over the edges to create “slings” for easy removal. Place one of your leveled cake layers into the bottom of this prepared pan.
- Apply First Frosting Layer: Retrieve your chilled lemon cream frosting from the fridge. It should now be thick and mousse-like. Scoop a generous amount of frosting onto the first cake layer in the pan and spread it evenly with an offset spatula or the back of a spoon, creating a thick, uniform layer.
- Add Second Layer and Chill: Carefully place the second cake layer directly on top of the frosting. If your frosting feels too soft to support the top layer, you can briefly place the bottom cake (with frosting) in the freezer for 10-15 minutes to firm up. Once the second layer is in place, apply another layer of frosting on top, reserving some frosting for the sides of the cake later. Return the entire cake pan to the fridge for 2-3 hours, or the freezer for about 30 minutes, to allow the frosting to set firmly and stabilize the layers.
- Release from Pan: Once the frosting is firmly set, remove the cake pan from the fridge or freezer. Fill a large bowl with hot water. Briefly dip the bottom of the cake pan into the hot water for a few seconds. This gentle warmth will help loosen the cake from the pan. Use the parchment paper strips to carefully lift the cake out of the pan, then gently peel off the parchment from the cake’s sides.
- Final Frosting and Decoration: Transfer your beautifully layered cake to a cake stand or serving tray. Use the remaining frosting to generously coat and smooth the sides of the cake. If the frosting starts to melt during this process, simply place the cake back in the freezer for 10 minutes to firm up before continuing. Once fully frosted, get creative with your decorations! You can pipe fancy designs with any leftover frosting, or adorn the top with elegant fresh lemon slices, vibrant lemon zest, or delicate edible flowers. For the best presentation and set frosting, refrigerate the finished cake for another 30 minutes before slicing and serving.
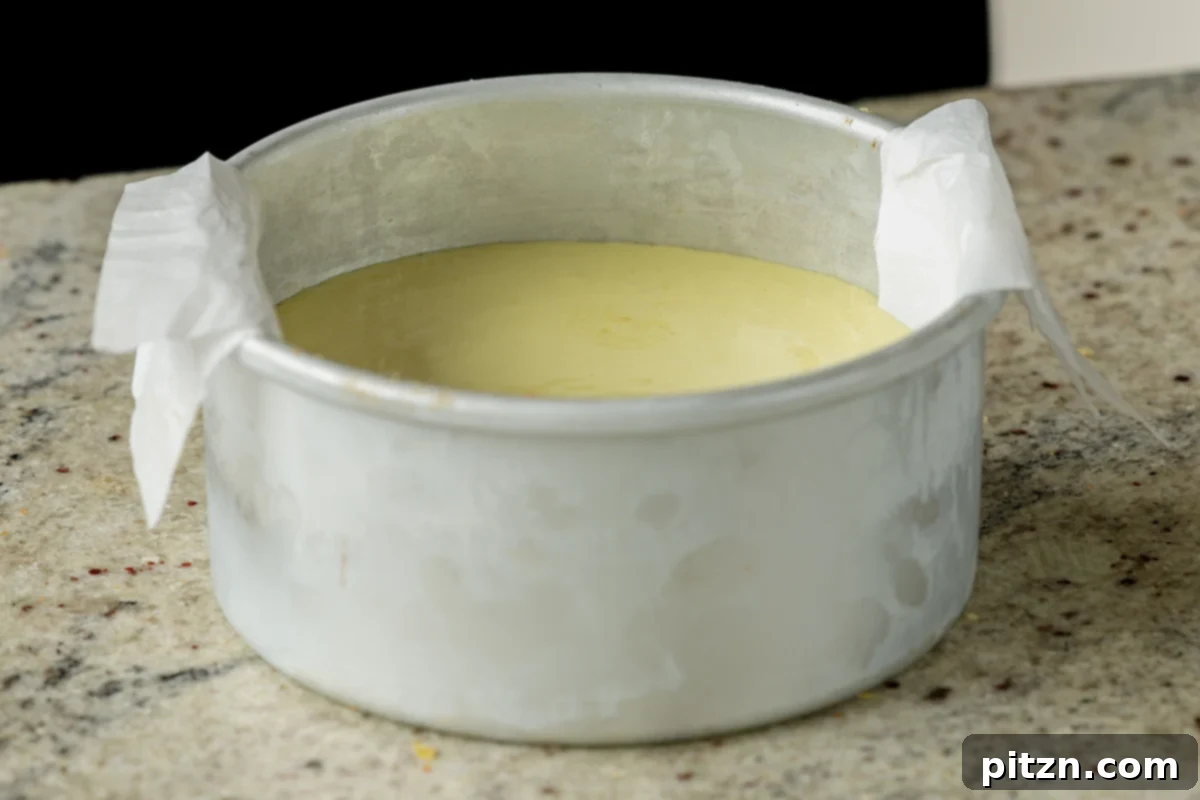
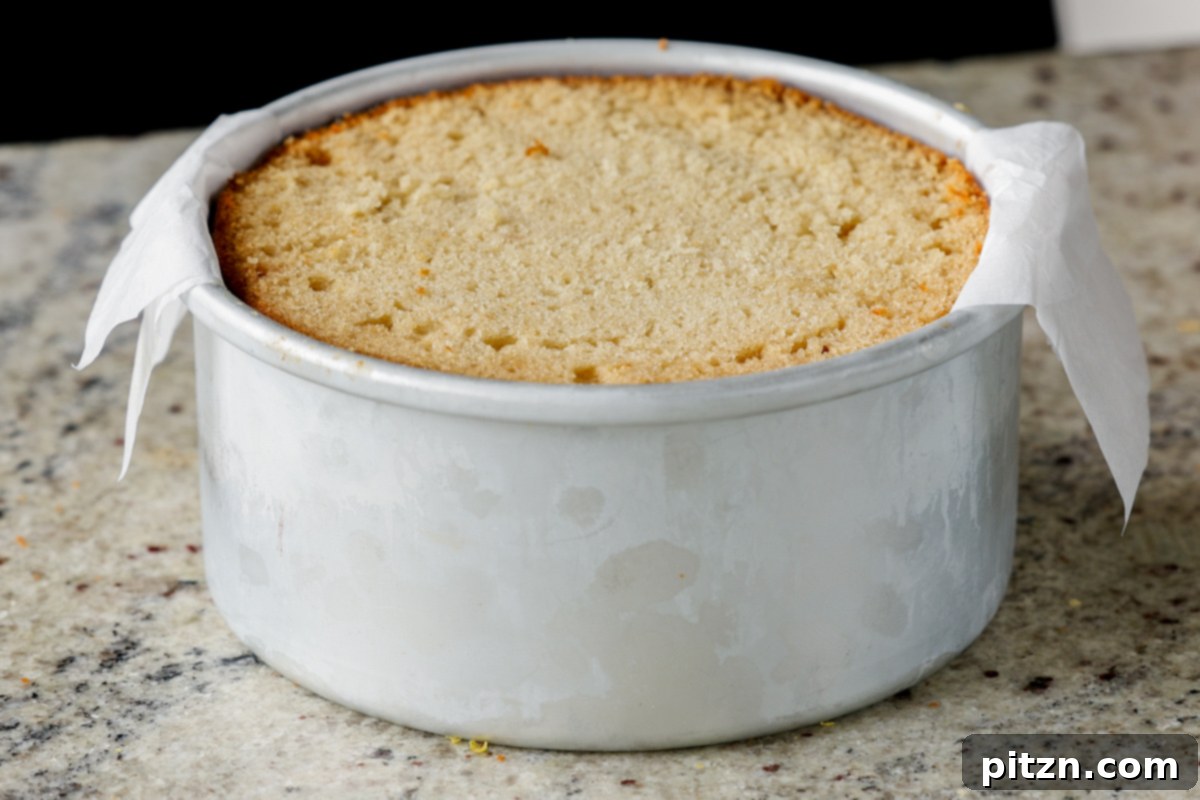
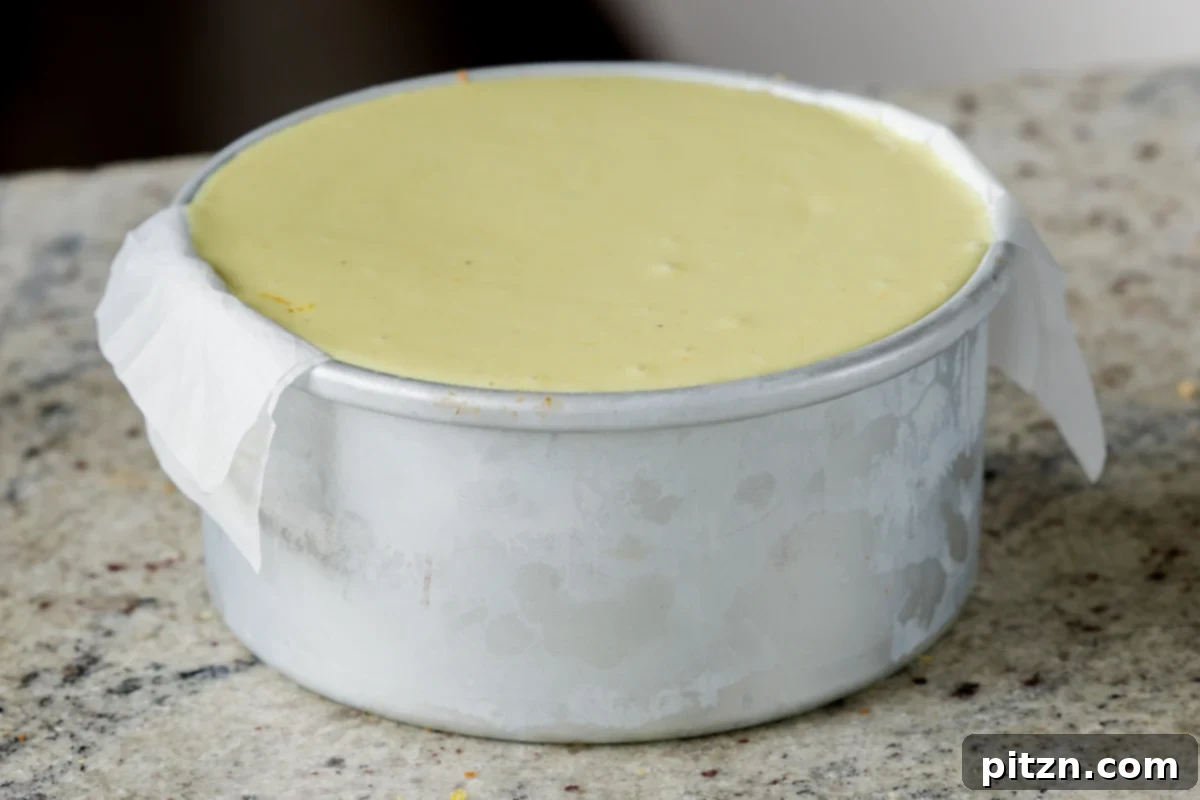
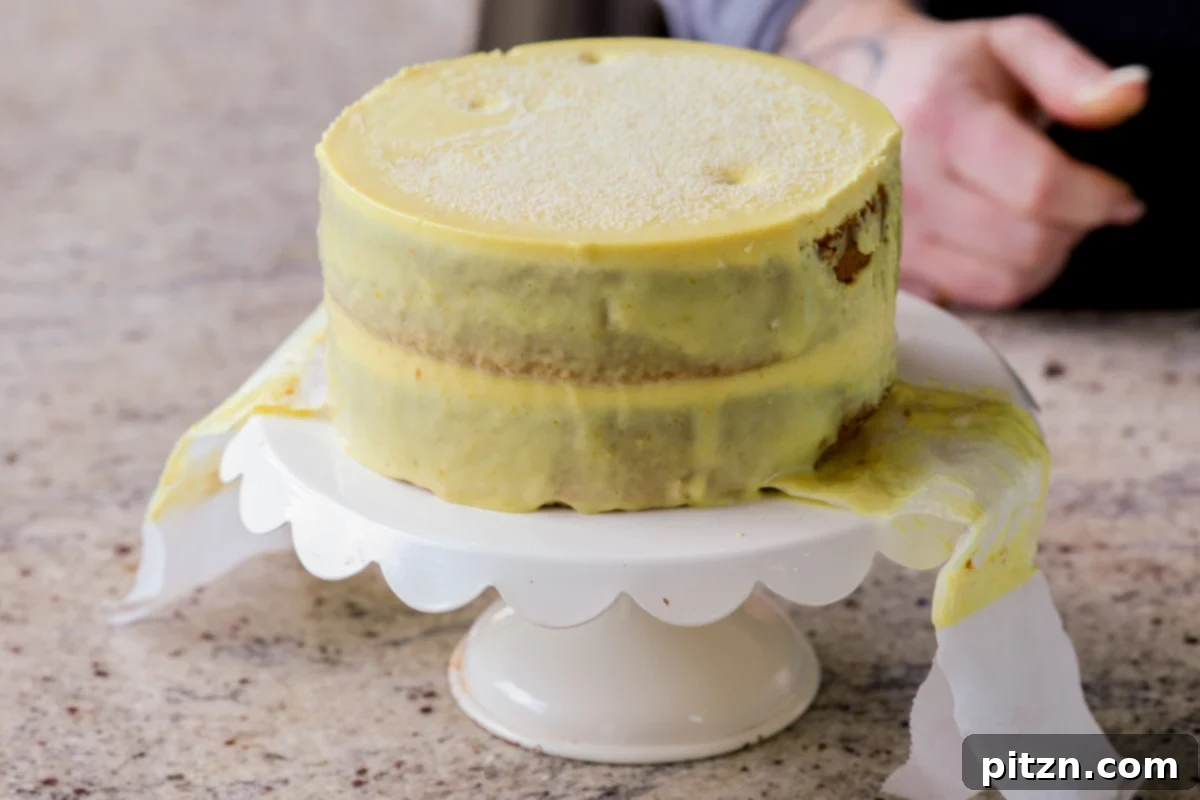
For a simpler, no-layer cake option, bake the batter in an 8 or 9-inch cake pan. Let the cake cool for half an hour, then pour all the prepared frosting directly over the cake in the pan. Refrigerate for an hour to allow the frosting to set, then slice and serve. This method offers all the incredible flavor with less assembly time.
Frequently Asked Questions About This Vegan Lemon Cake
Absolutely! This vegan lemon cake is an excellent make-ahead dessert. You can prepare it up to a day in advance, and many find that the flavors deepen and meld beautifully overnight as the lemon essence fully infuses both the frosting and the cake layers. This makes it perfect for entertaining or when you want to enjoy a stress-free dessert. Simply store it in the refrigerator until ready to serve.
Yes, this vegan lemon cream cake recipe is remarkably versatile and can be adapted for several dietary needs:
- Soy-Free: The cake is naturally soy-free as long as you opt for a soy-free non-dairy milk (like almond or oat milk) and use either a soy-free non-dairy yogurt or unsweetened applesauce in the batter.
- Nut-Free: To make this lemon cake nut-free, replace the raw cashews in the frosting with an additional cup of chilled, full-fat coconut cream. Also, be sure to omit the almond extract from the cake batter. Always double-check that your chosen non-dairy milk and yogurt are also nut-free.
- Gluten-Free: For a gluten-free vegan lemon cake, substitute the all-purpose flour with a blend of 3/4 cup almond flour, 3/4 cup oat flour, and 1/2 cup potato starch. Mix these flours thoroughly, ensuring no almond flour lumps remain. Use 1 3/4 cups of this blend. You might also need to adjust liquids in the batter, using 3/4 cup non-dairy milk and adding 1/4 cup club soda, as gluten-free flours can absorb moisture differently.
To maintain its freshness and deliciousness, store this vegan lemon cake in an airtight container in the refrigerator for up to 4 days. For optimal serving, allow the cake to sit on the counter for about 10 minutes before slicing, which slightly softens the frosting to a perfect consistency. If you wish to freeze slices, place them in a closed container. When ready to enjoy, thaw overnight in the fridge or for approximately an hour on the counter before serving. This ensures the cake remains moist and the frosting regains its creamy texture.