
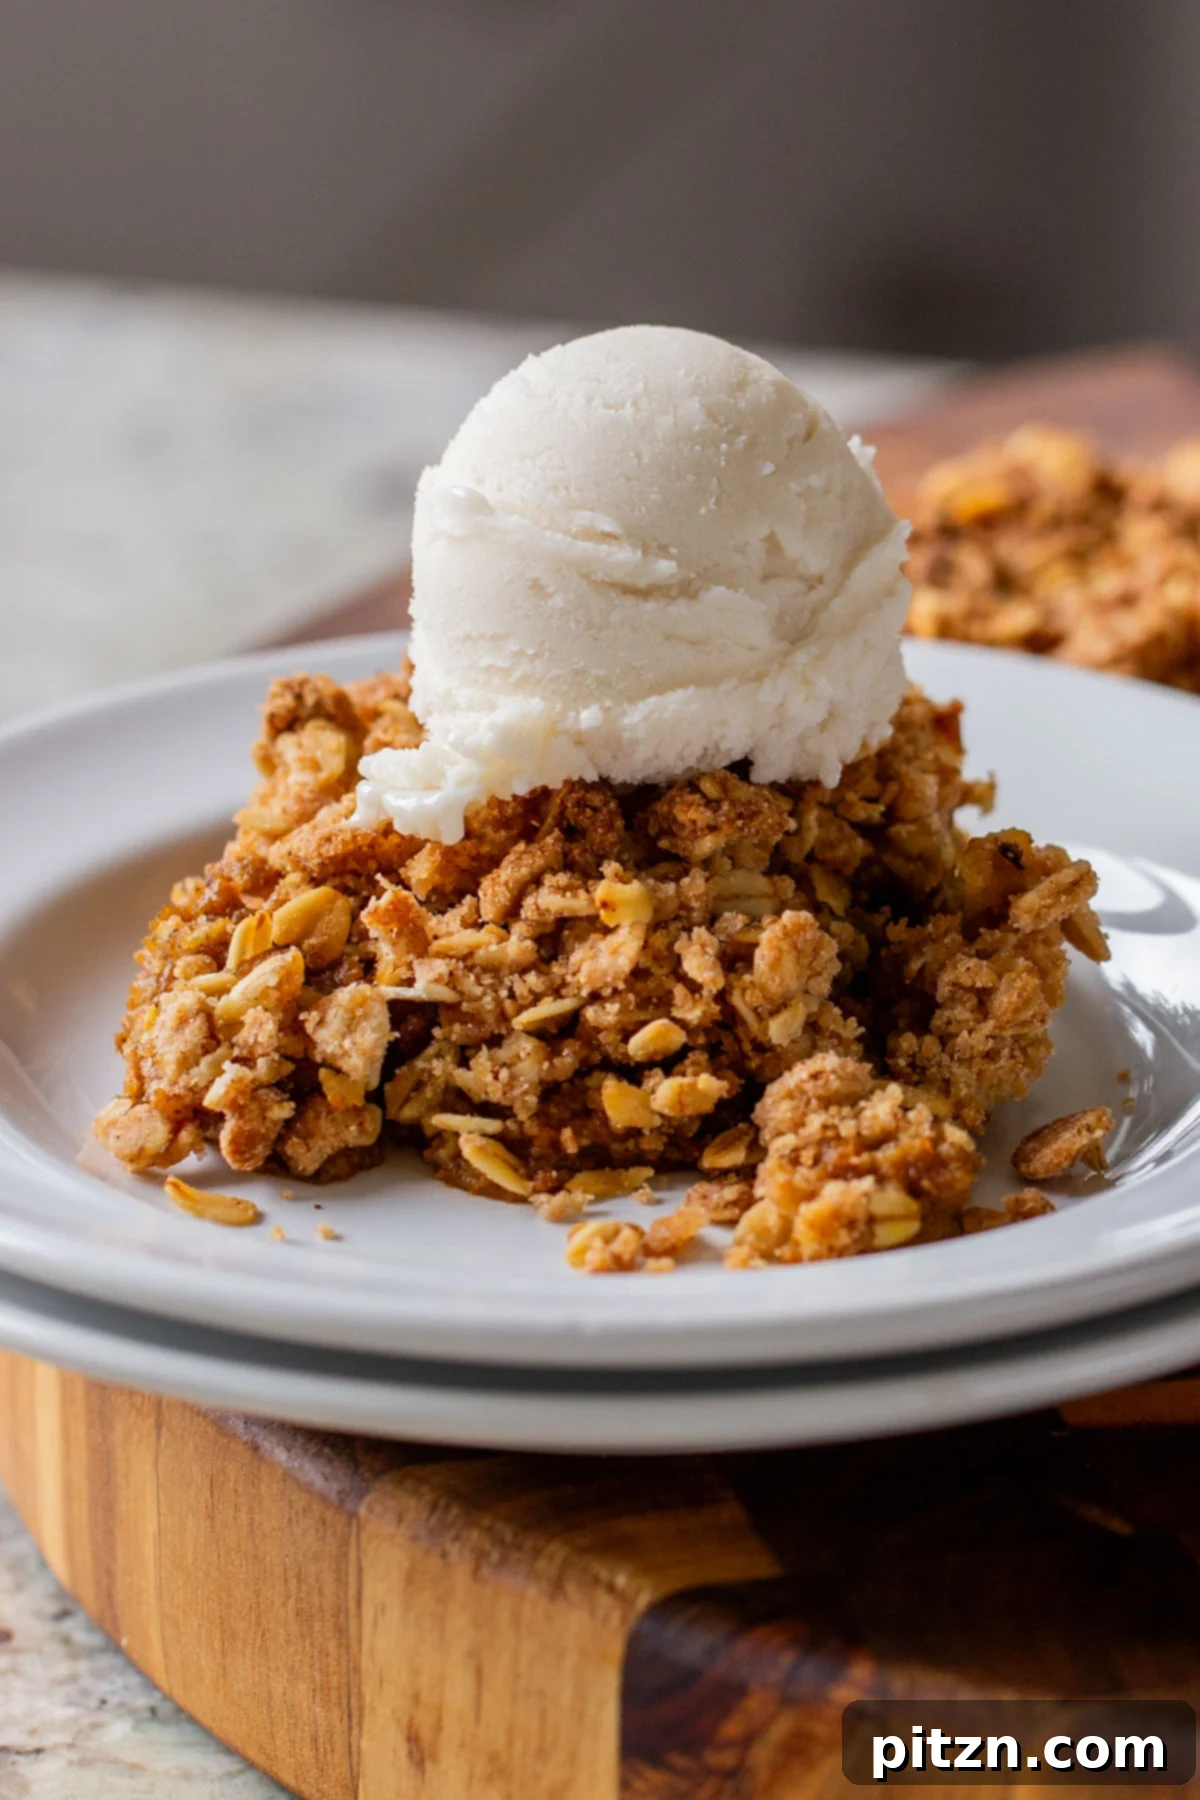
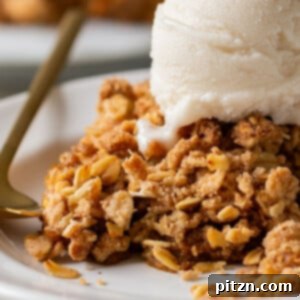
Embrace the quintessential flavors of autumn with this incredibly easy and utterly delicious Pumpkin Crisp. Imagine the velvety, spiced goodness of your favorite pumpkin pie, but without the fuss of preparing a traditional crust. This delightful dessert offers a fantastic twist, featuring a buttery, crunchy streusel topping that effortlessly comes together in a single bowl. Perfect for cozy fall evenings, festive holiday gatherings, or simply when you crave a comforting treat, this pumpkin crisp can be served warm, perhaps with a scoop of vanilla ice cream melting gloriously on top, or chilled, accompanied by a dollop of fresh whipped cream for a truly decadent experience.
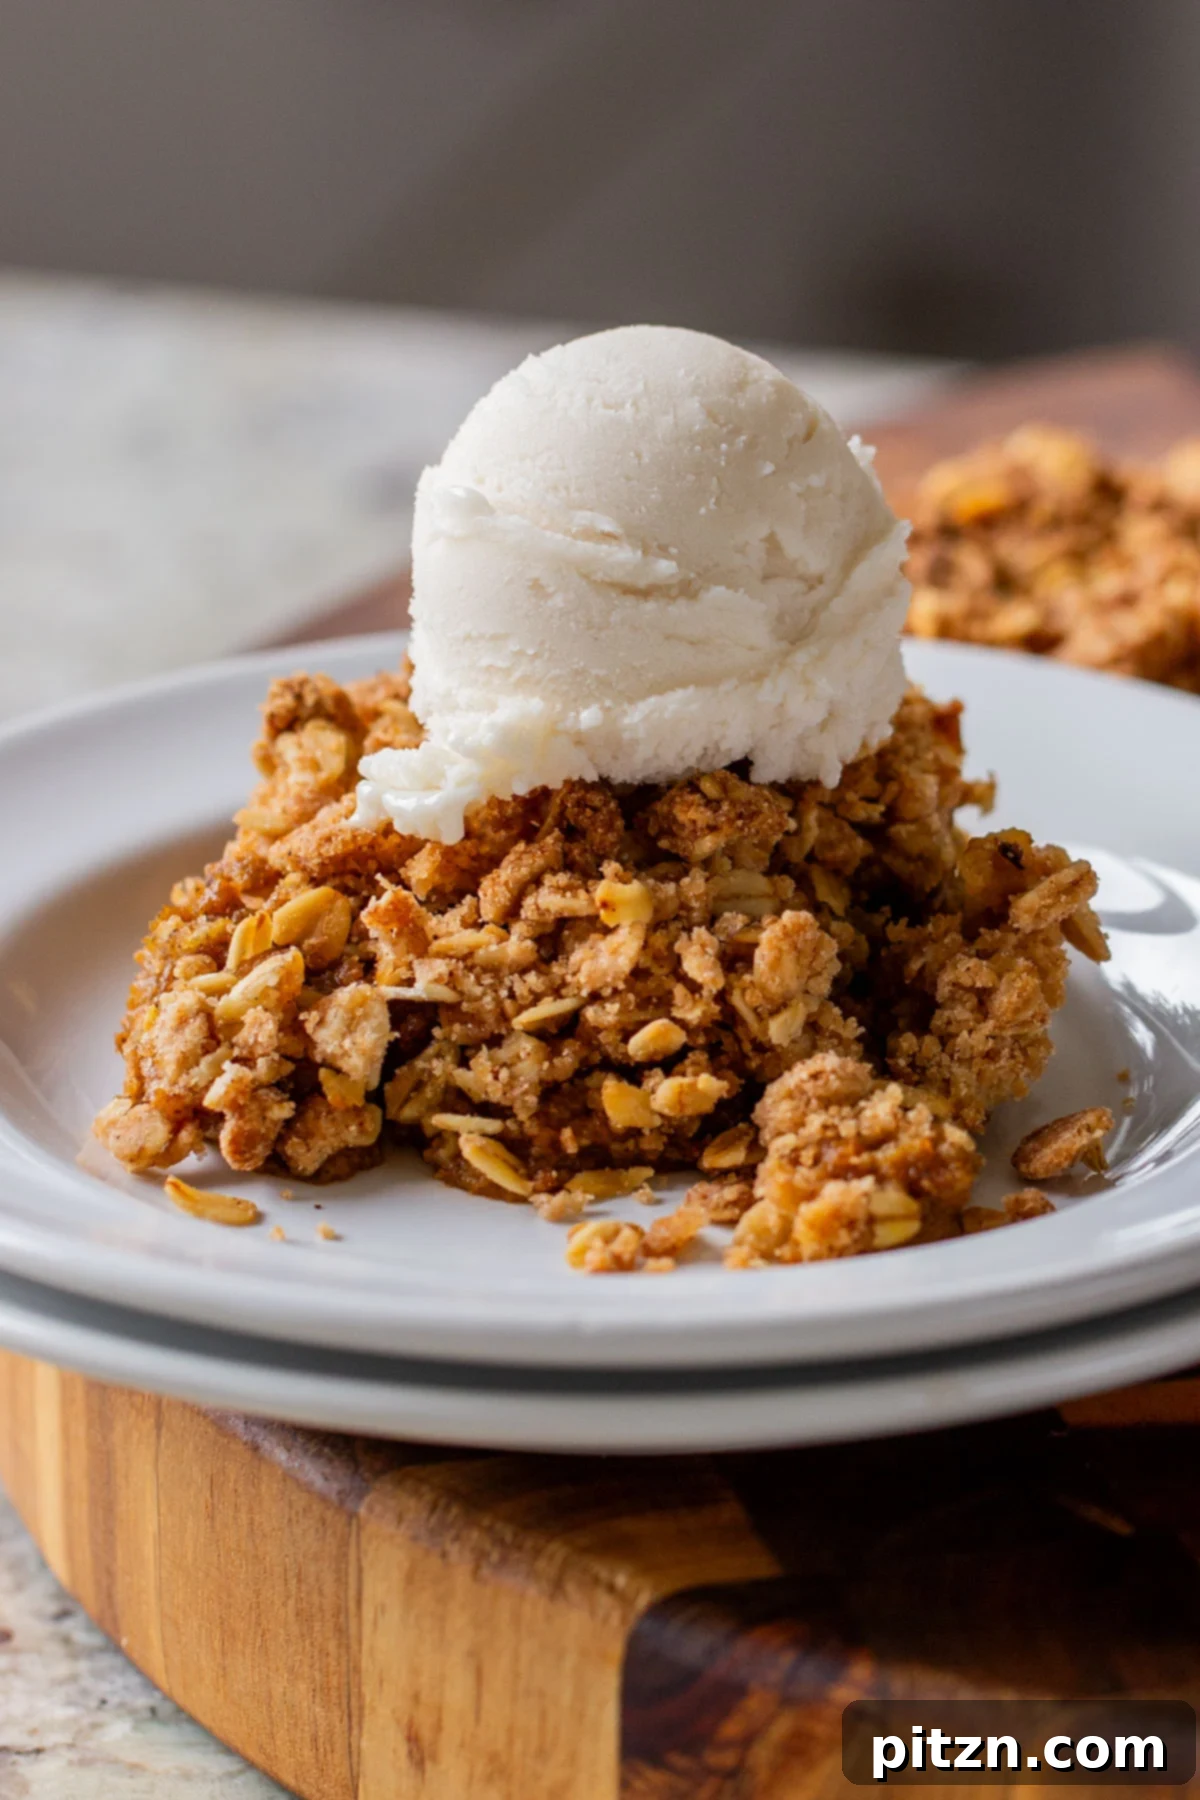
Table of Contents
- Why You’ll Love Pumpkin Crisp
- More Delicious Pumpkin Desserts
- Pumpkin Pie Crisp Recipe
- Essential Ingredients & Substitutions
- Pro Tips for the Perfect Pumpkin Crisp
- How to Make Pumpkin Pie Crisp: Step-by-Step
- Serving & Storage Suggestions
- Frequently Asked Questions
While pumpkin pie is an absolute fall dessert staple, preparing one from scratch can often feel like a significant undertaking, especially with the demanding pie crust. This pumpkin crisp recipe offers a brilliant, simplified take on that beloved classic. It delivers the very same comforting, spiced fall flavors you adore, but with significantly less active cooking time and effort!
At its heart, this recipe features a quick and easy, crustless pumpkin pie filling, generously crowned with a delectable, golden oat crumble. To elevate this dessert to an unforgettable level, serve warm slices of pumpkin pie crisp adorned with a luscious dollop of vegan whipped cream or a scoop of rich vanilla ice cream. The contrast of the creamy filling, crunchy topping, and cool accompaniment is pure bliss.
This versatile dessert is truly perfect for any occasion during the autumn and winter months, from casual weeknight treats to impressive holiday feasts. Baking it in an attractive dish ensures a beautifully golden, inviting crisp topping, ready to be served directly from the pan. You can easily adjust the filling consistency to be firmer, allowing for clean, bar-like slices, or keep it softer for a more pudding-like indulgence. Customizing it to your preference is part of the fun!
Why You’ll Absolutely Love This Pumpkin Crisp
- Effortless Fall Flavors: Enjoy all the beloved tastes of traditional pumpkin pie with significantly less kitchen work. This recipe skips the daunting pie crust, making it accessible for bakers of all skill levels.
- Velvety, Spiced Pumpkin Filling: The crisp features a luxuriously smooth and creamy pumpkin base, generously spiced with warming autumn flavors. Each spoonful delivers a comforting embrace of cinnamon, nutmeg, and ginger.
- Irresistible Crunchy Streusel Topping: Our signature streusel topping is a dream to make! Simply mix the ingredients in a single bowl, crumble it over the filling, and bake to golden, crispy perfection. No kneading, no rolling, just pure crunchy delight.
- Allergy-Friendly Options: This recipe is naturally soy-free and nut-free, making it a wonderful option for those with common allergies. Plus, it’s easily adaptable to be gluten-free by using a simple flour substitution.
More Delicious Pumpkin Desserts to Try
If you’re a true pumpkin enthusiast, you’ll love exploring these other delightful pumpkin-infused treats:
- Rustic Pumpkin Pie
- Pumpkin Spice Roll Cookies
- Pumpkin Pie Bars
- Pumpkin Cinnamon Rolls
- 1-Bowl Pumpkin Cream Cheese Muffins
Pumpkin Pie Crisp
Ingredients (US Customary)
For the Pumpkin Pie Layer
- 1 1/4 cup pumpkin puree
- 3 tablespoons coconut cream, (solid white part from a can of full-fat coconut milk)
- 3 tablespoons brown sugar, (add 1 tbsp more for a sweeter filling)
- 1/2 teaspoon ground cinnamon
- 3/4 – 1 teaspoon pumpkin pie spice
- 1 tablespoon all-purpose flour**, (or a mix of half gluten-free flour and half cornstarch for GF option)
- 1/2 teaspoon vanilla extract
- pinch of salt
For the Crunchy Topping
- 1/2 cup all-purpose flour, (or a gluten-free blend of choice)
- 1/2 cup old-fashioned oats
- 1/3 cup brown sugar
- 1 teaspoon ground cinnamon
- 1/2 teaspoons baking powder
- 1/4 teaspoon salt
- 3 tablespoons melted vegan butter, (or more, if needed, until crumbly dough forms)
Instructions
-
Prepare your baking dish: Line an 8×5-inch or similar size baking dish with parchment paper, leaving an overhang for easy removal later. Alternatively, grease the dish very well. A 9×4-inch loaf pan, a small cake pan, or a 6-inch cast iron dish also work beautifully. Preheat your oven to 365° F (185° C).
For the Pumpkin Pie Layer
-
In a medium mixing bowl, combine all the ingredients specified for the pumpkin pie layer: pumpkin puree, coconut cream, brown sugar, ground cinnamon, pumpkin pie spice, all-purpose flour, vanilla extract, and a pinch of salt. Mix thoroughly with a spatula or whisk until the brown sugar is fully dissolved and the flour is completely incorporated, resulting in a smooth, uniform pumpkin mixture.
-
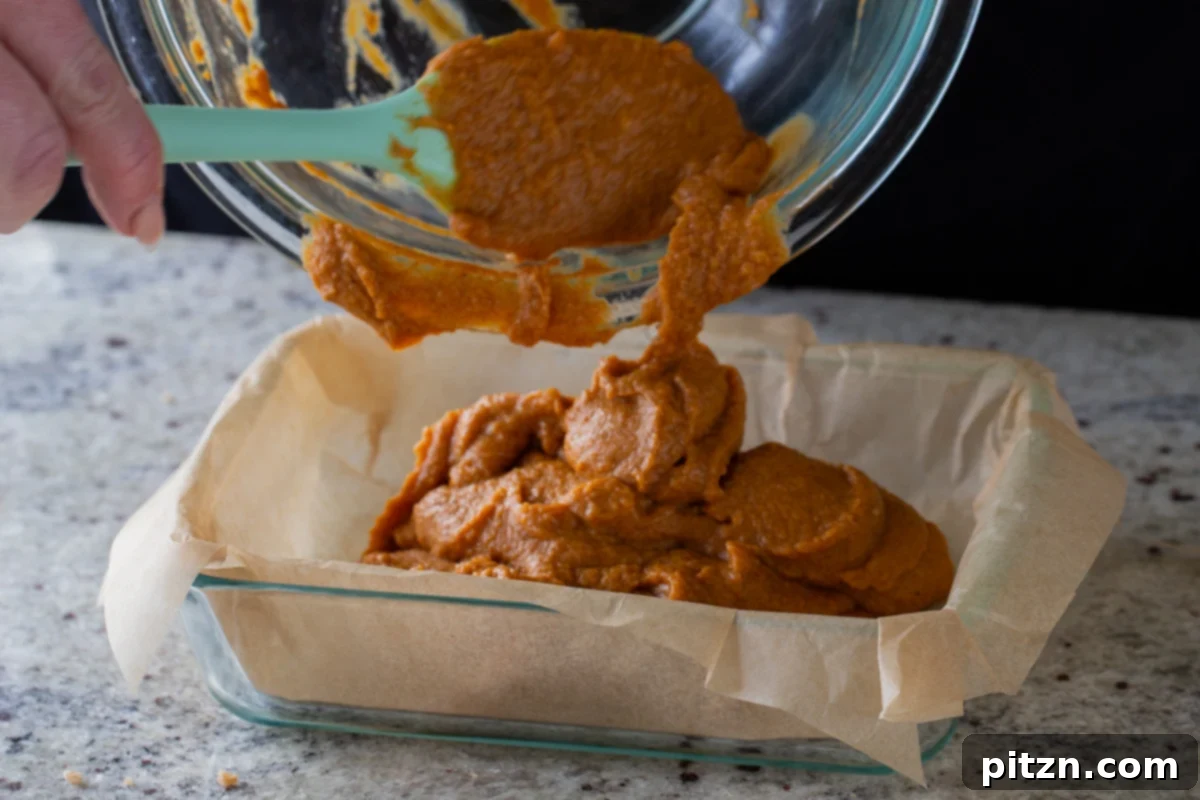
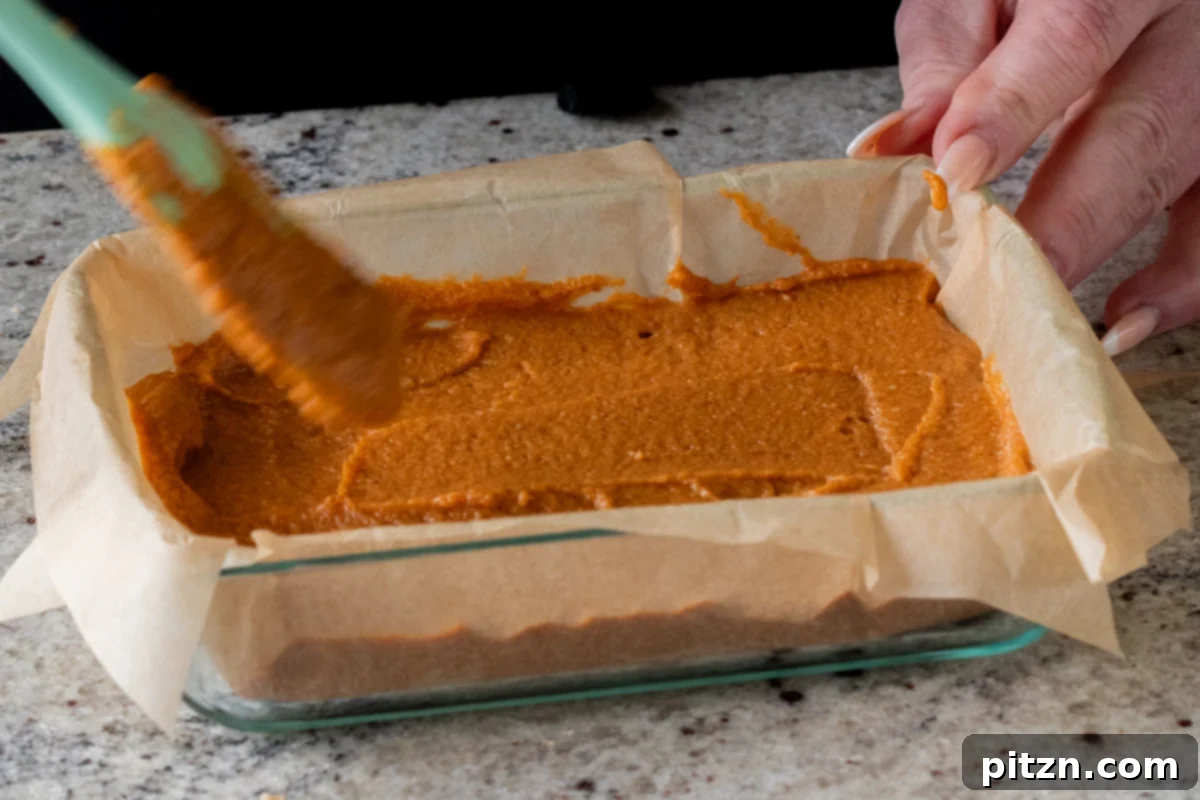
Pour this pumpkin mixture into your prepared baking dish. Use a spatula to spread it evenly across the bottom, creating a smooth, consistent layer.
For the Crunchy Topping
-
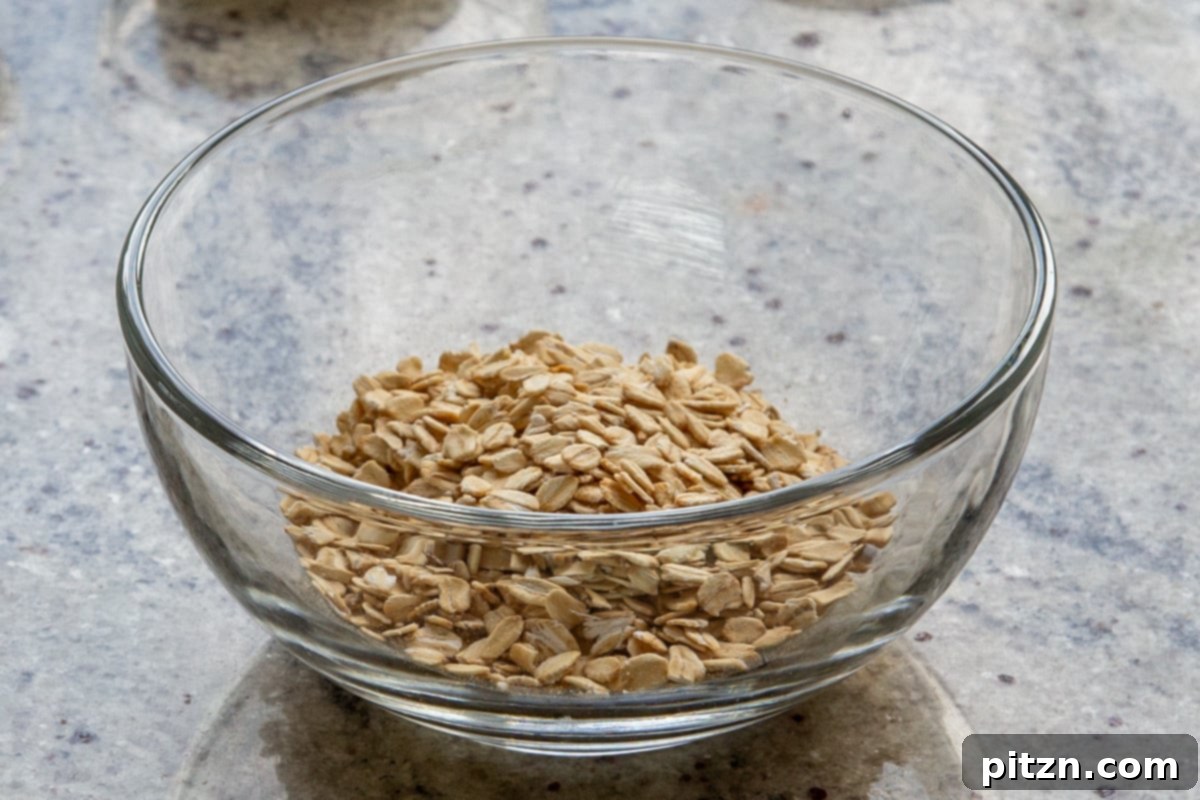
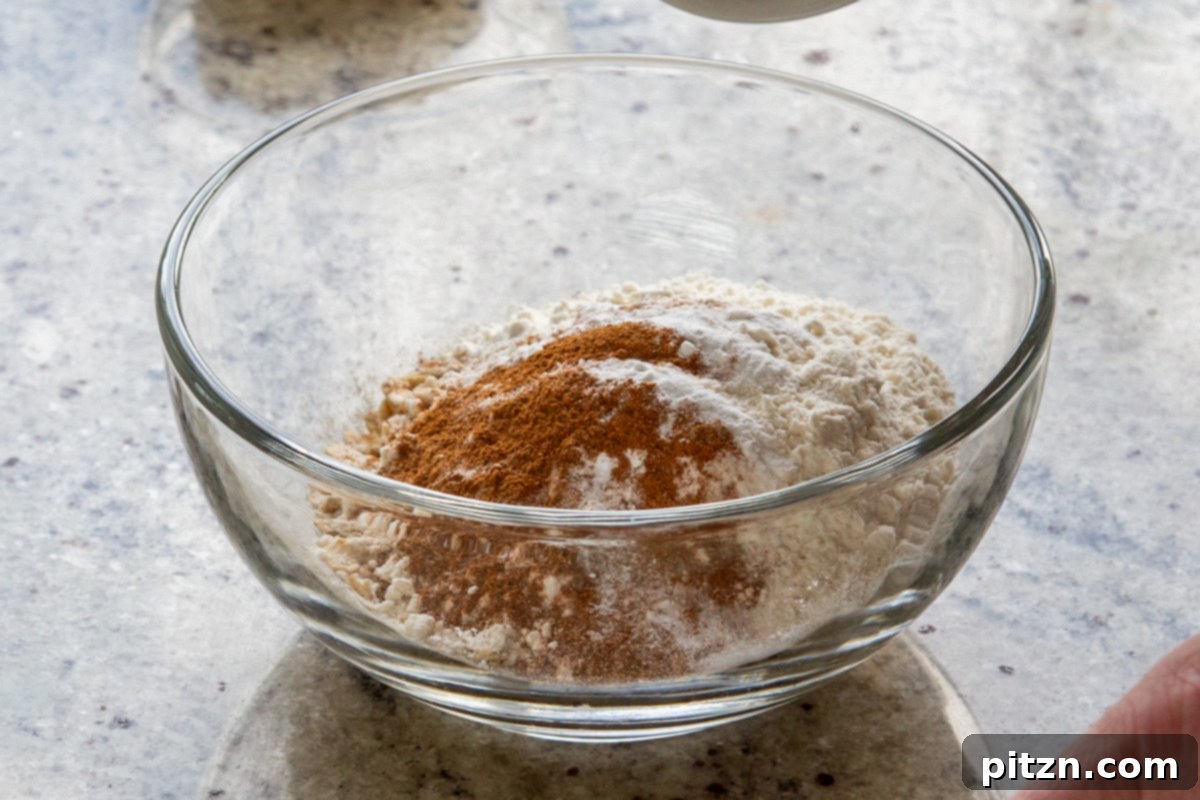
In a separate mixing bowl, combine all the dry ingredients for the topping: all-purpose flour, old-fashioned oats, brown sugar, ground cinnamon, baking powder, and salt. Mix well to ensure all the spices and leavening agents are evenly distributed.
-
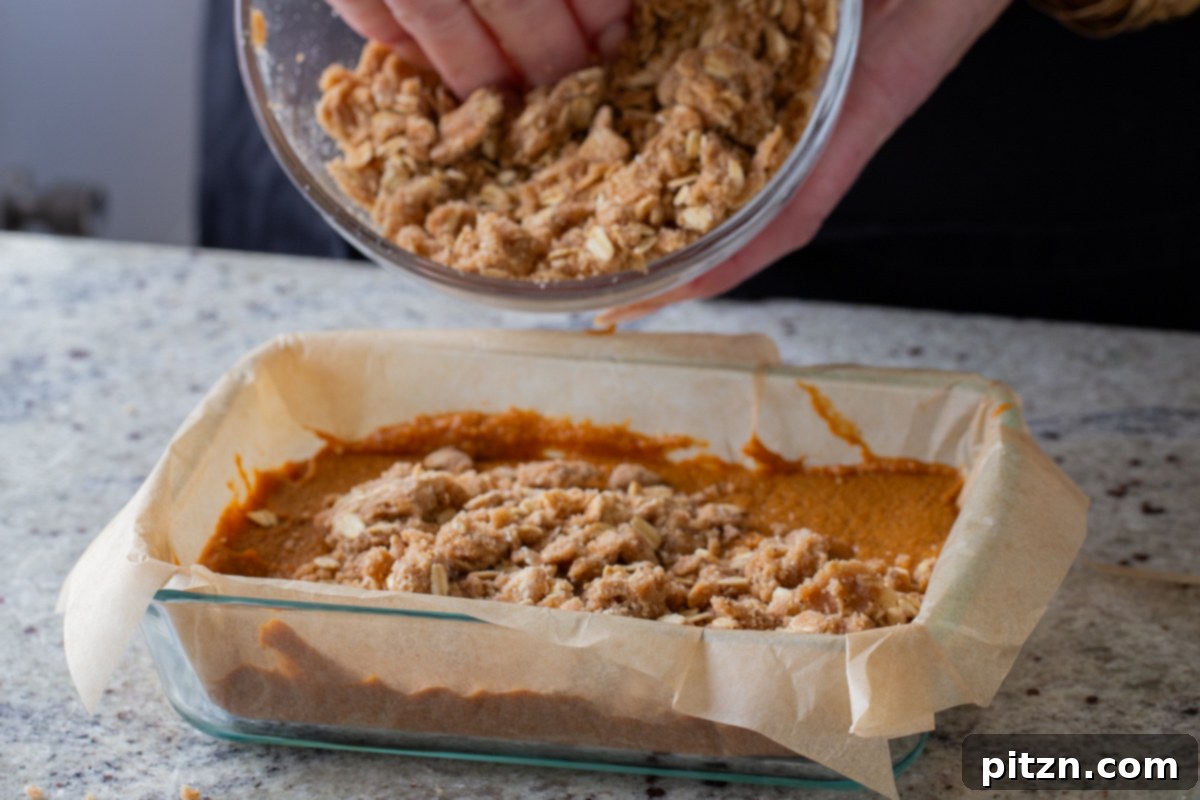
Melt the vegan butter and pour it over the dry topping ingredients in the bowl. Begin to press and mix the ingredients together. Initially, it may seem like there isn’t enough butter, but continue to press and mix, using your hands if necessary, to bring the mixture together. The goal is a crumbly dough that holds together when squeezed. If, after 2-3 minutes of mixing, it’s still too dry and won’t form clumps, add an additional teaspoon or more of melted vegan butter, one teaspoon at a time, until the desired crumbly texture is achieved.
-
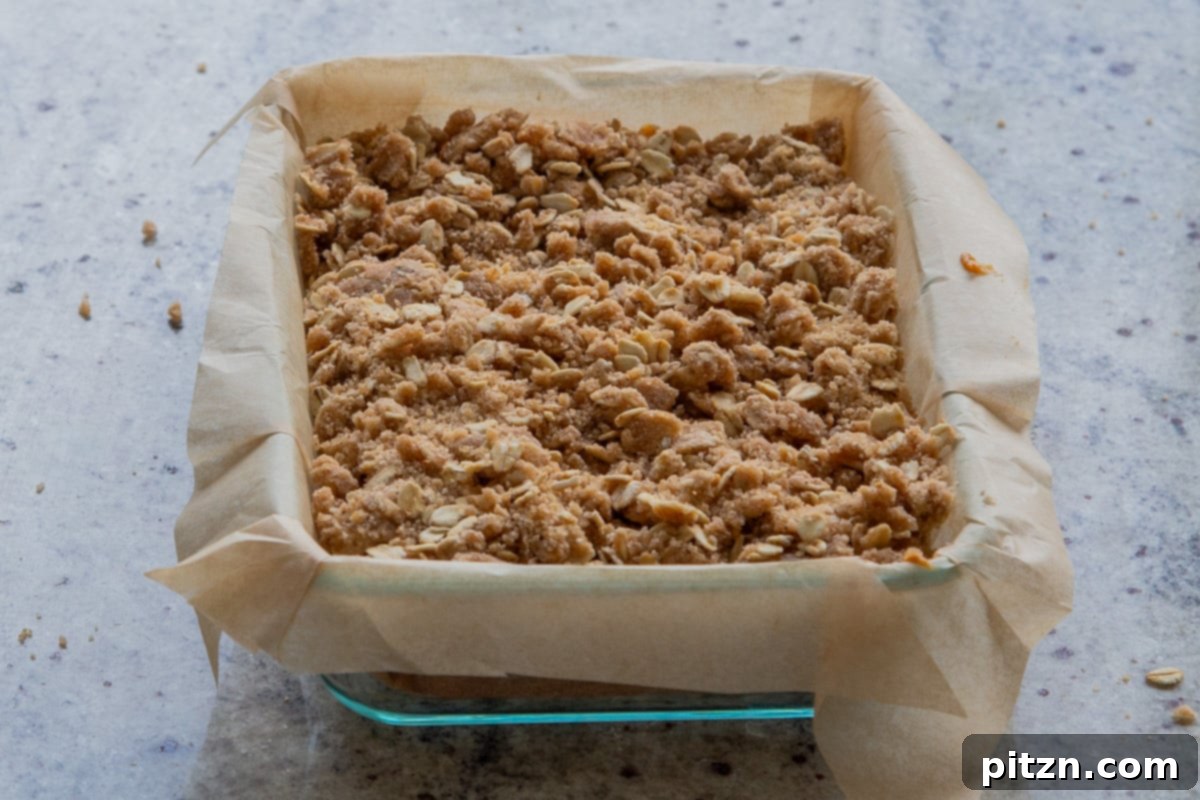
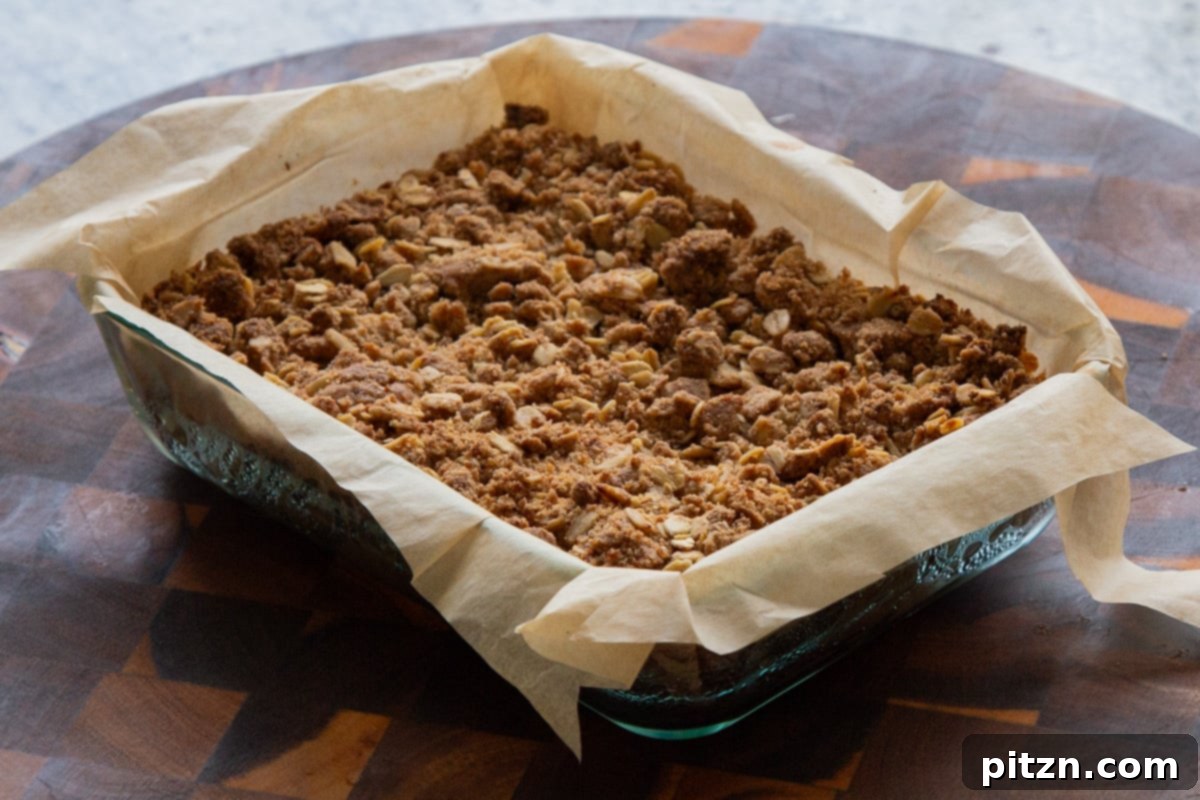
Evenly sprinkle this prepared crumb topping over the pumpkin pie layer in the baking pan. Once covered, transfer the dish to the preheated oven and bake for 30 to 35 minutes. Baking time may vary depending on your specific oven and the dimensions of your baking pan. You’re looking for a beautifully golden-brown topping, with some edges becoming slightly darker and crispier.
-
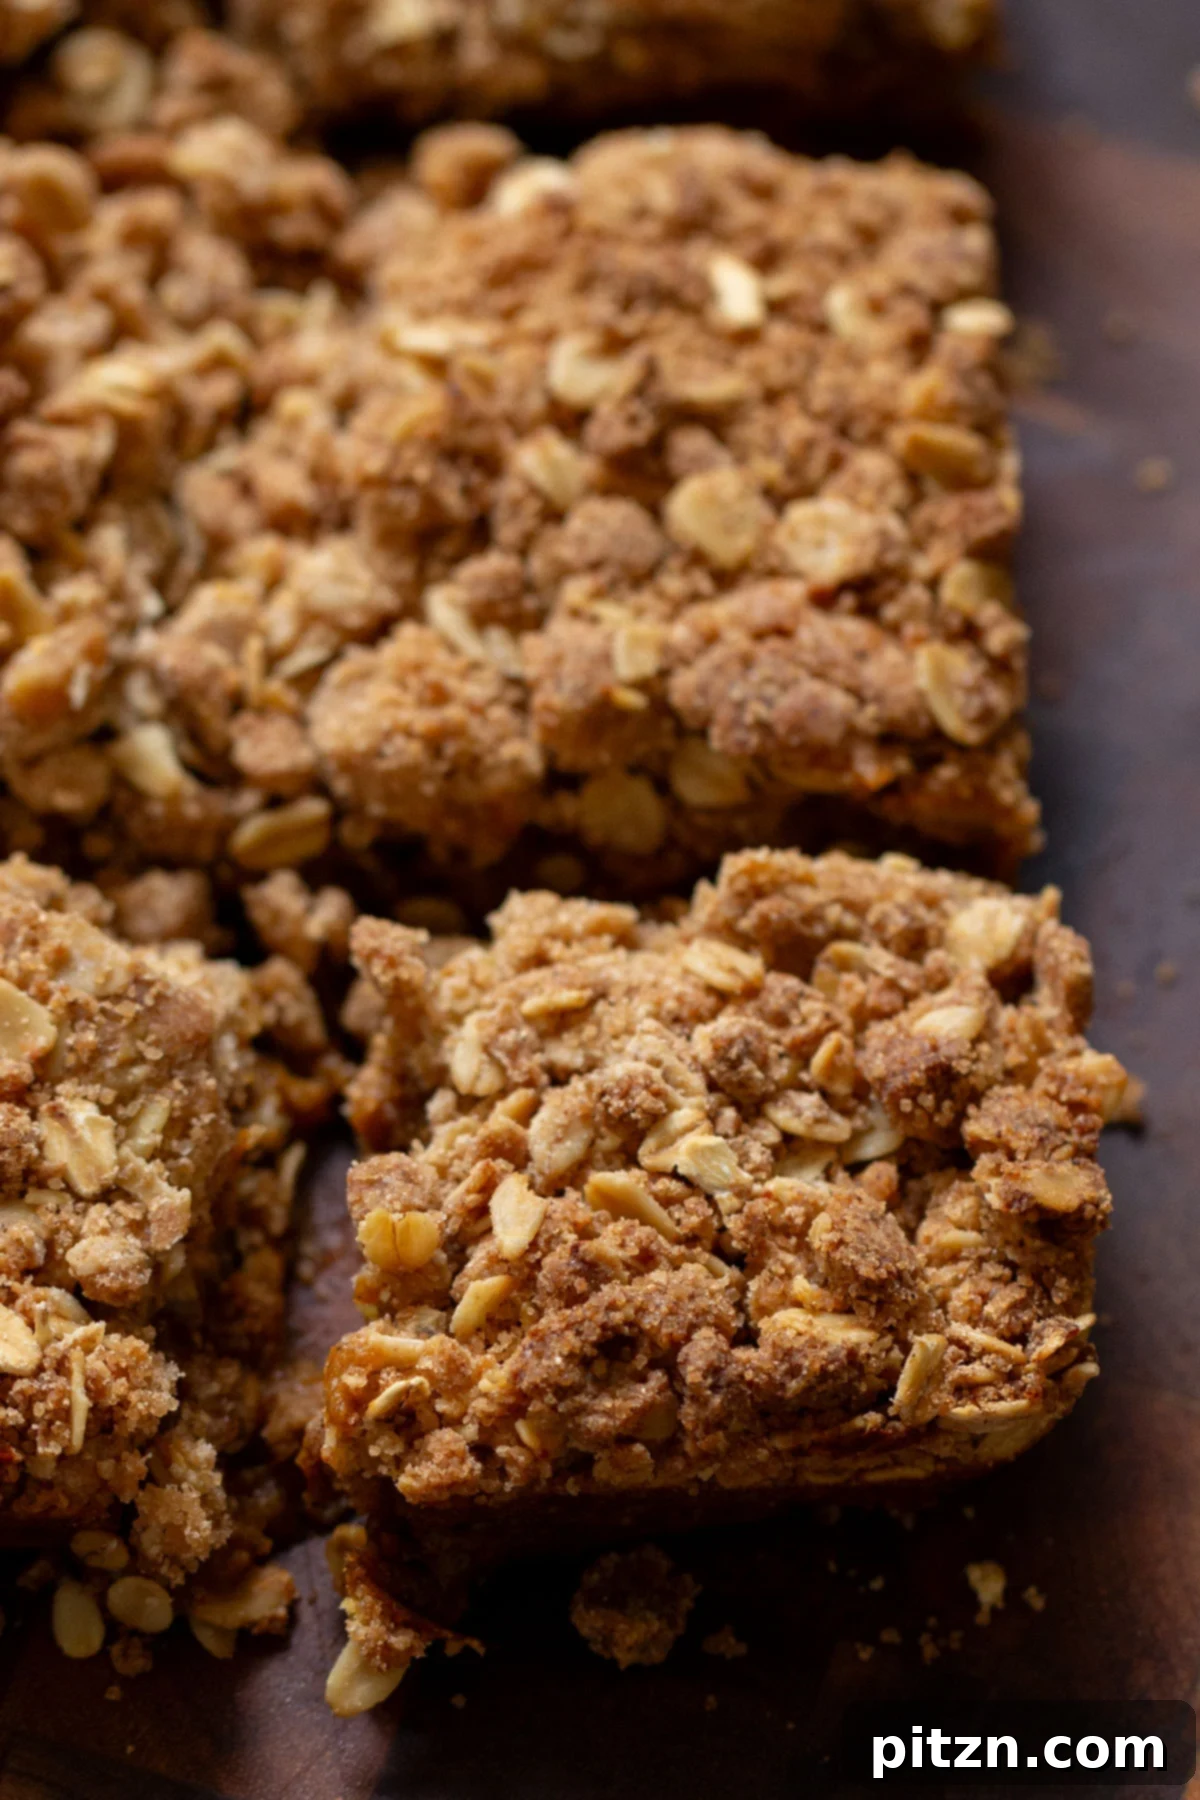
Once baked, remove the pumpkin crisp from the oven. You can serve it immediately while it’s warm and gooey, simply scooping portions directly from the baking dish. Alternatively, for cleaner slices, allow it to cool completely at room temperature, then chill it in the refrigerator for at least one hour (or until firm). Once chilled, use the parchment paper overhangs to carefully lift the entire crisp out of the baking dish onto a cutting board. Slice into squares or bars and serve. This will give you a delicious crustless pumpkin pie with a fantastic crumb topping. Top with vegan ice cream or vegan whipped cream before serving.
-
Store leftover pumpkin crisp on the counter for a couple of hours if serving shortly. For longer storage, refrigerate for up to 5 days in an airtight container. To re-crisp the topping when reheating, warm individual servings in a toaster oven or the main oven at 300°F (150°C) for 8-10 minutes.
Video: How to Make Pumpkin Crisp
Recipe Notes & Variations
Coconut Cream Substitute: If you don’t have coconut cream or prefer an alternative, you can use an equal amount of homemade cashew cream, a rich vegan heavy cream, or even 2 tablespoons of thick, full-fat non-dairy milk like oat milk or canned full-fat coconut milk (without separating the cream).
Filling Consistency Adjustment: The specified 1 tablespoon of all-purpose flour in the pie layer will yield a filling that sets well enough to be chilled and cleanly sliced, similar to a pie. If you desire a less set, more pudding-like consistency that’s best scooped directly from the dish, reduce the flour in the filling to just 1 teaspoon. Experiment to find your perfect texture!
Nutrition Information (per serving)
Nutrition information is automatically calculated, so should only be used as an approximation.
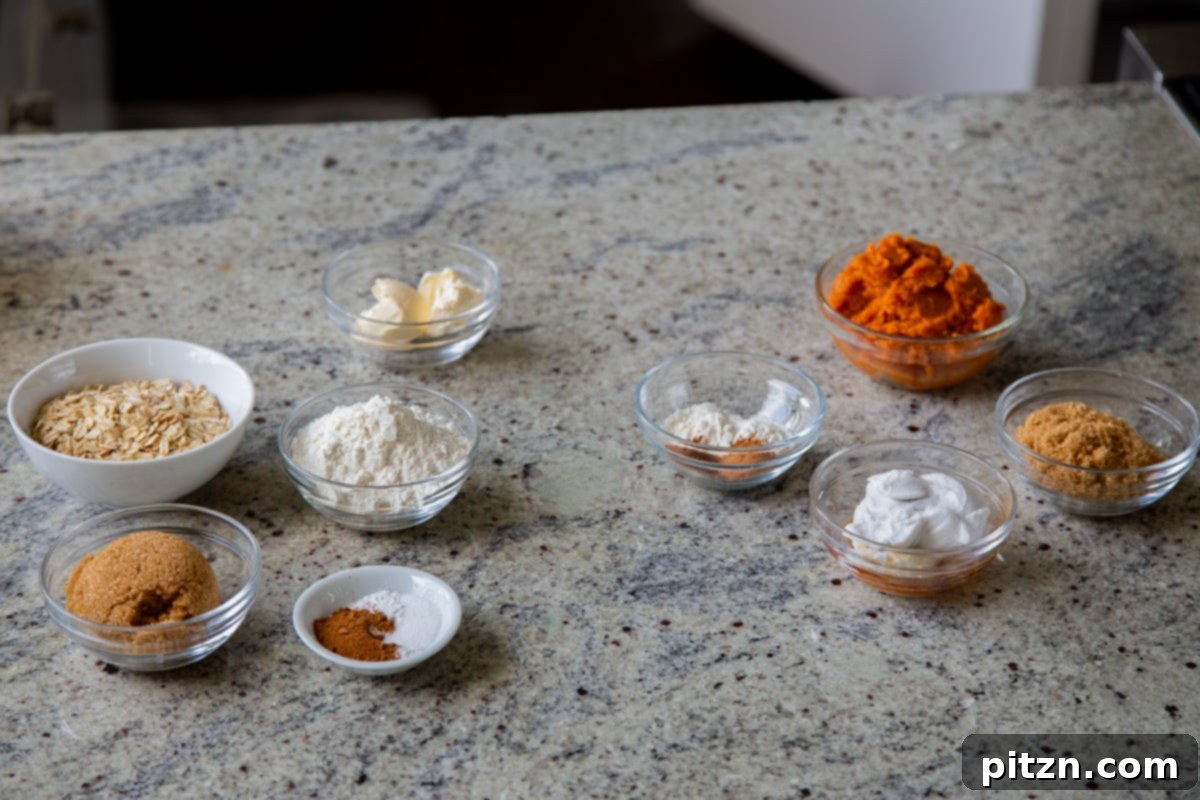
Essential Ingredients & Smart Substitutions
Crafting the perfect pumpkin crisp relies on a few simple, wholesome ingredients. Here’s a detailed look at what you’ll need and how to make substitutions if necessary:
- Pumpkin Puree: This is the creamy, flavorful heart of our pie filling. Always opt for 100% pure canned pumpkin puree, not pumpkin pie filling, which already contains added spices and sweeteners. Using pure puree gives you full control over the flavor profile.
- Coconut Cream: Extracted from a can of full-fat coconut milk (the solid white part that separates at the top when chilled), coconut cream adds richness and helps thicken the pumpkin layer, contributing a subtle, lovely coconut flavor. For substitutes, consider homemade cashew cream or another thick non-dairy cream. If you prefer a lighter touch, 2 tablespoons of thick non-dairy milk (like oat milk) can be used, though the filling may be slightly less firm.
- Brown Sugar: This provides a deep, molasses-rich sweetness that complements the pumpkin and spices perfectly. You can adjust the amount to suit your personal sweetness preference – a tablespoon more will result in a sweeter filling, while a little less creates a more earthy flavor.
- Ground Spices (Cinnamon & Pumpkin Pie Spice): These warming autumn spices are crucial for achieving that authentic pumpkin pie flavor you know and love. Ground cinnamon adds a classic sweet and woody note, while pumpkin pie spice (typically a blend of cinnamon, ginger, nutmeg, allspice, and cloves) brings complexity and depth. Feel free to adjust the quantities to your liking.
- All-Purpose Flour: Used in both the pie layer and the topping. In the pie layer, it acts as a thickening agent, helping the pumpkin filling set. For the streusel topping, it binds the ingredients together, creating that wonderful crumbly texture. For a gluten-free option, a good quality gluten-free all-purpose flour blend works perfectly. You can also use a mix of half gluten-free flour and half cornstarch in the filling for added thickening power.
- Vanilla Extract: A splash of vanilla extract deepens and enhances the overall flavor profile, adding a subtle warmth that ties all the ingredients together beautifully.
- Old-Fashioned Oats: Essential for the streusel topping, old-fashioned oats provide a fantastic chewy texture and hearty crunch, making the crisp truly irresistible. Ensure they are certified gluten-free if catering to a gluten-free diet.
- Baking Powder & Salt: These ingredients are vital for the topping. Baking powder helps create a light, slightly fluffy crumb, while salt balances the sweetness and enhances all the other flavors.
- Melted Vegan Butter: The key to bringing the crumb topping together, melted vegan butter moistens the dry ingredients, allowing them to form that characteristic crumbly dough. You may need a little extra depending on the specific flour and oats used. Olive oil or coconut oil can also be used as alternatives, though they will slightly alter the flavor profile.
Pro Tips for the Perfect Pumpkin Crisp
Achieving pumpkin crisp perfection is simple with these helpful hints:
- Parchment Paper is Your Friend: When lining your baking pan, use strips of parchment paper that extend over the edges in both directions. This clever trick creates “handles,” making it incredibly easy to lift the entire baked and cooled pumpkin crisp out of the dish for clean slicing. This is especially useful if you plan to serve it in neat squares rather than scooping directly from the pan.
- Crumb Topping Consistency: The ideal streusel topping should form a crumbly dough, not a wet batter. When you press a handful of the mixture together, it should hold its shape. If it’s too dry and powdery, add a tiny bit more melted vegan butter (half a teaspoon at a time) until it reaches this consistency. Avoid overmixing; gentle pressing and combining are all that’s needed.
- Don’t Rush the Cooling Process: While warm pumpkin crisp with melting ice cream is divine, if you intend to slice your crisp into neat bars or squares, allowing it to cool completely at room temperature, and then chilling it for at least an hour in the refrigerator, is crucial. This gives the pumpkin filling time to set fully, resulting in clean, firm slices.
- Adjust Sweetness to Taste: The brown sugar quantities in both the filling and the topping can be adjusted. If you prefer a less sweet dessert, slightly reduce the sugar; for a richer, sweeter crisp, add a touch more. Taste the raw filling mixture before baking to guide your adjustment.
- Even Baking is Key: Ensure your pumpkin filling is spread evenly in the baking dish before adding the topping. This promotes uniform cooking and prevents some areas from being undercooked or overbaked.
How to Make Pumpkin Pie Crisp: Step-by-Step Guide
Get ready to create a truly irresistible fall dessert with this easy-to-follow guide:
Step 1: Prepare Your Baking Dish & Preheat Oven
Begin by selecting your preferred baking dish. An 8×5-inch pan is ideal, but a 9×4-inch loaf pan, a small cake pan, or even a 6-inch cast iron dish works wonderfully. Line the dish with parchment paper, allowing the edges to overhang for effortless removal later, or simply grease the dish generously. Preheat your oven to a steady 365°F (185°C).
Step 2: Craft the Velvety Pumpkin Pie Layer
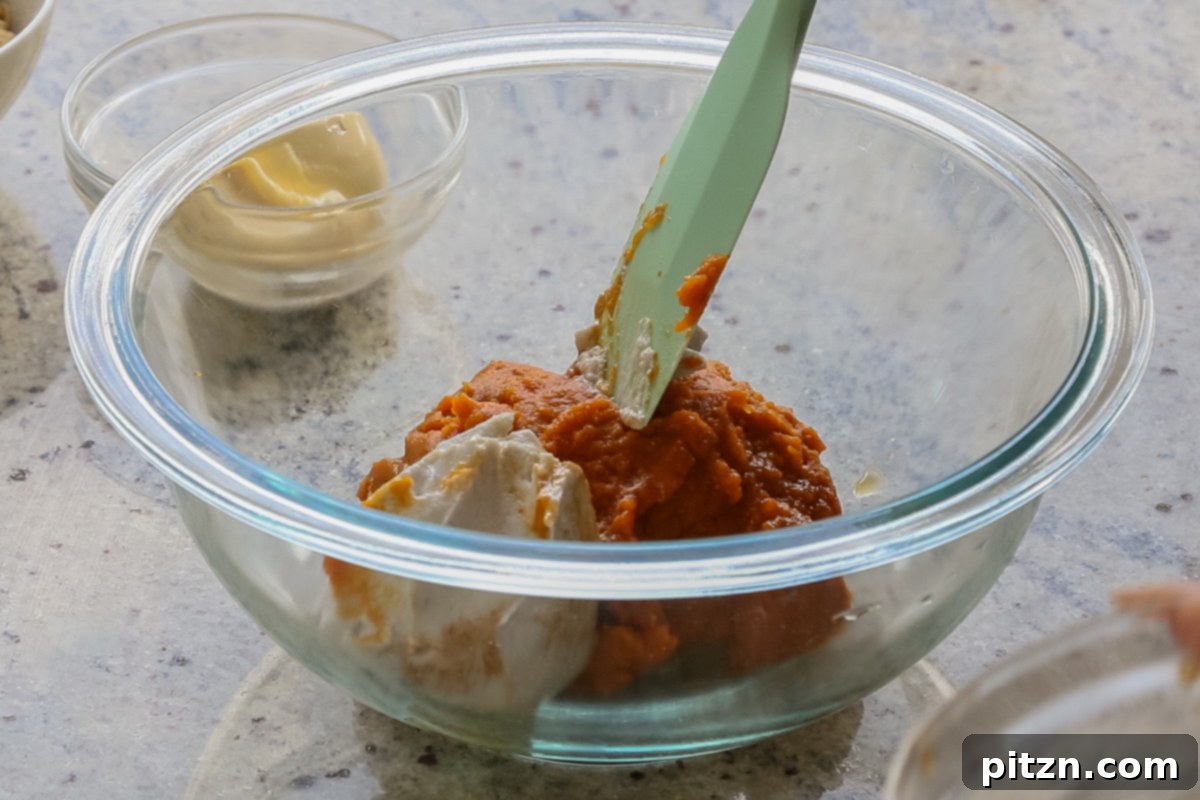
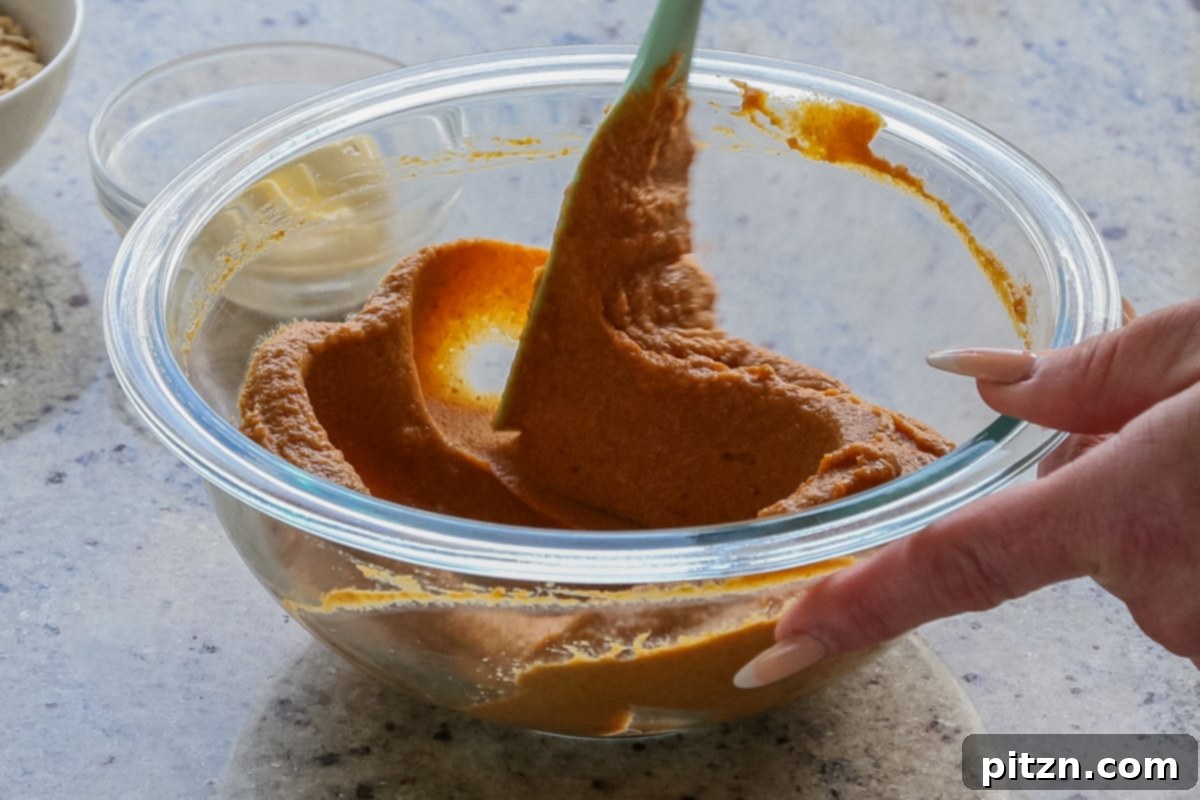
In a spacious mixing bowl, combine all the ingredients designated for the pumpkin pie layer. This includes your pumpkin puree, the rich coconut cream, fragrant brown sugar, warming ground cinnamon, aromatic pumpkin pie spice, all-purpose flour (or your gluten-free alternative), a hint of vanilla extract, and a pinch of salt. Using a sturdy spatula or a whisk, mix these components thoroughly. Continue mixing until the brown sugar has completely dissolved, and the flour is fully incorporated, leaving you with a smooth, velvety, and uniform pumpkin mixture. There should be no dry pockets of flour.
Step 3: Assemble the Pie Layer in the Dish
Carefully pour the prepared pumpkin mixture into your lined or greased baking dish. Using your spatula, gently spread the mixture across the bottom of the pan, ensuring it forms an even and smooth layer. This uniformity is key for even baking.
Step 4: Create the Crunchy Streusel Topping
In a separate, clean mixing bowl, combine all the dry ingredients for the topping. This includes the all-purpose flour (or gluten-free blend), old-fashioned oats, brown sugar, ground cinnamon, baking powder, and salt. Stir these dry components thoroughly with a spoon or whisk until they are well combined and evenly distributed. This ensures every bite of your topping is perfectly spiced.
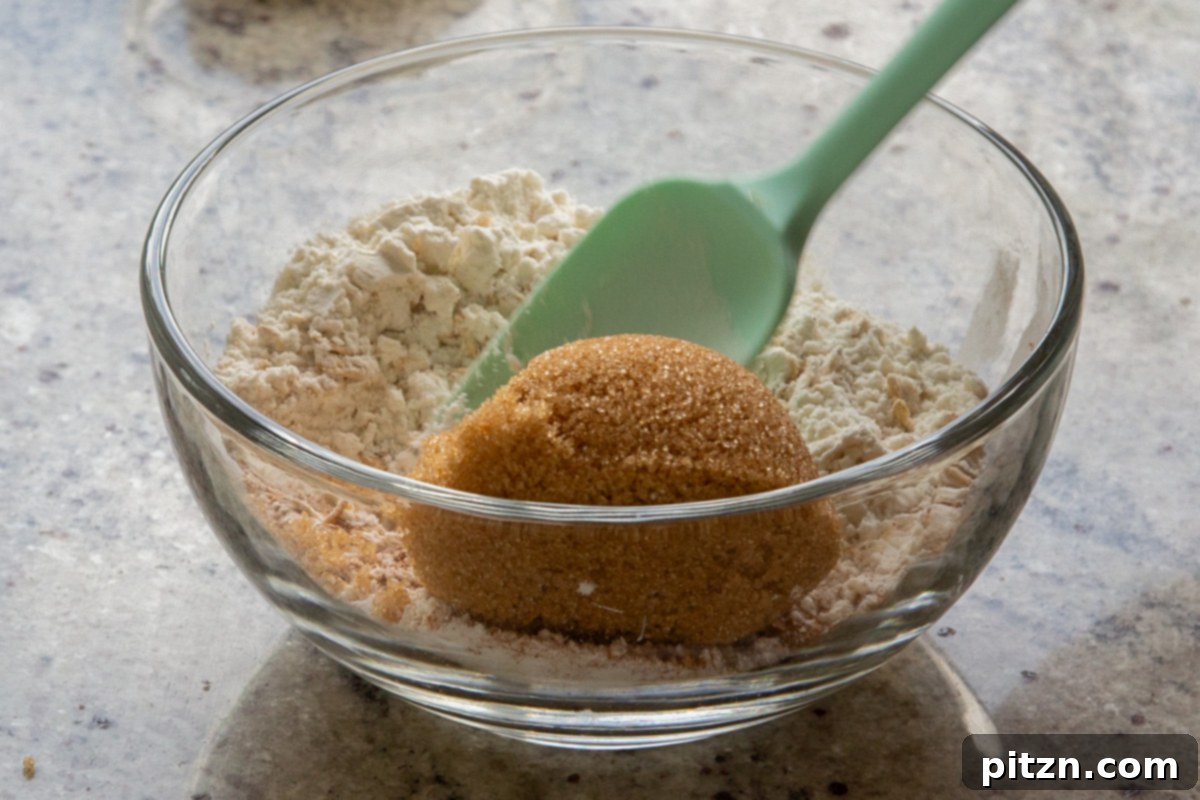
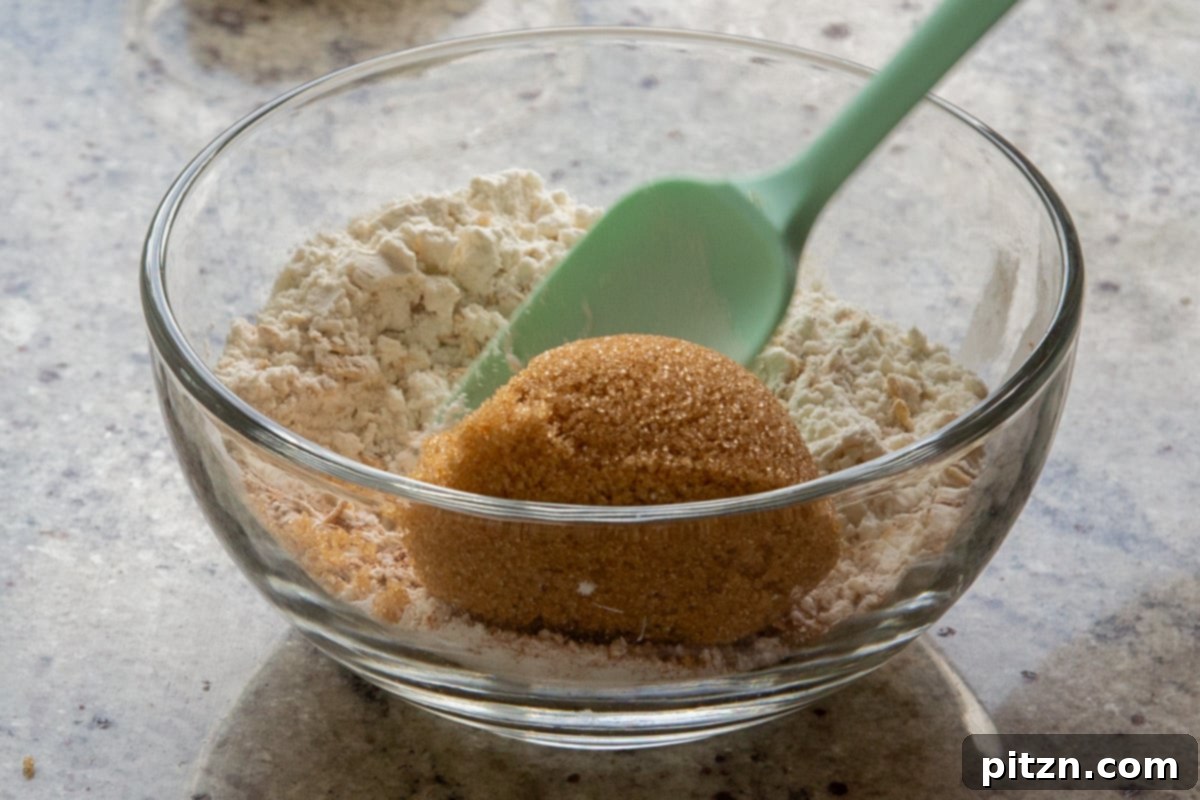
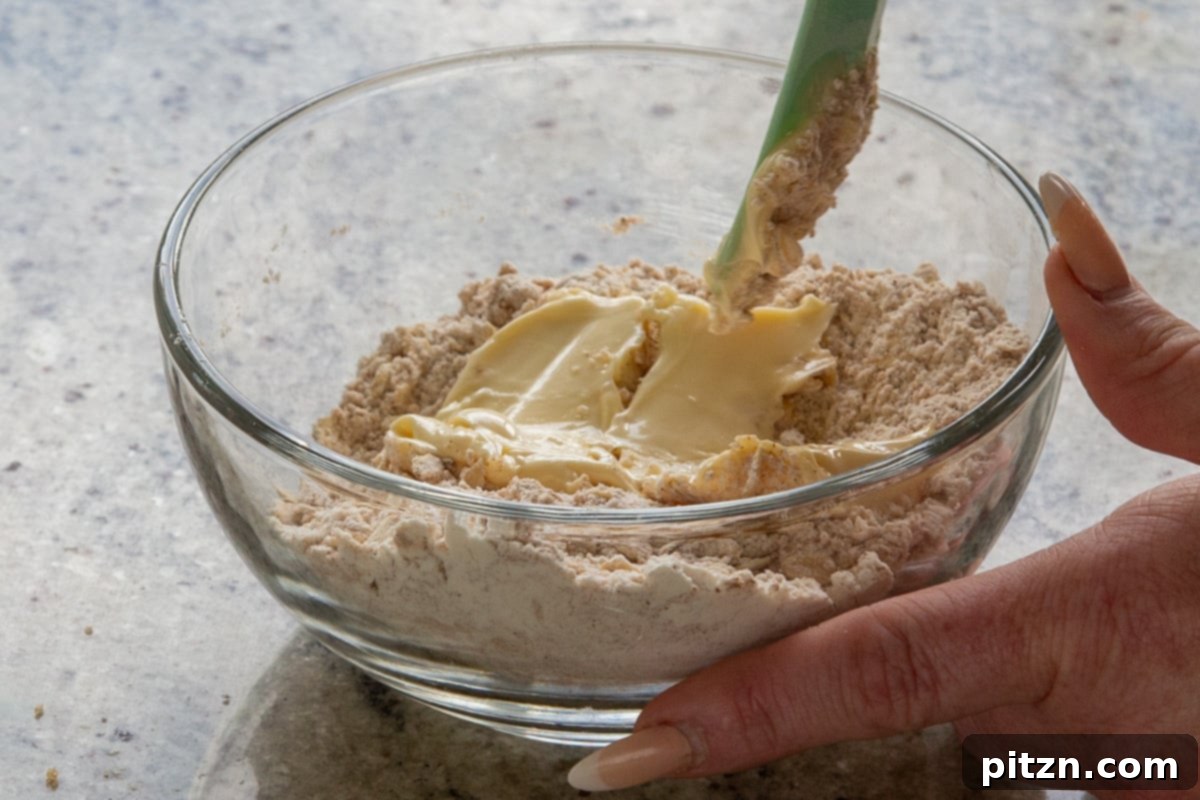
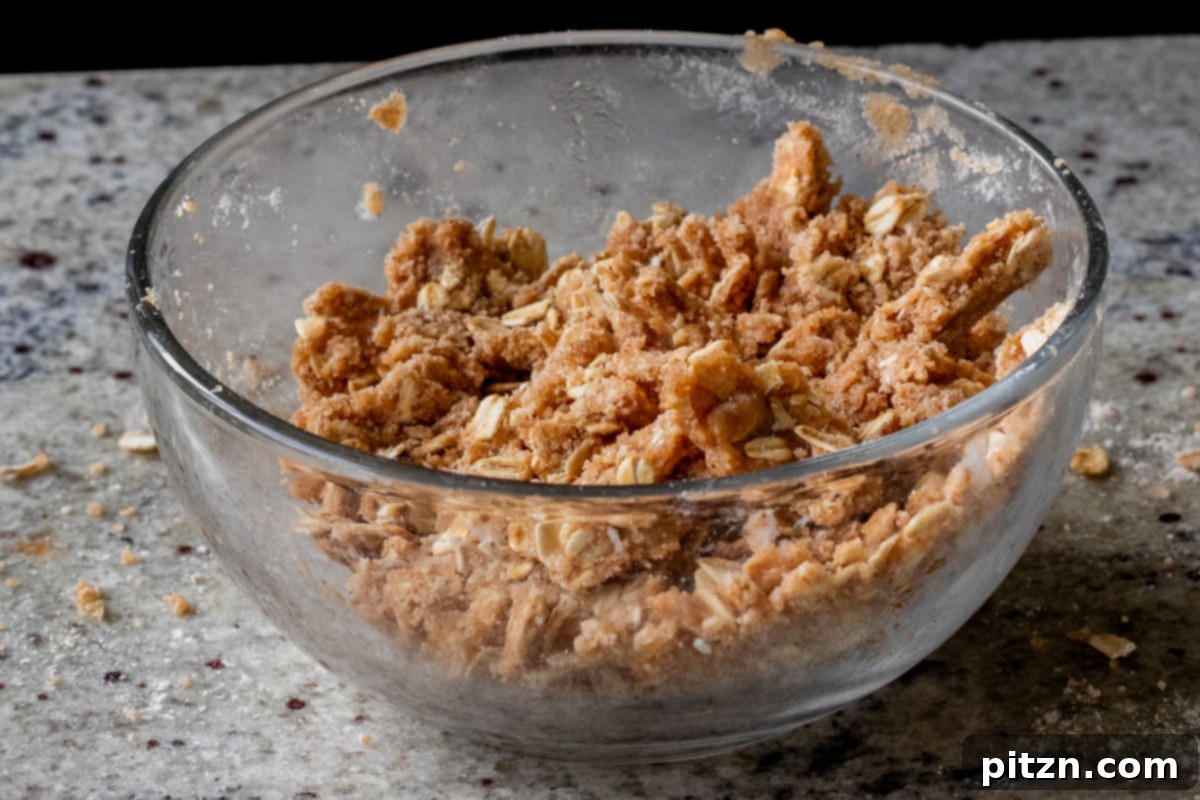
Once your dry ingredients are mixed, melt the vegan butter and pour it over them. Now, it’s time to get your hands in there! Press and mix the butter into the dry ingredients. Initially, it might seem like there isn’t enough butter to bind everything, but keep pressing and squeezing the mixture. The warmth of your hands helps integrate the butter. After 2-3 minutes of consistent mixing, the mixture should start to come together into a crumbly dough that holds its shape when squeezed. If it remains too dry, add an additional teaspoon (or more) of melted vegan butter, one teaspoon at a time, until the perfect crumbly consistency is reached. The topping should be cohesive but still distinct crumbs.
Step 5: Bake to Golden Perfection
Generously spread the prepared crumb topping evenly over the pumpkin pie layer in your baking pan. Ensure the surface is well covered with the crunchy mixture. Carefully place the baking dish into your preheated oven and bake for approximately 30 to 35 minutes. Keep an eye on it towards the end of the baking time, as oven temperatures can vary. You’ll know it’s ready when the topping is beautifully golden brown, with some edges turning a slightly deeper, inviting brown and looking wonderfully crisp.
Serving & Storage Suggestions
Once your pumpkin crisp emerges from the oven, the enticing aroma will surely have everyone eager to dive in. Here’s how to serve and store it for maximum enjoyment:
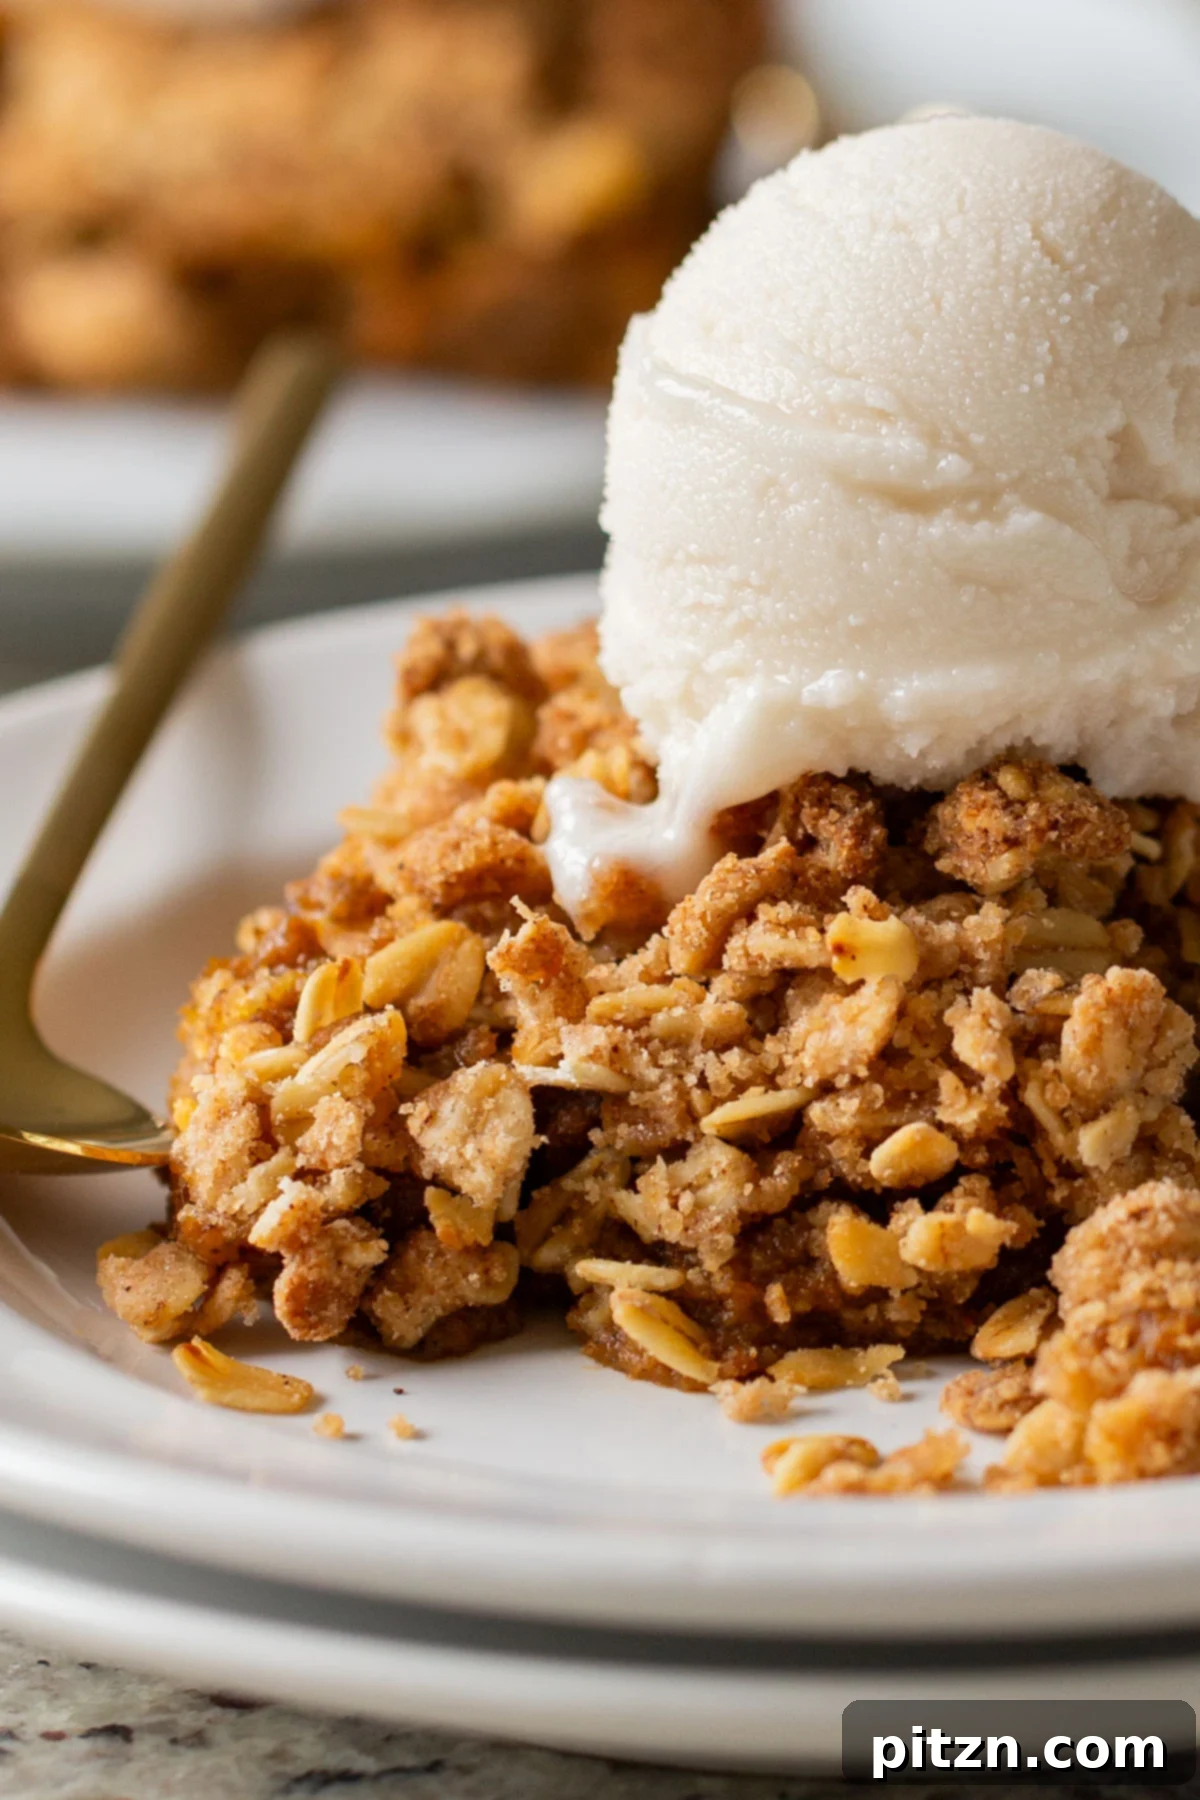
Immediate Warm Serving: For an ultimate cozy experience, serve the pumpkin crisp immediately while it’s still warm. The pumpkin filling will be soft and luscious, and the topping wonderfully crisp. Simply scoop generous portions directly from the baking dish into individual bowls. This warm, comforting dessert is absolutely divine topped with a scoop of melting vegan vanilla ice cream or a generous dollop of fluffy vegan whipped cream. The contrast of temperatures and textures is heavenly.
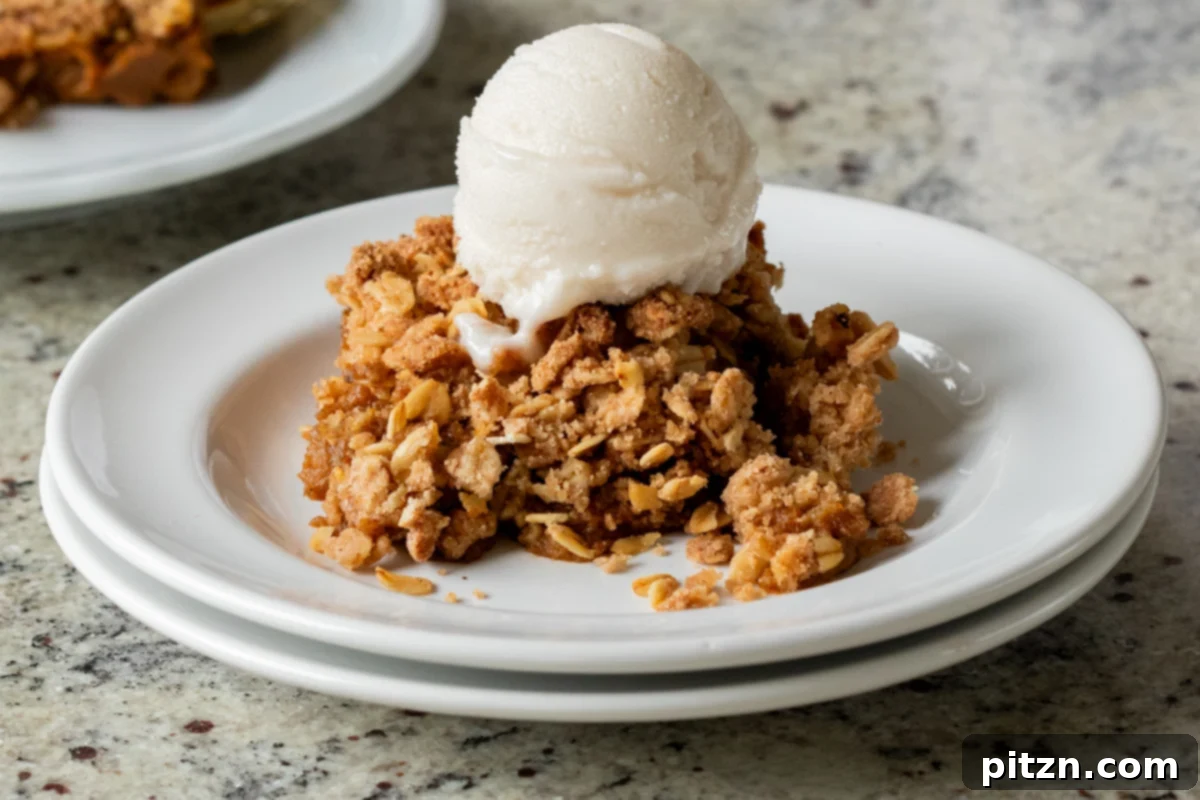
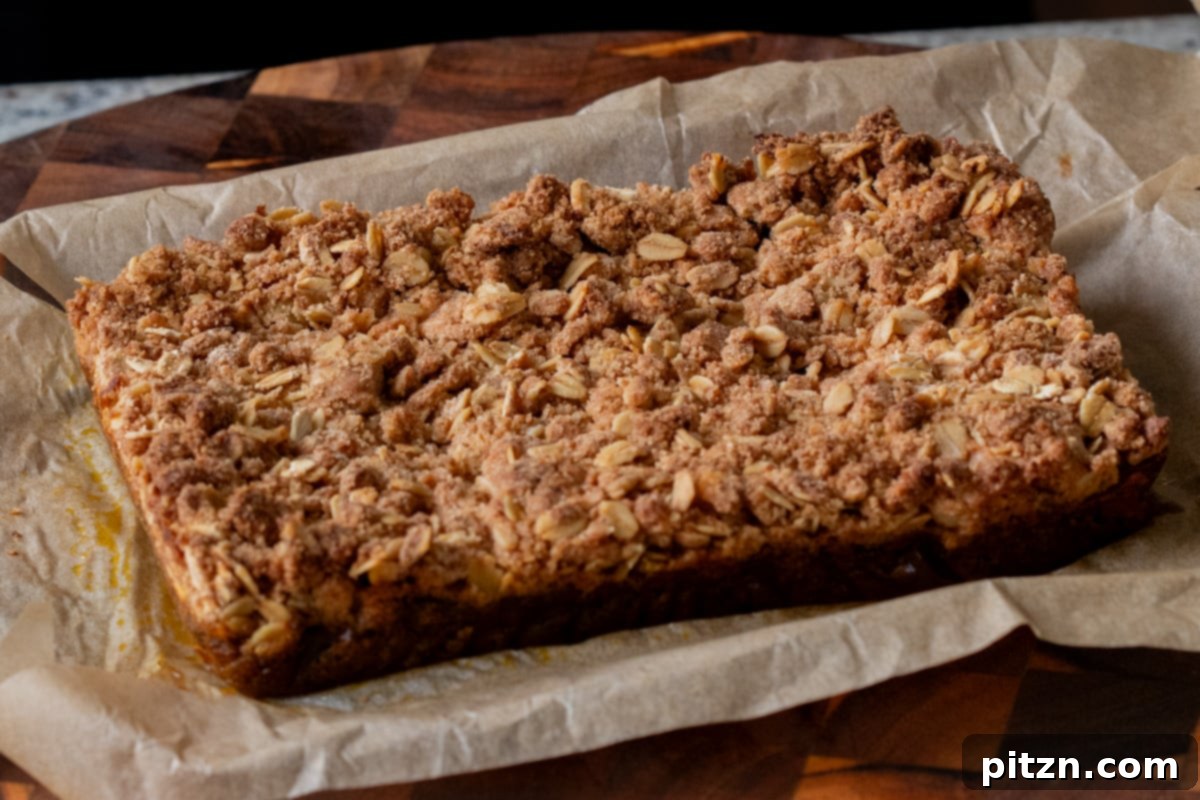
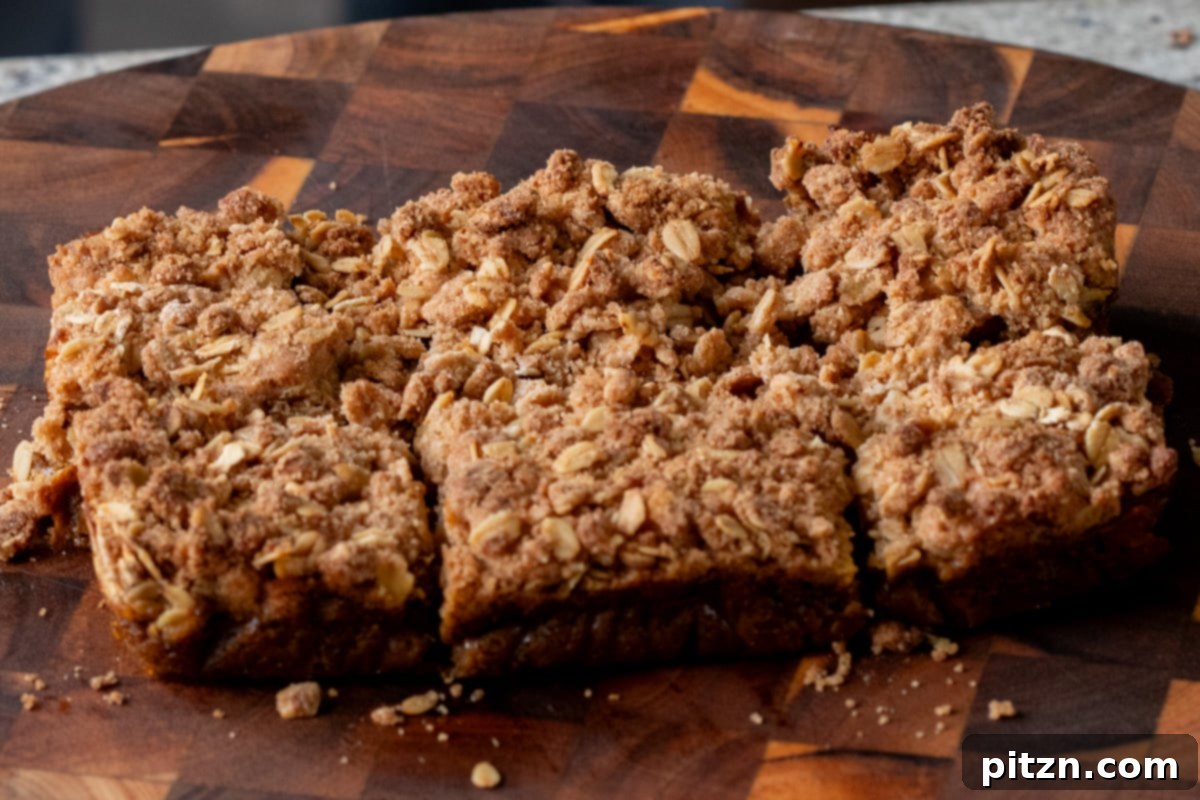
Chilled & Sliced for Neat Portions: If you prefer neater, more defined slices, remove the baking dish from the oven and allow the crisp to cool completely at room temperature. Once cooled, transfer it to the refrigerator and chill for at least an hour (or until the filling is firm). The chilling process allows the pumpkin layer to set beautifully, making it much easier to slice. Once firm, use the parchment paper overhangs to carefully lift the entire pumpkin crisp out of the baking dish onto a cutting board. Slice into squares or bars, resembling a crustless pumpkin pie with a crumbly topping. Serve these chilled slices, optionally topping them with vegan ice cream or whipped cream just before serving.
Storage:
- Room Temperature: If you plan to serve the crisp within a few hours, it can safely remain on the counter.
- Refrigeration: For longer storage, transfer any leftover pumpkin crisp to an airtight container and refrigerate for up to 5 days.
Reheating:
To bring back that wonderful crisp texture of the topping, individual servings can be reheated in a toaster oven or a conventional oven at 300°F (150°C) for 8-10 minutes, or until warmed through and the topping is crunchy again. You can also microwave individual servings, but the topping won’t regain its crispness.
Frequently Asked Questions About Pumpkin Crisp
Yes! This recipe is thoughtfully designed to be nut-free and soy-free, making it a safe choice for many with common food sensitivities. Additionally, it can easily be made gluten-free by simply substituting the all-purpose flour in both the filling and the topping with your preferred gluten-free all-purpose flour blend. Always check your oat packaging to ensure they are certified gluten-free if cross-contamination is a concern.
Pumpkin crisp is an ideal choice for several reasons! It offers all the comforting, spiced flavors of pumpkin pie without the intricate and often time-consuming process of making a traditional pie crust. If you adore pumpkin pie but find pie-making daunting, this crisp is your perfect solution. The streusel crumb topping not only simplifies the baking process but also adds a fantastic, irresistible crunchy texture and a buttery, sweet flavor that truly elevates the dessert experience.
Absolutely! If you have fresh pumpkin on hand, you can certainly use homemade pumpkin puree. Just ensure it’s thick and well-drained to avoid a watery filling. The consistency should be similar to canned pumpkin puree for best results.
Old-fashioned rolled oats are highly recommended for the best texture in the streusel topping. They provide a pleasant chewiness and hearty structure. Quick oats can also work in a pinch, but they will yield a softer, less defined crumb. Avoid instant oats as they can become too mushy.
Yes, this pumpkin crisp is a fantastic make-ahead dessert! You can bake it completely and store it in the refrigerator for up to 5 days. When ready to serve, you can reheat it as directed for a warm treat, or serve it chilled. This makes it perfect for holiday gatherings or meal prepping desserts.
While this recipe is designed to be nut-free, you can certainly add nuts if desired! Chopped pecans, walnuts, or almonds would be wonderful additions to the streusel topping. Add about 1/4 to 1/2 cup of chopped nuts along with the dry ingredients for the topping.