
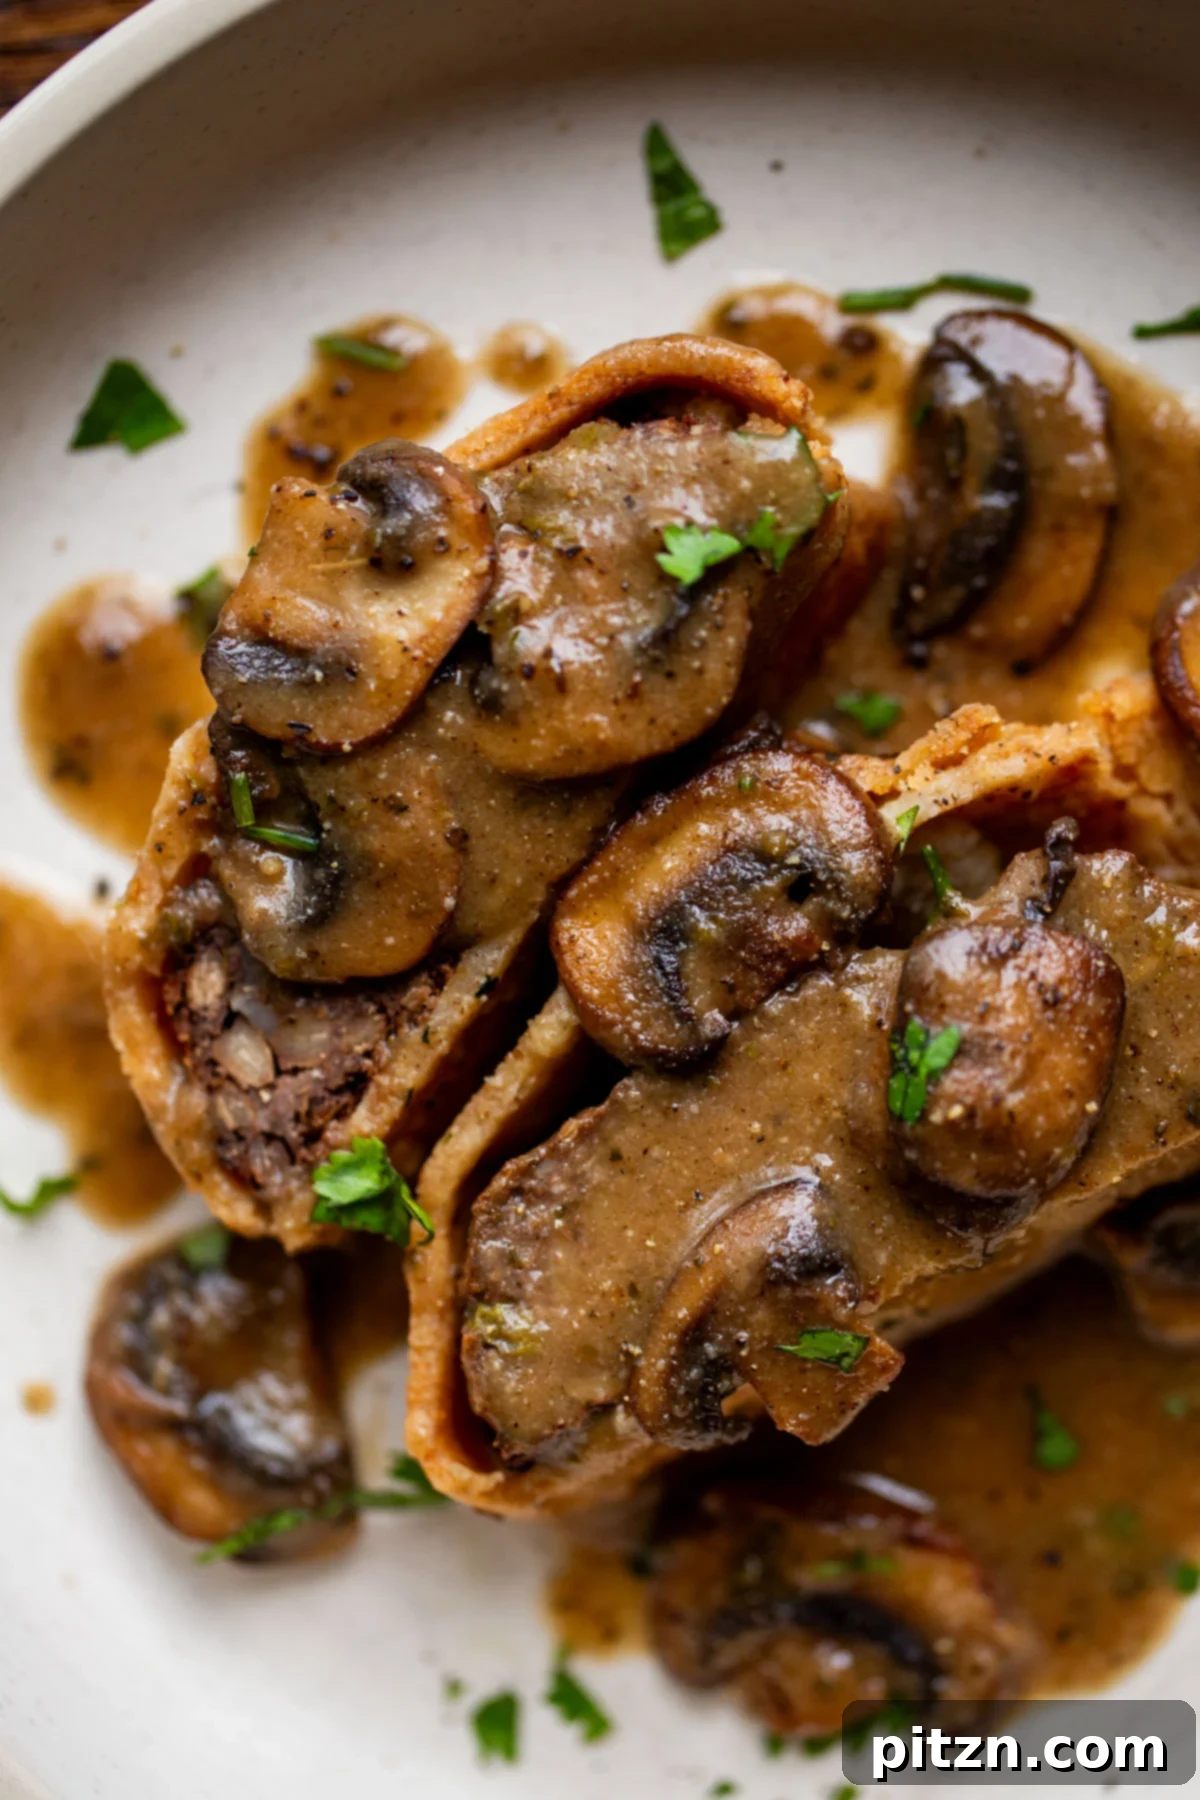
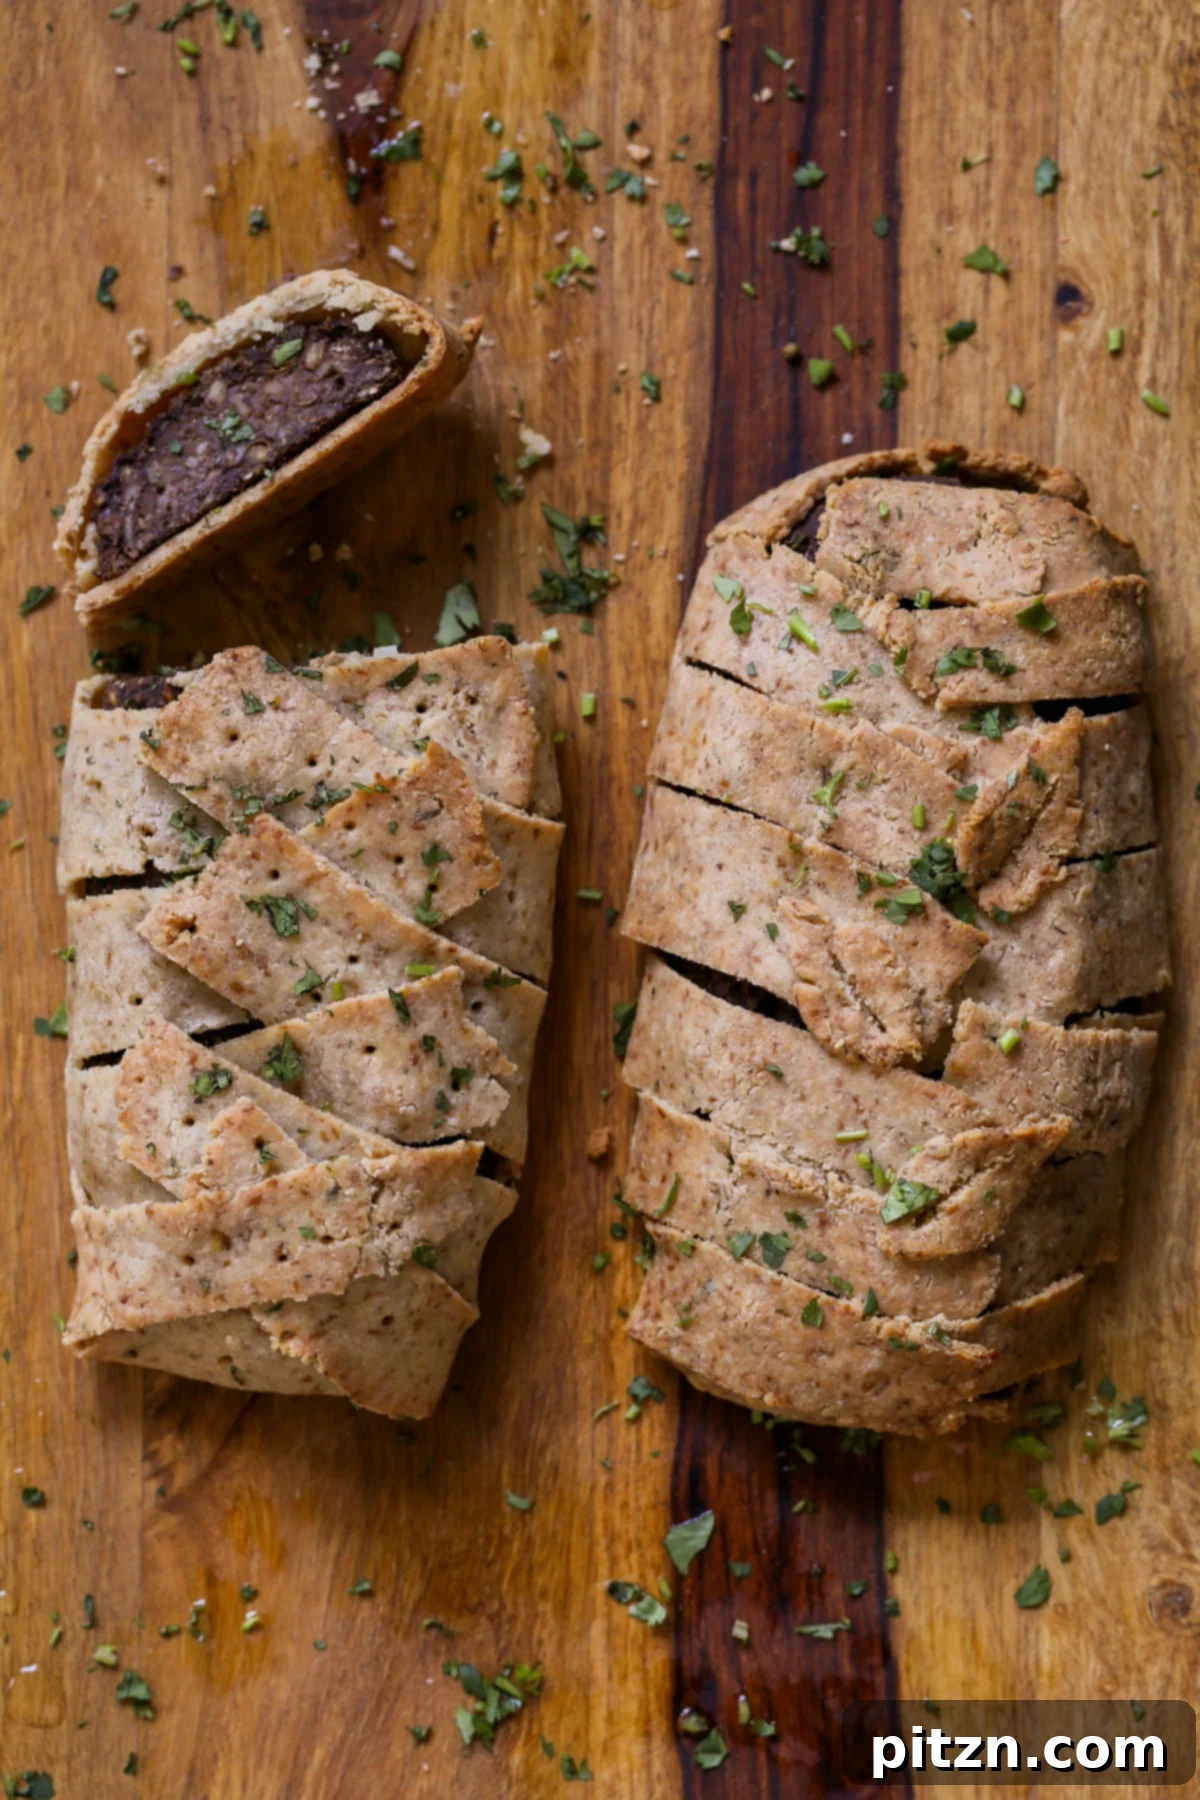
Elevate your holiday table with this exquisite **Gluten-Free Vegan Wellington**, a truly magnificent main dish that promises to impress even the most discerning palates. This recipe masterfully combines a rich, flavorful pecan lentil loaf with a delicate, buttery almond flour pastry crust, creating a show-stopping centerpiece for any festive occasion. Perfectly crafted to be gluten-free and soy-free, with a convenient nut-free option, this Wellington ensures everyone at your gathering can enjoy a luxurious, plant-based entree. Say goodbye to the search for elusive gluten-free puff pastry; our simple, homemade almond flour crust is surprisingly easy to work with and yields a spectacular result.
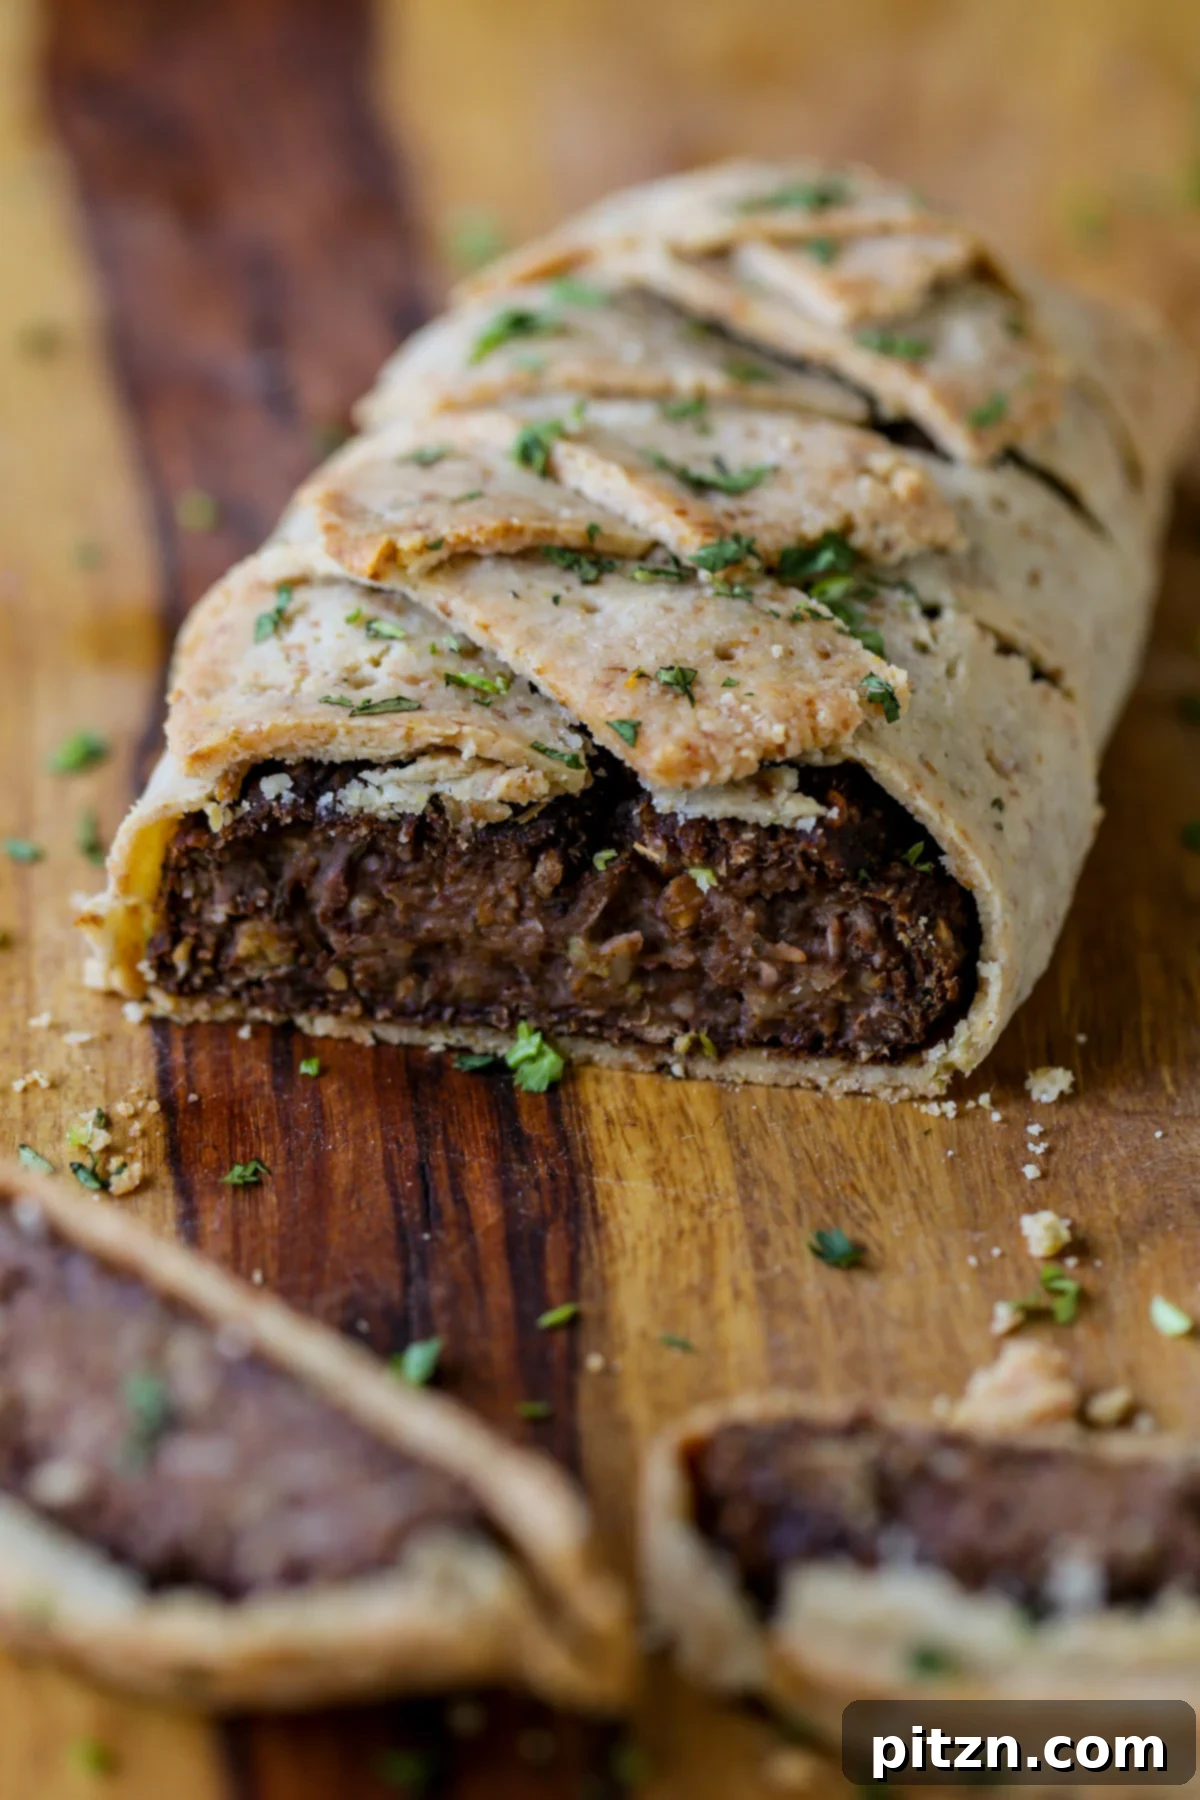
Table of Contents
- Why You’ll Love This Gluten-Free Vegan Wellington
- More Inspiring Vegan Holiday Entrees
- Gluten-Free Vegan Wellington Recipe
- Ingredients and Substitutions: Crafting Your Wellington
- Expert Tips for a Perfect Vegan Wellington
- Step-by-Step: How to Make Gluten-Free Vegan Wellington
- Frequently Asked Questions About Vegan Wellington
For those who have adored our classic lentil mushroom Wellington, the wait is over! We’re thrilled to introduce this much-requested gluten-free adaptation. Finding pre-made gluten-free puff pastry can be a challenge, and often, store-bought options don’t quite deliver the desired texture or quality. That’s why we’ve developed an incredibly simple yet robust almond flour pastry crust that wraps our savory lentil loaf in golden perfection. If you happen to stumble upon a good quality gluten-free puff pastry, feel free to use it in either this recipe or our original version; it will certainly simplify the process. However, the beauty of this recipe lies in its accessible, from-scratch crust that truly makes this **Gluten-Free Vegan Wellington** shine.
Our homemade almond flour crust, requiring just a few basic ingredients and minimal prep time, is the secret to this show-stopping dish. While it’s inherently more delicate than traditional puff pastry, its robust nature allows for easy handling and beautiful shaping. You can opt for a rustic, full wrap, or get creative with elegant decorative designs to enhance its visual appeal. And for those moments when time is short or you prefer a simpler approach, the lentil loaf itself is fantastic when baked and glazed with a savory ketchup and vegan Worcestershire sauce, transforming it into a delicious pecan lentil “meatloaf.” This flexibility makes the recipe perfect for various occasions, from grand holiday feasts to cozy family dinners.
Why You’ll Love This Gluten-Free Vegan Wellington
This **Gluten-Free Vegan Wellington** isn’t just a meal; it’s an experience. Here’s why it deserves a prime spot on your festive menu:
- **Unforgettable Flavor and Texture:** The star of this Wellington is its incredibly flavorful and moist pecan lentil loaf, seasoned to perfection with aromatic herbs and spices. Encased in a tender, subtly nutty almond flour pastry, every bite offers a delightful contrast of textures and a rich, savory taste.
- **Effortless Homemade Crust:** Forget the frustration of store-bought gluten-free puff pastry. Our almond flour crust is remarkably simple to prepare, requiring minimal ingredients and a straightforward mixing process. It’s designed to be pliable and easy to work with, allowing you to achieve beautiful results without specialized skills.
- **Convenient Make-Ahead Option:** Holiday cooking can be stressful, but this Wellington offers a fantastic make-ahead component. You can prepare the lentil loaf and the pastry dough in advance, storing them until you’re ready to assemble and bake. This significantly reduces day-of kitchen time, allowing you to enjoy your celebration more.
- **Dietary Inclusivity:** This recipe is a triumph for those with dietary restrictions. It is naturally **gluten-free** and **soy-free**, making it a safe and delicious choice for many. Furthermore, we’ve included a simple **nut-free option**, ensuring that even guests with nut allergies can partake in this magnificent dish.
- **A True Showstopper:** Visually stunning and incredibly delicious, this Wellington is guaranteed to be the centerpiece of your holiday feast. Its golden-brown crust and hearty, flavorful filling make it a dish that will be remembered and requested for years to come.
More Inspiring Vegan Holiday Entrees
If you’re planning a full vegan holiday spread, here are some other fantastic plant-based main dishes that pair wonderfully with our Gluten-Free Vegan Wellington, or can stand alone as delicious alternatives:
- Hearty Vegan Meatloaf – A Flavorful Nut Loaf
- Creamy Vegan Stuffed Shells
- Exotic Lentil Sambusa Pie
- Convenient Sheet Pan Thanksgiving Dinner
- Comforting Vegan Pot Pie with Black Pepper Biscuits
- Elegant Baked Whole Roasted Cauliflower
Gluten-Free Vegan Wellington
Vegan Richa
20 minutes
40 minutes
15 minutes
1 hour
15 minutes
8
Holiday, Main
European

This Gluten-Free Vegan Wellington is a spectacular holiday main dish! It features a simple, homemade almond flour pastry crust wrapped around a savory pecan lentil loaf, creating an impressive and utterly delicious entree. It’s naturally gluten-free and soy-free, with an easy nut-free adaptation available.
Ingredients
For the Lentil Pecan Loaf
- 1/4 cup pecans (or pumpkin seeds for nut-free)
- 2 cloves garlic
- 2 tablespoons chopped onion
- 15 ounce can of lentils, drained, or use 1 1/2 cups of cooked lentils
- 2 ounces mushrooms, white, cremini, or portobello
For the Spices and Sauces
- 1 1/2 to 2 teaspoons Italian herbs
- 1/2 teaspoon salt, or more or less based on your taste preference
- 3/4 teaspoon ground sage
- 1/2 teaspoon smoked paprika
- 1/4 teaspoon black pepper
- 1/2 teaspoon onion powder
- 1 tablespoon ketchup
- 1 teaspoon balsamic vinegar, optional
For the Binders
- 2 tablespoons flaxseed meal
- 1 to 2 tablespoons cornstarch, or other starch
- 2 tablespoons oats (use rice flakes or a gluten-free blend for strict gluten-free)
For the Gluten-Free Wellington Crust
- 1 1/2 cups blanched almond flour
- 1/3 cup tapioca starch
- 1/2 teaspoon Italian herbs
- 1/2 teaspoon garlic powder
- 1/2 teaspoon salt
- 1 1/2 tablespoons flaxseed meal, mixed with 4 tablespoons of water (to create a “flax egg”)
- 2 tablespoons melted coconut oil (refined for a neutral flavor)
- 1 teaspoon maple syrup
Instructions
Prepare the Savory Lentil Pecan Loaf
-
Preheat your oven to 400° Fahrenheit (205° C). This ensures the oven is at the correct temperature when your loaf is ready for baking.
-
In a food processor, combine the pecans (or pumpkin seeds for a nut-free version), chopped onion, and garlic. Pulse these ingredients until they form a coarse, crumbly meal. Next, add the mushrooms and pulse again to finely chop them and integrate them into the mixture. Add half of the drained lentils along with all the spices (Italian herbs, salt, sage, smoked paprika, black pepper, onion powder) and sauces (ketchup, optional balsamic vinegar). Pulse everything together until well combined. The mixture will have a texture similar to a coarse pâté, which is perfectly normal and desired.
-
Transfer this pulsed mixture to a large mixing bowl. Now, incorporate the flaxseed meal, 1 tablespoon of cornstarch (or your chosen starch), and the oats (or gluten-free rice flakes/blend). Add the remaining whole lentils to the bowl. Gently mix everything together. For added visual appeal and texture, you can also stir in 2 tablespoons of green peas and 1 tablespoon of finely chopped carrots at this stage. If the mixture appears excessively moist, add another tablespoon of cornstarch to achieve a firmer consistency. Be careful not to overmix; a slight texture from the whole lentils and vegetables is key for a satisfying loaf.
-
Allow the lentil mixture to rest for at least 5 minutes. This resting period gives the flaxseed meal, starch, and oats time to absorb excess moisture, helping the loaf bind together more effectively.
-
Lightly oil your hands, then divide the mixture into two equal portions. Shape each portion into a mini loaf, aiming for a height of at least 3/4 inch to 1 inch. Place these shaped loaves on a baking sheet lined with parchment paper. Bake in the preheated oven for 20 minutes, or until the tops are set and begin to turn a light golden color. This initial bake helps the loaves firm up before being wrapped in pastry.
Prepare the Gluten-Free Almond Flour Crust
-
While the lentil loaves are baking, prepare your gluten-free pastry crust. In a separate mixing bowl, combine the blanched almond flour, tapioca starch, Italian herbs, garlic powder, and salt. Mix these dry ingredients thoroughly, pressing out any almond flour lumps to ensure an even consistency.
-
Next, add the prepared flax egg (flaxseed meal mixed with water), melted coconut oil, and maple syrup to the dry ingredients. Mix everything very well. Initially, the mixture may seem too dry, but resist the urge to add more liquid right away. Continue to press and mix the ingredients for at least a minute until a cohesive dough begins to form. If, after thorough mixing, the dough remains excessively crumbly, add water or non-dairy milk a few drops at a time until it comes together into a pliable, pastry-like dough. It should not be overly soft, as a softer dough will be challenging to roll out and shape effectively around the lentil loaf.
-
Once the dough is formed, place it in the freezer for 10 to 15 minutes. This chilling period will help the dough stiffen slightly, making it much easier to handle and roll out.
Assemble and Bake Your Wellingtons
-
Once the lentil loaf has finished its initial bake, remove it from the oven. It is crucial to let the loaf cool completely to room temperature before attempting to wrap it in the pastry. A warm loaf will make the pastry soft and difficult to work with.
-
Retrieve your chilled pastry dough from the freezer. Divide it in half. Take one half and place it between two sheets of parchment paper. Roll out the dough using a rolling pin, or even just your hands, into a rough rectangle. The dough should be quite easy to spread. Aim for a thickness of about 1/8 inch. If your rolled dough isn’t a perfect rectangle, simply trim the edges to create one, reserving the excess dough.
-
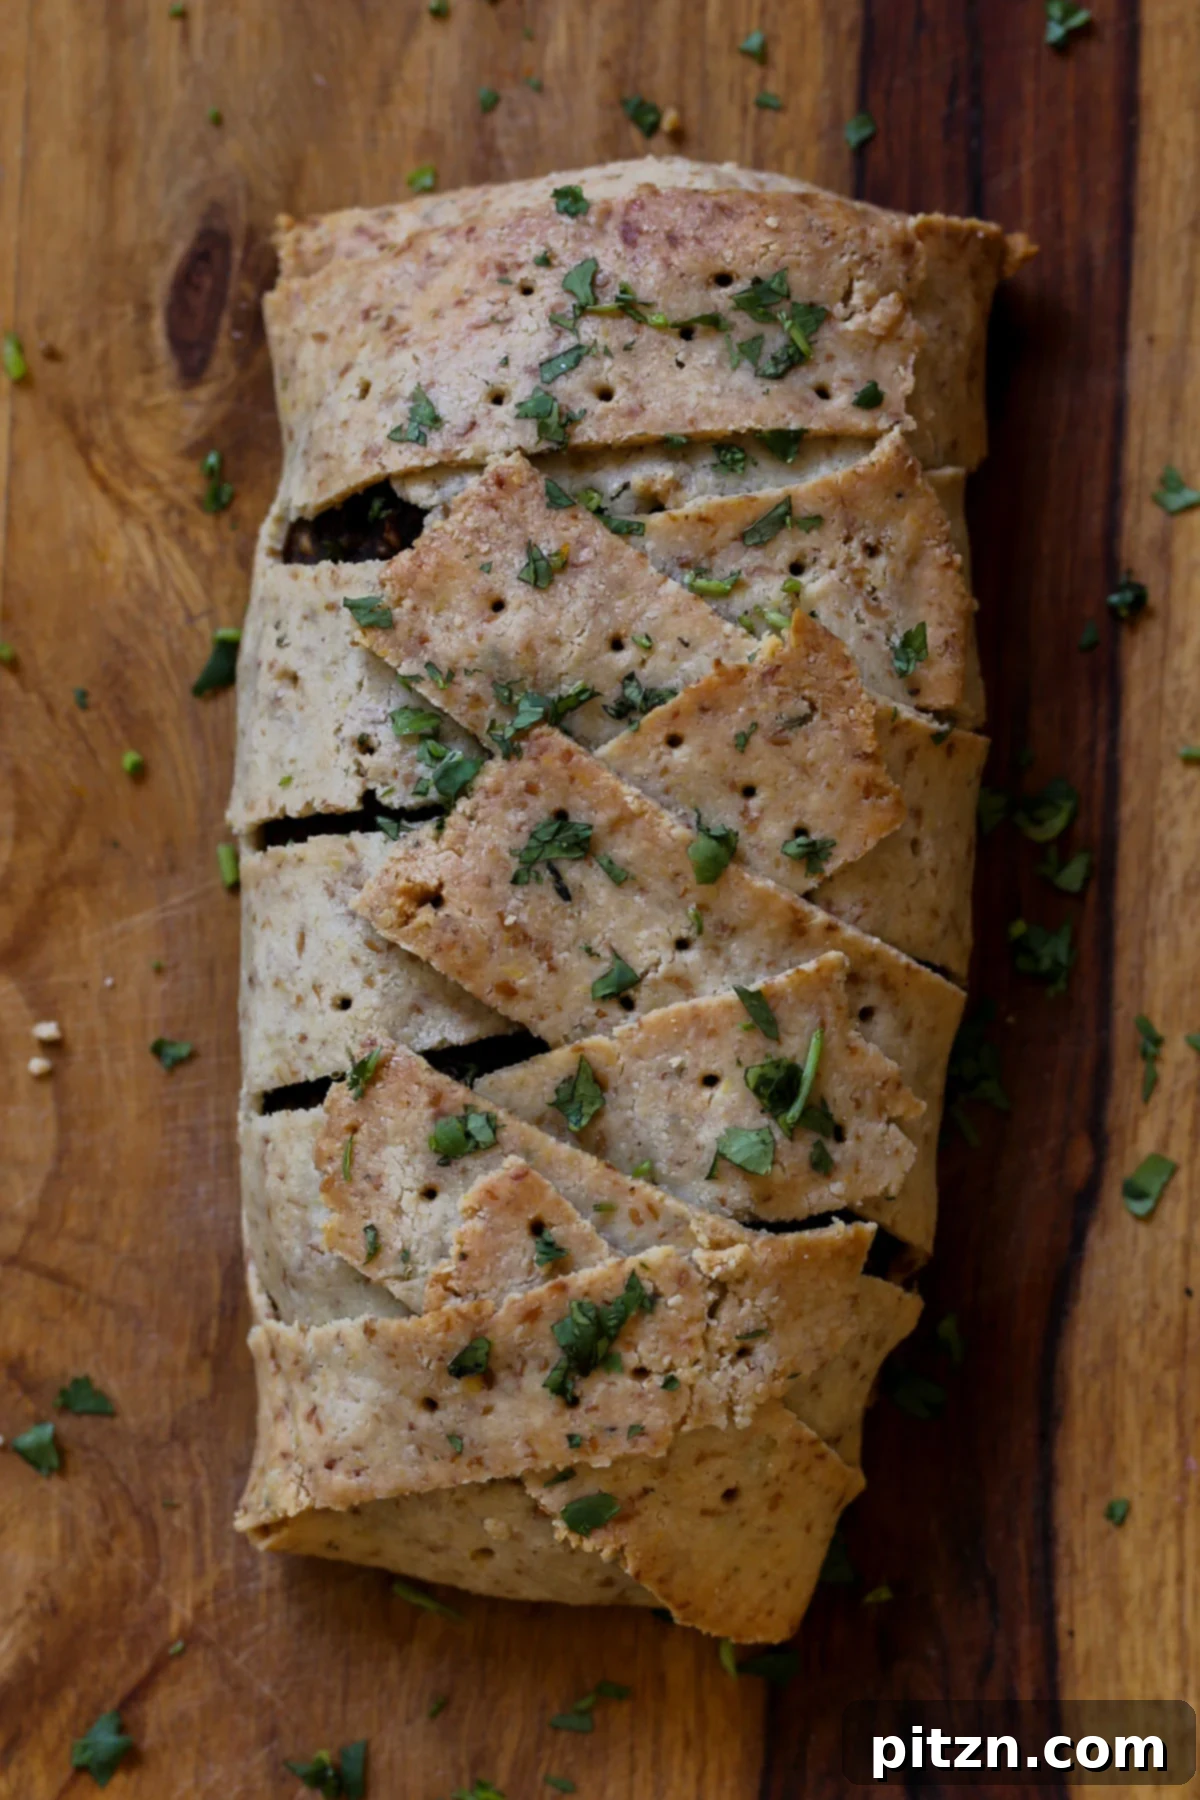
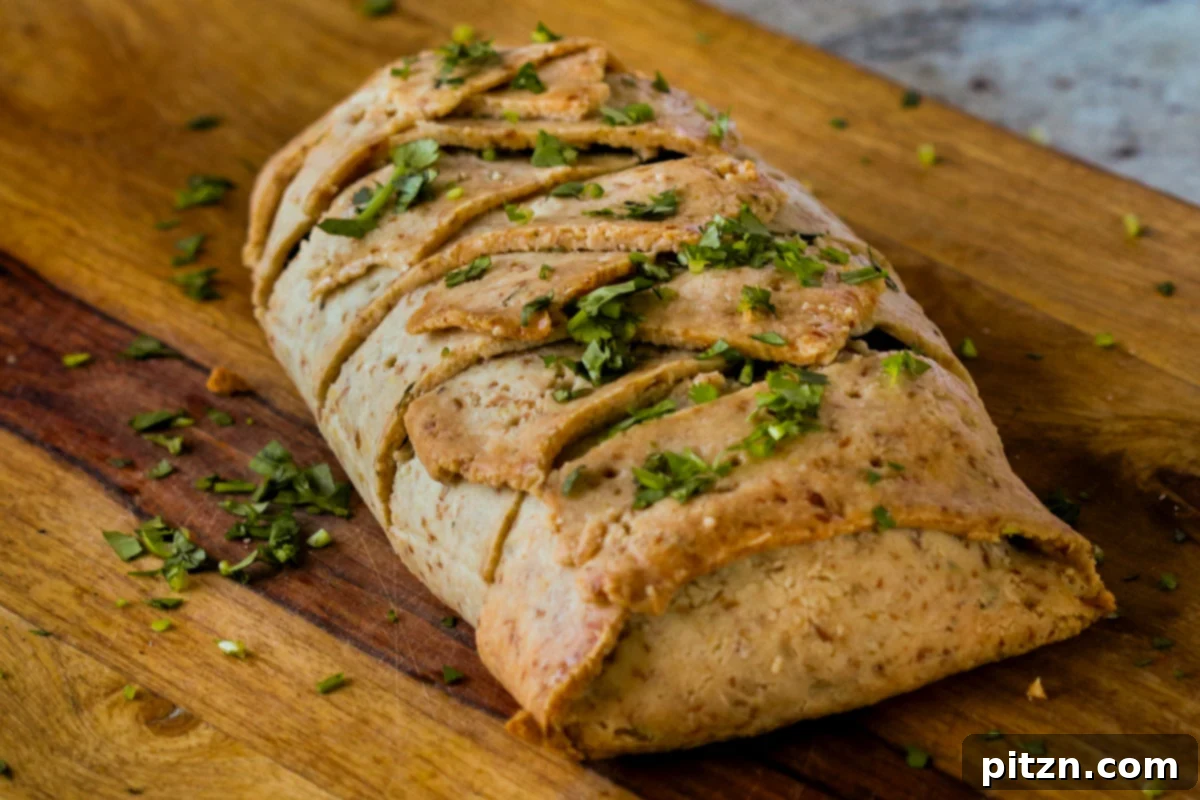
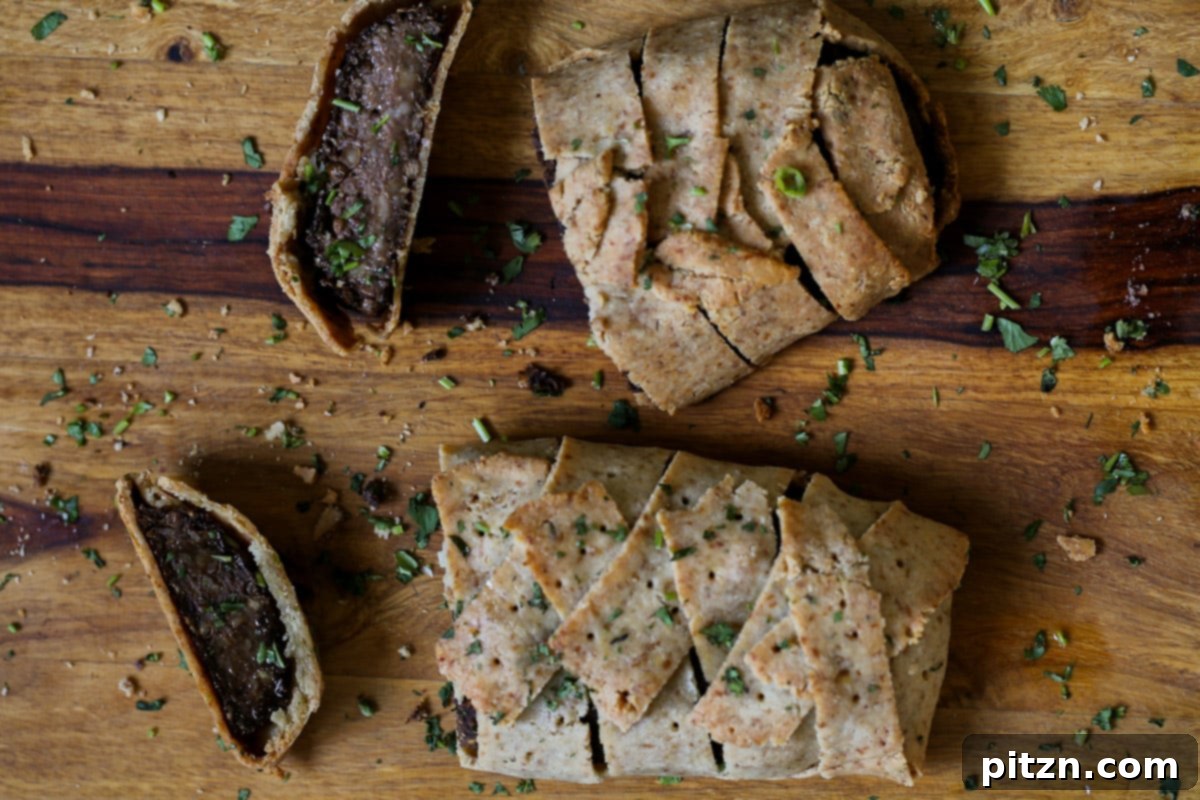
Once your rectangle of dough is ready, ensure its width is comparable to the length of one of your cooled lentil loaves. Carefully place a lentil loaf in the center of the dough. Now, you can choose your wrapping style: either completely enclose the loaf within the pastry for a classic look, or get creative with decorative designs. A popular method is to cut the sides of the rolled-out dough into ribbons and then crisscross these ribbons over the top of the lentil loaf. Don’t worry if a ribbon breaks; this almond flour dough is quite forgiving and pieces can be easily reattached. After designing, use a toothpick to gently pierce a few holes in the pastry to allow steam to escape during baking. You can use any extra dough scraps to create embellishments like leaves, braids, or strips to further decorate your Wellington. Lightly brush the entire surface of the wrapped Wellington with a little olive oil to encourage a golden crust, then repeat the process for the second lentil loaf and dough portion.
-
Bake the assembled Wellingtons in the preheated oven at 350° F (177° C) for 20 minutes or slightly longer. Watch carefully for the crust to turn a beautiful golden color. It’s important not to overbake to an overly dark golden brown, as this can make the crust too crisp and prone to crumbling when sliced. Aim for a lovely, inviting golden hue.
-
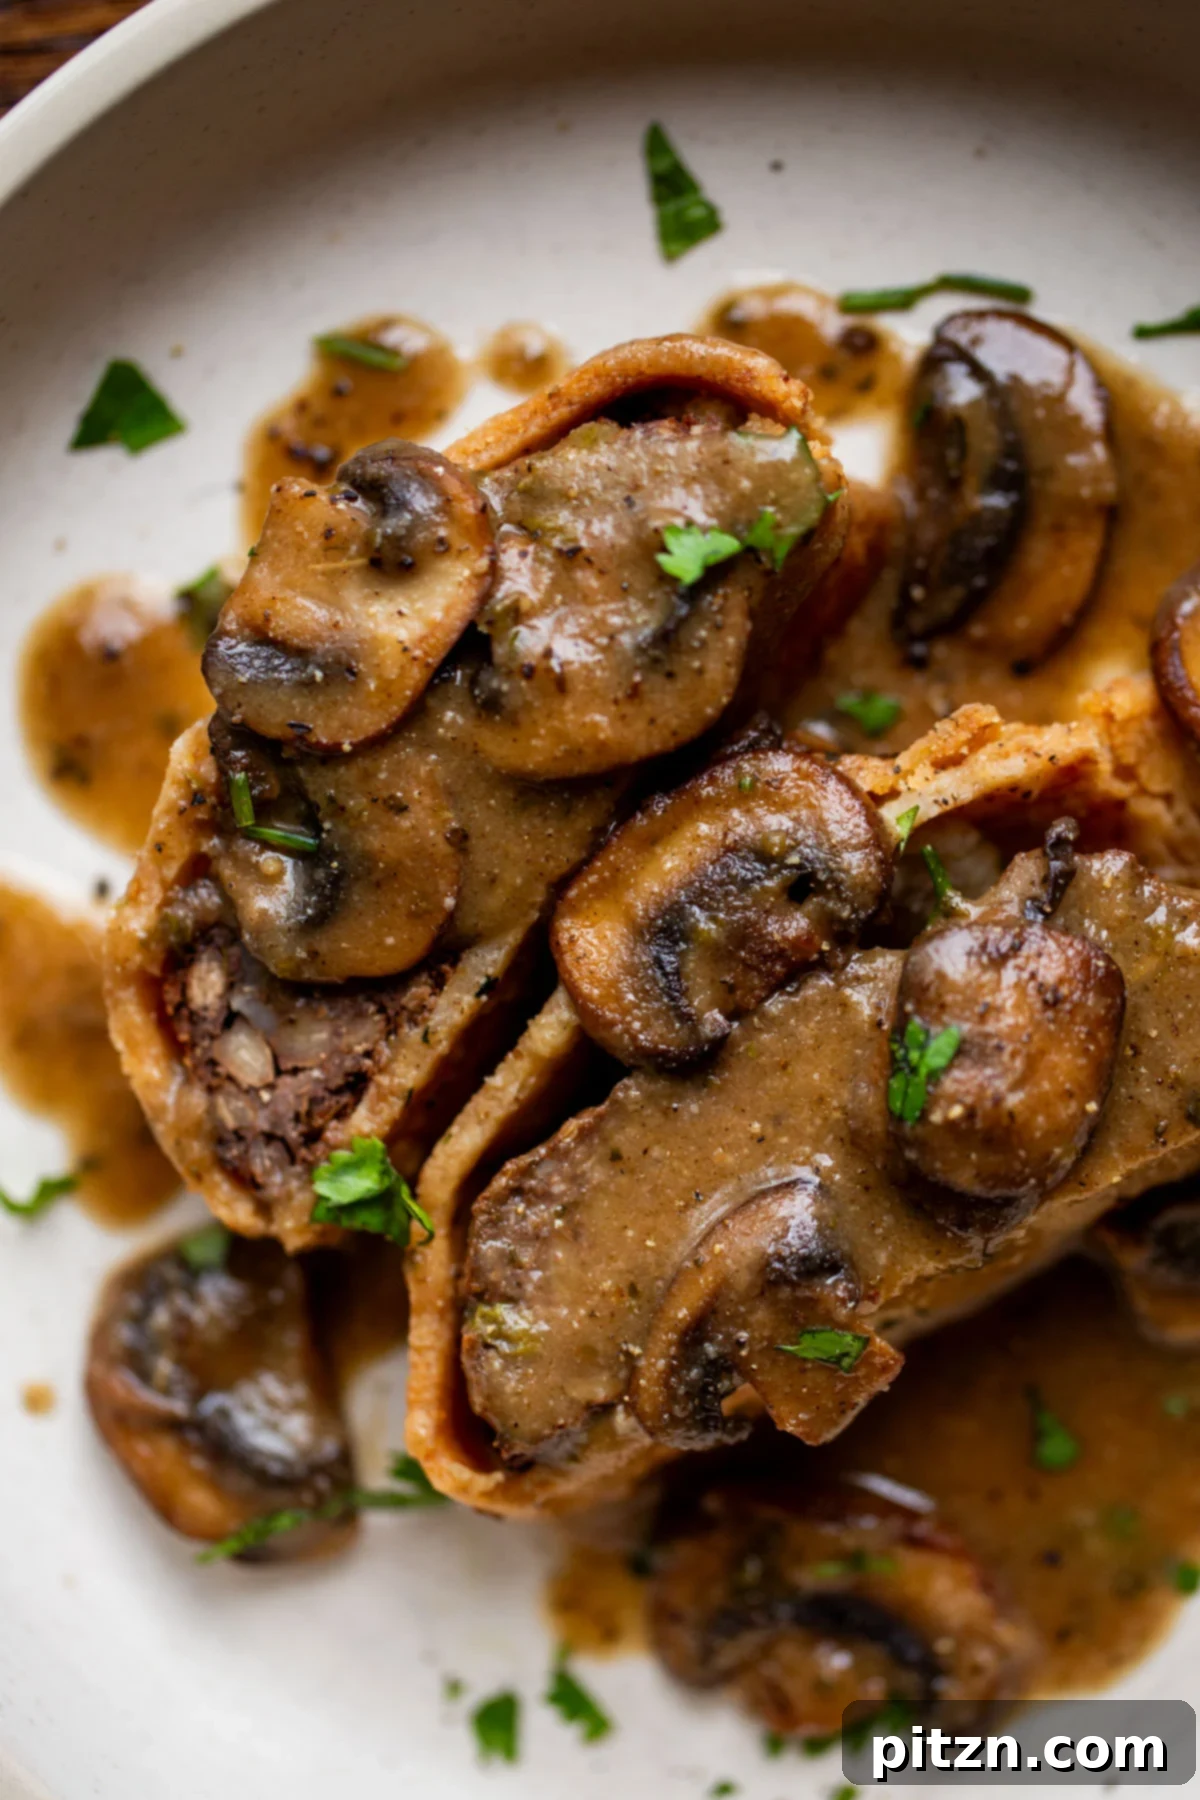
Once the Wellingtons are perfectly baked, remove them from the oven. For an extra touch of flavor and sheen, brush a little olive oil over the top and sprinkle with fresh Italian herbs or a touch of dried thyme. Let them rest for a few minutes before carefully slicing and serving. This magnificent dish is best enjoyed with your favorite vegan gravy, adding an extra layer of richness to this incredible holiday entree.
Video Tutorial
Chef’s Notes & Pro Tips
Make-Ahead Directions: To reduce stress on your special day, you can prepare the lentil loaf up to 3 days in advance and store it in the refrigerator. Similarly, the pastry dough can be made ahead and kept refrigerated for 2-3 days. However, for the best results, we highly recommend assembling and baking the Wellington just before serving. Baking it ahead of time can cause the crust to absorb moisture from the loaf and soften overnight, compromising its crisp texture. By preparing the components in advance and baking fresh, you ensure a perfect, show-stopping Wellington every time.
Perfecting the Crust: The tenderness of this homemade crust makes it beautifully delicate. While it’s designed to be sturdy enough for wrapping, serving it alongside a delicious vegan gravy is highly recommended. The gravy not only complements the rich flavors of the loaf but also helps to keep the entire dish moist, especially if the crust becomes a little crispier from slightly longer baking.
Nut-Free Adaptation: This recipe is already gluten-free and soy-free. To make it entirely nut-free, simply omit the pecans from the lentil loaf mixture and substitute them with an equal amount of pumpkin seeds. For the crust, if you need a nut-free option, you can either enjoy the flavorful lentil loaf on its own without the pastry, or if you can source a certified gluten-free, nut-free vegan puff pastry, that would be an excellent alternative for wrapping.
Nutrition Facts (Per Serving)
Calories:
411kcal
,
Carbohydrates:
47g
,
Protein:
20g
,
Fat:
18g
,
Saturated Fat:
3g
,
Sodium:
313mg
,
Potassium:
602mg
,
Fiber:
20g
,
Sugar:
3g
,
Vitamin A:
103IU
,
Vitamin C:
3mg
,
Calcium:
98mg
,
Iron:
5mg
Nutrition information is automatically calculated, so should only be used as an approximation.
Ingredients and Substitutions: Crafting Your Wellington
Understanding each component is key to mastering this **Gluten-Free Vegan Wellington**. Here’s a detailed look at the ingredients and potential substitutions:
- Pecans: These add a rich, buttery flavor and delightful texture to the lentil loaf, mimicking a traditional “meaty” consistency. For a nut-free version, simply substitute an equal amount of pumpkin seeds.
- Garlic and Onion: The aromatic foundation of the lentil loaf. Freshly minced garlic and finely chopped onion provide depth and savory notes.
- Lentils: Brown or green lentils work best here. You can use convenience canned lentils (ensuring they are well-drained) or cook your own from scratch. Cooked lentils provide a hearty, protein-packed base for the loaf.
- Mushrooms: White, cremini, or portobello mushrooms are excellent choices. They contribute an essential umami depth and a satisfying, “meaty” texture to the loaf.
- Dried Herbs and Spices:
- **Italian Seasoning:** A blend of classic herbs like oregano, basil, rosemary, and thyme, providing a fragrant and savory profile to both the loaf and the crust.
- **Salt and Black Pepper:** Essential flavor enhancers. Adjust to your personal preference.
- **Ground Sage:** Imparts a distinctly earthy, warming flavor that is quintessential for holiday dishes.
- **Smoked Paprika:** Adds a subtle smoky depth and a beautiful reddish hue to the lentil loaf.
- **Onion Powder:** Provides a concentrated onion flavor that rounds out the savory profile.
- **Garlic Powder:** Used in the pastry crust for a delicate savory touch, complementing the loaf.
- Sauces for the Loaf:
- **Ketchup:** Offers a touch of sweetness, tang, and binds the loaf ingredients.
- **Balsamic Vinegar:** (Optional) Adds a layer of complex acidity and umami, enhancing the overall savory profile.
- Binders for the Loaf:
- **Flaxseed Meal:** When mixed with water, it creates a “flax egg” that acts as a powerful binder, holding the loaf together.
- **Cornstarch (or other starch):** Helps absorb moisture and further binds the loaf, contributing to its firm yet tender texture. Arrowroot or tapioca starch can be used as alternatives.
- **Oats:** Rolled oats provide additional binding and texture. For a strictly gluten-free recipe, ensure you use certified gluten-free oats, or substitute with rice flakes or a general gluten-free flour blend.
- For the Gluten-Free Wellington Crust:
- **Blanched Almond Flour:** The primary flour for our crust. Blanched almond flour is finely ground and creates a tender, rich pastry. For a nut-free crust, you would need to explore alternative gluten-free, nut-free puff pastry options or consider serving the loaf without a crust.
- **Tapioca Starch:** Essential for providing elasticity and a slightly chewy texture to the gluten-free crust, preventing it from becoming too dense or crumbly.
- **Flaxseed Meal (for flax egg):** Just like in the loaf, it’s used with water to create a binder for the pastry dough, giving it structure.
- **Melted Coconut Oil:** Crucial for achieving a flaky, tender crust. Use refined coconut oil for a neutral flavor that won’t overpower the other ingredients.
- **Maple Syrup:** Adds a touch of moisture and a very subtle sweetness that balances the savory flavors of the crust.
Expert Tips for a Perfect Vegan Wellington
Achieving a show-stopping **Gluten-Free Vegan Wellington** is simpler than you think with these helpful tips:
- **Crust Consistency is Key:** When preparing the almond flour dough for the crust, it will initially appear dry and crumbly. Resist the urge to add more liquid immediately! Continue to mix and press the dough for at least a minute or two. The natural oils from the almond flour, combined with the flax egg and coconut oil, will eventually bring it together into a pliable, pastry-like consistency. Only add tiny sprinkles of water or non-dairy milk if it truly won’t bind.
- **Optimal Dough Softness:** You want the crust dough to be firm enough to handle, not overly soft or sticky. A dough that’s too soft will be very challenging to roll out and shape without tearing. The brief chilling period in the freezer (10-15 minutes) is crucial for firming up the dough, making it much more manageable for rolling and decorating.
- **Chill the Loaf Thoroughly:** This is a non-negotiable step for successful assembly. Ensure your lentil pecan loaf is completely cooled to room temperature before you attempt to wrap it in the pastry dough. Wrapping a warm loaf will cause the pastry to become sticky, difficult to work with, and potentially lead to a soggy crust.
- **Embrace Creative Decorating:** Have fun with the presentation! The almond flour dough, while delicate, is surprisingly cooperative. Use excess dough scraps to cut out decorative shapes like leaves, flowers, or strips. These can be easily pressed onto the surface of the Wellington before baking, adding a personal and elegant touch. A lattice design or crisscross pattern with ribbons of dough also creates a beautiful effect.
- **Monitor Baking Closely:** Keep a watchful eye on your Wellingtons as they bake. You’re aiming for a beautiful golden-brown crust, not an overly dark or crisp one, which could cause it to detach when slicing. If you prefer a very crispy crust, you can bake it for a few extra minutes, but be aware it might be more prone to cracking.
Step-by-Step: How to Make Gluten-Free Vegan Wellington
Follow these detailed steps to create your impressive **Gluten-Free Vegan Wellington**:
Step 1: Prepare the Savory Lentil Pecan Loaf
First, we’ll make the heart of our Wellington, the lentil pecan loaf, as it needs time to cool before wrapping.
1. **Preheat your oven** to a precise 400° Fahrenheit (205° C).
2. **Start with the aromatics and nuts:** In a food processor, add the pecans (or pumpkin seeds for a nut-free option), chopped onion, and garlic. Pulse these ingredients until they transform into a coarse, textured meal. This forms the foundational flavor and a significant part of the loaf’s texture.


3. **Incorporate mushrooms and lentils:** Add the mushrooms to the food processor and pulse briefly to finely chop them. Then, add half of the drained lentils along with all the spices (Italian herbs, salt, sage, smoked paprika, black pepper, onion powder) and the sauces (ketchup, and optional balsamic vinegar). Pulse the mixture again until everything is well combined and has a coarse pâté-like consistency. This creates a rich, umami-packed base.


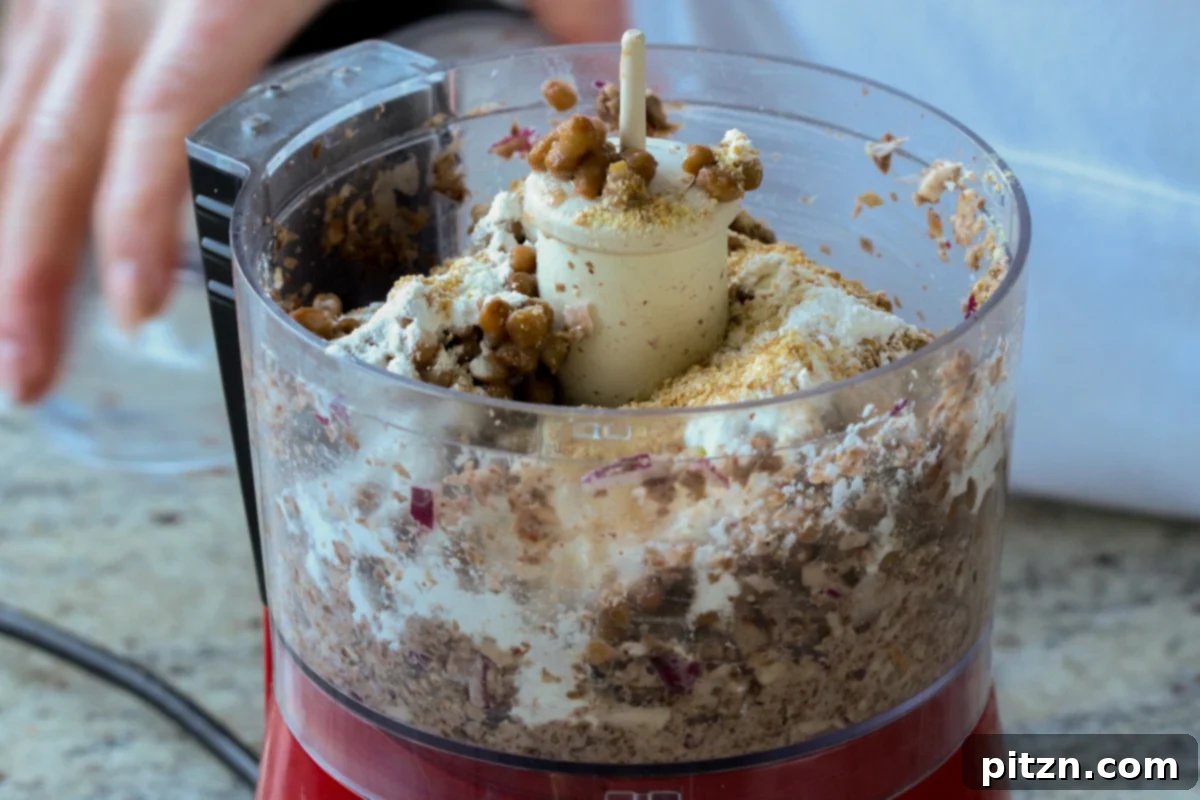
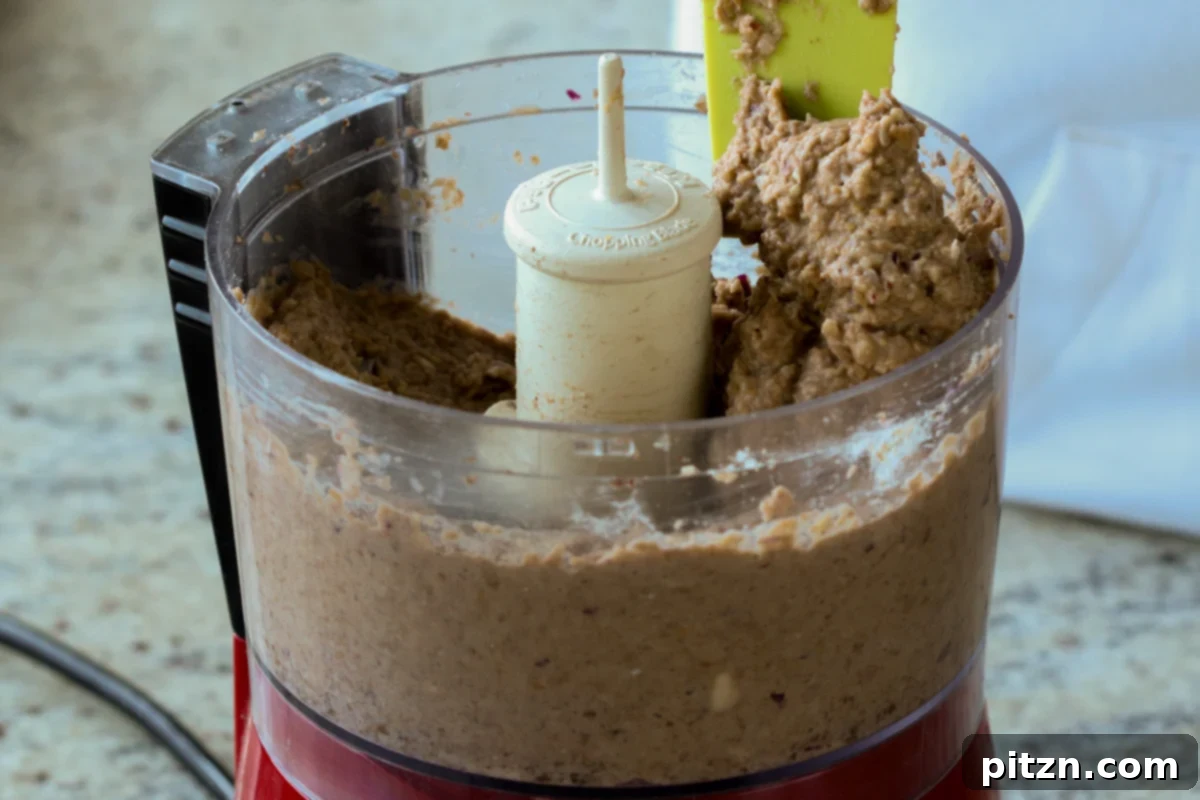
4. **Add binders and whole ingredients:** Transfer the processed mixture to a spacious mixing bowl. Now, stir in the flaxseed meal, 1 tablespoon of cornstarch (or your preferred starch), the oats (or gluten-free rice flakes), and the remaining whole lentils. This combination provides binding and adds delightful textural contrast to the loaf.
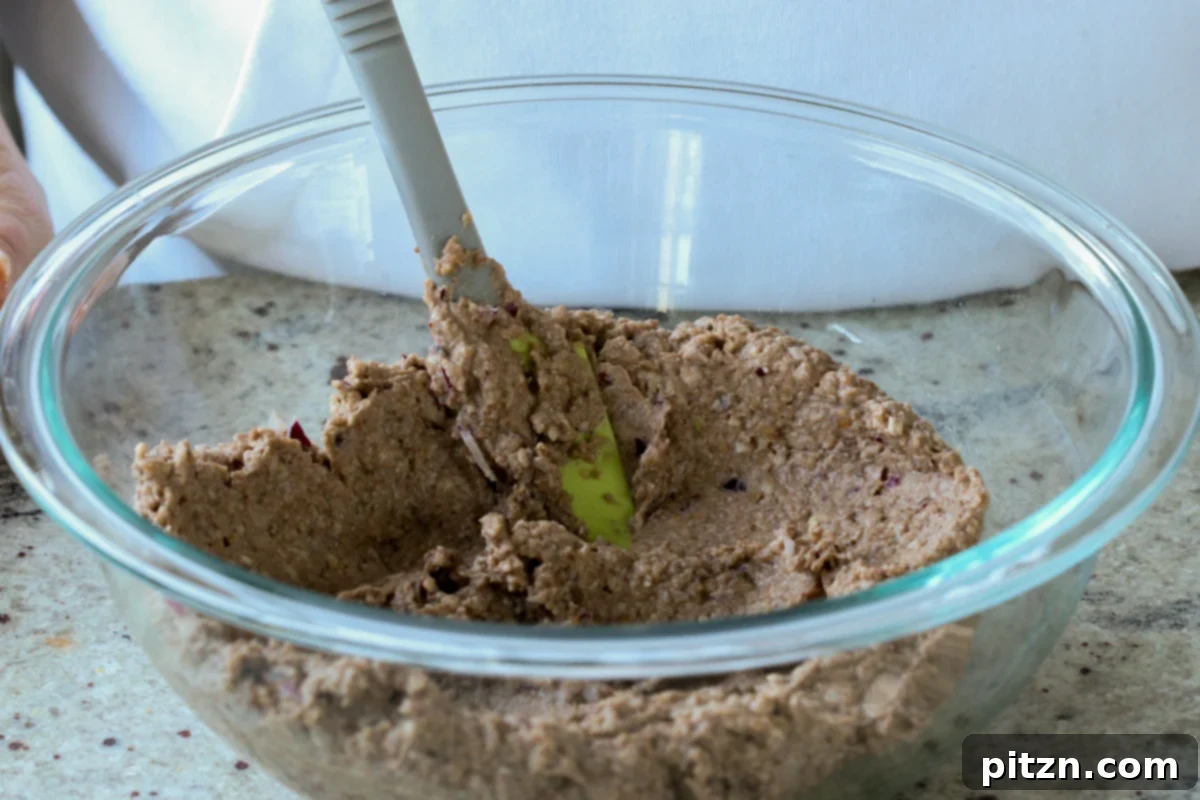
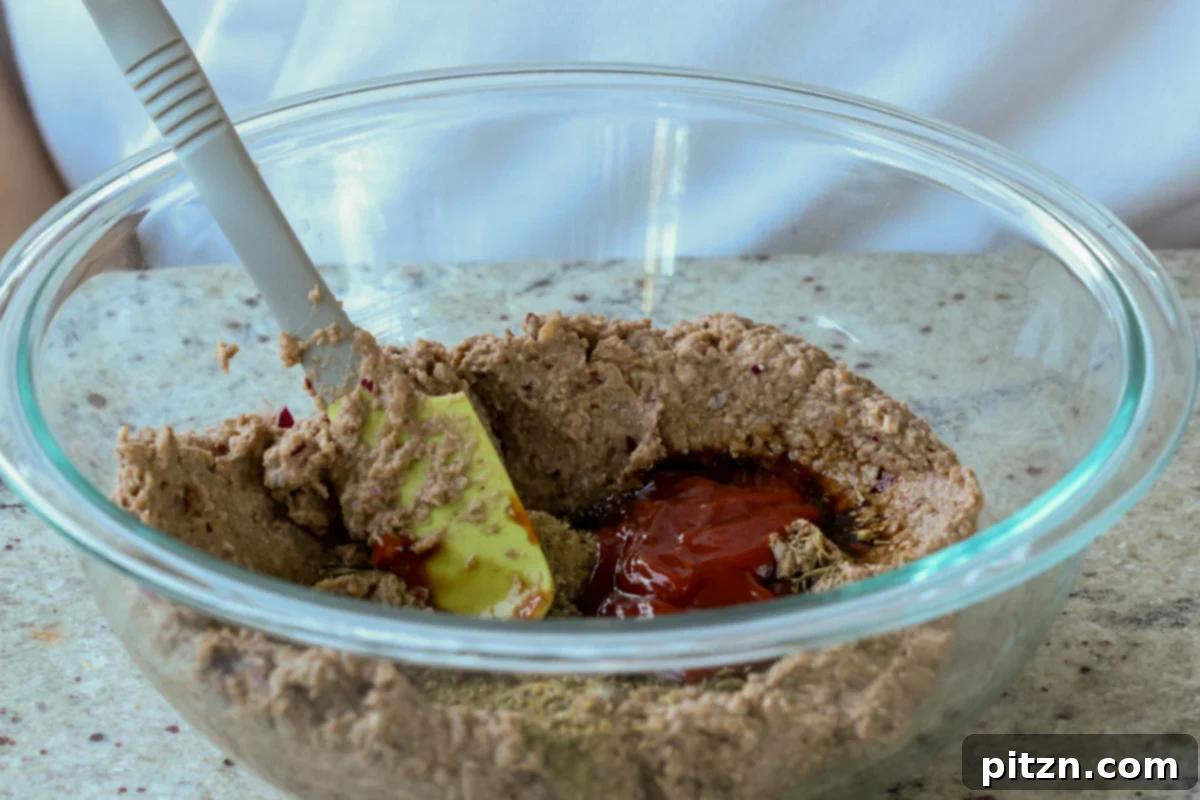
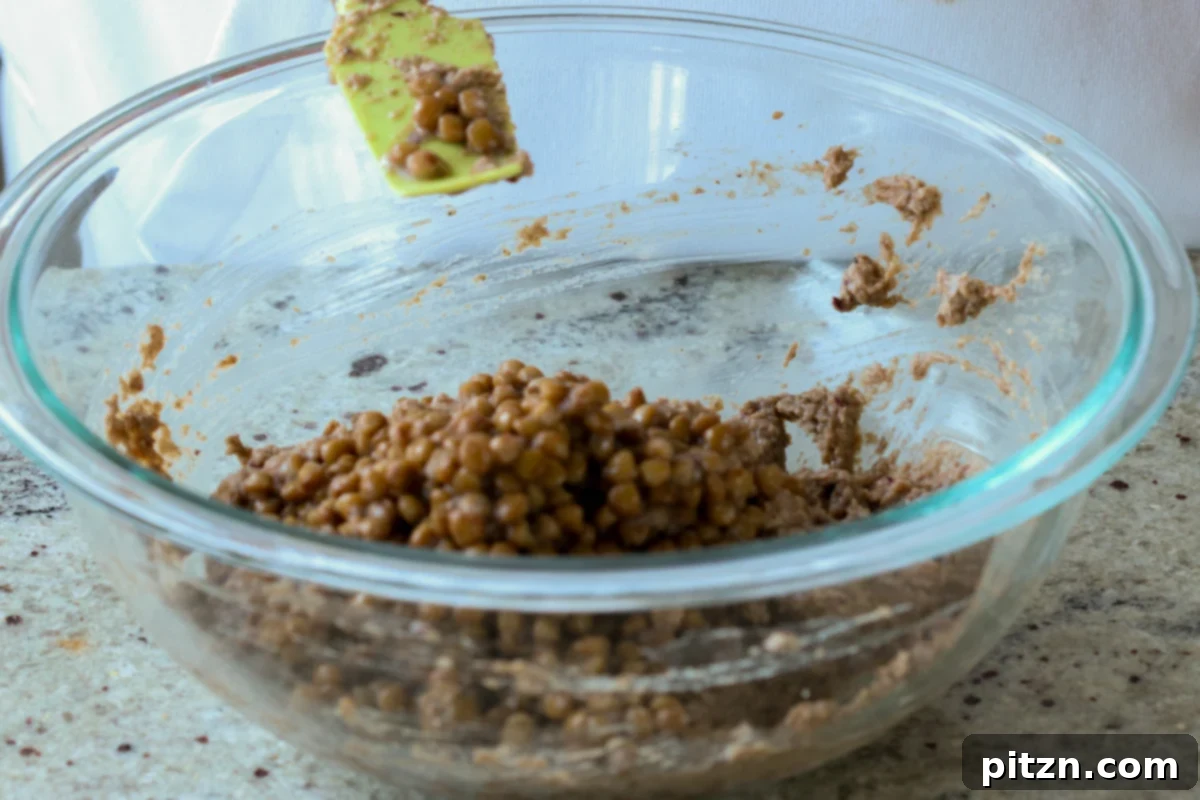
5. **Optional veggies:** For a more vibrant look and added nutrition, feel free to fold in 2 tablespoons of green peas and 1 tablespoon of finely chopped carrots at this point.
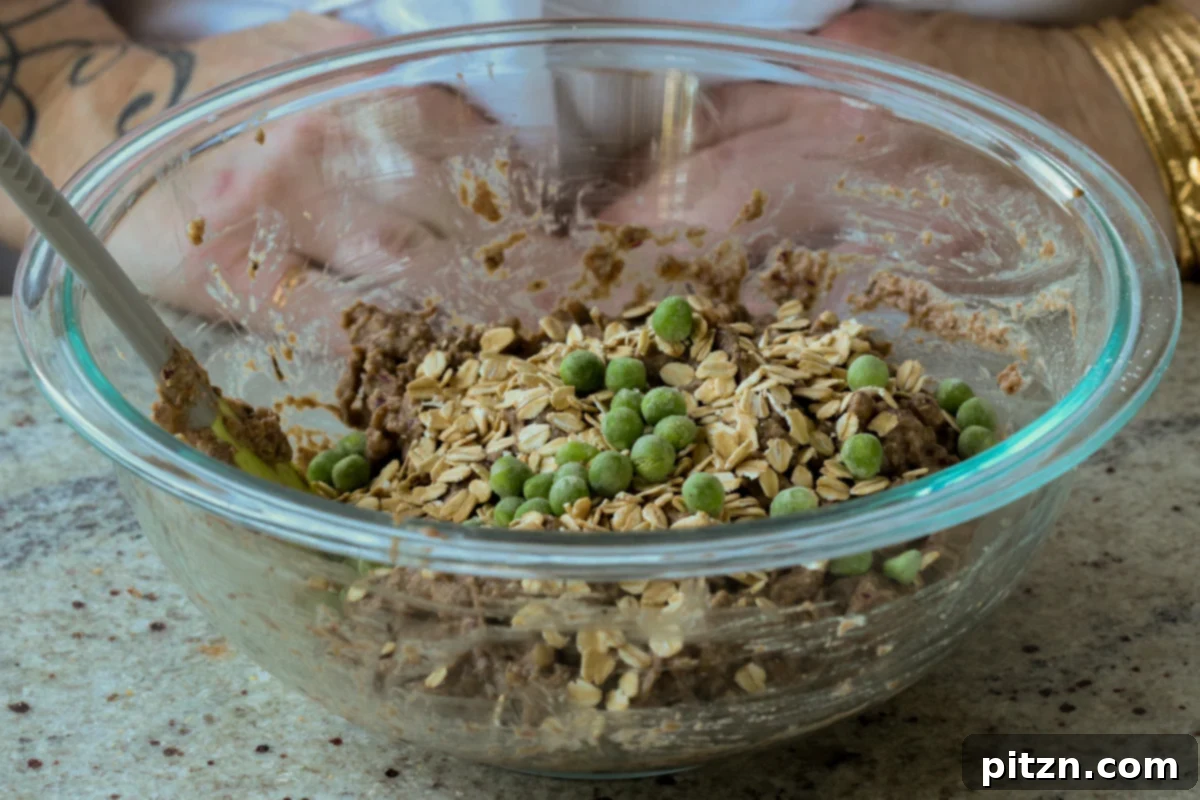
6. **Adjust moisture and mix:** If the mixture seems overly moist, stir in an additional tablespoon of cornstarch. Mix just enough to combine; avoid overmixing to preserve some delightful texture from the whole lentils and any added vegetables. This texture is important for a more appealing loaf.
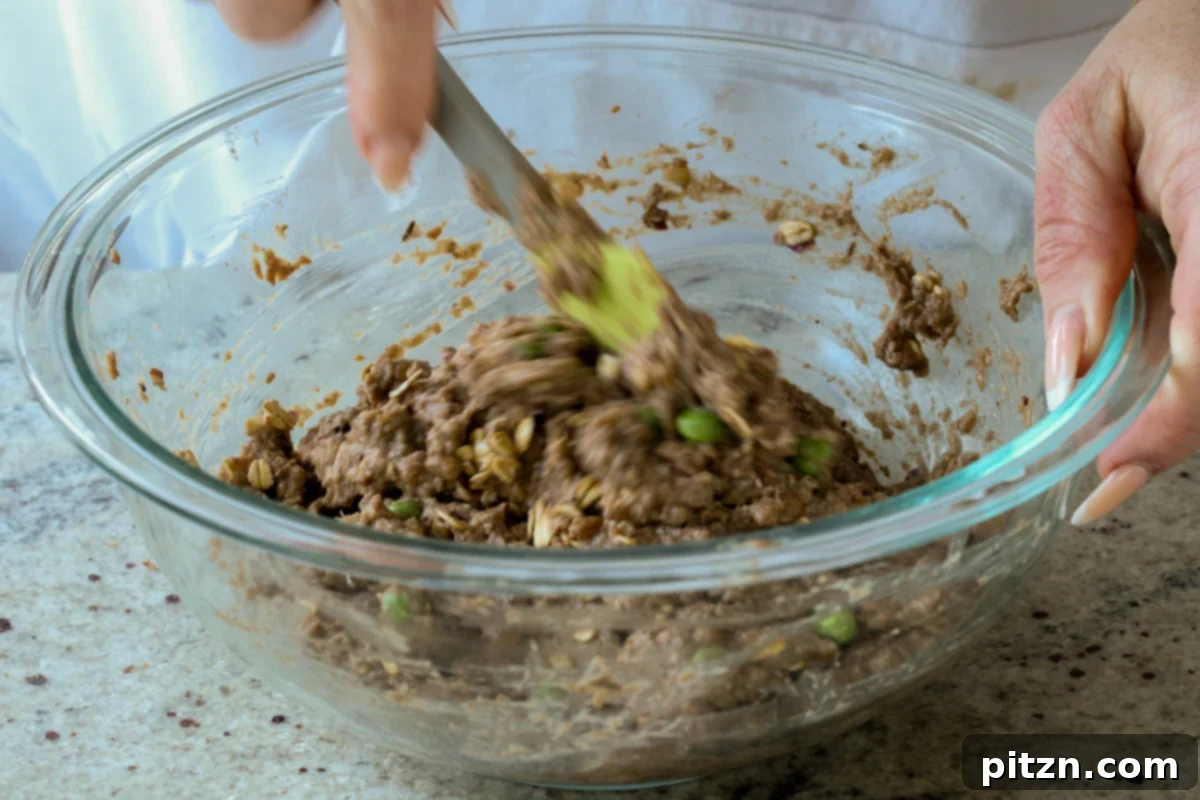
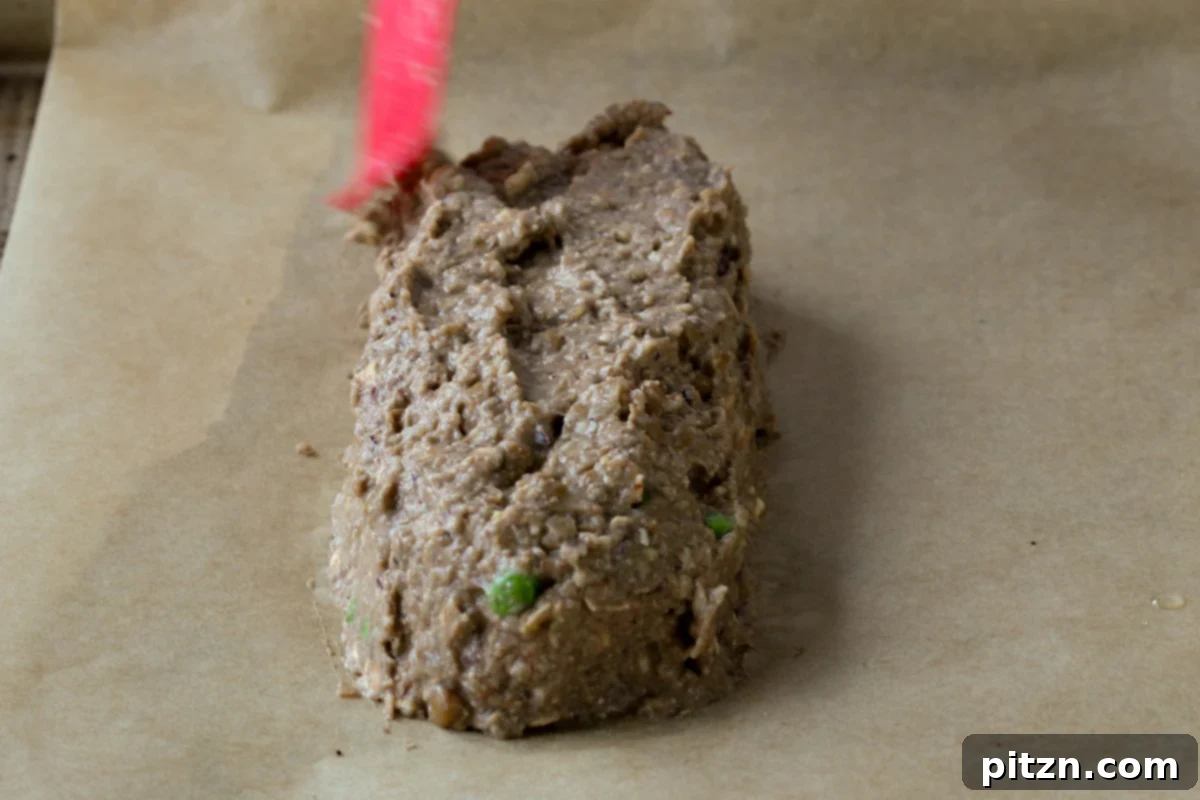
7. **Rest and shape:** Let the mixture sit for 5 minutes. This allows the flaxseed meal, starch, and oats to fully absorb moisture, which is vital for a firm loaf. Lightly oil your hands, then divide the mixture into two equal portions. Shape each portion into a compact mini loaf, aiming for a height of 3/4 to 1 inch. Place them on a parchment-lined baking sheet. This shaping is quite simple; you can just scoop the mixture and form it with your hands.
8. **Initial bake:** Bake the loaves for 20 minutes or until their tops are set and begin to turn a light golden color. This pre-bake ensures the loaf holds its shape and develops some crust before being wrapped.
Step 2: Craft the Gluten-Free Almond Flour Pastry Crust
While the lentil loaves are baking and cooling, prepare the flexible and flavorful crust.
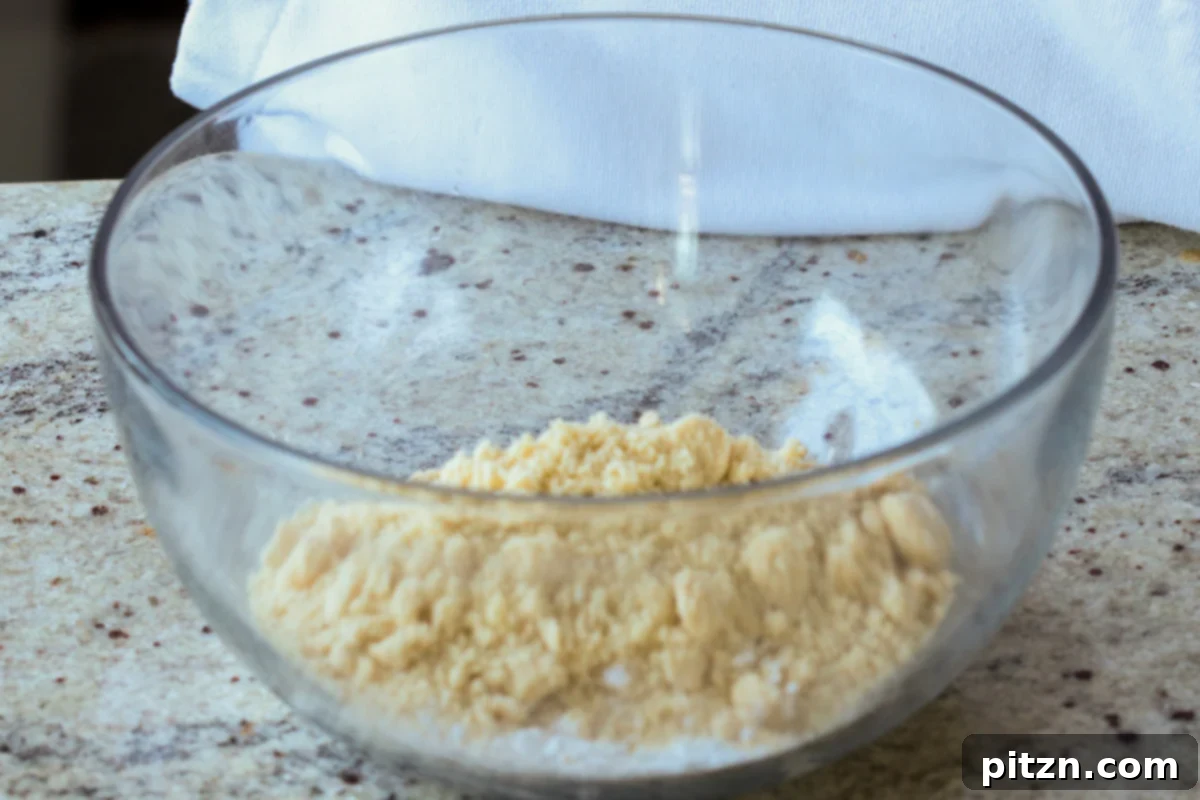
1. **Combine dry crust ingredients:** In a separate bowl, add the blanched almond flour, tapioca starch, 1/2 teaspoon Italian herbs, 1/2 teaspoon garlic powder, and 1/2 teaspoon salt. Mix these dry ingredients very thoroughly, ensuring you press and break up any lumps in the almond flour for an even texture.
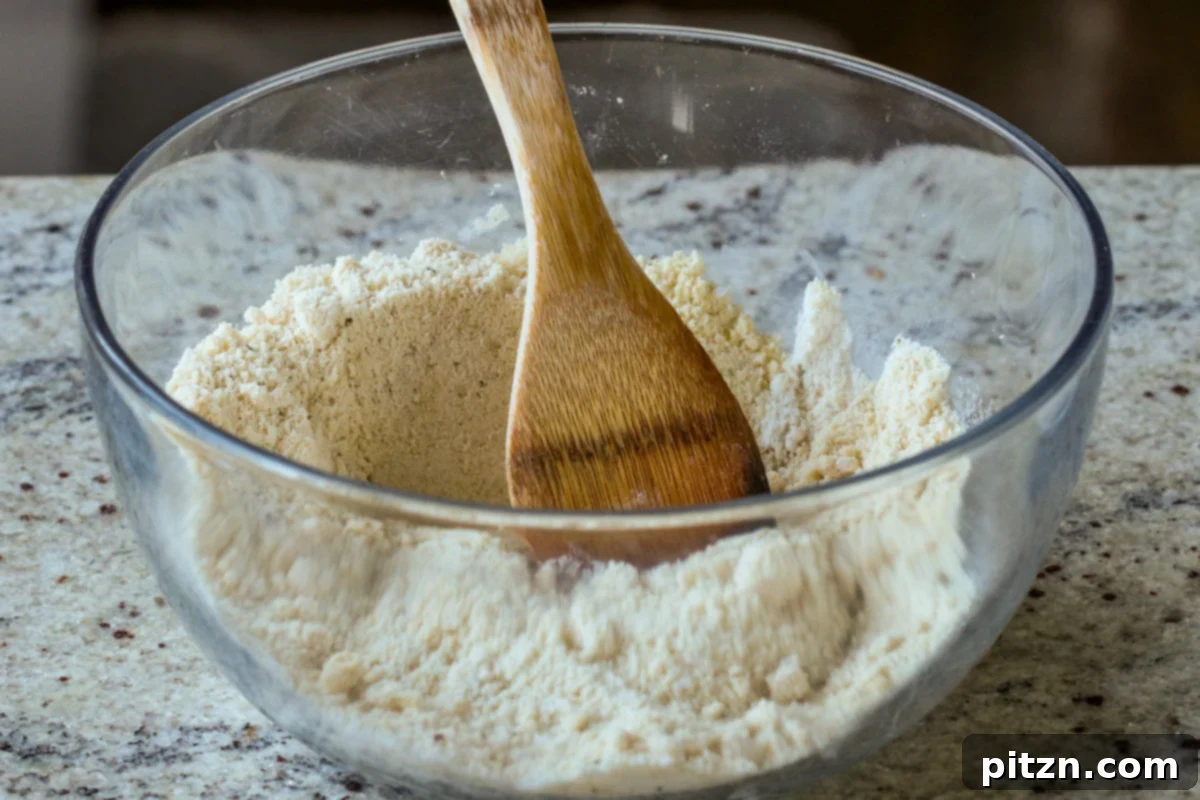
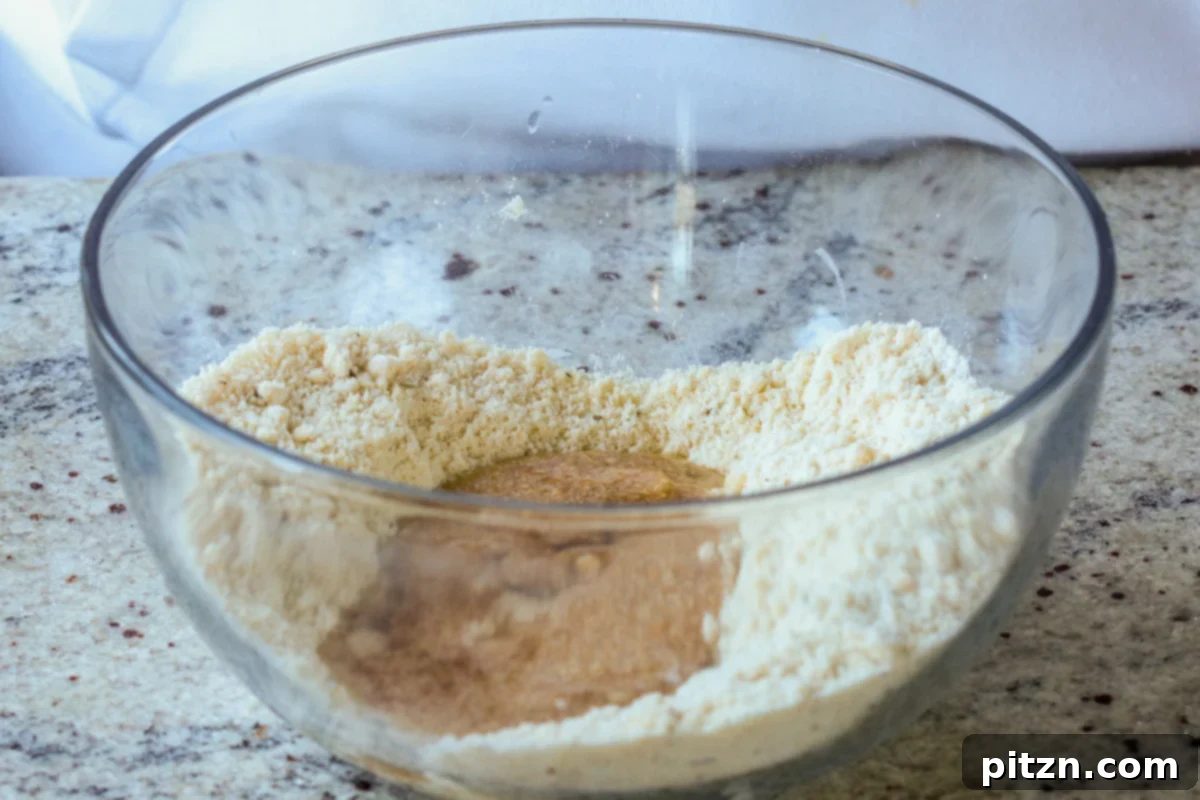
2. **Add wet ingredients and form dough:** Pour in the flax egg (1.5 tablespoons flaxseed meal mixed with 4 tablespoons water), melted coconut oil, and maple syrup. Mix thoroughly. At first, the mixture might seem dry and crumbly. Keep mixing and pressing for at least one minute before considering adding more liquid. The goal is a cohesive, pastry-like dough. If it’s still too crumbly, add water or non-dairy milk in small sprinkles (1/2 teaspoon at a time) until it just comes together. Avoid making it too soft, as this will make rolling difficult. You want a firm but pliable dough.
3. **Chill the dough:** Place the dough in the freezer for 10 to 15 minutes. This chilling process helps the fats solidify, making the dough much firmer and easier to roll out without sticking.
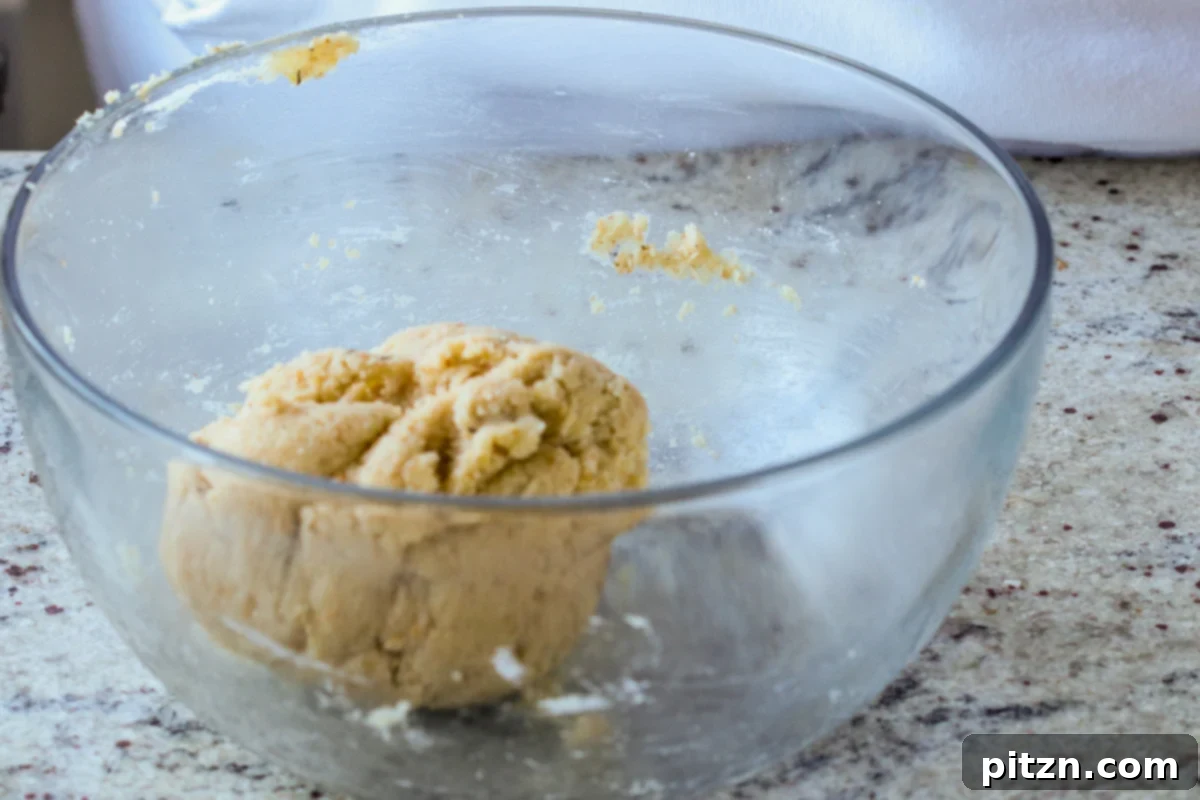
Step 3: Assemble and Bake the Wellingtons
The grand finale! Bring all your prepared components together for a festive feast.
1. **Cool the loaf:** Once your lentil loaves are baked, remove them from the oven and allow them to cool completely to room temperature. This step is critical; a warm loaf will cause the pastry to become sticky and difficult to manage.
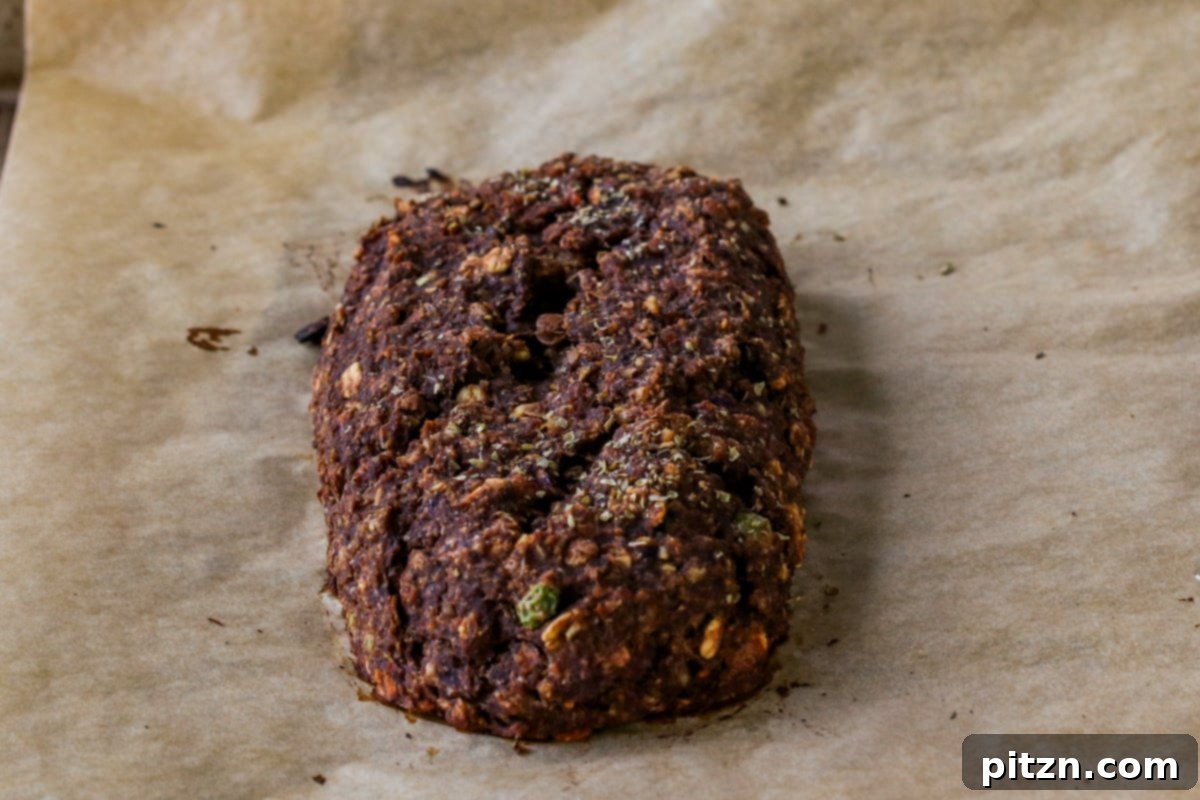
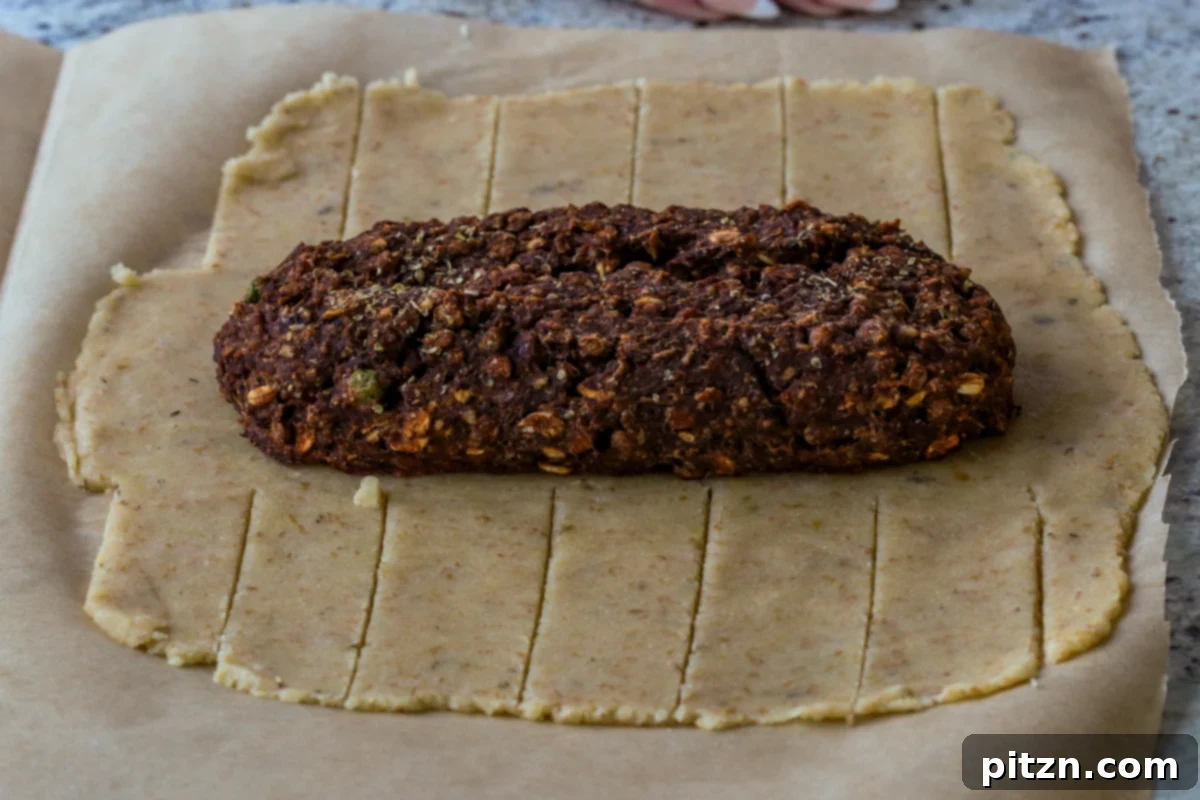
2. **Roll out the crust:** Take one half of your chilled pastry dough from the freezer. Place it between two sheets of parchment paper. Roll out the dough into a rectangular shape. It should be relatively easy to roll; you can even use your hands to spread it. If the shape isn’t perfect, use a knife to trim it into a neat rectangle, and set aside any excess dough for decorations.

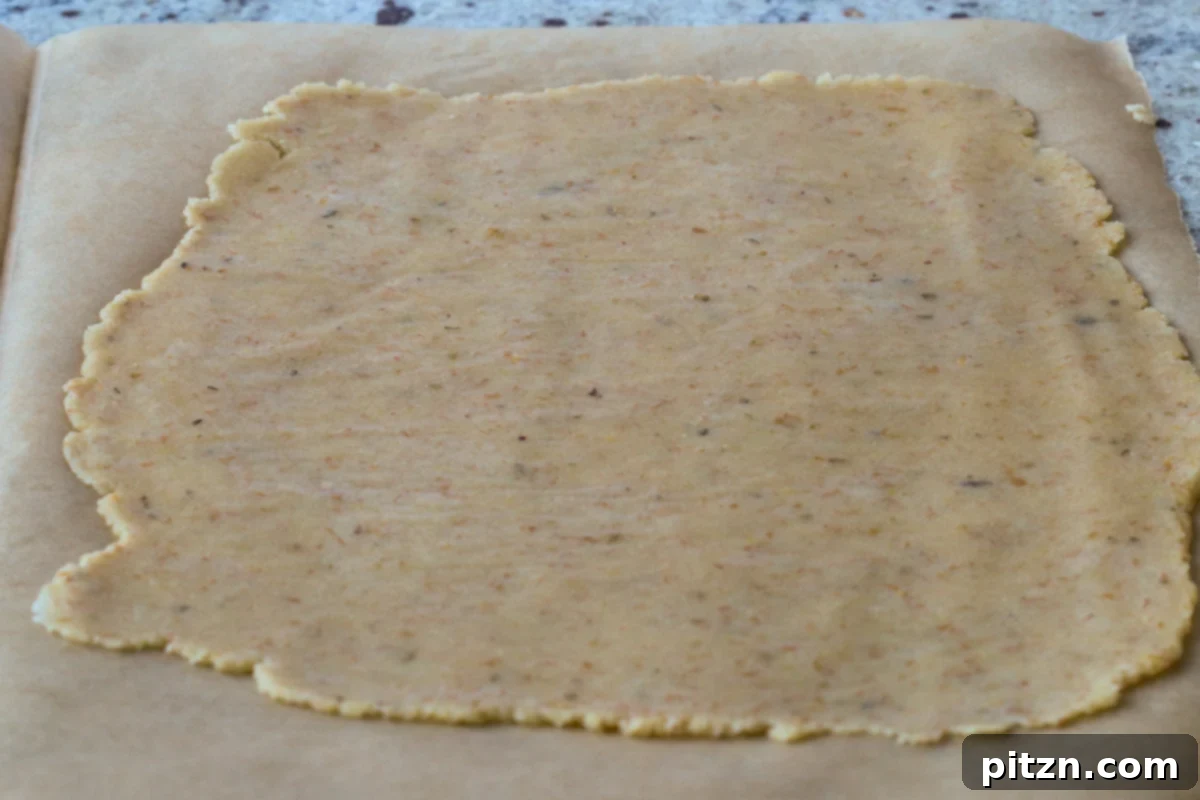
3. **Wrap the loaf:** Ensure the width of your rolled dough is approximately the same length as your lentil loaf. Carefully place one cooled lentil loaf in the middle of the dough. Now, you can get creative! Either wrap the pastry completely around the loaf, sealing the edges, or cut the sides of the dough into ribbons and crisscross them over the loaf for an elegant braided effect. If any ribbons break, simply press them back onto the dough – this pastry is quite forgiving.
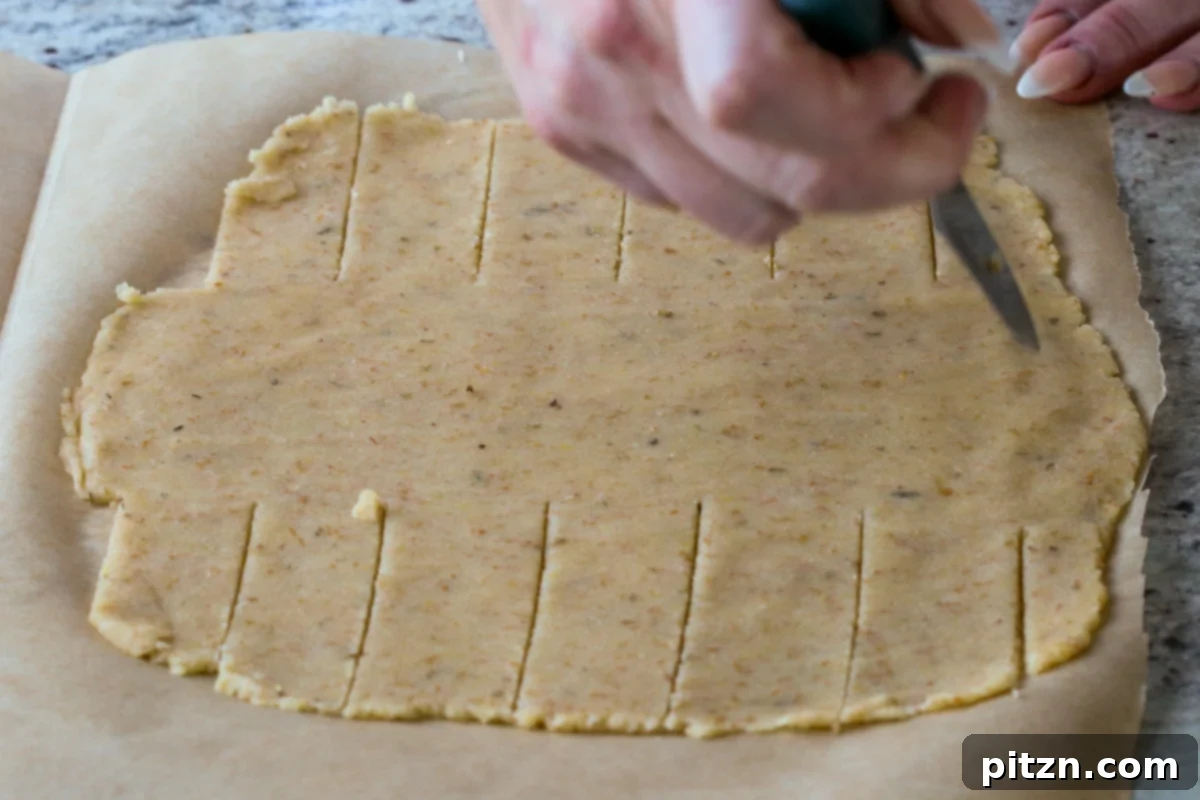
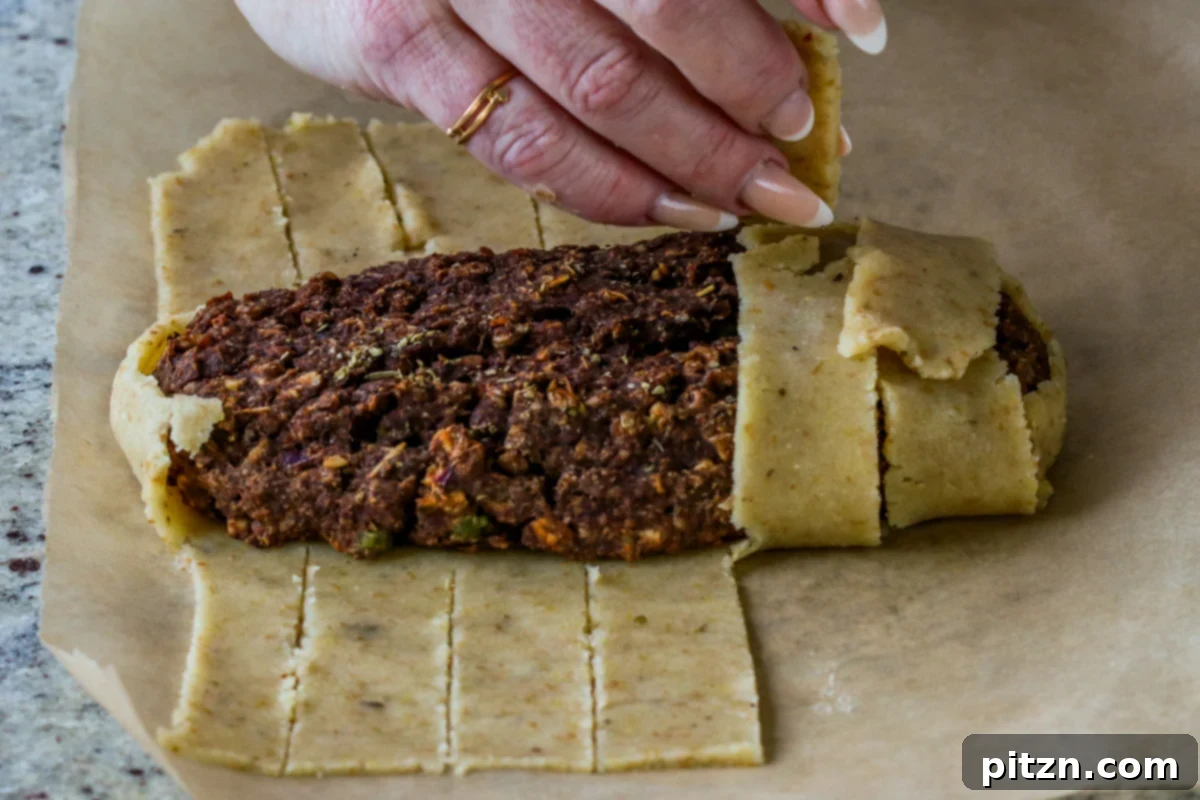
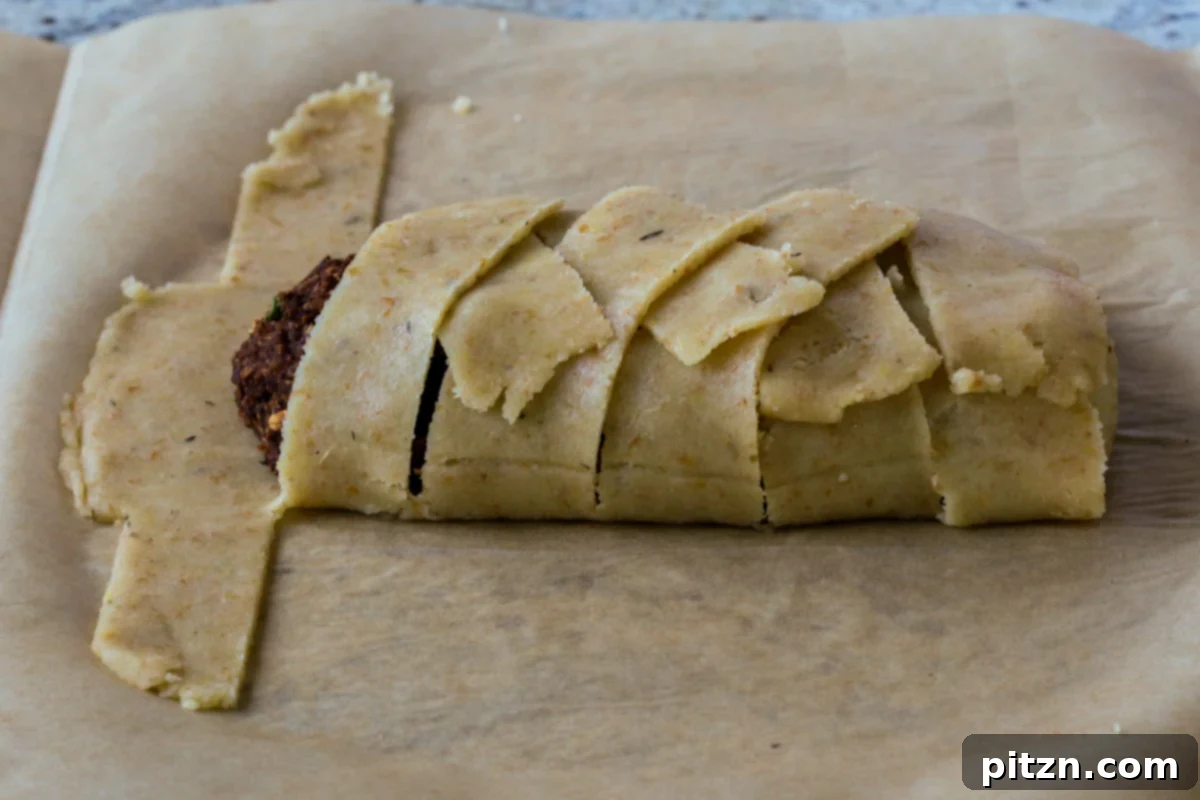
4. **Decorate and vent:** Once your Wellington is beautifully wrapped and designed, use a toothpick to gently pierce a few small holes in the top of the pastry. This allows steam to escape, preventing the crust from becoming soggy. You can use any extra dough scraps to create additional decorative elements like leaves or strips and place them on top.
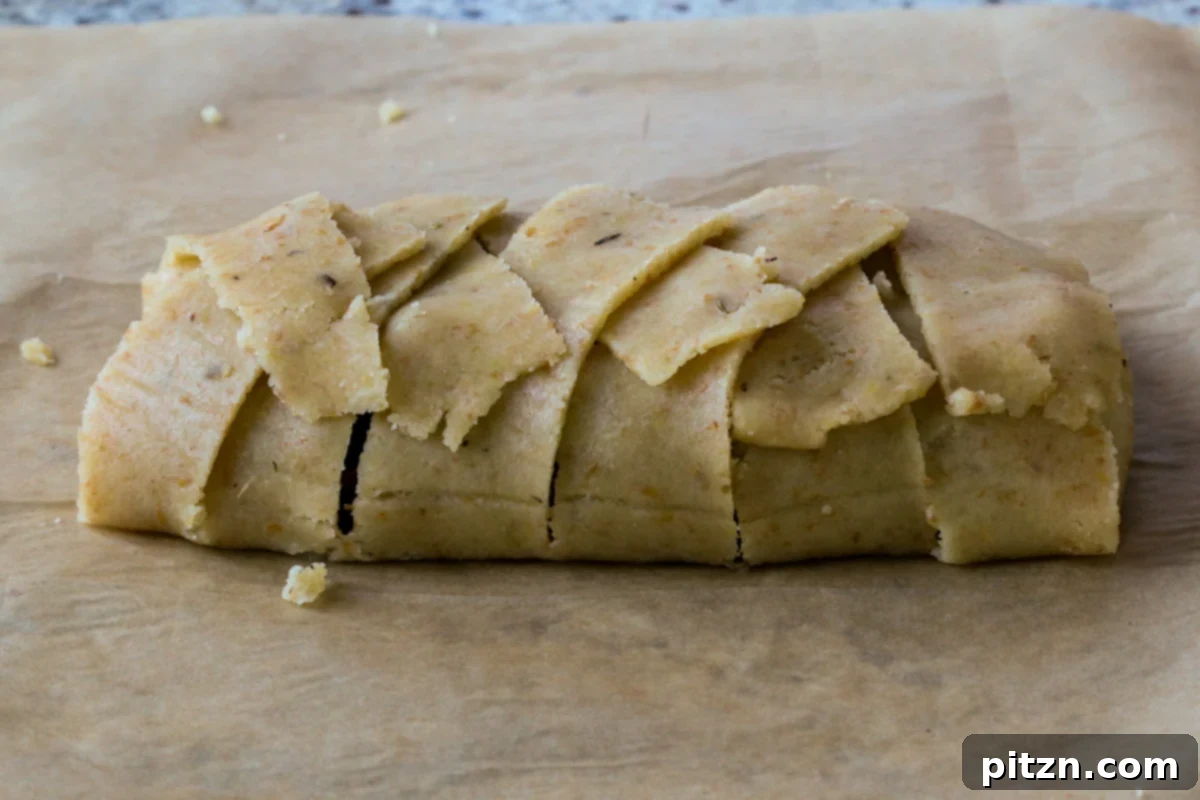
5. **Brush and bake:** Lightly brush the top of the Wellington with a little olive oil. This promotes a lovely golden-brown crust. Repeat the entire wrapping process for the second lentil loaf. Place both Wellingtons on a parchment-lined baking sheet.
6. **Final bake:** Bake the Wellingtons at 350° F (177° C) for 20 minutes, or slightly longer, until the crust achieves a beautiful golden color. Be mindful not to overbake, as an overly dark or crispy crust might detach when slicing. A gentle golden hue is perfect. If you prefer a crispier crust, you can extend the baking time slightly, but be aware of potential flakiness.
7. **Serve with flair:** Once baked to perfection, remove the Wellingtons from the oven. For an aromatic finish, brush a little more olive oil over the golden crust and sprinkle with fresh Italian herbs or a hint of thyme. Allow them to rest for a few minutes before slicing into generous portions. Serve immediately with your favorite rich vegan gravy for a truly indulgent and memorable holiday entree.
Frequently Asked Questions About Vegan Wellington
Absolutely! This **Gluten-Free Vegan Wellington** is thoughtfully designed to be both gluten-free and soy-free, making it suitable for individuals with those common dietary restrictions. If you need a nut-free option, you can easily adapt the recipe. Simply replace the pecans in the lentil loaf with an equal amount of pumpkin seeds. For the crust, you have a couple of choices: you can omit the pastry entirely and enjoy a delicious lentil “meatloaf,” or, if available in your area, seek out a certified gluten-free and nut-free vegan puff pastry to use for wrapping.
Yes, smart make-ahead strategies can significantly streamline your holiday cooking! You can prepare both the flavorful lentil loaf and the almond flour pastry dough up to 2 to 3 days in advance. Store the cooled lentil loaf and the chilled dough separately in airtight containers in the refrigerator. However, for the best possible texture and taste, especially for the crispness of the crust, we strongly advise against assembling and baking the entire Wellington ahead of time. The pastry tends to absorb moisture from the lentil loaf if left overnight, resulting in a softer crust. Instead, assemble and bake your Wellingtons just a few hours before your event for an impressive, freshly baked centerpiece that will truly delight your guests.