
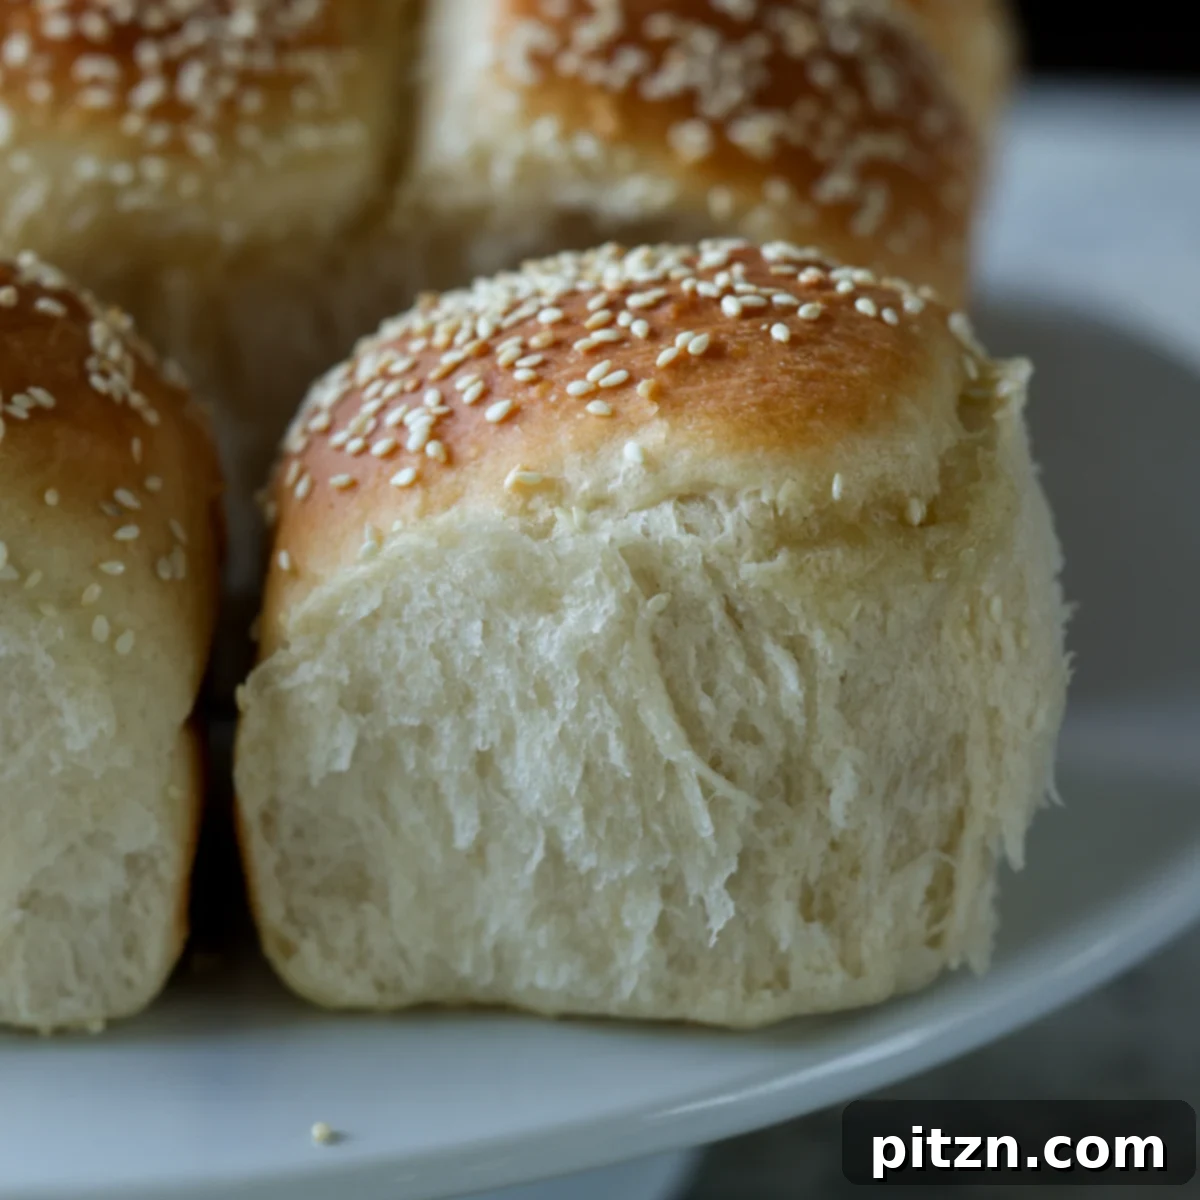
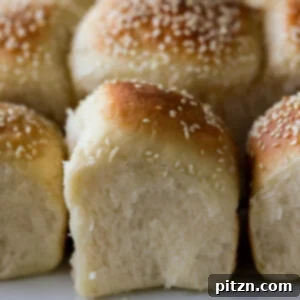
There’s nothing quite like the comforting aroma and pillowy texture of freshly baked dinner rolls. This recipe unlocks the secret to making truly fluffy vegan dinner rolls that are irresistibly soft and moist, making them a perfect addition to any meal, from holiday feasts to simple weeknight dinners. Using readily available ingredients, you’ll be amazed at how easy it is to achieve bakery-quality results right in your own kitchen.
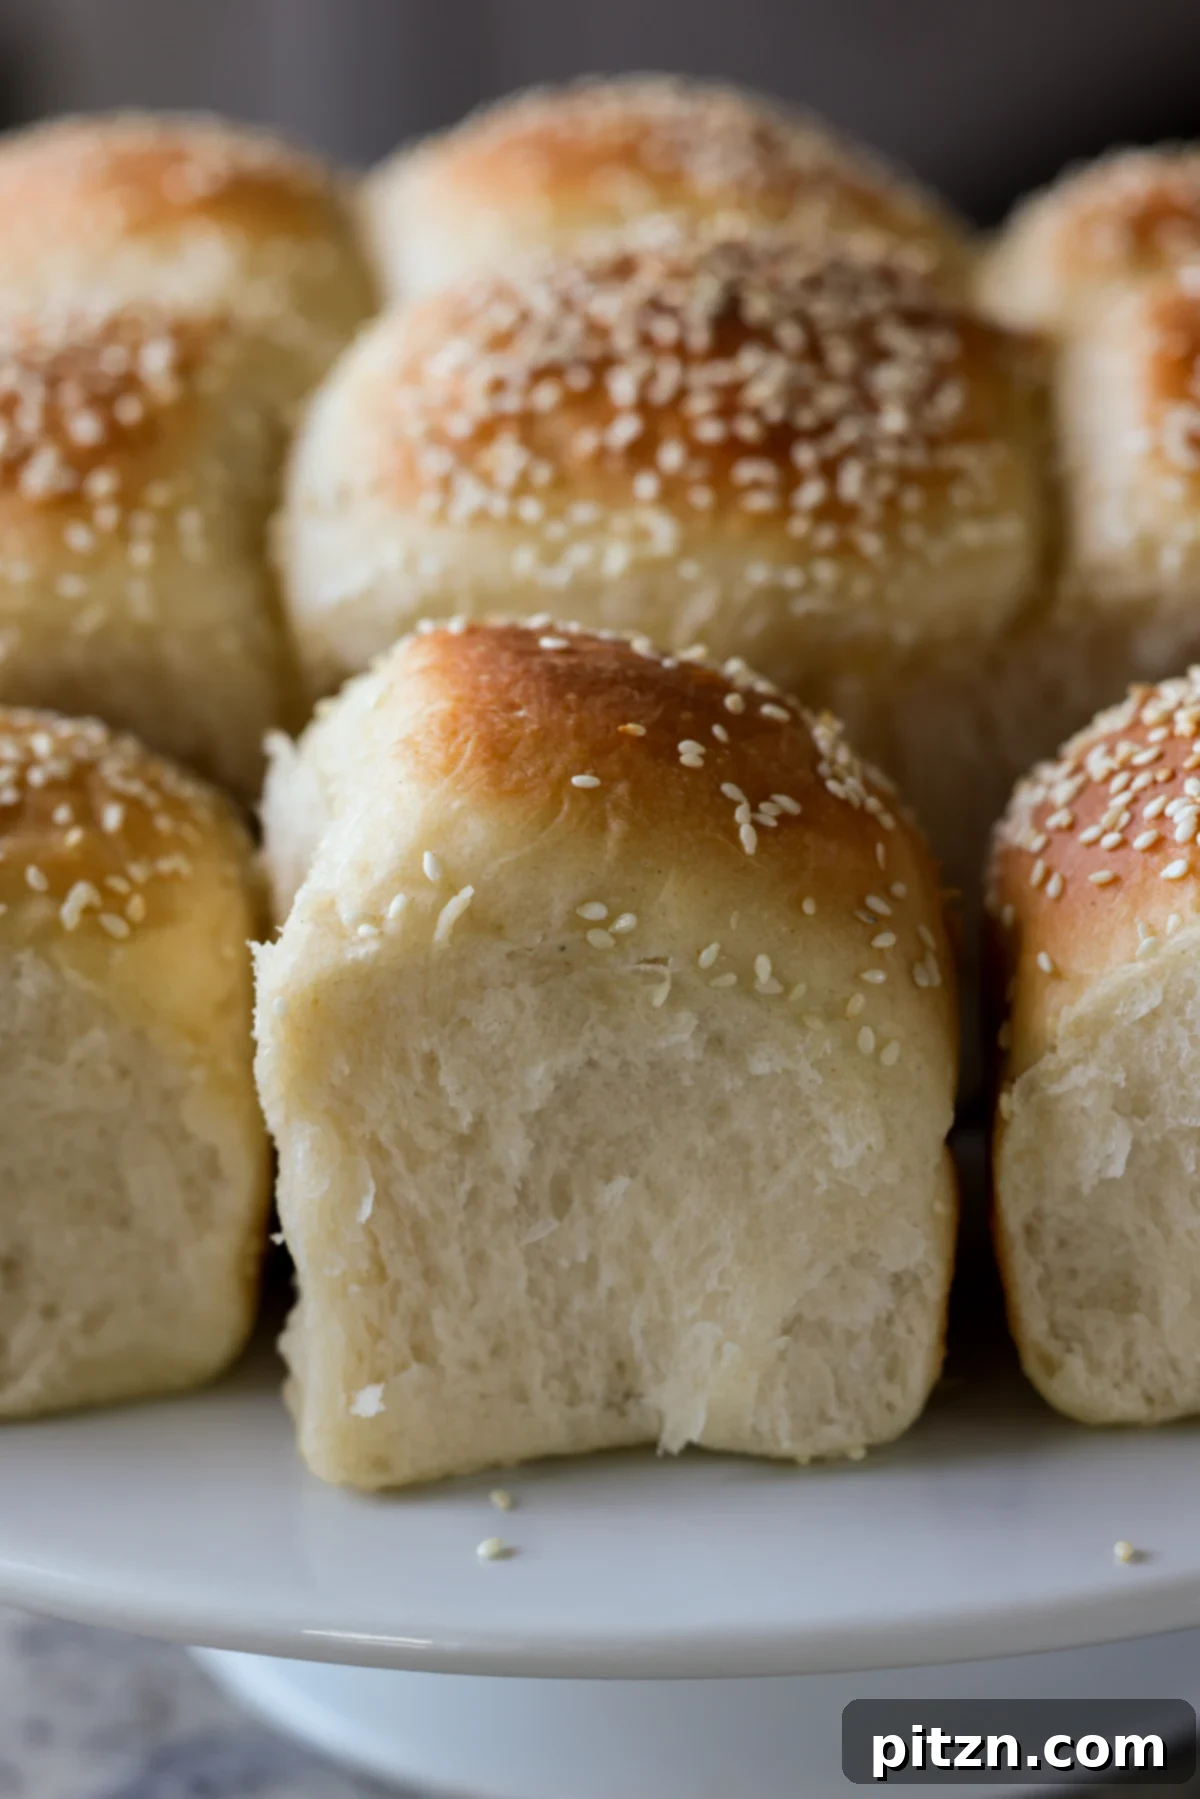
Table of Contents
- Why You’ll Love These Fluffy Dinner Rolls
- More Delicious Dinner Rolls
- Fluffy Vegan Dinner Rolls Recipe
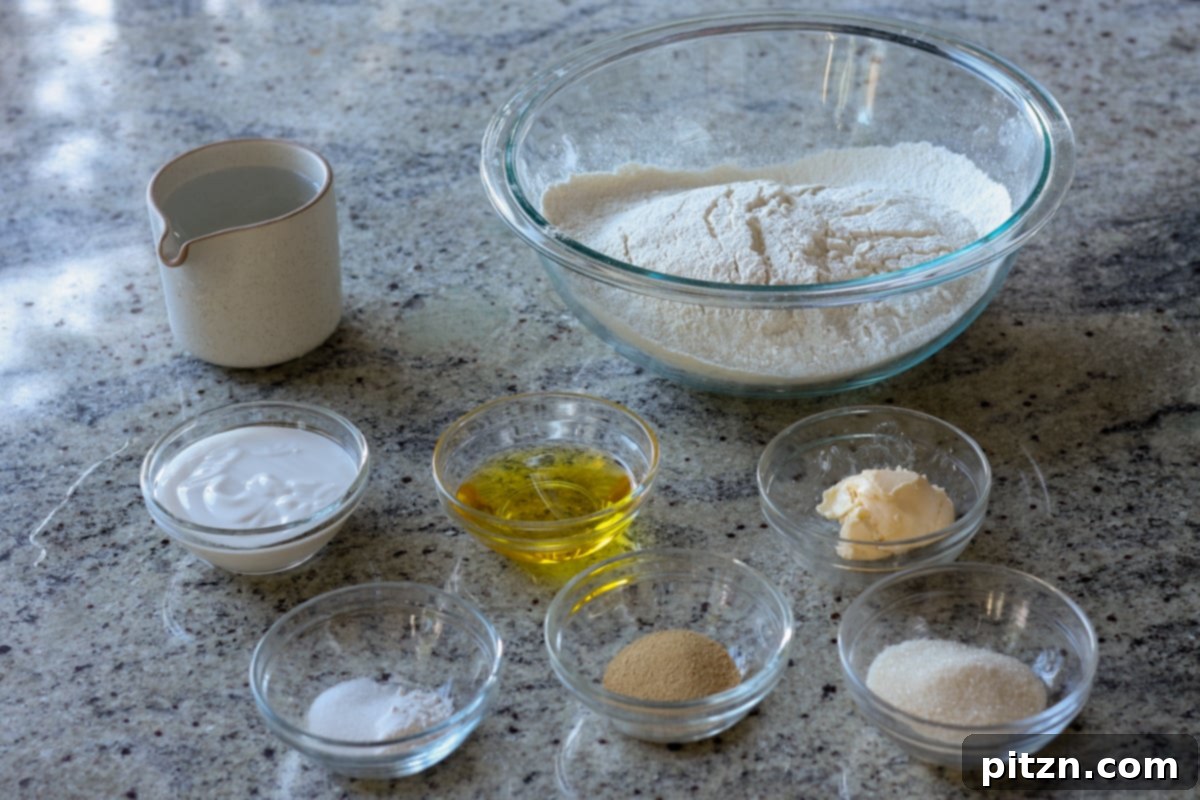
- Essential Ingredients and Clever Substitutions
- 💡 Expert Baking Tips for Perfect Rolls
- Step-by-Step: How to Make Soft White Dinner Rolls
- What to Serve with Your Vegan Dinner Rolls
- Frequently Asked Questions About Dinner Rolls
These incredibly soft dinner rolls are a testament to how simple ingredients, combined with a little patience, can yield spectacular results. The dough itself is remarkably versatile, allowing you to venture beyond rolls to create pizza crusts, burger buns, cheesy garlic dinner rolls, or even fluffy naan. This recipe, originally published in May 2016, has been perfected over time to guarantee a consistently excellent outcome.
The true magic behind achieving these pillowy soft dinner rolls lies in understanding a few key principles, primarily patience during the rising process. Letting the dough proof for the recommended time is crucial for developing its light and airy texture. My secret weapon for the ultimate pillowy texture involves creating a dough with ample moisture from both liquids and fats. I use a combination of extra virgin olive oil and vegan butter, which together impart a wonderful flavor profile and contribute significantly to the rolls’ tender crumb. Furthermore, a touch of vegan yogurt is added to enhance moisture and ensure an even softer final product. If vegan yogurt isn’t on hand, non-dairy cream or coconut cream can be excellent alternatives.
To give these rolls an extra boost of lightness as they bake, I incorporate a small amount of baking powder alongside the yeast. This combination is particularly effective because yeast and baking powder activate at different stages of the baking process. Yeast works during the initial proofing and the beginning of baking, while baking powder provides an additional lift once the rolls are in the oven. This dual-action leavening system is what truly makes these the most fluffy, pillowy dinner rolls EVER! For those looking for a whole wheat option, explore my recipe for soft whole wheat dinner rolls.
Why You’ll Love These Fluffy Dinner Rolls
These homemade vegan dinner rolls are more than just a side dish; they’re an experience. Here’s why they’re destined to become a staple in your kitchen:
- Effortlessly Easy: Crafted with a handful of common pantry staples, this recipe simplifies the art of bread-making, making it accessible even for novice bakers. The steps are straightforward, leading to successful results every time.
- Unbelievably Light and Fluffy: The dynamic duo of yeast and baking powder creates an unparalleled rise, resulting in rolls that are incredibly airy, soft, and melt-in-your-mouth tender. Say goodbye to dense, heavy bread!
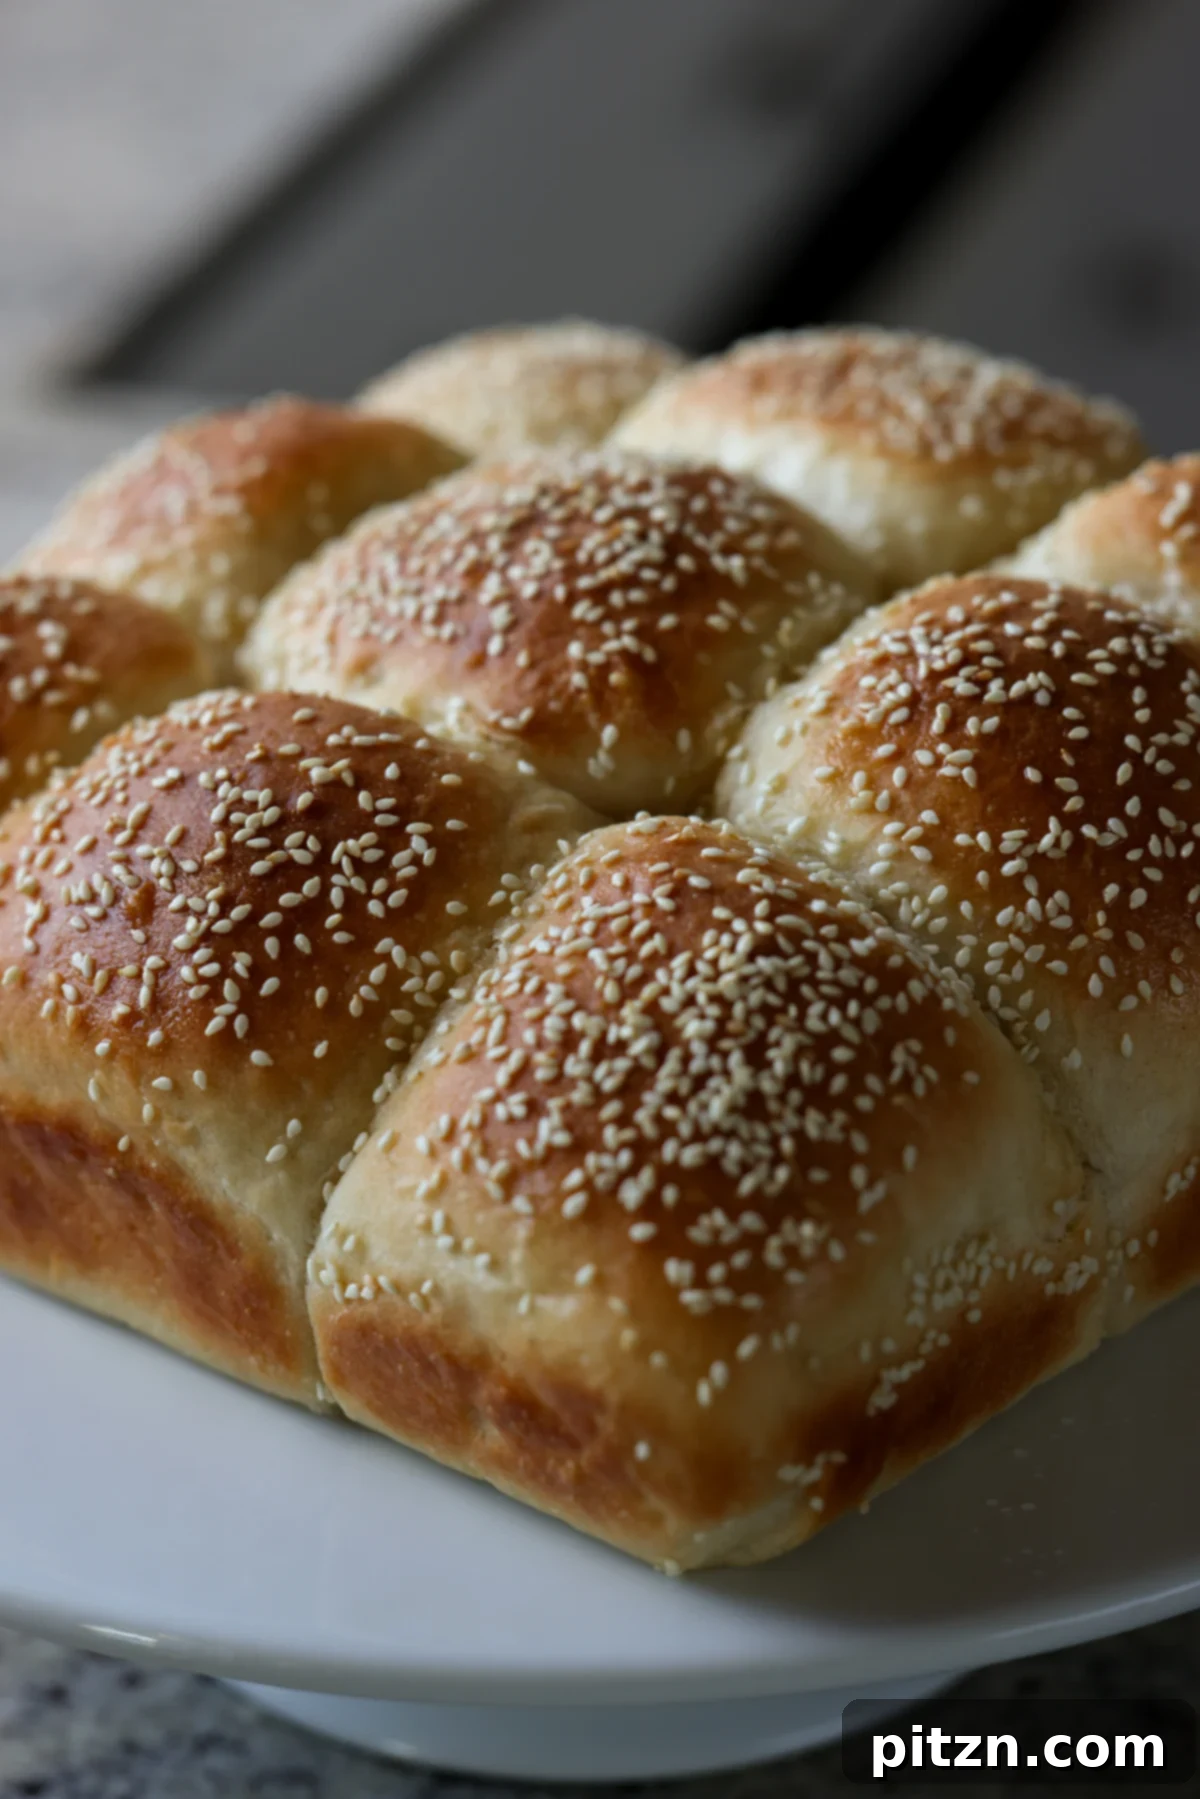
- Remarkably Versatile: This basic dough recipe is a blank canvas for your culinary creativity. Sprinkle sesame seeds, poppy seeds, or everything bagel seasoning on top for added texture and flavor. Infuse the dough with fresh or dried herbs like rosemary, thyme, or chives. You can even experiment with a savory garlic parmesan variation for an extra layer of deliciousness.
- Allergy-Friendly Options: Easily adaptable to dietary needs, this recipe can be made nut-free and soy-free by selecting appropriate vegan butter and non-dairy yogurt alternatives, ensuring everyone can enjoy these delightful rolls.
- Perfect for Any Occasion: Whether it’s a casual family dinner, a festive holiday gathering, or a potluck with friends, these homemade dinner rolls are always a crowd-pleaser. Their universal appeal makes them suitable for every kind of celebration.
More Delicious Dinner Rolls
Craving more amazing bread? Explore these other fantastic dinner roll recipes from our collection:
- Gluten-Free Dinner Rolls: A wonderful option for those with gluten sensitivities, offering excellent texture and flavor.
- Soft Whole Wheat Dinner Rolls: For a heartier, nutritious alternative without compromising on softness.
- Coconut Dinner Rolls: A subtly sweet and exotic twist on traditional rolls.
- Sweet Potato Dinner Rolls: Naturally vibrant and moist, these rolls offer a delightful sweetness and beautiful color.
Fluffy Vegan Dinner Rolls Recipe
Rated 5 stars from 8 votes
Vegan Richa
45 mins
20 mins
2 hrs
3 hrs 5 mins
9
Bread
Vegan
Print Recipe
Don’t miss a single delicious recipe! Sign up for our newsletter to get new recipes delivered straight to your inbox every week, and never miss out on our latest creations.
Ingredients
- 1 cup warm water
- 2 teaspoons active yeast
- 2 tablespoons sugar (or maple syrup)
- 3 1/2 cups all-purpose flour (or bread flour, or more, if needed, divided)
- 2 teaspoons vital wheat gluten (optional, for extra chewiness and rise)
- 1 teaspoon salt
- 1/2 teaspoon baking powder
- 2 tablespoons melted vegan butter
- 2 tablespoons extra virgin olive oil
- 1/4 cup non-dairy yogurt (at room temperature; or use non-dairy cream, cashew cream, or coconut cream)
- sesame seeds (or other seeds of choice, for topping, optional)
- 1 to 2 teaspoons herbs (such as chive, basil, parsley, etc., optional)
Instructions
-
Activate the yeast: Begin by warming the water to approximately 110° F (43° C). It should feel pleasantly warm to the touch, but not hot, as excessively hot water can kill the yeast. Pour the warm water into a large bowl, then add the active yeast and sugar. Stir gently to combine. Allow this mixture to sit undisturbed for about 10 minutes until it becomes visibly frothy. This frothing indicates that your yeast is active and ready to work its magic. If no frothy layer appears, your yeast may be old or dead, and it’s best to start with fresh yeast.
-
In a separate, medium-sized bowl, combine 3 cups of the all-purpose flour with the salt, baking powder, and vital wheat gluten (if you’re using it). Whisk these dry ingredients together thoroughly to ensure even distribution. Next, pour the activated yeast mixture into the bowl with the dry ingredients. Add the melted vegan butter, olive oil, and non-dairy yogurt. Mix everything together using a spoon or a stand mixer with a dough hook until all ingredients are just combined. At this stage, the dough will be quite sticky and shaggy.
-
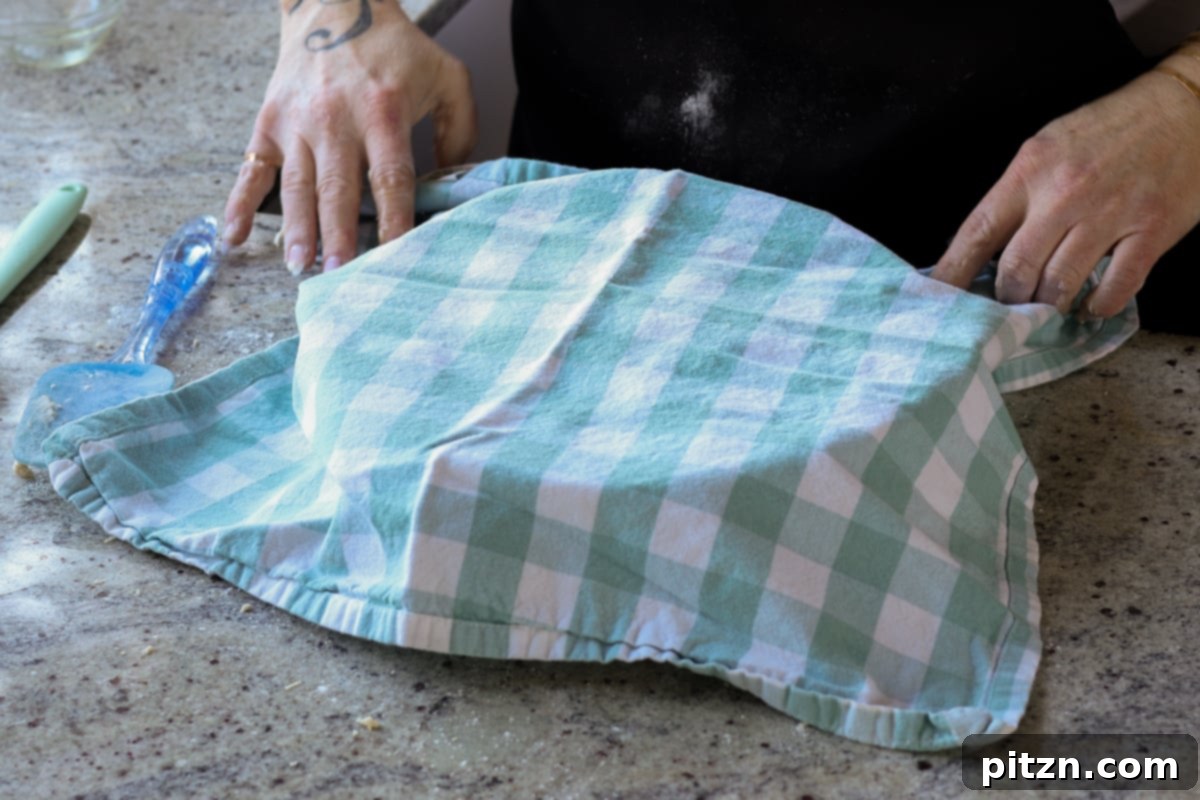
Knead the dough: Gradually begin adding the remaining flour, 1 to 2 tablespoons at a time, incorporating it into the dough. Continue kneading, either with a stand mixer (4-5 minutes) or by hand (6-8 minutes), until the dough transforms into a smooth, elastic, and less sticky consistency. When kneading by hand, fold the dough over itself, gently pound it down, then rotate and repeat. This action develops the gluten, which is essential for fluffy rolls. The dough should still be slightly tacky but should not stick aggressively to your hands or the bowl. Once achieved, pull the edges of the dough from the sides and tuck them underneath to form a smooth, round ball. Place the dough ball into a lightly oiled bowl, brush the top with a little oil (or dust with flour to prevent drying), and cover the bowl tightly with a clean kitchen towel.
-
First rise: Position the covered bowl in a warm, draft-free place to rise for 1 to 2 hours, or until it has doubled significantly in size. The exact timing can vary depending on your ambient room temperature. A slightly warm oven (turned off, perhaps after preheating for a few minutes and then turned off) can accelerate this process, allowing the dough to double within an hour.
-
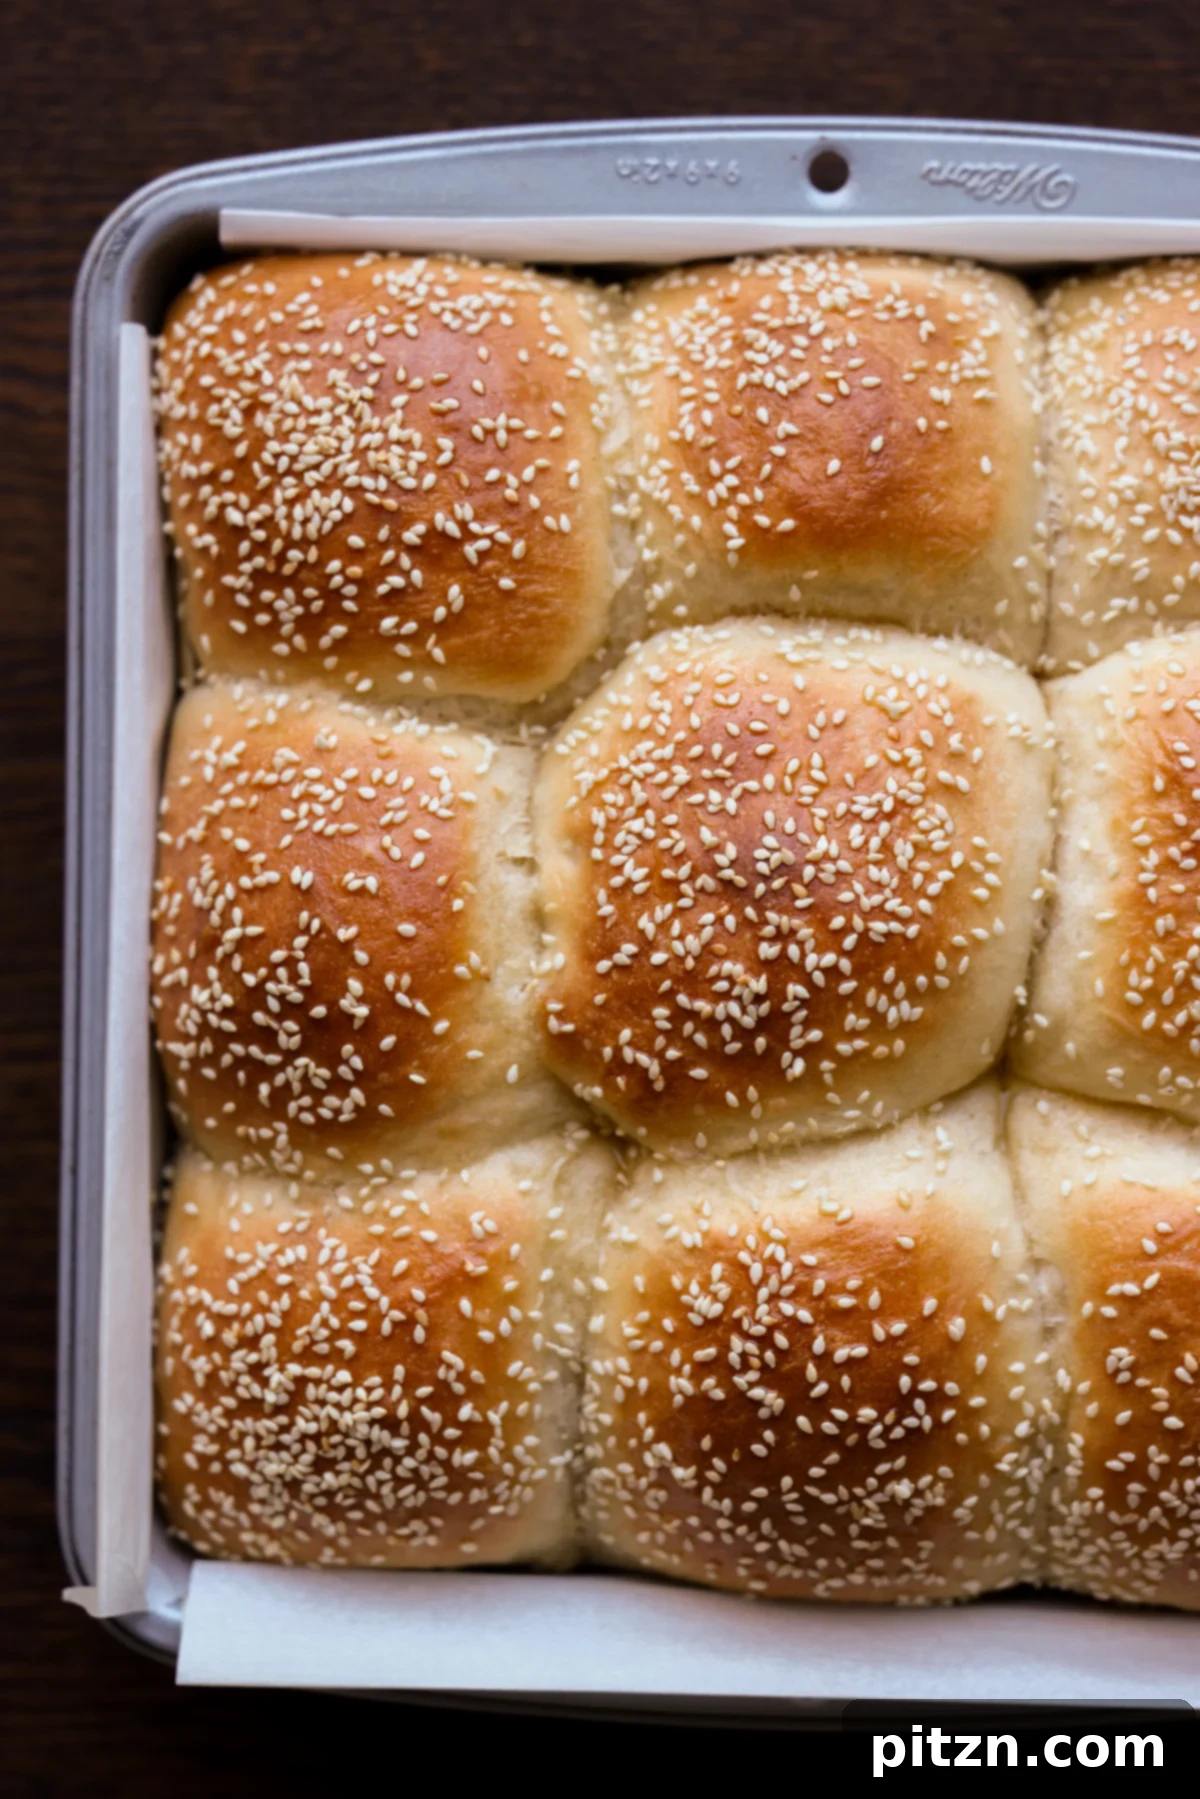
Shape the rolls: Once the dough has successfully risen, gently “punch it down” to release the air. Lightly dust your workspace with flour, then transfer the dough onto it. Knead the dough briefly for another minute, shaping it into a long, uniform log. The number of dinner rolls you’ll get will depend on your desired size and the baking dish you’re using, typically yielding 9 to 12 rolls or even more. Slice the dough log into equal-sized pieces. To shape each piece into a neat ball, either gently roll it between your palms or pull the edges of the dough from the sides and tuck them underneath, then place the tucked-side-down onto a parchment-lined or greased baking dish. Remember that these rolls will rise considerably, so aim for each ball to be about half the size of your desired finished roll. For rolls that stick together charmingly, arrange them about 1/2 inch apart. If you prefer individual rolls, space them 1 inch or more apart.
-
Second rise & bake: Brush the tops of the shaped rolls lightly with oil and cover them with a clean towel. Allow them to rise again in a warm place for another 45 to 55 minutes, or until they have doubled in size. During the last 15 minutes of this second rise, preheat your oven to 375° F (191° C). Once the rolls have doubled, lightly spritz their tops with water (this helps create a crispy crust and allows toppings to stick better). Sprinkle with sesame seeds, herbs, or other toppings of your choice, if desired. Bake for 19 to 22 minutes, or until the tops are golden brown and the rolls sound hollow when tapped. To confirm doneness, tap a roll from the center of the pan; if it sounds hollow, they’re ready. Rolls baked closer together may require a couple of extra minutes.
-
Cool and serve: Carefully remove the baking dish from the oven. Let the rolls cool in the dish for a few minutes before transferring them to a wire cooling rack. Allow them to cool for about 10 minutes. For an extra touch of indulgence, melt a little more vegan butter and brush it generously over the warm rolls just before serving. Enjoy these wonderfully soft and fluffy vegan dinner rolls warm, perhaps with extra vegan butter, alongside hearty soups, flavorful curries, or as a delightful component of your holiday spread!
Video Tutorial
Notes & Variations
Creative Variations: Personalize your vegan dinner rolls! You can easily infuse the dough with fresh or dried herbs for an aromatic touch. For a savory garlic parmesan experience, knead minced garlic and Italian herbs into the dough. Once baked and still hot, brush the rolls with a homemade garlic butter topping: simply melt 1 tablespoon of vegan butter, stir in 1-2 cloves of minced garlic and a pinch of fresh herbs. For sweeter rolls, simply increase the sugar content slightly in the initial yeast mixture.
For a whole grain option, refer to my specific recipe for Soft Whole Wheat Dinner Rolls. If you require a gluten-free alternative, my gluten-free dinner rolls recipe is perfect.
Allergy-Friendly Adjustments: To ensure these rolls are nut-free and/or soy-free, always double-check that your chosen vegan butter and non-dairy yogurt products explicitly state they are free from these allergens.
Nutrition data provided is based on a serving of 1 of 9 rolls. If you adjust the recipe to yield more rolls, the caloric and nutritional values per roll will naturally decrease.
Make-Ahead Instructions: For convenient preparation, you can shape the dinner rolls and arrange them in a parchment-lined pan. Lightly brush the tops with oil, then cover the pan tightly with plastic wrap or enough parchment paper to prevent the rolls from drying out. Refrigerate for up to one day. When ready to bake, remove the pan from the fridge and let it sit at room temperature for about an hour to come to temperature and finish proofing, then bake as directed.
Freezing Baked Rolls: Baked dinner rolls freeze beautifully! Allow them to cool completely, then transfer them to an airtight container or wrap them individually in plastic wrap and then foil. To reheat, place frozen rolls, covered with parchment paper, in a preheated oven for approximately 10 minutes, or microwave for 30-60 seconds depending on the quantity.
Oil-Free Option: To make these rolls oil-free, simply omit the vegan butter and olive oil. Instead, add an additional 2 tablespoons of non-dairy yogurt to the dough mixture. For rising, dust the top of the dough and the shaped rolls with flour before covering them with a towel. Before baking, brush the rolls with a mixture of non-dairy milk and a touch of maple syrup, then add any desired seeds. Oil-free rolls may have a slightly firmer top immediately after baking; cover them with a light towel for 10 minutes as they cool, and the tops will soften beautifully.
Nutrition Information (per roll)
Carbohydrates: 41g,
Protein: 6g,
Fat: 6g,
Saturated Fat: 1g,
Polyunsaturated Fat: 1g,
Monounsaturated Fat: 4g,
Sodium: 292mg,
Potassium: 83mg,
Fiber: 2g,
Sugar: 3g,
Vitamin A: 112IU,
Vitamin C: 1mg,
Calcium: 28mg,
Iron: 2mg
Nutrition information is automatically calculated and should only be used as an approximation.
We love hearing from you! If you tried this recipe, please rate it and leave a comment below to share your experience and any delicious variations you discovered.
Essential Ingredients and Clever Substitutions
Crafting these fluffy vegan dinner rolls relies on a few key ingredients. Here’s a closer look at each and how you can adapt them if needed:
- Water: Warm water is absolutely crucial for activating the yeast. Ensure it’s warm to the touch (around 105-115°F or 40-46°C) but never hot, as hot water will kill the yeast, preventing your rolls from rising.
- Active Yeast: The powerhouse behind our rolls’ incredible fluffiness! Make sure your yeast is fresh and active by performing the frothing test mentioned in the instructions. This guarantees a good rise.
- Sugar: A small amount of sugar acts as food for the yeast, helping it activate and thrive. It also contributes to the beautiful golden-brown crust. For sweeter dinner rolls, feel free to add an extra tablespoon or two. Maple syrup can be used as an alternative.
- All-Purpose Flour: This forms the primary structure of your rolls. All-purpose flour yields a tender crumb. For a chewier texture often found in professional bread, you can opt for bread flour, which has a higher protein content.
- Vital Wheat Gluten (Optional): While optional, adding vital wheat gluten can significantly improve the texture of your rolls, especially if you’re using all-purpose flour. It boosts the protein content, leading to a larger crumb, more elasticity, and an even chewier, lighter roll. The rolls will still be delicious without it, but it’s a great secret ingredient for an extra lift.
- Salt: Beyond flavor, salt plays a vital role in bread making by strengthening the gluten structure and controlling the yeast’s activity, resulting in a more uniform rise and better dough texture.
- Baking Powder: This is our secret weapon for an *extra* boost of fluffiness! Unlike yeast, which works primarily during proofing, baking powder activates with heat in the oven, providing additional lift and creating those ultra-light, pillowy centers.
- Vegan Butter and Olive Oil: The combination of these two fats is key to the rolls’ rich flavor and incredibly moist texture. Vegan butter provides a classic buttery taste, while olive oil contributes to the dough’s softness and a subtle depth of flavor. You can use any neutral oil if olive oil is not preferred.
- Non-Dairy Yogurt: This ingredient is a game-changer for softness and moisture. Its acidity helps tenderize the dough, and its creamy texture adds richness. Ensure it’s at room temperature for best results. Good substitutes include other non-dairy creams (like cashew cream or rich coconut cream), or even unsweetened applesauce for a subtle fruit flavor and moisture, though the texture might vary slightly.
- Mix-ins and Toppings: Unleash your creativity! Mix in finely chopped fresh herbs like rosemary, thyme, or chives directly into the dough for fragrant herbed dinner rolls. For toppings, sprinkle with sesame seeds, poppy seeds, everything bagel seasoning, or more fresh herbs just before baking.
💡 Expert Baking Tips for Perfect Rolls
Achieving perfectly fluffy dinner rolls is easier than you think with these expert tips:
- Mind the Water Temperature: This is critical! Your water should be warm, like a comfortable bath, around 105-115°F (40-46°C). If it’s too hot, it will kill the yeast, and your rolls won’t rise. Too cold, and the yeast won’t activate properly. A kitchen thermometer is a baker’s best friend here.
- Cover for Success: Always cover your dough tightly with a clean kitchen towel or plastic wrap during both rises. This prevents the surface of the dough from drying out and forming a crust, which can inhibit a good rise and result in a less tender roll.
- Kneading is Key: Don’t skimp on kneading! It develops the gluten, which gives the rolls their structure and chewiness. Whether by hand or machine, ensure the dough becomes smooth and elastic. A well-kneaded dough will spring back slowly when poked.
- Patience with Proofing: Resist the urge to rush the rising process. Dough needs time to double in size. If your kitchen is cool, find a warm spot (like a turned-off oven with the light on) to help it along. Proper proofing directly contributes to the rolls’ lightness.
- Baking Time Varies: The total baking time can vary slightly depending on how closely you space your dinner rolls in the pan. Rolls that are snug against each other will take a little longer to bake through compared to those that have more space around them. Always check for a hollow sound when tapped, especially the center rolls, to ensure they’re fully baked.
- Don’t Overbake: Overbaking can lead to dry rolls. Once they are golden brown and sound hollow, take them out! They will continue to cook slightly from residual heat.
Step-by-Step: How to Make Soft White Dinner Rolls
Follow these detailed steps to create your own batch of heavenly fluffy vegan dinner rolls. Each stage is crucial for that perfect texture and taste.
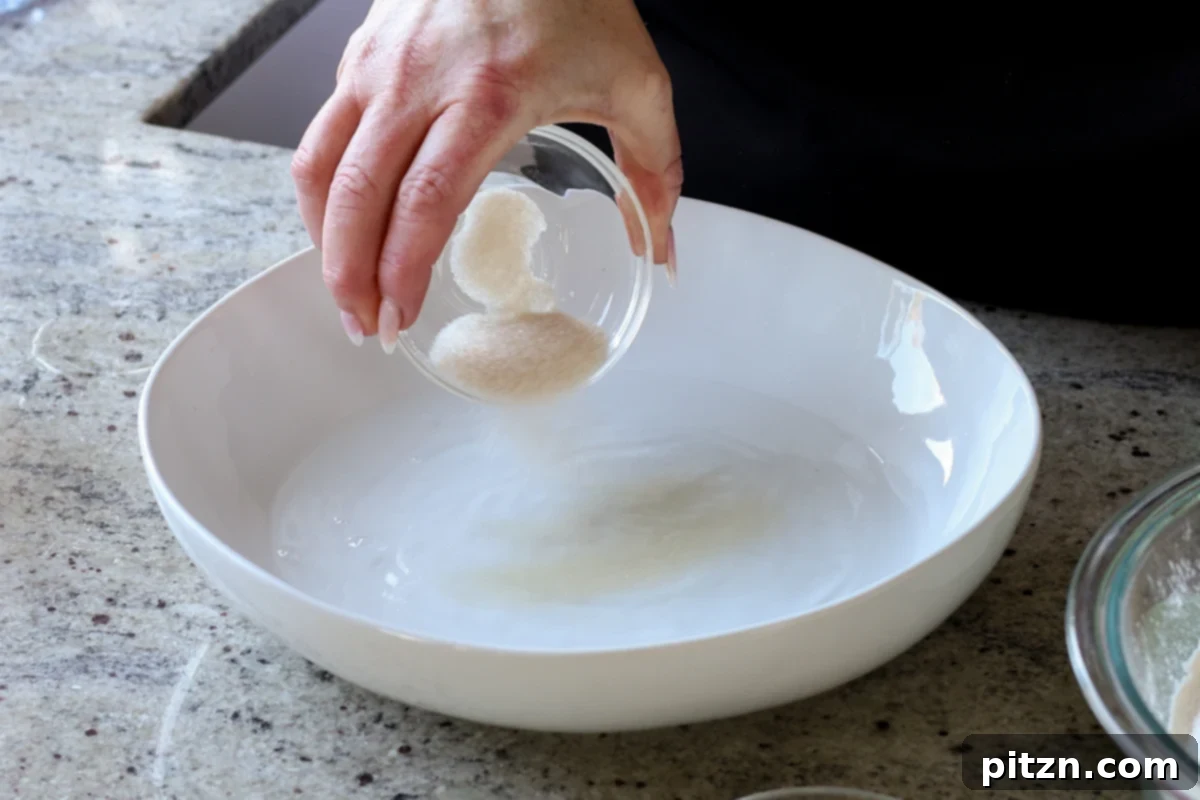
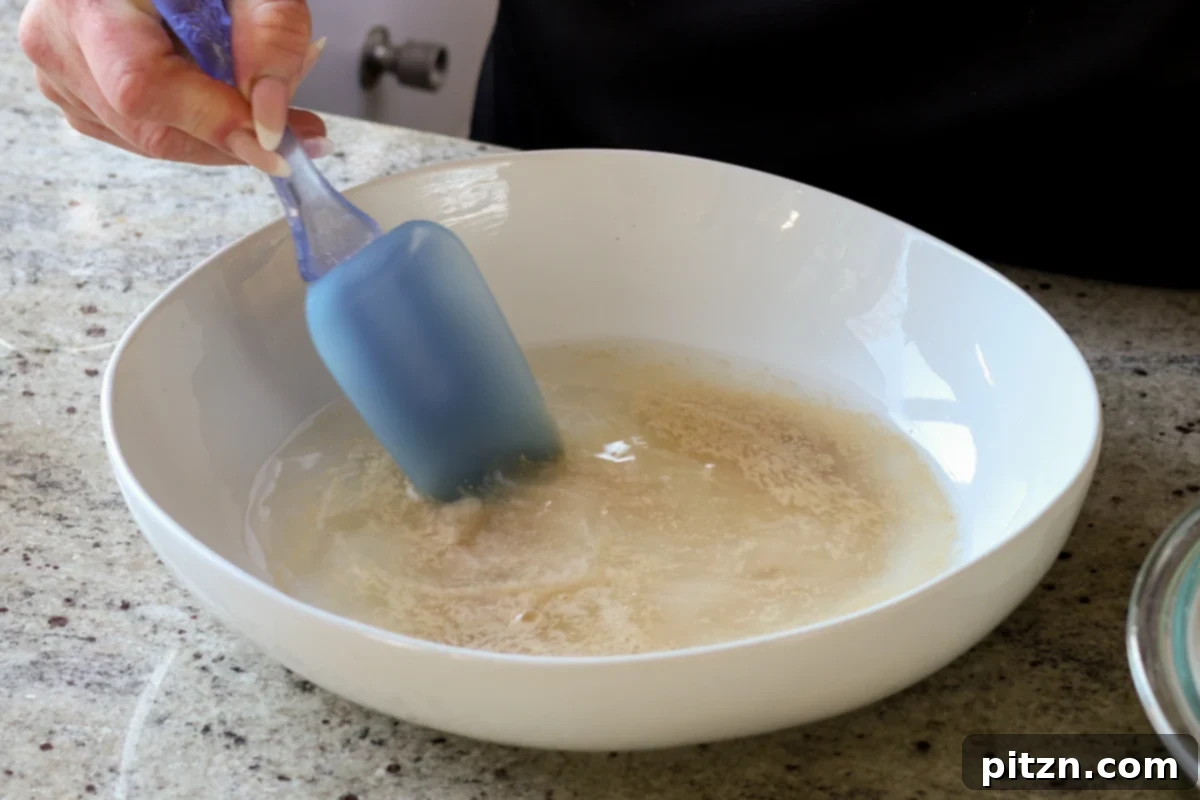
First, activate your yeast. Warm the water to approximately 110° F (43° C); it should feel just warm, not hot. Pour it into a spacious bowl, then add the active yeast and sugar. Stir well to combine these ingredients. Let the mixture rest for about 10 minutes. During this time, the yeast should become frothy, indicating it’s active and ready to work. If it doesn’t froth, your yeast might be old or inactive, and you’ll need to start again with fresh yeast.
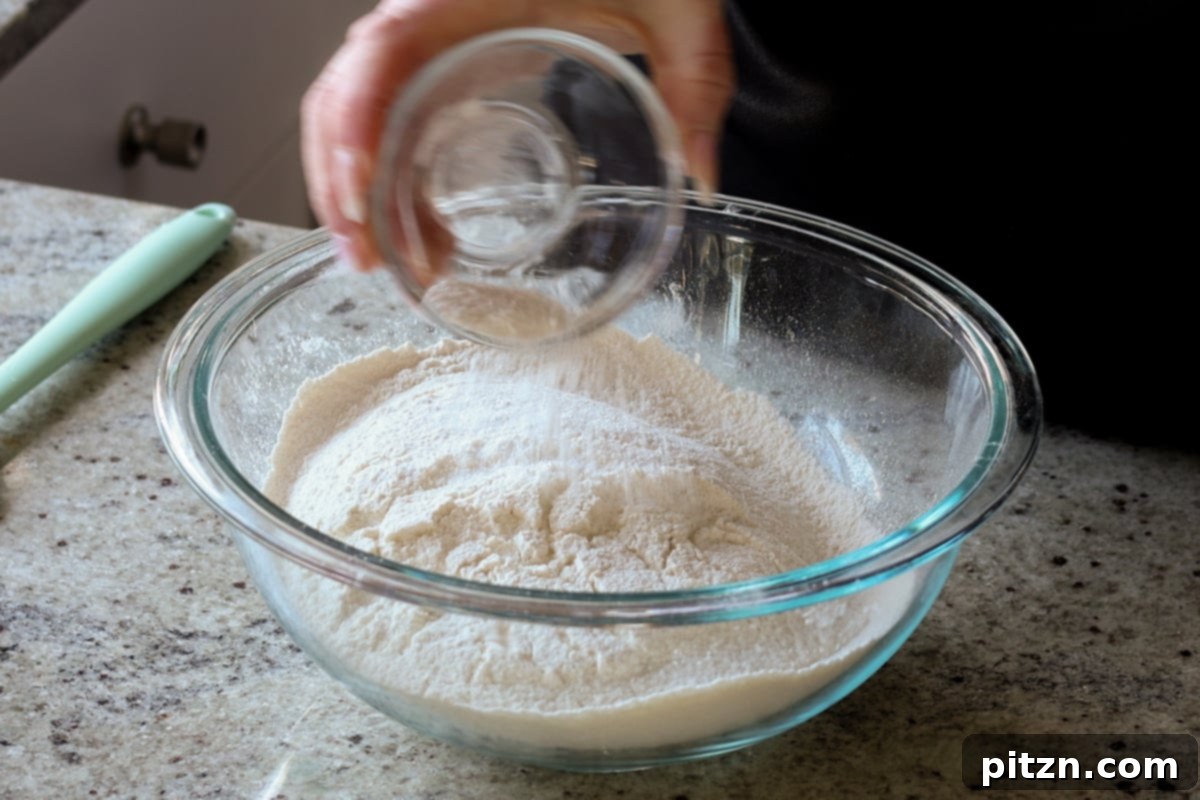
In a separate, medium-sized bowl, combine 3 cups of the all-purpose flour along with the salt, baking powder, and vital wheat gluten (if you’ve chosen to use it). Whisk these dry ingredients thoroughly to ensure they are evenly distributed, laying the foundation for your delicious rolls.
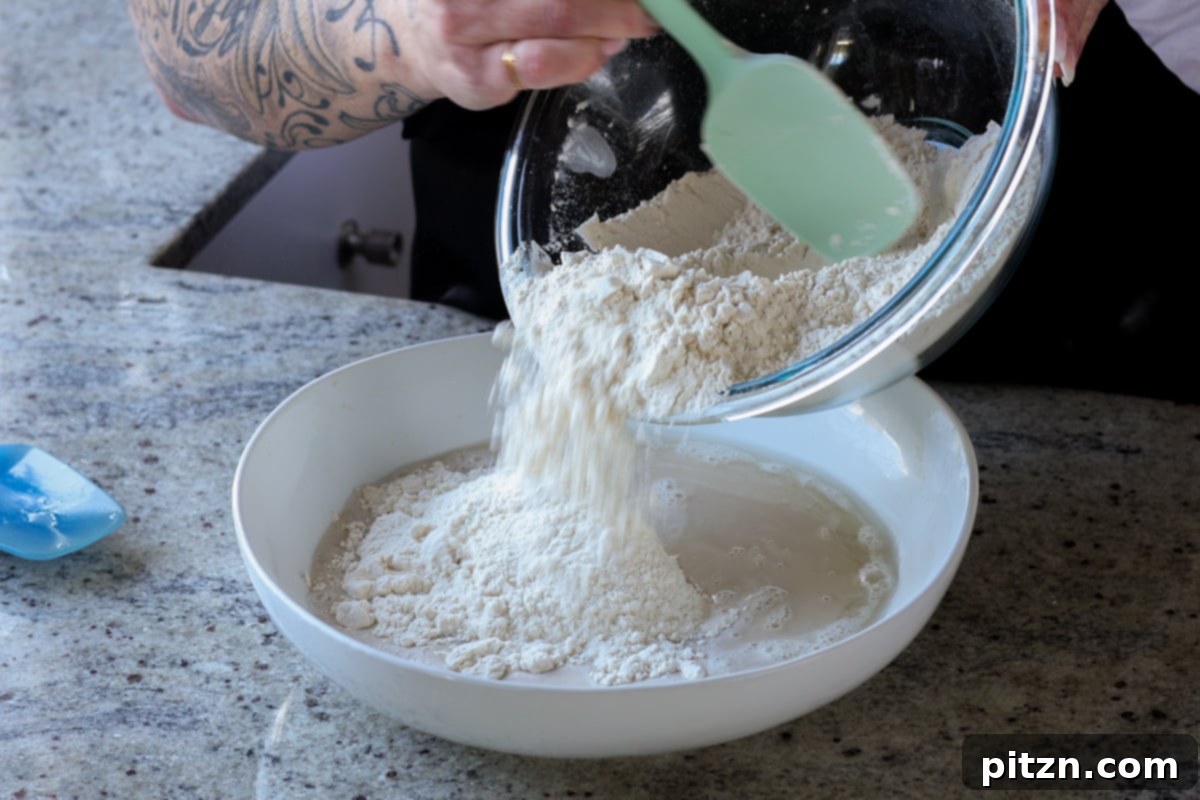
Now, pour the activated yeast mixture into the bowl with the dry ingredients. Add the melted vegan butter, olive oil, and non-dairy yogurt. Mix all ingredients together using a sturdy spoon or a stand mixer fitted with a dough hook until they are fully combined. At this stage, the dough will be somewhat sticky and shaggy. This is perfectly normal and indicates good moisture levels, which are key to soft rolls.
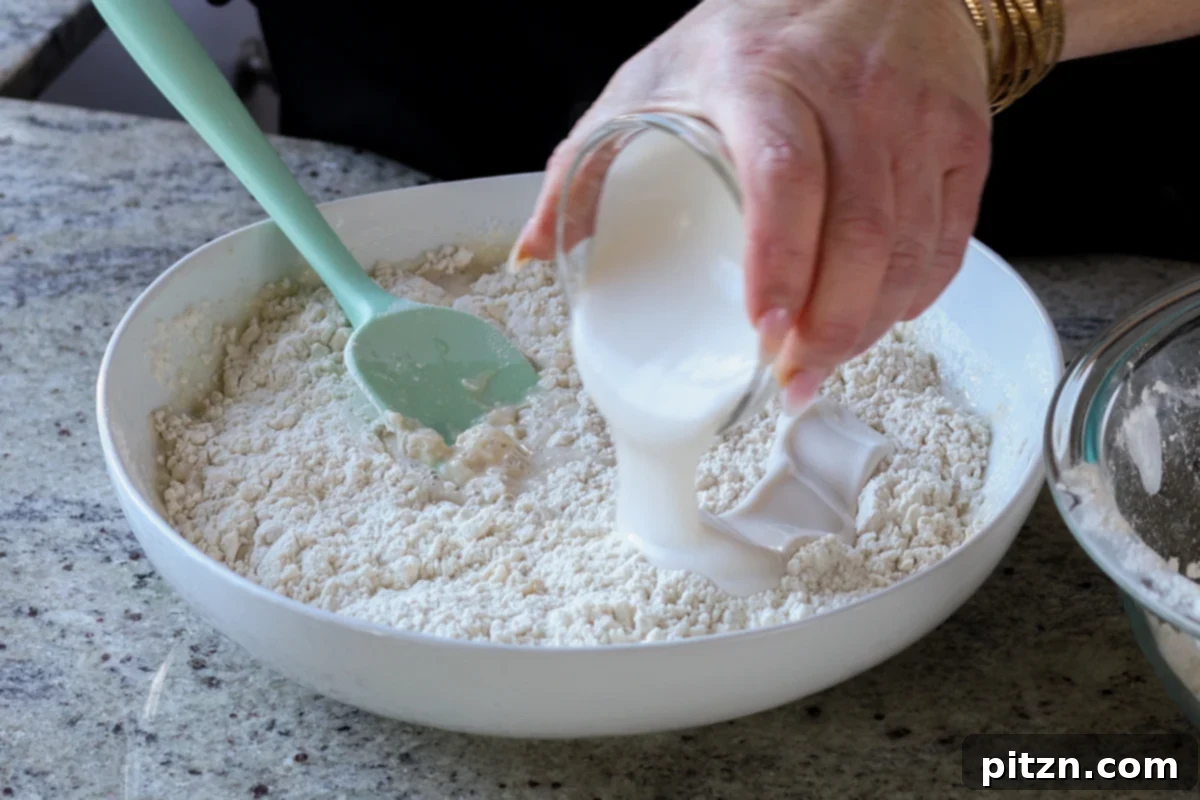
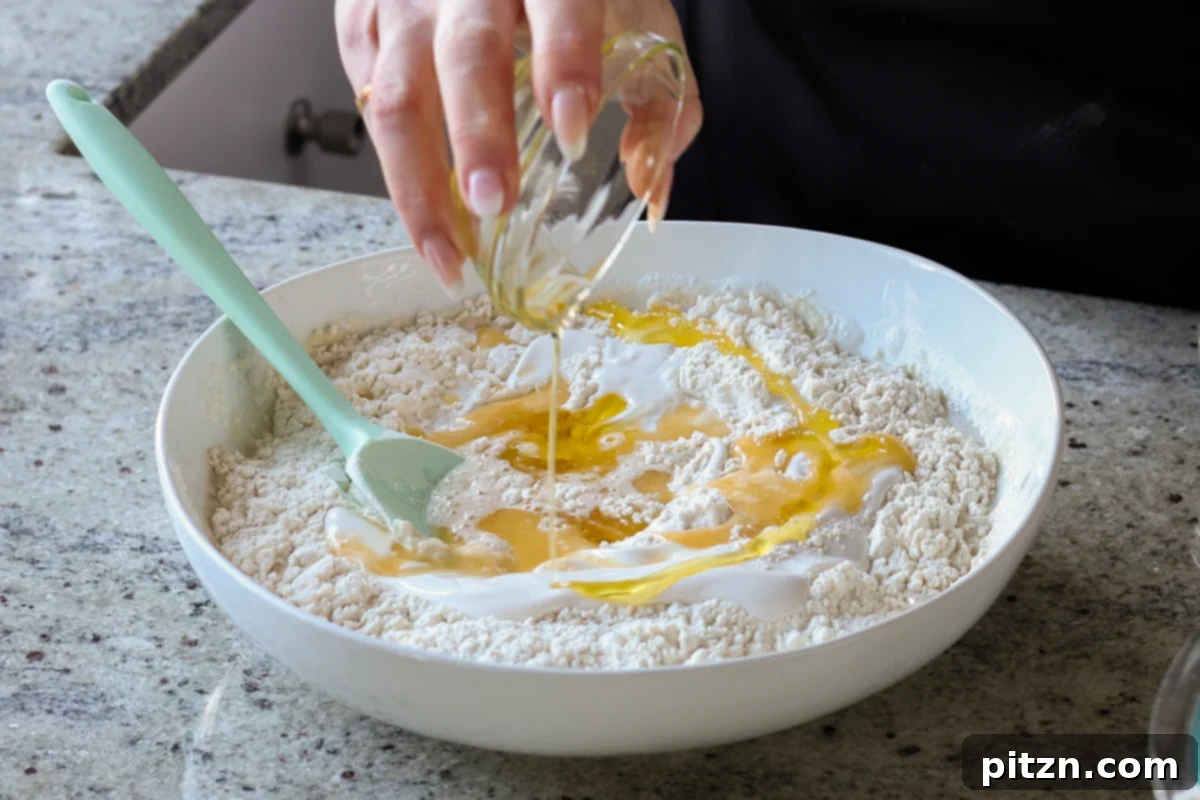
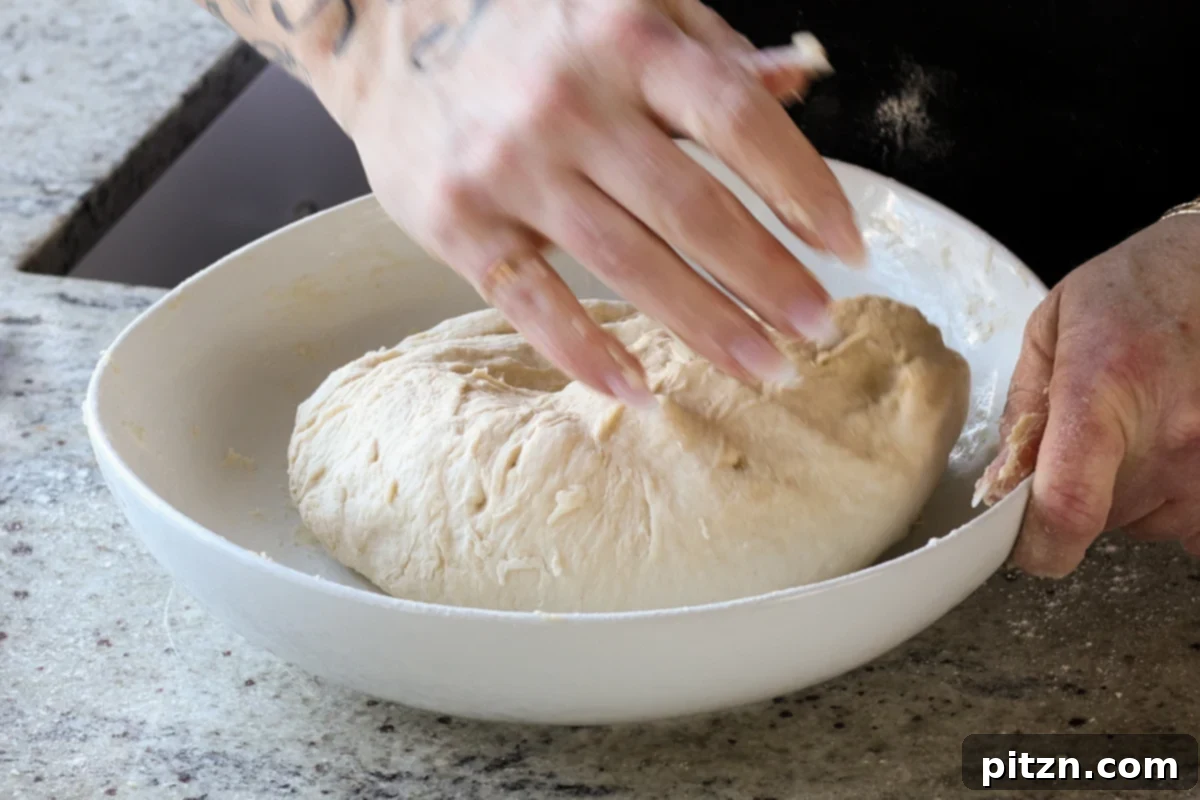
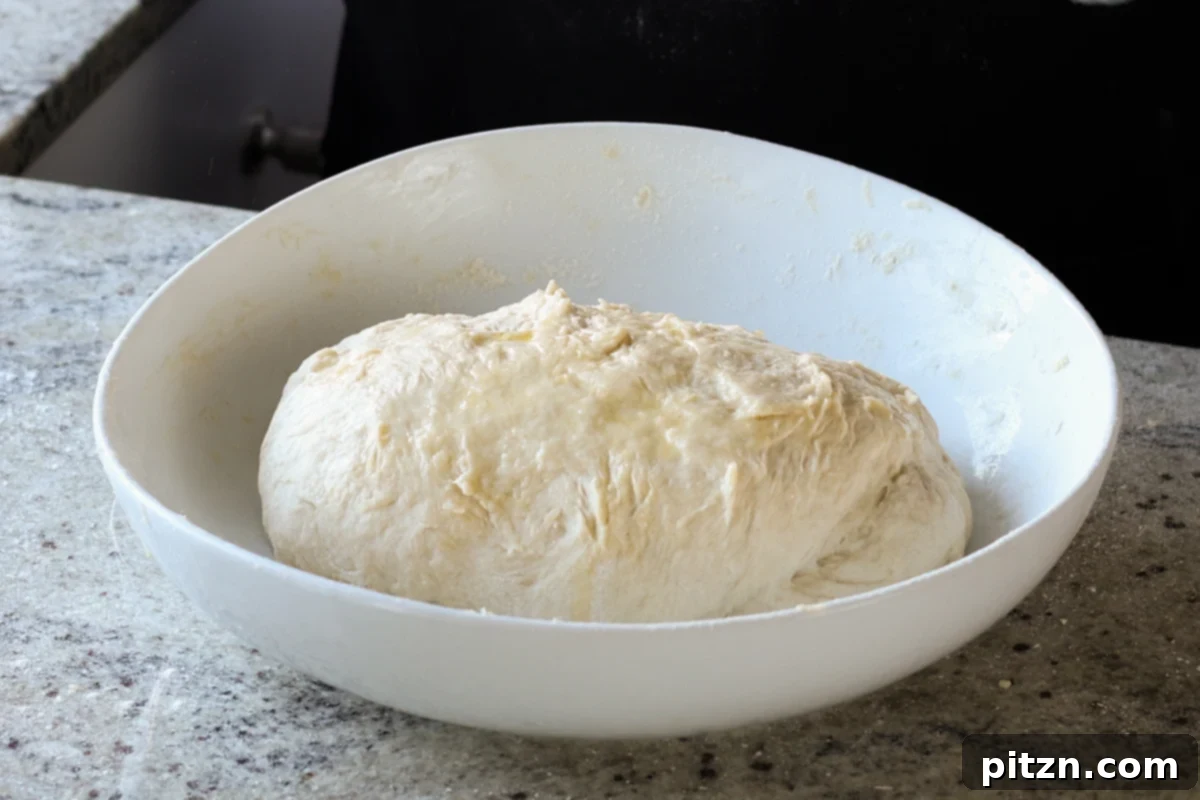
Begin incorporating the remaining flour, adding 1 to 2 tablespoons at a time, until the mixture starts to come together into a more cohesive dough. Continue kneading the dough, adding small amounts of flour as needed, until it becomes relatively smooth and elastic, and is no longer excessively sticky. If you’re using a stand mixer or food processor, this kneading process will typically take 4 to 5 minutes. If you’re kneading by hand, expect it to take a bit longer, around 6 to 8 minutes. For hand kneading, repeatedly fold the dough over itself and gently pound it down. This action helps to develop the gluten, which is essential for the rolls’ structure and fluffiness. Once the dough is smooth and uniform, pull its edges from the sides and tuck them underneath to form a smooth, round ball. Place this dough ball into a lightly oiled bowl.
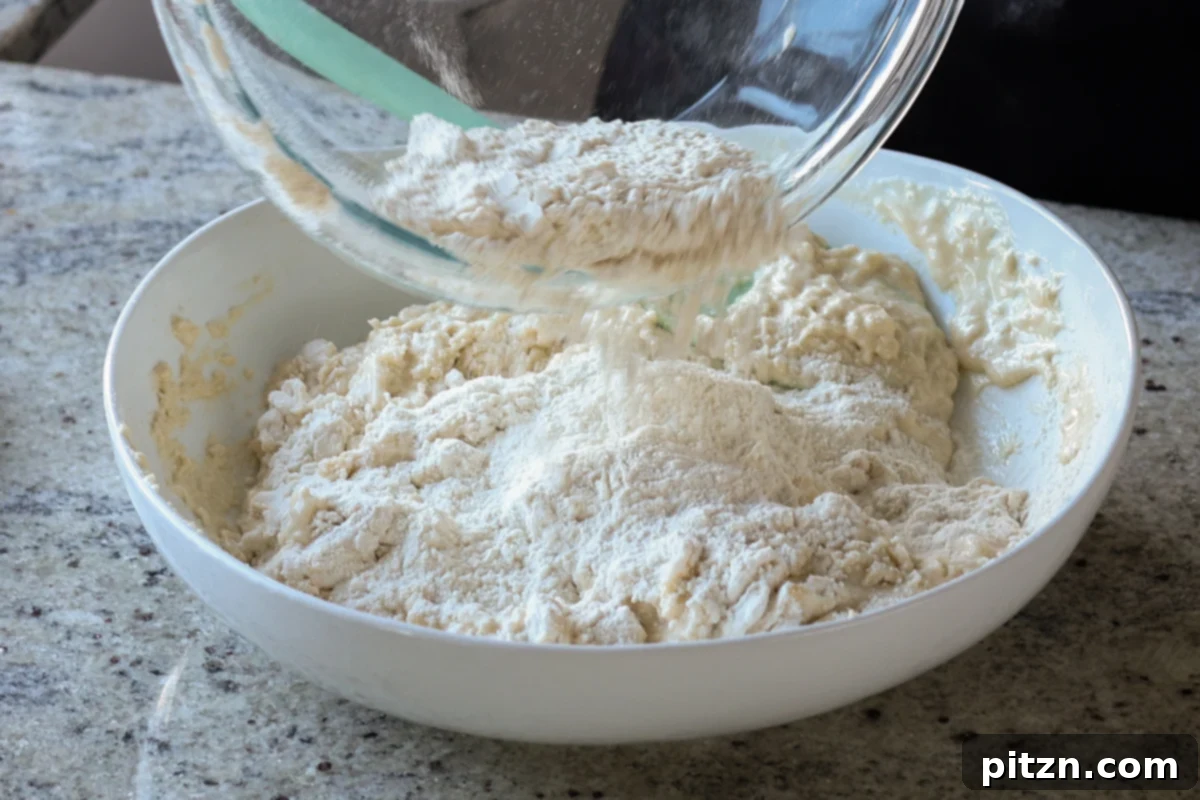
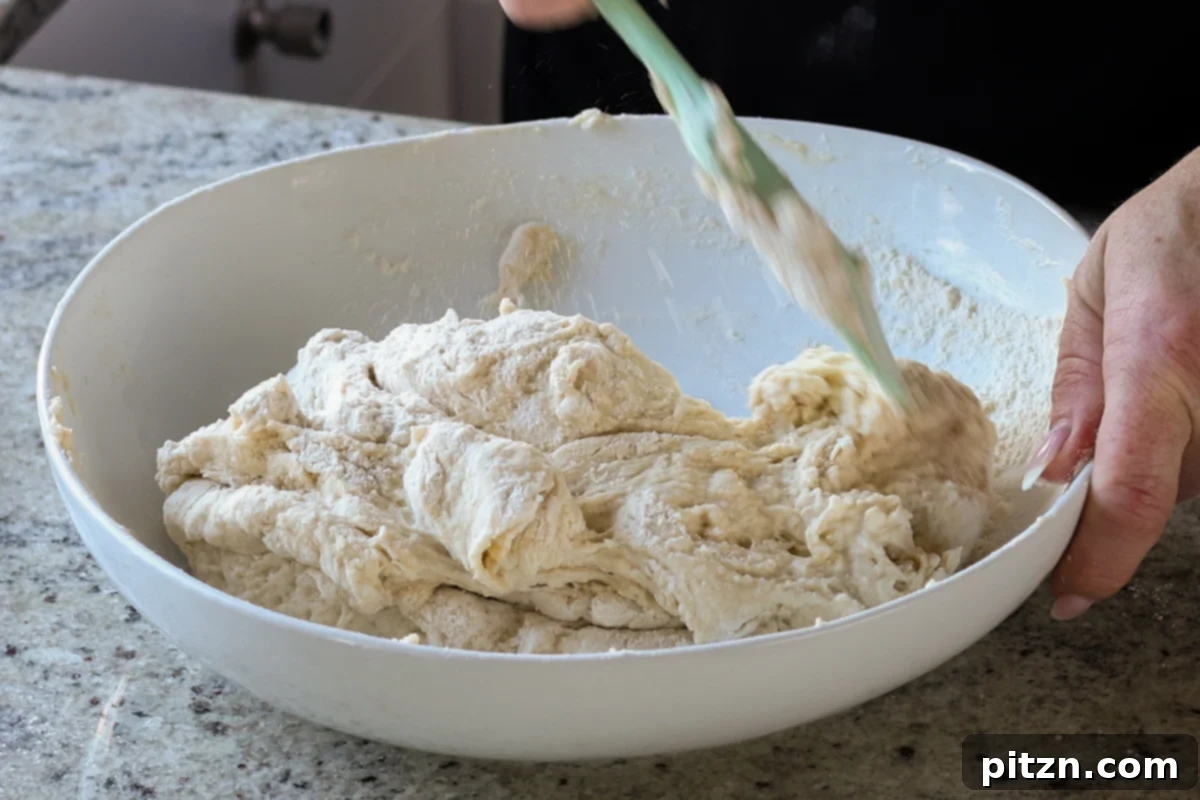
Brush the top of the dough with a little oil to prevent it from drying out, then cover the bowl securely with a clean kitchen towel or plastic wrap. Place the covered bowl in a warm, draft-free spot to rise for up to 2 hours, or until the dough has visibly doubled in size. The rising time can vary between 1 to 2 hours, depending on the warmth of your environment. A common trick for a quicker rise is to place the dough in a slightly warm oven (turned off), which can help it proof within an hour, ensuring your homemade dinner rolls are ready faster.
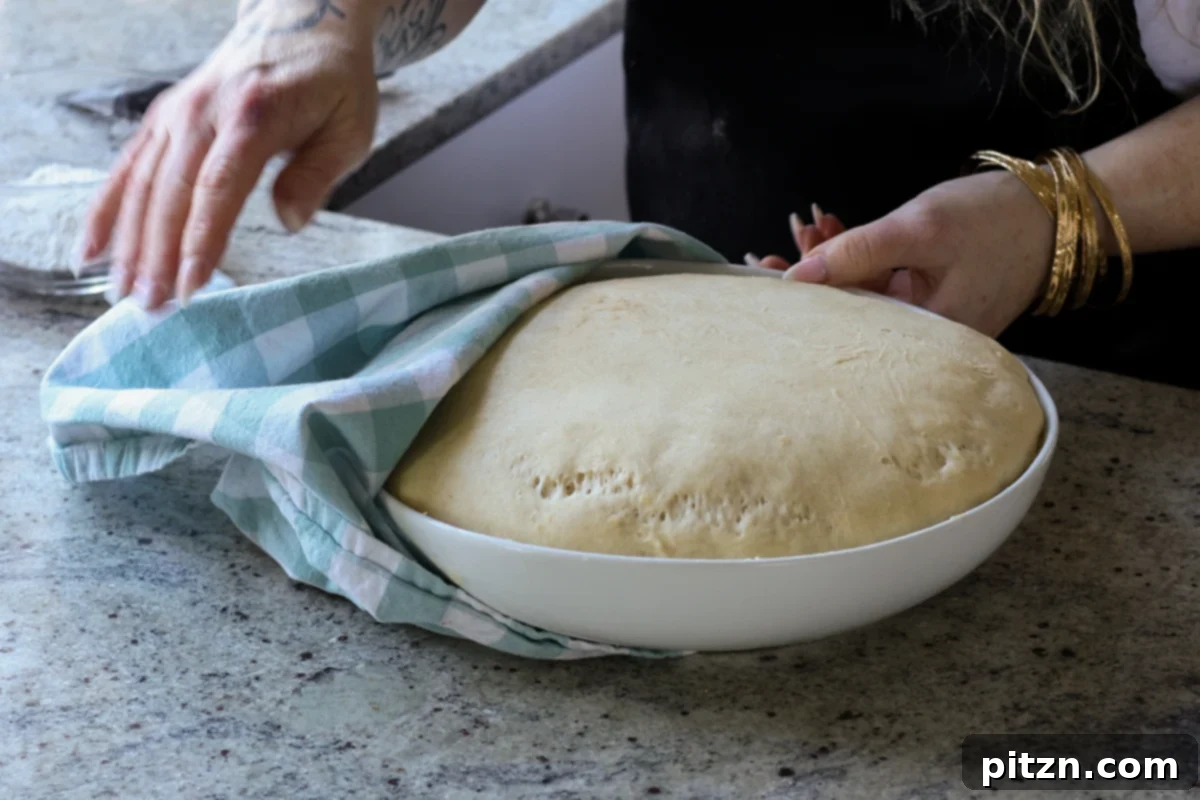
Once the dough has successfully risen, gently “punch down” the dough to release the accumulated air. Lightly dust your work surface with a small amount of flour. Carefully transfer the dough from the bowl onto your floured workspace. Use a little more flour as needed to lightly knead the dough and shape it into a long, even log. This will prepare it for slicing into individual rolls.
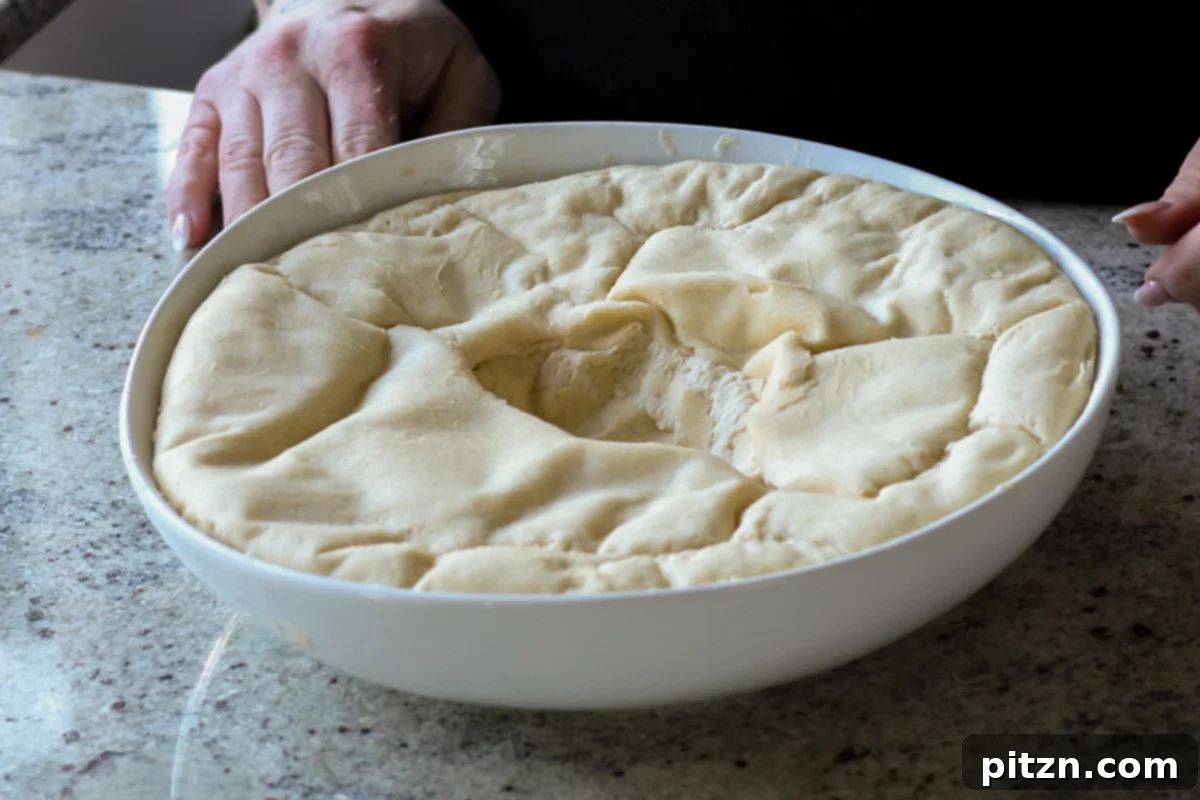
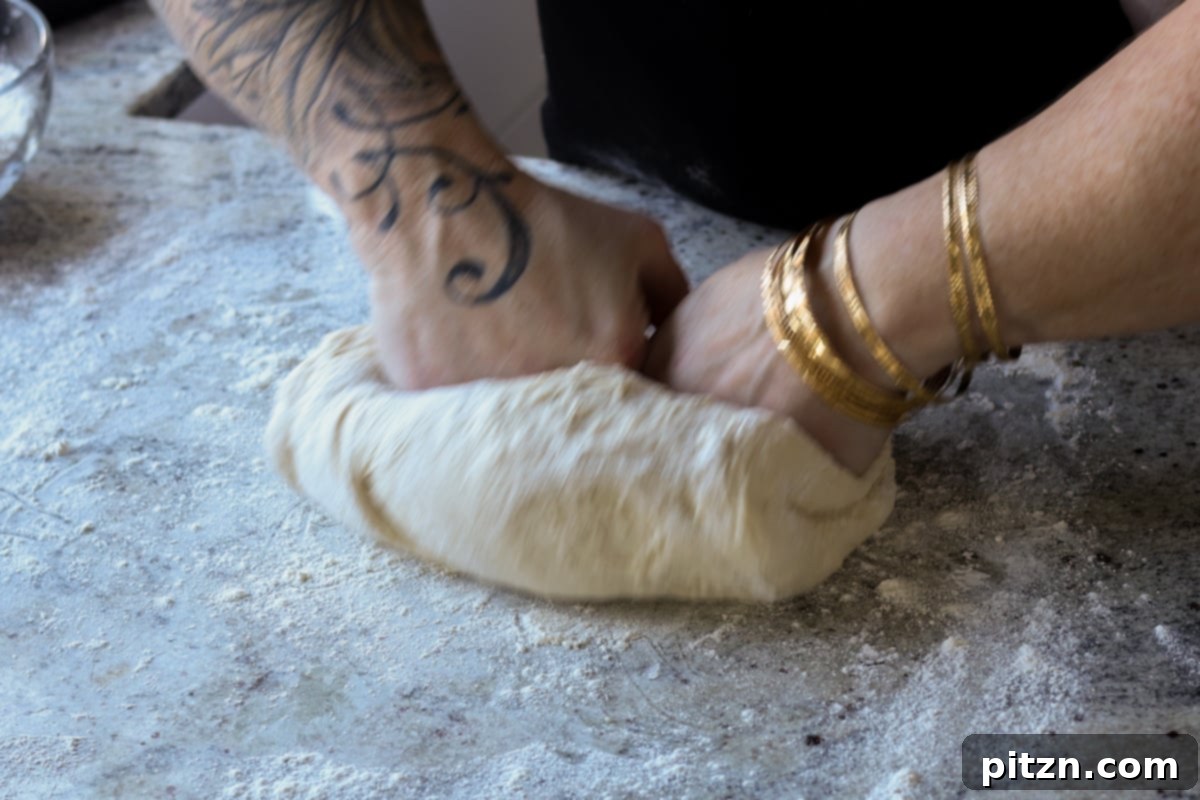
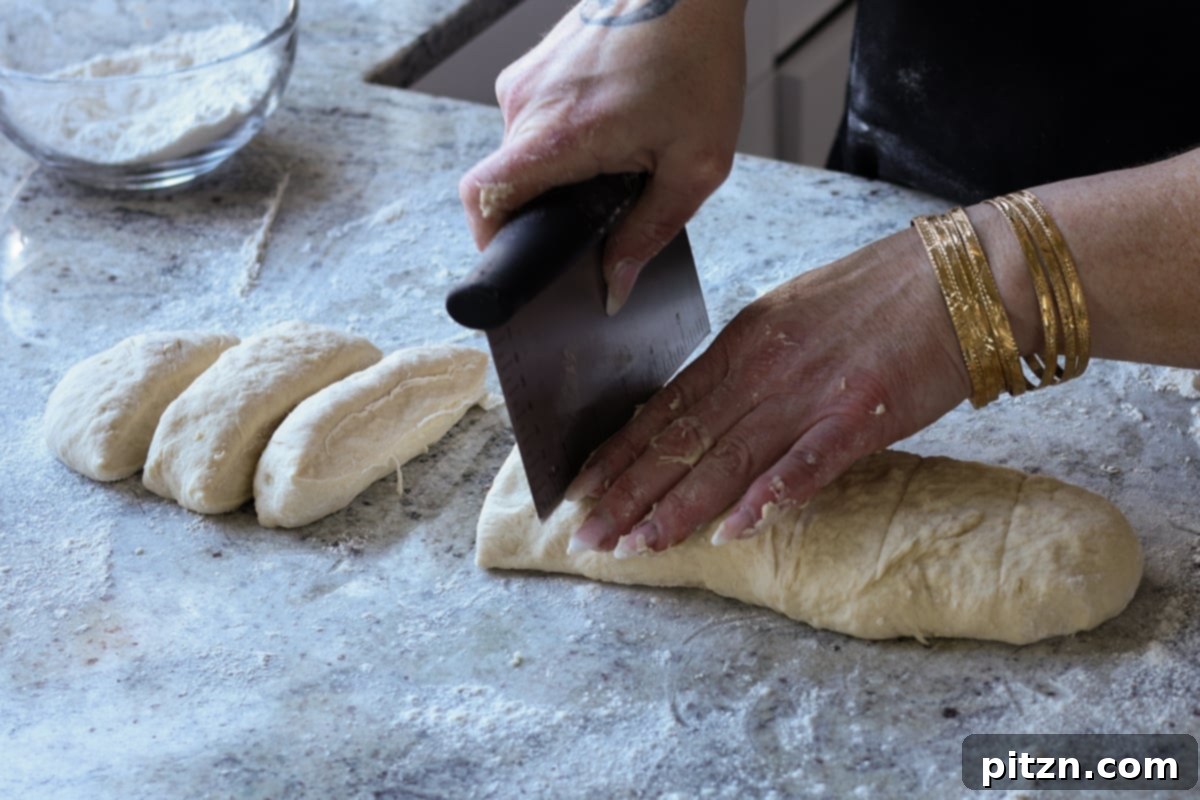
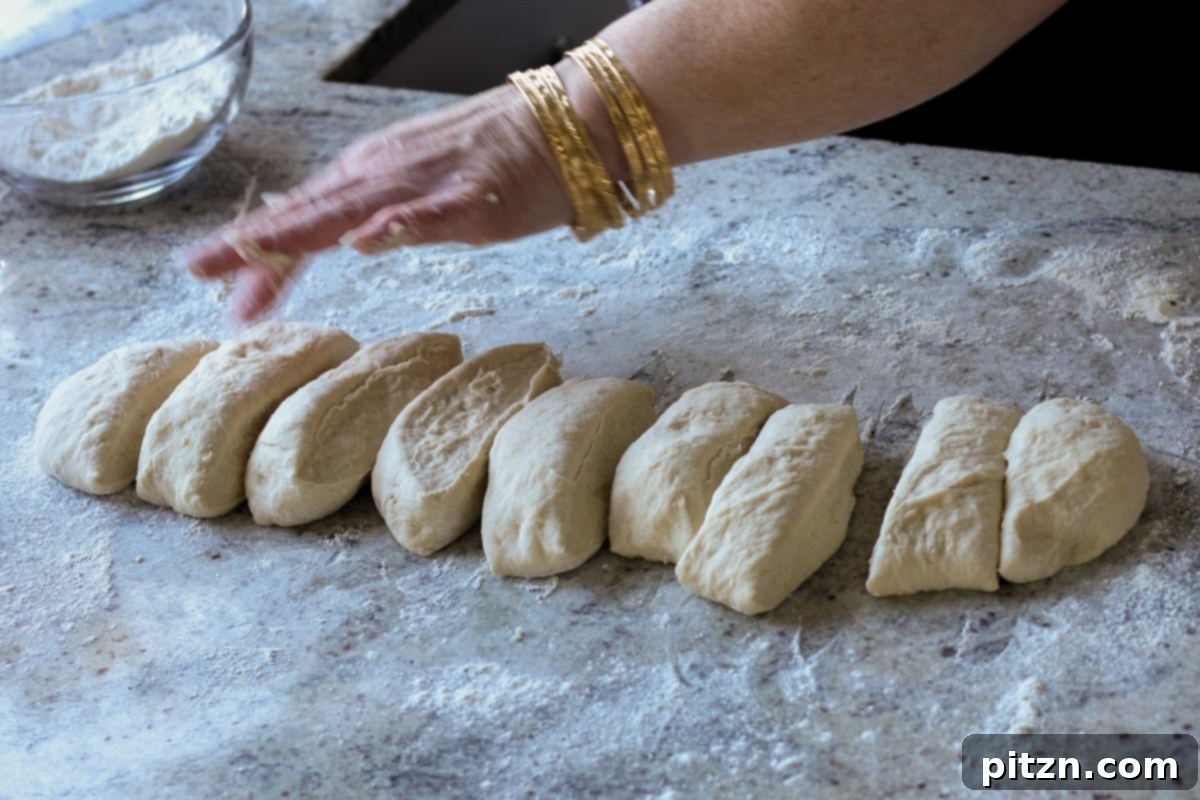
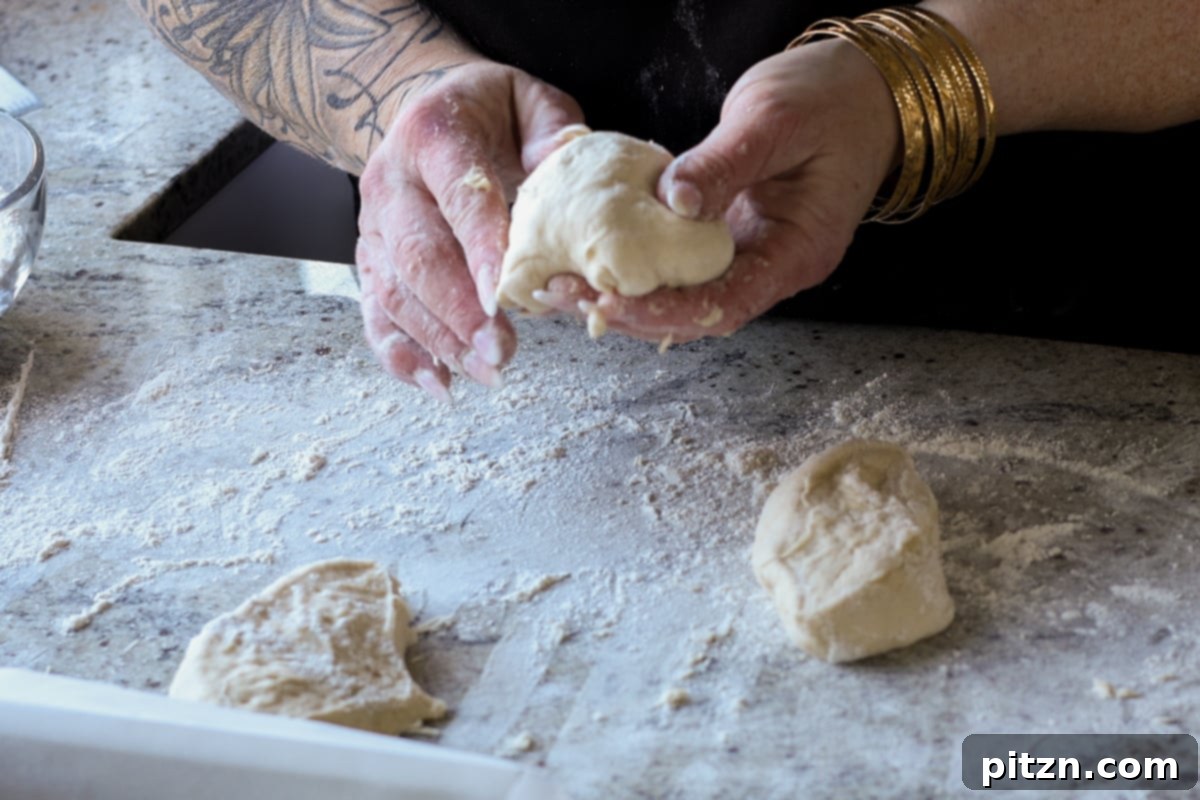
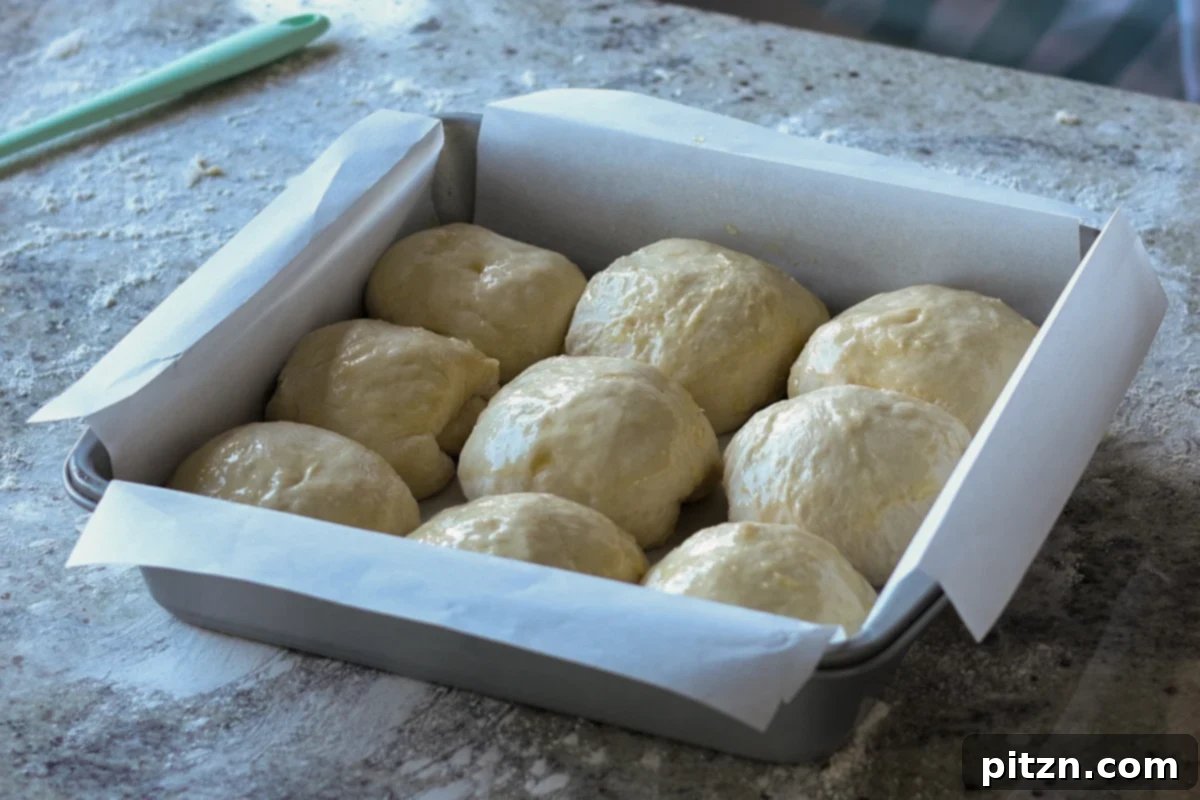
Next, slice the dough log into equal-sized portions. The exact number of rolls you yield, typically 9 to 12 or even more, will depend on the dimensions of your baking dish and your preferred roll size. Once sliced, shape each piece into a smooth ball. You can achieve this by simply rolling the dough between your palms or by pulling the sides of the dough and tucking them underneath, creating a taut surface. Place each shaped roll with the tucked-side down onto a parchment-lined or greased baking dish. Remember that these rolls will undergo a second significant rise, so ensure your dough balls are roughly half the size you desire for the final product. If you want the rolls to rise and gently stick together, forming a pull-apart bread, arrange them about 1/2 inch apart. For individual, free-standing dinner rolls, space them 1 inch or more apart.
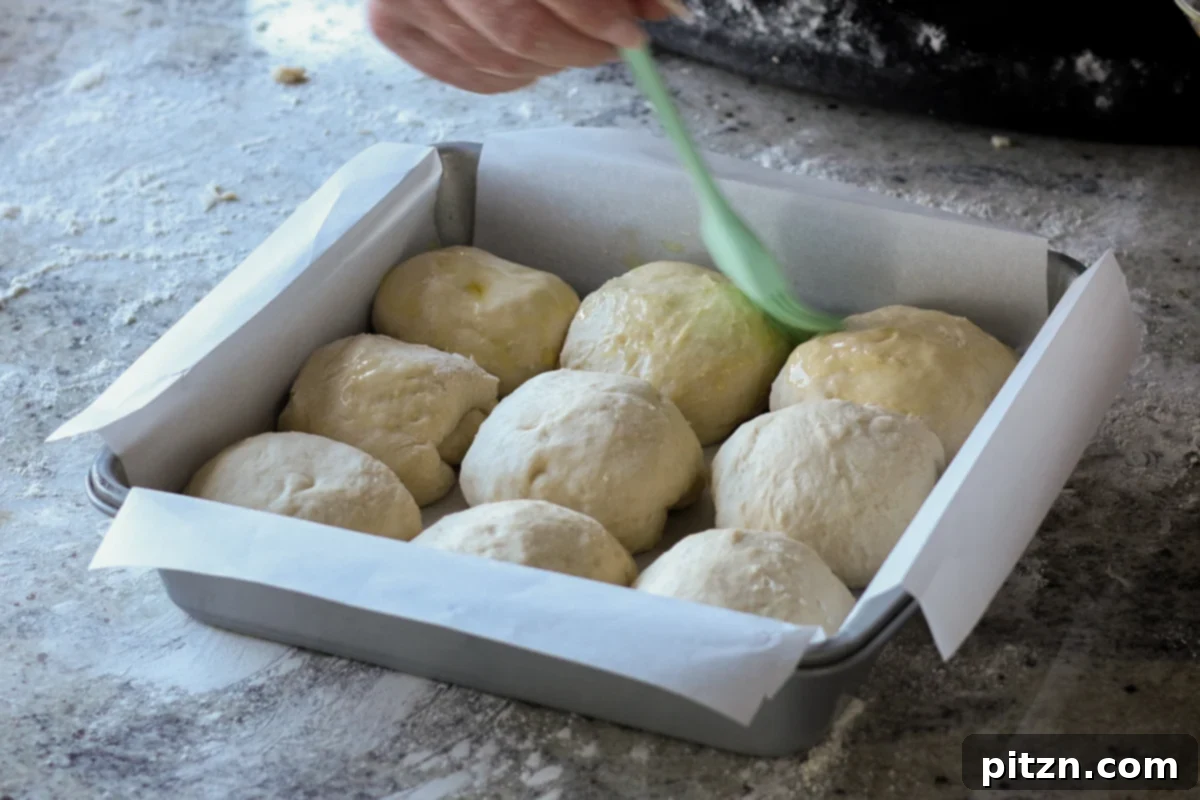
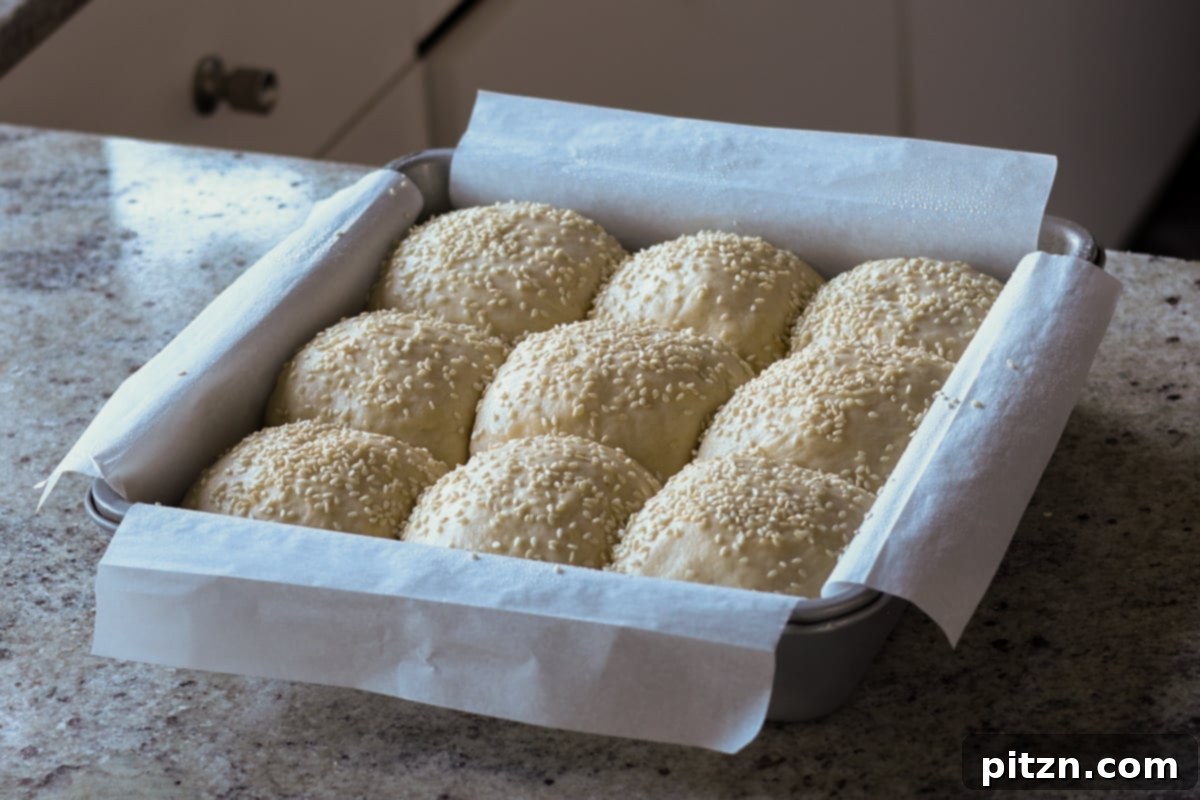
Lightly brush the tops of the shaped rolls with a little oil to keep them moist, then cover the baking dish loosely with a clean kitchen towel. Return the dish to a warm place for a second rise, allowing the rolls to proof for approximately 45 to 55 minutes, or until they have doubled in size and appear significantly puffy. This second rise is vital for achieving that ultimate fluffy texture in your baked rolls.
Once the rolls have doubled in size during their second rise, preheat your oven to 375° F (191° C). Before baking, lightly spritz the tops of the rolls with water – this helps create a slightly crisper crust and encourages any sprinkled seeds or herbs to adhere better. If desired, sprinkle sesame seeds or your chosen herbs evenly over the rolls. Carefully place the baking dish into the preheated oven and bake for 19 to 22 minutes, or until the rolls are golden brown and sound hollow when gently tapped. To ensure even baking, especially for rolls placed closer together, tap a roll in the center of the pan to check for the hollow sound. If they don’t sound hollow, continue baking for an additional 2 to 4 minutes. Rolls that are spaced further apart typically bake a bit faster than those snuggled closely together.
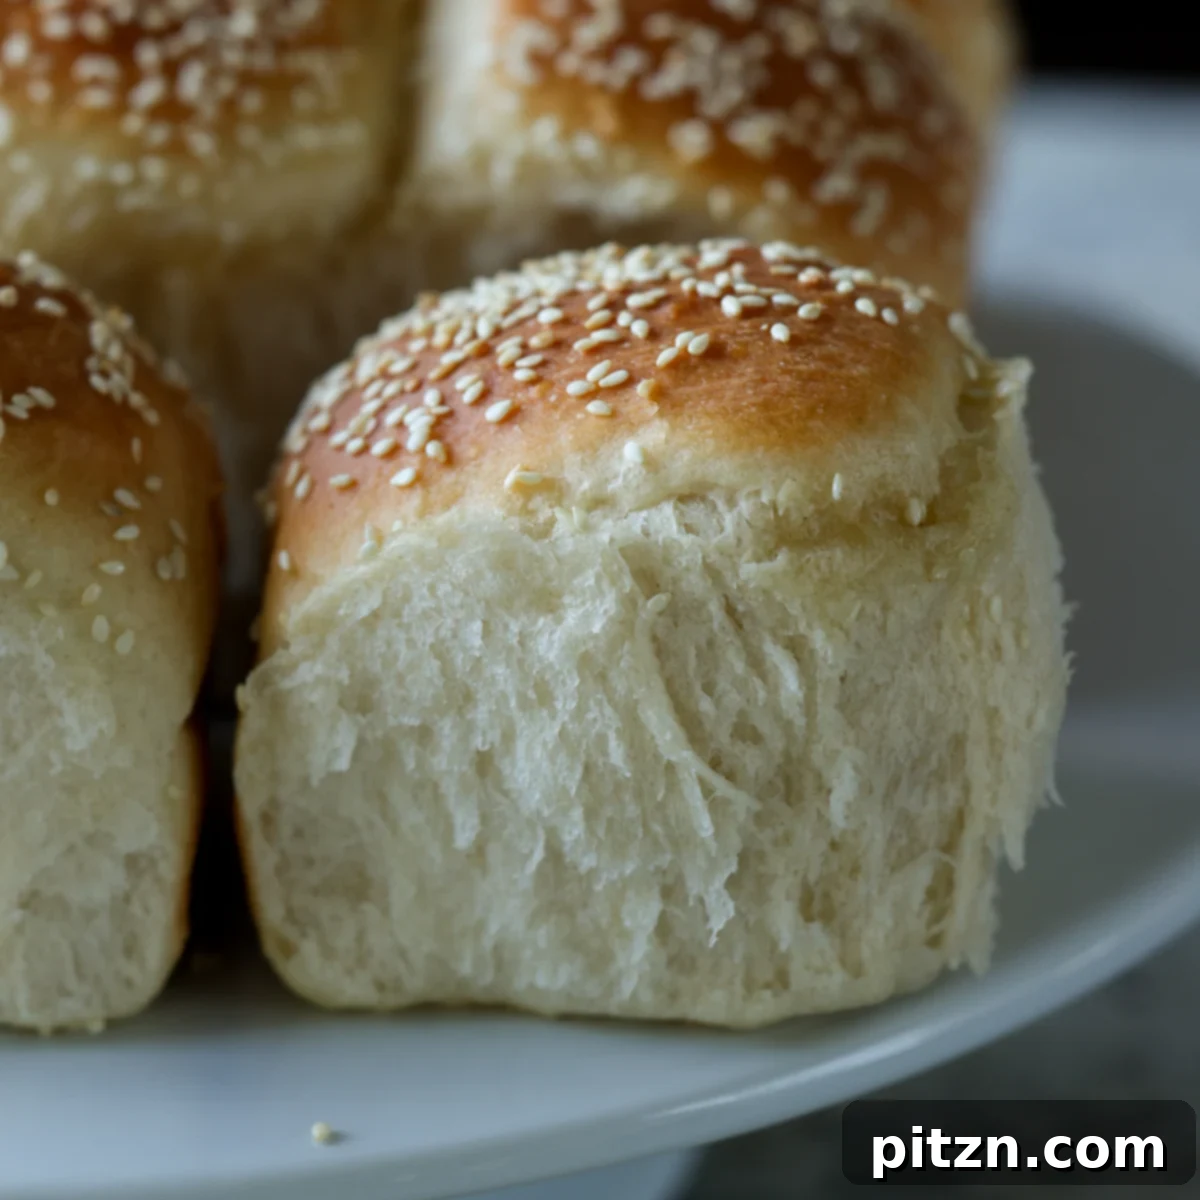
Once baked to perfection, remove the baking dish from the oven. Allow the buns to cool within the dish for a few minutes before carefully transferring them to a wire cooling rack. Let them cool on the rack for about 10 minutes. This allows the internal structure to set and prevents them from becoming soggy. For an extra touch of decadence, you can melt some more vegan butter and brush it over the warm rolls just before serving. Enjoy your fluffy dinner rolls warm as a delightful side with hearty soups, flavorful curries, as part of your festive holiday spread, or simply slathered with extra vegan butter for a satisfying snack.
What to Serve with Your Vegan Dinner Rolls
These versatile vegan dinner rolls are the ultimate companion to a wide array of dishes. Their light and fluffy texture makes them perfect for soaking up rich sauces or complementing savory flavors. Here are some inspiring serving suggestions:
- Holiday Feasts: They are an absolute must-have for a vegan Thanksgiving or Christmas spread. Serve them alongside roasted vegetables, gravies, and your favorite plant-based main courses.
- Soups and Stews: There’s nothing more comforting than using a warm, soft roll to sop up every last drop of a hearty soup or stew. Try them with a creamy tomato soup, a robust lentil stew, or a flavorful mushroom bisque.
- Curries and Dals: Pair these rolls with aromatic Indian curries or lentil dals. They are excellent for scooping up rich, spicy sauces and complementing the complex flavors of the cuisine.
- Pasta Dishes: Serve them as a side to your favorite vegan pasta dishes, perfect for wiping plates clean of delicious sauces like marinara or creamy alfredo.
- Sandwiches and Sliders: Use these rolls as a base for small sandwiches or sliders. Their soft texture makes them ideal for showcasing your favorite plant-based fillings.
- Simply with Butter: Sometimes, the simplest pleasures are the best. Enjoy them warm, slathered with a generous dollop of vegan butter, for a truly satisfying snack or light breakfast.
- Garlic Bread: Slice them in half, spread with garlic butter, and toast lightly for quick and easy vegan garlic bread.
Frequently Asked Questions About Dinner Rolls
Here are answers to some common questions about making and enjoying these delicious dinner rolls:
Is this recipe allergy-friendly?
This recipe is naturally dairy-free and egg-free as it is vegan. If you need these rolls to be nut-free and/or soy-free, it’s essential to carefully select your vegan butter and non-dairy yogurt, ensuring they are certified free from these allergens. For those with gluten sensitivities, we recommend trying our dedicated recipe for gluten-free dinner rolls, which uses alternative flours and specific techniques to achieve a wonderful texture.
Can I make these ahead of time or freeze them?
Absolutely! These fluffy dinner rolls are great for making in advance. To prepare them ahead, shape the individual dinner rolls and arrange them in a parchment-lined baking pan. Lightly brush the tops with oil, then cover the pan tightly with plastic wrap or enough parchment paper to prevent them from drying out. Refrigerate for up to one day. When you’re ready to bake, simply remove the pan from the refrigerator and let it sit on the counter for about an hour to allow the rolls to come to room temperature and complete their final proof. Then, bake as directed.
For longer storage, baked dinner rolls freeze exceptionally well. Once completely cooled, place them in an airtight container or wrap them individually in plastic wrap and then foil. To reheat, bake the frozen rolls, covered with parchment, in a preheated oven for approximately 10 minutes. Alternatively, you can microwave them for 30-60 seconds, depending on the number of rolls you’re reheating, until warmed through and soft.
What kind of non-dairy yogurt is best?
Any plain, unsweetened non-dairy yogurt (like soy, almond, or oat yogurt) with a relatively thick consistency will work well. Ensure it’s at room temperature for optimal dough texture. Avoid flavored or sweetened yogurts unless you want those specific flavors in your rolls.
Why did my rolls not rise?
There are a few common reasons:
- Dead Yeast: The most common culprit. Ensure your yeast is active by performing the frothing test.
- Water Temperature: Water that’s too hot kills the yeast; water that’s too cold won’t activate it. Stick to 105-115°F (40-46°C).
- Expired Flour: Old flour can sometimes hinder gluten development and rise.
- Cold Environment: Dough needs a warm, draft-free place to rise. If your kitchen is cold, find a warmer spot.
- Too Much Flour: Adding too much flour can make the dough stiff and heavy, inhibiting its ability to rise.