
Master the Art of Homemade Pizza: Easy Oil-Free Vegan Pizza Dough Recipe
Embark on a culinary journey to craft the perfect homemade pizza with this incredibly easy and versatile basic vegan pizza dough recipe. Forget store-bought crusts; this oil-free, fluffy, and rustic dough is a game-changer, promising a delightful base for all your favorite toppings. Whether you’re a seasoned baker or a beginner, this recipe simplifies the process, making it accessible and enjoyable for everyone. This unbleached white flour pizza crust can be ready in just about an hour, including prep and cook time, and is designed to be effortlessly adaptable to suit any sauce or topping combination you can imagine.
Our goal is to provide you with a reliable, fundamental pizza dough that you can customize endlessly. From adding aromatic herbs and garlic to experimenting with different flour blends, this recipe serves as your ultimate starting point. The rustic nature of this dough allows for unique shaping, encouraging you to create a crust as thin or thick as you desire, with a perfectly golden, slightly crispy edge that’s ideal for holding in all your delicious ingredients. Get ready to transform your kitchen into an authentic pizzeria!
Why Choose This Basic Oil-Free Vegan Pizza Dough?
This recipe stands out for several compelling reasons. Firstly, its oil-free nature makes it a lighter and healthier alternative without compromising on texture or flavor. The result is a surprisingly fluffy and tender crust with a pleasing chew. Secondly, it’s remarkably easy to prepare, requiring minimal ingredients and straightforward steps that yield consistent results every time. We understand that time is precious, which is why this dough is designed for efficiency, coming together quickly while still allowing for proper yeast activation and dough development.
Beyond its simplicity, the true beauty of this basic pizza dough lies in its versatility. It’s a blank canvas, eagerly awaiting your creative touch. Whether you envision a classic Margherita, a vibrant veggie-loaded creation, or something entirely unique, this crust provides the perfect foundation. Its neutral flavor profile ensures it complements a wide array of sauces and toppings, from rich tomato bases to creamy pestos, spicy chickpeas, and seasonal vegetables. You’re not just making a pizza; you’re crafting an experience, starting with the very best base.
Key Ingredients and Their Role
The magic of this pizza dough comes from a few simple ingredients, each playing a crucial role in achieving that perfect texture and taste. Understanding these components will empower you to make informed adjustments and troubleshoot any issues that might arise.
- Warm Water: The ideal temperature is crucial for activating the yeast. Water that is too hot can kill the yeast, while water that is too cold will inhibit its activation. Aim for a temperature that feels comfortably warm to the touch, typically between 105-115°F (40-46°C).
- Yeast: We use active dry yeast, which is responsible for the dough’s rise, creating those delightful air pockets that give pizza its characteristic texture. One packet of active yeast (approximately 2 1/4 teaspoons) is usually the perfect amount for two medium pizzas.
- Sugar: A small amount of sugar acts as food for the yeast, helping to kickstart the fermentation process. You can use granulated sugar, coconut sugar, raw sugar, or even maple syrup. It doesn’t primarily sweeten the dough but rather fuels the yeast, leading to a more active rise and improved flavor.
- Unbleached White Flour (or Bread Flour): This is the backbone of our dough. Unbleached white flour provides a good balance of protein, yielding a tender yet sturdy crust. Bread flour, with its higher protein content, can be used for an even chewier texture. For a slightly different profile, consider using half white and half whole wheat flour to add a nutty flavor and increased fiber.
- Salt: More than just a seasoning, salt plays a vital role in controlling yeast activity, enhancing the flavor of the dough, and strengthening the gluten structure, which contributes to the crust’s elasticity and chew.
With these foundational ingredients, you’re well on your way to creating an exceptional homemade pizza crust that everyone will love.
Crafting Your Perfect Pizza Crust: Step-by-Step Guide
Making homemade pizza dough might seem daunting, but with these clear instructions, you’ll find it to be a surprisingly simple and rewarding process. Follow along to create a rustic, oil-free vegan pizza crust that’s ready to be transformed into your favorite pizza.
Step 1: Activating the Yeast
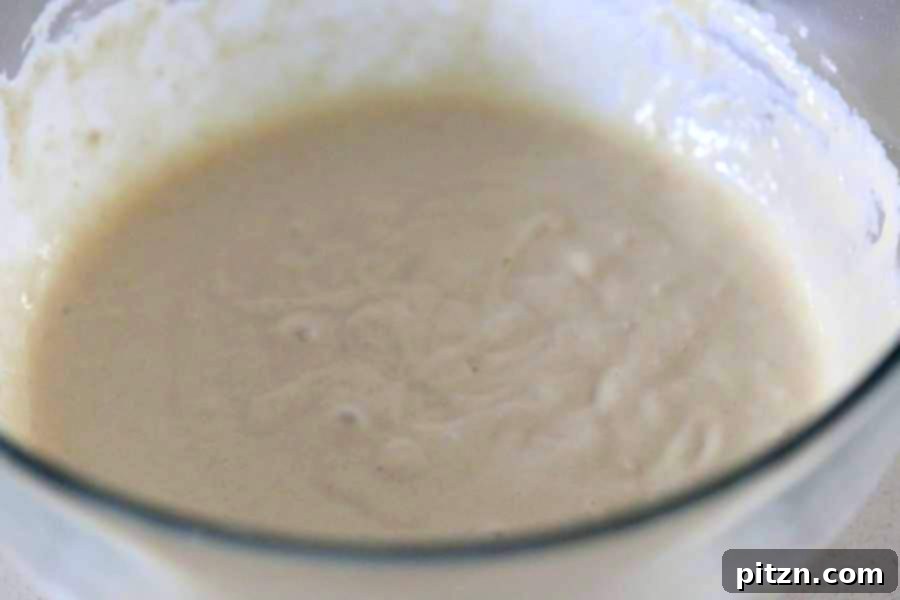
Begin by warming 1 cup of water until it’s just warm to the touch – think bathwater temperature. In a large mixing bowl, combine the warm water, yeast, and sugar. Stir briefly to dissolve the sugar. Then, add 1 cup of unbleached white flour to this mixture. Whisk for 1-2 minutes until you achieve a smooth, somewhat stringy batter. This initial step creates a “sponge” that allows the yeast to become active. Cover the bowl loosely with a clean kitchen towel or plastic wrap and let it sit in a warm place for 30 minutes to an hour. During this time, the yeast will activate, and the batter will become bubbly and frothy, indicating a healthy, active yeast culture.
Step 2: Developing the Dough
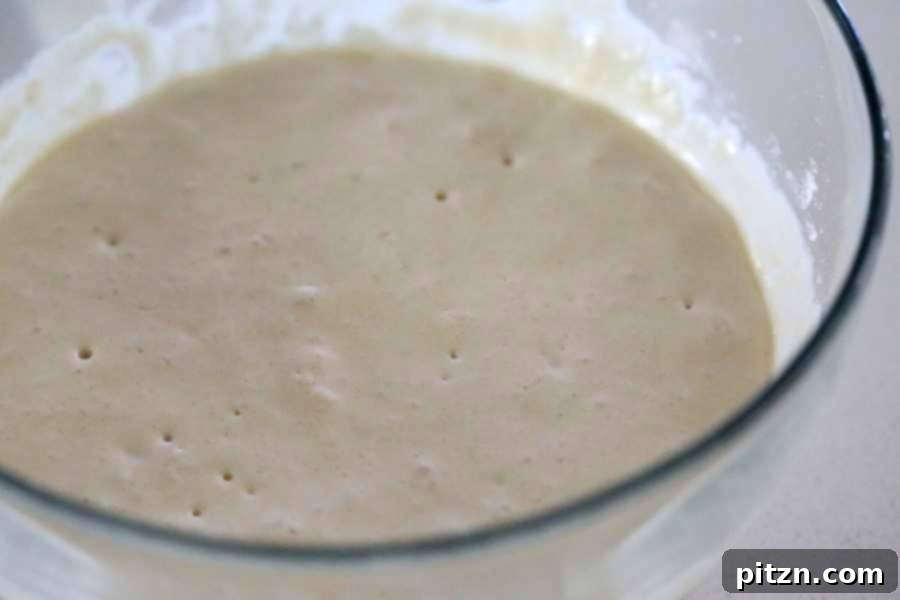
While your yeast is activating, in a separate bowl, mix the salt into the remaining 2 cups of flour. Once your yeast mixture is bubbly, gradually add about 1.5 cups of the flour-salt blend to the bowl. Mix thoroughly, using a sturdy spoon or a dough whisk, until the flour is fully incorporated into the batter. This will take a minute or two. The mixture will start to come together into a shaggy dough. Continue adding the remaining flour, a couple of tablespoons at a time, until the dough is not excessively sticky but holds its shape well. Now, it’s time to get your hands in there! Gather the dough and knead it for another minute directly in the bowl to bring it together. If you choose to use oil (though this recipe is designed to be oil-free), you can add 2 to 3 teaspoons of olive oil at this stage and knead it in.
Step 3: Rustic or Smooth? The Choice is Yours
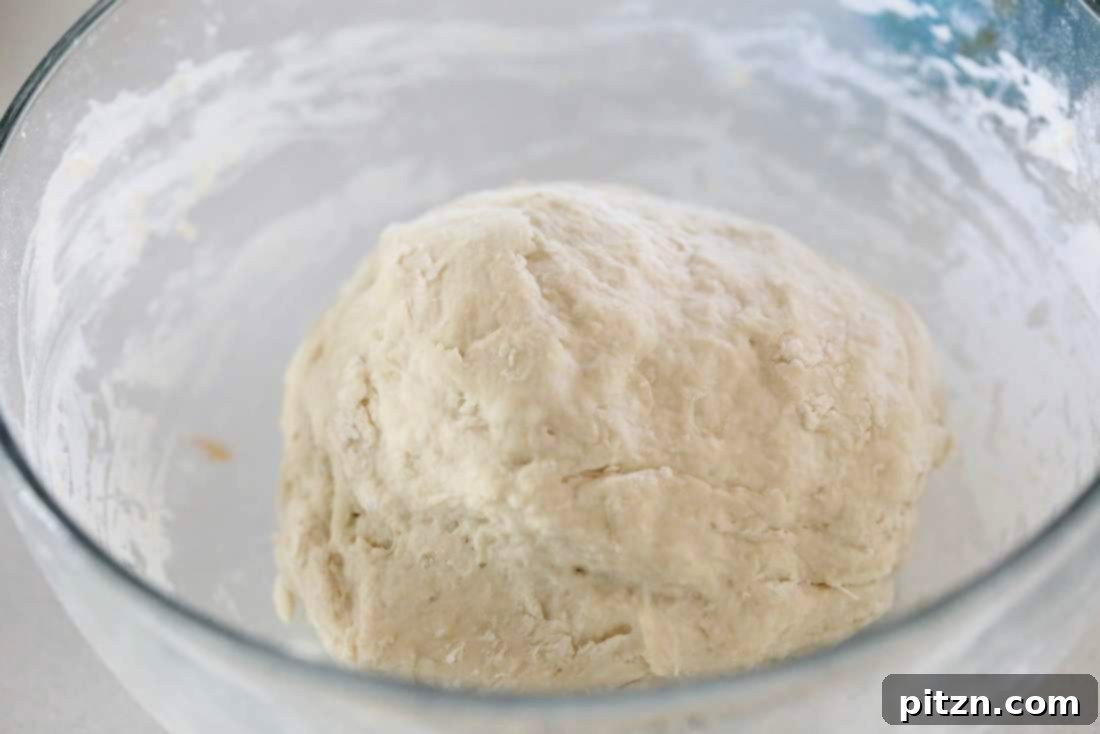
Once your dough has formed, divide it into two equal balls. At this point, the dough should feel slightly sticky. You have a choice: you can continue to knead the dough for an additional 4 to 5 minutes on a lightly floured surface until it becomes smooth and less sticky, adding a little more flour if necessary. This will result in a more uniform texture. However, for a truly rustic pizza with unevenly distributed air bubbles and a delightful chew, I often choose not to over-knead at this stage. The beauty of this recipe is its forgiving nature, allowing you to achieve your desired texture.
Step 4: Shaping Your Pizza Crust
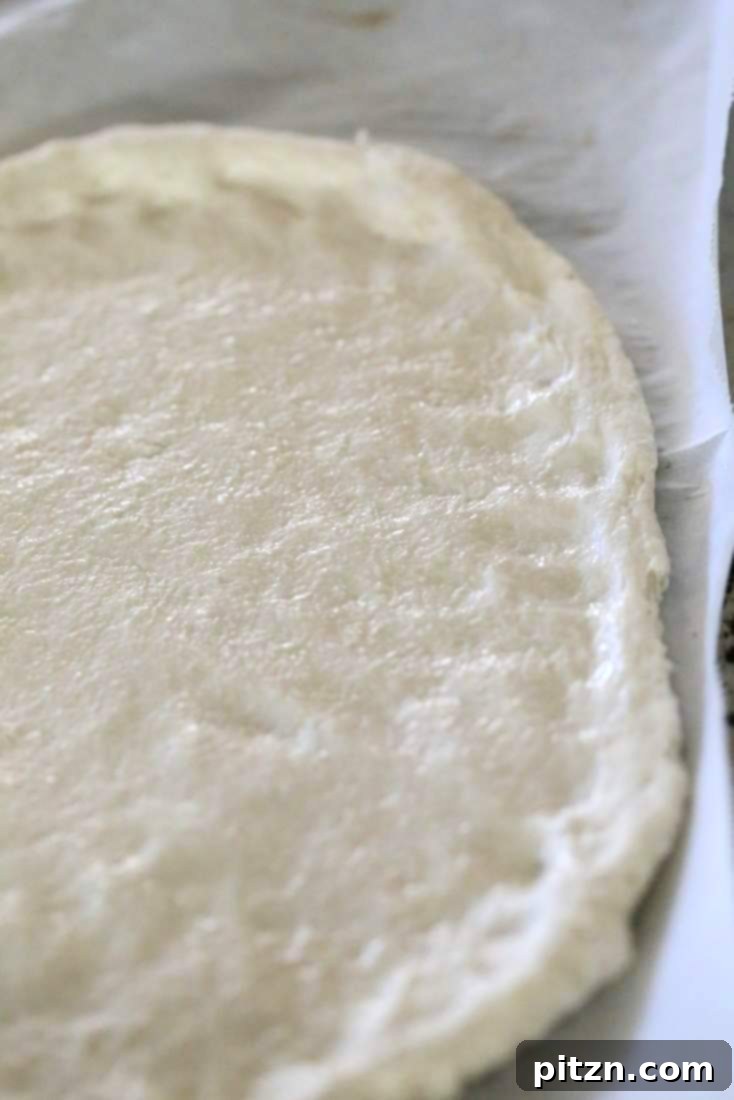
Lightly flour your work surface or place the dough between two sheets of parchment paper. Use a rolling pin to roll out the dough to your desired thickness and shape. Alternatively, and my preferred method, use floured hands to gently stretch and press the dough into a circular or rustic shape. Remember to keep the outer edges a bit thicker to create a substantial crust that will wonderfully hold your sauce and toppings. If you find the dough resists stretching, let it rest for a minute or two, then continue shaping. This allows the gluten to relax, making it easier to work with. Aim for a diameter suitable for your baking sheet or pizza stone.
Step 5: Preparing for Baking
Preheat your oven to 425 degrees F (220°C). This high temperature is key for achieving a crispy crust. Once your dough is shaped, lightly spray it with water. This helps create steam in the oven, contributing to a chewier crust and a better rise. Place the shaped dough near the warming oven for 5 to 10 minutes. This brief rest period allows the dough to slightly proof one last time before baking, ensuring a lighter and airier texture. While the dough rests, gather all your favorite sauces, vegetables, and other toppings. Get creative with your combinations – the possibilities are endless!
Step 6: Bake to Perfection
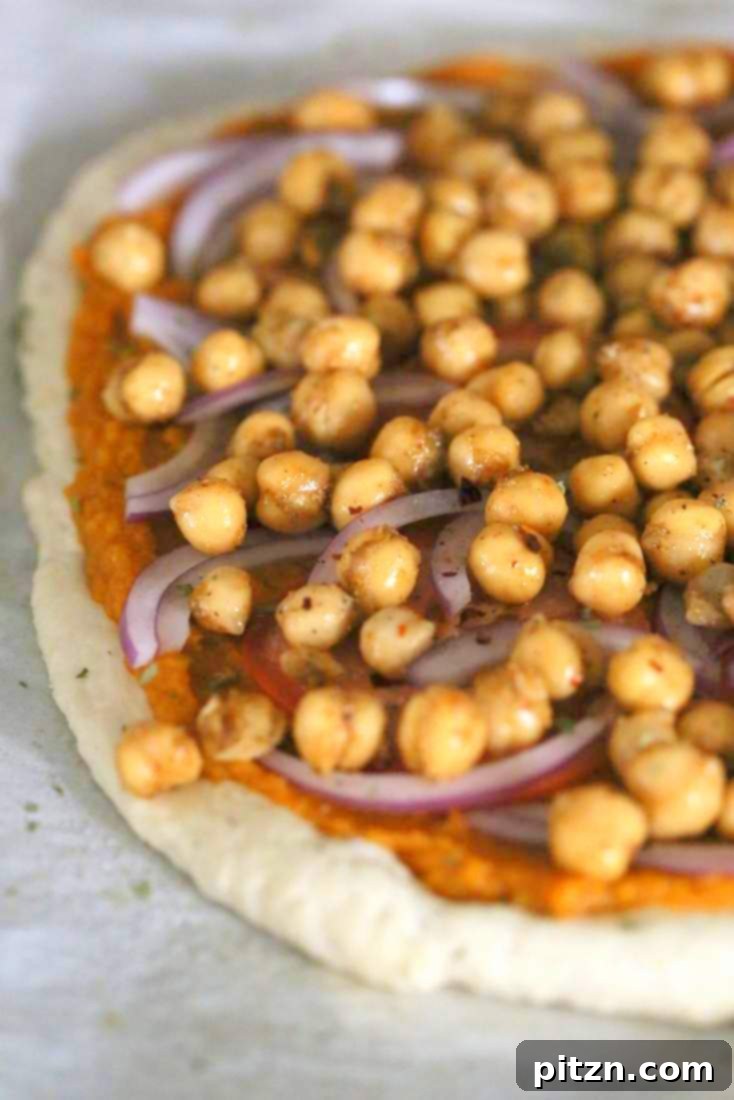
Once your dough has rested and your oven is preheated, spread your favorite sauce evenly over the crust, leaving the thicker edges bare. Layer on your chosen toppings and herbs. Bake the pizza in the preheated oven for 14 to 16 minutes, or until the crust is golden brown and the toppings are cooked through and bubbly. For an extra crispy, browned edge, you can broil the pizza for a minute or two at the end of the baking time, keeping a close eye on it to prevent burning. The result will be a beautifully crafted, homemade pizza with a perfectly baked, oil-free vegan crust. Serve immediately and savor the deliciousness!
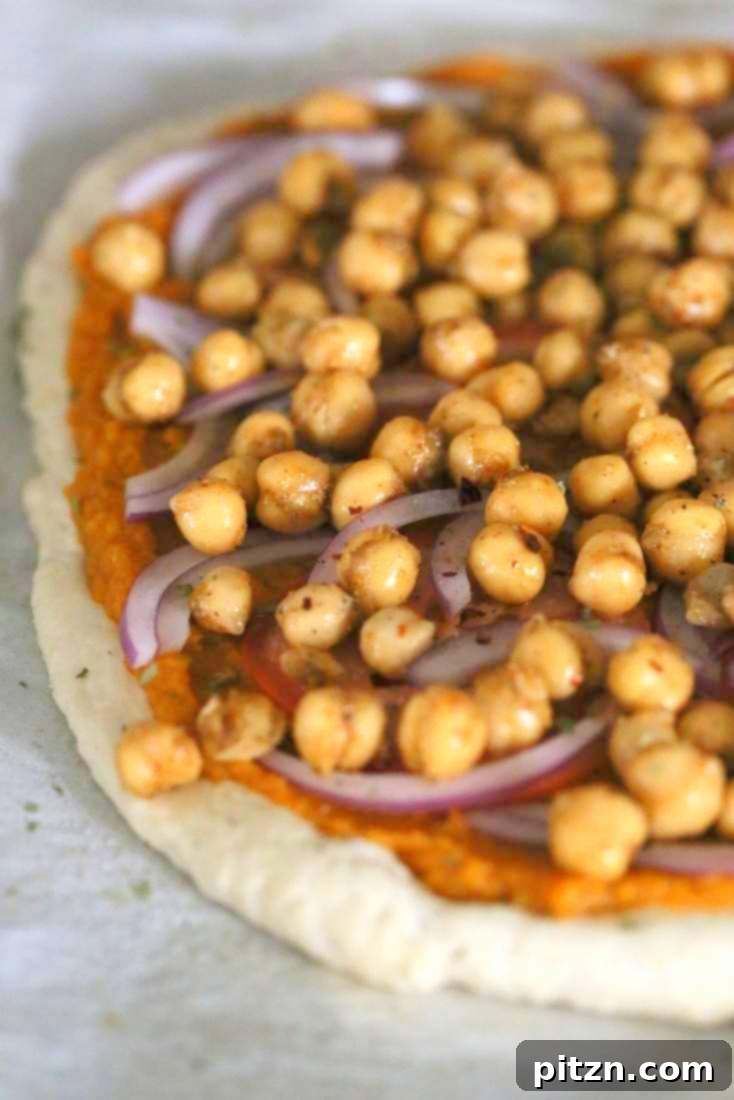
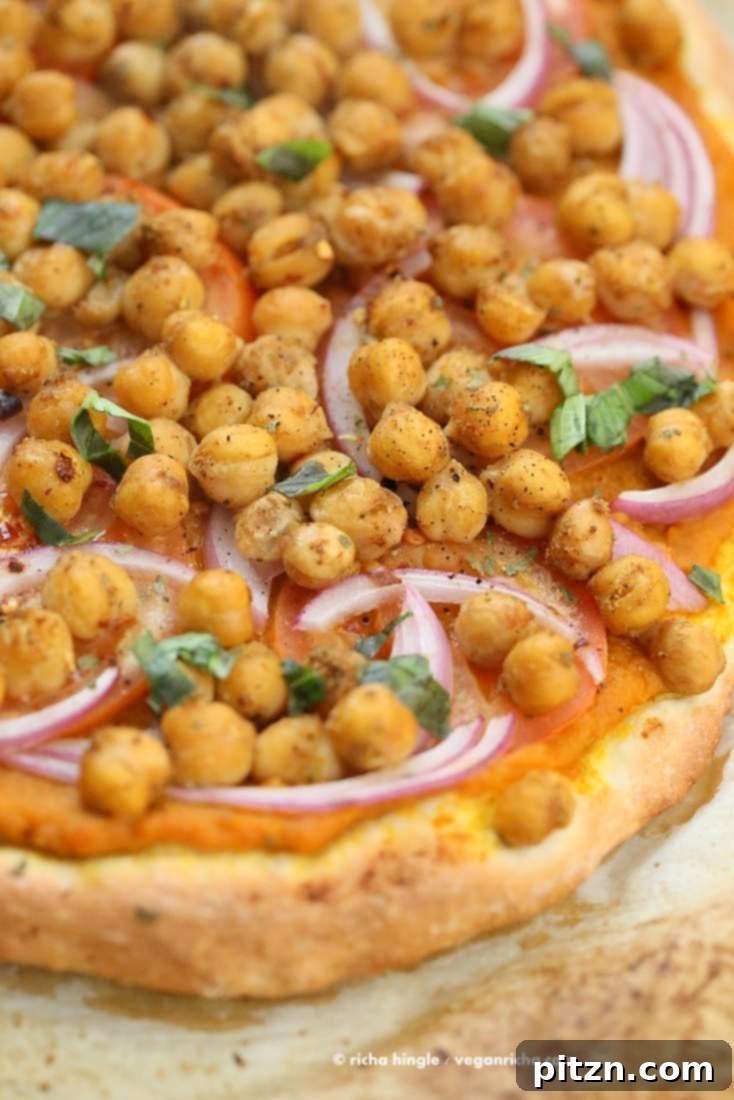
Pictured above is our delicious Chickpea Pumpkin Pizza, showcasing how wonderfully this basic dough pairs with vibrant, flavorful toppings.
Recipe: Basic Oil-Free Vegan Pizza Dough
Summary
This recipe yields a basic, oil-free white fluffy pizza crust using unbleached white flour, ready to use within approximately 35 minutes of active preparation and baking. It’s incredibly versatile and makes two medium-sized pizzas, serving as a perfect foundation for any sauce and topping combination.
By: Vegan Richa
Prep Time: 45 mins | Cook Time: 15 mins | Total Time: 1 hr
Servings: 2 | Course: Pizza | Cuisine: American
Ingredients
- 1 cup warm water
- 2 1/4 tsp active dry yeast (or 1 packet)
- 2 tsp sugar (coconut sugar, raw sugar, or maple syrup can be used)
- 1 cup unbleached white flour (or bread flour)
- 2 cups + additional unbleached white flour (or bread flour, for kneading)
- 1 tsp salt
Instructions
- Warm 1 cup of water until it’s warm to the touch (around 105-115°F / 40-46°C). In a large bowl, combine the warm water, yeast, sugar, and the first 1 cup of flour. Mix well for 1-2 minutes until a smooth, slightly stringy batter forms. Cover the bowl and let it sit in a warm place for 30 minutes to an hour. This allows the yeast to activate and the mixture to become bubbly.
- In a separate bowl, mix the salt into the remaining 2 cups of flour. Add about 1.5 cups of this flour-salt mixture to the activated yeast batter. Mix until well combined, which will take about a minute. Continue adding the remaining flour, 2 tablespoons at a time, until the dough is manageable and not overly sticky. Use your hand to mix and gather the dough. Knead for another minute to form a somewhat smooth dough ball. (If you prefer to use oil, add 2-3 tsp of olive oil at this stage and knead it in.)
- Divide the dough into two equal balls. The dough should still be slightly sticky. You can choose to knead the dough for an additional 4-5 minutes on a lightly floured surface until it becomes smooth and no longer sticky (add more flour if needed) for a more uniform texture, or leave it slightly rustic for uneven air bubbles and a chewier crust, as preferred.
- On a lightly floured surface or between two sheets of parchment paper, use a rolling pin or floured hands to shape each dough ball into a pizza crust. Keep the edges slightly thicker to create a substantial crust. Roll it out as thin or thick as you desire. For a thinner crust, roll, let it rest for a minute, then roll again.
- Preheat your oven to 425°F (220°C). Lightly spray the shaped dough with water and let it sit near the warming oven for 5 to 10 minutes. This brief rest helps the dough proof slightly. While it rests, prepare your chosen sauce, vegetables, and other toppings.
- Top your shaped dough with your favorite sauce, veggies, and layers. Bake in the preheated oven for 14 to 16 minutes, or until the crust is golden brown and the toppings are cooked through. If desired, broil for an additional minute to achieve beautifully browned, crispy edges, watching carefully to prevent burning.
Notes and Flavor Variations
- Herb Infusion: For an aromatic herbed crust, add 1/2 teaspoon of dried oregano or 2 teaspoons of fresh chopped herbs (like oregano, basil, or rosemary) at Step 2 when adding the flour and salt.
- Garlic Lover’s Crust: To create a delicious white garlic crust, incorporate 1/2 teaspoon of garlic powder into the dough at Step 2.
- Soft Crust with Aquafaba: For an exceptionally soft crust, substitute 1 cup of warm water at Step 1 with a mixture of 1/4 cup aquafaba (the liquid from a can of chickpeas) and 3/4 cup warm water. Aquafaba is known for its ability to create tender baked goods.
Nutrition Information
Estimated nutritional values based on one serving:
- Calories: 713 kcal
- Carbohydrates: 149g
- Protein: 21g
- Fat: 2g
- Sodium: 1175mg
- Potassium: 243mg
- Fiber: 6g
- Sugar: 4g
- Calcium: 28mg
- Iron: 8.8mg
Nutrition information is automatically calculated and should only be used as an approximation.
Explore More Pizza Crusts from Our Kitchen
Once you’ve mastered this basic oil-free vegan pizza dough, you might be inspired to experiment with other exciting crust variations. We’ve developed a range of recipes to suit every preference and dietary need, ensuring that your homemade pizza adventures never get boring. Discover new textures and flavors to elevate your pizza game.
Classic & Specialty Crusts
- Simple Crusty White Crust: A classic choice for those who love a beautifully crisp and satisfyingly chewy crust, perfect for traditional toppings.
- 1 Hour Thin Spelt Crust: Ideal for a quick weeknight meal, this thin spelt crust offers a delicate texture and a slightly nutty flavor, ready in just an hour.
- Whole Wheat Crust: A heartier and more nutritious option, this whole wheat crust provides a robust base with a rich, earthy flavor.
- Focaccia Style Crust with Quinoa: Experience a soft, airy, and slightly chewy focaccia-style crust, enhanced with the subtle texture and nutrition of quinoa.
- Rye Crust: For a distinctive taste, this rye crust offers a dense texture and unique, earthy notes that pair wonderfully with bolder flavors.
- Garlic White Crust: Infused with the irresistible aroma and flavor of garlic, this white crust is perfect for garlic lovers and complements a wide range of toppings.
- Herbed Spelt Crust: A fragrant and flavorful spelt crust enriched with a medley of herbs, adding an aromatic dimension to your pizza.
- Deep Dish Wheat Semolina Crust: Indulge in a thick, satisfying deep-dish experience with this robust wheat semolina crust, capable of holding generous layers of toppings.
Delicious Gluten-Free Options
- Gluten-Free Yeast-Free Chickpea Flour Based Crust: A fantastic option for those avoiding gluten and yeast, this crust uses chickpea flour for a unique texture and flavor.
- GF Pan Pizza Crust: Enjoy a soft and airy gluten-free pan pizza crust, perfect for a thicker, more substantial slice.
- Cauliflower Crust (Yeast-Free, Nut-Free): A popular and healthy alternative, this cauliflower crust is free from yeast and nuts, offering a light and crispy base.
- Teff Crust: Explore the rich, distinct flavor of teff flour in this unique gluten-free pizza crust, inspired by Ethiopian cuisine.
- Chickpea Millet Crust: A nutritious and flavorful gluten-free crust combining chickpea and millet flours for a delightful texture.
- Focaccia Style GF Crust: A gluten-free take on the beloved focaccia, this crust is soft, airy, and perfect for soaking up flavors.
- Cauliflower Potato Crust (Yeast-Free): This innovative yeast-free crust blends cauliflower and potato for a tender and flavorful gluten-free option.
Making pizza at home is an incredibly rewarding experience, offering endless possibilities for customization and flavor exploration. With this easy, oil-free vegan pizza dough as your foundation, you’re well-equipped to create delicious, memorable meals that cater to all tastes and dietary preferences. So roll up your sleeves, gather your ingredients, and get ready to enjoy the unparalleled taste of homemade pizza!