
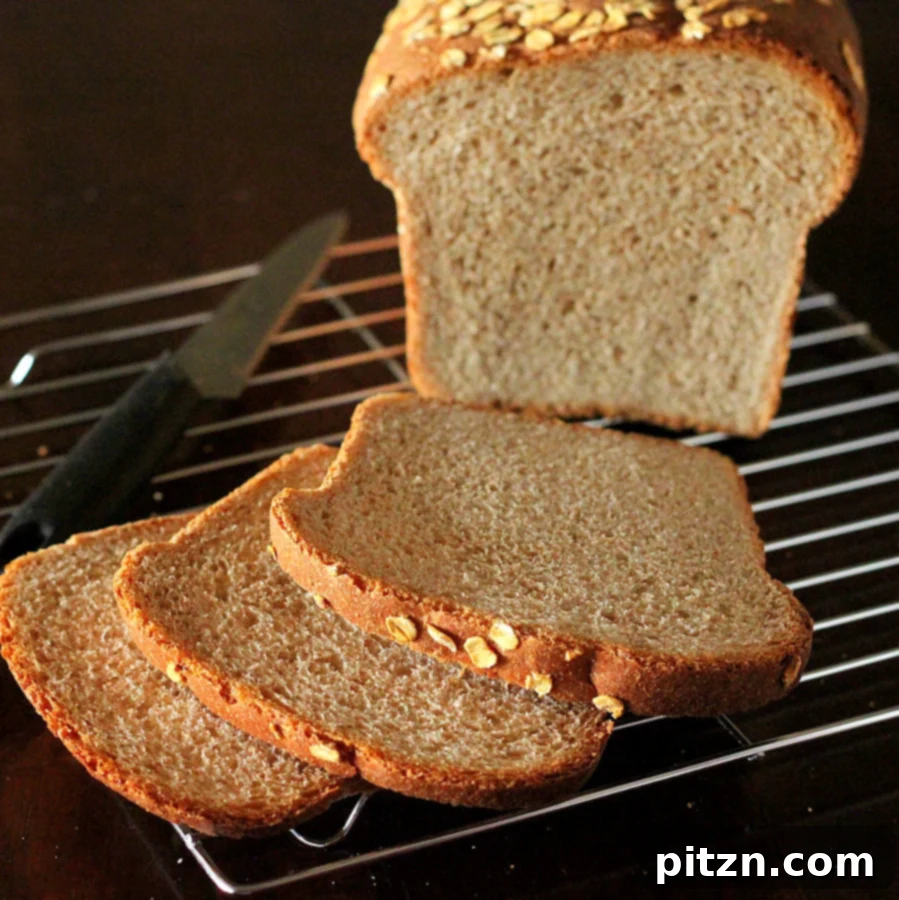
Homemade Vegan Everyday Sandwich Bread: Your Go-To Recipe for Delicious, Allergen-Friendly Loaves
Discover the joy and simplicity of baking your very own vegan sandwich bread. This recipe is designed to be effortlessly delicious, yielding a perfectly soft, fluffy loaf that’s ideal for daily enjoyment. What makes it truly special? It’s completely dairy-free, nut-free, and soy-free, making it a safe and delightful option for nearly everyone looking for wholesome, homemade goodness.
Jump to Recipe
There’s something incredibly satisfying about the aroma of freshly baked bread wafting through your home. For far too long, my kitchen experiments leaned towards the adventurous: multi-grain marvels, fruity delights, and even a few experimental sourdough loaves (you might have seen a peek of the faux sourdough on my Facebook page). While these creations brought their own kind of culinary triumph, a simple, dependable “regular” bread often slipped under the radar, never quite making it to the camera. But not this time! This time, my everyday vegan sandwich bread got its moment in the spotlight, and I’m thrilled to share its simplicity with you.
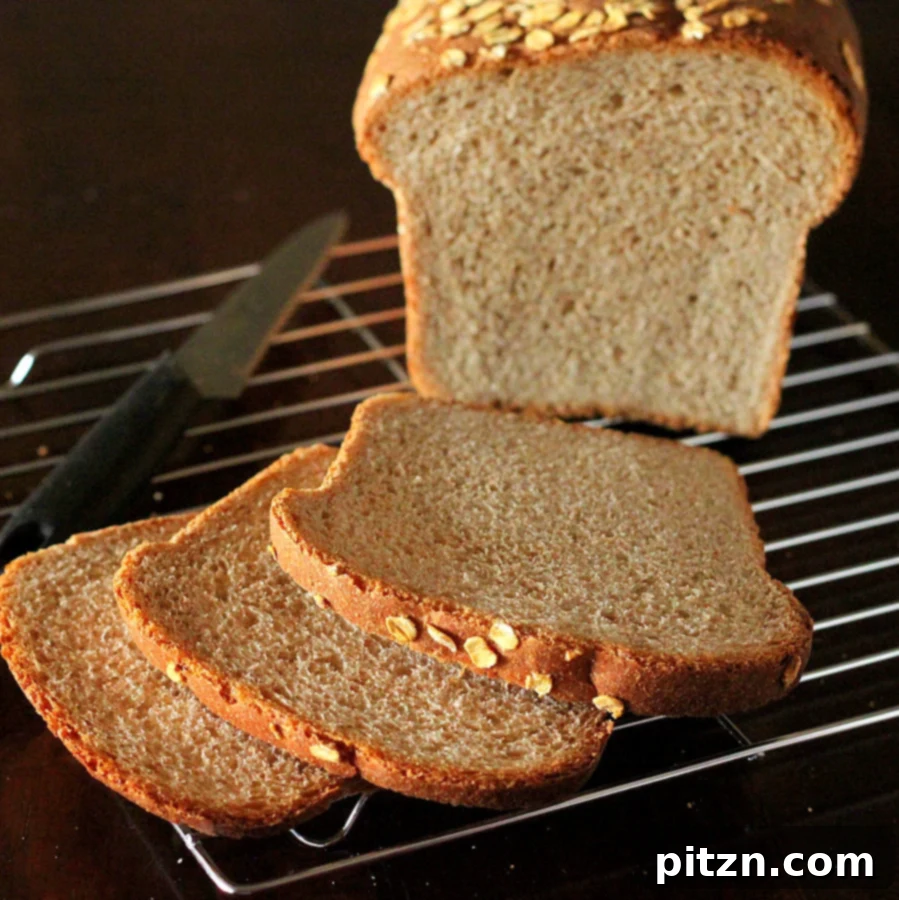
One of these days, I promise to capture the entire bread-making journey, from the first sprinkle of flour to the final golden-brown crust. I just hope my camera can withstand the inevitable flour dust and dough smudges that come with such a hands-on endeavor! Meanwhile, this recipe focuses on creating a reliable, delicious loaf that will become a staple in your kitchen.
The Perfect Accompaniment to Any Meal
This past weekend was a whirlwind of cooking. We whipped up a feast that included Tempeh Makhani (a richer, less tangy take on Tikka Masala), a hearty Yellow Lentil Daal with Brussels Sprouts, Dassana’s Kashmiri Dum Aloo (our non-fried and vegan version), fluffy rice, and plenty of Naan. Entertaining is always a joy, but it invariably leaves us with an abundance of delicious leftovers. And what better way to enjoy those leftovers than with fresh, homemade bread?
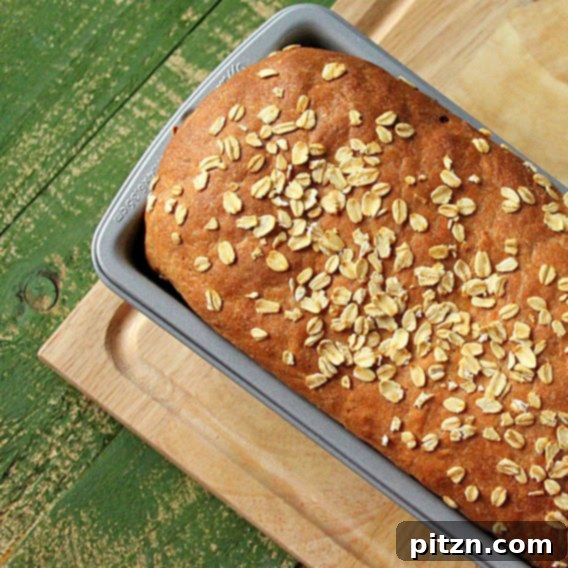
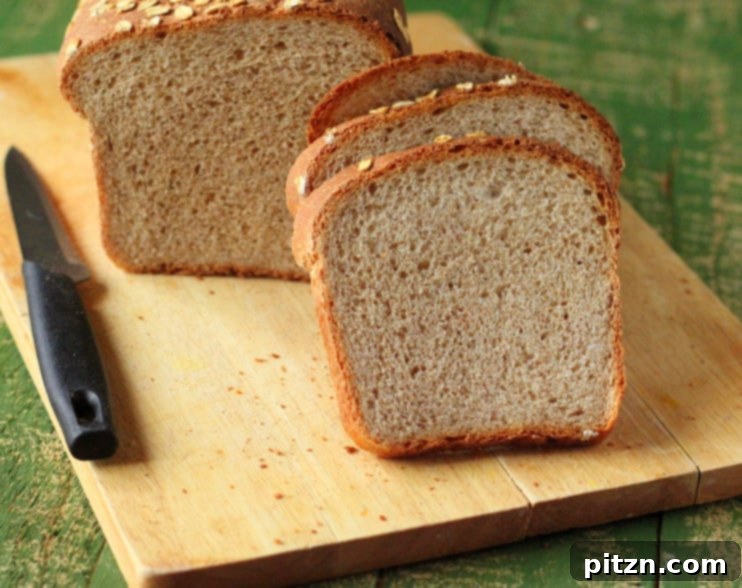
I perfected this recipe a week ago and finally decided it was time to share it with the world. This bread truly shines as a sandwich bread, striking the perfect balance with a blend of half whole wheat flour and half bread flour. This thoughtful combination ensures it’s not overly dense like an all-whole-wheat loaf, yet it retains that wonderful hearty texture and robust flavor that many crave. Its versatility means this loaf pairs beautifully with practically anything you can imagine – from savory fillings to sweet spreads. Beyond classic sandwiches, consider transforming it into delectable Samoa French Toasts!
Customization and Creative Variations for Your Loaf
One of the best aspects of baking your own bread is the freedom to customize the recipe to suit your taste or occasion. Feel free to adjust the flavor profile to your preference. For a savory, herbed loaf, incorporate your favorite spices or dried herbs and a touch more salt into the dough – think dried rosemary, thyme, or oregano. If you’re craving something sweet, a sprinkle of cinnamon and a bit more sugar will yield a delightful cinnamon loaf, perfect for breakfast or dessert. Prefer a lighter texture? You can make a pure white loaf by substituting the whole wheat flour entirely with bread flour – just be prepared to add a little extra bread flour during kneading to achieve the right consistency, as white flour absorbs liquid differently.
Looking for more inspiration beyond this staple? Explore my extensive Vegan Sandwich Bread Recipe collection here for a variety of delicious options tailored for every taste and dietary need.
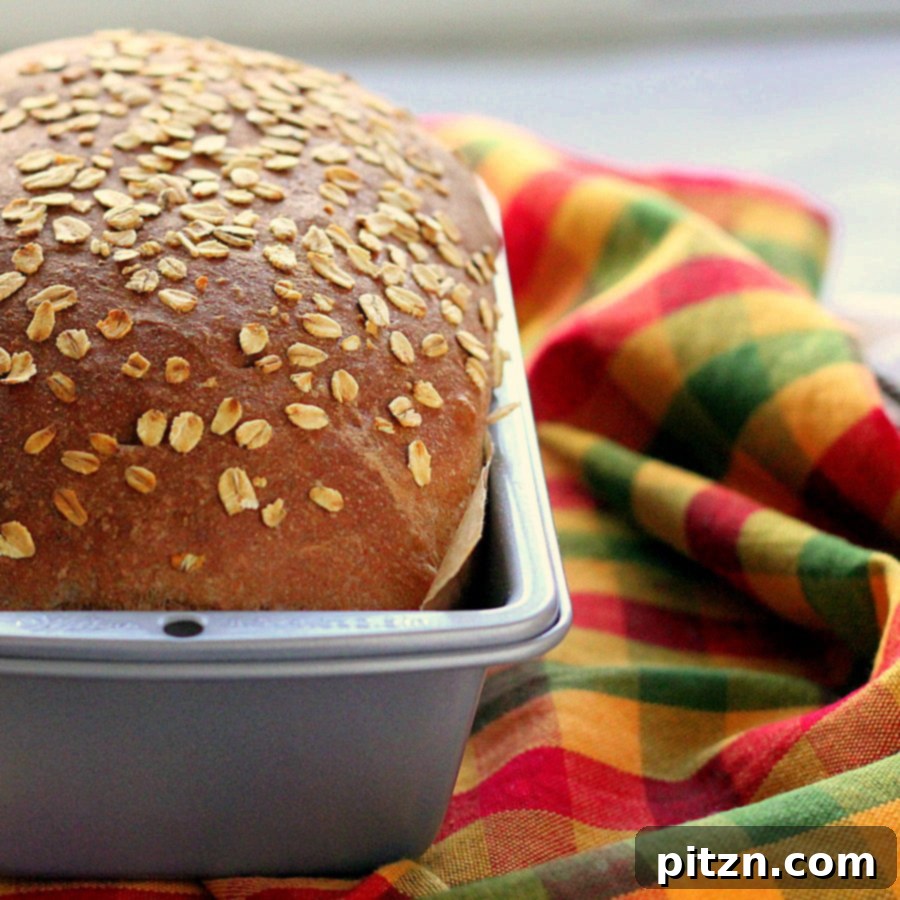
Easy Everyday Vegan Sandwich Bread
Vegan Richa
15 minutes
40 minutes
2 hours
15 minutes
55 minutes
12
servings
Bread
Vegan
Ingredients
- 1 cup warm water (around 105-115°F or 40-46°C)
- 1.5 cups whole wheat flour, I use Bob’s Red Mill for consistent results
- 1.25 cups bread flour
- 1 Tablespoon agave syrup (or maple syrup)
- 1/2 teaspoon salt
- 1 teaspoon raw sugar
- 2 teaspoons active yeast, Red Star is a reliable choice
- 1 Tablespoon extra virgin olive oil, or virgin coconut oil for a slightly different flavor profile
Instructions
-
Begin by activating your yeast: In a large bowl, combine 2 tablespoons of warm water (ensure it’s not too hot, around 105-115°F or 40-46°C, to avoid killing the yeast), 1 teaspoon of raw sugar, and 2 teaspoons of active dry yeast. Stir gently and let this mixture sit for about 10 minutes until it becomes frothy. This bubbling action indicates that your yeast is active and ready to work its magic, ensuring a good rise for your bread.
-
Prepare the flours: In a separate bowl, mix the 1/2 teaspoon of salt with 1.5 cups of whole wheat flour. This helps distribute the salt evenly throughout the dough. Then, add this salted whole wheat flour mixture and 1 cup of bread flour to your frothy yeast mixture in the large bowl.
-
Knead the dough: Add the agave syrup, 1 tablespoon of olive oil (or coconut oil), and the remaining water (which is 1 cup minus the 2 tablespoons used for yeast activation) to the mixture. Knead the dough thoroughly for 6-8 minutes using a stand mixer with a dough hook, or for 8-10 minutes by hand. The goal here is to develop the gluten, resulting in a smooth, elastic dough that is crucial for the bread’s texture.
-
Adjust consistency: If the dough feels overly sticky and difficult to handle, gradually add a little more bread flour, one tablespoon at a time, until the dough is soft, pliable, and just barely sticky to the touch. Avoid adding too much flour, as this can lead to a dry, dense loaf. The ideal dough will pull away from the sides of the bowl.
-
First rise (proofing): Lightly grease a clean, large bowl with a little oil. Transfer the dough to this bowl, turning it once to coat all sides with oil. Cover the bowl tightly with a clean kitchen towel or plastic wrap to prevent drying. Let it rise in a warm, draft-free place for about 1.5 hours, or until the dough has doubled significantly in size. This initial rise is vital for developing rich flavor and a good internal structure.
-
Shape the loaf: Gently punch the risen dough down to release the accumulated air. Transfer it to a lightly floured work surface. If the dough is still a bit sticky, use a tablespoon or so of bread flour on your hands and surface to make it easier to handle. Flatten the dough into a rectangle, then carefully pull a bit on all sides and tuck them underneath to create a smooth, taut top surface for your loaf. This creates tension that helps the bread hold its shape.
-
Prepare for second rise: Place the shaped dough, with the tucked seam side down, into a parchment-lined or well-greased 8.5 by 4.5-inch bread pan. This ensures the loaf maintains its structure during baking and prevents it from sticking to the pan.
-
Final touches before second rise: Liberally spray the top of the dough with water. This helps create a beautiful, crispy crust and allows any optional toppings to adhere. If desired, sprinkle a light dusting of flour or some rolled oats on top for added texture and visual appeal.
-
Second rise (final proof): Cover the bread pan with a clean kitchen towel and let it rise again in a warm, draft-free place for approximately 45 minutes, or until it has nearly doubled in size and looks puffy. This final proof is crucial for achieving a light and airy texture in the final baked bread.
-
Bake the bread: Preheat your oven to 365 degrees F (185°C). Bake the bread for 35-40 minutes. You’ll know it’s perfectly done when the crust is golden brown and, when tapped gently on the top, it produces a hollow sound. This indicates it’s baked through and no longer doughy inside.
-
Cool completely: Once baked, immediately remove the hot loaf from the pan and place it on a wire rack to cool completely. This step is absolutely vital; slicing hot bread can lead to a gummy, dense texture, as the internal structure is still setting. Patience is key for the perfect slice!
Notes for Success & Variations
Enhanced Softness: For an even softer crumb and a hint of tang, consider adding 1-2 tablespoons of plain, unsweetened non-dairy yogurt to the dough during the kneading stage. This can also aid in a slightly longer shelf life.
Milk-Enriched Flavor: For a richer flavor and a subtly different texture, replace half a cup of the water with half a cup of your preferred plant-based milk, such as almond milk or oat milk. Remember to adjust the total liquid amount in the recipe accordingly to maintain the desired dough consistency.
Herbaceous Loaf: Elevate your bread with savory notes by incorporating 1-2 tablespoons of finely chopped fresh herbs (like rosemary, thyme, or oregano) or 1-2 teaspoons of dried herbs into the flour mixture. A pinch more salt will enhance these beautiful aromatic flavors.
Sweet Cinnamon Swirl: Transform this into a sweet treat by adding 1-2 teaspoons of ground cinnamon and an extra tablespoon of sugar to the dry ingredients. For a stunning visual and flavor impact, you could even roll out the dough, sprinkle it with a cinnamon-sugar mixture, then roll it up before the second rise.
All-White Bread: If you prefer a lighter, classic white bread, simply substitute the whole wheat flour with an equal amount of bread flour. Be mindful that you may need to adjust the amount of liquid slightly, potentially adding a bit more bread flour during kneading until the desired soft, elastic dough consistency is achieved.
Nutritional values are provided as an approximation based on one serving. Individual results may vary.
Nutrition
Calories:
121
kcal
,
Carbohydrates:
22
g
,
Protein:
4
g
,
Fat:
1
g
,
Sodium:
99
mg
,
Potassium:
86
mg
,
Fiber:
2
g
,
Sugar:
1
g
,
Calcium:
7
mg
,
Iron:
0.7
mg
Please note that nutrition information is an estimation, automatically calculated, and should be used as an approximation only.
The Art of Perfecting Your Homemade Vegan Bread
Baking bread is a therapeutic and immensely rewarding experience, and with a few key tips, you can ensure your vegan everyday sandwich bread turns out perfect every time. Understanding the basic science behind yeast and dough development is key to achieving that ideal texture and flavor profile.
Yeast Activation: The Foundation of Fluffy Bread
The first and most critical step in many yeast bread recipes, and certainly in this one, is activating the yeast. Using warm water (not hot!) around 105-115°F (40-46°C) is absolutely crucial. Water that’s too cold won’t sufficiently activate the yeast, leading to a flat loaf, while water that’s too hot will kill the delicate yeast organisms, also preventing a rise. A small amount of sugar acts as immediate food for the yeast, encouraging it to bloom and produce those tell-tale bubbles and froth, which is your visual cue that it’s alive and ready to leaven your bread. Don’t skip this initial step; it’s your primary insurance policy for a successful, airy rise.
Kneading for Structure and Elasticity
Kneading is where a seemingly shaggy mixture of ingredients transforms into a smooth, elastic dough. This hands-on (or machine-assisted) process develops the gluten strands in the flour, which are essential for creating the structural network that traps the carbon dioxide gas produced by the yeast. The result? A light, airy crumb with a satisfying chew. Whether you use a stand mixer with a dough hook or opt for traditional hand-kneading, aim for a dough that is soft, resilient, and passes the “windowpane test” – meaning you can stretch a small piece thin enough to see light through it without tearing. If your dough is excessively sticky, resist the urge to add too much flour, as this can lead to a dry, dense loaf. Instead, use a little olive oil on your hands or a very light dusting of flour on your work surface to help manage stickiness without compromising the final texture.
Proofing: Patience is a Virtue for Flavor and Texture
The two rises, or proofing stages, are vital not just for the bread’s volume but also for profound flavor development and achieving that characteristic soft, open bread texture. The first rise, typically longer, allows the yeast to ferment gradually, developing complex flavors. The second, shorter rise, often called the “final proof,” is about building the final structure and ensuring a good “oven spring” – the last burst of rising in the hot oven. Always proof your dough in a warm, draft-free environment. A slightly warm (turned off!) oven, a sunny spot, or even a proofing drawer can work wonders. Be mindful of over-proofing, which can lead to a crumbly, collapsing loaf with a yeasty off-flavor, and under-proofing, which results in a dense, heavy bread. Pay close attention to the visual cues: the dough should double in size and feel soft and puffy to the touch.
Achieving the Perfect Crust
The crust is the bread’s first impression, and achieving a beautiful, crispy, golden-brown exterior is easier than you think. Spraying the top of your loaf with water just before it goes into the oven is a simple yet effective trick. The moisture helps to slow down initial crust formation, allowing the bread to expand fully before the crust sets. It also creates a steamy environment in the oven, which contributes significantly to a glossy, crispier crust. For an extra touch of rustic charm or added flavor, a light sprinkle of flour gives it a traditional artisan look, while rolled oats add a subtle chewiness and nutty taste to the exterior.
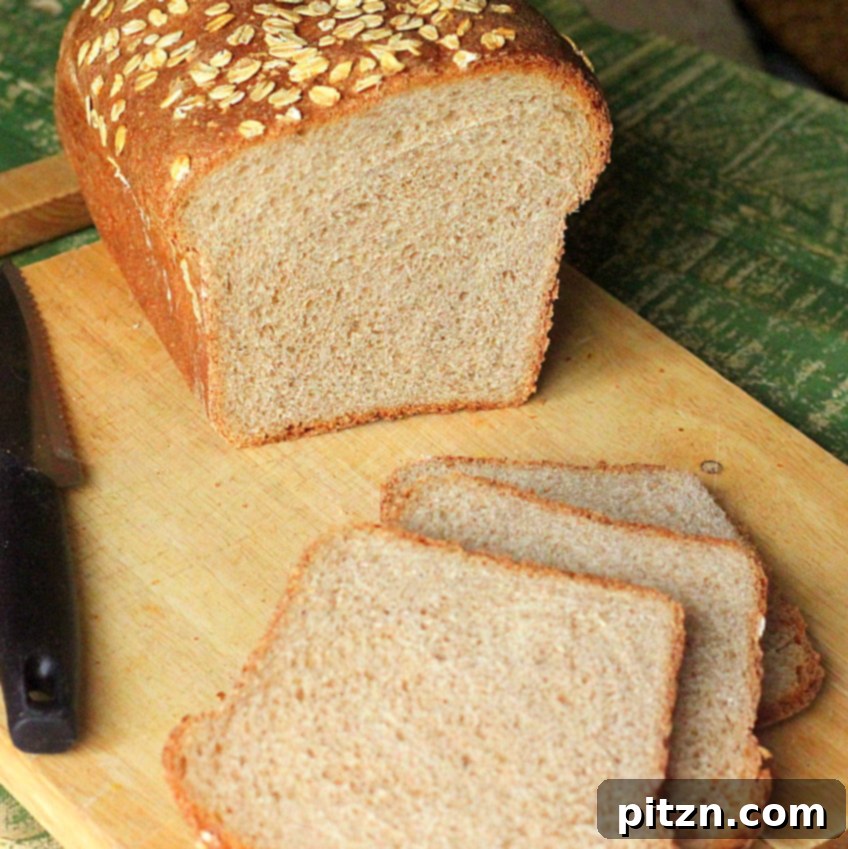
Serving Suggestions: Beyond the Basic Sandwich
While this vegan everyday sandwich bread is, as its name suggests, perfectly engineered for building delicious sandwiches, its versatility extends far beyond that simple application. Its balanced flavor, tender crumb, and robust structure make it an excellent base for a myriad of culinary creations throughout the day.
- Hearty Breakfast Toasts: Elevate your morning routine by slathering slices with your favorite fruit jam, a creamy nut butter (if not avoiding nuts), or fresh avocado with a sprinkle of everything bagel seasoning. Its sturdy structure holds up beautifully to a variety of toppings, making it a satisfying start to your day.
- Homemade Croutons: Don’t let stale bread go to waste! Cut leftover slices into neat cubes, toss them with a generous drizzle of olive oil, your favorite dried herbs (like Italian seasoning), garlic powder, and a pinch of salt. Bake until golden and crispy for perfect homemade croutons, ideal for enhancing soups and salads.
- Versatile Breadcrumbs: For a truly zero-waste approach, process any leftover pieces or crusts into fresh or dried breadcrumbs. Store them in an airtight container in the freezer for future use in breading vegetables, topping casseroles, or adding a delightful crunch to various dishes.
- Gourmet French Toast (Beyond Samoa!): While we’ve highlighted the delightful Samoa French Toasts, this bread is also fantastic for classic vegan French toast. Whisk together a simple batter of plant-based milk, a flax egg or other vegan egg replacer, cinnamon, a touch of vanilla extract, and a pinch of nutmeg. Dip the bread, then pan-fry until golden brown for a comforting brunch treat.
- Elegant Bruschetta or Crostini: For a sophisticated appetizer or light snack, slice the bread thinly, toast lightly until crisp, and then top with vibrant fresh tomato bruschetta, a rich olive tapenade, creamy hummus, or any other delicious spread you can imagine.
- The Ultimate Soup Dippers: There’s nothing quite as comforting and satisfying as a thick slice of freshly baked, slightly warm bread for soaking up hearty stews, chunky chilis, and creamy pureed soups.
- Savory Puddings or Stratas: Use cubes of this bread as the base for savory vegan bread puddings or stratas. Layer with vegetables, plant-based sausage, and a rich savory custard for a comforting main dish or an impressive brunch item.
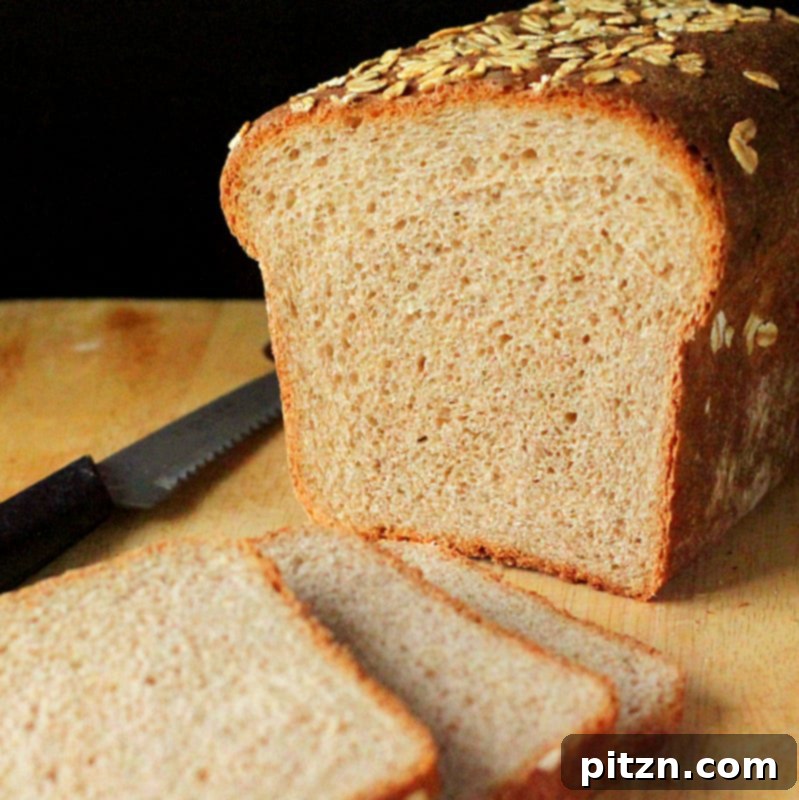
Storing Your Homemade Bread for Lasting Freshness
To keep your homemade vegan everyday sandwich bread fresh and delicious for as long as possible, proper storage is key. Following these simple guidelines will help preserve its wonderful texture and flavor.
- Room Temperature Storage: For consumption within 2-3 days, store the completely cooled loaf in an airtight container, a reusable bread bag, or wrapped tightly in plastic wrap or foil at room temperature. It’s generally best to avoid refrigerating whole loaves, as the cool, dry air of a refrigerator tends to dry out bread more quickly, making it stale.
- Freezing for Longer Preservation: For longer-term preservation, which is highly recommended for homemade bread, slice the cooled bread into your desired thickness and then transfer the slices to a freezer-safe bag or airtight container. Place parchment paper between slices to prevent sticking if you wish. This method allows you to easily pull out individual slices to toast as needed. Frozen bread can keep fresh for several weeks to up to a month without significant loss of quality.
This Easy Everyday Vegan Sandwich Bread recipe is a testament to the fact that wholesome, homemade, and allergy-friendly baking can be both simple and incredibly rewarding. Enjoy the process, savor every delicious slice, and delight in the knowledge that you’ve created something truly special in your own kitchen!