
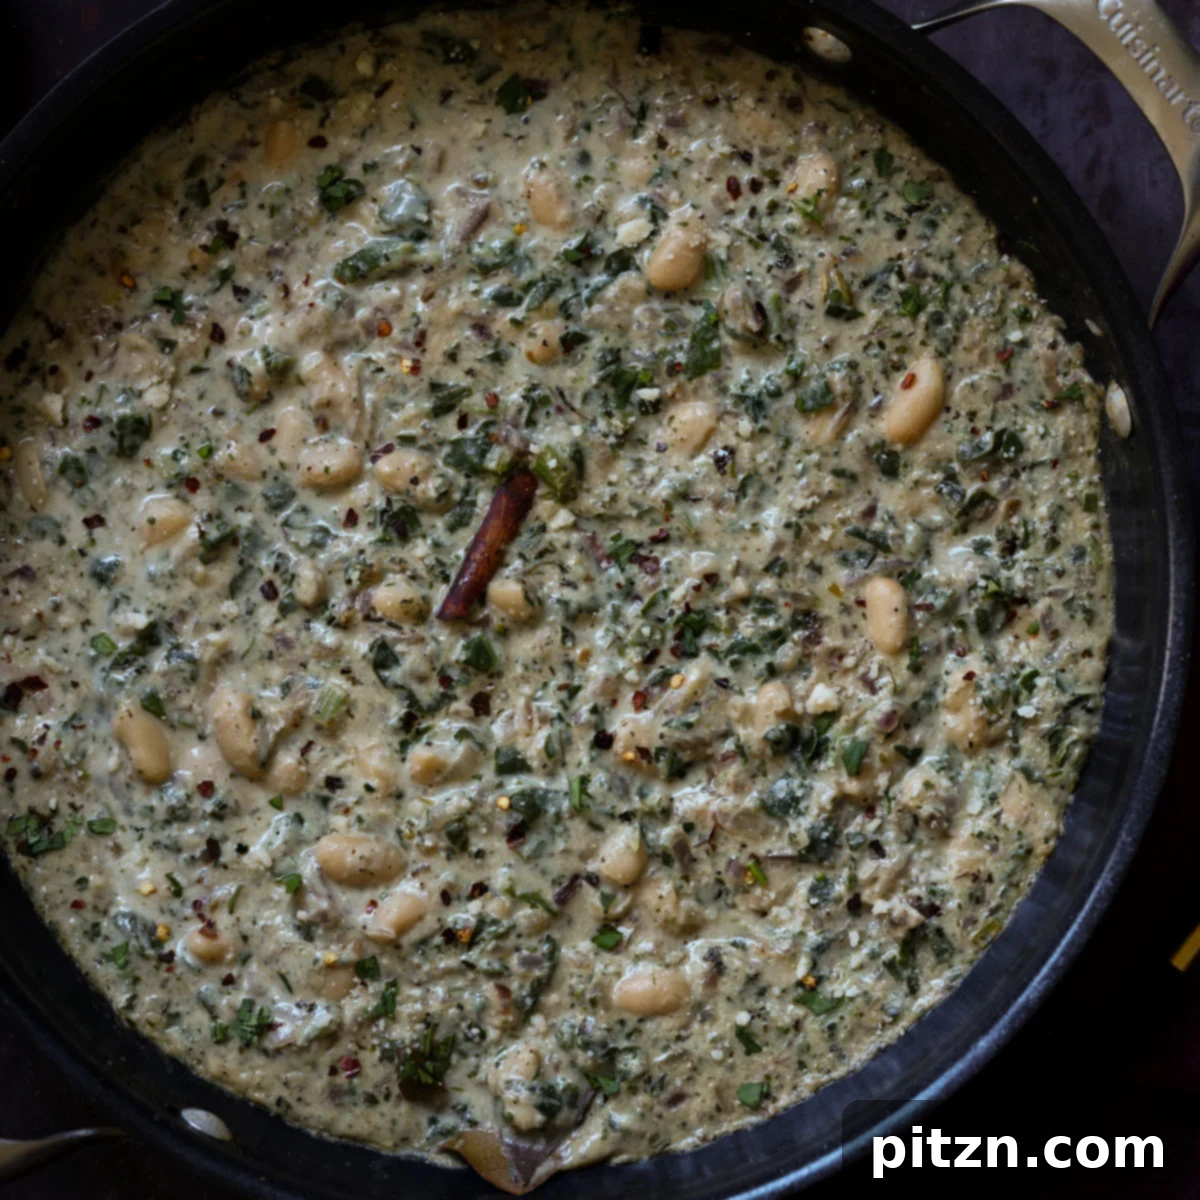
Welcome to the vibrant world of North Indian cuisine, where bold flavors and aromatic spices create unforgettable dishes. Today, we’re bringing you an exceptional plant-based rendition of a classic: Kali Mirch Beans. This incredible dish takes inspiration from the revered Murg Kali Mirch, a traditional black pepper chicken curry known for its distinctively spiced, creamy white sauce. We’ve transformed this culinary gem into a hearty, satisfying, and entirely vegan meal by featuring tender beans in that same luscious, peppery sauce.
This one-pan wonder is not only incredibly delicious but also remarkably quick to prepare, clocking in at just 30 minutes. Naturally gluten-free, soy-free, and nut-free, it caters to various dietary needs without compromising on flavor. Serve it alongside warm flatbread or crusty sourdough for dipping, or embrace a fusion approach by spooning it over pasta, a baked potato, or perfectly roasted cauliflower. Get ready to experience a unique Indian curry that highlights the aromatic power of black pepper like never before.
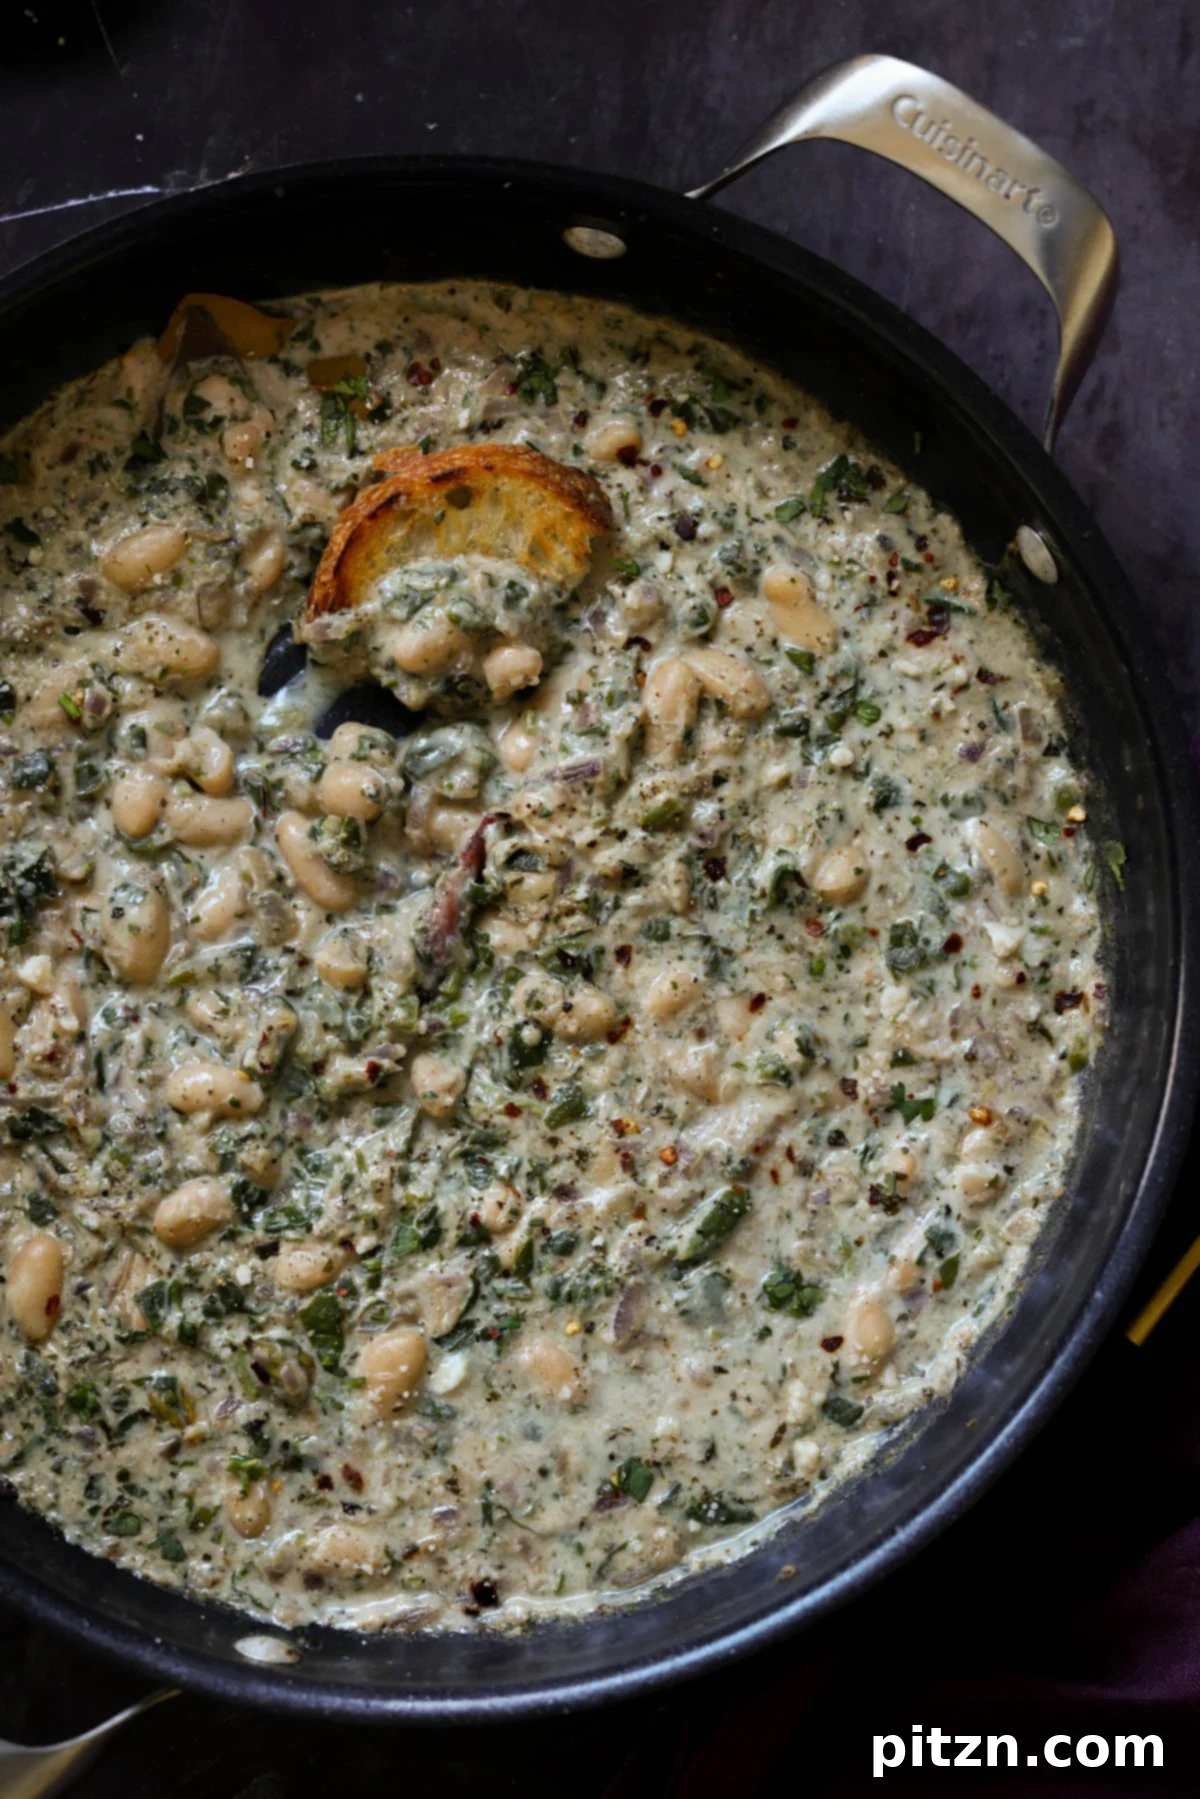
Table of Contents
- Why You’ll Love Kali Mirch Beans
- More North Indian Curries
- Kali Mirch Beans (Beans in Indian Black Pepper Cream Sauce) Recipe
- Ingredients and Substitutions
- 💡 Expert Tips for Perfect Kali Mirch Beans
- How to Make Kali Mirch Beans (Step-by-Step with Pictures)
- Storage and Make-Ahead Tips
- Frequently Asked Questions About Kali Mirch Beans
Murg Kali Mirch, meaning “black pepper chicken,” is a celebrated dish in North Indian and Pakistani cuisine. Its signature lies in a vibrant, creamy white curry base, where the only source of heat comes from an abundance of freshly ground black pepper. Traditionally, meat is marinated in a potent blend of black pepper, ginger, and garlic before being incorporated into the sauce. In our innovative vegan version, we focus on building this rich and aromatic sauce from scratch, then introduce beans to create a plant-forward meal that’s equally comforting and flavorful.
The beauty of this Kali Mirch sauce lies in its incredible versatility. While we highlight white beans in this recipe, feel free to experiment with other plant-based proteins. Consider using other types of beans like kidney beans or black beans, or chickpeas for a different texture. For a more substantial option, try firm chickpea tofu, crispy baked or pan-fried tofu, seitan, soy curls, or any of your favorite vegan chicken substitutes. This adaptable sauce ensures that you can customize your meal to your preference, making it a staple in your vegan cooking repertoire.
If you choose to use a larger protein like tofu, seitan, or vegan chicken pieces, a little pre-preparation goes a long way. We recommend marinating your chosen protein in about half a teaspoon of black pepper, a dash of salt, minced garlic, and a hint of oil. Then, bake or pan-fry it until golden and slightly crispy before adding it to the simmering sauce. This step ensures that your protein absorbs maximum flavor and contributes beautifully to the overall texture of the dish.
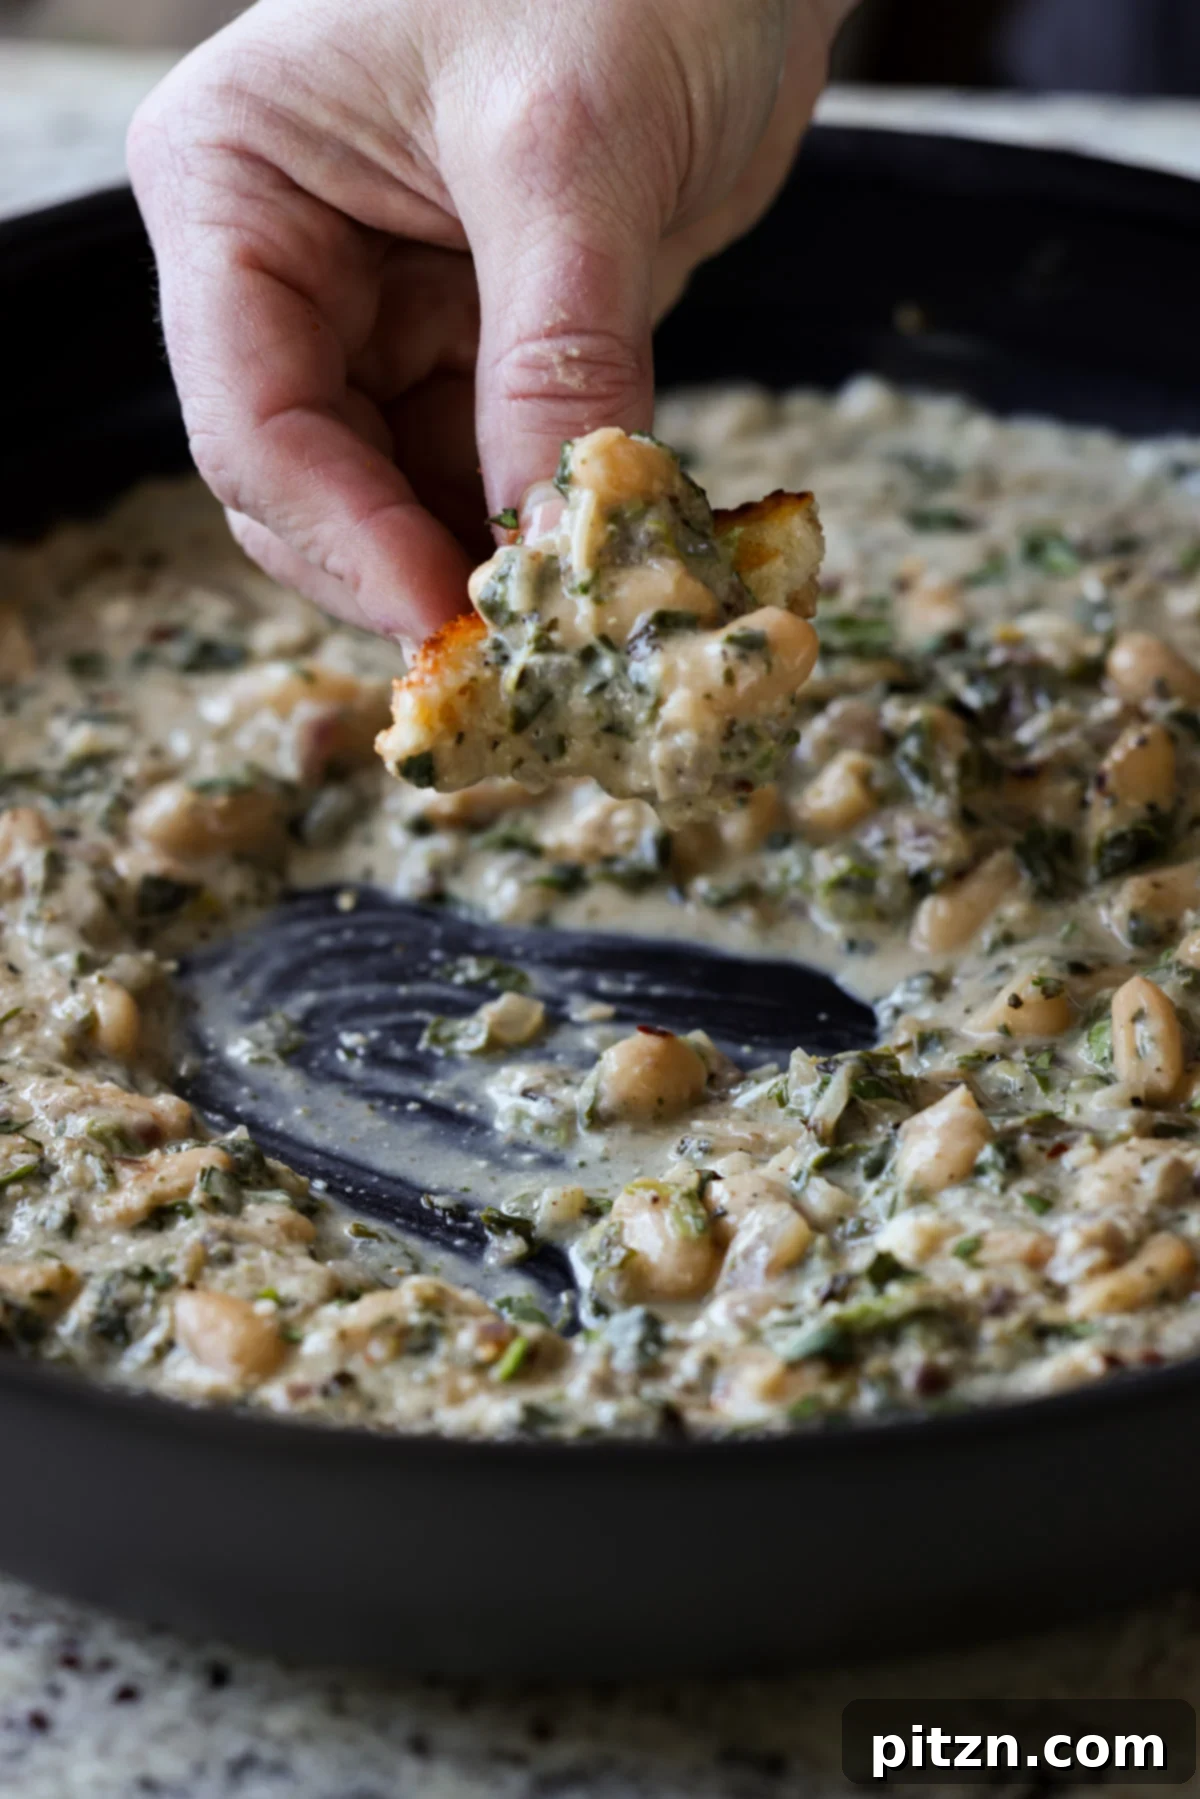
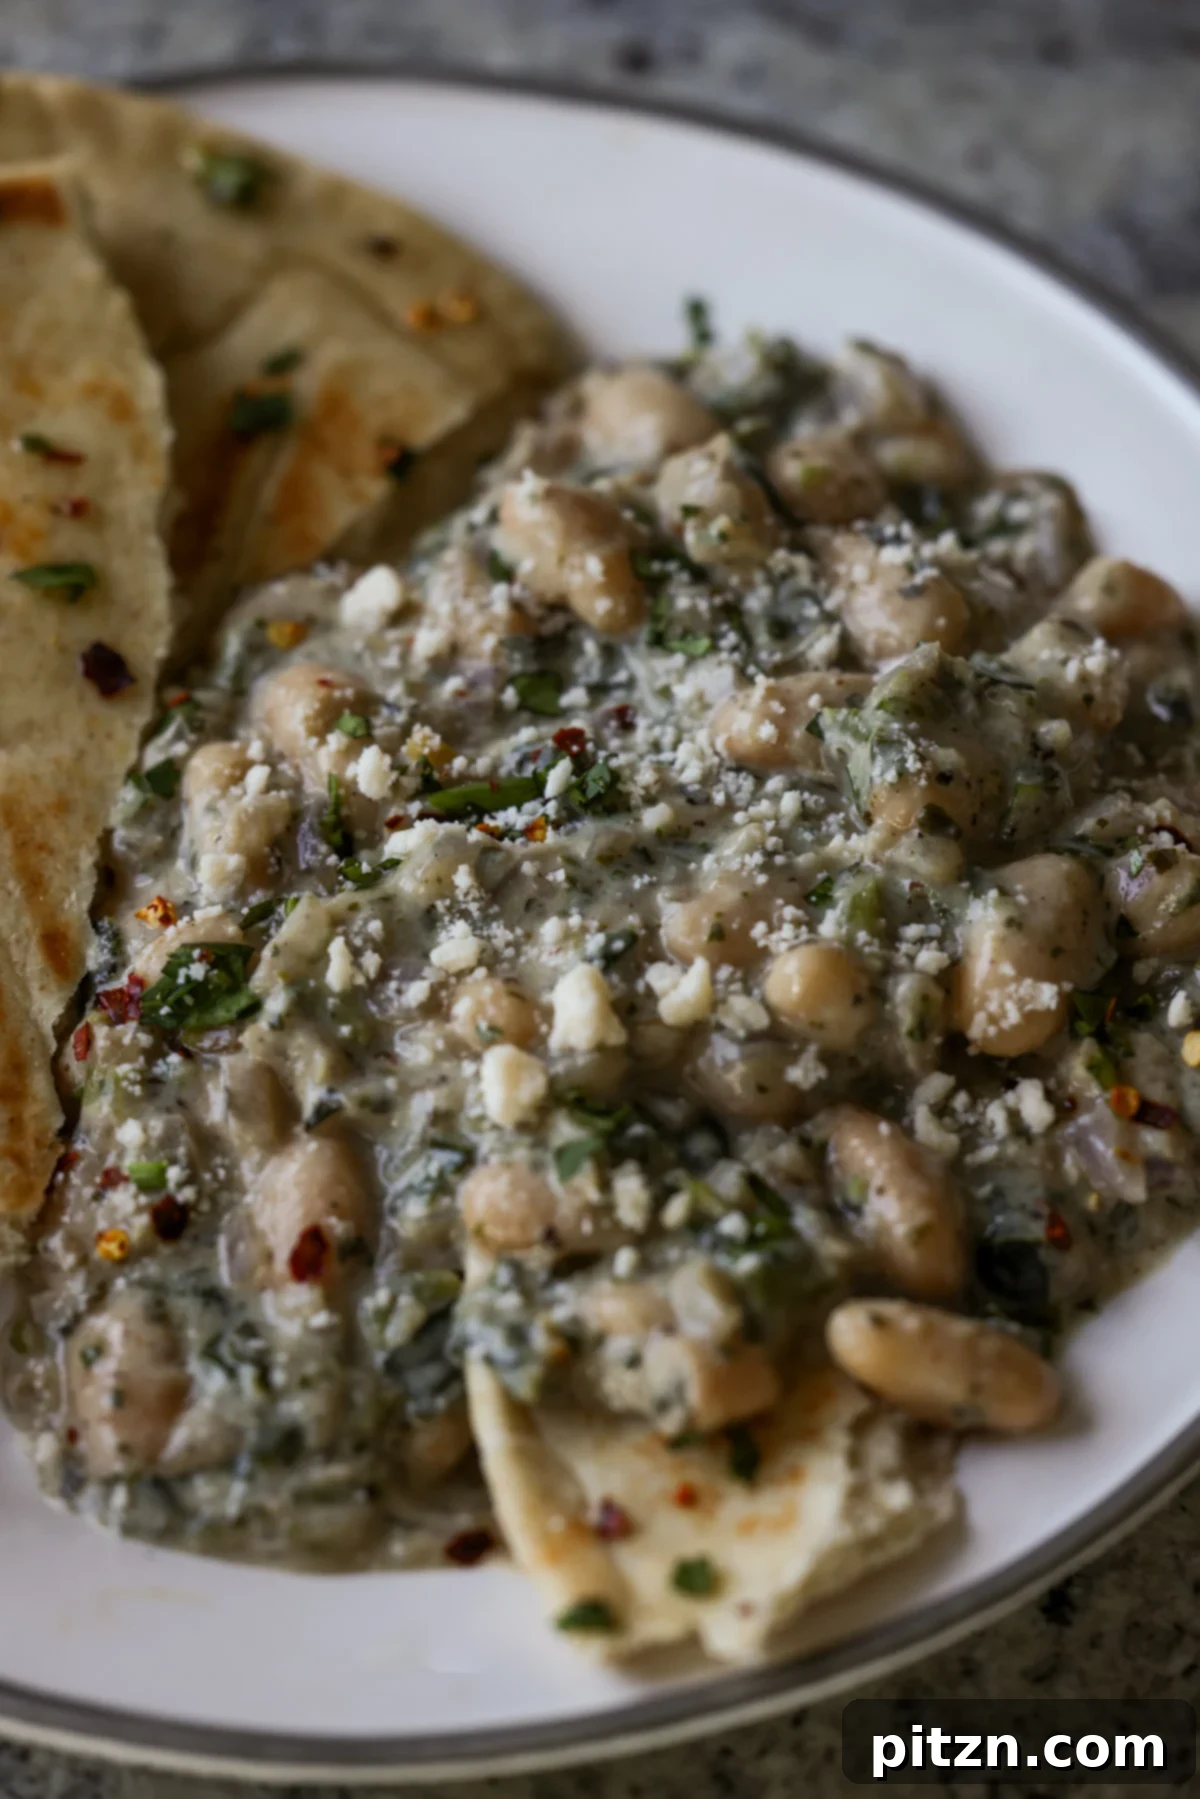
Kali Mirch Beans are wonderfully versatile when it comes to serving. For a traditional pairing, enjoy them with warm naan, soft flatbread, toasted sourdough, or savory garlic bread. If you’re feeling adventurous and want to create a delightful fusion meal, spoon this rich curry over a fluffy baked potato, tender seared cauliflower, or your favorite pasta. The creamy, peppery sauce elevates any accompaniment, making every bite a truly satisfying experience. With just a few simple ingredients, you’ll be amazed at the depth of flavor this dish delivers – it’s an absolute must-try!
Why You’ll Love Kali Mirch Beans
This Kali Mirch Beans recipe isn’t just another meal; it’s a culinary experience designed for ease, flavor, and versatility. Here’s why it will quickly become a favorite in your kitchen:
- Effortlessly Creamy and Flavorful: The rich, black pepper sauce is incredibly simple to create, building layers of deep flavor in a single pan. Its creamy texture, achieved with non-dairy yogurt or cream, is utterly luxurious and satisfying.
- Unleash Your Culinary Creativity: This recipe is a blank canvas for your preferred ingredients. While beans shine, feel free to substitute with your choice of plant-based chicken, tofu, seitan, or other legumes. The serving options are equally flexible, from dipping crusty bread to pairing with baked potatoes, pasta, or seared vegetables for a delightful fusion twist.
- Quick and Convenient: In today’s fast-paced world, a meal that’s ready in just 30 minutes is a lifesaver. This simple, one-pan approach minimizes cleanup and maximizes flavor, making it perfect for weeknight dinners or quick weekend lunches.
- Naturally Inclusive: Crafted with health and dietary considerations in mind, this dish is inherently gluten-free. By selecting appropriate non-dairy yogurt, cream, and vegan parmesan, it can also be easily made soy-free and nut-free, making it suitable for a wide range of dietary needs and preferences.
Explore More North Indian Curries
If you’ve fallen in love with the flavors of Kali Mirch Beans, you’ll be thrilled to explore other rich and aromatic North Indian curries from our collection:
- Pahadi Curry (Tofu, Cardamom, Pepper Curry)
- Punjabi Chole (Classic North Indian Chickpea Curry)
- Tofu Barra (Silky Onion Curry)
- Adraki Curry (Zesty Ginger-Infused Curry)
- Kala Chana Ghugni (Flavorful Indian Brown Chickpea Curry)
Kali Mirch Beans (Beans in Indian Black Pepper Cream Sauce)
Vegan Richa
10 mins
20 mins
30 mins
3
Dinner, Main, Main Course
Indian, North Indian, Pakistani
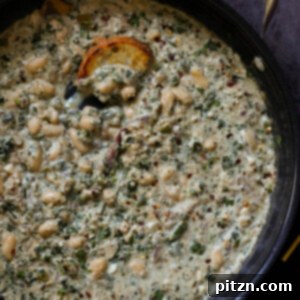
Kali Mirch Beans, or Beans in Indian Black Pepper Cream Sauce, is a delightful one-pan meal adapted from the beloved North Indian Chicken Kali Mirch. This vegan version maintains the original’s rich, peppery essence, substituting chicken with hearty beans. It’s quick, easy, and naturally gluten-free, soy-free, and nut-free. Perfect for dipping with flatbread or sourdough, or enjoy as a fusion dish over pasta or roasted vegetables.
Equipment
-
Skillet (large, non-stick recommended)
-
Chef’s Knife
-
Cutting Board
Ingredients
For the Aromatic Base:
- 1 teaspoon oil (e.g., avocado, sunflower, or canola)
- 2 whole cloves (laung)
- 1 bay leaf (tej patta)
- 2 green cardamom pods, partially opened (hari elaichi)
- 2-inch cinnamon stick (dal chini)
For the Creamy Black Pepper Sauce:
- 1 1/2 teaspoons freshly ground black pepper (kali mirch), plus more for garnish
- 1 teaspoon dried fenugreek leaves (kasoori methi)
- 1/2 to 1 teaspoon garam masala (adjust to taste)
- 1 cup finely chopped onion (about 1 medium onion)
- 1 tablespoon ginger garlic paste (or 3 cloves minced garlic and 1/2 inch minced ginger)
- 1/2 teaspoon salt, divided (adjust to taste)
- 1/3 cup non-dairy yogurt or non-dairy cream (e.g., cashew cream, coconut cream, or 1 to 1 1/2 cups thick non-dairy milk)
- 1 to 2 ounces frozen spinach (or a handful of fresh spinach, roughly chopped)
- 1 cup water, vegetable stock, or non-dairy milk
- 1 (15-ounce) can white beans, drained and rinsed (about 1 1/2 cups cooked beans, such as cannellini, great northern, or butter beans; chickpeas also work well)
For Garnish:
- Red pepper flakes (optional, for extra heat)
- Fresh cilantro, chopped
- Vegan parmesan (optional, soy-free/nut-free if needed)
Instructions
-
Toast Whole Spices: Heat a skillet over medium heat. Once hot, add 1 teaspoon of oil. Carefully add the cloves, bay leaf, cardamom pods, and cinnamon stick. Cook, stirring constantly, for about 30 seconds. The bay leaf will change color slightly, and the cinnamon stick will become wonderfully fragrant, indicating the spices have bloomed and released their essential oils. This step builds the foundational aroma of your curry.
-
Sauté Ground Spices & Onion: Reduce the heat to medium-low. Add the freshly ground black pepper, dried fenugreek leaves, and garam masala to the skillet. Stir continuously for just a few seconds to infuse the oil with these potent ground spices. Be careful not to burn them. Immediately stir in the finely chopped onion and 1/4 teaspoon of the salt. Increase the heat back to medium and cook, stirring frequently, until the onion softens and turns a beautiful golden brown, which should take about 7 to 10 minutes. If the onions start to stick or dry out, add small splashes of water to help them cook evenly and prevent burning.
-
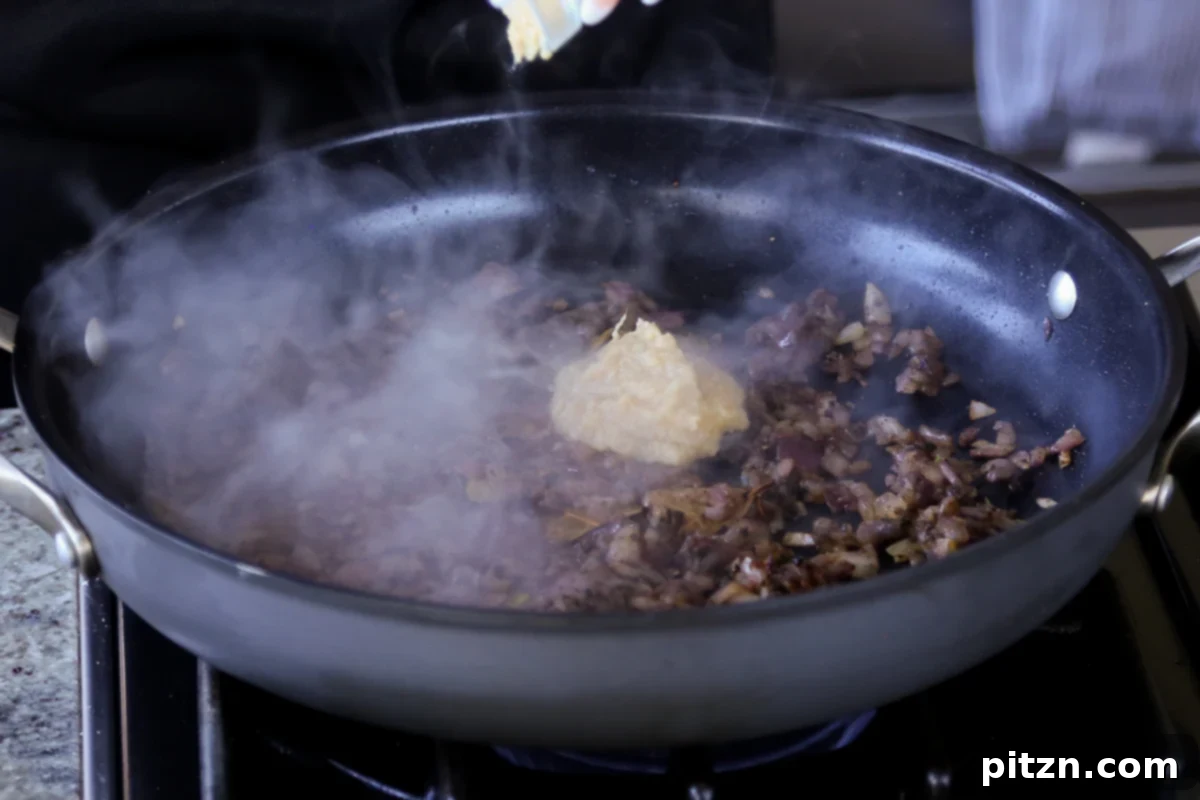
Add Ginger Garlic Paste: Mix in the ginger garlic paste and cook for another 30 seconds. If the paste splatters too much in the hot pan, a small splash of water can help calm it down. If you’re using minced fresh ginger and garlic, cook for about a minute, or until the garlic begins to turn golden and releases its aroma.
-
Simmer the Sauce: Now, stir in the non-dairy yogurt (or cream/milk), the remaining 1/4 teaspoon of salt, frozen or fresh spinach, and 1 cup of water (or stock/non-dairy milk). Bring the mixture to a gentle boil, stirring occasionally to ensure everything is well combined and the yogurt doesn’t curdle.
-
Incorporate Beans & Adjust Flavor: Once boiling, stir in the drained and rinsed white beans. Taste the curry and adjust the seasoning as needed. This is your chance to customize! For more heat, add an extra dash of black pepper. If you prefer a richer, creamier texture, stir in a bit more non-dairy cream or even some vegan parmesan. Partially cover the skillet and let the curry simmer for 5 minutes, allowing the flavors to meld and the beans to warm through.
-
Garnish and Serve: Turn off the heat. Garnish generously with additional red pepper flakes (if using), a final sprinkle of freshly ground black pepper, chopped cilantro, and vegan parmesan. Serve your delicious Kali Mirch Beans immediately with your choice of accompaniments.
-
Serving Suggestions: Kali Mirch Beans are fantastic served with warm garlic bread, fluffy naan, soft flatbread, or toasted sourdough for dipping. For an exciting fusion dish, spoon it generously over a comforting baked potato, tender seared cauliflower steaks, or your favorite pasta variety. Enjoy the unique blend of creamy texture and peppery spice!
Video Tutorial
Watch our step-by-step video to see how easily this creamy Indian black pepper curry comes together!
Chef’s Notes & Customization Tips
This Kali Mirch Beans recipe is naturally gluten-free, making it an excellent choice for those with sensitivities. To ensure it remains soy-free and nut-free, simply opt for non-dairy yogurt, cream, and vegan parmesan alternatives that specifically cater to these dietary needs (e.g., oat-based yogurt, sunflower seed cream, or a soy/nut-free vegan parmesan).
Feel empowered to customize this dish with your preferred proteins! Beyond white beans, you can use chickpeas, firm or chickpea tofu, seitan, soy curls, or any other vegan chicken substitutes. If you’re incorporating larger protein pieces like tofu or seitan, we recommend a quick pre-marination and pan-frying or baking step. Marinate your protein in about 1/2 teaspoon of black pepper, a pinch of salt, some minced garlic, and a drizzle of oil. This ensures they absorb flavor and achieve a lovely texture before being added to the simmering sauce, making your curry even more delicious and satisfying.
The key to the Kali Mirch flavor is fresh black pepper. For the best taste, grind your peppercorns just before use. This truly elevates the aroma and spicy kick of the curry.
Nutrition Information (Approximate per Serving)
Calories: 232kcal, Carbohydrates: 42g, Protein: 12g, Fat: 3g, Saturated Fat: 0.3g, Polyunsaturated Fat: 1g, Monounsaturated Fat: 1g, Sodium: 414mg, Potassium: 794mg, Fiber: 10g, Sugar: 4g, Vitamin A: 1124IU, Vitamin C: 8mg, Calcium: 198mg, Iron: 5mg
Nutrition information is automatically calculated and should only be used as an approximation. Variations may occur based on specific ingredients and preparation methods.
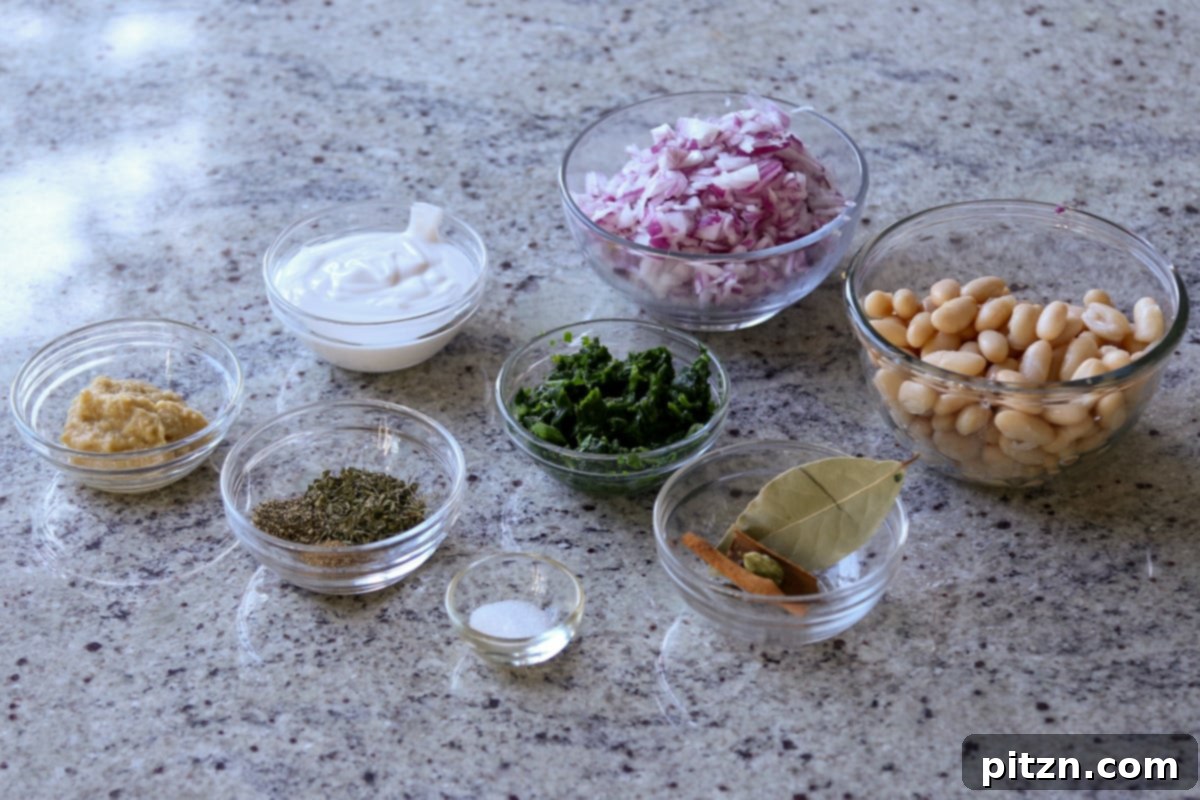
Ingredients and Substitutions: Crafting Your Perfect Kali Mirch Beans
Each ingredient in this Kali Mirch Beans recipe plays a crucial role in building its signature flavor profile. Here’s a detailed look at what you’ll need and how you can make substitutions:
- Oil: A good quality cooking oil, such as avocado, sunflower, or canola oil, is essential for toasting the whole spices and sautéing the onion base. It helps extract and carry the aromatic compounds, creating a flavorful foundation for the curry.
- Whole Spices (Cloves, Bay Leaf, Cardamom, Cinnamon Stick): These whole spices are the first layer of flavor, offering deep, warm, and subtly pungent notes. Toasting them in oil at the beginning unlocks their full aromatic potential. While these are traditional, if you’re missing one, the dish will still be delicious; however, a complete set provides the most authentic flavor.
- Ground Spices (Black Pepper, Fenugreek, Garam Masala):
- Freshly Ground Black Pepper (Kali Mirch): This is the star of the show! Use freshly ground black pepper for the most vibrant and aromatic heat. Pre-ground pepper loses its potency quickly. Don’t be shy; the amount specified provides the characteristic peppery kick without being overwhelmingly spicy.
- Dried Fenugreek Leaves (Kasoori Methi): These dried leaves impart a unique, slightly bitter, and savory aroma that is characteristic of many North Indian curries. Gently crushing them between your palms before adding them releases their flavor more effectively.
- Garam Masala: A staple in Indian cooking, garam masala is a blend of ground spices. Its warmth rounds out the overall spice profile. You can make your own for an even fresher taste.
- Onion: Finely chopped and caramelized onions are key to the umami and sweetness of the sauce. They cook down to create a thick, flavorful base, so ensure they are nicely browned for optimal flavor development.
- Ginger Garlic Paste: This aromatic paste provides a pungent, spicy, and warming depth. If you don’t have pre-made paste, simply mince fresh garlic cloves and ginger root. The fresh versions offer a slightly brighter flavor.
- Salt: Crucial for balancing and enhancing all the flavors. Remember to divide the salt as specified and taste to adjust as you go.
- Non-Dairy Yogurt or Cream: This is what gives Kali Mirch its signature creamy texture. Good quality non-dairy yogurt (plain, unsweetened) or a rich non-dairy cream (like cashew cream, coconut cream, or a thick oat/soy milk cream) works best. If using a thinner non-dairy milk, you might need 1 to 1.5 cups to achieve the desired consistency. For dietary restrictions, choose soy-free and/or nut-free options.
- Spinach: Fresh or frozen spinach adds a touch of green, extra nutrients, and a subtle earthy flavor. It wilts down easily and integrates seamlessly into the sauce.
- Water or Stock: This provides the liquid base for the curry. Vegetable stock will add an extra layer of savory depth, while non-dairy milk can make the sauce even creamier.
- Beans: Canned white beans (cannellini, great northern, or butter beans) are excellent for their creamy texture and mild flavor, which allows the curry spices to shine. Ensure they are drained and thoroughly rinsed. Alternatively, cooked chickpeas or other firm beans like kidney beans can be used. For non-bean options, see the notes above about marinating and pre-cooking tofu, seitan, or vegan chicken substitutes.
- Garnishes (Red Pepper Flakes, Black Pepper, Cilantro, Vegan Parmesan): These optional garnishes not only add visual appeal but also allow for a final burst of flavor and freshness. Red pepper flakes provide an extra kick, cilantro adds brightness, and vegan parmesan can lend a cheesy, umami finish (ensure it’s soy-free/nut-free if needed).
💡 Expert Tips for Perfect Kali Mirch Beans
Achieving the perfect Kali Mirch Beans is simple with these helpful tips:
- Don’t Rush the Spices: When toasting whole spices, constant stirring on medium heat for about 30 seconds is crucial. This gentle process prevents burning while ensuring they release their maximum fragrance, setting a deep aromatic foundation for your curry.
- Evenly Browned Onions are Key: The caramelization of the onions is vital for depth of flavor and a rich, sweet base. Don’t be afraid to add small splashes of water to the pan as the onions cook. This technique helps prevent sticking, promotes even browning, and builds a more complex flavor profile without burning.
- Tame the Sputtering Ginger Garlic Paste: Ginger garlic paste can sometimes splatter vigorously when added to a hot pan. To prevent this and keep your stovetop clean, add a small splash of water immediately after stirring in the paste. This will quickly reduce the heat and sputtering, allowing it to cook down gently.
- Freshly Ground Pepper: For the most authentic and potent Kali Mirch flavor, always use freshly ground black pepper. Pre-ground pepper can lose its aroma and pungency quickly.
- Adjust Creaminess: If you prefer a richer, thicker sauce, consider reducing the water slightly or adding a bit more non-dairy cream/yogurt at the end. For a lighter version, more water or stock can be used.
- Taste and Adjust: Always taste your curry before the final simmer. This allows you to adjust salt, add more black pepper for extra warmth, or include a touch of sweetener if your non-dairy yogurt is particularly tart.
How to Make Kali Mirch Beans (Step-by-Step with Pictures)
Follow these easy steps to create your own delicious Kali Mirch Beans at home:
Step 1: Toasting the Whole Spices
Begin by heating a skillet over medium heat and adding the oil. Once the oil is shimmering, carefully add the whole spices: cloves, bay leaf, cardamom, and cinnamon stick. Stir continuously for approximately 30 seconds. You’ll notice the bay leaf changing color slightly and a wonderful fragrance filling your kitchen – this indicates the spices have bloomed perfectly.

Step 2: Sautéing Ground Spices and Onions
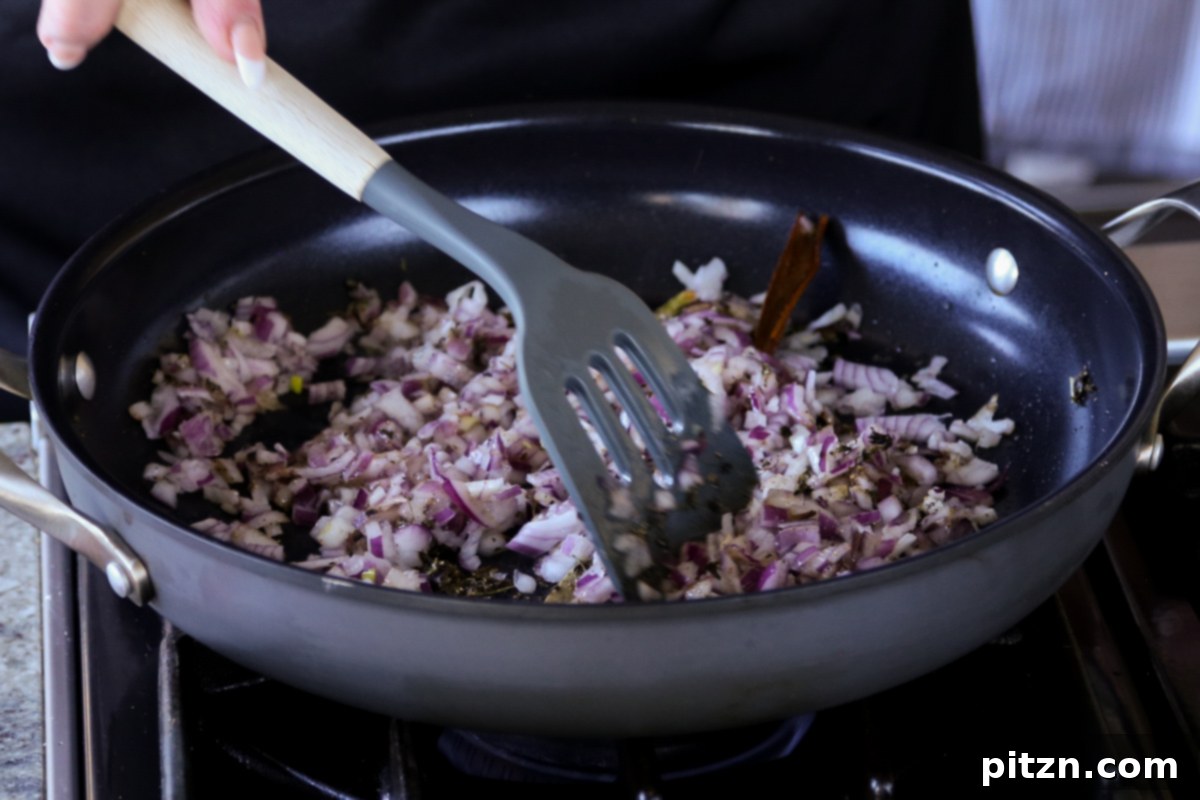
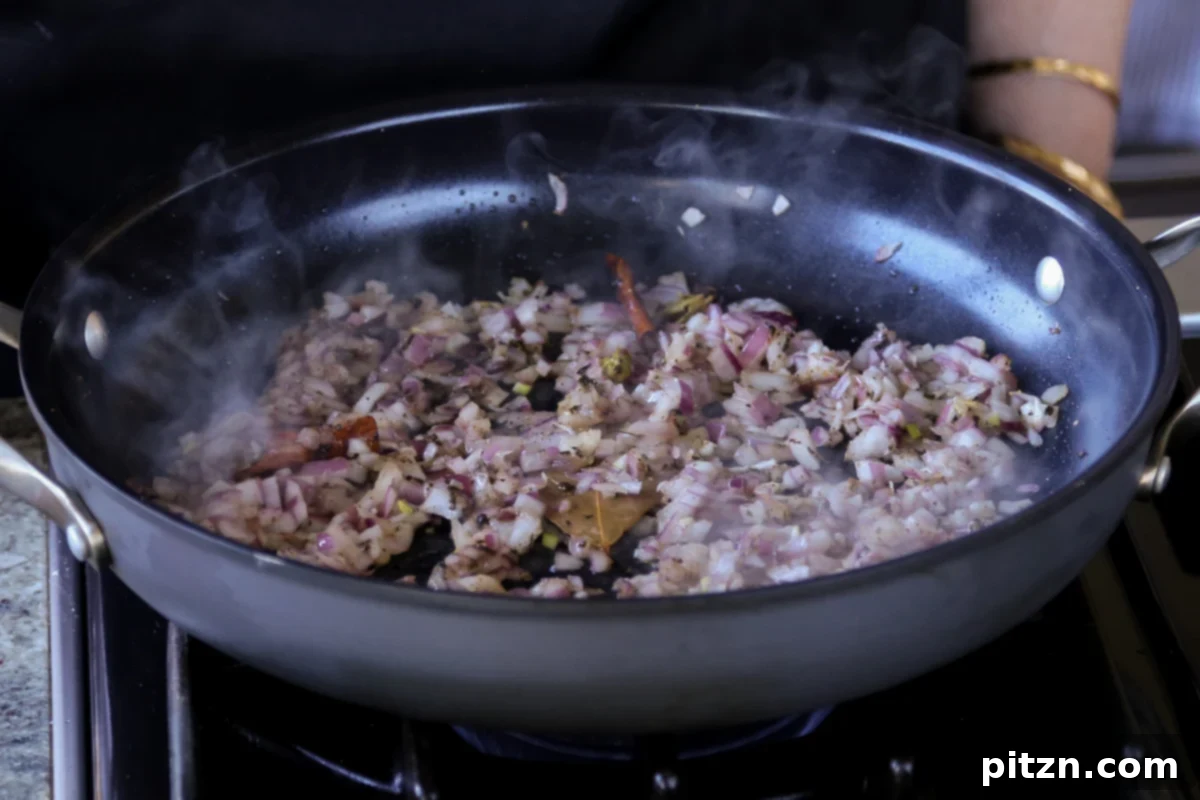
Reduce the heat to medium-low. Add the black pepper, fenugreek, and garam masala to the skillet. Stir quickly for a few seconds to infuse the oil with these vibrant ground spices. Immediately after, stir in the finely chopped onion and 1/4 teaspoon of the salt. Increase the heat back to medium. Cook, stirring frequently, until the onion turns golden brown and tender, which typically takes about 7 to 10 minutes. If the onions start to dry out or stick, add small splashes of water to aid even cooking and browning.
Step 3: Adding Ginger Garlic Paste
Next, mix in the ginger garlic paste and cook for about 30 seconds. If the paste begins to splatter excessively in the hot pan, a small splash of water can be added to help it cook more calmly. If you’re using freshly minced ginger and garlic, continue cooking for about a minute, or until the garlic turns lightly golden and aromatic.

Step 4: Creating the Creamy Sauce Base
Now, gently mix in the non-dairy yogurt (or cream), the remaining 1/4 teaspoon of salt, fresh or frozen spinach, and the water (or stock/non-dairy milk). Stir everything together until well combined, then bring the mixture to a gentle boil. This will form the creamy, rich base of your Kali Mirch curry.


Step 5: Adding Beans and Simmering
Once the sauce is simmering, stir in the drained white beans. Take a moment to taste the curry and adjust the salt and black pepper as needed. You can add more black pepper for a stronger kick or a bit more non-dairy cream/vegan cheese for extra richness. Partially cover the skillet and let it gently simmer for 5 minutes, allowing the beans to absorb the wonderful flavors.

Step 6: Garnish and Serve
Finally, turn off the heat. Garnish your flavorful Kali Mirch Beans with a sprinkle of red pepper flakes, more freshly ground black pepper, fresh cilantro, and vegan parmesan. Serve hot with your favorite bread or accompaniment and enjoy this creamy, peppery delight!

Storage and Make-Ahead Tips
Kali Mirch Beans are not only delicious fresh but also make for fantastic leftovers. Here’s how to store them and prepare them in advance:
- Refrigeration: Leftover Kali Mirch Beans can be stored in an airtight container in the refrigerator for up to 3-4 days. The flavors often deepen and meld even more overnight, making it a great meal prep option.
- Freezing: This curry freezes beautifully! Allow the dish to cool completely before transferring it to freezer-safe containers or bags. It can be frozen for up to 2-3 months. Thaw overnight in the refrigerator before reheating.
- Reheating: Gently reheat the curry on the stovetop over medium-low heat, stirring occasionally, until warmed through. If the sauce has thickened too much in the fridge, you can add a splash of water or non-dairy milk to achieve your desired consistency. Microwaving is also an option, stirring midway through.
- Make-Ahead: The sauce base (onions, ginger garlic paste, spices) can be prepared a day in advance and stored in the refrigerator. When you’re ready to eat, simply reheat the base, add the non-dairy yogurt, spinach, water, and beans, and simmer. This cuts down on active cooking time significantly for a quick weeknight meal.
Frequently Asked Questions About Kali Mirch Beans
Yes, this recipe is naturally gluten-free. To ensure it is also soy-free and nut-free, simply use non-dairy yogurt, cream, and vegan parmesan products that are certified soy-free and/or nut-free. Always check ingredient labels for specific dietary needs.
Kali Mirch Beans are incredibly versatile! For a classic Indian experience, serve them with warm naan, soft flatbread, or fragrant basmati rice. For a delightful twist, pair them with toasted sourdough or garlic bread. You can also create a fusion dish by spooning this rich curry over a fluffy baked potato, tender seared cauliflower steaks, or your favorite pasta. The creamy, peppery sauce complements a wide range of accompaniments.
Absolutely! While white beans are featured, you can easily substitute them with other legumes like chickpeas, kidney beans, or black beans. For a protein-packed meal, consider adding firm tofu (marinated and pan-fried), seitan, soy curls, or your preferred vegan chicken substitute. Just ensure any larger proteins are pre-cooked or pan-fried to absorb flavor and achieve optimal texture before adding them to the sauce.
Kali Mirch (literally “black pepper”) curries are distinctive for their rich, creamy, and often white or pale-colored sauce, where black pepper is the primary spice providing heat. Unlike many other Indian curries that rely on red chili powder for spice, Kali Mirch showcases the unique aroma and pungent warmth of black pepper, offering a sophisticated and deeply satisfying flavor profile.