
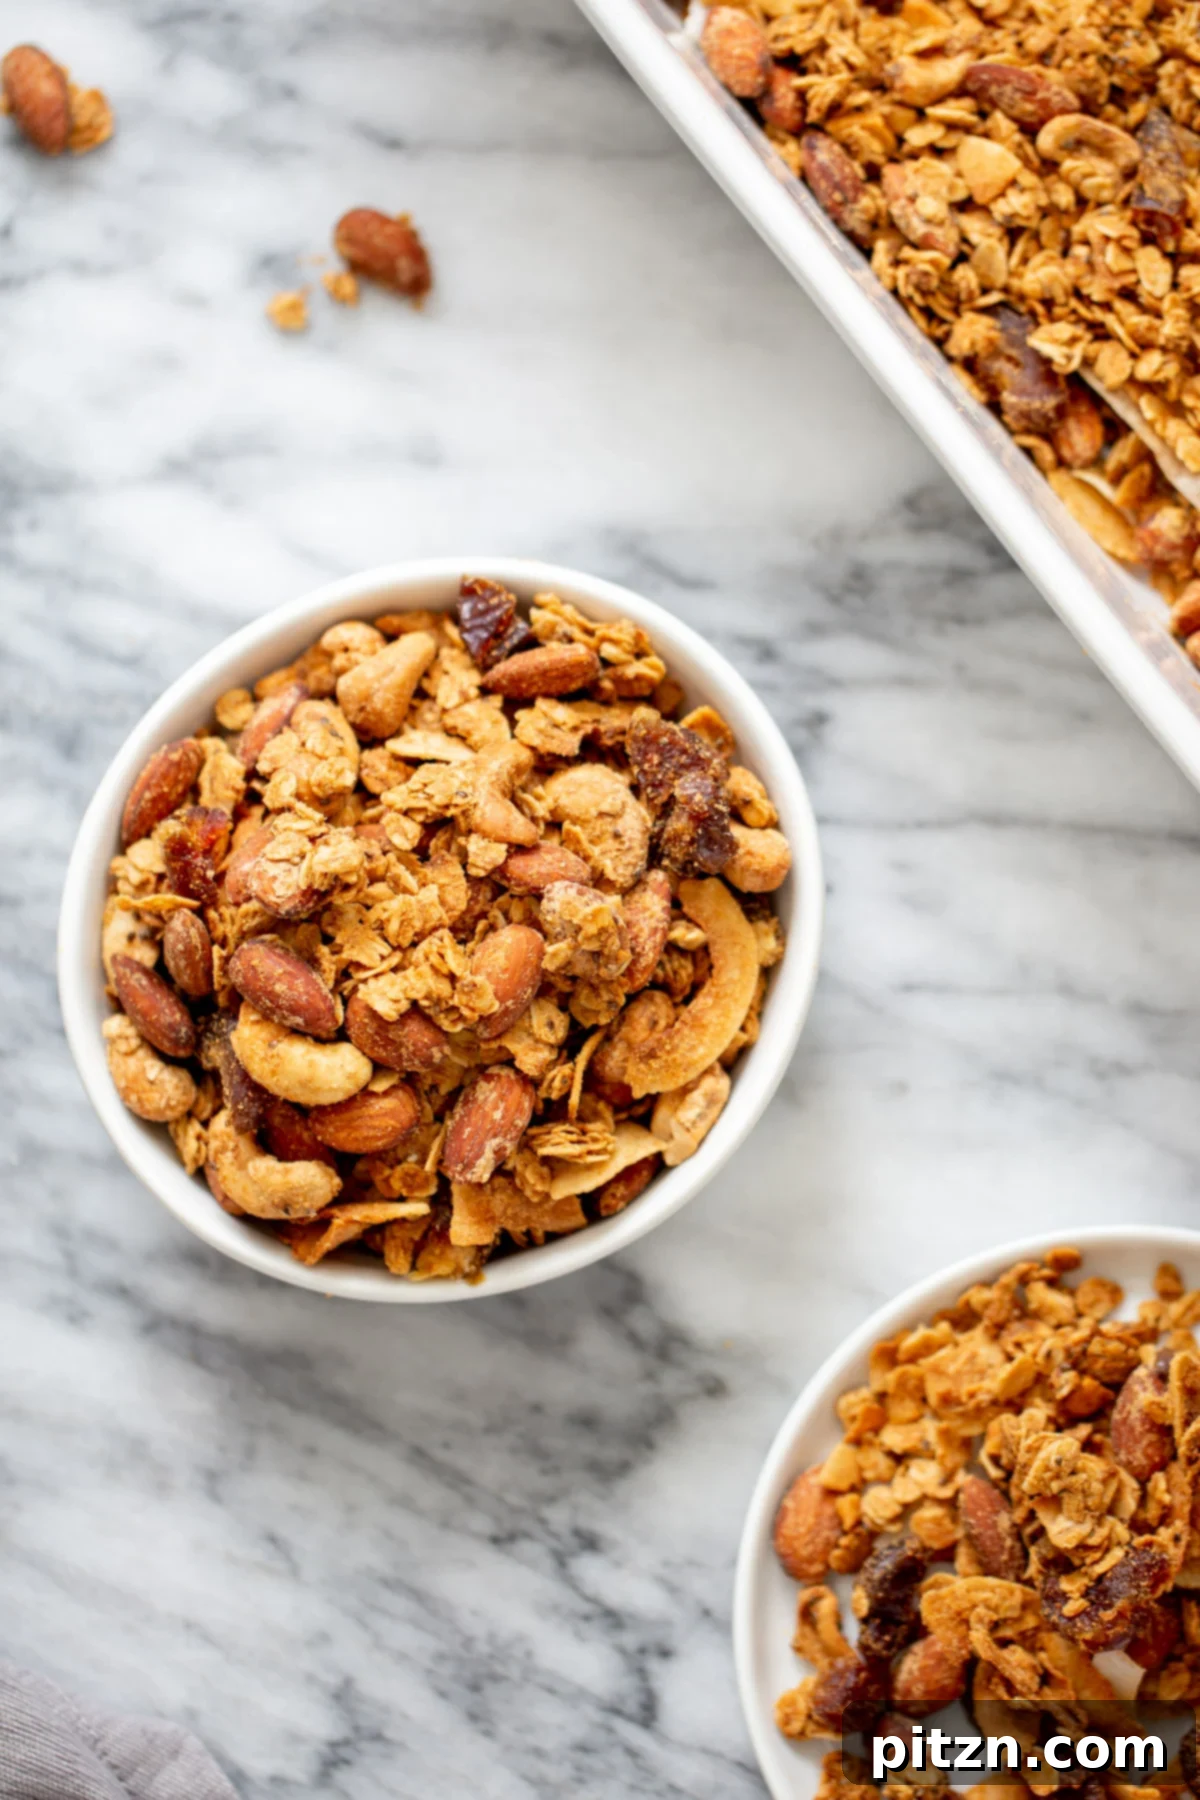
Prepare to elevate your breakfast and snack game with this incredibly simple yet utterly delicious Homemade Baked Almond Coconut Granola. This recipe delivers the perfect balance of sweetness and an unbeatable crunch, derived from wholesome rolled oats, crunchy nuts, and nutrient-packed chia seeds. It’s not just a recipe; it’s an invitation to a healthier, more flavorful lifestyle. Once you experience the superior taste and texture of this homemade version, you’ll find yourself wanting to sprinkle it on everything – and for good reason! This vegan and gluten-free delight easily surpasses any store-bought granola mix in both flavor and quality, offering a wholesome alternative for conscious eaters.
Forget the long ingredient lists and unnecessary additives found in commercial granolas. Our recipe focuses on pure, simple ingredients that come together to create golden-brown clusters bursting with natural flavors. Whether you’re a seasoned baker or a kitchen novice, you’ll be amazed at how effortlessly this delightful granola comes to life, filling your home with an aroma that promises pure culinary bliss.
Why Choose Homemade Granola? The Unbeatable Benefits
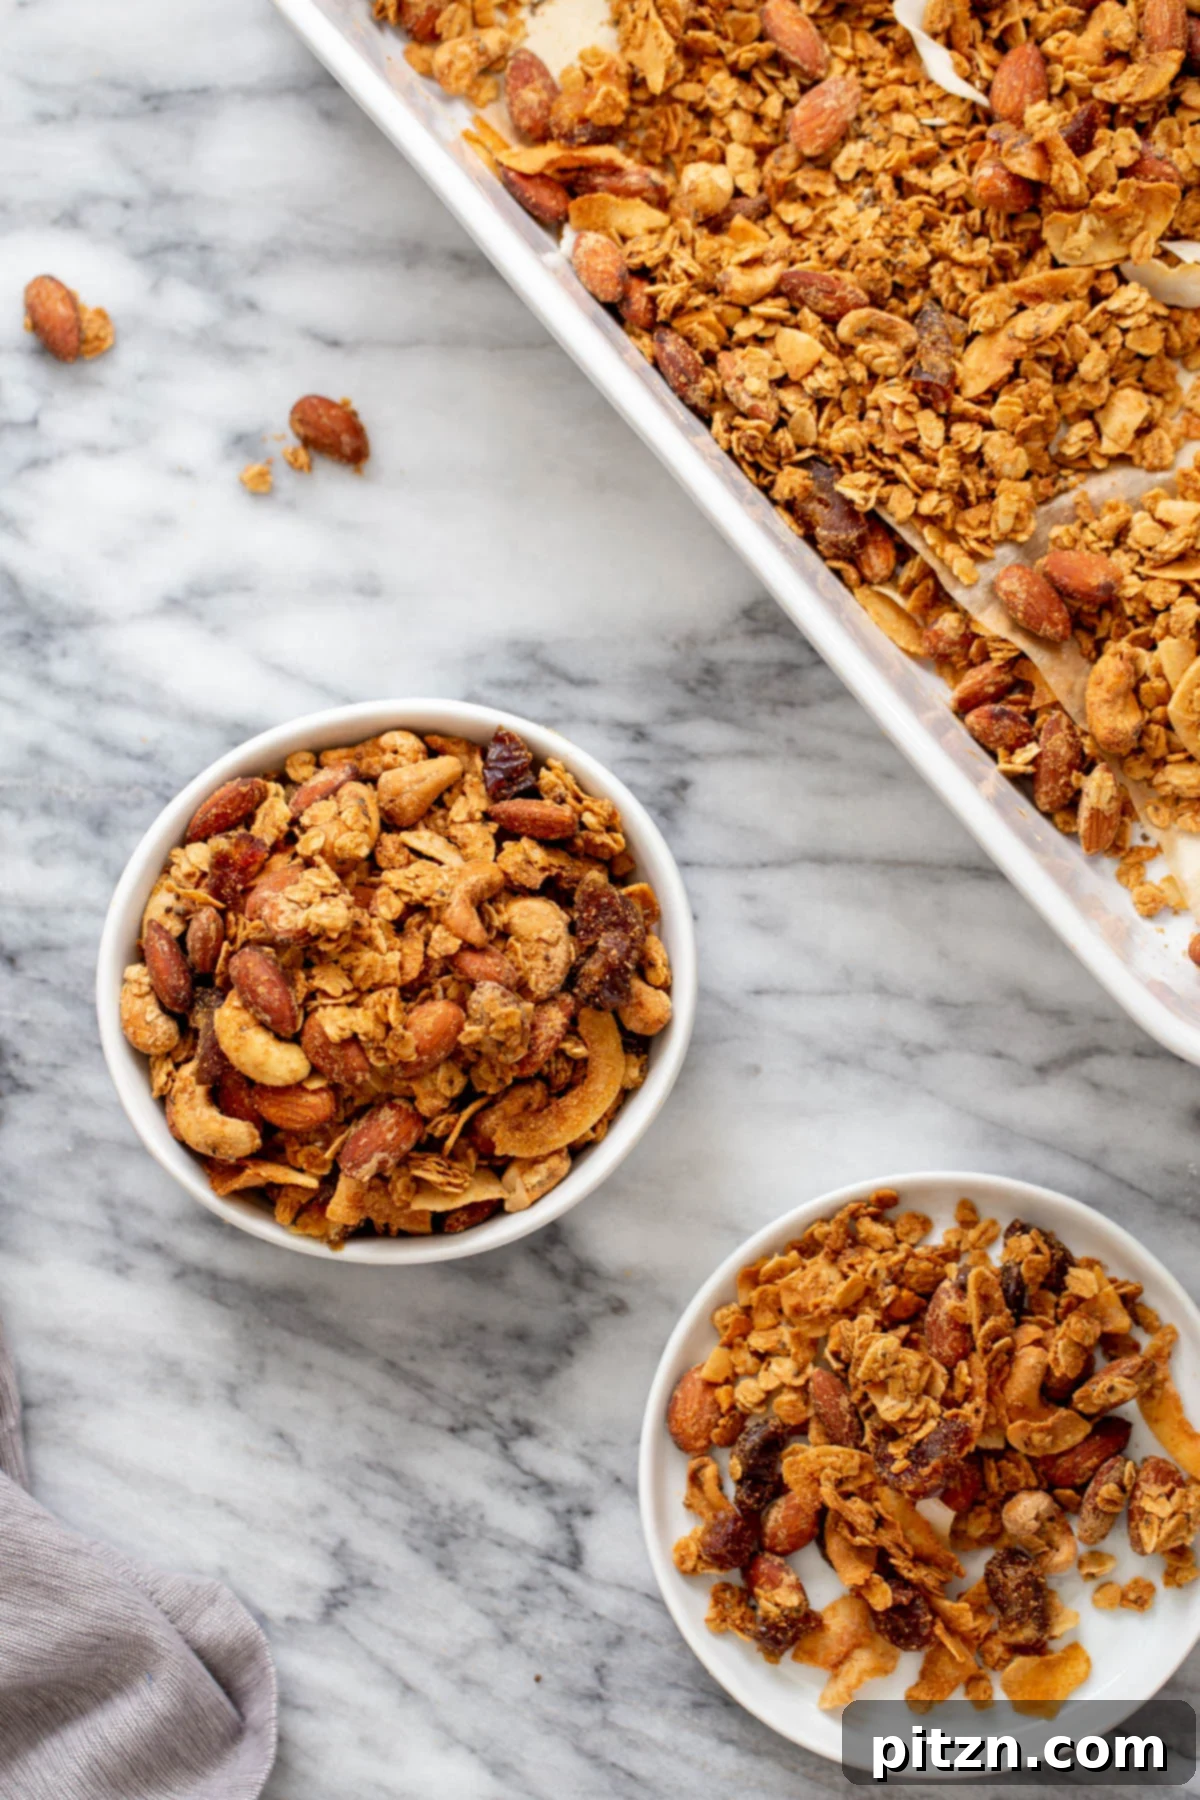
The beauty of homemade granola lies in its simplicity and endless customizability. Unlike mass-produced versions that often contain excessive sugars, unhealthy oils, and artificial flavors, making your own gives you complete control over every ingredient. You can tailor it to your exact preferences, dietary needs, and flavor cravings. This particular recipe for crunchy coconut almond granola is a testament to this versatility, featuring a delightful combination of large coconut flakes, whole almonds, and a boost of chia seeds and assorted nuts for an irresistible texture.
Beyond customization, homemade granola offers significant health advantages. We use a “glue” that binds our vegan baked granola clusters, a harmonious blend of coconut oil, maple syrup, almond butter, coconut sugar, and a dash of warming cinnamon. This thoughtfully chosen combination ensures our granola is primarily refined sugar-free, offering a richer, more nuanced caramel-like sweetness that’s leagues beyond the often bland or overly sweet profiles of store-bought options. This means you can indulge in a satisfying breakfast or snack without the guilt, knowing you’re fueling your body with wholesome, natural goodness.
The process itself is wonderfully therapeutic. As the wet ingredients are poured over the dry mix, coating every oat and nut, you’ll witness the transformation into a sticky, fragrant blend. Then, as it bakes, magic happens: your kitchen will be filled with an intoxicating aroma, and those coveted big clusters of perfectly toasted granola will begin to form. Patience during baking is key to achieving that ultimate, satisfying crunch.
Explore More Delicious Granola Recipes from Our Blog
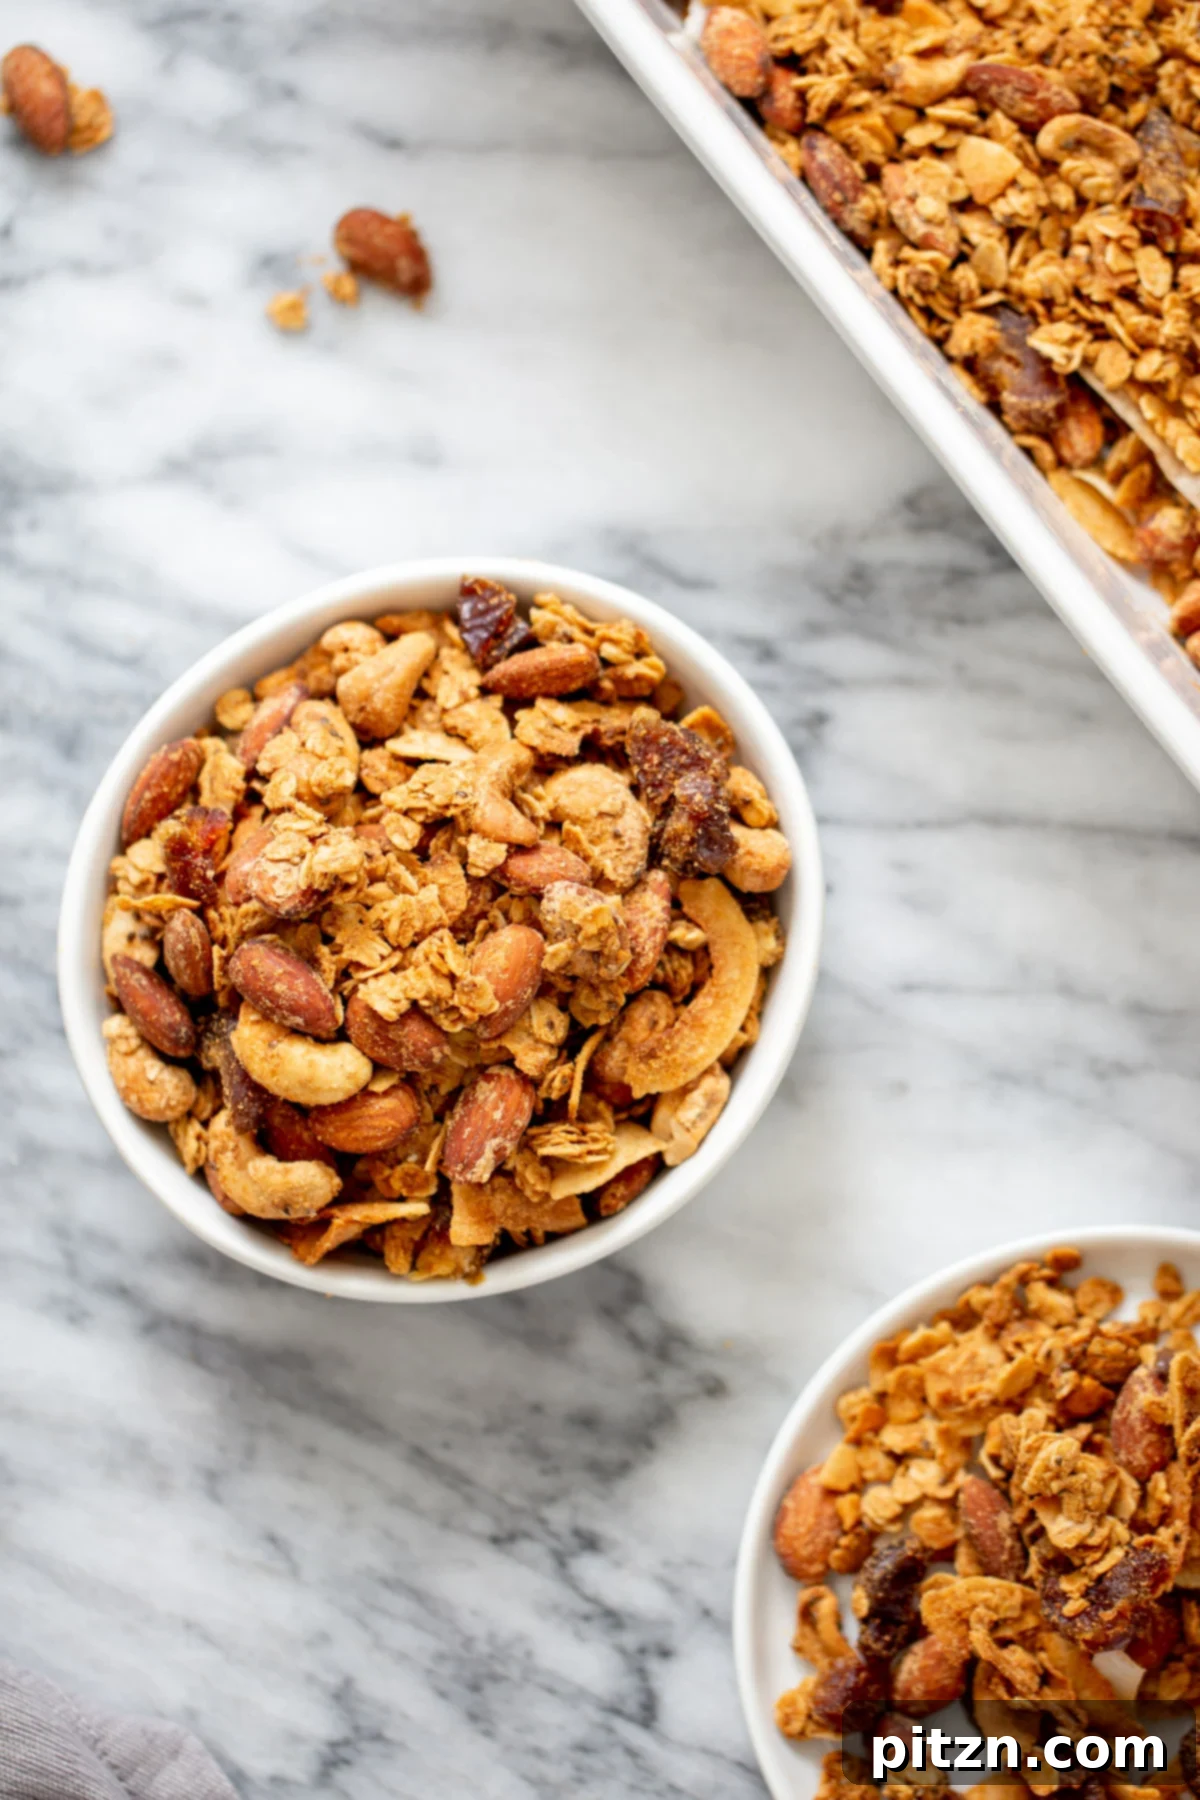
If you’re a fan of our Almond Coconut Granola, you’ll love exploring other wholesome and innovative granola creations. Expand your repertoire with these fantastic recipes:
- Date Caramel Granola – Oil-free and refined sugar-free for a truly natural treat.
- Sunbutter or PB Granola Bars – Perfect for on-the-go snacking, no baking required!
- Maple Pecan Cardamom Granola – An aromatic twist for a cozy breakfast.
- Lentil Cranberry Granola – An unexpectedly delightful and protein-rich option.
- Candied Pecans – Not quite granola, but a sweet, crunchy addition to any dish.
- Sriracha Orange Quinoa Peanut Granola – For those who love a sweet and spicy kick.
- Quinoa Chivda – A savory Indian trail mix alternative.
Serving Suggestions: Enjoying Your Homemade Granola
One of the best things about this versatile Almond Coconut Granola is how many ways you can enjoy it. Lately, our favorite way to savor its deliciousness is atop a creamy bowl of coconut yogurt – it’s become a go-to breakfast that never disappoints! The combination of the smooth yogurt and the crunchy, subtly sweet granola creates a symphony of textures and flavors.
But the possibilities don’t stop there. This granola also makes for a wonderful, satisfying snack all on its own, perfect for warding off those midday hunger pangs. Of course, you can always enjoy it the classic way: with your favorite plant-based milk, much like a bowl of cereal. For an extra touch of freshness and nutrients, consider adding some freshly chopped fruit on top, such as berries, banana slices, or apple chunks. And let’s be honest, it’s so incredibly tasty, you might find yourself simply eating it by the handful straight from the jar – it’s that good!
Making this granola is truly effortless, and the yield is generous. You’ll have enough to sprinkle on everything your heart desires for at least two to three weeks. That is, of course, unless you’re like us and find yourself “sampling” a handful here and there as a delightful snack throughout the day!
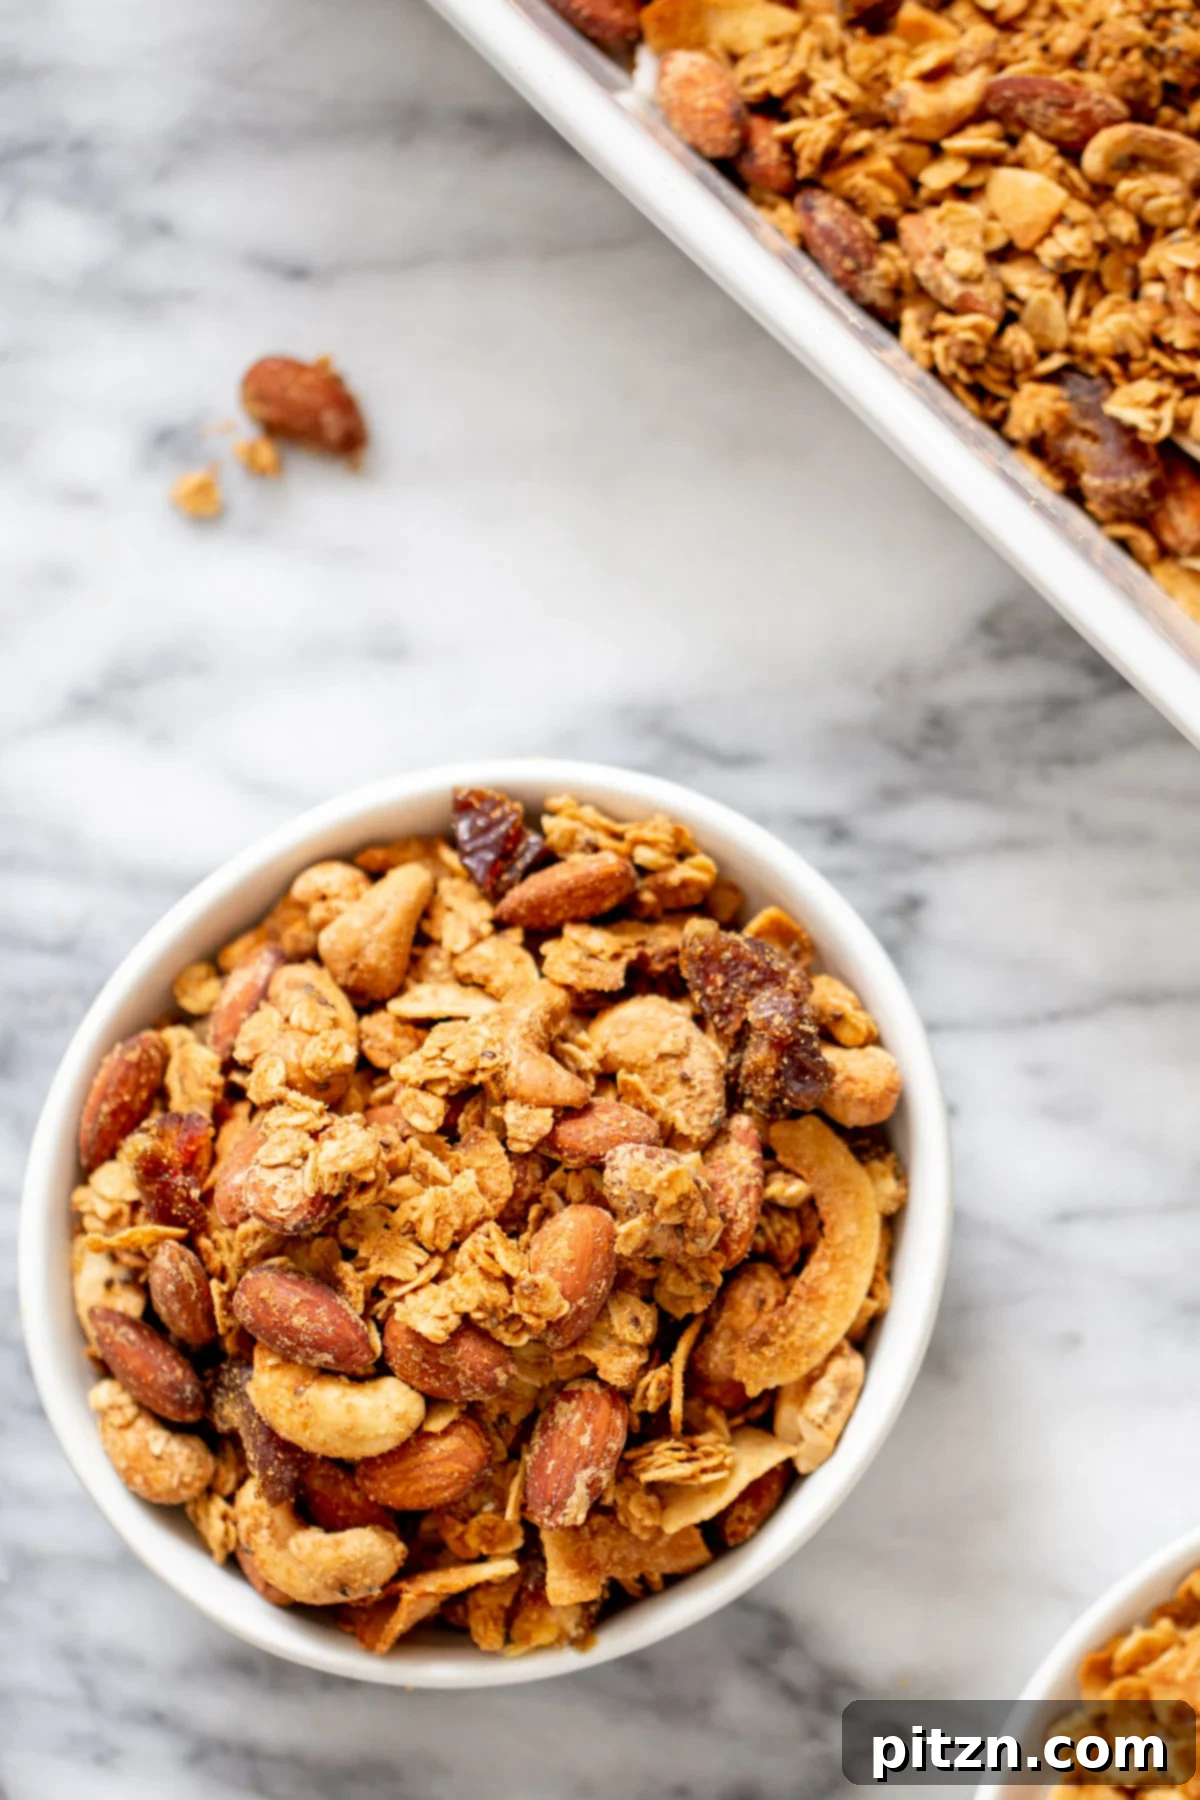
Almond Coconut Granola Recipe
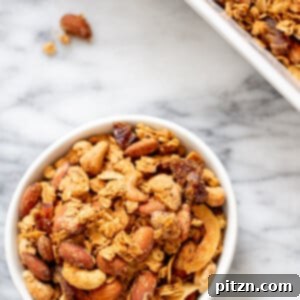
Print Recipe
Ingredients
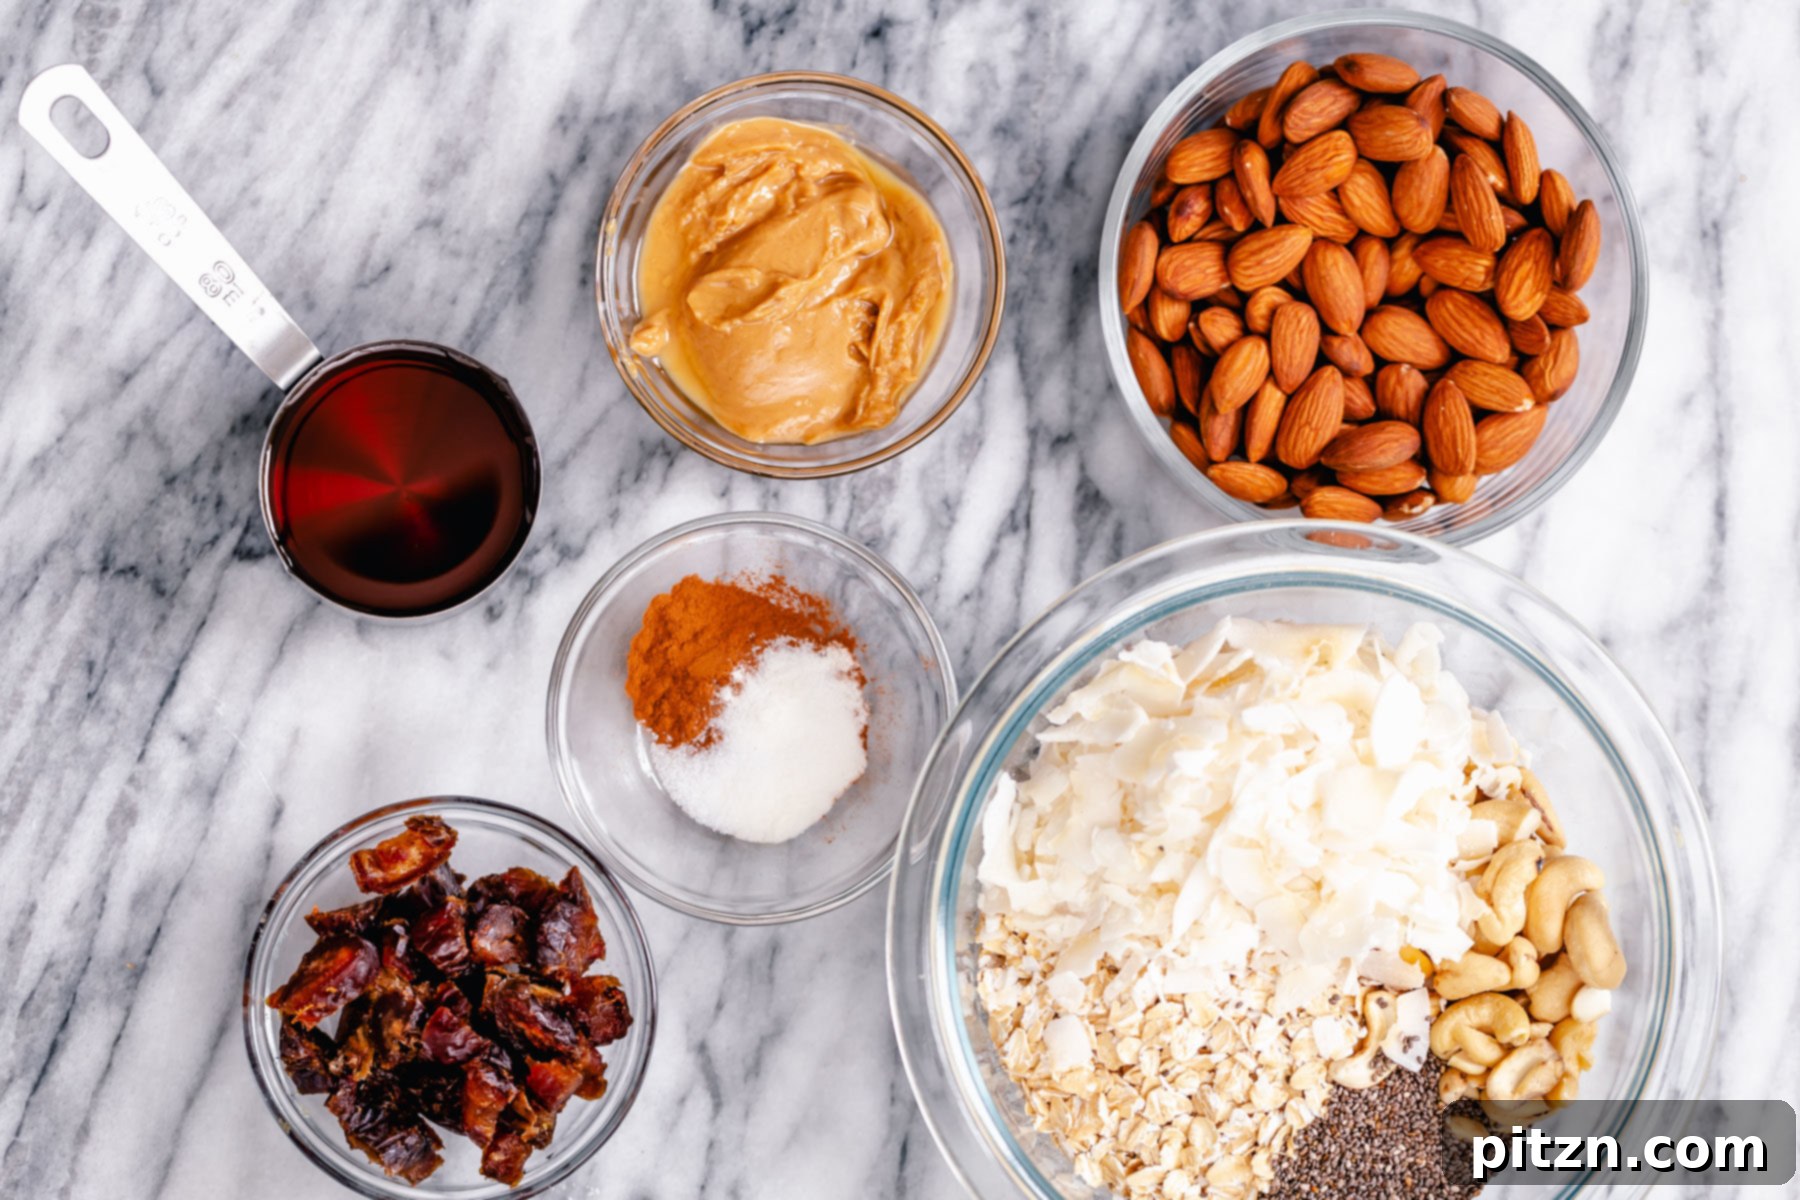
- 1 1/2 cups old fashioned oats (ensure gluten-free if needed)
- 1 cup raw almonds
- 1/4 cup cashews or a mix of pecans, pistachios, or pumpkin seeds
- 1/2 cup large coconut flakes
- 1 tbsp chia seeds
- 1/4 tsp salt
- 1/5 tsp cinnamon
- 1 tbsp coconut sugar (or brown sugar)
- 1/4 cup maple syrup
- 2 tbsp oil, such as coconut oil
- 2 tbsp almond butter
- 2-4 tbsp dried dates (chopped), or other dried fruits like cranberries, blueberries, or chocolate chips (added after baking)
Instructions
- Prepare Dry Ingredients: In a large bowl, combine the old-fashioned oats, raw almonds, large coconut flakes, cashews (or other mixed nuts/seeds), chia seeds, salt, and cinnamon. Mix all these dry ingredients thoroughly to ensure an even distribution.
- Prepare Wet Ingredients: In a separate medium bowl, whisk together the maple syrup, coconut oil, and almond butter until they are well combined and smooth. If your almond butter is particularly cold and stiff, gently warm the mixture in the microwave for a few seconds (10-15 seconds) or let it sit at room temperature for 5-10 minutes, then mix again. This ensures a uniform “glue.”
- Combine & Coat: Add the coconut sugar to the dry granola mixture, then pour the maple-almond butter mixture over it. Mix everything very well, using a spatula or your hands, pressing and turning to ensure every single oat flake, nut, and seed is thoroughly coated with the sticky wet mixture. If the granola feels a little dry, add an additional teaspoon of maple syrup at a time, mixing well after each addition, until it feels sufficiently coated.
- Prepare for Baking: Preheat your oven to 325°F (160°C). Line a large baking sheet or ceramic baking pan with parchment paper. Ceramic pans are often preferred for their ability to distribute heat evenly and reduce the risk of burning, leading to perfectly golden granola.
- Spread Evenly: Transfer the coated granola mixture onto the prepared baking sheet. Press and spread it out evenly across the pan. For better cluster formation and to prevent edges from burning too quickly, you might want to press it slightly thicker on the edges and a bit less thick in the middle.
- Bake to Perfection: Bake at 325°F (160°C) for 25 minutes. At this point, gently stir the granola, breaking up any large clumps and moving the edges to the center. Check if it’s starting to crisp up. If you desire larger clusters, gently press some of the chunks together. Continue baking for another 5-10 minutes, or until the granola is golden brown and fragrant. The total baking time typically ranges from 24-30 minutes, depending on your oven and baking dish. If using a ceramic dish, remember that the granola will continue to crisp up as it cools after being removed from the oven.
- Cool & Add Mix-ins: Once baked to your desired crispness and golden hue, remove the baking dish from the oven. Let the granola cool completely on the pan. This step is crucial for achieving maximum crunch and forming those desirable clusters. Once entirely cool, mix in any optional dried fruits like chopped dates, cranberries, blueberries, or chocolate chips. Remember to add chocolate chips only after the granola has fully cooled to prevent them from melting.
- Storage: Store your homemade Almond Coconut Granola in an airtight container for up to 2-3 weeks at room temperature.
Notes & Tips for Success
- Oil-Free Option: To make this recipe oil-free, increase the almond butter by 1 tablespoon and add a few extra teaspoons of maple syrup, as needed, until the dry ingredients are adequately coated.
- Oat-Free Granola: If you prefer to make this without oats, you can substitute them with rice flakes or quinoa flakes for a similar texture and crunch.
- Granola Bars: To transform this recipe into convenient granola bars, add 2 tablespoons more almond butter and 1 tablespoon more maple syrup to the wet mixture. Press the mixture firmly into a parchment-lined 9×9 inch baking pan and bake until the edges are golden brown and the center is set. Allow to cool completely before cutting into bars.
- Boost Almond Flavor: For an even more pronounced almond flavor, consider adding a drop or two of almond extract to the wet mixture. Just a little goes a long way!
- Nut Butter Flexibility: Don’t limit yourself to almond butter. Any other creamy nut or seed butter, such as cashew butter, peanut butter, or even tahini, can be used. Each will impart a unique flavor profile to your granola. Ensure it’s unsweetened and natural for best results.
- Seasonal Spices: For a seasonal twist, incorporate a pinch of pumpkin spice, a cozy chai blend, or apple pie spice into the dry ingredients. These warm spices are particularly delightful during cooler months.
- Coconut Options: If large coconut flakes are hard to find, shredded coconut or even finely desiccated coconut can be used. Keep in mind that shredded coconut will toast faster, so monitor it closely during baking to prevent burning.
Nutrition
Calories: 157kcal,
Carbohydrates: 14g,
Protein: 4g,
Fat: 10g,
Saturated Fat: 2g,
Sodium: 40mg,
Potassium: 148mg,
Fiber: 3g,
Sugar: 6g,
Calcium: 42mg,
Iron: 1mg
Nutrition information is automatically calculated and should be used as an approximation.
Diving Deeper into the Ingredients for Your Perfect Almond Coconut Granola
Understanding each component of your granola ensures you get the most out of every bite and helps you make informed substitutions if needed. Here’s a breakdown of the essential ingredients:
- Old-Fashioned Oats: These are the foundation of our granola, providing a hearty texture and essential fiber. It’s crucial to use old-fashioned (rolled) oats, as quick oats or instant oats tend to become mushy and won’t give you that desirable crunch or form sturdy clusters. For a truly gluten-free granola, make sure to opt for certified gluten-free rolled oats.
- Almonds & Large Coconut Flakes: These are the stars, delivering the signature flavors and a satisfying crunch. Raw almonds offer a rich, nutty base that becomes wonderfully toasted during baking. Large coconut flakes provide substantial texture and a beautiful, tropical sweetness that deepens as it caramelizes in the oven.
- Assorted Nuts and Seeds: Beyond the core almonds, we add a mix of cashews, pecans, pistachios, or pumpkin seeds. This not only boosts the nutritional profile with healthy fats and protein but also introduces a more complex flavor and varied texture to the granola. Don’t hesitate to use your favorite blend!
- Chia Seeds: A small but mighty addition, chia seeds contribute a subtle crunch, healthy omega-3 fatty acids, and extra fiber. They also help subtly bind the granola together, especially when combined with the wet ingredients.
- Salt & Cinnamon: A pinch of salt is vital to balance and enhance the sweetness of the granola, bringing out the deeper flavors of the nuts and oats. Cinnamon adds a warm, inviting spice that makes the granola feel incredibly comforting and adds a layer of aromatic depth.
- Natural Sweeteners & Binders:
- Coconut Sugar/Brown Sugar: A small amount is used here, not just for sweetness but also for texture. It contributes to a more caramel-y flavor and helps in achieving those irresistible crunchy clusters.
- Maple Syrup: This is our primary liquid sweetener and a key binder. Maple syrup provides a rich, natural sweetness and helps create that sticky coating essential for granola clusters. Its distinct flavor perfectly complements the almonds and coconut.
- Healthy Fats:
- Coconut Oil: Essential for crispness and flavor development. Coconut oil helps the granola toast evenly and adds a subtle, pleasant coconut aroma.
- Almond Butter: This creamy addition acts as a powerful binder, helping to form chunky clusters. It also infuses the granola with a deeper almond flavor and contributes healthy fats and protein, making the granola more satisfying.
- Optional Add-ins: Once your granola is baked and cooled, the fun continues with optional mix-ins. Chopped soft dates add a delightful chewy texture and a caramel-like sweetness that pairs beautifully with toasted coconut. Dried cranberries or blueberries can add a tart contrast, while dark chocolate chips transform it into an indulgent treat (remember to add these only after the granola has fully cooled to prevent melting!). For an “almond joy” kind of flavor, feel free to be generous with the chocolate!
Expert Tips & Versatile Substitutions for Your Granola
Customizing your granola is part of the fun! Here are some tried-and-true tips and substitutions to help you make this recipe your own:
- Oat Alternatives: If you’re looking for a grain-free option or simply want to try something different, rice flakes or quinoa flakes are excellent substitutes for rolled oats. They offer a similar texture when baked and maintain the delicious crunch.
- Enhanced Almond Flavor: For almond enthusiasts, adding a drop or two of pure almond essence or extract to the wet mixture will amplify the nutty flavor beautifully. Just a little goes a long way!
- Nut Butter Flexibility: Don’t limit yourself to almond butter. Any other creamy nut or seed butter, such as cashew butter, peanut butter, or even tahini, can be used. Each will impart a unique flavor profile to your granola. Ensure it’s unsweetened and natural for best results.
- Seasonal Spices: Elevate your granola for any season! A sprinkle of pumpkin spice, a cozy chai blend, or a hint of apple pie spice can transform the flavor. These warm spices are particularly delightful during cooler months.
- Coconut Options: If large coconut flakes are unavailable, shredded coconut or even finely desiccated coconut can be used. Keep in mind that shredded coconut will toast faster, so monitor it closely during baking to prevent burning.
- Preventing Burned Granola: Granola can go from perfectly golden to burnt very quickly. Always keep an eye on it, especially during the last 5-10 minutes of baking. If you notice the edges browning too fast, you can gently stir it or lower the oven temperature slightly.
- Achieving Clusters: For bigger, chunkier granola clusters, press the mixture down firmly onto the baking sheet before baking. Avoid stirring too much during baking, and allow the granola to cool completely undisturbed on the pan. The clusters will firm up as it cools.
Step-by-Step Guide: How to Make Your Own Almond Coconut Granola
Crafting homemade granola is a rewarding experience, and with these detailed steps, you’ll achieve perfect results every time. Follow along to create crunchy, flavorful almond coconut granola:
1. Mix Dry Ingredients
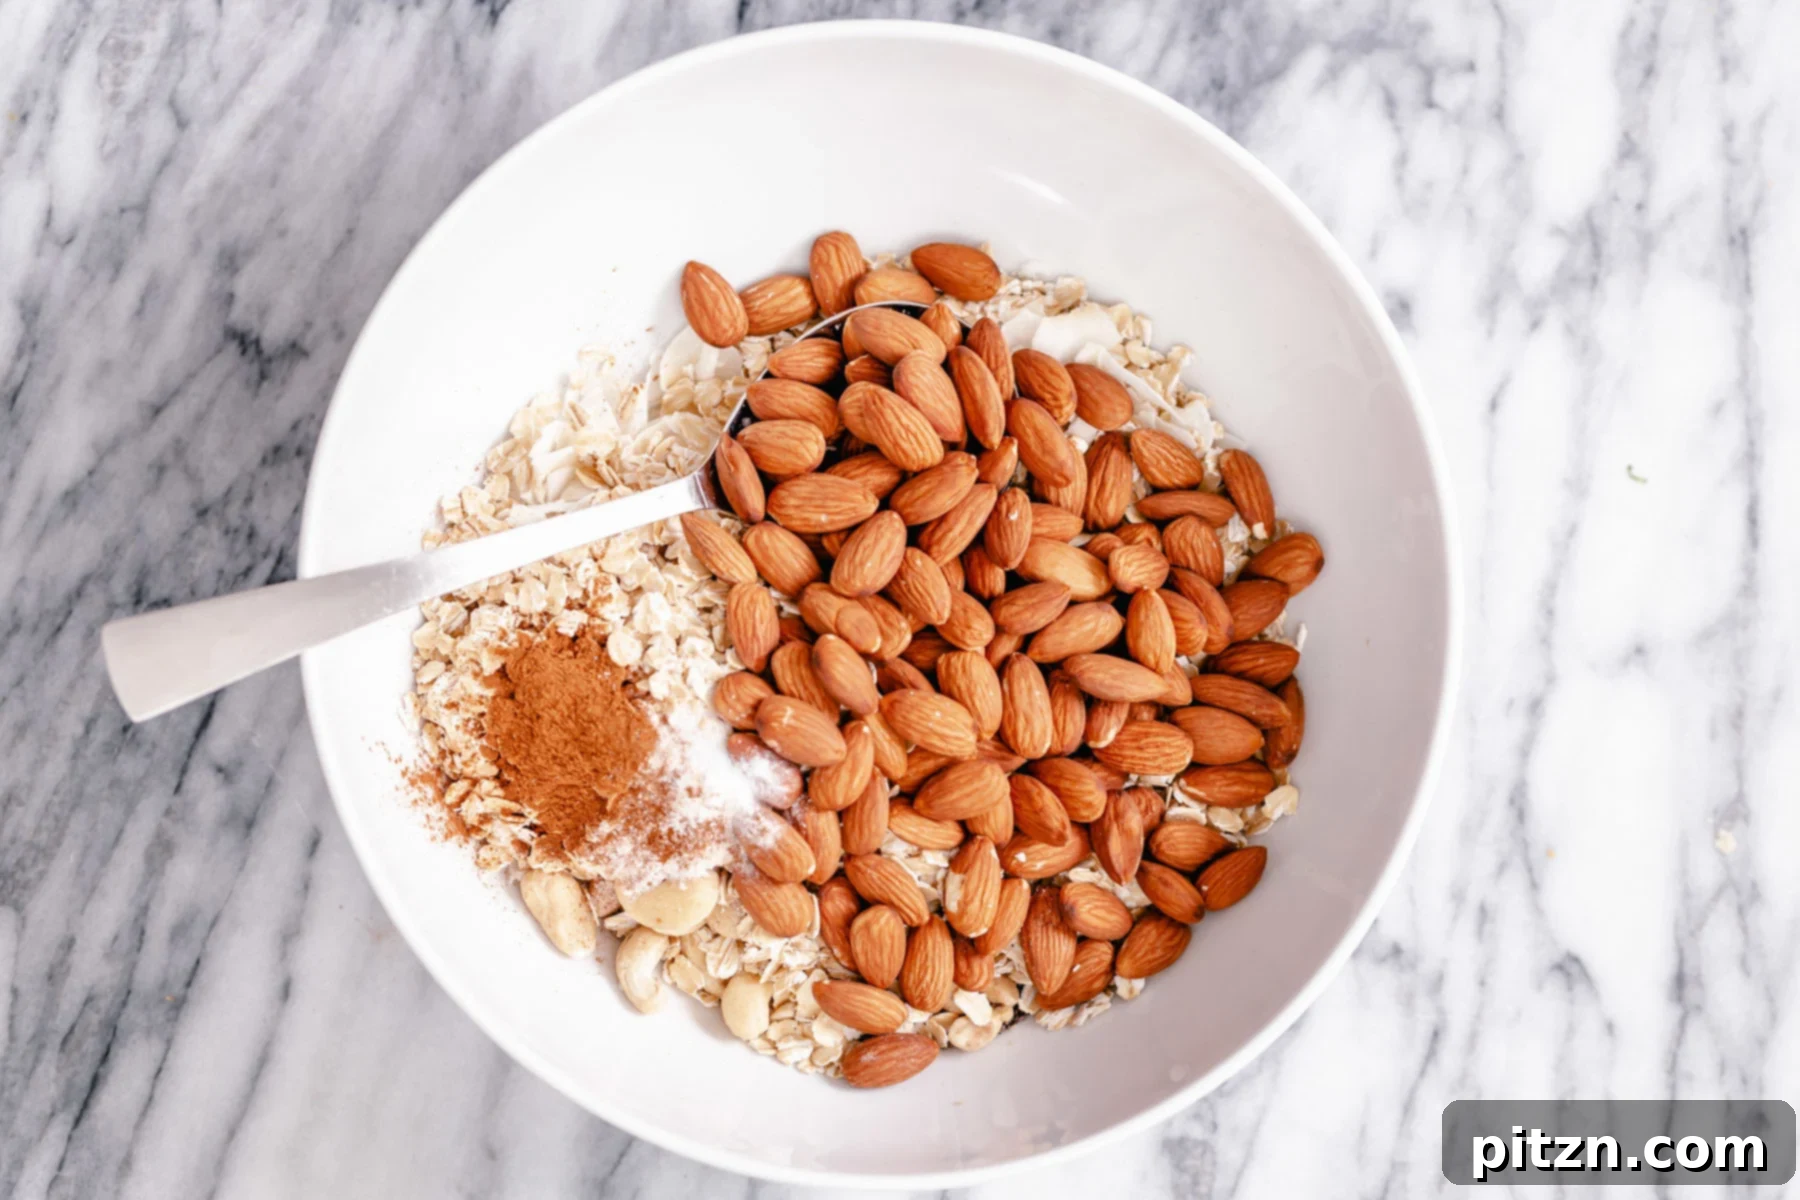
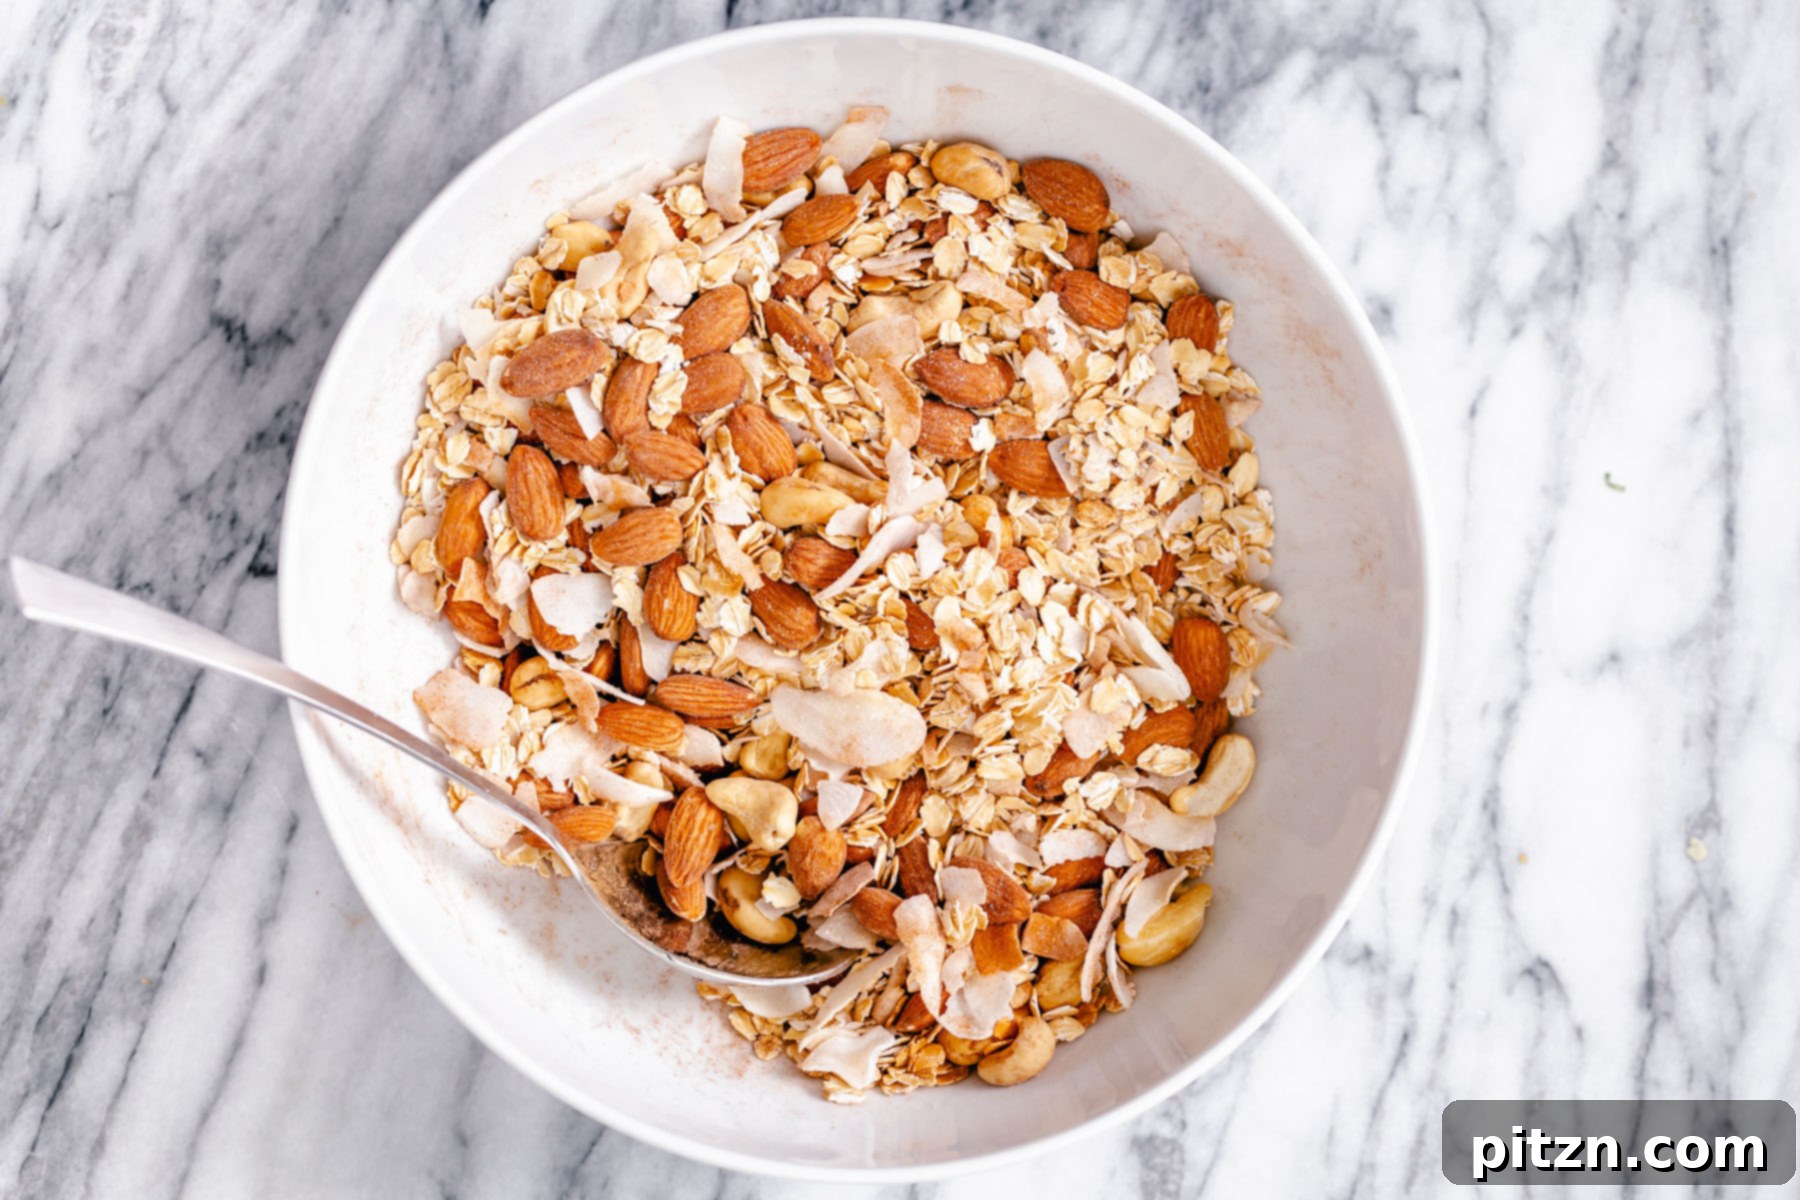
In a spacious mixing bowl, combine the old-fashioned oats, raw almonds, large coconut flakes, any optional additional nuts like cashews, the chia seeds, salt, and cinnamon. Use a large spoon or your hands to mix these ingredients thoroughly. Ensuring everything is well-integrated now will help distribute flavors evenly later.
2. Combine Wet Ingredients
In a separate, smaller bowl, whisk together the maple syrup, melted coconut oil, and almond butter. Stir vigorously until the mixture is smooth and uniform. If your almond butter is stiff, a quick 10-15 second microwave session can help it soften and blend better. Alternatively, let it sit at room temperature for a few minutes before mixing again.
3. Integrate Wet and Dry Mixtures
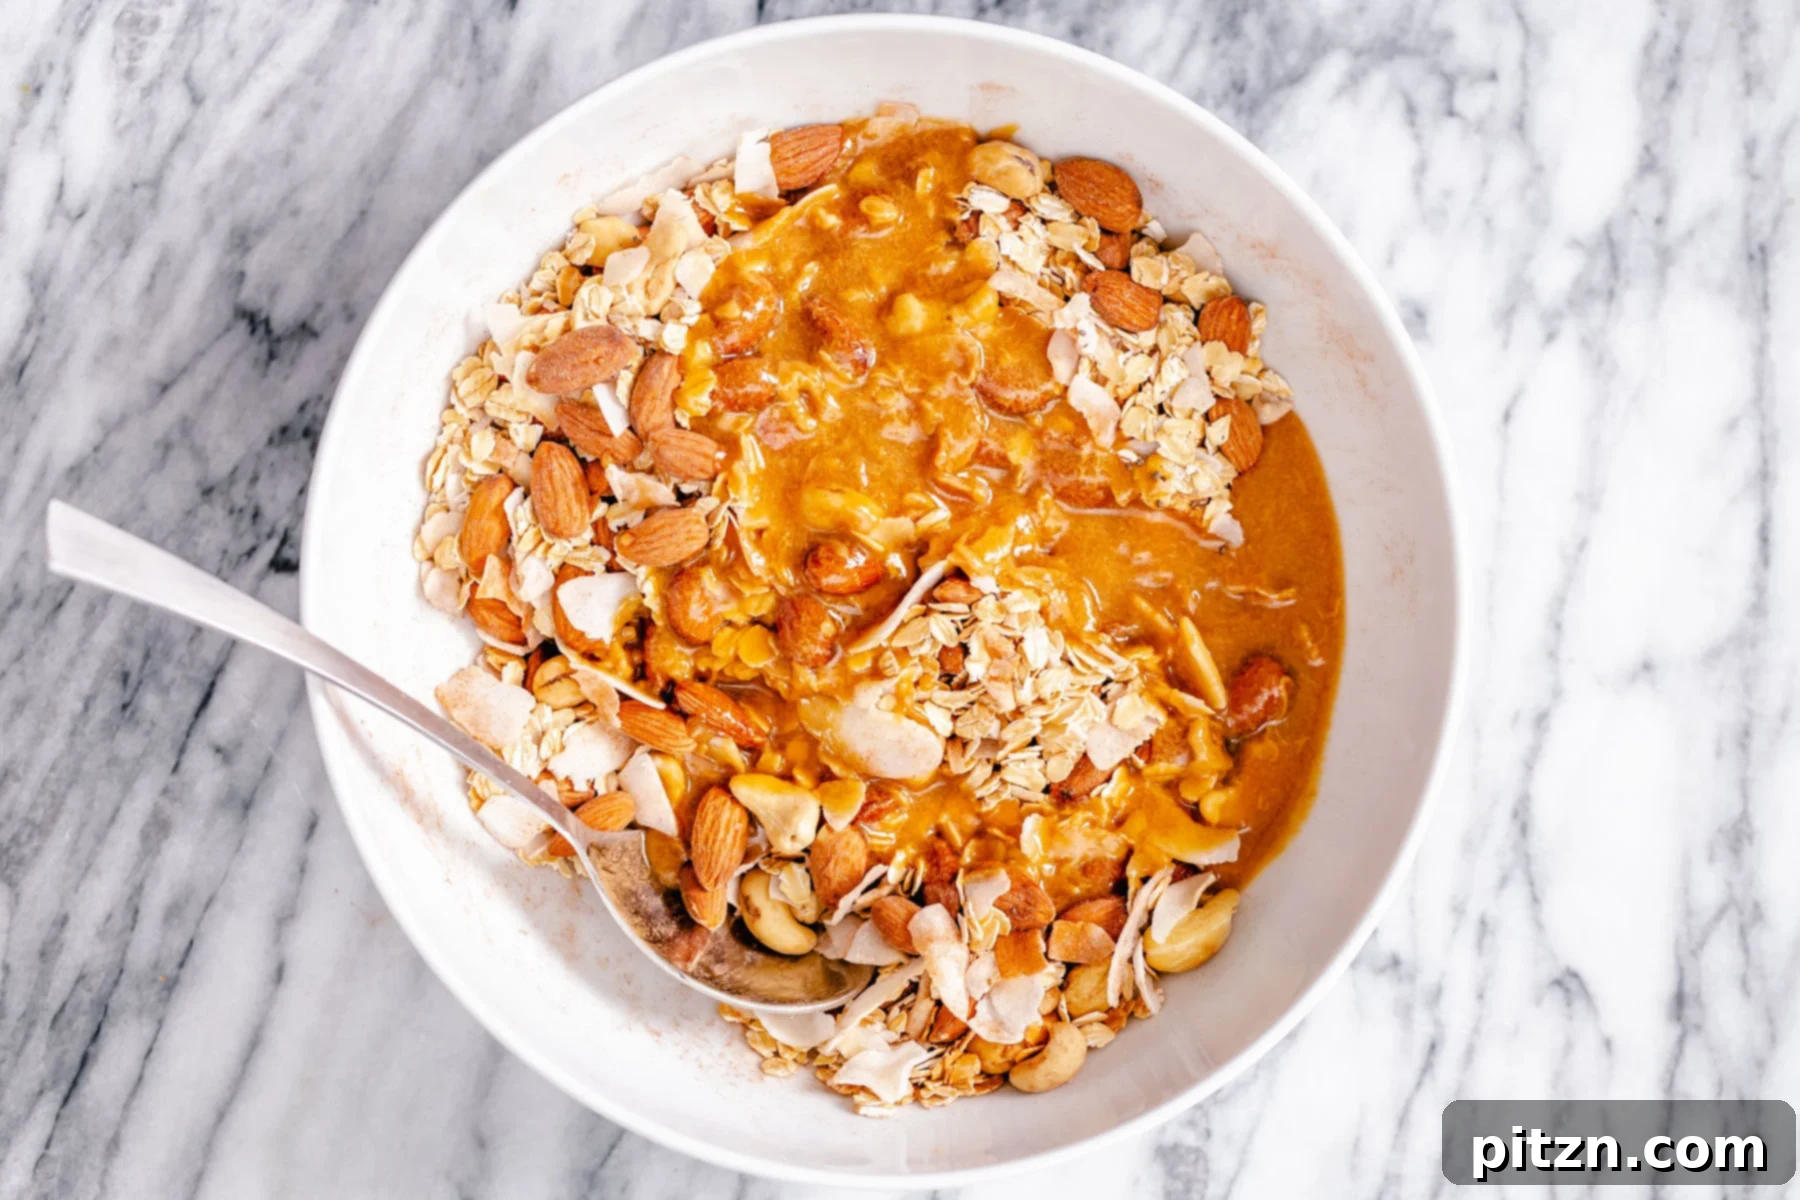
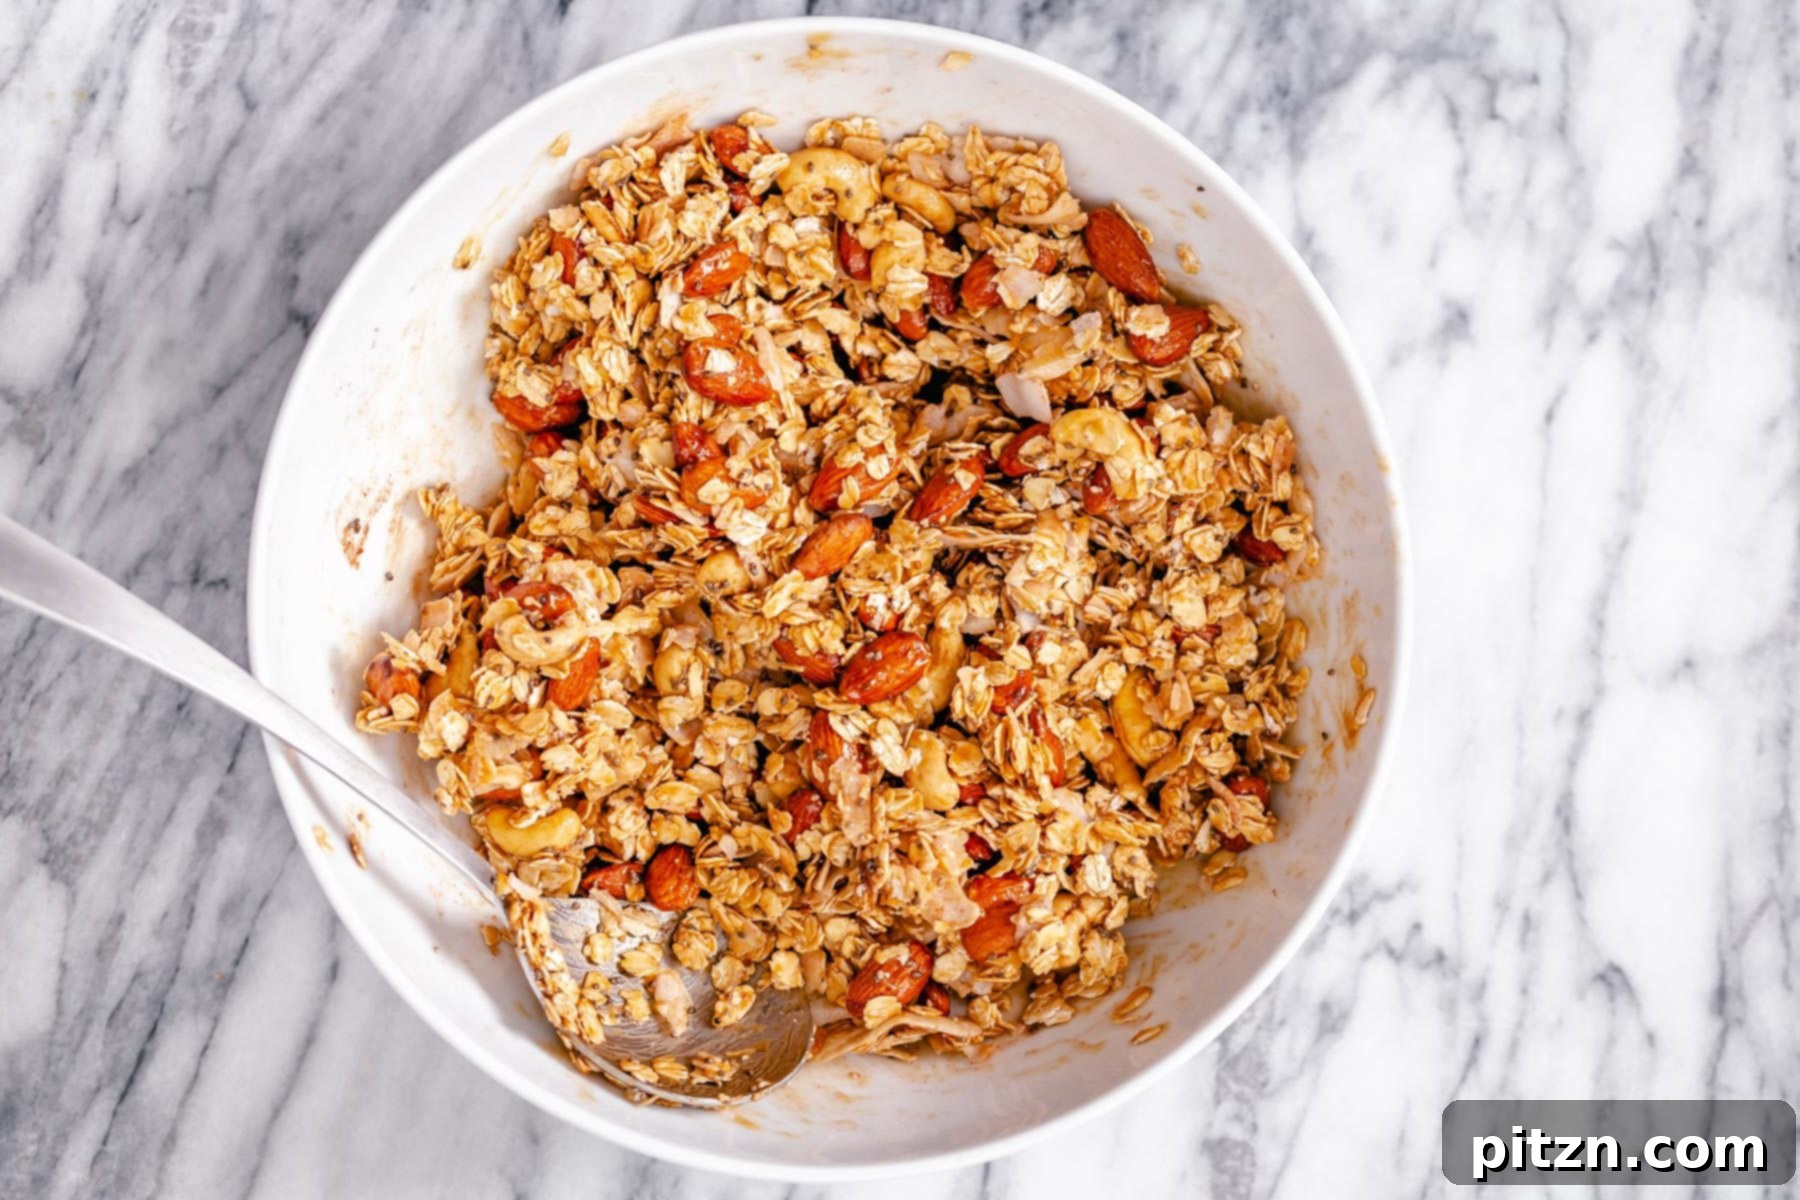
Add the coconut sugar to your dry granola mix. Then, pour the prepared maple-almond butter mixture over the dry ingredients. Mix everything thoroughly. It’s crucial to press and mix to ensure every single dry component is coated. If the mixture feels too dry and crumbly, gradually add a teaspoon of maple syrup at a time until it reaches a sticky, cohesive consistency.
4. Prepare for Baking
Line a large baking sheet or a ceramic baking pan with parchment paper. Using a ceramic baking pan is often recommended because it provides more even heat distribution, which helps prevent burning and promotes consistent crispness throughout your granola batch.
5. Spread the Granola Evenly
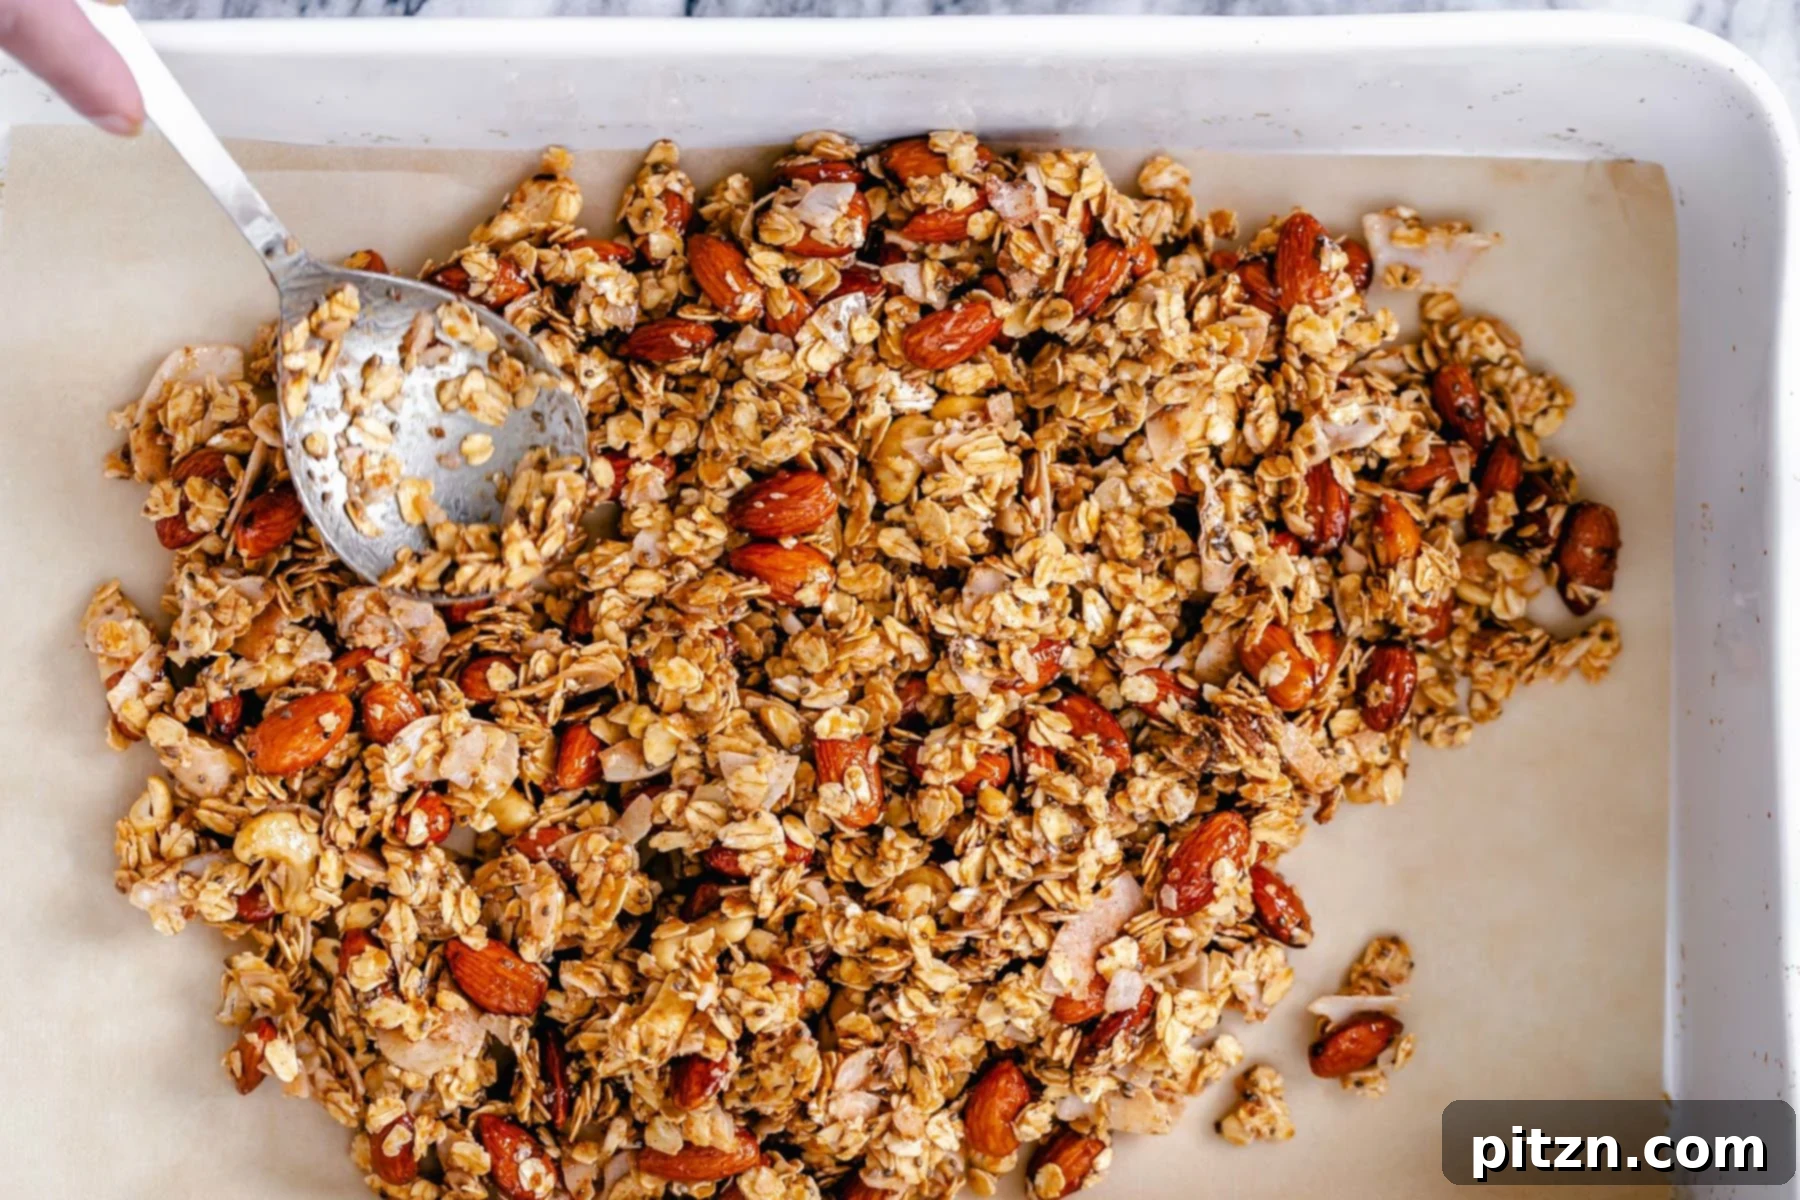
Transfer the granola mixture onto the lined baking sheet. Press and spread it out evenly across the surface. For optimal browning and cluster formation, it’s a good idea to spread it slightly thicker along the edges and a bit thinner in the middle.
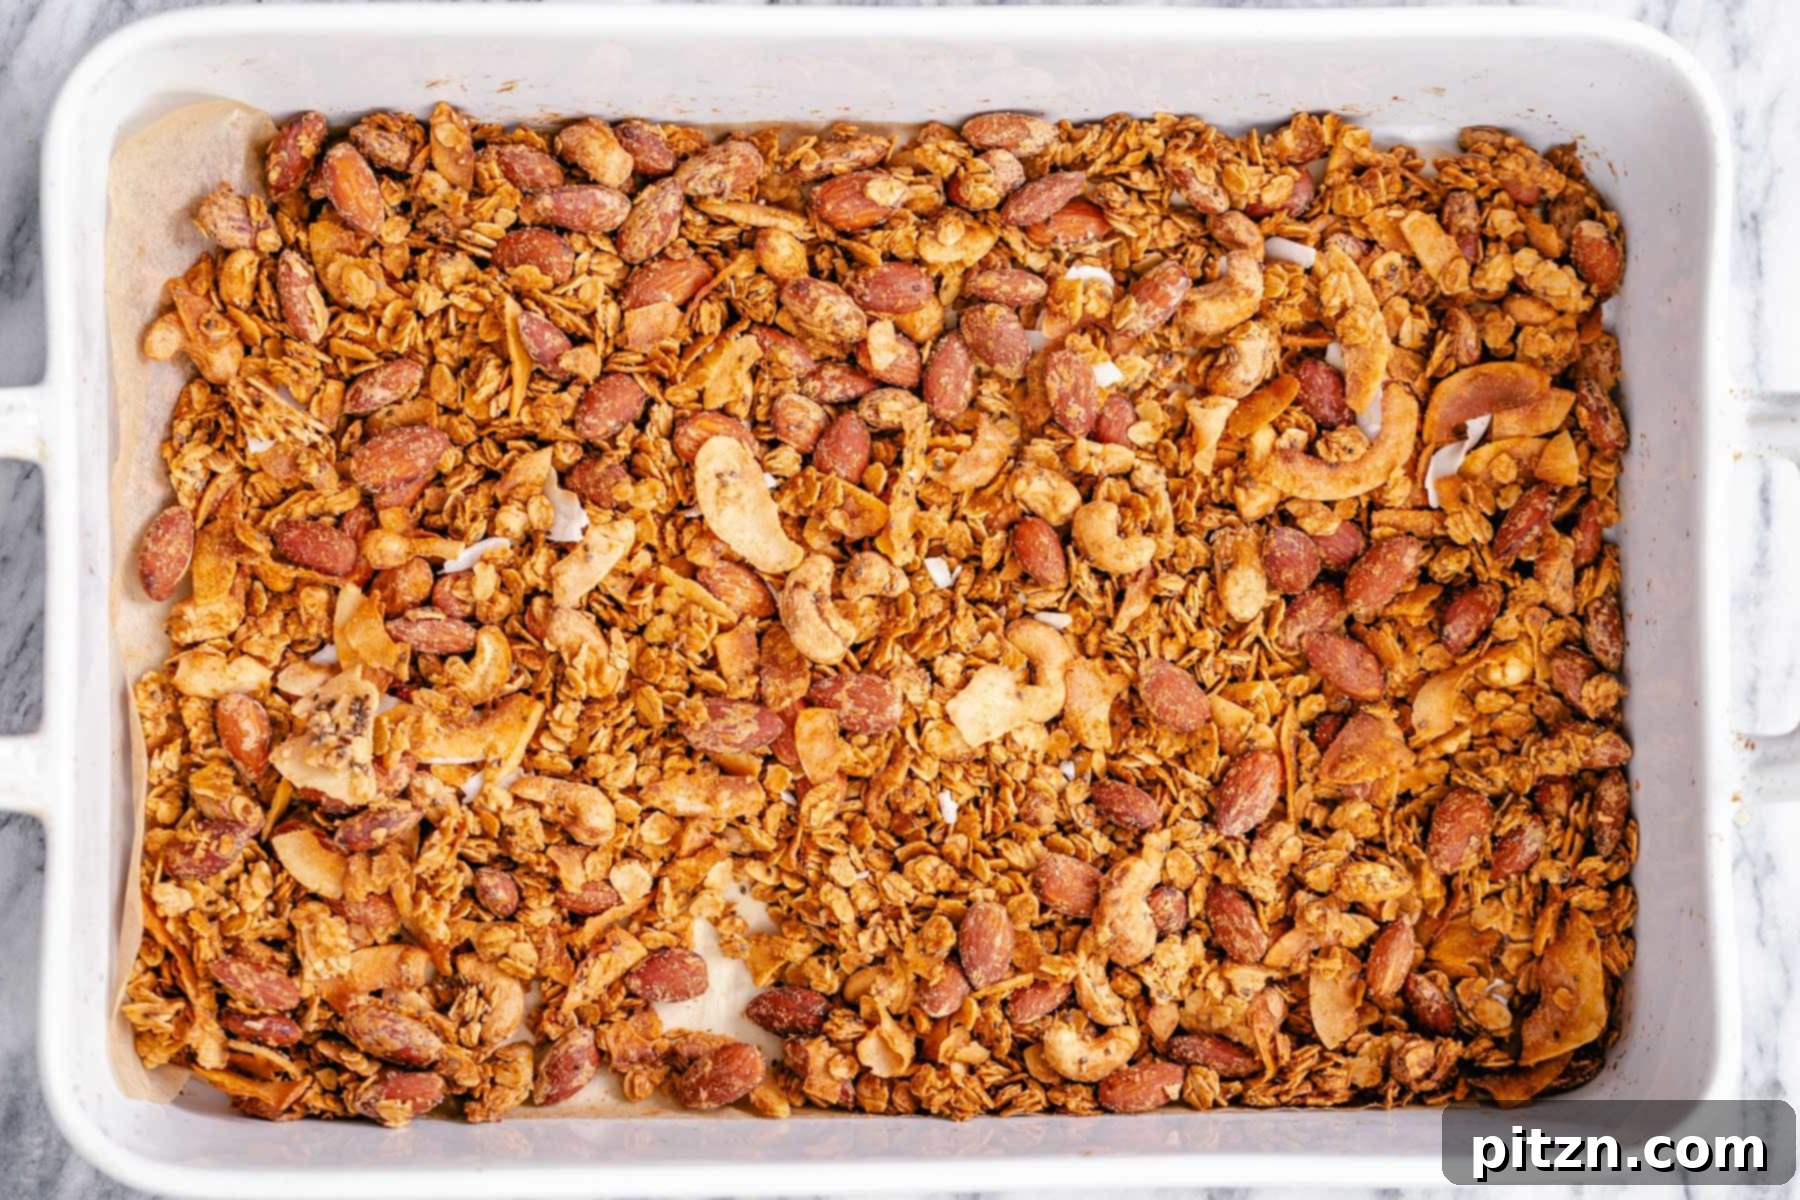
6. Bake to a Golden Crisp
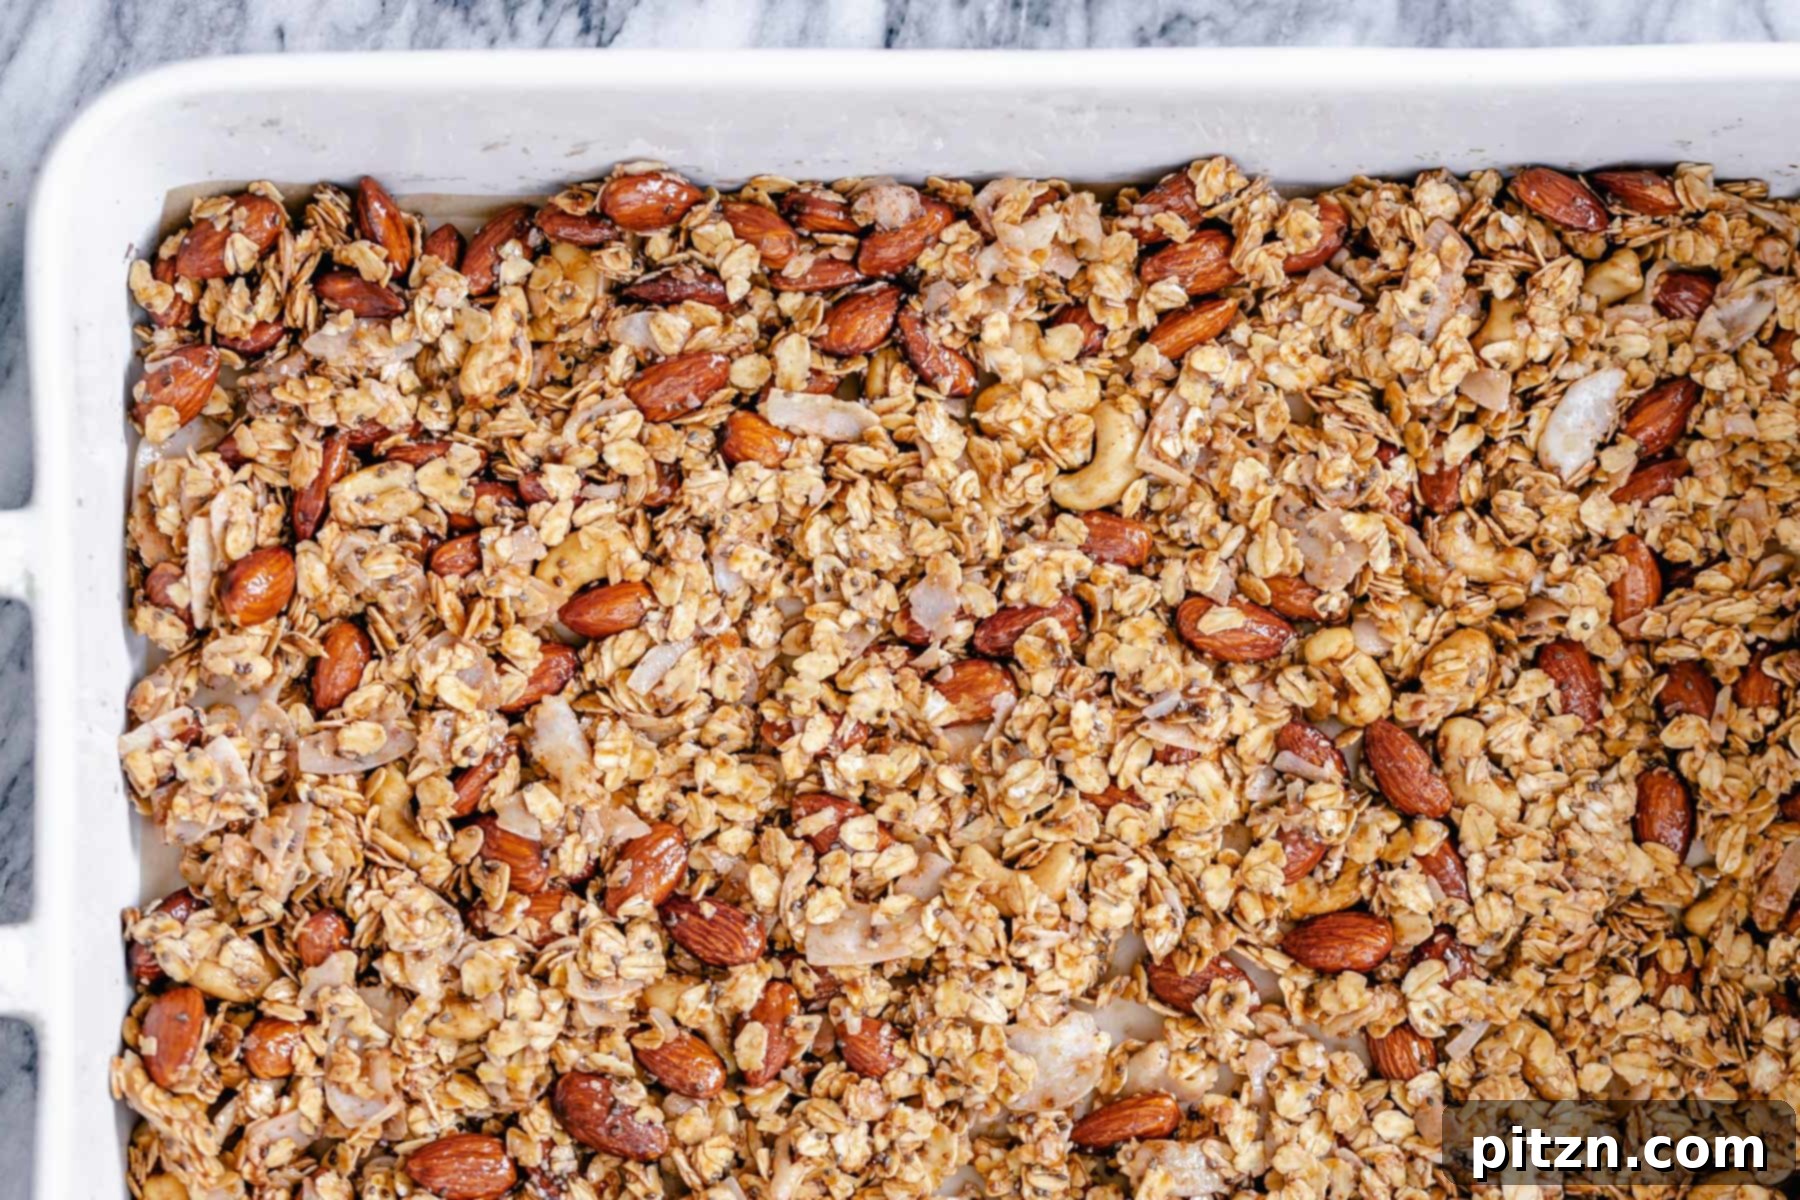
Bake the granola in a preheated oven at 325°F (160°C) for 25 minutes. After this initial baking period, gently stir the granola to promote even browning and check its crispness. If you want larger clusters, gently press some sections together. Continue baking for another 5-10 minutes if needed, or until the granola is a beautiful golden brown and feels crisp. If using a convection oven, 325°F with the fan on can expedite baking. Remember that ceramic dishes retain heat, so the granola will continue to crisp up as it cools outside the oven.
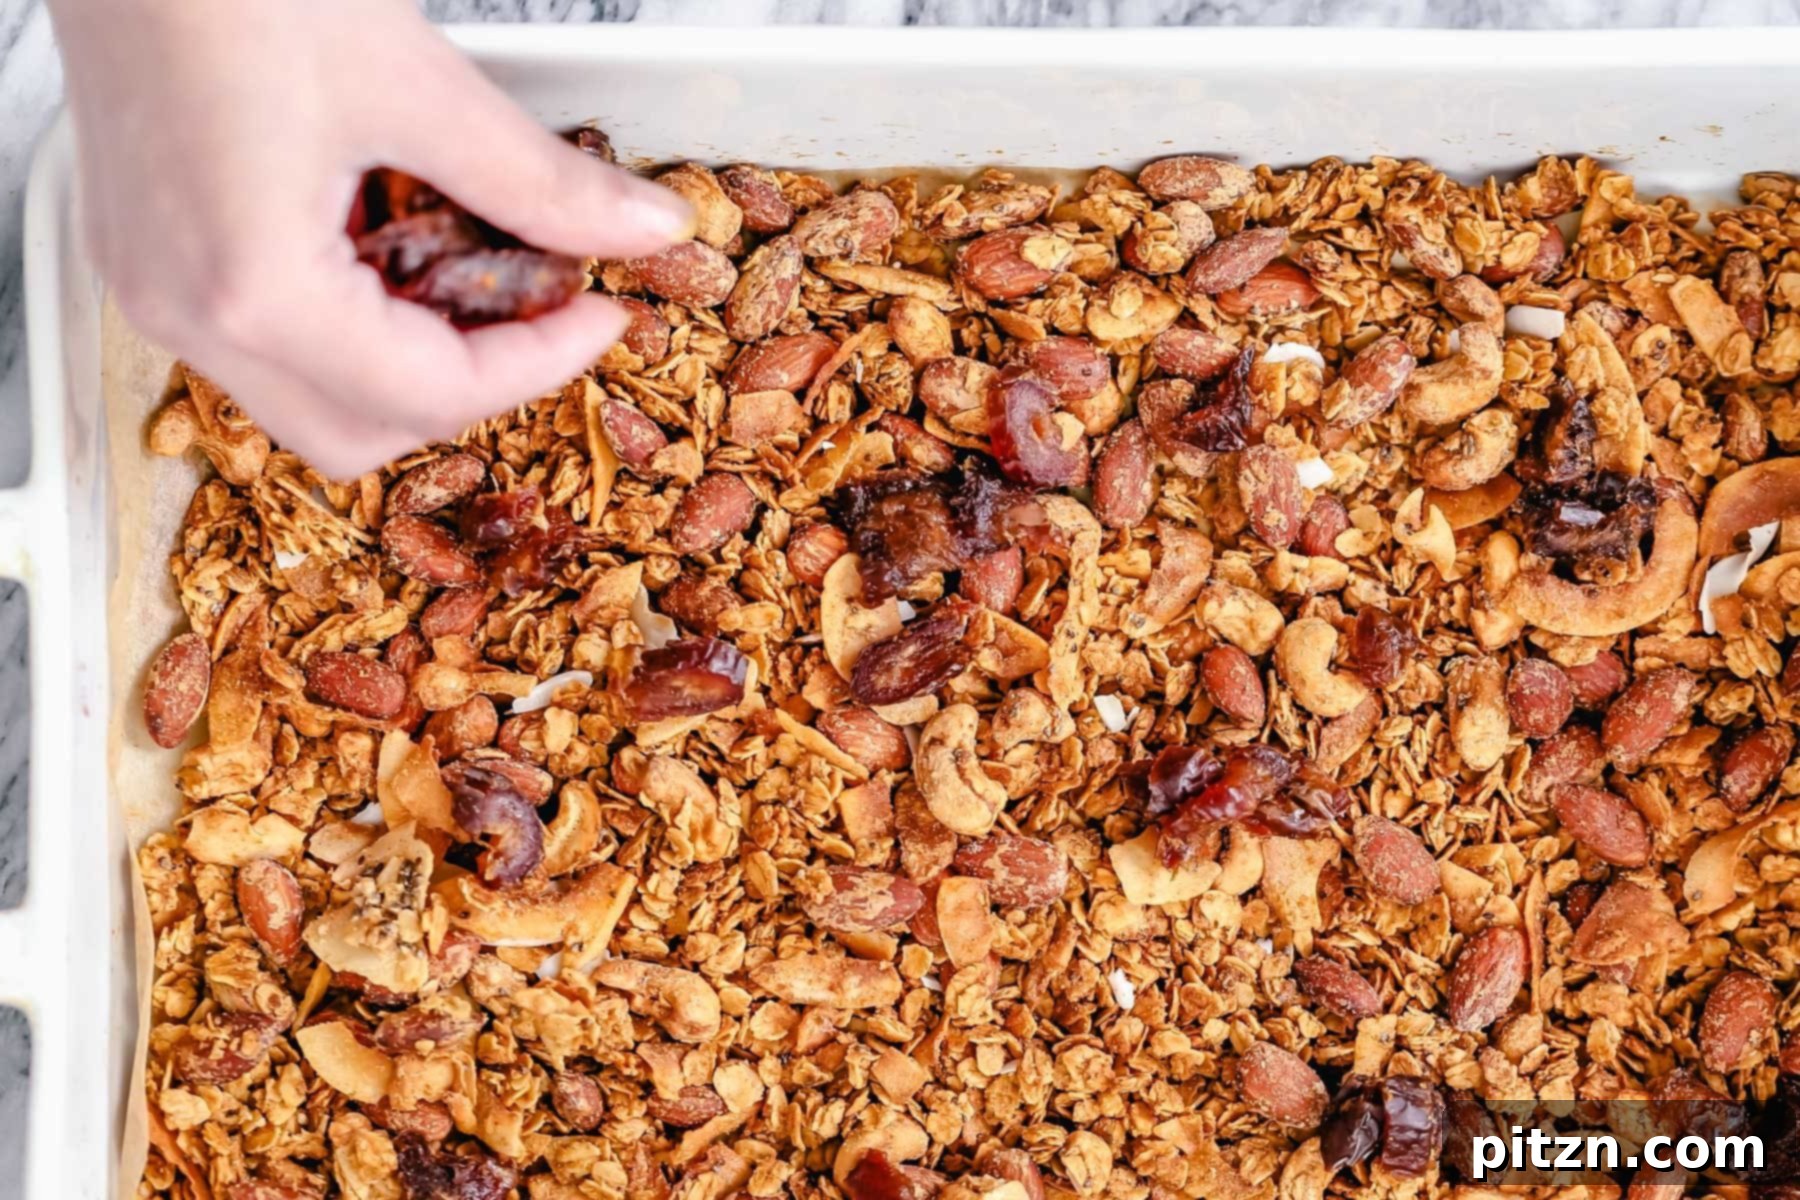
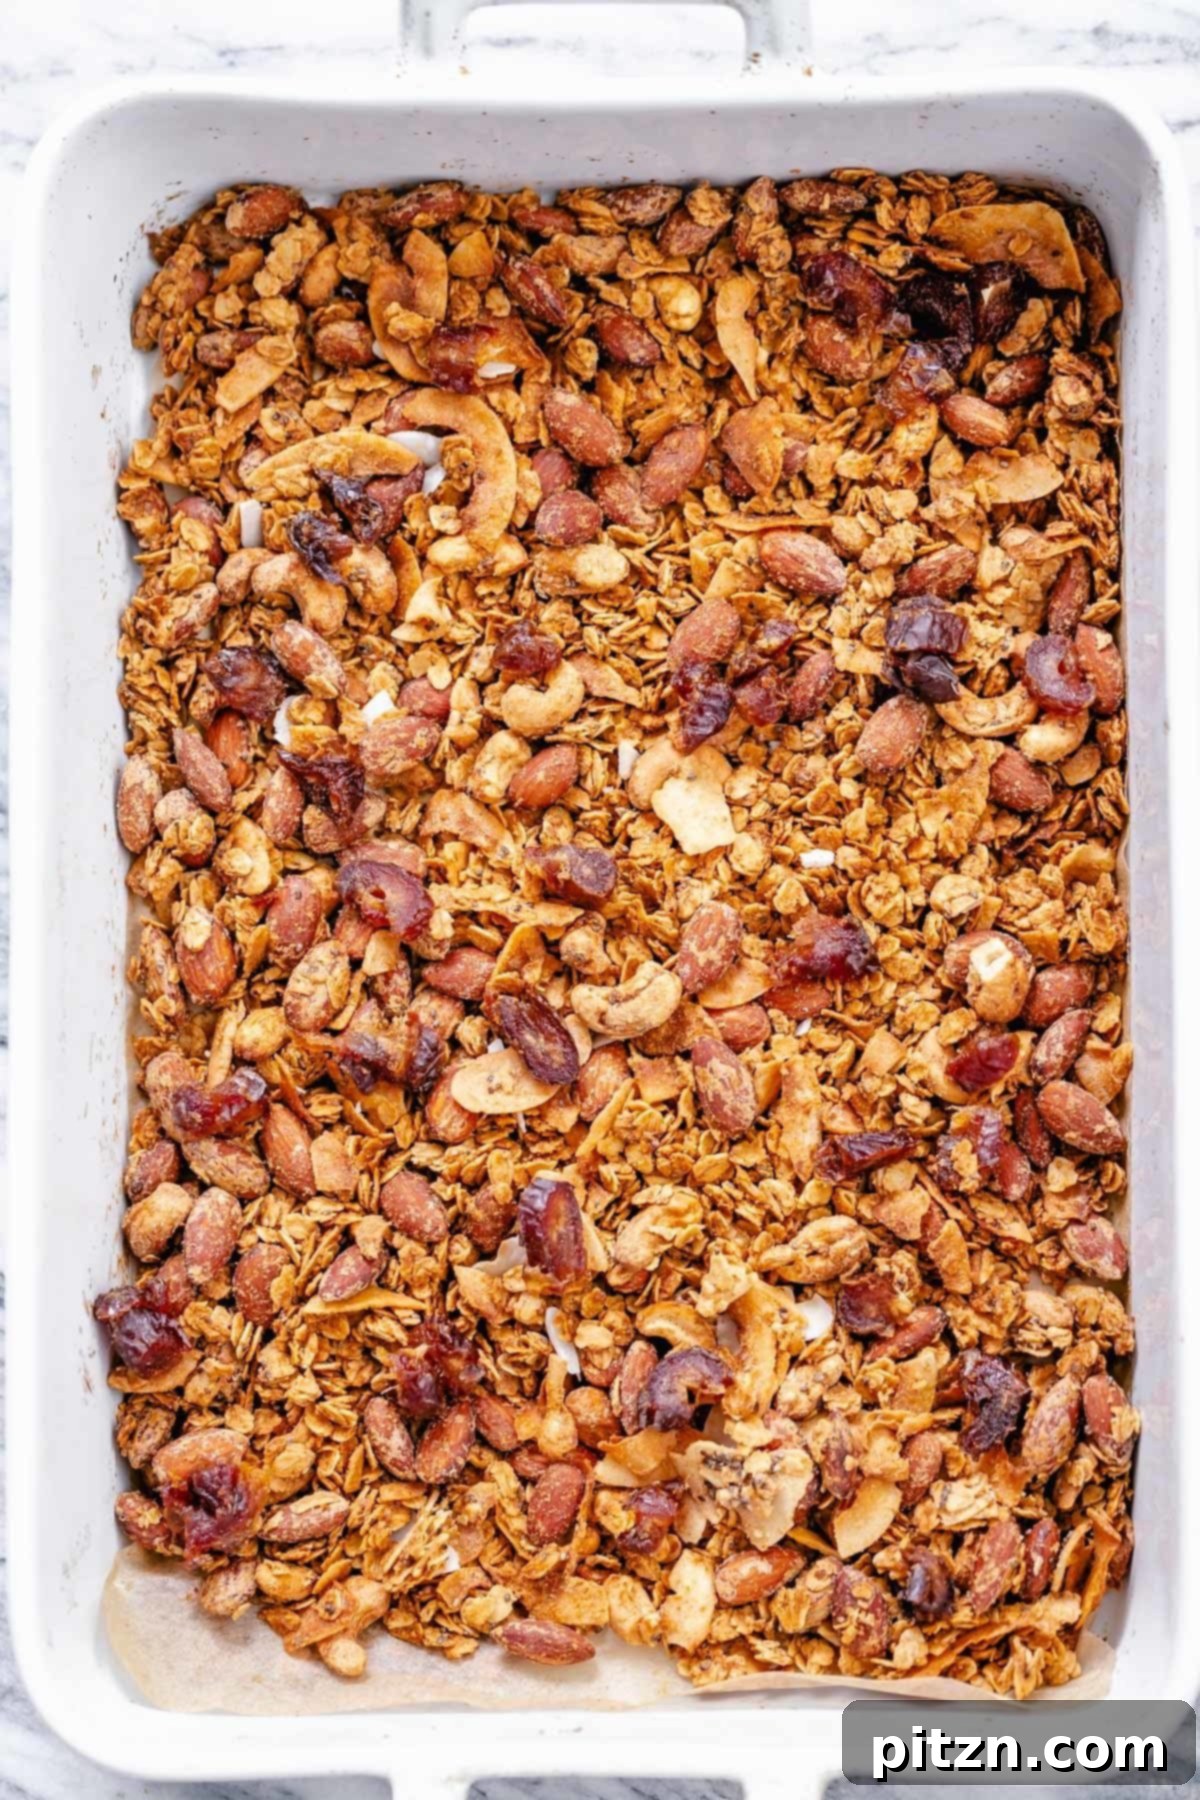
7. Cool Completely & Add Final Touches
Once baked, remove the granola from the oven and allow it to cool completely on the baking sheet. This cooling process is vital for it to achieve its ultimate crispness and for clusters to form properly. Once fully cooled, you can stir in any desired add-ins like chopped dried dates, cranberries, or blueberries. If you’re adding chocolate chips or chunks, ensure the granola is completely cool to prevent them from melting into a messy puddle.
How to Store Your Delicious Homemade Granola
Proper storage is key to keeping your homemade almond coconut granola fresh and crunchy for longer. After your granola has completely cooled, transfer it to an airtight container or a heavy-duty resealable ziplock bag. Stored at room temperature in a cool, dry place, it will maintain its optimal flavor and texture for about 2 to 3 weeks. Avoid storing it in the refrigerator, as this can introduce moisture and make it lose its crispness.
For even longer storage, homemade granola freezes exceptionally well. Simply transfer the cooled granola into a freezer-safe ziplock bag or airtight container. When you’re ready to enjoy it, remove it from the freezer and let it come to room temperature for a few minutes. It will be just as fresh and crunchy as the day it was baked! This makes it perfect for meal prepping or having a healthy breakfast option readily available.
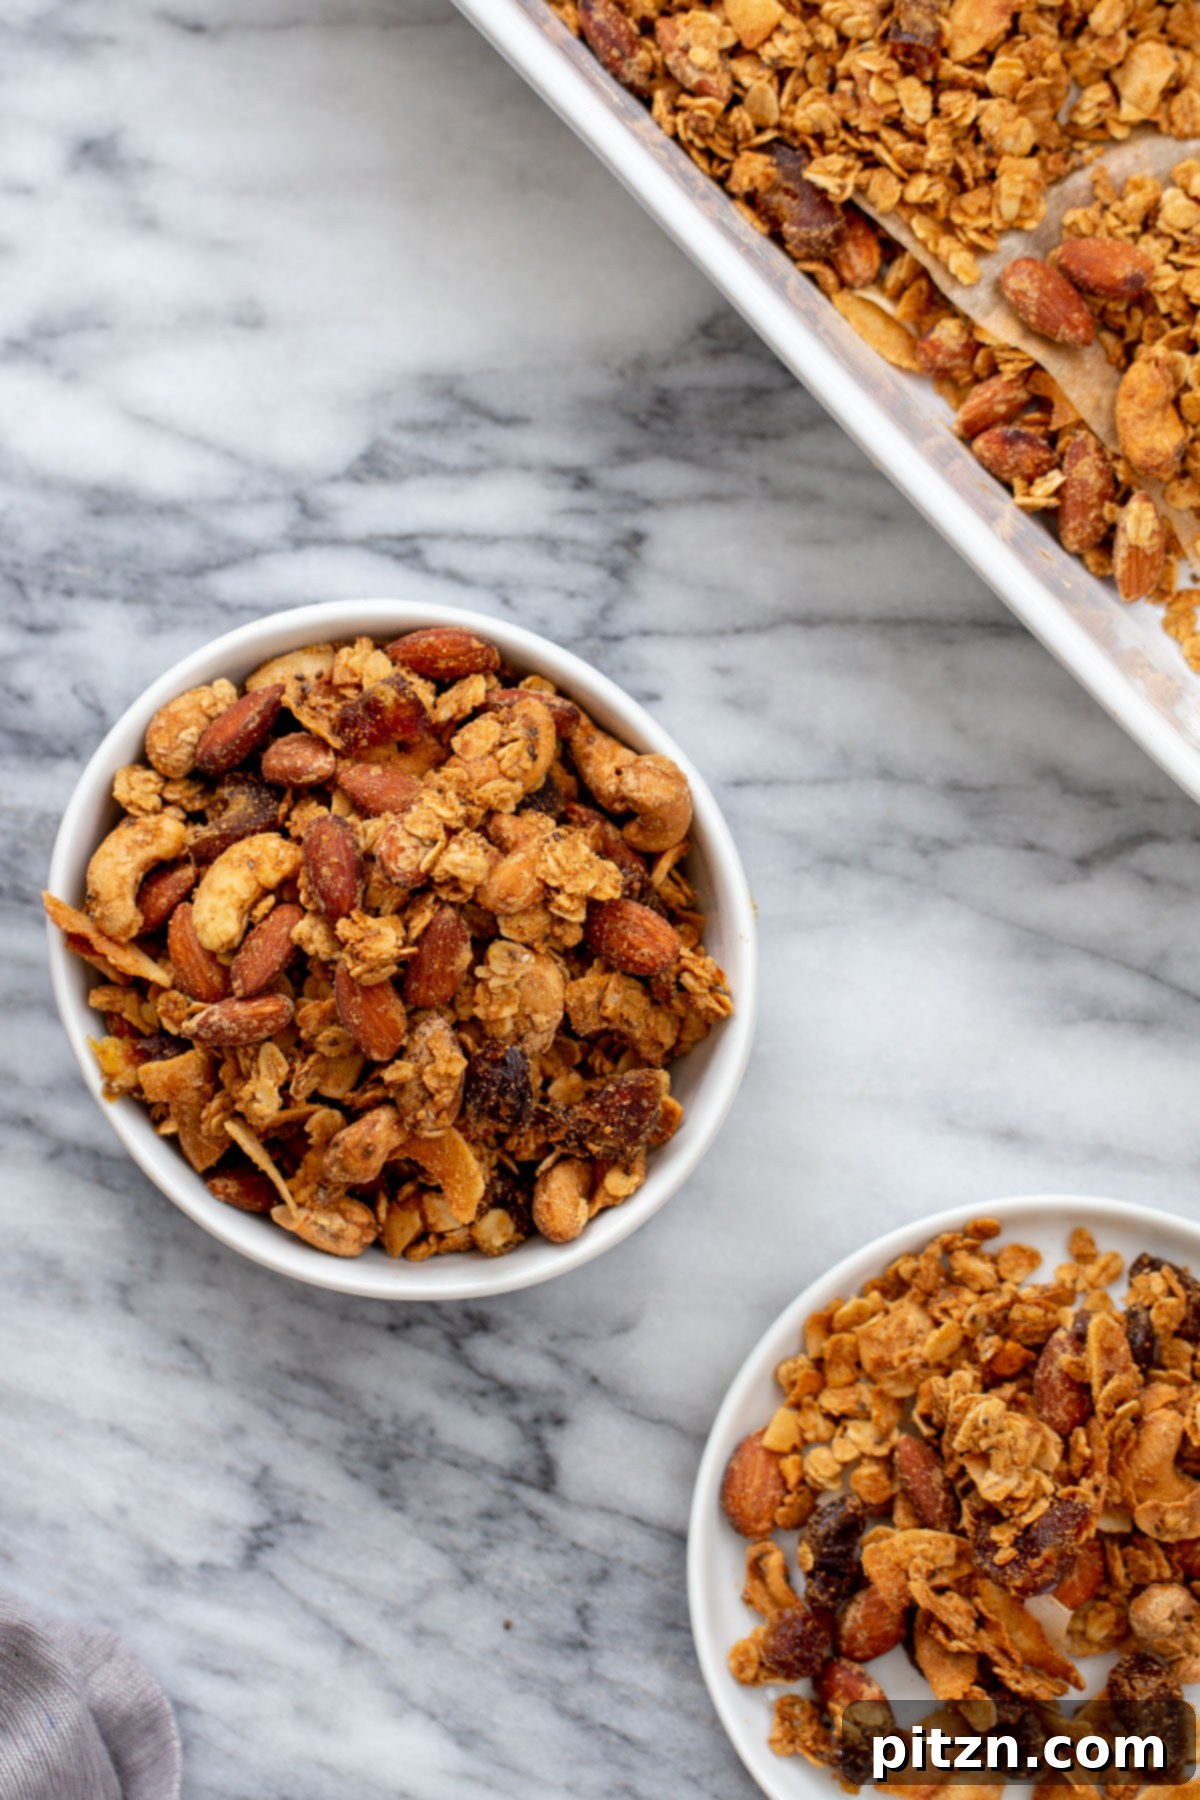
The Joys of Vegan & Gluten-Free Granola
This Almond Coconut Granola is not only incredibly tasty but also caters to specific dietary needs, being entirely vegan and naturally gluten-free (provided you use certified gluten-free oats). This makes it an inclusive option for many, without compromising on flavor or texture. Enjoying plant-based and gluten-free foods doesn’t mean sacrificing deliciousness, and this granola is a shining example. It’s packed with wholesome ingredients that provide sustained energy and a host of nutrients, making it a truly smart choice for a nourishing start to your day or a satisfying pick-me-up.
Whether you’re new to making granola or a seasoned pro, this recipe is designed for success. Its simplicity, combined with the profound flavors of almonds, coconut, and a touch of cinnamon, ensures it will become a cherished staple in your pantry. Say goodbye to mediocre store-bought options and embrace the vibrant, wholesome goodness of your very own homemade Almond Coconut Granola!