
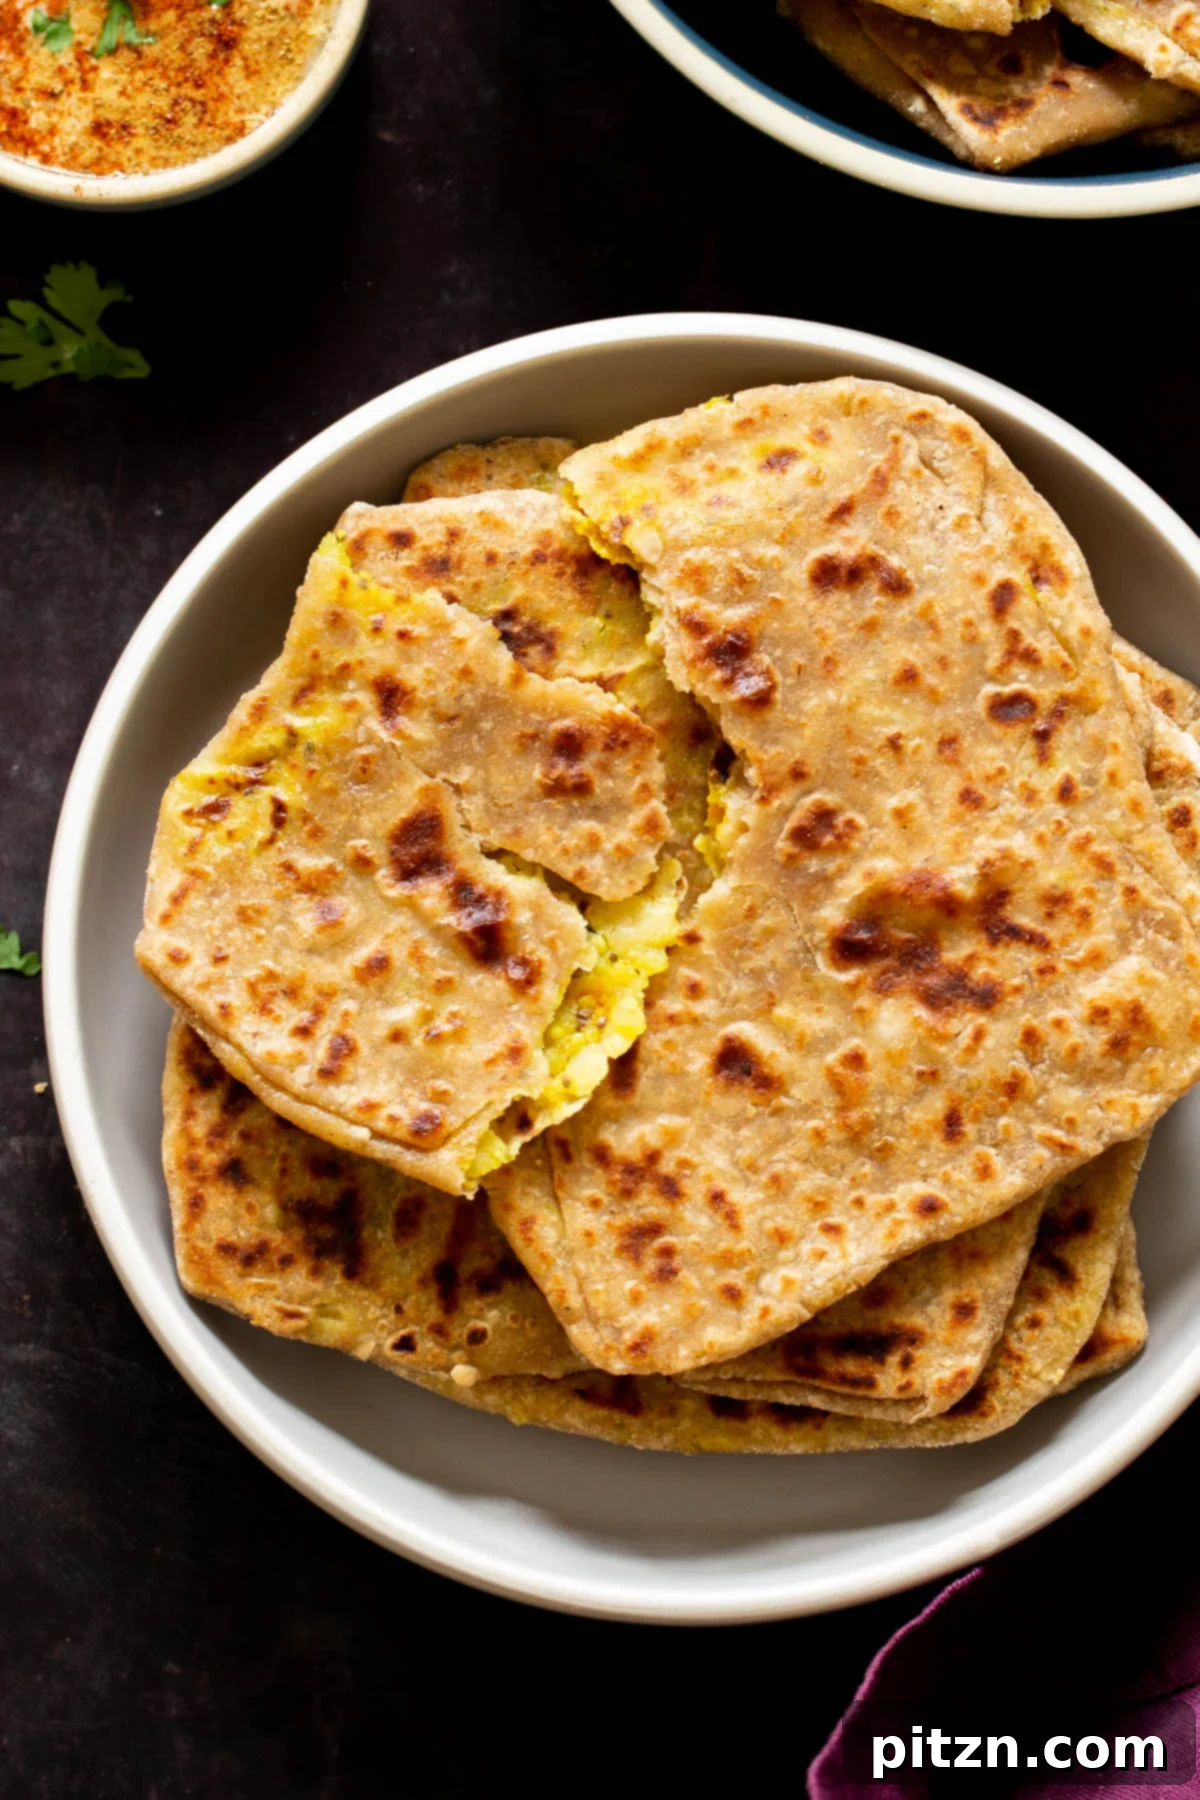
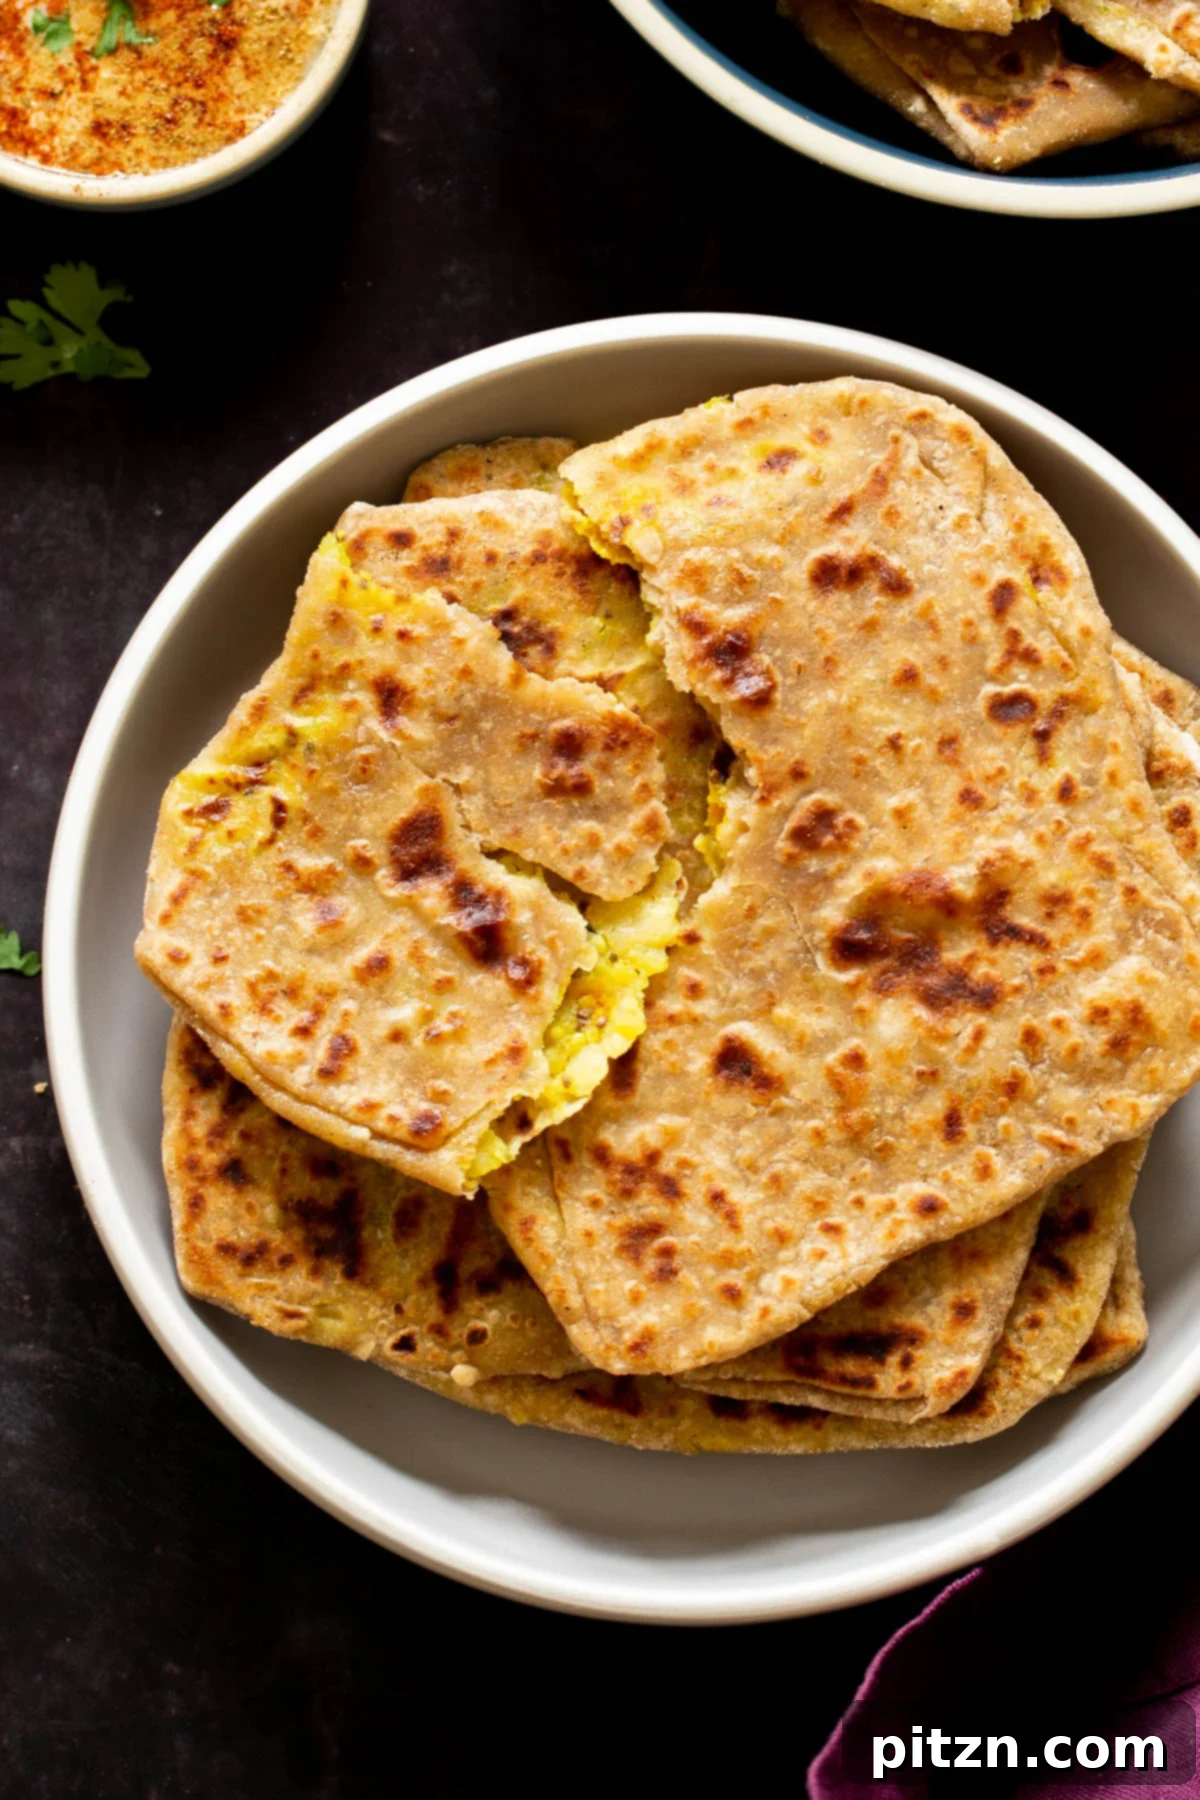
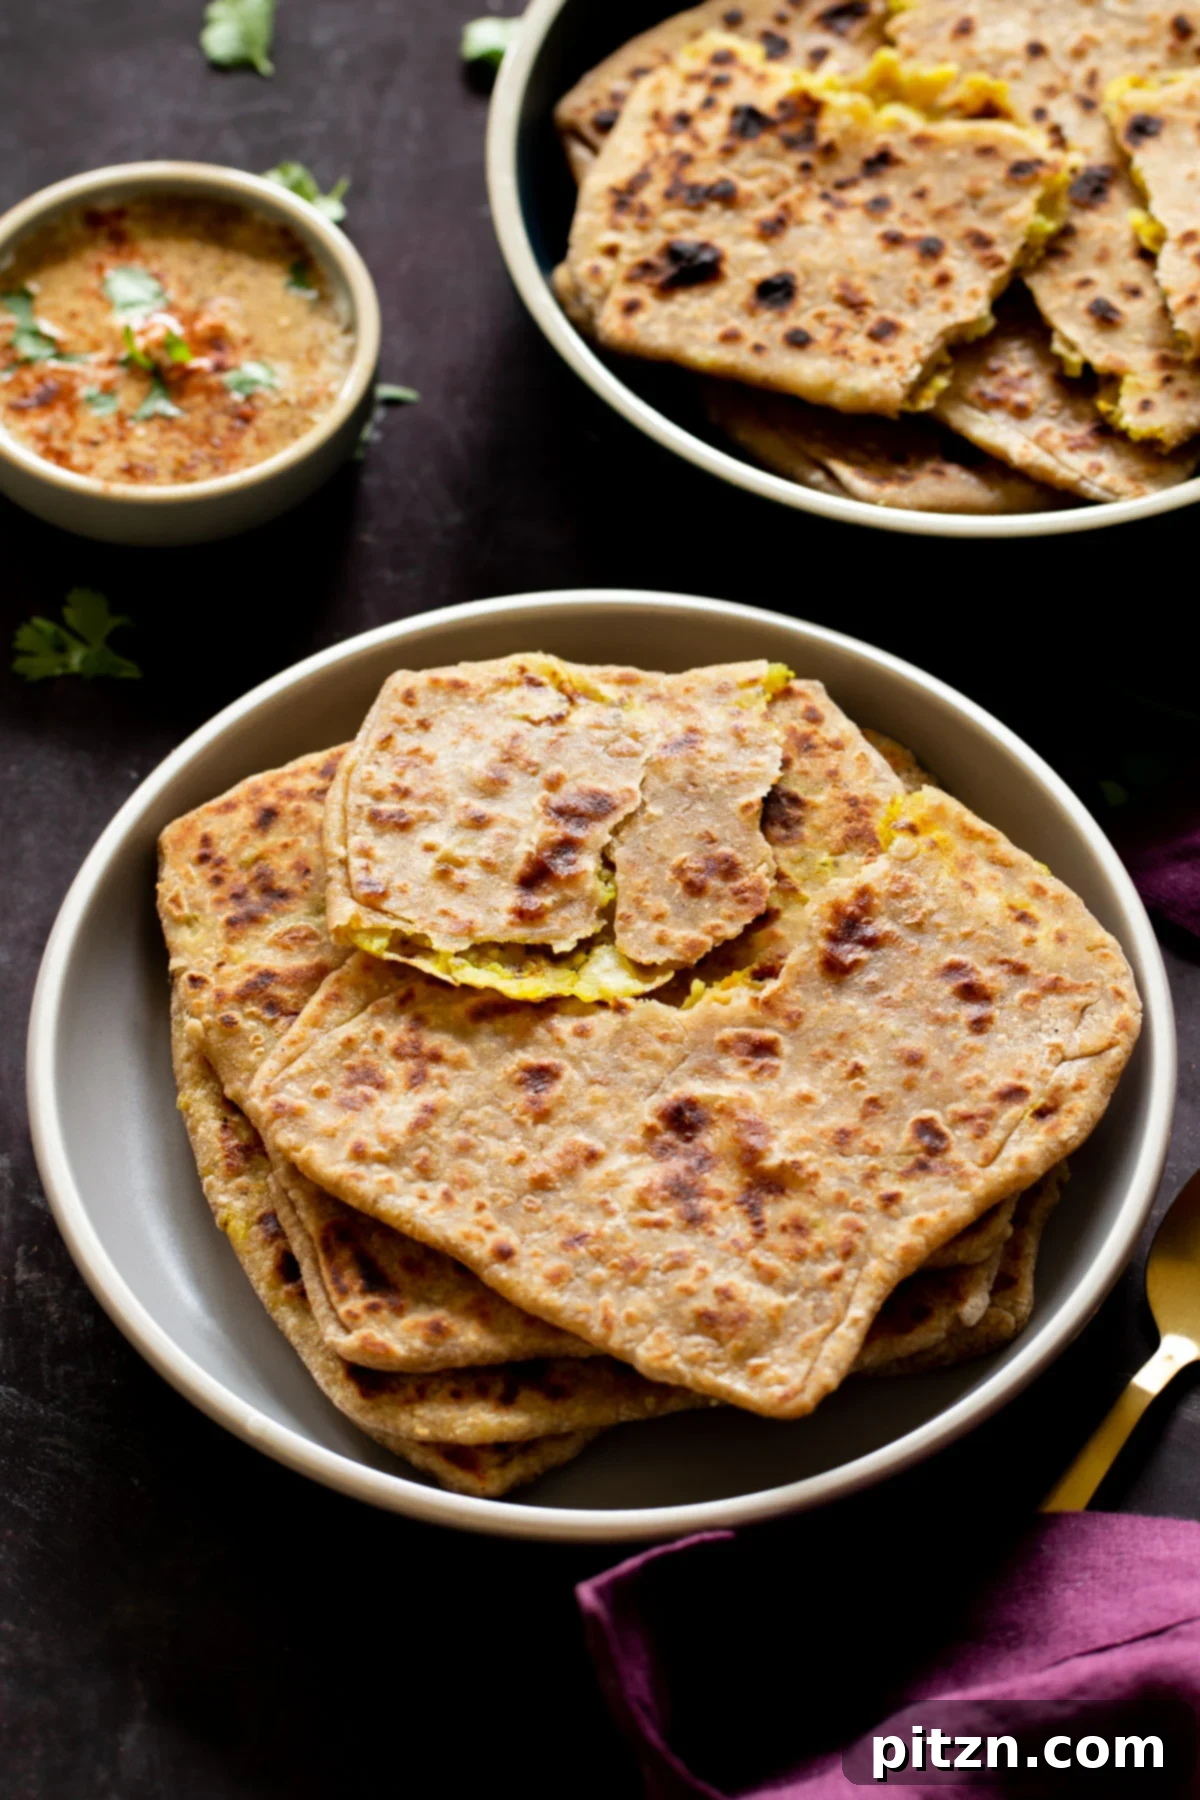
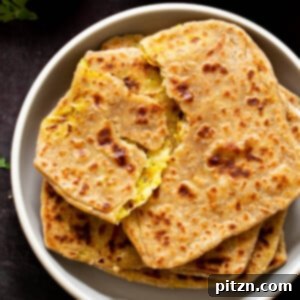
Experience the delightful flavors of India with this incredible Multigrain Aloo Paratha recipe! This traditional Indian flatbread, generously stuffed with a savory, spiced potato filling, is a beloved Punjabi breakfast staple cherished across the subcontinent. Our version takes this classic to new heights by incorporating wholesome whole wheat and a blend of nutrient-rich grains, offering a truly satisfying and addictive culinary experience. This recipe is also completely soy-free and nut-free, making it accessible for many dietary needs.
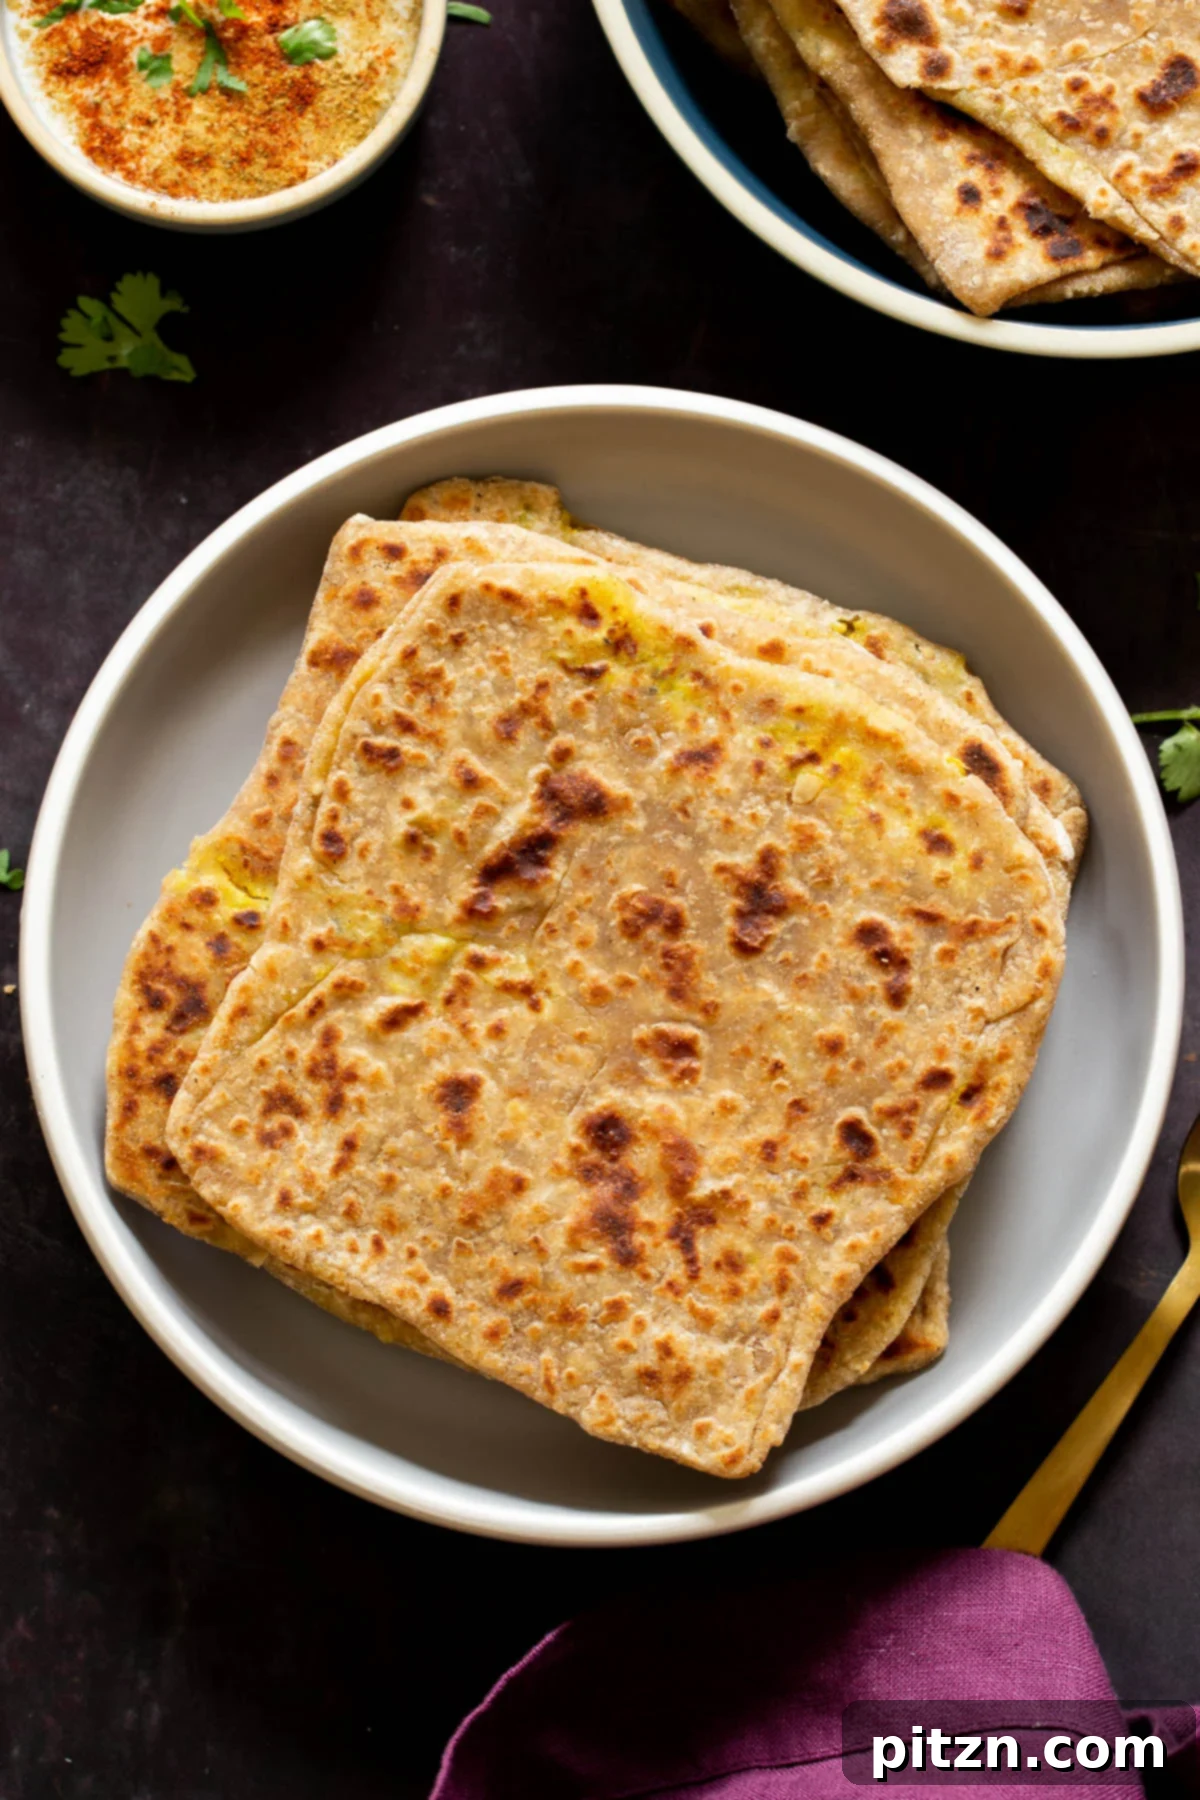
Table of Contents
- Introduction to Aloo Paratha
- Why You’ll Adore Multigrain Aloo Paratha
- More Delectable Vegan Paratha Recipes
- Multigrain Aloo Paratha (Potato-Stuffed Indian Flatbread) Recipe
- Essential Ingredients and Clever Substitutions
- Expert Tips for Perfect Parathas
- Step-by-Step Guide to Making Multigrain Aloo Paratha
- Frequently Asked Questions
Introduction to Aloo Paratha
While mastering Aloo Paratha from scratch might seem a little daunting at first, this comprehensive guide, complete with descriptive instructions and helpful tips, is designed to lead you through every step of the process. You’ll find that making these delicious flatbreads is not only achievable but also incredibly rewarding. Be sure to explore the detailed notes and expert advice on this page to ensure your Aloo Parathas turn out perfectly every time!
Aloo Paratha literally translates to “potato-stuffed flatbread,” where “Aloo” means potato and “Paratha” refers to the layered Indian flatbread. It’s a culinary icon, particularly from the Punjab region of India, where it’s a breakfast staple, often served with a dollop of butter, yogurt, or pickle. The magic lies in the contrast between the soft, warm flatbread and the intensely flavorful, spicy potato filling. In this unique multigrain rendition, we elevate the nutritional profile by incorporating powerhouse ingredients like hemp and chia seeds into the potato mixture. These additions not only boost the protein content but also contribute to a delightful texture, all while being perfectly seasoned with a blend of aromatic spices and just the right amount of salt to create an explosion of flavor in every bite.
For the most authentic and best results when preparing this Aloo Paratha recipe, it is highly recommended to use traditional chapati flour, also known as atta. This flour is distinctly different from conventional whole wheat flour commonly found in Western grocery stores. Chapati flour is milled from a specific type of wheat and is much finer, which results in a softer, more pliable dough that absorbs less water. This characteristic is crucial for achieving the perfect texture and ease of handling required for rolling out stuffed parathas.
Our whole-grain approach further enhances the dough by introducing whole oats and buckwheat groats. This strategic addition doesn’t just contribute to a fantastic, rustic texture and a subtle, nutty flavor; it also surprisingly makes the dough more forgiving and easier to knead. Unlike traditional paratha doughs that require extensive kneading to develop smooth gluten, the added grains in this recipe intentionally interfere with gluten formation. This means you don’t need to knead for an extended period, as the dough won’t become perfectly smooth. However, this works to our advantage, making the dough exceptionally easy to roll out without compromising on taste or quality.
While the traditional filling uses Indian spices, the beauty of Aloo Paratha lies in its versatility. You have the freedom to customize the potato filling with your preferred spices and herbs. If you’re looking for a delightful twist, consider moving beyond Indian flavors. Imagine using an aromatic Italian herb blend and adding some melty vegan cheese to create a unique and incredibly cheesy potato flatbread. This flexibility allows you to adapt the recipe to suit your taste buds or to utilize ingredients you already have on hand, making it a truly adaptable dish for any culinary adventure.
Why You’ll Adore Multigrain Aloo Paratha
- Exquisitely Spiced, Creamy Potatoes: The heart of our Aloo Paratha lies in its filling – perfectly mashed potatoes, infused with a blend of aromatic Indian spices. Each bite delivers a burst of flavor that is both comforting and exhilarating, a testament to the rich culinary heritage of Punjab.
- Tender, Wholesome Multigrain Flatbread: Moving beyond traditional whole wheat, our recipe features a unique blend of chapati flour, oats, and buckwheat. This combination creates a flatbread that is not only tender and flaky but also packed with the wholesome goodness of diverse grains, offering a satisfying texture and deeper flavor profile.
- Simplified Preparation with Less Kneading: We understand that traditional flatbreads can be intimidating. This multigrain dough is designed to be forgiving, requiring significantly less kneading than conventional recipes. This means less effort in the kitchen and more time enjoying the process and the delicious results.
- Dietary-Friendly: Soy- and Nut-Free: Catering to common dietary restrictions, this recipe is naturally soy-free and nut-free. This ensures that more people can enjoy the authentic taste of Aloo Paratha without concern, making it a fantastic option for family meals or gatherings.
- The Ultimate Comfort Food: Carbs on Carbs! There’s an undeniable joy in savoring a dish that combines two beloved carb components. The soft potato filling encased in a warm, flaky flatbread offers a deeply satisfying and hearty meal, perfect for any time of day, especially a comforting breakfast or brunch.
More Delectable Vegan Paratha Recipes
- Masala Paratha
- Beetroot Paratha
- Spinach Paratha – Vibrant Spinach Flatbread
- Broccoli Chickpea Stuffed Flatbread – Healthy Broccoli Paratha
Multigrain Aloo Paratha (Potato-Stuffed Indian Flatbread)
Print Recipe
Ingredients
For the Dough:
- 2.5 cups whole wheat chapati flour, This is a specific type of whole wheat flour, distinct from regular whole wheat flour. Please refer to the recipe notes for details.
- 1/3 cup old-fashioned oats, or quick-cooking oats
- 1/2 teaspoon salt
- 1/2 teaspoon carom seeds (ajwain) or cumin seeds
- 1/4 – 1/3 cup buckwheat groats
- 1 3/4 cups water, divided
- 1 tablespoon oil, or more as needed for kneading and cooking
For the Filling:
- 4 medium potatoes, Yukon Gold preferred for their creamy texture
- 3 tablespoons hempseeds, or more to taste for added protein and texture
- 1-2 tablespoons chia seeds
- 1/2 teaspoon turmeric powder
- 1/2 teaspoon salt, adjust to taste
- 1 teaspoon other spices of choice, A common blend includes ground coriander, cumin, garam masala, chaat masala, amchoor (dry mango powder), and a pinch of cayenne for heat.
Optional Add-ins:
- Add some or all of the following for extra flavor: a few tablespoons of finely chopped onion, 1 green chili finely chopped, 1 teaspoon minced ginger, 1/2 teaspoon garlic powder, 2-3 tablespoons chopped fresh cilantro.
Instructions
Make the Dough:
-
In a large mixing bowl, combine the chapati flour, oats, salt, and carom seeds (or cumin seeds). Whisk thoroughly to ensure all ingredients are evenly distributed.
-
Heat one cup of water until it’s just about to boil. Carefully pour the hot water over the buckwheat groats in a small bowl and let it sit for approximately 2 minutes to cook and rehydrate. Then, add the softened buckwheat to the flour mixture in your large mixing bowl.
-
Add 2 teaspoons of oil and an additional 1/4 cup of water to the flour and buckwheat mixture. Begin to press and mix the ingredients together. The amount of water needed can vary slightly depending on your specific flour. Continue to add water, 1-2 tablespoons at a time, until the mixture starts to come together and feels slightly sticky but not wet.
-
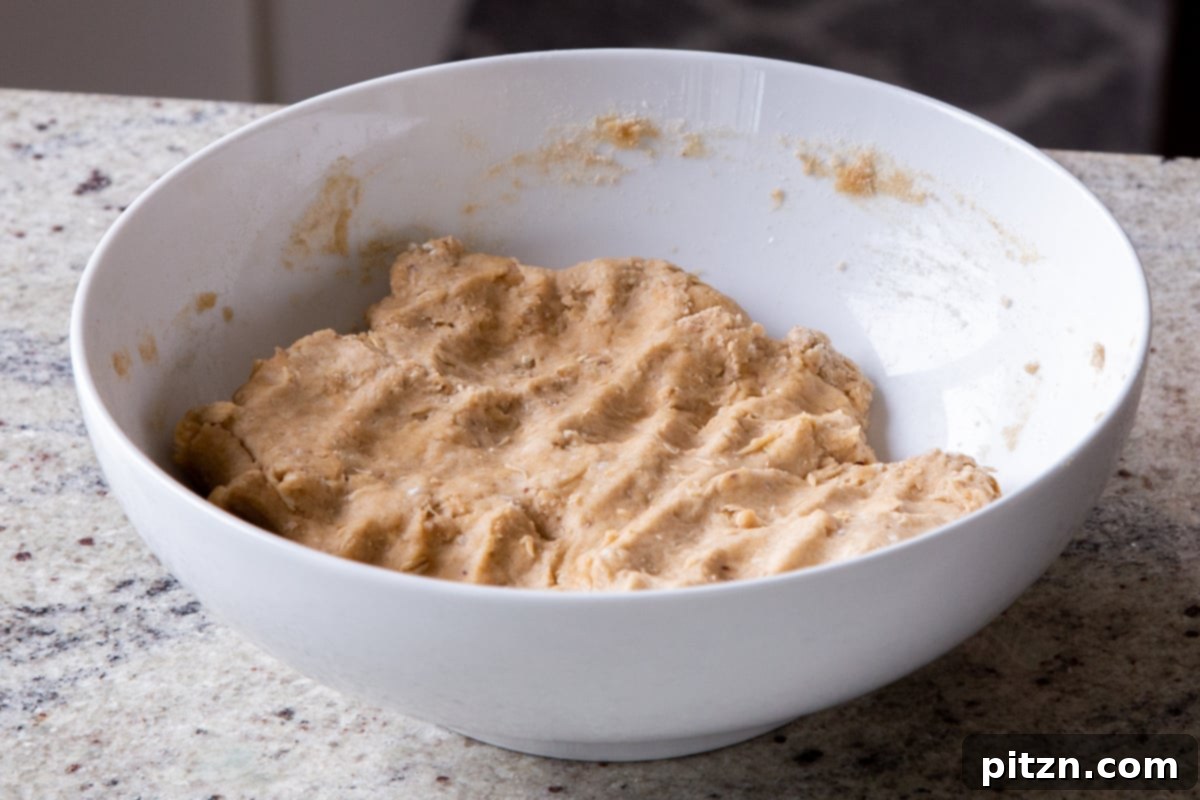
Lightly oil your hands to prevent sticking. Using your hands (rather than a spatula, which can make it harder), gently press and bring the dough together. If the dough still feels too dry, add a couple more tablespoons of water, incorporating it fully. This process should take no more than 2 minutes to form a cohesive dough ball.
-
Once the dough has formed, knead it for just a few more seconds to ensure everything is well combined. Brush one teaspoon of oil over the surface of the dough ball, then cover the bowl with a clean kitchen towel or a plate. Let the dough rest for at least 15 minutes. This resting period allows the flour to fully hydrate and the gluten (even in this modified dough) to relax, making it easier to roll.
Make the Filling:
-
While the dough is resting, prepare your delicious potato filling. Cook the potatoes using your preferred method:
- Instant Pot Method: Place whole, unpeeled potatoes in the Instant Pot and cover them with water. Pressure cook for 10 minutes for medium-sized potatoes. Allow the pressure to release naturally for 5 minutes, then quick release any remaining pressure. Transfer the cooked potatoes to a bowl to cool slightly before peeling and mashing.
-
- Saucepan Method: Peel the potatoes, cube them into even pieces, and place them in a saucepan. Cover with water, bring to a boil, and cook over medium-high heat for 12-15 minutes, or until fork-tender. Drain the water, transfer the potatoes to a bowl, and mash them thoroughly.
-
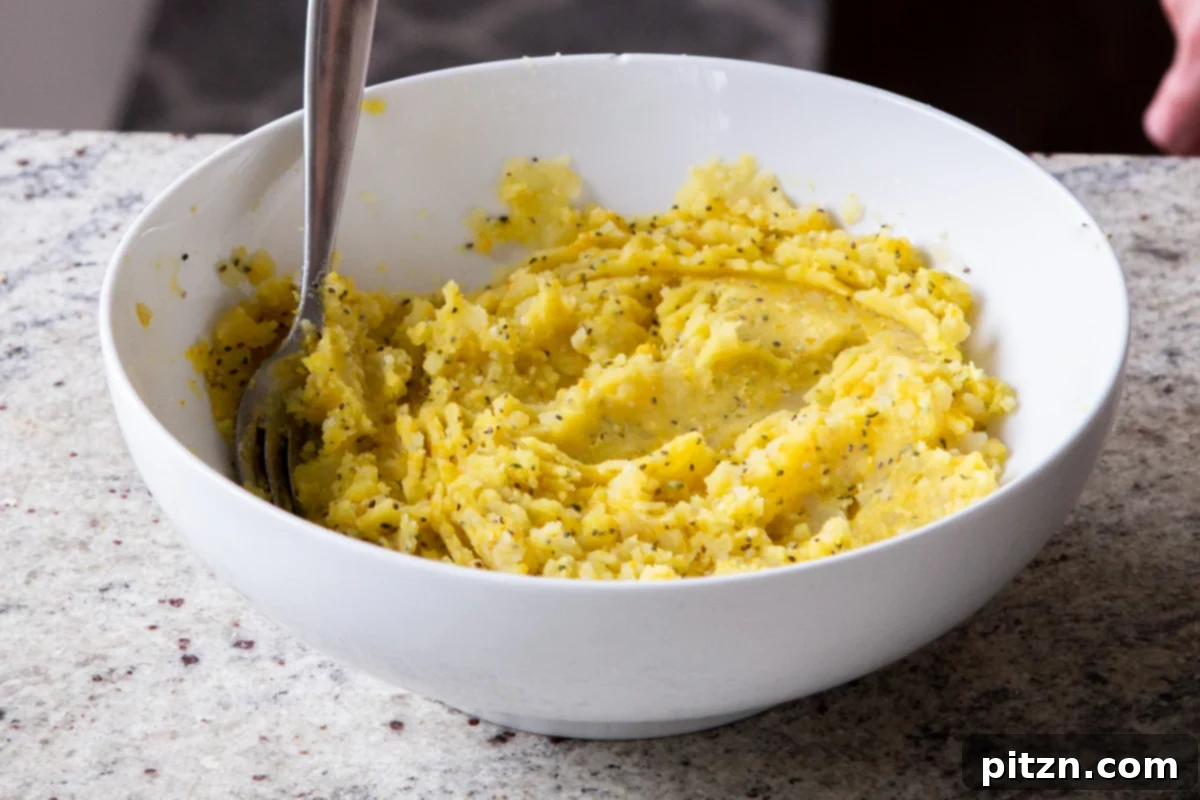
To the mashed potatoes, add the hempseeds, chia seeds, turmeric, salt, and your chosen spices. If using, also add any optional ingredients such as finely chopped onion, green chili, minced ginger, garlic powder, or fresh cilantro. It’s important to add the chia seeds while the potatoes are still hot; this allows them to absorb moisture effectively, helping to bind the filling and prevent it from being too loose. If the potatoes have already cooled, the chia seeds won’t absorb as much moisture. Mix and mash all the ingredients really well until uniformly combined and set the filling aside for a few minutes.
Make the Aloo Paratha:
-
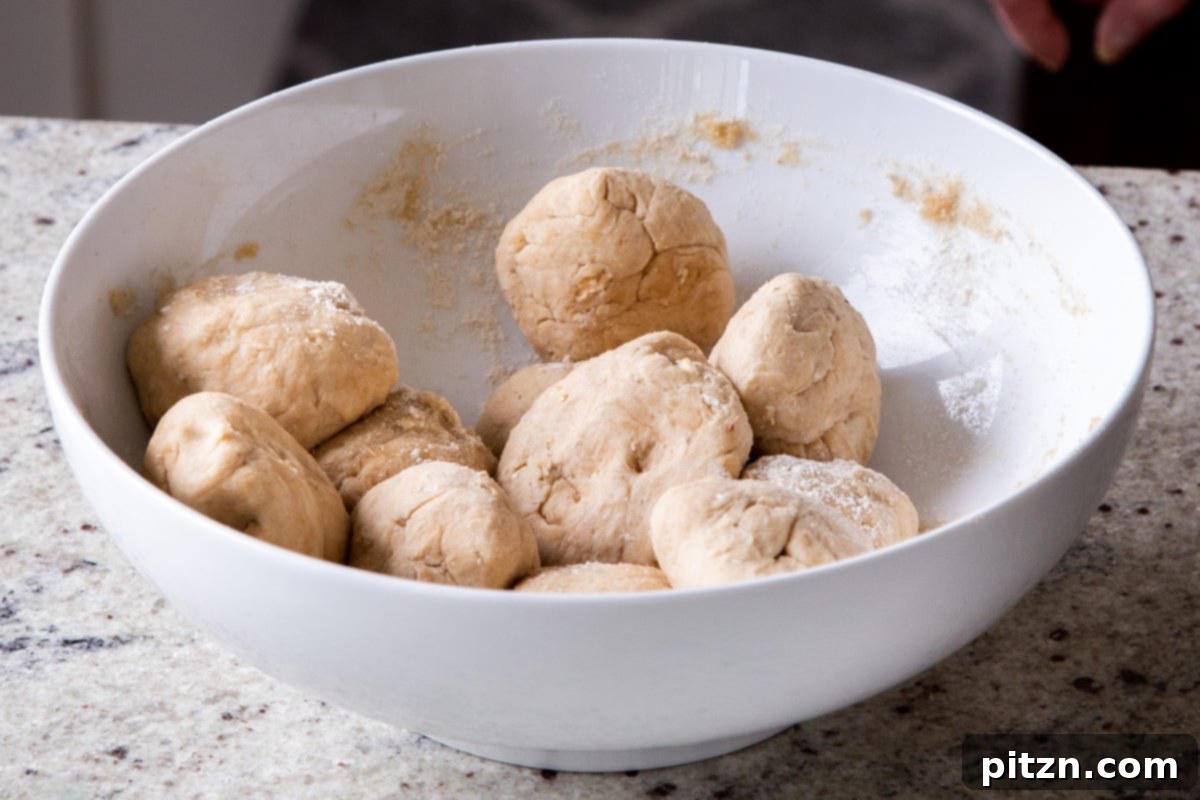
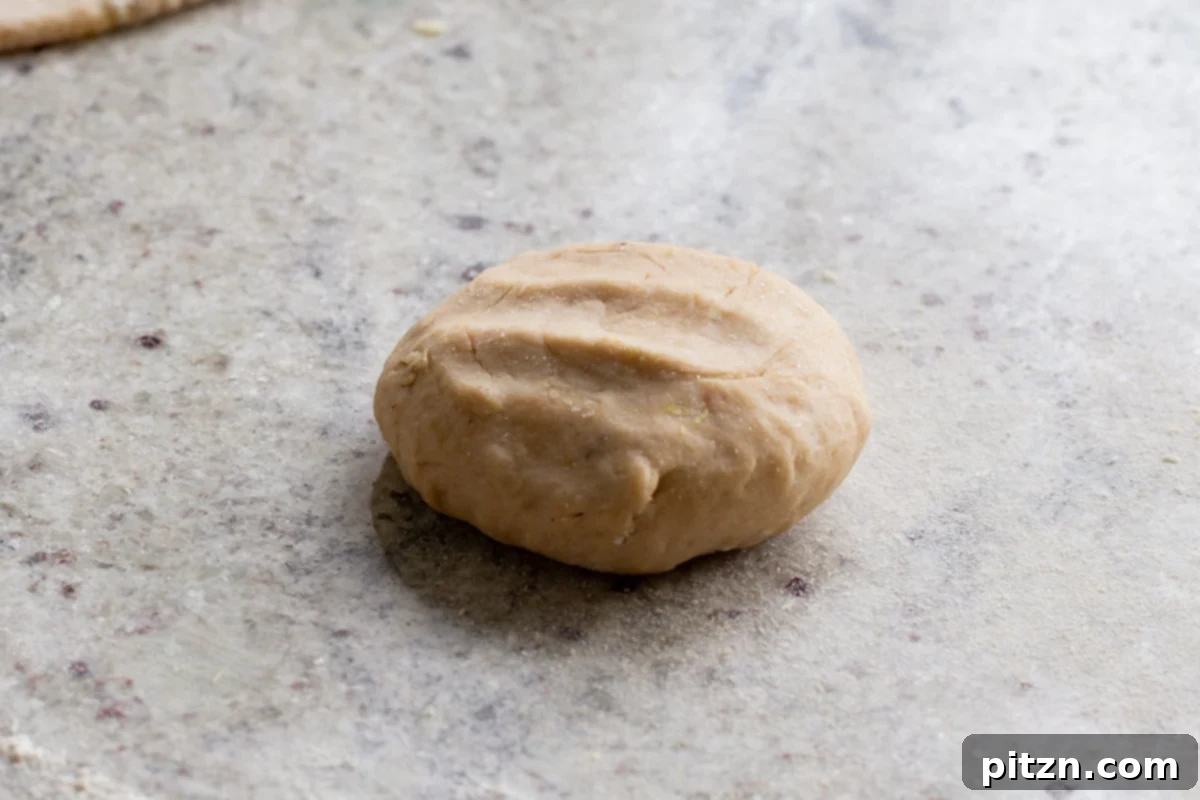
Lightly oil your hands again and briefly knead the rested dough for a few seconds. Divide the dough into 10 equal-sized balls. Keep them covered with a napkin to prevent them from drying out. For each dough ball, roll it between your hands to smooth it out. Lightly dust your rolling surface with a small amount of flour, then use a rolling pin to flatten it into a circular shape.
-
When rolling out the dough circle, aim to keep the edges slightly thinner and the center a bit thicker. This thicker center will provide a better base for holding the potato filling without tearing. (Refer to visual guides in photos and video for clarity).
-
Take approximately 2-3 tablespoons of the prepared potato filling and carefully place it in the middle of the rolled-out flatbread. Now, fold the flatbread to encase the filling. A common method is to create a square: fold one side of the dough over the filling, then fold the opposite side to meet it, pressing gently to seal. Then, fold the top and bottom edges towards the center and press firmly to create a sealed square parcel.
-
Once folded, lightly dust both sides of the stuffed dough with a little more flour. To roll it out again, first gently press down on the dough with your hands to evenly distribute the filling. Then, using your rolling pin, roll it out gently. Start by rolling lightly on the side that doesn’t have the main folds. When rolling over the folded seams, apply minimal pressure to prevent the filling from bursting out. The goal is a uniform thickness without tearing.
-
Continue rolling until the square-shaped paratha is about 6-7 inches in width. Set the rolled paratha aside on a lightly floured surface or plate.
-
Repeat this rolling and stuffing process for all the dough balls. For efficiency, you might find it easier to roll out 3 or 4 parathas before you begin cooking them. However, if this is your first time making them, it’s often more manageable to roll out all the parathas first, and then proceed to cook them one by one.
-
If you happen to have any extra potato filling left over, you can easily form it into small patties and shallow-fry them as a side dish. Conversely, if you run out of filling for the last one or two dough balls, you can simply roll them out and cook them as plain, delicious multigrain flatbreads.
-
Heat a heavy-bottomed skillet or tawa over medium-high heat. Once the skillet is hot (a drop of water should sizzle and evaporate quickly), carefully place one rolled flatbread onto the dry surface. Cook for about 30 seconds, or until you see small bubbles forming and the bottom side has golden-brown spots. Flip the paratha to cook the other side for another 30 seconds. Drizzle a few drops of oil (or spread vegan butter/ghee) around the edges and onto the surface of the paratha. Flip it again, and press gently with a spatula, cooking for about 1 minute or until both sides are beautifully golden brown and slightly crisp. (Cooking time can vary based on your skillet, stove, and heat intensity.)
-
Repeat this cooking process for all the remaining flatbreads. As they finish cooking, stack them on a plate or in a container to keep them warm. Serve your Multigrain Aloo Parathas piping hot, ideally topped with a dollop of vegan butter. They pair wonderfully with a refreshing cumin-spiced non-dairy yogurt (raita) mixed with shredded cucumber, or with an array of chutneys like our sweet and sour tomato chutney, spicy mango chutney, traditional Indian pickles (achar), or alongside your favorite curries. Remember, making Aloo Parathas takes a little practice, so definitely review the comprehensive recipe tips above for best results!
Video Tutorial
Notes and Expert Tips
- Oats Substitute: If you don’t have oats, you can simply omit them from the dough and add a few extra tablespoons of chapati flour to maintain the correct dough consistency.
- Buckwheat Substitute: Should buckwheat groats be unavailable, you can substitute them with a few additional tablespoons of oats or simply increase the chapati flour amount slightly.
- Hemp Seeds Substitute: If hemp seeds are not on hand, they can be omitted, or you can use sesame seeds for a similar textural contribution and nutty flavor.
- Chia Seed Substitute: You can omit chia seeds from the filling if preferred, or use an equivalent amount of additional hemp seeds.
- No Onion Garlic Option: For those preferring no onion or garlic, simply skip adding the chopped onion and garlic powder to the potato filling. The paratha will still be incredibly flavorful with the other spices.
- Crucial Flour Selection: Always strive to use authentic Indian chapati whole wheat flour (atta). This is vital because the regular whole wheat flour found in many international stores is made from a different wheat variety and is often more coarsely ground. It absorbs more liquid, is much harder to knead, results in thicker parathas, and tends to dry out faster. If chapati flour is absolutely unobtainable, use whole wheat pastry flour, and to achieve a lighter, moister dough, consider replacing at least one-third of it with all-purpose flour.
Beyond the square folding method demonstrated, you can also fold the rolled-out flatbread into a triangle or a traditional round shape by gathering all the edges towards the center. However, for a dough that might not be perfectly smooth or extensively kneaded (as is the case with our multigrain version), I find the square folding technique to be the most forgiving and easiest for rolling an even paratha.
For those seeking a gluten-free option, this particular recipe cannot be made gluten-free with simple flour substitutions due to the specific grain composition. Instead, we highly recommend trying my dedicated gluten-free options such as the Cauliflower Flatbread or the gluten-free chia flatbread recipe found in my Indian kitchen cookbook.
Nutrition Information (Approximate)
Nutrition information is automatically calculated and should only be used as an approximation. Values can vary based on specific ingredients and preparation methods.
Essential Ingredients and Clever Substitutions
- Whole Wheat Chapati Flour (Atta): This is the cornerstone of authentic Indian flatbreads. Unlike regular whole wheat flour, chapati flour is finely ground from a different variety of wheat, resulting in a softer, more pliable dough that’s easier to roll and produces a tender paratha. It’s readily available online or in Indian grocery stores. **Important Note:** Do not substitute with regular whole wheat flour, as its coarser texture and higher water absorption will make the dough much harder to work with, leading to a tougher paratha. If chapati flour is unavailable, a blend of whole wheat pastry flour (at least two-thirds) and all-purpose flour (one-third) can be a passable alternative for a lighter dough.
- Whole Grains (Oats and Buckwheat Groats): These aren’t just for texture; they significantly enhance the nutritional value of our multigrain paratha, boosting fiber and protein content. Oats contribute a delicate softness and subtle flavor, while buckwheat groats add a unique earthy note and pleasant bite. Their inclusion also makes the dough more forgiving and easier to handle, as they gently interrupt gluten development, reducing the need for extensive kneading.
- Potatoes (Aloo): The heart of the filling! Yukon Gold potatoes are highly recommended for their creamy texture and buttery flavor when mashed, providing a smooth and luscious base for the spices. Other starchy potato varieties can also work, but ensure they mash smoothly without becoming watery.
- Hemp Seeds and Chia Seeds: These tiny superfoods are packed with plant-based protein, healthy fats, and fiber. In this recipe, they don’t just add a nutritional punch but also contribute a subtle texture to the potato filling. Chia seeds, especially when added to hot potatoes, help absorb excess moisture, creating a perfectly bound filling that’s less likely to seep out during rolling. If you’re short on one, you can slightly increase the other, or substitute hemp seeds with sesame seeds.
- Aromatic Spices (Turmeric, Salt, and More): Turmeric not only imparts a beautiful golden hue to the potatoes but also offers anti-inflammatory benefits. Salt is essential for balancing and enhancing all the flavors. Beyond these, the choice of spices allows for creative expression. A traditional blend often includes ground coriander, cumin, and garam masala for warmth and depth, along with a pinch of amchoor (dry mango powder) for a tangy kick, and cayenne pepper for a gentle heat. Feel free to adjust these to your personal preference.
- Optional Fresh Aromatics (Onion, Chili, Ginger, Garlic, Cilantro): These ingredients are flavor powerhouses that can take your potato filling from delicious to extraordinary. Finely chopped onion adds a savory depth, green chili provides a fresh, bright heat, minced ginger offers a pungent warmth, garlic powder contributes a foundational savory note, and fresh cilantro brightens everything with its herbaceous aroma. While optional, incorporating some or all of these elevates the overall complexity and freshness of the Aloo Paratha.
Expert Tips for Perfect Parathas
- The Importance of Chapati Flour: This cannot be stressed enough. Always aim to use Indian chapati whole wheat flour (atta). Regular whole wheat flour found in Western supermarkets is often coarser and made from a different type of wheat, requiring more water, making the dough tough, difficult to knead and roll, and resulting in dry, thick parathas. If authentic chapati flour is unavailable, consider using whole wheat pastry flour mixed with at least a third of its quantity in all-purpose flour to create a dough that’s softer and more pliable.
- Gentle Kneading for Multigrain Dough: Typically, stuffed paratha dough requires extensive kneading to develop smooth, elastic gluten, which aids in easy rolling. However, our multigrain dough, with its additions of oats and buckwheat, naturally impedes strong gluten formation. This is a benefit! You don’t need to knead for long. Simply bring the dough together, let it rest for 15 minutes, then knead just 4-5 times until it’s cohesive but not necessarily smooth. This unique characteristic makes the dough surprisingly forgiving and simple to manage.
- Mindful Flour Dusting: When rolling out your parathas, use a very light dusting of flour to prevent sticking. Excessive flour will make the paratha dry and tough, compromising its tender texture. A minimal amount is all that’s needed to ensure smooth rolling.
- Optimal Filling Consistency: The potato filling should be firm, not too soft or moist. A wet filling will quickly moisten the dough as you roll it, causing it to tear easily and the filling to spill out. While a little spillage won’t ruin the taste, it makes handling much harder. If your filling feels too moist, you can add a tablespoon or two of roasted chickpea flour (besan) or breadcrumbs to absorb excess moisture and help bind it.
- Creative Filling Alternatives: Aloo paratha is wonderfully versatile! Don’t limit yourself to potatoes. Experiment with other vegetable fillings like finely grated carrots, mashed cauliflower, or shredded radish for different flavors and textures. To boost the protein further, you can incorporate more seeds into your potato filling, or add some crumbled, seasoned tofu or paneer (for a non-vegan option) for a richer, heartier meal.
- Rolling Technique Matters: When rolling the stuffed paratha, apply gentle, even pressure. Start from the center and work your way outwards, keeping the edges thinner and the center slightly thicker before stuffing. After stuffing, press down gently with your palm before using the rolling pin. Roll lightly, especially over the folded seams, to prevent the filling from breaking through the dough.
- Serving Suggestions: While traditionally served with butter and pickles, elevate your Aloo Paratha experience with a side of refreshing cumin-spiced dairy-free yogurt (raita), a vibrant coriander chutney, or a sweet and tangy tamarind chutney. They also make an excellent accompaniment to various Indian curries.
Step-by-Step Guide to Making Multigrain Aloo Paratha
Embark on your journey to creating these delicious Multigrain Aloo Parathas by following these detailed steps:
Preparing the Wholesome Dough
Begin by creating the foundation of your paratha – the dough. In a spacious mixing bowl, combine the whole wheat chapati flour, old-fashioned oats, salt, and carom seeds (ajwain) or cumin seeds. Use a whisk or a spoon to thoroughly mix these dry ingredients, ensuring an even distribution of flavors and grains.
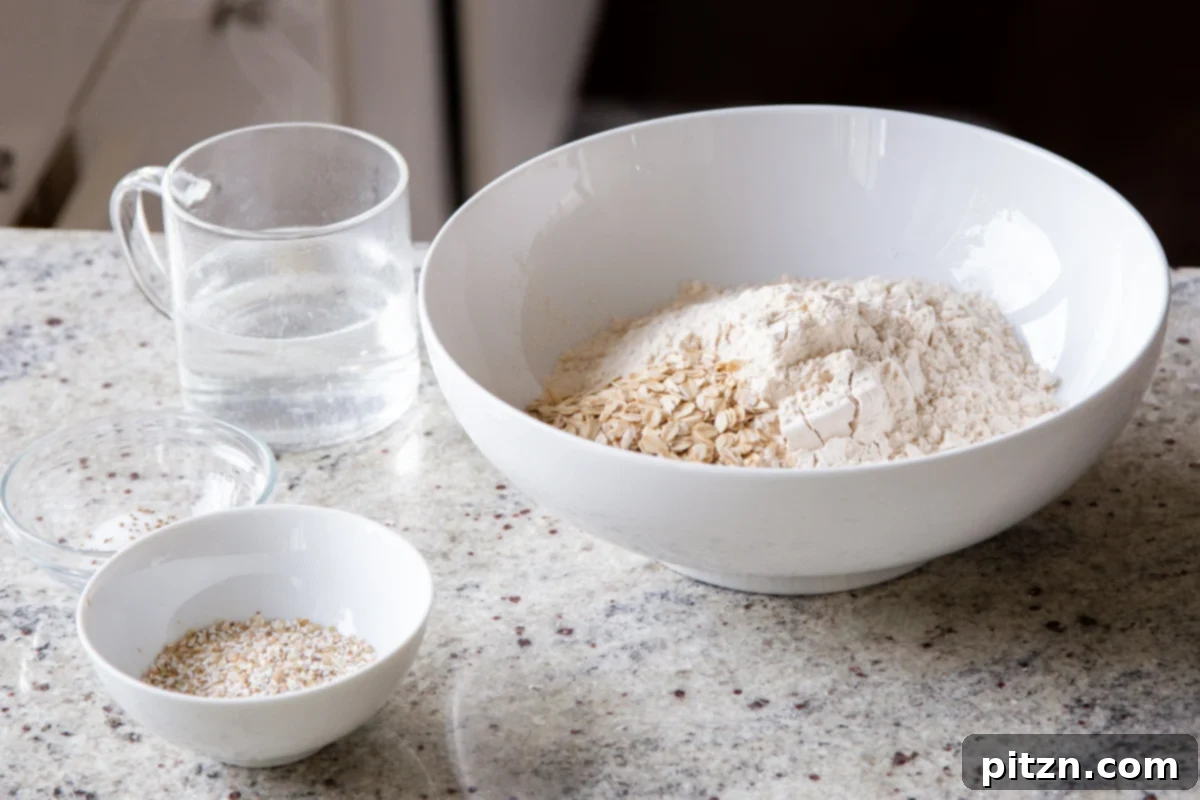
Next, gently heat one cup of water in a small saucepan until it is almost at a rolling boil. Carefully pour this hot water over the buckwheat groats in a separate heatproof bowl. Let the buckwheat sit submerged for about two minutes; this brief soak will cook and rehydrate the groats, making them tender. Once rehydrated, add the entire contents of the buckwheat bowl (groats and any remaining water) to your flour mixture.
Now, incorporate two teaspoons of oil and an initial quarter cup of water into the flour and buckwheat blend. Begin to press and mix the ingredients together with your hands. The texture will be somewhat crumbly at first. Keep in mind that the exact amount of water needed can vary slightly depending on the specific chapati flour you are using. Continue adding water, one to two tablespoons at a time, and mixing until the mixture begins to come together into a slightly sticky, cohesive mass. You’re looking for a consistency that holds together but isn’t overly wet.
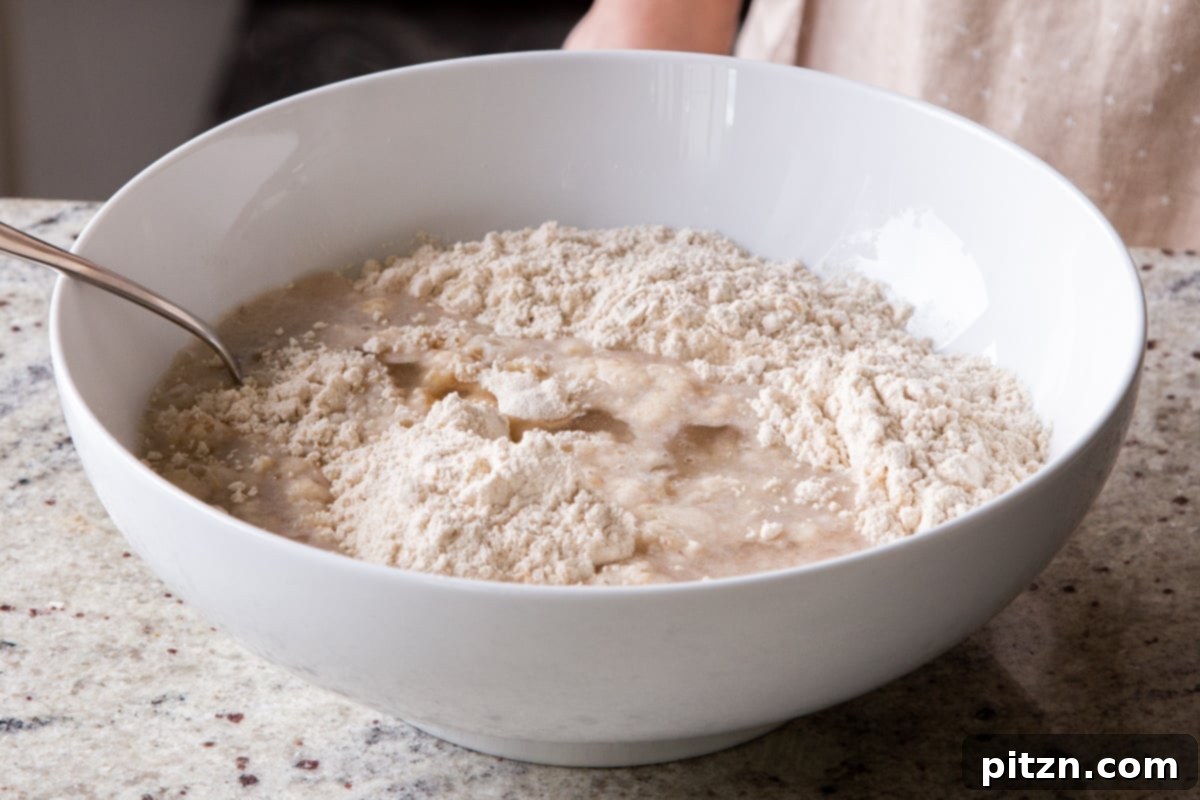
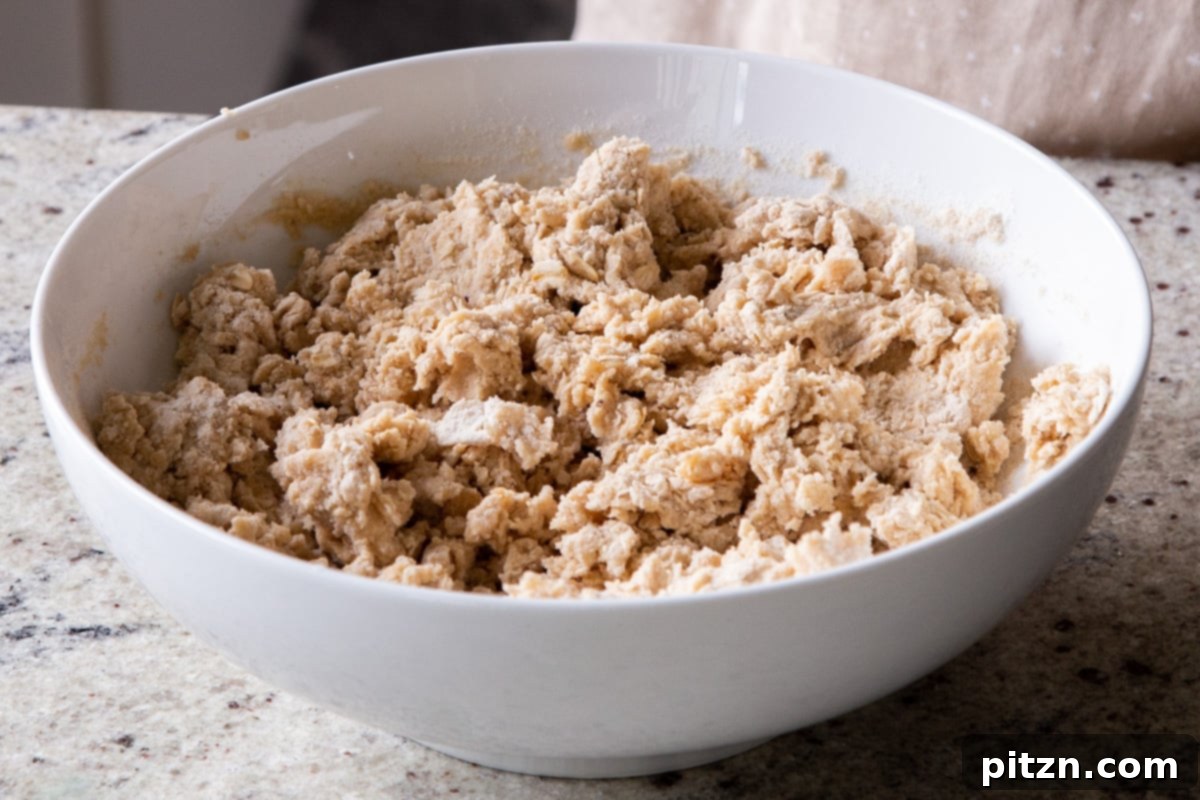
Lightly oil your hands to prevent the dough from sticking. Now, use your oiled hands to gather and press the dough together. Avoid using a spatula at this stage, as your hands will be far more effective in bringing everything into a single ball. If the dough still feels dry or crumbly, add a couple more tablespoons of water, incorporating them fully. This step should be quick, taking no more than two minutes to form a cohesive dough.
Once the dough comes together, give it a brief knead for just a few more seconds to ensure it’s well-integrated. It won’t be perfectly smooth like a typical bread dough due to the added grains, but it should be firm and pliable. Finally, brush one teaspoon of oil evenly over the dough ball. Cover the bowl with a clean kitchen napkin or a plate and let it rest for a minimum of 15 minutes. This resting period is crucial as it allows the flour to fully hydrate and the dough to relax, making it much easier to roll later.
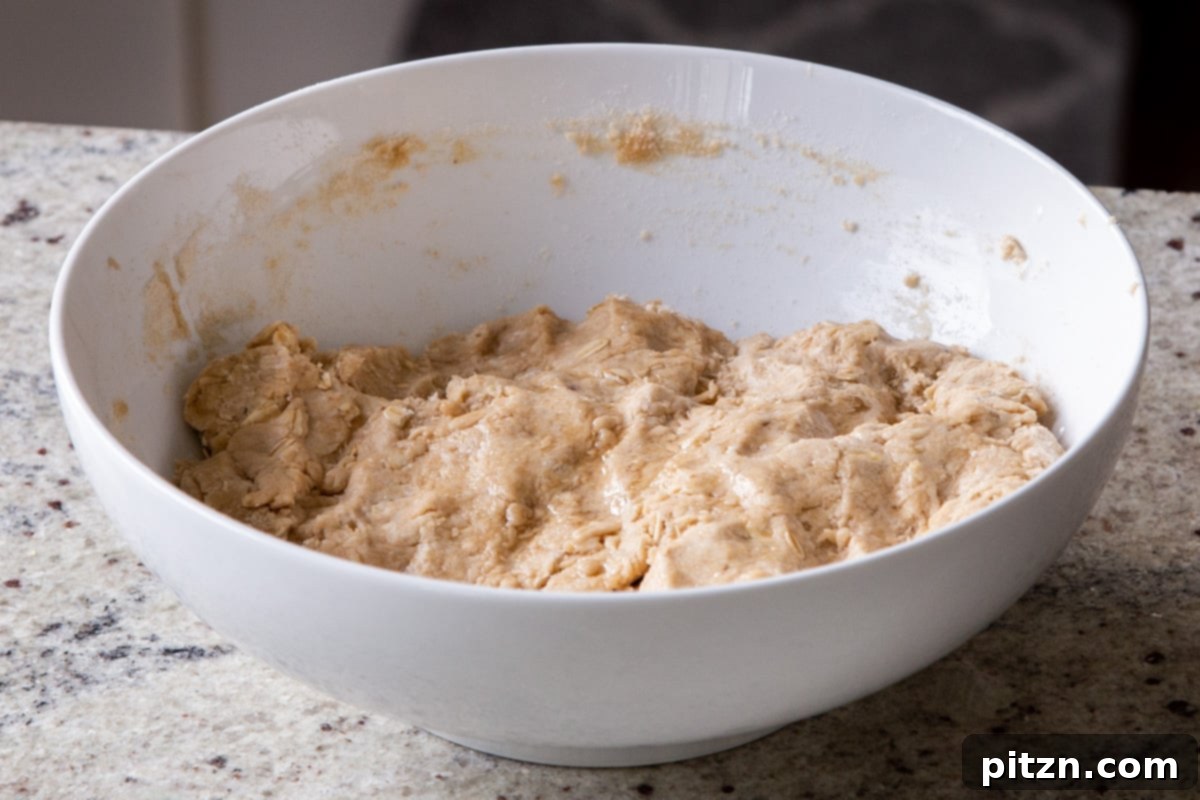
Crafting the Flavorful Potato Filling
While your dough is resting, turn your attention to preparing the delicious potato filling. If you haven’t already, cook your potatoes using one of the following methods:
For an Instant Pot: Place whole, unpeeled potatoes into the Instant Pot and cover them with water. Secure the lid and pressure cook for approximately 10 minutes for medium-sized potatoes. Allow the pressure to release naturally for five minutes, then perform a quick release of any remaining pressure. Carefully transfer the cooked potatoes to a bowl to cool slightly. Once cool enough to handle, peel the potatoes and mash them thoroughly until smooth, with minimal lumps.
For a Saucepan: Peel the potatoes and cube them into roughly equal-sized pieces to ensure even cooking. Place the potato cubes in a saucepan and cover them generously with water. Bring the water to a boil over medium-high heat and continue to boil for 12-15 minutes, or until the potatoes are completely fork-tender. Drain the water thoroughly, transfer the cooked potatoes to a bowl, and mash them until they are smooth and creamy.
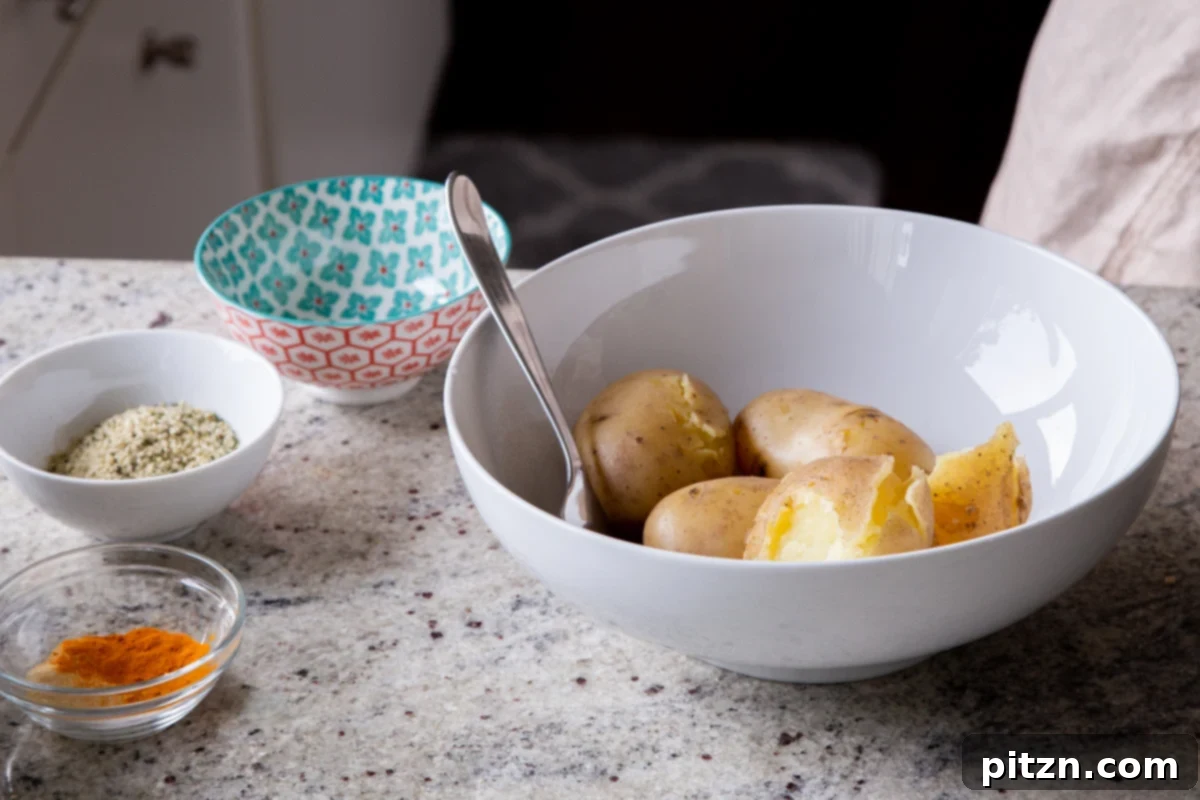
To the mashed potatoes, add the hemp seeds, chia seeds, turmeric powder, salt, and your selection of other spices (such as ground coriander, cumin, garam masala, amchoor, or cayenne). If you’re using them, also incorporate any optional ingredients like finely chopped onion, green chili, minced ginger, garlic powder, or fresh cilantro. It is crucial to add the chia seeds while the potatoes are still hot. The warmth helps the chia seeds absorb moisture from the potatoes, which binds the filling together and prevents it from becoming too loose during the rolling process. If your potatoes are already cold, the chia seeds won’t be as effective in absorbing moisture.
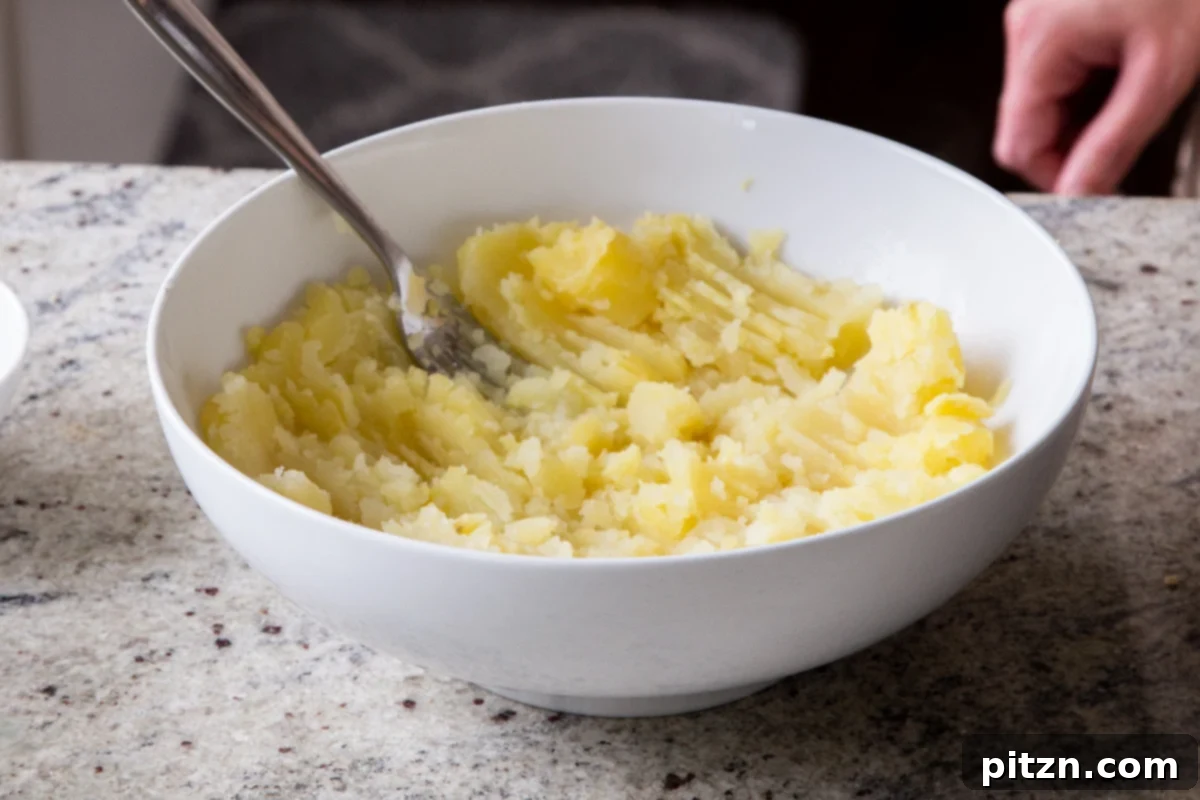
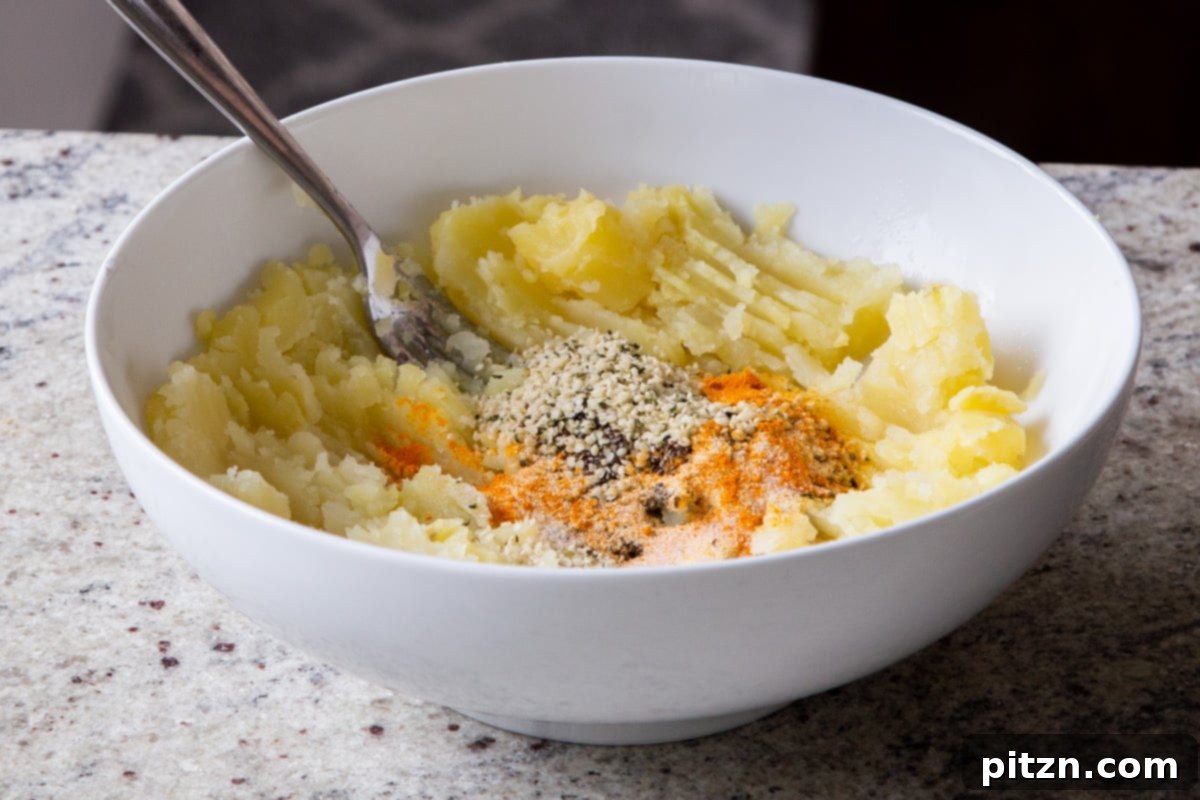
Mix and mash all the ingredients extremely well until they are thoroughly combined and the filling has a uniform texture and flavor. Set this flavorful potato mixture aside for a few minutes to allow the flavors to meld and the chia seeds to work their magic.
Assembling and Cooking the Multigrain Aloo Paratha
Now that both your dough and filling are ready, it’s time for the exciting part – assembling and cooking your Multigrain Aloo Parathas!
Lightly oil your hands again and briefly knead the rested dough for a few more seconds to make it supple. Divide the dough into 10 equal-sized portions, rolling each portion into a smooth ball. Keep these dough balls covered with a clean napkin to prevent them from drying out while you work.
For each dough ball, roll it between your hands to ensure it’s smooth. Lightly dust your rolling surface (a clean countertop or pastry board works well) with a small amount of flour. Using a rolling pin, flatten the dough ball into a small circle, approximately 4-5 inches in diameter.
As you roll, concentrate on keeping the edges of the dough circle slightly thinner than the center. This slight difference in thickness provides a stronger base in the middle to hold the potato filling without tearing, while the thinner edges will seal more easily.
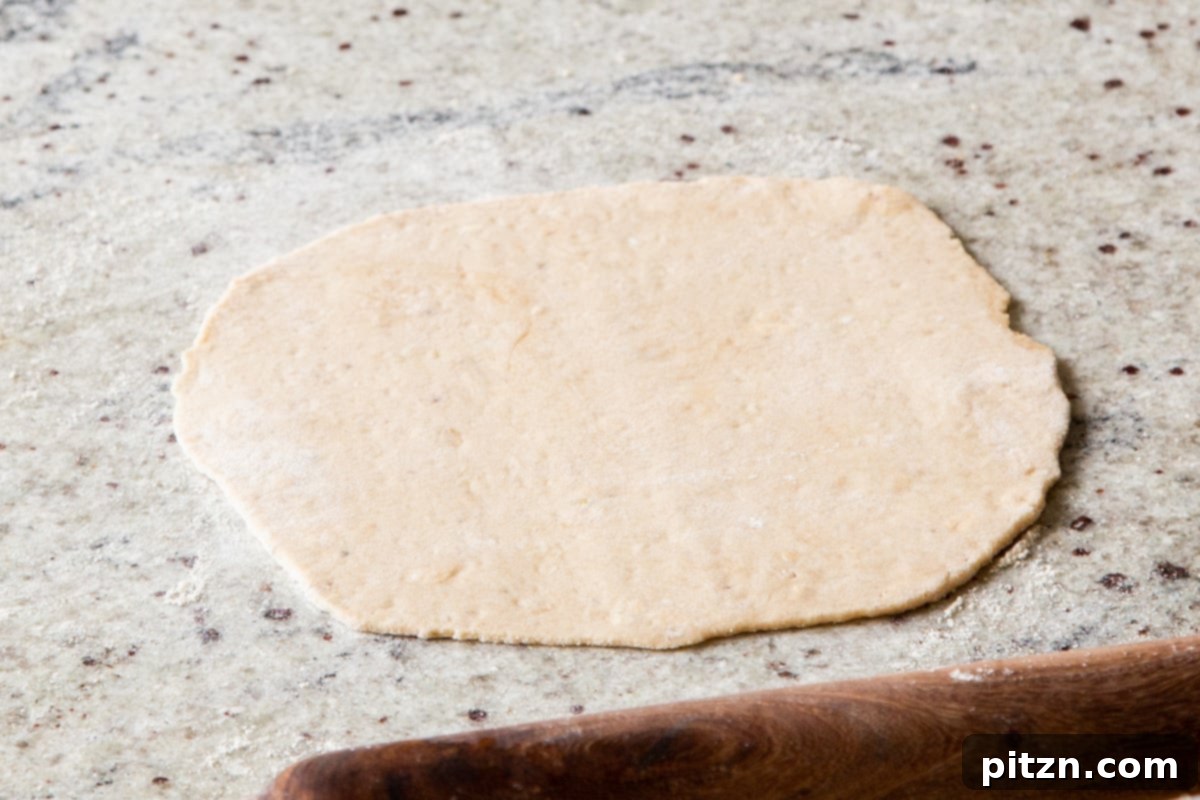
Scoop about two to three tablespoons of the delicious potato filling and gently place it directly in the middle of your rolled-out dough circle.
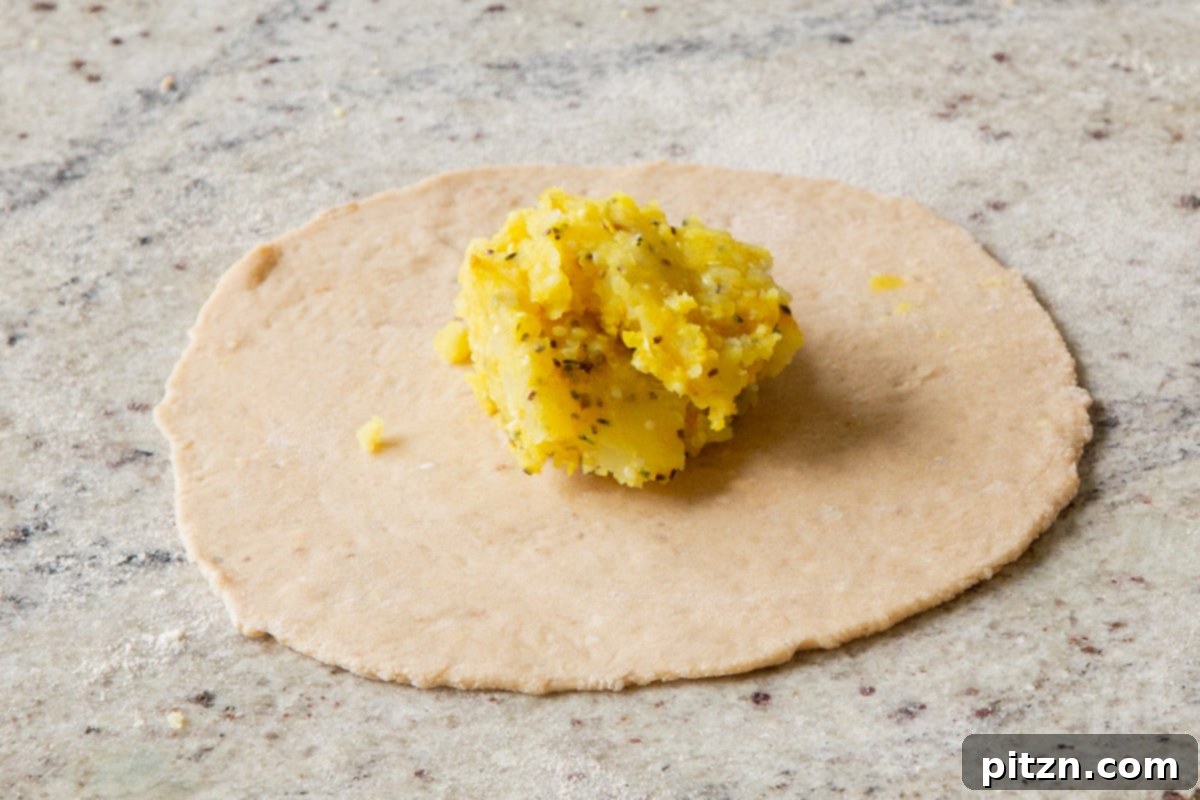
Now, it’s time to fold the flatbread to encase the filling. You can choose your preferred folding method, but I find the square method to be particularly effective for this multigrain dough. To make a square, first fold one side of the dough over the potato filling, then bring the opposite side over to meet it, gently pressing the edges to stick. Next, fold the top edge towards the center, followed by the bottom edge, pressing again to seal all sides and create a neat square parcel. This method helps contain the filling securely.
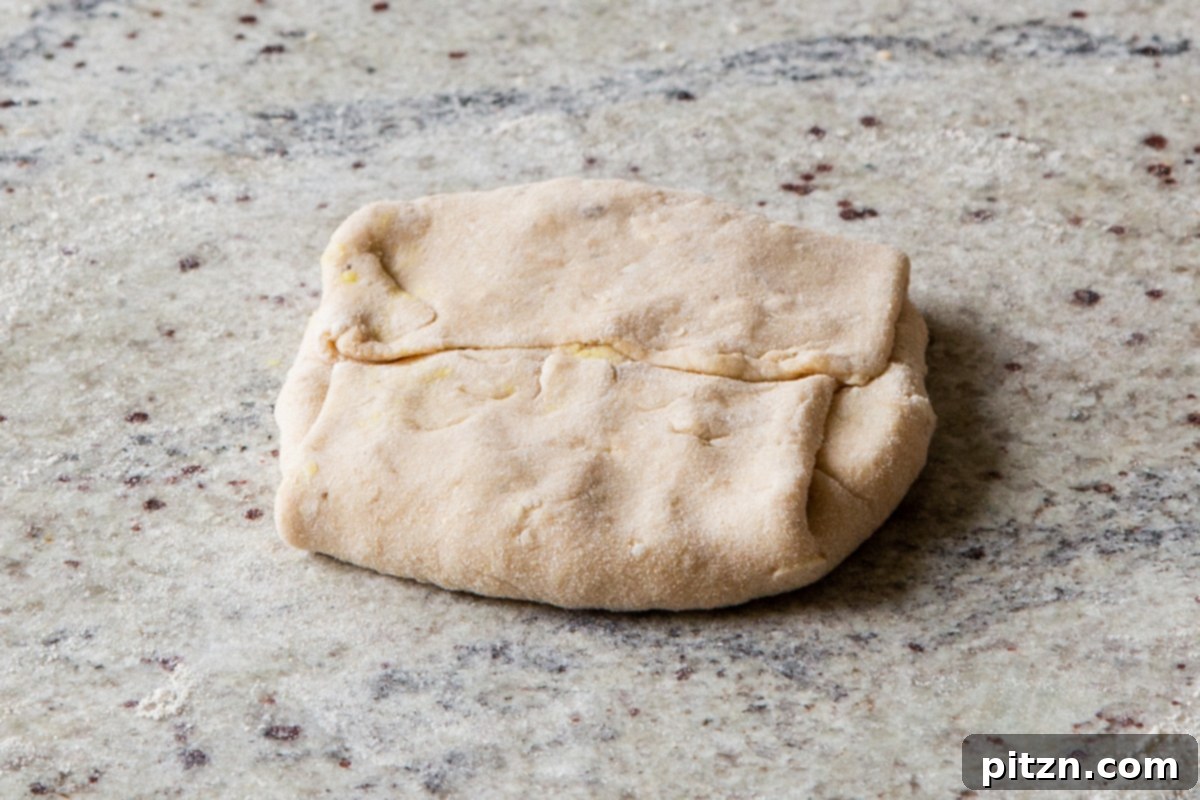
Once folded, lightly dust both sides of the stuffed dough parcel with a little more flour. Before rolling it out with the pin, gently press down on the parcel with your palm to slightly flatten it and evenly distribute the filling inside. Now, with your rolling pin, gently roll out the square. Start by rolling lightly on the sides that don’t have obvious folds. When rolling over the folded seams, apply minimal pressure to avoid tearing the dough or squeezing the filling out. The goal is to achieve a uniformly thin paratha without any bursts.
Continue rolling until your square paratha measures approximately six to seven inches across. Once rolled, set it aside on a lightly floured surface.
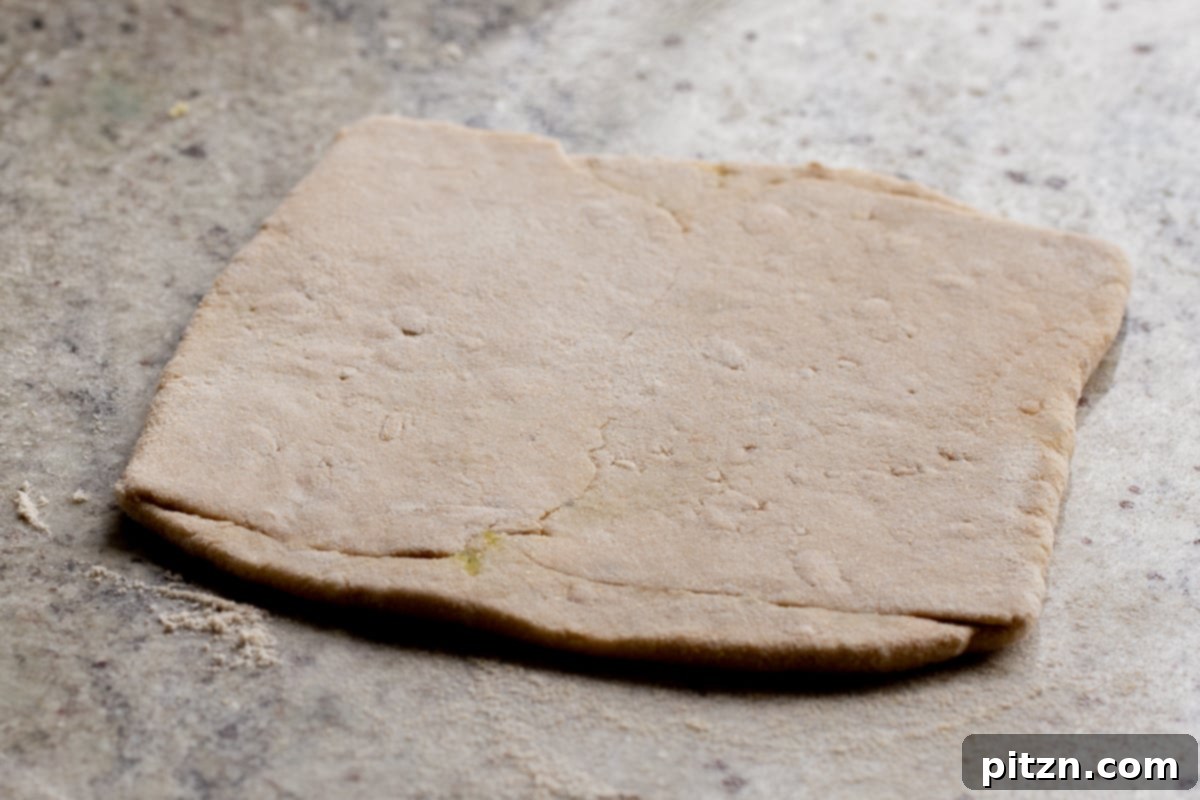
Repeat the rolling and stuffing process for all the remaining dough balls. For a more efficient workflow, many experienced cooks roll out three or four parathas before beginning to cook them. However, if this is your first time making Aloo Paratha, it might be beneficial to roll out all of them completely before you start the cooking process. This allows you to focus solely on cooking once the rolling is done.
Should you have any extra potato filling once all the dough is used, you can easily form the excess filling into small patties and shallow-fry them as a delicious side. Conversely, if you find yourself with one or two dough balls but insufficient filling, simply roll and cook them as plain, un-stuffed flatbreads – they’re still wonderful!
Now, it’s time to cook your parathas. Heat a heavy-bottomed skillet or tawa over medium-high heat. The skillet is hot enough when a drop of water sizzles and evaporates almost instantly. Carefully place one rolled flatbread onto the hot, dry skillet. Cook for approximately 30 seconds, or until you observe small bubbles forming on the surface and golden-brown spots appearing on the underside.
Flip the paratha to cook the other side, letting it cook for another 30 seconds. Now, drizzle a few drops of oil (or spread a tiny amount of vegan butter/ghee) around the edges and directly onto the surface of the paratha. Flip it once more, and using a spatula, gently press down on the paratha, moving it around the skillet to ensure even cooking and browning. Continue cooking for about 1 minute or so, until both sides are beautifully golden brown and slightly crisp. (Remember, cooking times can vary depending on the specific heat of your stove and the thickness of your skillet.)
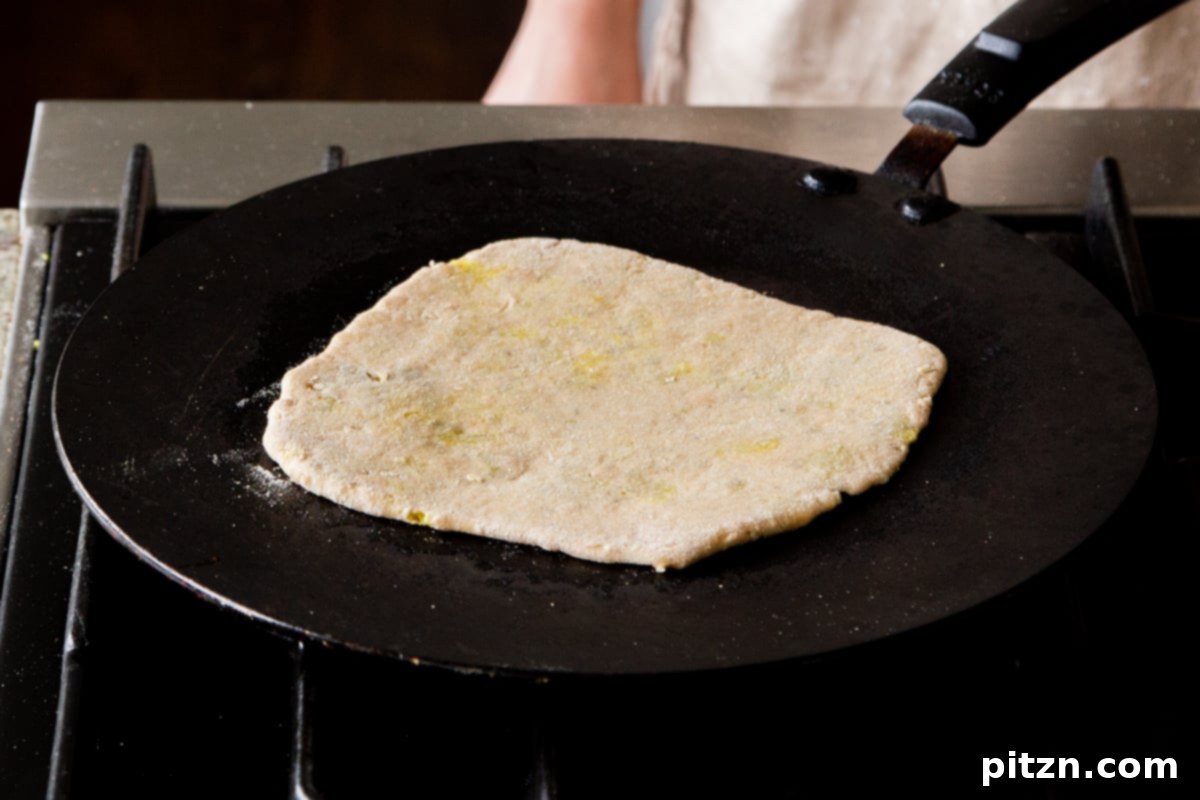
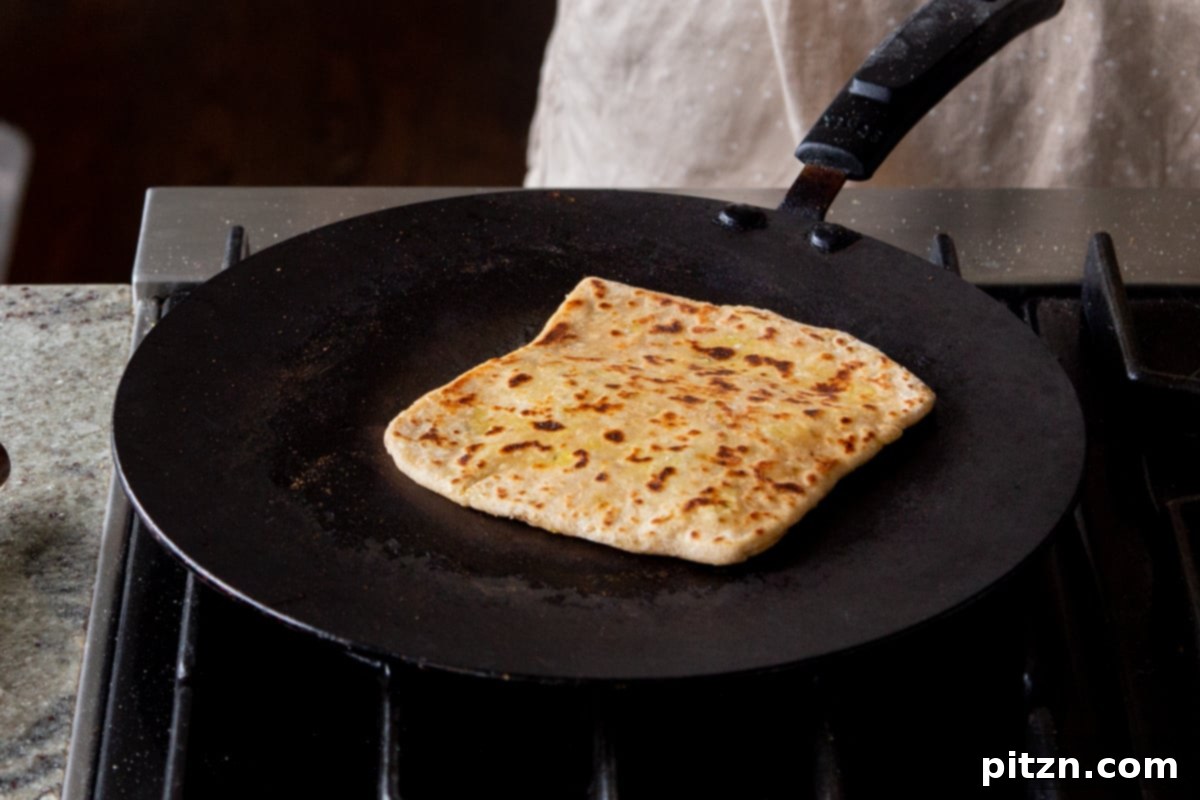
Repeat this cooking process for all your remaining flatbreads. As each paratha finishes cooking, stack them on a plate or in an insulated container to keep them warm. Serve your Multigrain Aloo Parathas immediately while hot, ideally topped with a generous pat of vegan butter. They are wonderfully complemented by a cooling, cumin-spiced non-dairy yogurt (raita) with shredded cucumber, an assortment of chutneys (such as my sweet and sour tomato chutney or spicy mango chutney), traditional Indian pickles (achar), or as a side with your favorite hearty curries. Remember, practice makes perfect when it comes to Aloo Parathas, so don’t hesitate to refer back to the detailed recipe tips above for extra guidance and reassurance!
Frequently Asked Questions About Multigrain Aloo Paratha
Paratha is a type of unleavened Indian flatbread, traditionally made from whole wheat flour. It’s popular across the Indian subcontinent and is known for its flaky, layered texture. Parathas can be cooked plain or, as in this recipe, generously stuffed with a variety of delicious fillings like spiced potatoes (aloo), cauliflower, radish, paneer (Indian cheese), or mixed vegetables, making it a versatile and satisfying dish.
Due to the specific whole wheat and multigrain flours used for the dough, this particular recipe cannot be easily adapted to be fully gluten-free by simple flour substitutions. However, you can certainly enjoy delicious gluten-free Indian flatbreads! I recommend exploring my dedicated Cauliflower Flatbread recipe or referring to the gluten-free chia flatbread recipe found in my “Vegan Richa’s Indian Kitchen” cookbook for excellent gluten-free alternatives.
Yes, absolutely! This Multigrain Aloo Paratha recipe is naturally free from both soy and nuts, making it a safe and delicious option for individuals with these common dietary restrictions or allergies. We use wholesome plant-based ingredients to ensure it’s inclusive without compromising on flavor or authenticity.
Multigrain Aloo Paratha is wonderfully versatile and pairs beautifully with a range of Indian sides. Serve them hot, generously topped with a dollop of vegan butter. For a refreshing contrast, enjoy them with a bowl of cumin-spiced non-dairy yogurt (raita) blended with shredded cucumber. Additionally, they are fantastic with various chutneys, such as my sweet and sour tomato chutney or spicy mango chutney, or with a selection of traditional Indian pickles (achar). They can also be a delightful accompaniment to many Indian curries for a heartier meal.
Yes, both the dough and the filling can be prepared in advance to save time. The dough can be made a day ahead, wrapped tightly in plastic wrap or placed in an airtight container, and stored in the refrigerator. Before using, allow it to come to room temperature and knead briefly. The potato filling can also be prepared 1-2 days ahead and stored in an airtight container in the fridge. Ensure it’s at room temperature before stuffing, or gently warm it slightly if it’s too stiff.
Leftover Aloo Parathas can be stored in an airtight container in the refrigerator for up to 2-3 days. To reheat, you can warm them gently on a dry skillet over medium heat until heated through and slightly crisp, or microwave them briefly until warm (though the skillet method yields a better texture). For longer storage, cooked parathas can be frozen. Once cooled, layer them with parchment paper and store in a freezer-safe bag or container for up to 1-2 months. Reheat directly from frozen on a hot skillet until warm and cooked through.