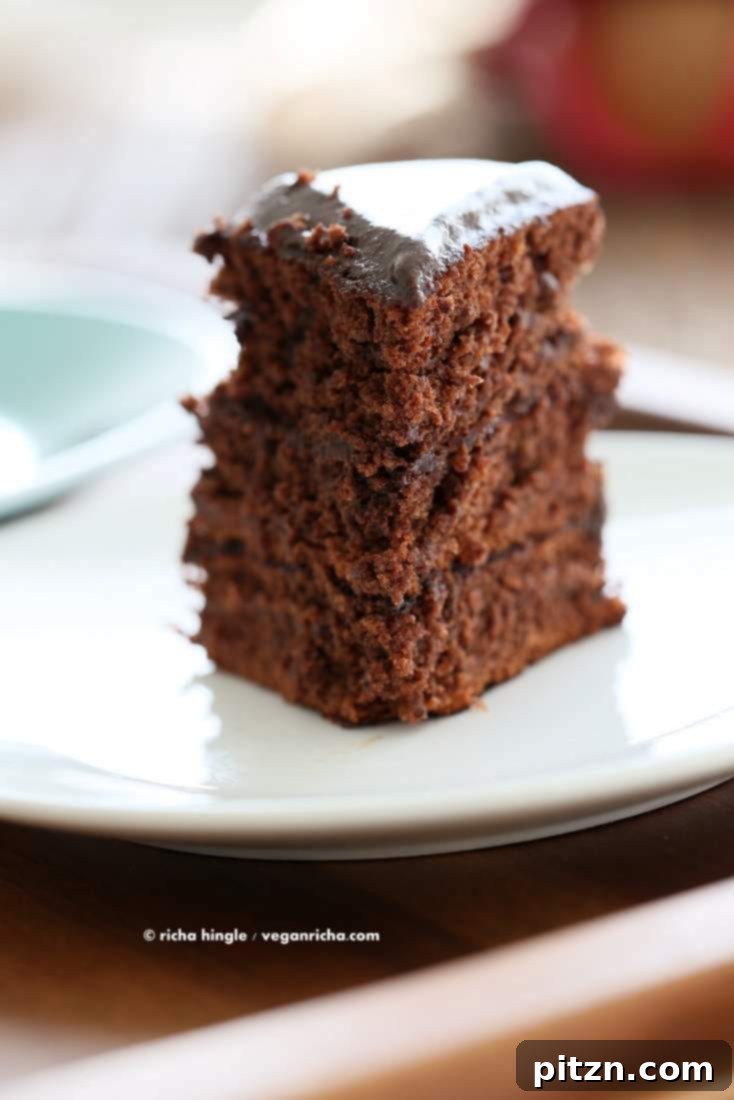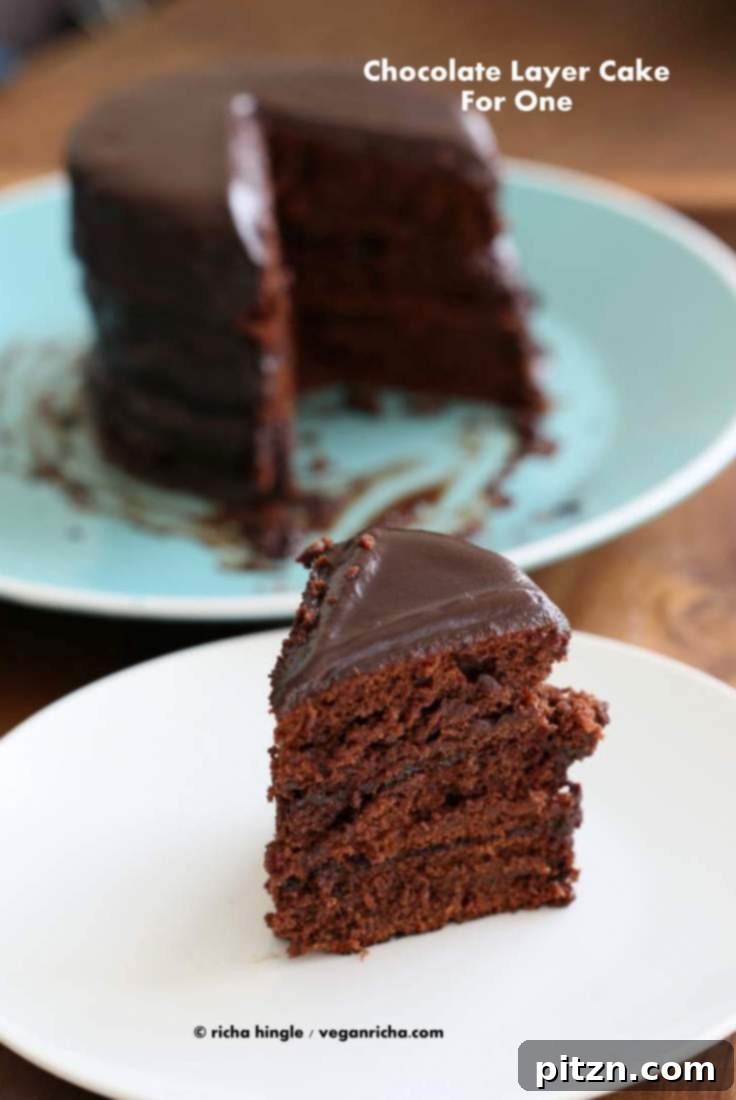
Craving a rich, moist, and utterly decadent chocolate cake but want to skip turning on your oven? Look no further! This incredible **Vegan Chocolate Layer Cake with Ganache** is a culinary marvel, crafted entirely on your stovetop. Say goodbye to the sweltering heat of summer baking or the tedious wait for oven preheating; this ingenious recipe comes together in minutes, delivering an irresistibly moist and supremely satisfying dessert. Best of all, it’s completely soy-free and palm oil-free, making it a thoughtful and inclusive choice for those with dietary restrictions or ethical preferences. Prepare to be astonished by how easily you can create a show-stopping, multi-layered dessert without a single moment of baking!
The Revolutionary Appeal of a No-Bake Stovetop Chocolate Cake
As the warmer months approach, the thought of firing up a hot oven can be less than appealing. Who wants to make their kitchen even hotter just to enjoy a delicious chocolate treat? This is precisely where the **Stovetop Chocolate Layer Cake** shines as a true culinary innovation. It offers all the joy and richness of a homemade chocolate cake without any of the heat and fuss typically associated with traditional baking methods. But this isn’t just a summer dessert; its speed and simplicity make it an ideal choice any time you desire a delicious, impressive chocolate creation in record time.
Whether you’re planning a cozy dessert for a special evening for one or two, or you need a quick yet elegant solution for unexpected guests, this recipe is remarkably versatile. You can present the delicate chocolate layers as a sophisticated dessert, generously stacked with a luscious chocolate ganache or a creamy, dairy-free frosting. Alternatively, embrace its pancake-like origins and serve the individual layers as luxurious, chocolatey breakfast pancakes – an absolutely decadent way to kickstart any day. The silky smooth ganache or frosting plays a crucial role in transforming this simple preparation into an extravagant indulgence, ensuring every bite is rich, moist, and profoundly satisfying. For an added dimension of flavor, consider experimenting with a homemade nut butter chocolate frosting.
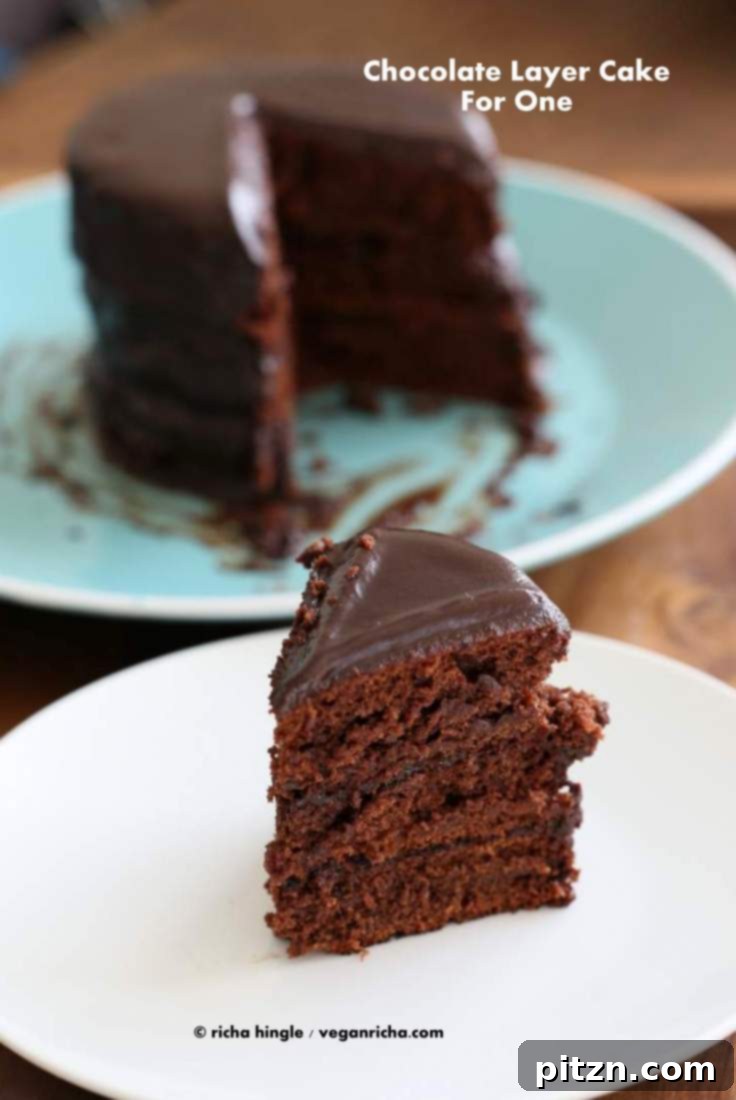
This recipe is designed to yield two charming, small 3-layer chocolate cakes. This makes them perfect for sharing with a loved one, or perhaps savoring one yourself and saving the other for later! The foundational chocolate cake layers are lightly sweetened, providing a balanced base that isn’t overwhelmingly sugary. The accompanying ganache then introduces that extra depth of chocolate flavor and sweetness, creating a dessert that is perfectly balanced and deeply satisfying. Crafted with cocoa butter-based chocolate, this **soy-free and palm oil-free chocolate cake** ensures a delightful indulgence that aligns with conscious dietary choices without sacrificing an ounce of flavor.
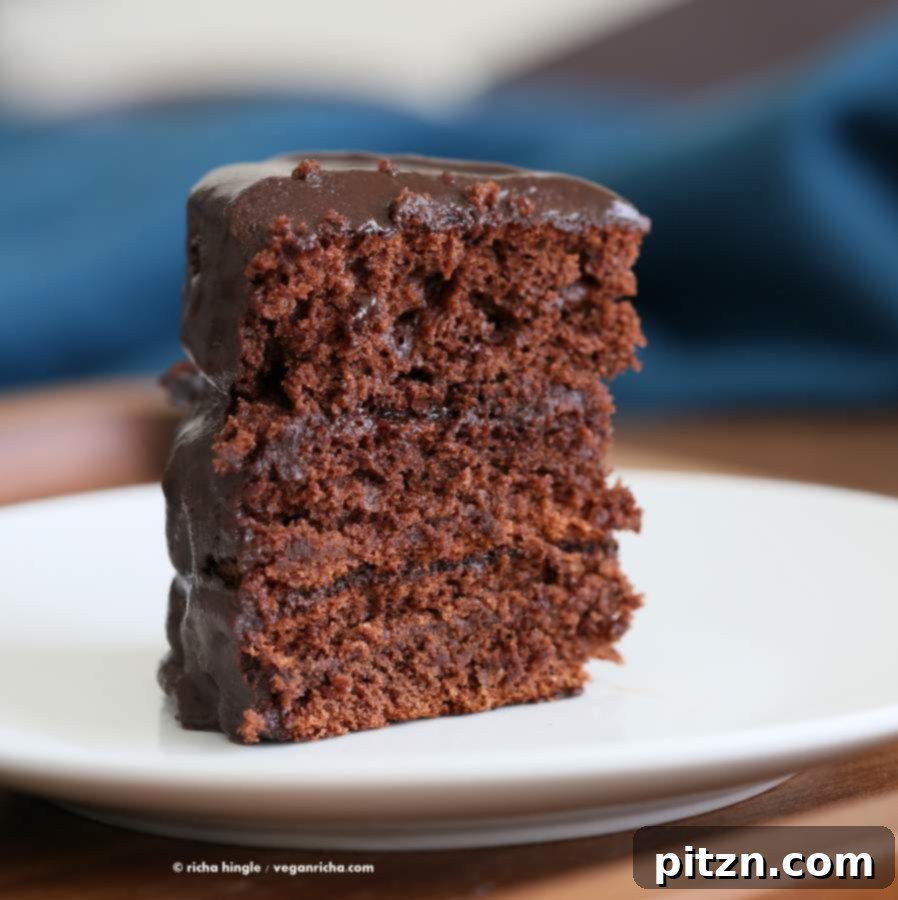
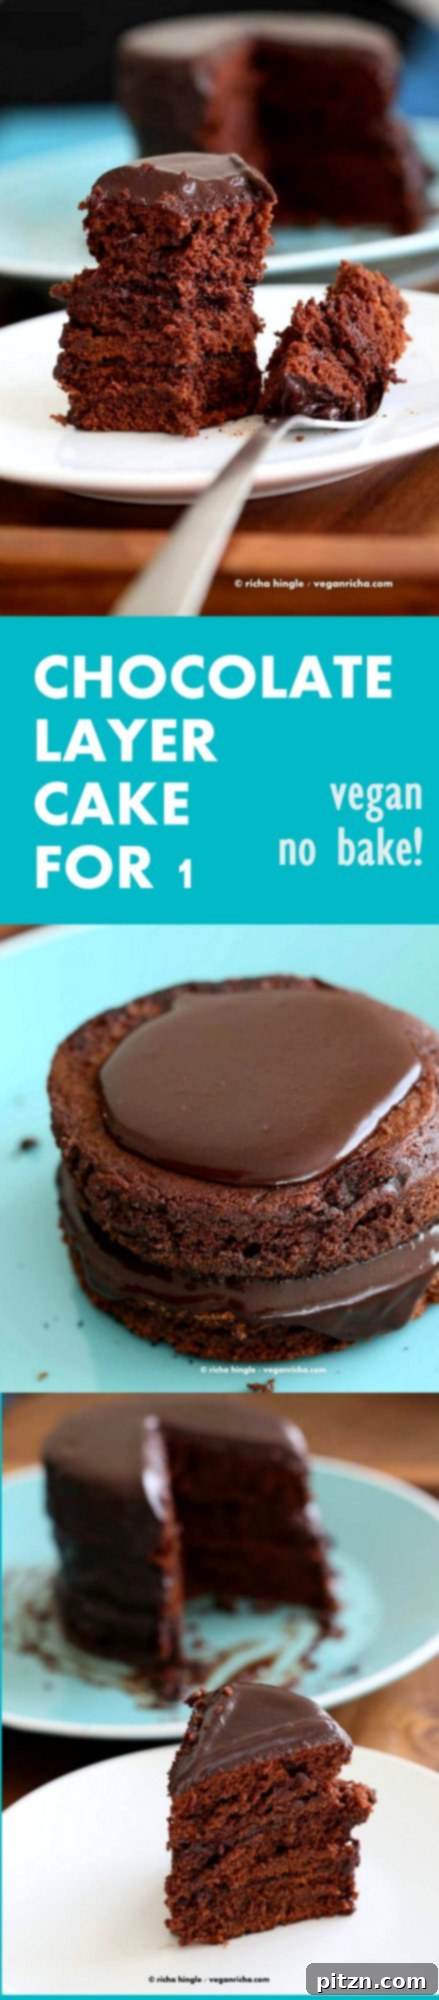
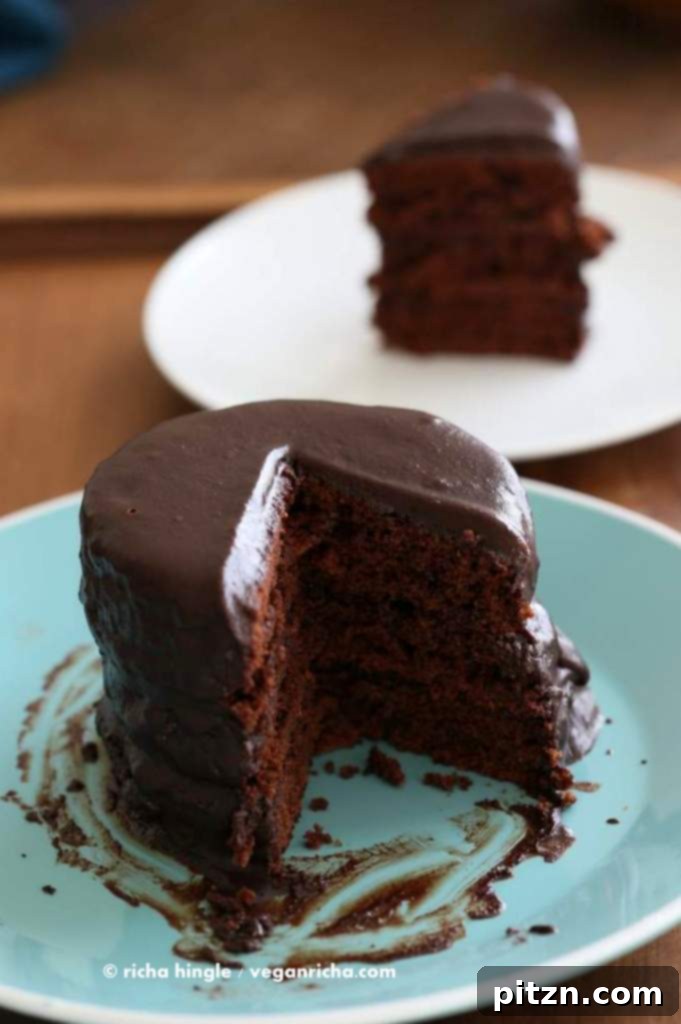
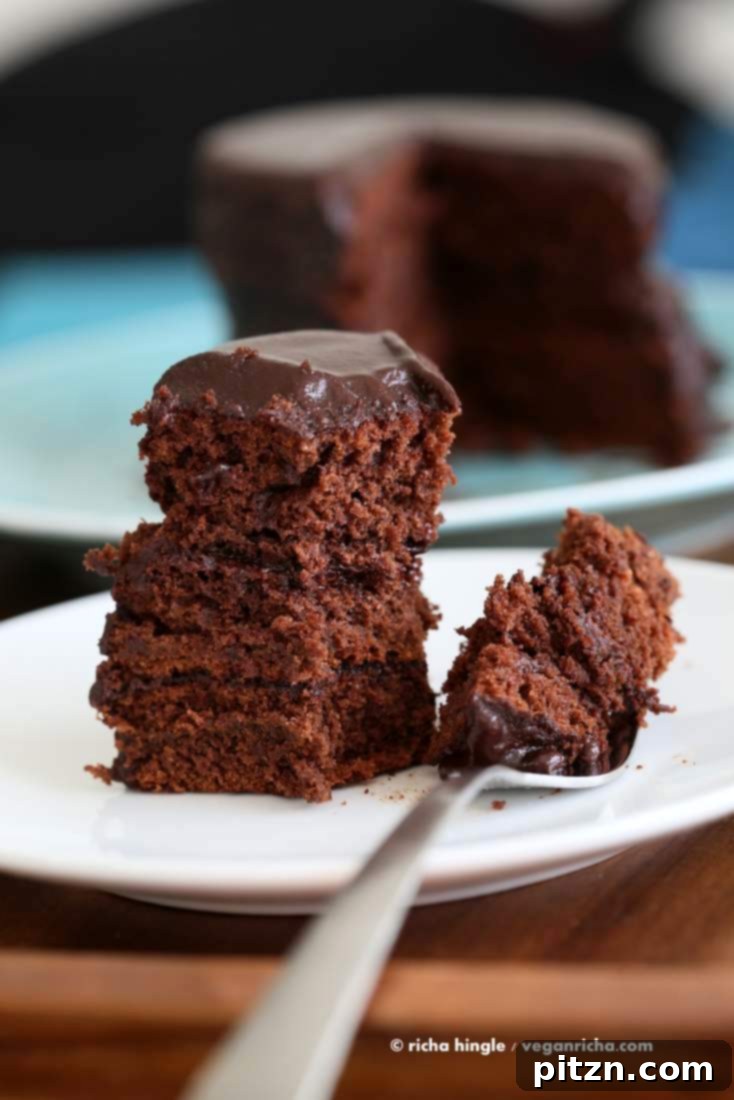
The texture of these cakes is nothing short of amazing: unbelievably moist, with a tender crumb that practically melts in your mouth. You’ll likely find it hard to believe that such a perfect, bakery-quality texture can be achieved without the conventional baking process. This **no-bake vegan chocolate cake** truly redefines convenience and accessibility in home baking, all while maintaining superior flavor and an incredibly appealing texture.
Discover More Decadent Vegan Chocolate Creations
If you’ve fallen in love with this rich chocolate dessert, you’ll certainly want to explore these other fantastic vegan treats from our collection:
- Vegan Almond Butter Blondies with Chocolate Chips
- Vegan Chocolate Pumpkin Cake and Cake Mix In a Jar
- Chocolate Chip Cookie, Date Caramel Brownie Bars
- Gluten-Free Vegan Chocolate Chip Cookies
- Vegan Pumpkin Brownies
Crafting Your Stovetop Vegan Chocolate Layer Cake: A Detailed Guide
Creating this delightful **stovetop vegan chocolate cake** is an incredibly straightforward and satisfying endeavor. Follow these comprehensive, step-by-step instructions to ensure you achieve perfectly moist, fluffy chocolate layers every single time:
Step 1: Preparing the Chocolate Cake Batter
- Combine Dry Ingredients Thoroughly: In a spacious mixing bowl, meticulously whisk together all of your dry ingredients. This includes the spelt flour (or whole wheat pastry flour for a similar texture, or a high-quality gluten-free pancake mix if you’re opting for a gluten-free version), unsweetened cocoa powder, baking powder, and baking soda. Ensure that these ingredients are fully combined and that there are no visible lumps, which guarantees an even rise and consistent flavor throughout your cake layers. Set this bowl aside for a moment.
- Prepare the Wet Ingredients: In a separate, medium-sized bowl, combine all the wet components of your recipe: your chosen non-dairy milk (almond, oat, or soy work wonderfully), almond butter (or any other smooth nut butter you prefer), a neutral-flavored oil (or applesauce for a lighter alternative), a pinch of salt to balance the sweetness, flaxseed meal (which acts as a fantastic vegan egg replacer and binder), granulated sugar, and pure vanilla extract. Whisk these ingredients vigorously until they are smoothly incorporated and form a homogenous mixture.
- Introduce Lemon Juice: Gently stir in the lemon juice. This acidic element is crucial as it reacts with the baking soda in your dry mix, creating carbon dioxide bubbles. These bubbles provide the necessary lift and tenderness, contributing significantly to the fluffy texture of your finished cake layers.
- Fold Wet into Dry: Gradually pour the wet ingredient mixture into the bowl containing your dry ingredients. Mix gently, using a whisk or a spatula, until a smooth, uniform batter forms. It’s important to avoid overmixing; a few small lumps are perfectly acceptable and actually help to keep the cake layers tender and light. Overmixing can develop the gluten in the flour too much, leading to a tougher texture.
Step 2: Cooking the Chocolate Cake Layers on the Stovetop
This is where the unique magic of this recipe truly comes alive! We’ll be transforming what might seem like pancake cooking into the art of creating elegant, perfectly round cake layers.
- Heat Your Skillet: Place a thick-bottomed skillet or a high-quality non-stick pan over medium heat. A pan with a heavy base is essential here, as it ensures superior heat distribution, which is crucial for preventing your cake layers from scorching on the bottom. Allow the pan to heat up thoroughly before proceeding to the next step.
- Position the Cookie Cutter: Once your pan is adequately hot, carefully position a large, round cookie cutter (ideally about 3-4 inches in diameter) directly onto the heated surface of the skillet. This cookie cutter will serve as your temporary cake mold, helping you create beautifully uniform and perfectly round cake layers.
- Oil the Cooking Surface: Lightly spray the inside perimeter of the cookie cutter and any exposed parts of the pan directly beneath it with a small amount of cooking oil. This essential step prevents the batter from sticking and ensures a clean, effortless release of your cooked cake layers.
- Pour the Batter Precisely: Carefully pour a thin layer of your prepared chocolate cake batter into the cookie cutter, filling it approximately 1/4 to 1/3 of the way up. It’s absolutely vital not to overfill, as the batter will expand and rise during the cooking process. A thin layer ensures that the cake cooks evenly all the way through and prevents any overflow. This ingenious cookie cutter technique, gracefully adapted from Brandi’s renowned tall pancakes, is the secret to achieving wonderfully thick, yet light, individual cake layers.
- Cover and Cook First Side: Immediately cover the pan with a tight-fitting lid. Covering the pan is key as it traps steam, which not only cooks the cake layers evenly from top to bottom but also locks in moisture, resulting in a delightfully moist and tender cake. Cook for approximately 3 to 4 minutes.
- Check and Gently Remove Cutter: You’ll know the first side is ready for inspection when the edges of the cake layer begin to appear dry and set, and you observe small bubbles forming on the surface of the batter. Using tongs or heat-resistant gloves, carefully and gently loosen the cookie cutter from around the cake layer and lift it away.
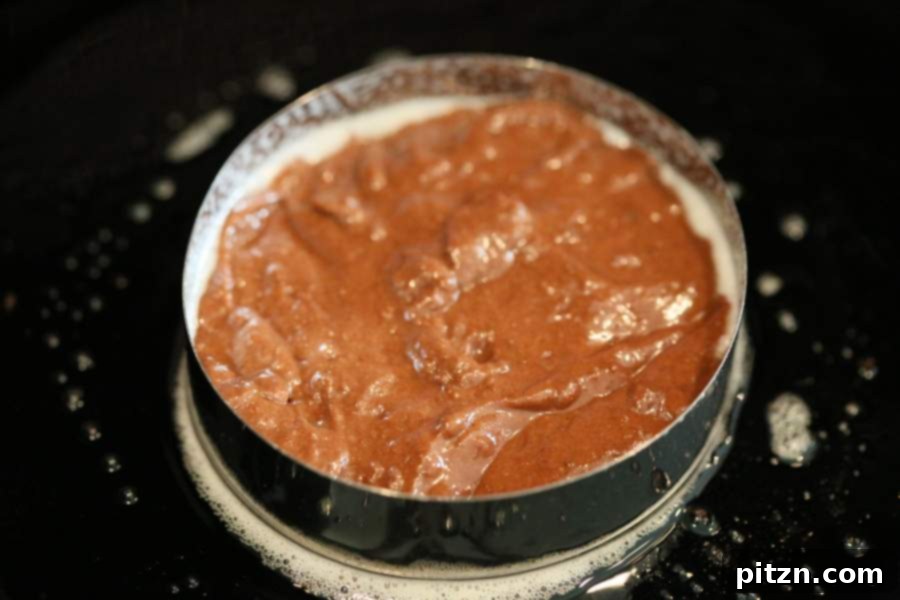
It’s important to reiterate: always use a thin layer of batter. Overfilling the cookie cutter will cause the cake to rise over the edges, potentially compromising its shape and even cooking. This precise attention to detail ensures your layers are perfectly formed and ready for stacking.
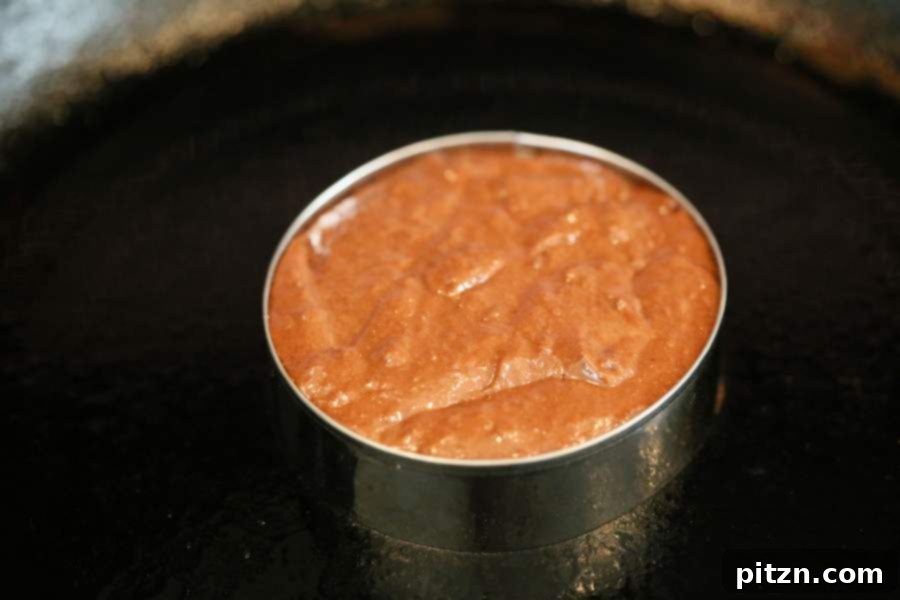
Once those edges are clearly defined and set, the cookie cutter can be carefully removed.
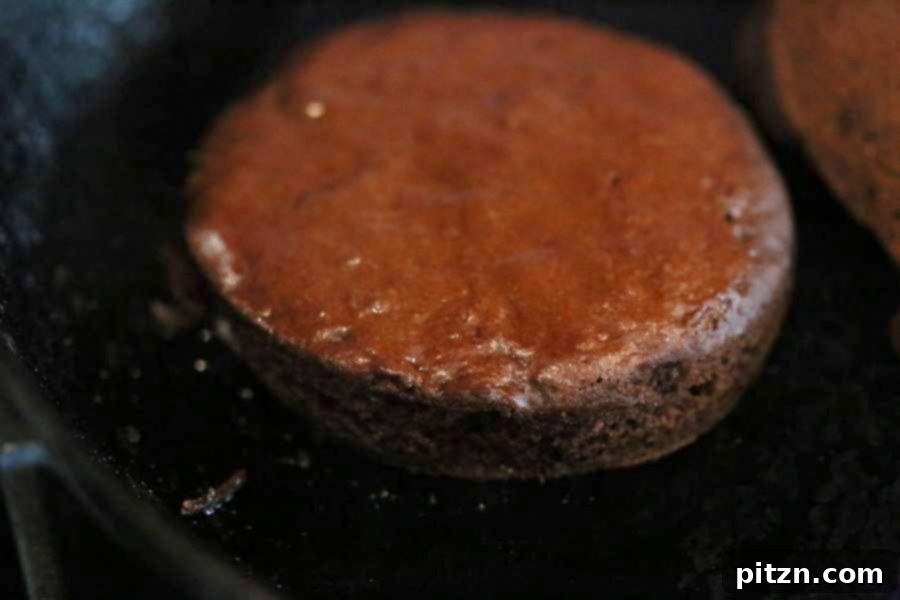
- Flip and Cook Second Side: With care, gently flip the cooked cake layer (now resembling a thick pancake) and allow it to cook for an additional 2 to 3 minutes. Continue cooking until it is fully cooked through and exhibits a beautiful golden-brown color. Repeat this entire process for the remaining batter, ensuring you lightly re-oil the pan and cookie cutter as necessary before cooking each new layer to prevent any sticking.
- An Alternative Method for Cake Layers (Regular Pancakes): If you do not possess cookie cutters, or if you simply prefer a slightly simpler and quicker approach, you can pour the chocolate batter directly onto the hot pan to create regular, slightly flatter chocolate pancakes. Cook these for approximately 3 to 4 minutes per side. Once they have cooled sufficiently, you can then use a cookie cutter (if desired) to cut them into uniform round shapes. However, please note that the layers cooked directly within the confines of a cookie cutter tend to achieve a taller and notably fluffier texture.
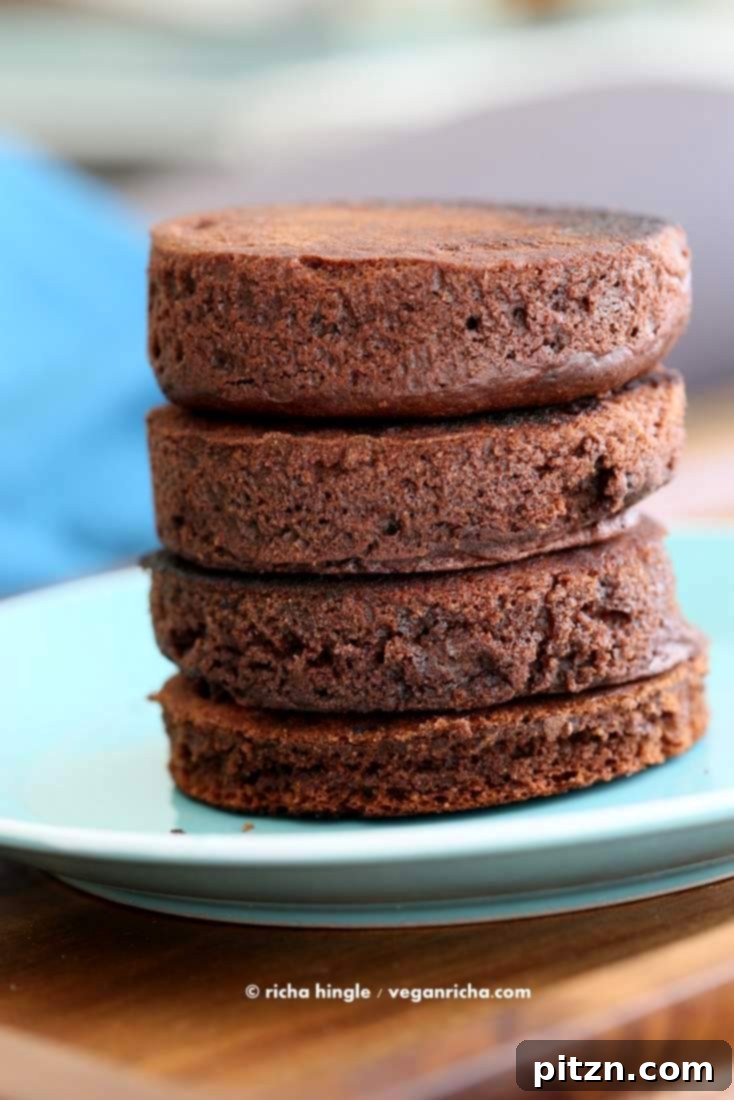
Step 3: Assembling Your Magnificent Vegan Chocolate Layer Cake
Once all your exquisite chocolate layers are cooked and have had a chance to cool slightly, it’s time for the most anticipated and rewarding part: assembling your stunning **no-bake vegan chocolate layer cake**!
- Prepare Your Ganache or Frosting: While your beautiful cake layers are cooling to room temperature, begin preparing your chosen ganache or frosting. The recipe provides clear instructions for a rich, decadent chocolate ganache. It’s crucial that your ganache (or frosting) reaches a perfectly spreadable consistency – neither too warm and runny nor too firm to work with.
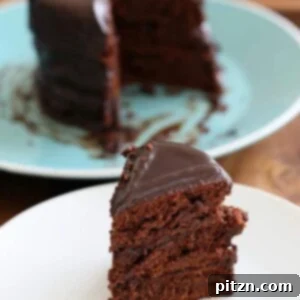
- Layer and Frost: Carefully place one cooled chocolate cake layer onto your chosen serving plate or cake stand. Spread a generous and even layer of the prepared ganache or frosting over the top surface of this first cake layer. Gently place the next cake layer directly on top, pressing down lightly to secure it, and then repeat the frosting process. Continue stacking and frosting until all your layers are beautifully assembled. The accompanying images visually demonstrate how to achieve these gorgeous, neatly layered cakes with ganache.
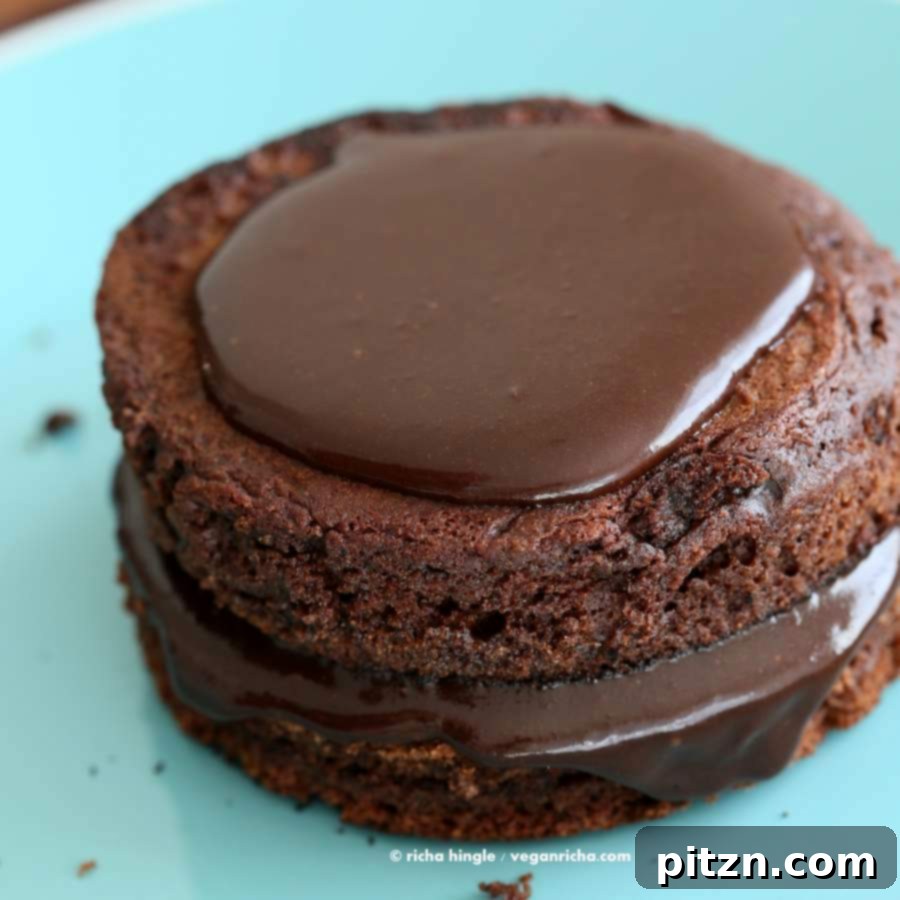
- Finishing Touches and Chilling: If you prefer a more traditional frosted appearance, you can choose to spread additional ganache or frosting over the entire exterior of the assembled cake, including the sides. Once the cake is fully assembled and frosted to your liking, place it in the refrigerator to chill for at least 15 minutes, or longer if time permits. This chilling period is vital as it allows the ganache or frosting to set properly, making the cake much easier to slice neatly and enhancing its rich, satisfying texture.
- Serve and Savor: Once chilled to perfection, your magnificent **stovetop no-bake vegan chocolate layer cake** is ready to be sliced and served! Garnish with fresh berries, a sprinkle of cocoa powder, or vegan chocolate shavings for an extra touch of elegance. This truly is a satisfying dessert that not only looks incredibly impressive but tastes even better. Enjoy every delectable bite of your homemade creation!
Vegan Chocolate Layer Cake. No Bake!
Vegan Richa
15
30
45
3
Dessert
American
Print Recipe
Ingredients
Dry Ingredients
- 1/2 cup spelt flour , or whole wheat pastry flour
- 1/2 cup unbleached all-purpose flour
- (Alternatively, use a gluten-free pancake mix), instead of the spelt and all-purpose flours above
- 1/3 cup cocoa powder
- 1 tsp baking powder
- 1/4 tsp baking soda
Wet Ingredients
- 3/4 cup non-dairy milk
- 2 tablespoons almond butter , or other nut butter
- 2 tablespoons oil, or use applesauce for a lighter option
- 1/4 tsp salt
- 1 tbsp flaxseed meal
- 1/3 cup sugar, add 1 tbsp more for a sweeter cake
- 1/2 tsp vanilla extract
- 1/2 tsp lemon juice
For the Ganache
- 3 tablespoons coconut milk , full-fat for richness, or almond milk for a lighter ganache
- 3 tablespoons maple syrup
- 3/4 cup vegan chocolate chips
Instructions
-
In a medium bowl, thoroughly whisk together all the dry ingredients (flours, cocoa powder, baking powder, baking soda). Set aside.
-
In a separate large bowl, combine the non-dairy milk, nut butter, oil (or applesauce), salt, flaxseed meal, sugar, and vanilla extract. Whisk until well combined and smooth. Stir in the lemon juice. Gradually add the whisked dry ingredients to the wet mixture, mixing until a smooth batter forms. Do not overmix.
-
Heat a heavy-bottomed skillet over medium heat. Once hot, place a large cookie cutter on the pan. Lightly spray oil on the pan and inside the cookie cutter. Pour enough batter into the cookie cutter to create a thin layer (about 1/4 to 1/3 full). Cover the pan with a lid and cook for 3 to 4 minutes. Carefully remove the cookie cutter using tongs or gloves. Flip the cake layer (pancake) and cook the other side for 2 to 3 minutes, or until cooked through. Repeat this process for all the remaining batter, re-oiling the pan and cutter as needed.
-
Alternatively, you can make regular, flatter chocolate pancakes by pouring batter directly onto the pan and cooking for 3 to 4 minutes per side. Once cooled, you can use a cookie cutter to cut them into uniform round shapes if desired. Note that layers cooked within a cookie cutter tend to be taller and fluffier.
-
Prepare your ganache or frosting (instructions below). Once your cake layers are cool, spread ganache or frosting generously over each layer and stack them to create your desired layer cake height. Serve immediately or chill.
-
Tips for Success: To prevent burning, cook these cake layers at a slightly lower heat than you might for regular pancakes. The cookie cutters are excellent for retaining moisture within the pancakes; without them, the layers might become a bit drier if overcooked. This versatile batter can also be baked into a conventional cake: pour into an 8-inch pan and bake at 350°F (175°C) for 30 to 35 minutes, or until a toothpick inserted into the center comes out clean.
-
Ganache Preparation:
-
In a small saucepan, gently heat the non-dairy milk and maple syrup until it just begins to steam, but do not boil. Remove from heat. Add the vegan chocolate chips to the hot liquid and let them sit undisturbed for about 1 minute to soften. Then, whisk vigorously until all the chocolate is completely melted and the ganache is smooth and glossy. For best results, chill the ganache for about 10-15 minutes before using it, allowing it to thicken to a spreadable consistency.
-
Variation: Almond Butter Chocolate Frosting: To create a delicious almond butter frosting, melt 1 cup of semi-sweet vegan chocolate chips over a double boiler (or carefully in a microwave). Let the melted chocolate cool slightly for about a minute. Whisk in 1/2 cup of almond butter and 1/4 cup of powdered sugar until the mixture is smooth and creamy. Stir in 1/2 teaspoon of vanilla extract and add 1 to 2 tablespoons of non-dairy milk as needed to achieve your desired frosting consistency. This frosting is rich, nutty, and wonderfully decadent.
Notes
Nutritional values are provided based on one serving and are approximate.
Nutrition
Calories:
735kcal
,
Carbohydrates:
93g
,
Protein:
12g
,
Fat:
35g
,
Saturated Fat:
12g
,
Sodium:
304mg
,
Potassium:
488mg
,
Fiber:
11g
,
Sugar:
53g
,
Vitamin C:
0.3mg
,
Calcium:
286mg
,
Iron:
7.2mg
Nutrition information is automatically calculated, so should only be used as an approximation.
Did you make this recipe? We’d love to hear your feedback!
Share your thoughts and rate the recipe below!