
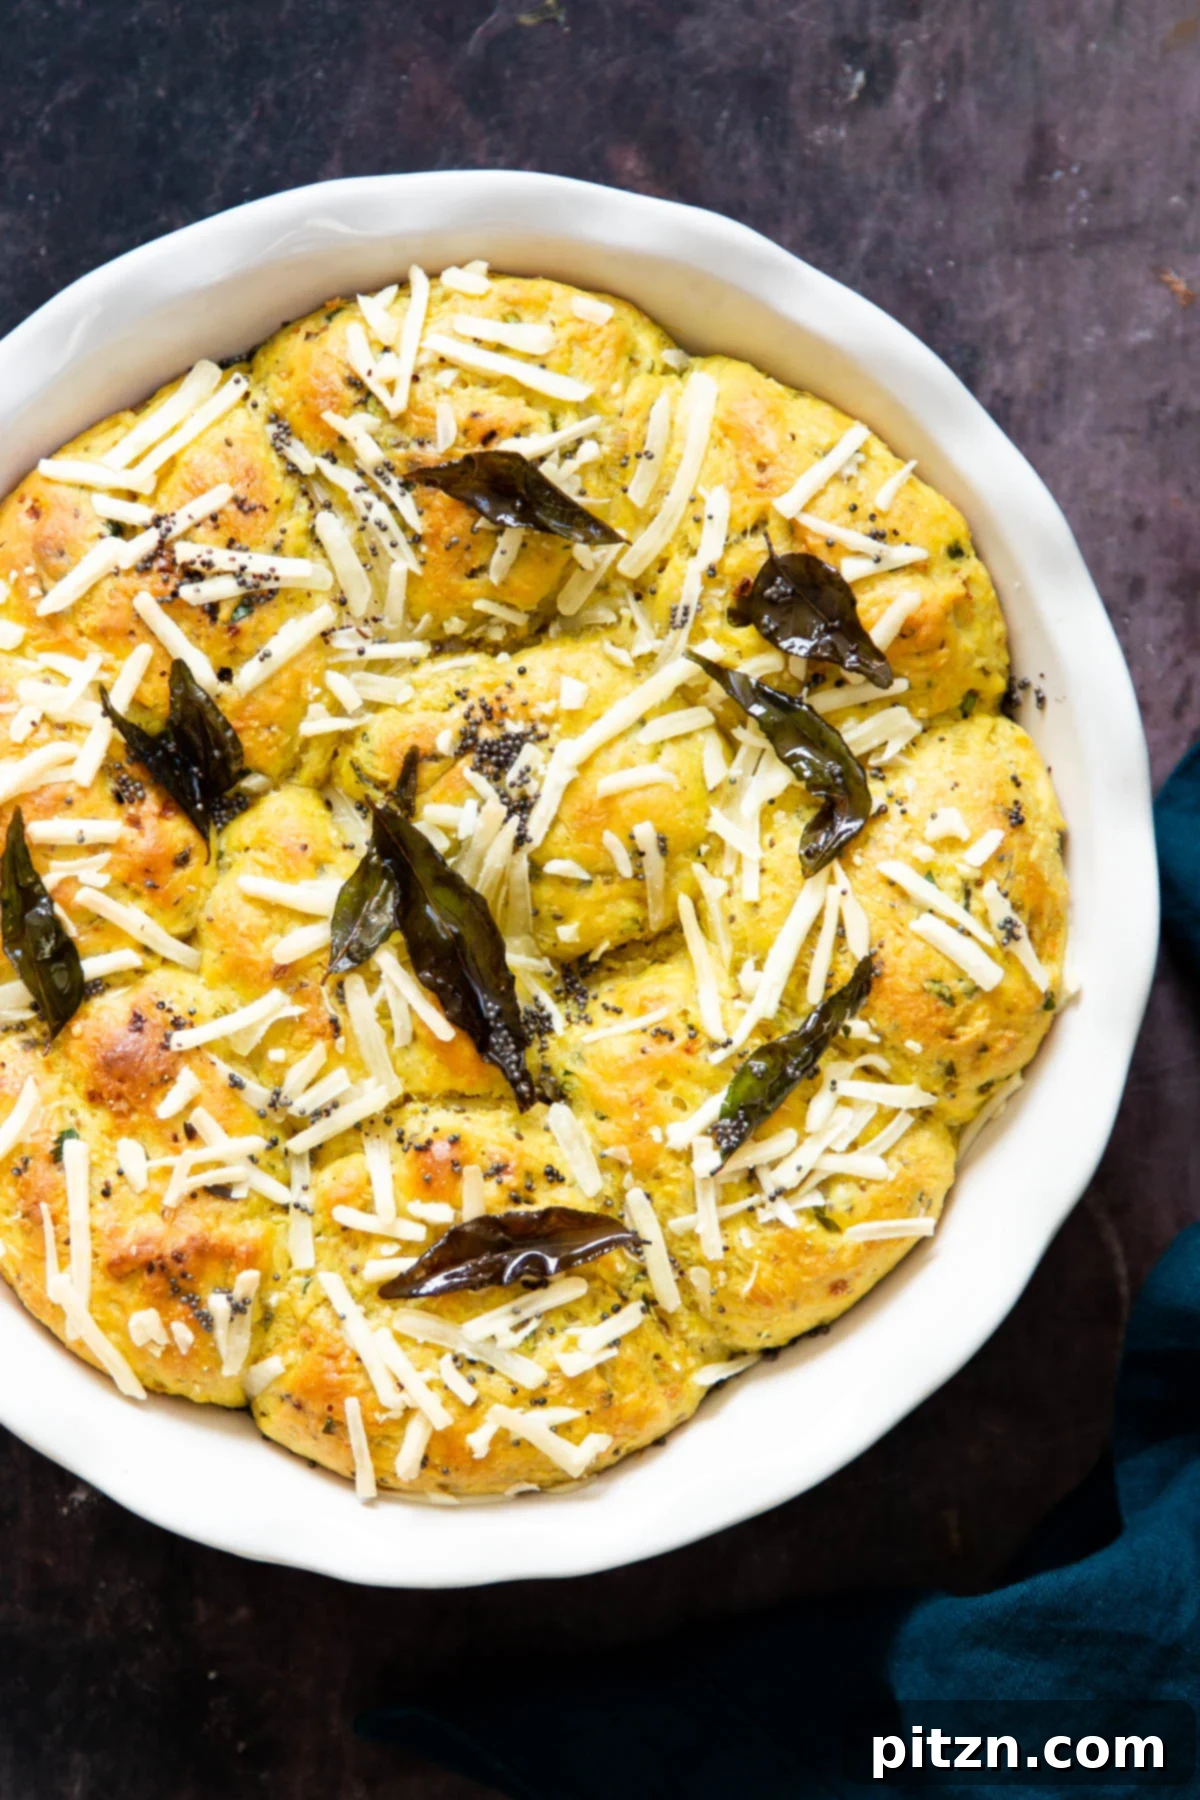
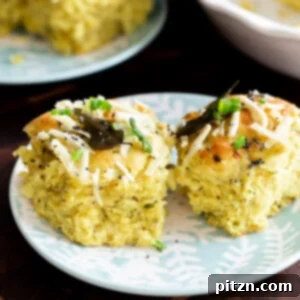
Welcome to a culinary adventure where traditional dinner rolls meet the vibrant, aromatic spices of India! These aren’t just ordinary rolls; they are a delightful fusion of soft, fluffy texture from rich coconut milk and a burst of savory, herbaceous flavors that will tantalize your taste buds. Crowned with a distinctive mustard seed and curry leaf tempering (tadka), these Vegan Coconut Dinner Rolls are a truly unforgettable experience. They are also completely soy-free and nut-free, making them accessible to many. Prepare to impress your family and friends with this unique and incredibly satisfying bread recipe.
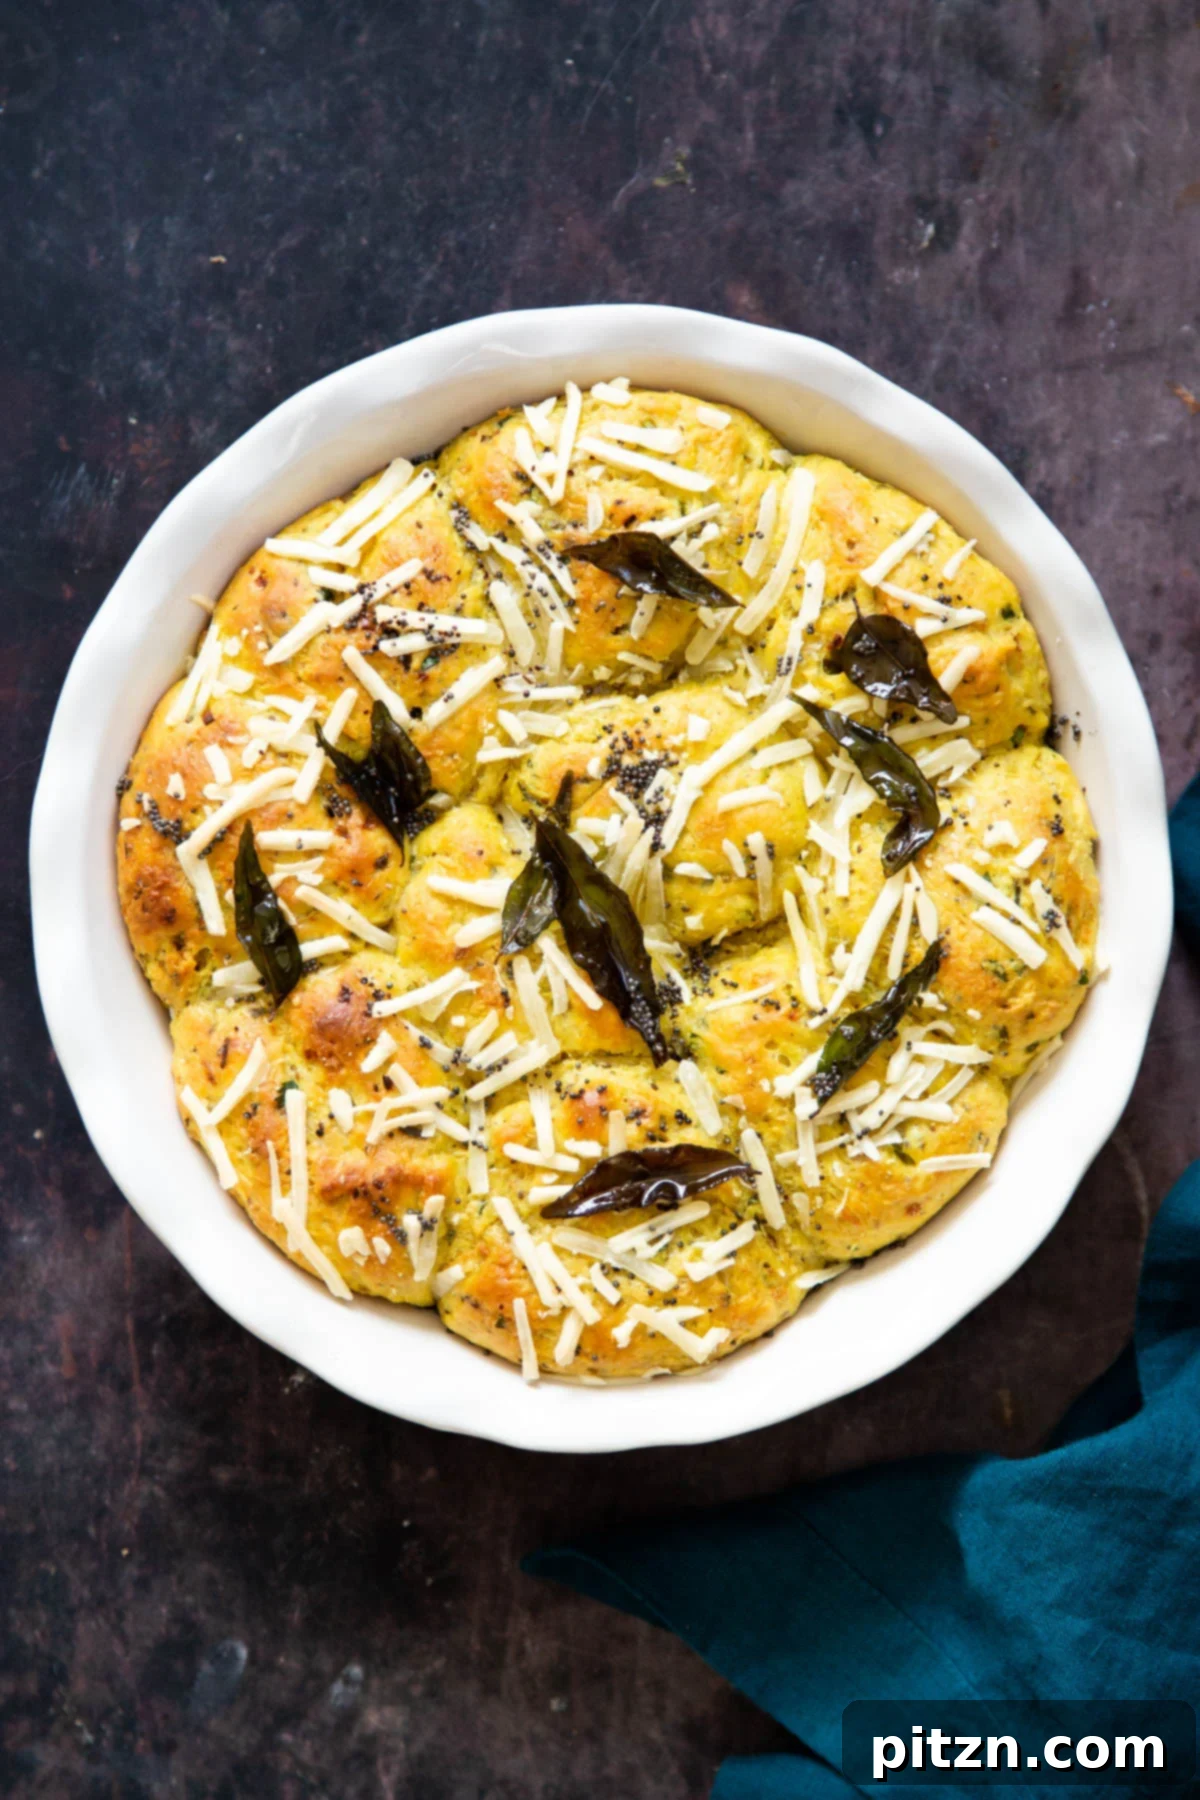
Table of Contents
- Unveiling the Flavor Fusion
- Why You Will Love These Coconut Dinner Rolls
- More Vegan Bread Recipes You’ll Enjoy
- Coconut Dinner Rolls With Mustard Seed Tadka Recipe
- Ingredients for the Perfect Rolls
- Step-by-Step Guide to Making Coconut Dinner Rolls
- Expert Tips for the Best Rolls
- Frequently Asked Questions
Unveiling the Flavor Fusion
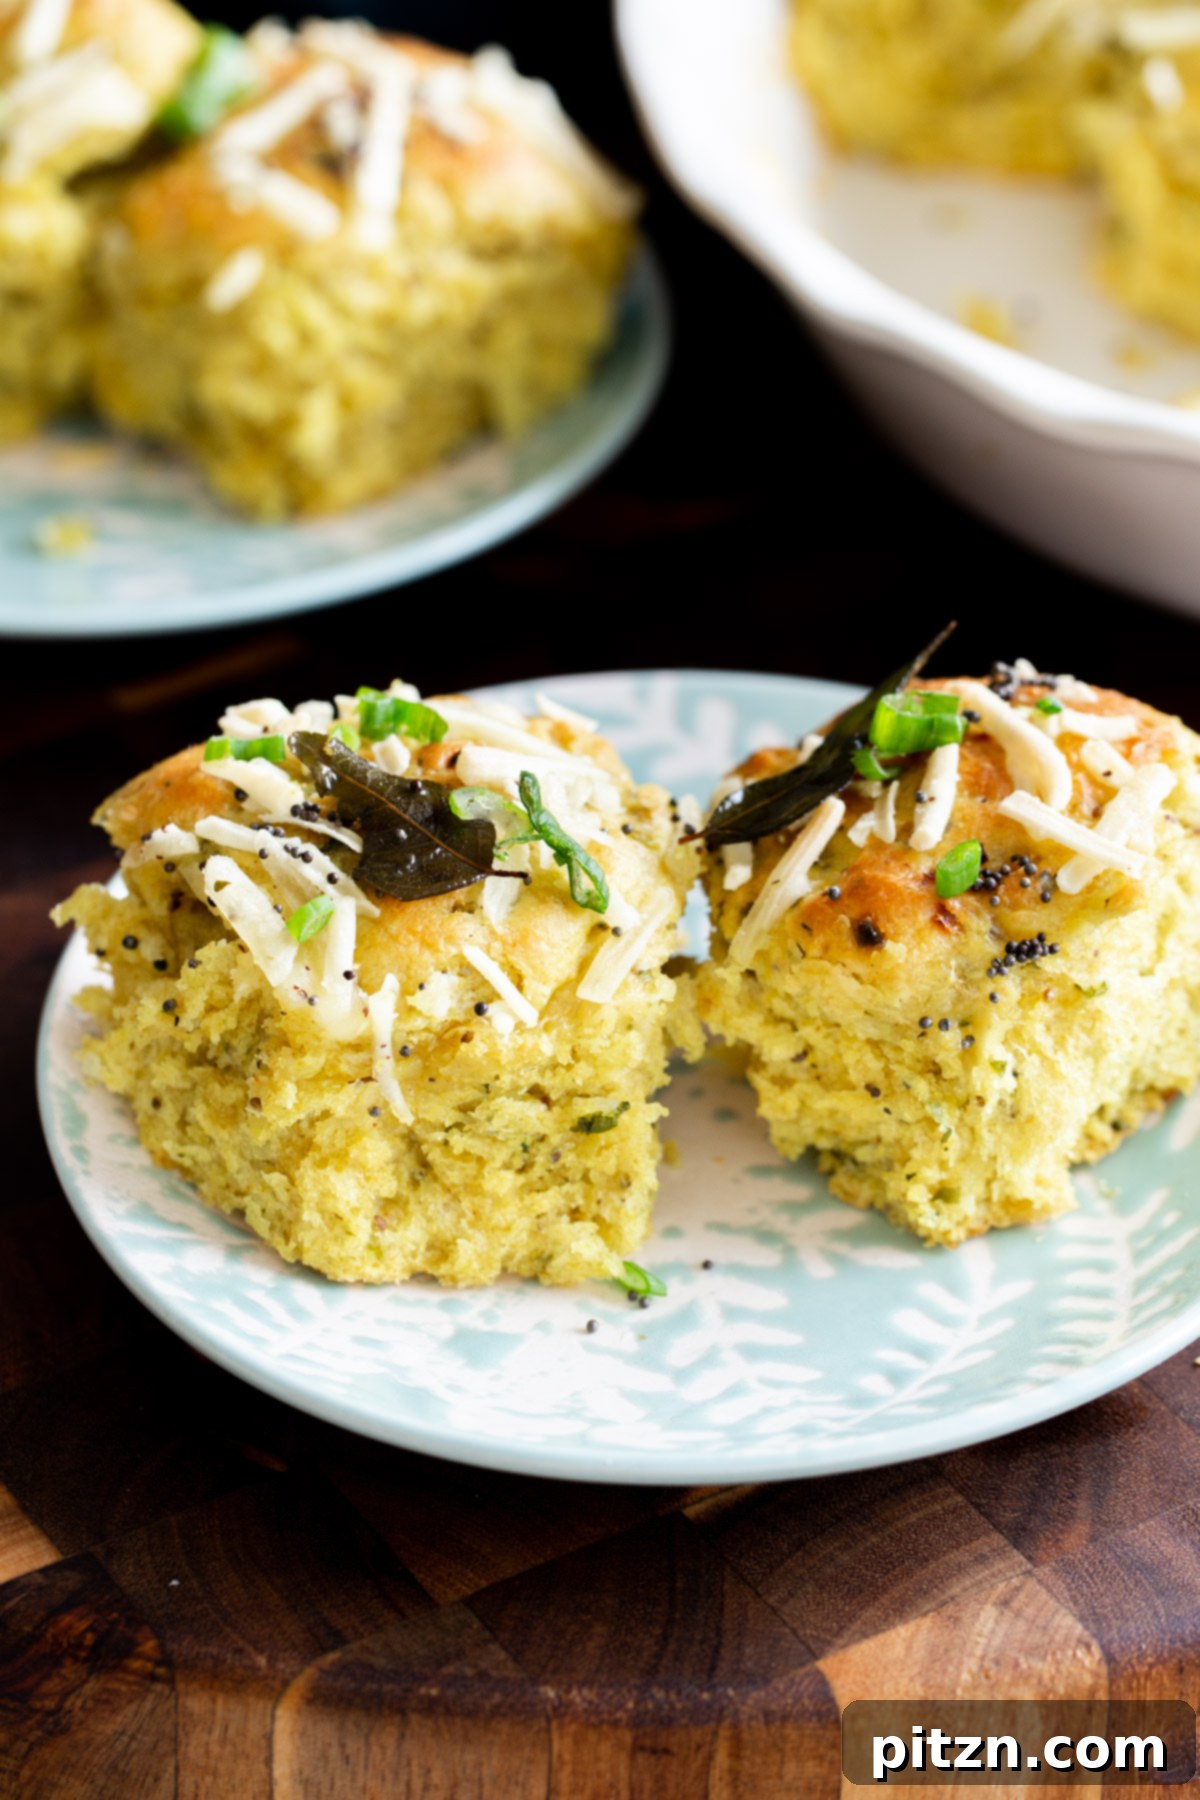
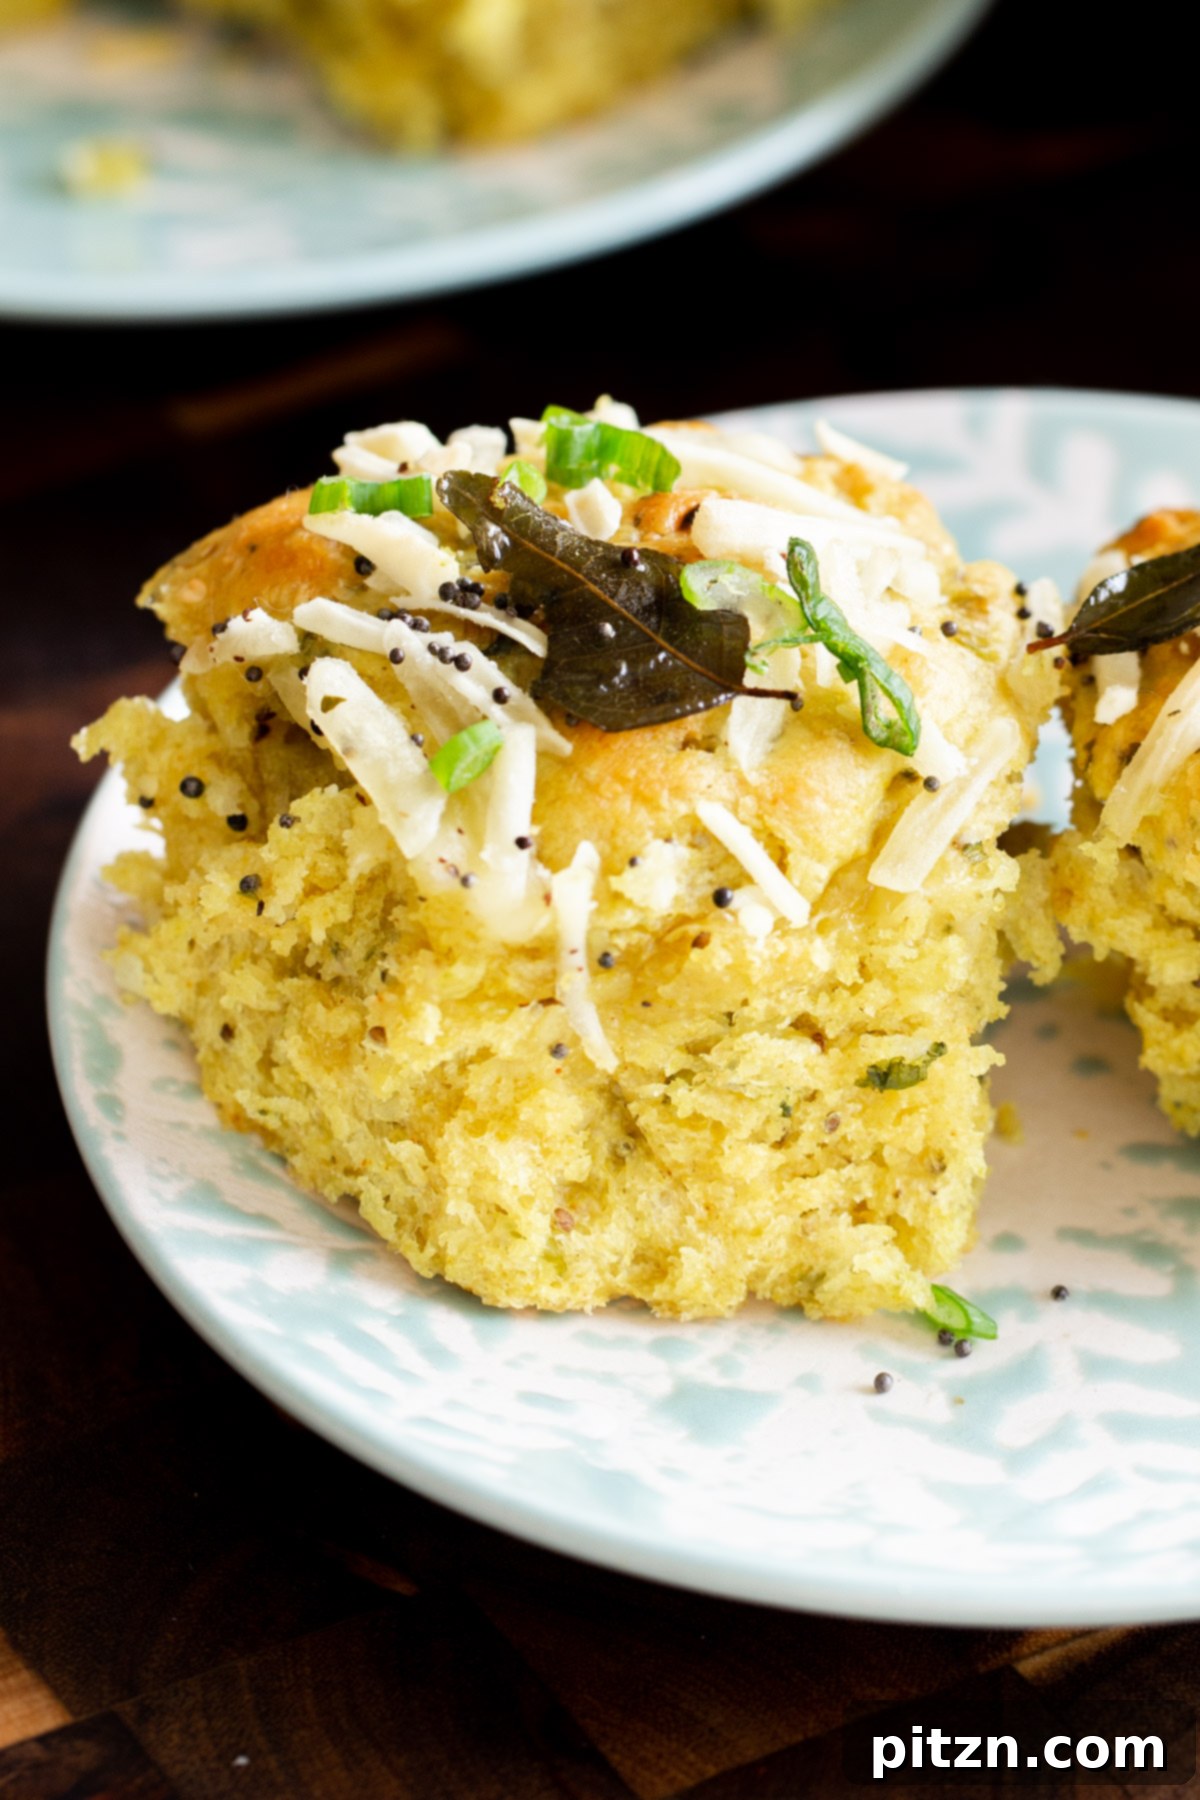
These exquisite dinner rolls represent a harmonious blend of East and West, where the comforting familiarity of a freshly baked roll meets the exotic allure of Indian cuisine. Crafted with creamy coconut milk, they boast an unparalleled softness and a subtle, tropical richness that sets them apart. Each bite delivers a symphony of savory notes, thanks to a thoughtful infusion of classic Indian herbs and spices, culminating in a delightful, slightly sticky texture that will quickly become your new obsession. This unique recipe is designed to dazzle your taste buds and elevate any meal.
Far from being just a side dish, these vegan coconut rolls are incredibly versatile. They are substantial enough to serve as a satisfying snack on their own, or they can effortlessly complement your main course. The preparation process is surprisingly straightforward, making it an ideal recipe for both seasoned bakers and newcomers to bread making. Simply combine the dough ingredients, allow the dough to undergo its magical transformation as it doubles in size, then shape it into individual small balls. A final rise and a quick bake in the oven lead to golden-brown perfection.
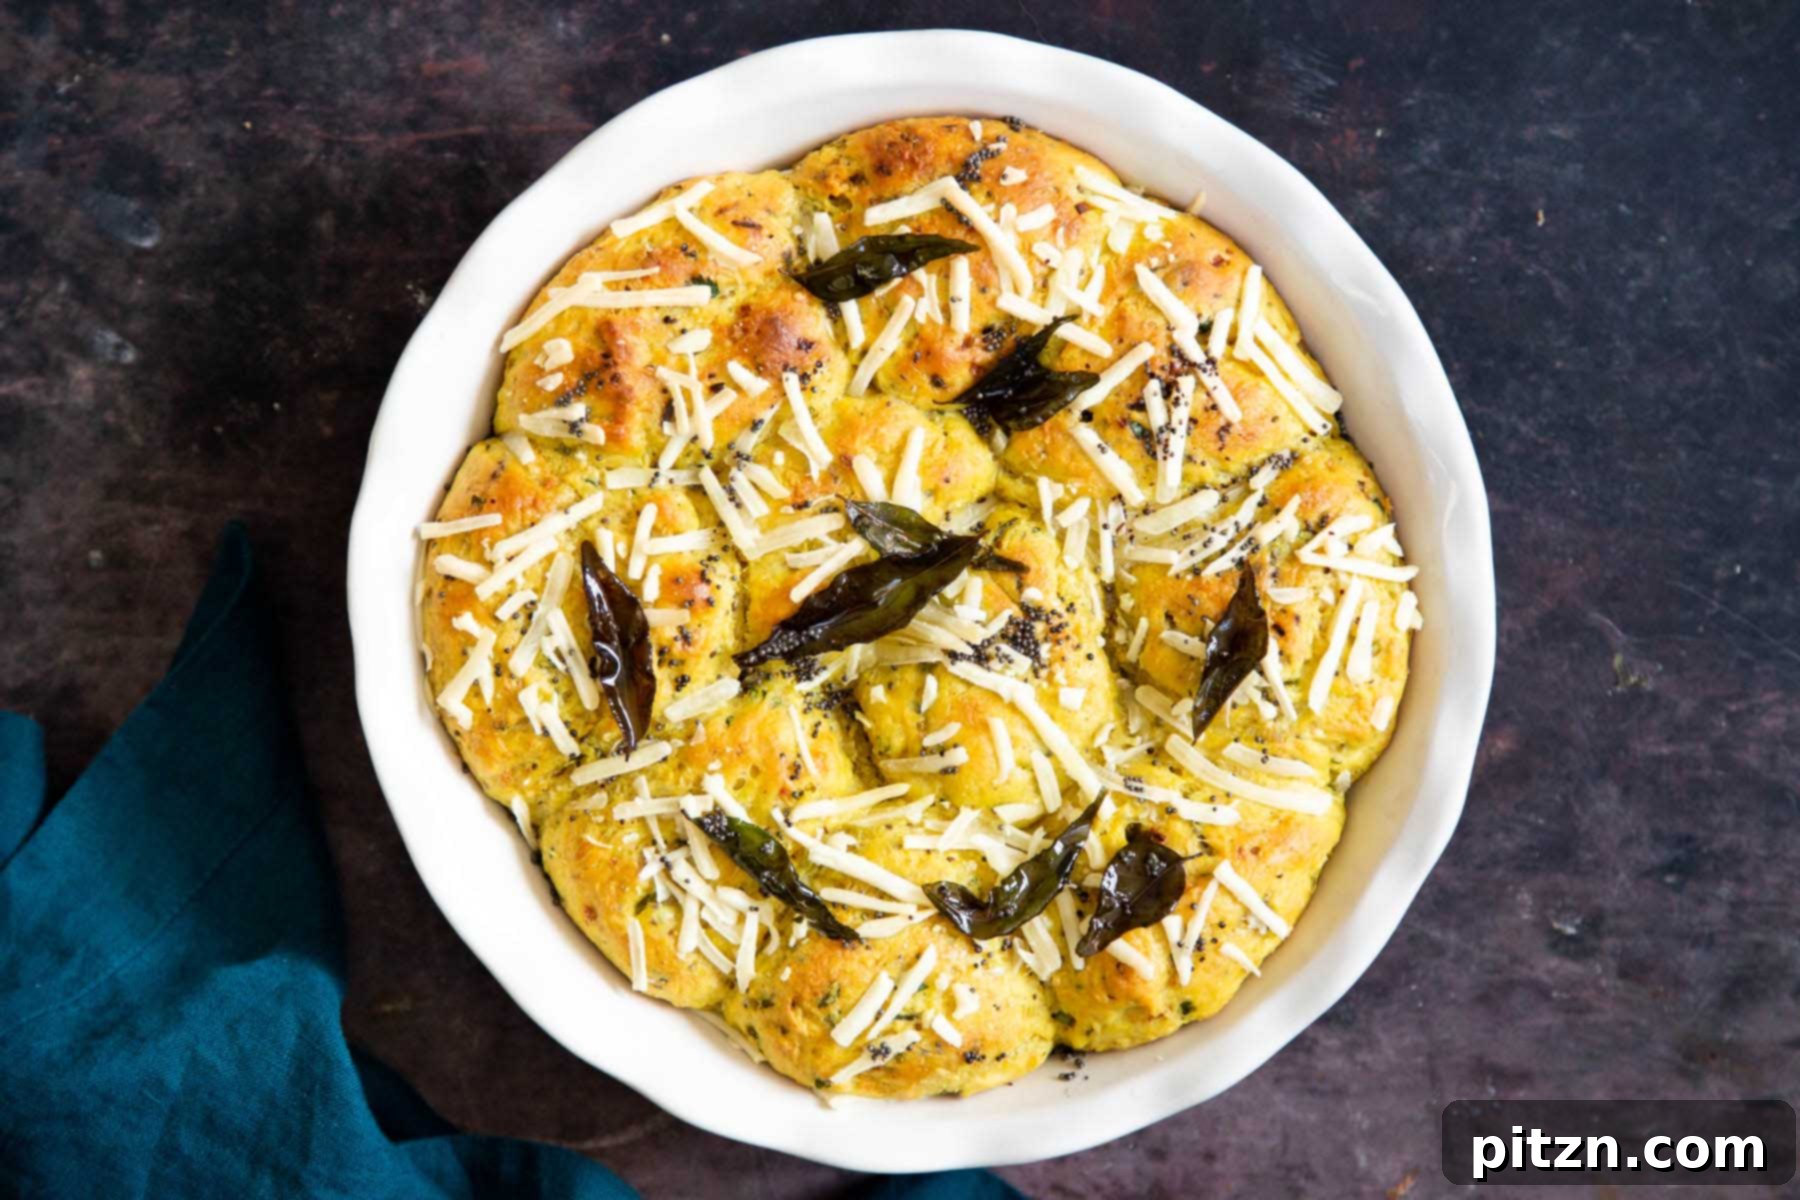
To truly unlock their full potential, these delicious coconut rolls are finished with a traditional Indian tempering, known as ‘tadka’. This involves infusing hot oil with fragrant mustard seeds and fresh curry leaves, which is then drizzled generously over the warm rolls just before serving. The tadka adds an irresistible aroma, a delicate crunch, and an extra layer of savory depth. They beautifully echo the flavors of dhokla, those light and savory steamed snack cakes, making them a fantastic alternative to traditional naan bread. For a truly indulgent experience, serve them warm with a dollop of creamy vegan butter and a vibrant mint chutney.
Why You Will Love These Coconut Dinner Rolls
These delightful rolls are not only a culinary treat but also a breeze to prepare, making them an excellent starting point if you’re venturing into homemade bread for the first time. The combination of creamy coconut flavor with aromatic Indian spices creates a roll that is flavorful enough to be enjoyed on its own. However, if you’re looking to create a complete and unforgettable meal, these rolls pair magnificently with a variety of rich and hearty dishes.
Imagine tearing into a warm, soft roll, its subtle sweetness balanced by the savory spices and the zesty punch of the tadka. This makes them an ideal companion for robust stews and curries. Consider pairing them with my Vegan Chickpea Rice Soup for a comforting meal, or alongside a hearty Chataka Dal. They also shine when served with my creamy Vegan Malabar Curry with Veggies and Beans, soaking up all the rich sauces. For a truly decadent experience, present them with my Shahi Tofu Kofta Casserole, where their softness provides a perfect textural contrast. These rolls transform any simple meal into a gourmet experience.
More Vegan Bread Recipes You’ll Enjoy
- Sweet Potato Rolls
- Everything Bagel Garlic Cheese Breadsticks
- Masala Paratha
- Pesto Pizza Rolls Recipe
Coconut Dinner Rolls With Mustard Seed Tadka Recipe
Vegan Richa
10
25
1
1
35
10
rolls
Bread
Vegan
Ingredients
- 1 ½ cup warmed full fat coconut milk, or use oat milk or soy milk
- 2 teaspoons active yeast
- 2 tablespoons oil
- 3 cups all-purpose flour, divided
- ¾ teaspoons salt
- ½ teaspoon turmeric
- ½ teaspoon black pepper
- ¼ teaspoon cayenne, optional
- ½ teaspoon baking powder
- 2 green chilies, finely chopped
- 3 tablespoons shredded coconut, omit for coconut free
- ¼ cup chopped cilantro
- ¼ cup chopped onion, I use a mix of white and green onion
- ½ inch ginger minced
- 2 teaspoons chia seeds, optional
- 1-2 tablespoons hemp seeds or sesame seeds
- ¼ cup vegan cheese, shredded (optional topping)
For the Tempering (Tadka)
- 2 teaspoons oil
- 1 teaspoon mustard seeds
- 10 fresh or frozen curry leaves
- 2 teaspoons lime juice
Instructions
For the Dinner Rolls
-
Gently warm the non-dairy milk (preferably full-fat coconut milk) until it is just warm to the touch, similar to bathwater. It should be around 105-115°F (40-46°C). Overheating will kill the yeast, while too cool will slow activation. Stir in the oil until well combined. Then, add the active yeast to this warm liquid mixture. Allow it to sit for a few minutes until it becomes foamy, indicating the yeast is active.
-
Add 1 cup of all-purpose flour to the activated yeast mixture and mix well to form a loose batter. Let this mixture sit for approximately 10 minutes. This pre-ferment (or “sponge”) helps to develop the flavor and texture of the dough. Meanwhile, in a separate large mixing bowl, combine the remaining 2 cups of all-purpose flour with the salt, turmeric, black pepper, cayenne (if using), baking powder, green chilies, shredded coconut (if using), chopped cilantro, chopped onion, minced ginger, chia seeds (if using), and hemp or sesame seeds. Mix these dry ingredients thoroughly until everything is evenly distributed.
-
Pour the entire yeast mixture (the sponge) into the bowl with the prepared dry ingredients. Begin to mix everything together, either by hand or using a stand mixer with a dough hook attachment, until a cohesive dough starts to form. Initially, the dough may appear quite sticky. If it is excessively sticky and difficult to handle, gradually add 1-2 tablespoons of additional flour at a time, mixing well after each addition, until the dough comes together into a soft, pliable, and slightly tacky consistency. The goal is a dough that is not too sticky to work with but also not overly dry or stiff, which would result in tough rolls.
-
The exact amount of flour needed can vary depending on the type and brand of non-dairy milk used, as well as the humidity of your kitchen. You might need anywhere from a few tablespoons more flour to up to ½ cup extra to achieve the ideal dough consistency. Trust your judgment and adjust as needed.
-
Once your dough has reached the desired consistency, place it in a lightly oiled bowl, turning it once to coat. Cover the bowl tightly with a clean kitchen towel or plastic wrap. Allow the dough to rise in a warm, draft-free place until it has visibly doubled in size. This process typically takes between 40 to 60 minutes, but the exact time will depend on your kitchen’s temperature and the activity of your yeast.
-
After the dough has successfully doubled, gently punch it down to release the air. Lightly dust your work surface with flour and briefly knead the dough for about a minute to form a smooth ball. Divide the dough into 10 equal portions. Roll each portion into a neat, small ball. Prepare a 9-inch pie dish or a similar round baking pan by greasing it generously or lining it with parchment paper. Arrange the dough balls evenly in the prepared dish, leaving a small space between them as they will expand during their final rise and baking.
-
At this stage, you have the option to top the dough balls with shredded vegan cheese for an extra layer of savory flavor. If you choose not to use cheese, lightly brush the tops of the rolls with a small amount of warm water; this helps them achieve a beautiful golden crust and keeps them moist.
-
Cover the pie dish containing the shaped dough balls with a clean kitchen towel and let them rise again in a warm place for an additional 15-20 minutes. This is known as the second rise or “proofing” and is crucial for creating light and airy rolls.
-
While your rolls are undergoing their second rise, preheat your oven to 375°F (190°C). This ensures the oven is at the correct temperature when the rolls are ready to bake.
-
Once preheated, place the pie dish with the rolls into the oven and bake for approximately 25 minutes, or until the rolls are golden brown and cooked through. If you prefer a deeper golden color on top, you can briefly activate the broiler for the last minute or two of baking, but watch them very carefully to prevent burning.
-
Carefully remove the baked rolls from the oven. Allow them to rest in the pie dish for a few minutes before transferring them to a wire rack to cool slightly. This brief resting period helps the rolls set and makes them easier to handle.
For the Tempering (Tadka)
-
While the rolls are baking, prepare the aromatic tempering. Heat the oil in a small skillet or tempering pan over medium-high heat. Once the oil is shimmering and hot (you can test by dropping a single mustard seed in; it should sizzle immediately), add the mustard seeds. Allow them to splutter and pop, which takes only a few seconds. Immediately add the fresh or frozen curry leaves to the pan. They will sizzle and become fragrant almost instantly. Remove the skillet from the heat to prevent the spices from burning.
-
Once the rolls are out of the oven and have rested for a moment, generously drizzle the freshly made tempering all over them. The warm rolls will readily absorb the fragrant oil and spices. Finish by squeezing fresh lime juice evenly over the rolls. If you prefer a less pronounced lime flavor or want extra moisture, you can also sprinkle a little warm water along with the lime juice. I often use both lime juice and a dash of water to ensure maximum moisture and zest.
-
Serve these extraordinary rolls warm, either plain, with a smear of your favorite vegan butter, or with a refreshing cilantro mint chutney on the side for an authentic Indian touch.
-
To store, keep any leftover rolls in an airtight container at room temperature for up to one day. For longer storage, refrigerate them for up to 5 days. Reheat gently before serving for the best experience.
Video
Notes
For a gluten-free version of these savory rolls, you can adapt this recipe by following the instructions for my Gluten-Free Dinner Rolls. Simply incorporate the Indian spices and tempering elements from this recipe into the gluten-free dough.
To make these with whole wheat flour: Whole wheat flour absorbs more liquid and has a denser texture. To achieve soft results, I recommend allowing the initial mixture of 1 cup whole wheat flour and yeast to sit for at least an hour, or even longer, to ensure proper hydration and yeast activation. When you proceed to make the dough, you will likely need a few tablespoons less flour overall compared to using all-purpose flour. Keep an eye on the dough consistency and add flour sparingly.
For an oil-free variation: You can certainly make these rolls without oil. Simply omit the oil from the dough ingredients. When mixing the dough, you might need a few tablespoons less flour as the absence of oil changes the hydration slightly. For the tempering, you can skip it entirely or try a ‘dry tadka’ by toasting the mustard seeds and curry leaves in a dry pan until fragrant, then crumbling them over the rolls with lime juice. I suggest using light coconut milk or another slightly thicker, higher-fat non-dairy milk in the dough for better moisture retention if omitting oil.
Nutrition
Calories:
214
kcal
,
Carbohydrates:
32
g
,
Protein:
5
g
,
Fat:
7
g
,
Saturated Fat:
2
g
,
Sodium:
235
mg
,
Potassium:
99
mg
,
Fiber:
2
g
,
Sugar:
1
g
,
Vitamin A:
95
IU
,
Vitamin C:
22
mg
,
Calcium:
31
mg
,
Iron:
2
mg
Nutrition information is automatically calculated, so should only be used as an approximation.
Did you make this recipe? Rate and comment below!
Ingredients for the Perfect Rolls
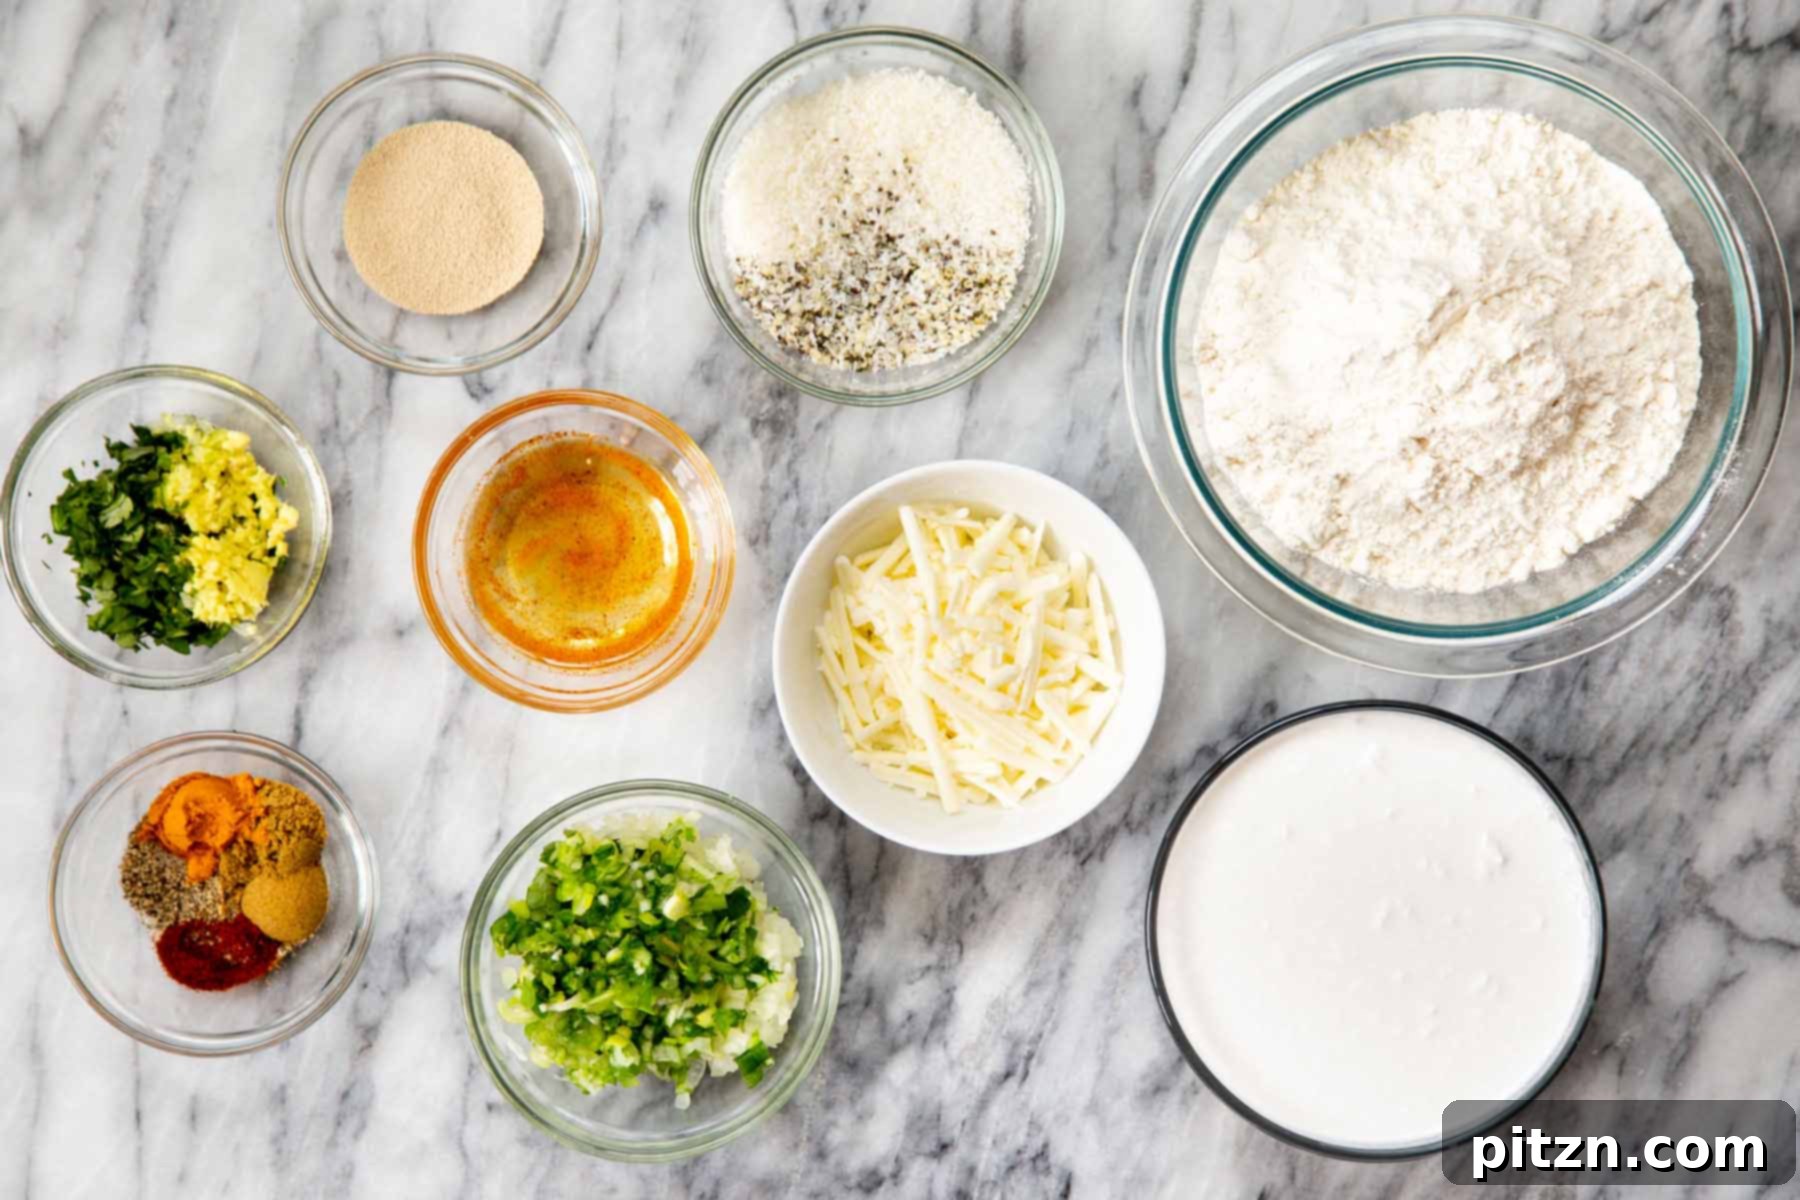
Crafting these irresistible Indian-inspired coconut dinner rolls begins with a selection of fresh, high-quality ingredients. Each component plays a crucial role in developing the unique flavor and texture that makes these rolls truly stand out.
- Flour: For the foundation of these soft rolls, I primarily use all-purpose flour. Its balanced protein content contributes to a tender crumb. However, for those seeking a gluten-free option, a good quality gluten-free all-purpose blend can be substituted. Just be mindful that gluten-free doughs may require slight adjustments in liquid and rising times.
- Spices: The heart of their Indian character lies in the expertly chosen spice blend. Turmeric lends its beautiful golden hue and earthy notes, while salt enhances all the flavors. Black pepper adds a subtle kick, and a touch of cayenne (optional) can elevate the warmth to your preferred level of spice. These spices not only add incredible depth but also offer various health benefits.
- Coconut Milk: The secret to the rolls’ incredible softness and rich, moist interior is full-fat coconut milk. Its creamy texture and natural sweetness infuse the dough with a distinct tropical aroma and contribute significantly to its tender crumb. While oat milk or soy milk can be used as alternatives, full-fat coconut milk is highly recommended for the best flavor and richness.
- Shredded Coconut: Adding shredded coconut directly into the dough amplifies the coconut flavor and introduces a wonderful textural element. It creates pockets of chewy sweetness throughout the roll. If you prefer a less pronounced coconut texture or don’t have it on hand, you can certainly omit it without compromising the overall deliciousness.
- Tempering (Tadka): The mustard seed and curry leaf tempering is the signature Indian “twist” that elevates these rolls from good to extraordinary. This flavorful drizzle is made by heating oil and allowing mustard seeds to splutter and pop, releasing their pungent, nutty aroma. Fresh (or frozen) curry leaves are then added, infusing the oil with their distinctive, slightly citrusy and aromatic essence. A squeeze of fresh lime juice brightens the entire tempering, adding a zesty finish. Curry leaves can be found in Indian grocery stores or online; fresh or frozen are ideal, but dried can be used if fresh are unavailable. If you can’t find curry leaves, you can omit the tempering, but it truly adds a special touch.
- Aromatics and Seeds: Finely chopped green chilies, onions (a mix of white and green is fantastic), and minced ginger bring fresh, vibrant flavors to the dough. Chia seeds, hemp seeds, or sesame seeds are optional additions that provide a nutritional boost and a pleasant textural contrast.
- Yeast and Baking Powder: Active dry yeast is essential for the rolls’ rise and fluffy texture. Baking powder works in conjunction with the yeast to ensure a light and airy crumb.
- Oil: A touch of oil in the dough contributes to its pliability and softness, and it’s also key for the fragrant tempering.
How to Make Coconut Dinner Rolls
Embark on the journey of creating these exquisite Vegan Coconut Dinner Rolls with confidence. This detailed guide will walk you through each step, ensuring a successful and delicious outcome.
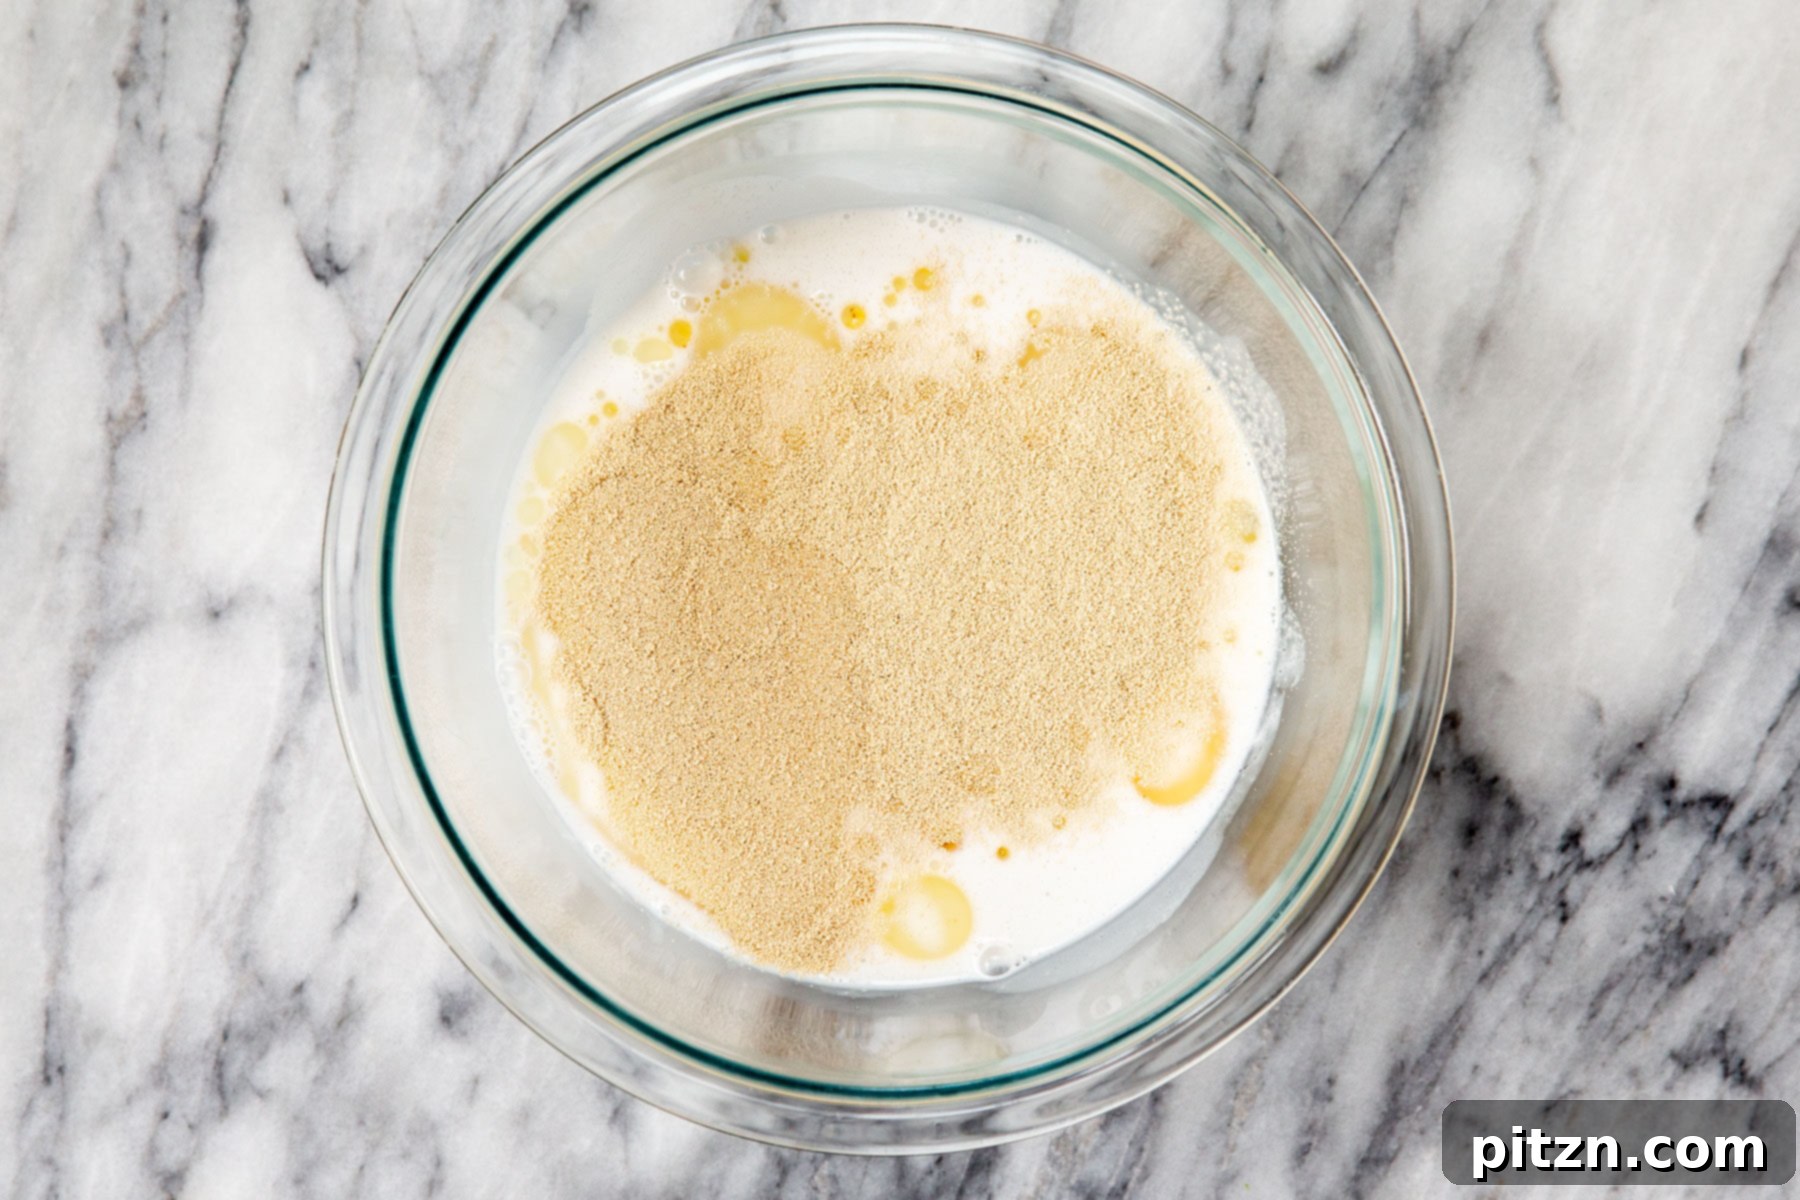
- Activate the Yeast: Begin by gently warming your non-dairy milk. The ideal temperature is comfortably warm, around 105-115°F (40-46°C). If it’s too hot, it will kill the yeast; too cool, and the yeast won’t activate properly. Stir in the oil until well combined. Then, sprinkle the active yeast over this warm liquid. Give it a gentle stir and let it sit for about 5-10 minutes. You’ll know the yeast is active when a frothy layer forms on the surface, resembling a foamy head on a beer. This vital step ensures your rolls will rise beautifully.
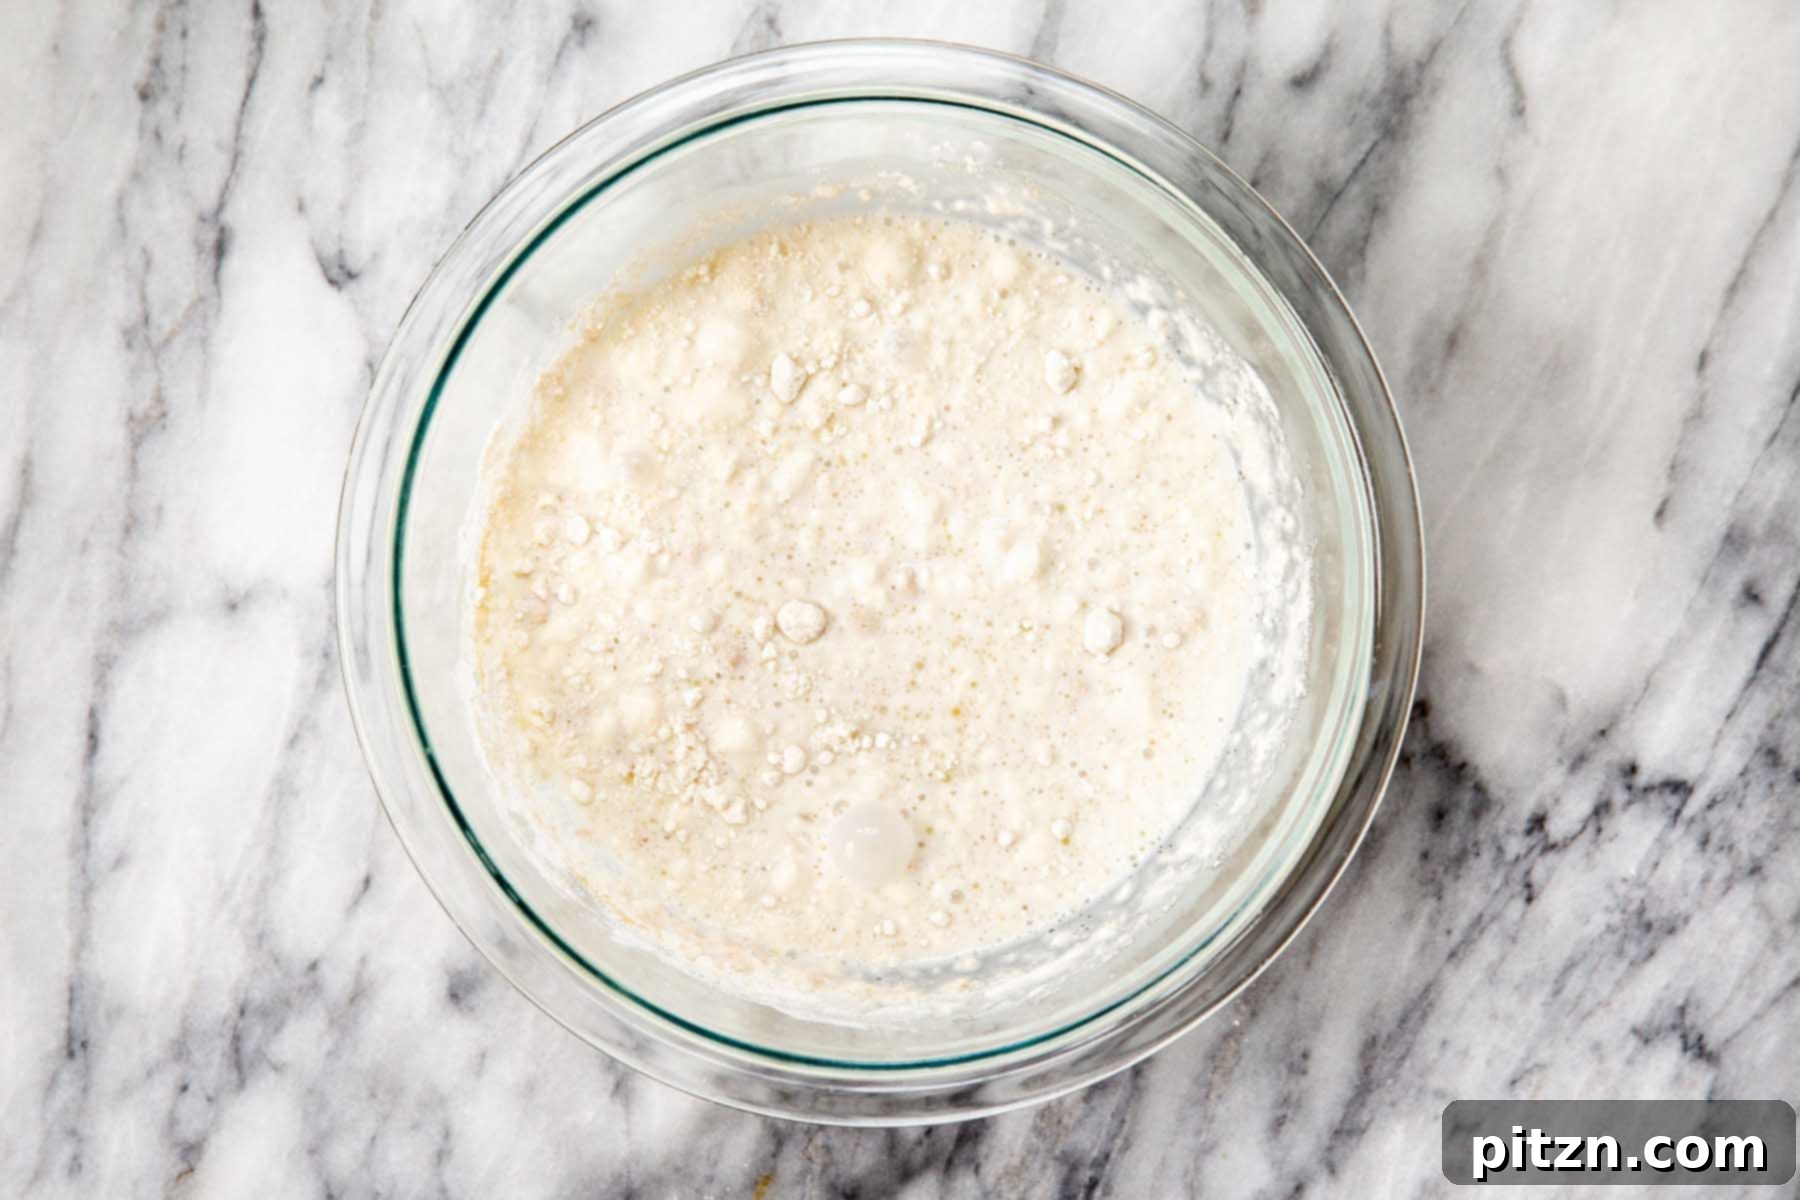
- Prepare the Dough Starter: Once your yeast is active, incorporate 1 cup of all-purpose flour into the yeast mixture. Stir until it forms a smooth, thick batter, often called a “sponge.” Cover this mixture and let it rest for another 10 minutes. This additional resting period allows the yeast to further develop, contributing to the dough’s elasticity and flavor.
- Combine Dry Ingredients: While the sponge rests, in a separate large mixing bowl, combine the remaining 2 cups of all-purpose flour with all the dry spices: salt, turmeric, black pepper, and cayenne (if using). Add the baking powder, shredded coconut (if using), finely chopped green chilies, chopped onion, minced ginger, chia seeds, and hemp or sesame seeds. Whisk these ingredients thoroughly to ensure an even distribution of all the wonderful flavors.
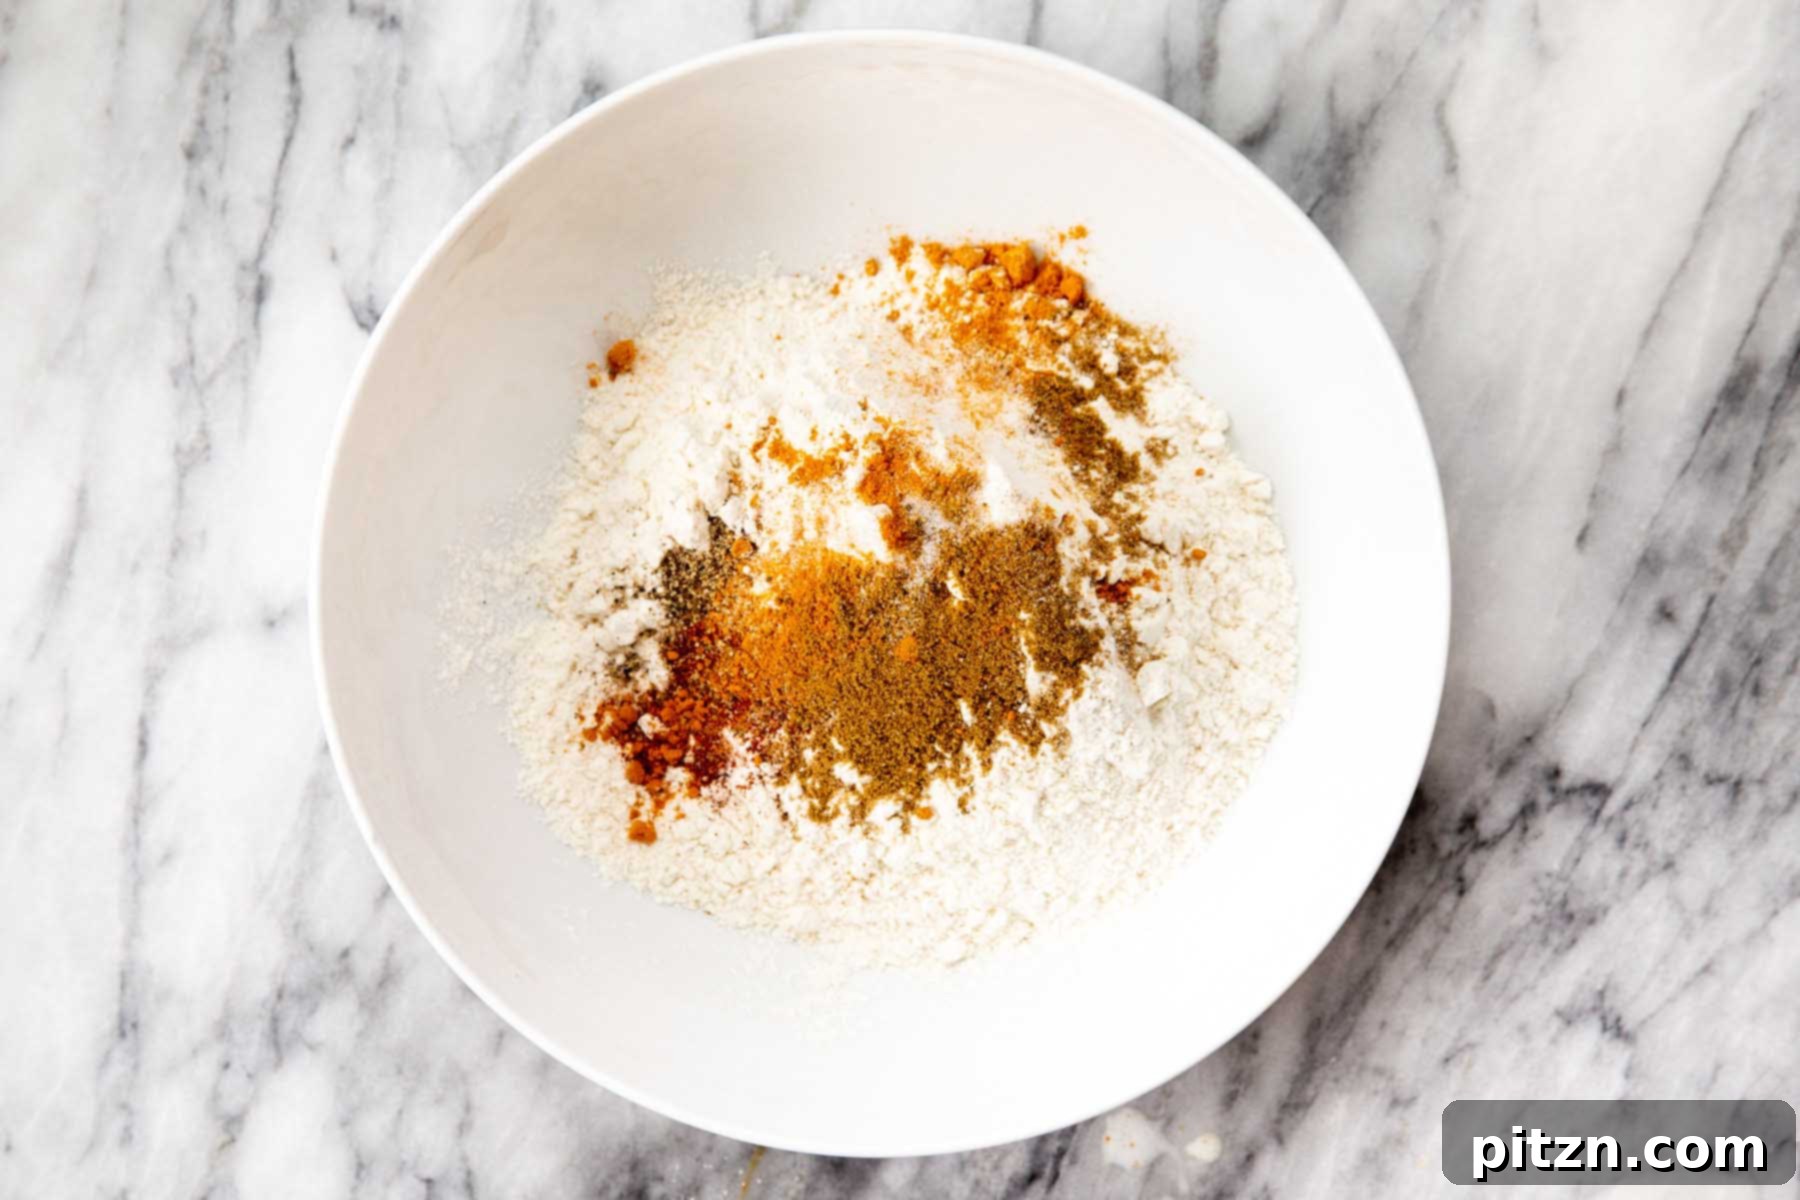
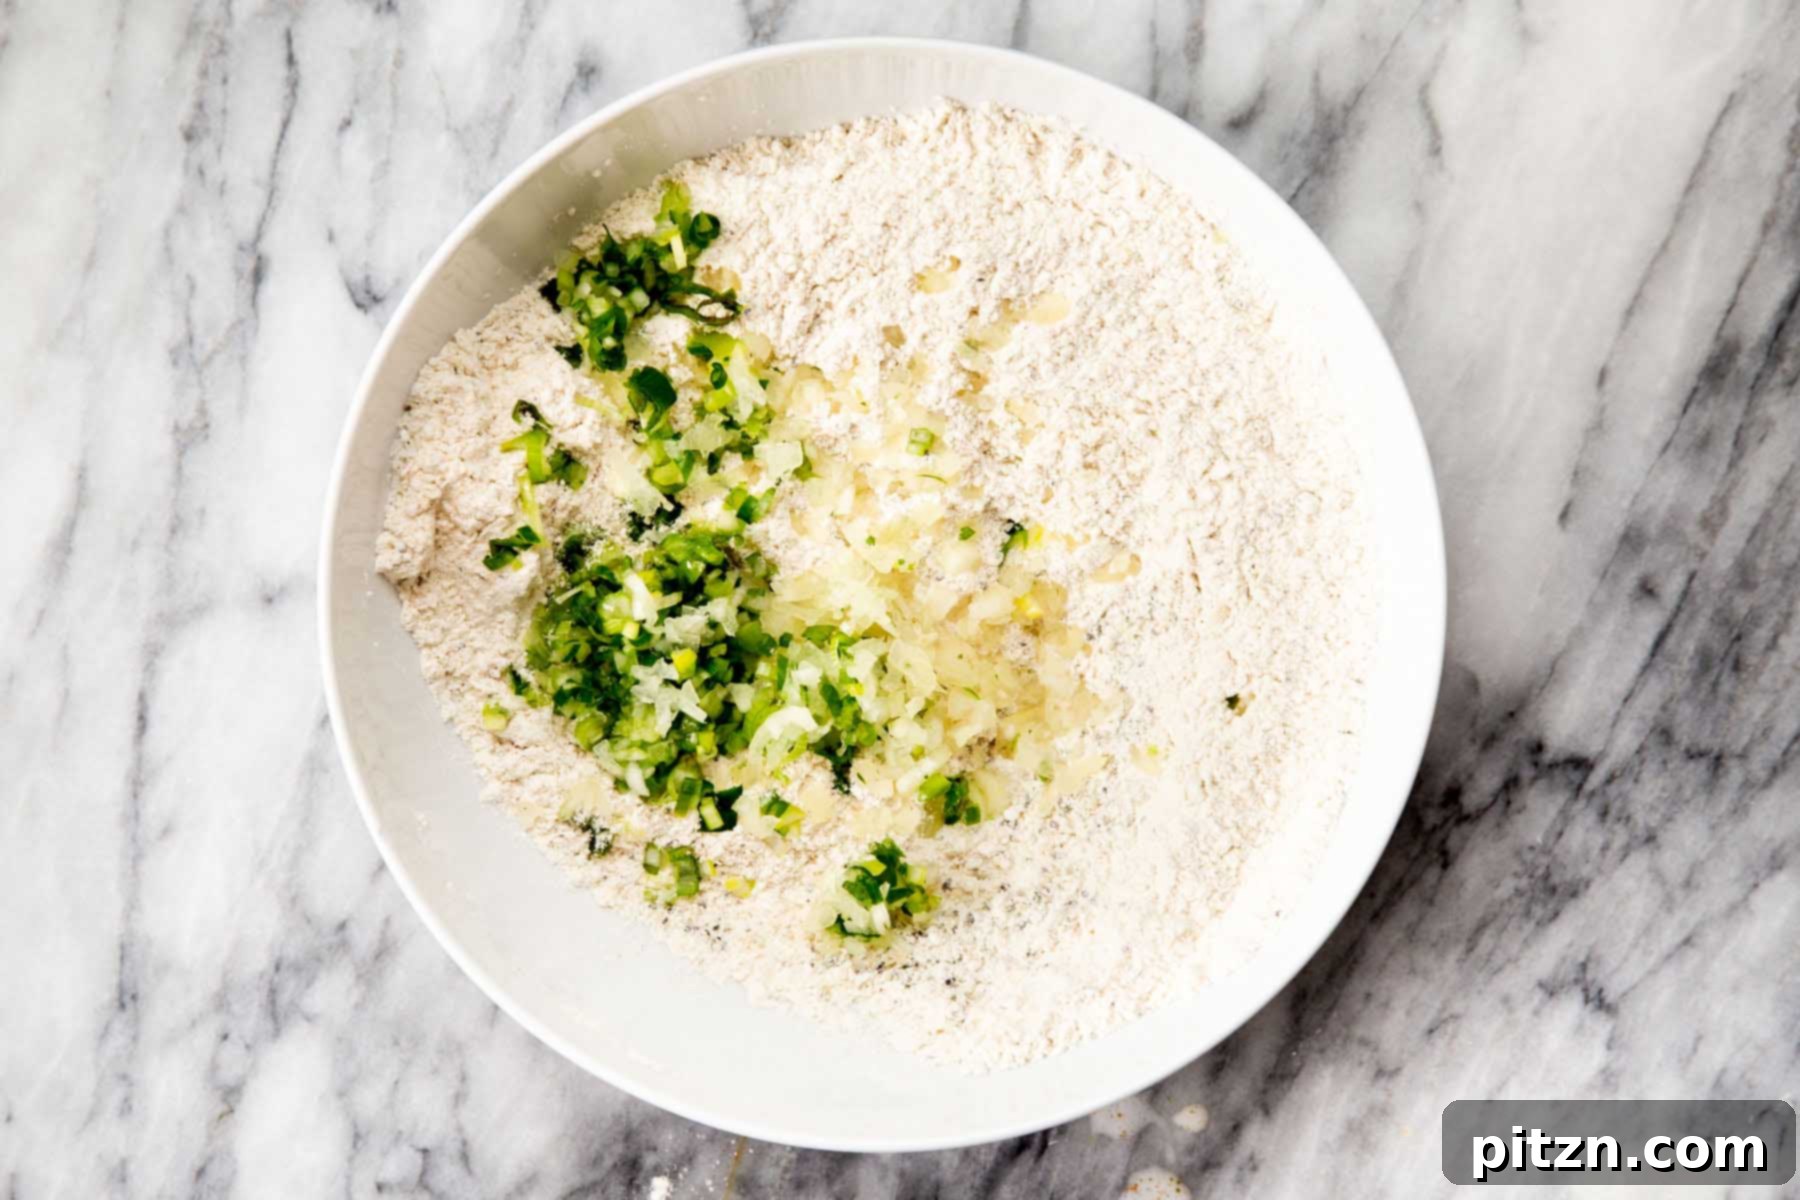
- Form the Dough: Pour the entire yeast sponge mixture into the bowl containing the dry ingredients. Mix everything together. You can use a sturdy spoon, your hands, or a stand mixer with a dough hook. Continue mixing until all the ingredients are well incorporated and a shaggy dough begins to form.
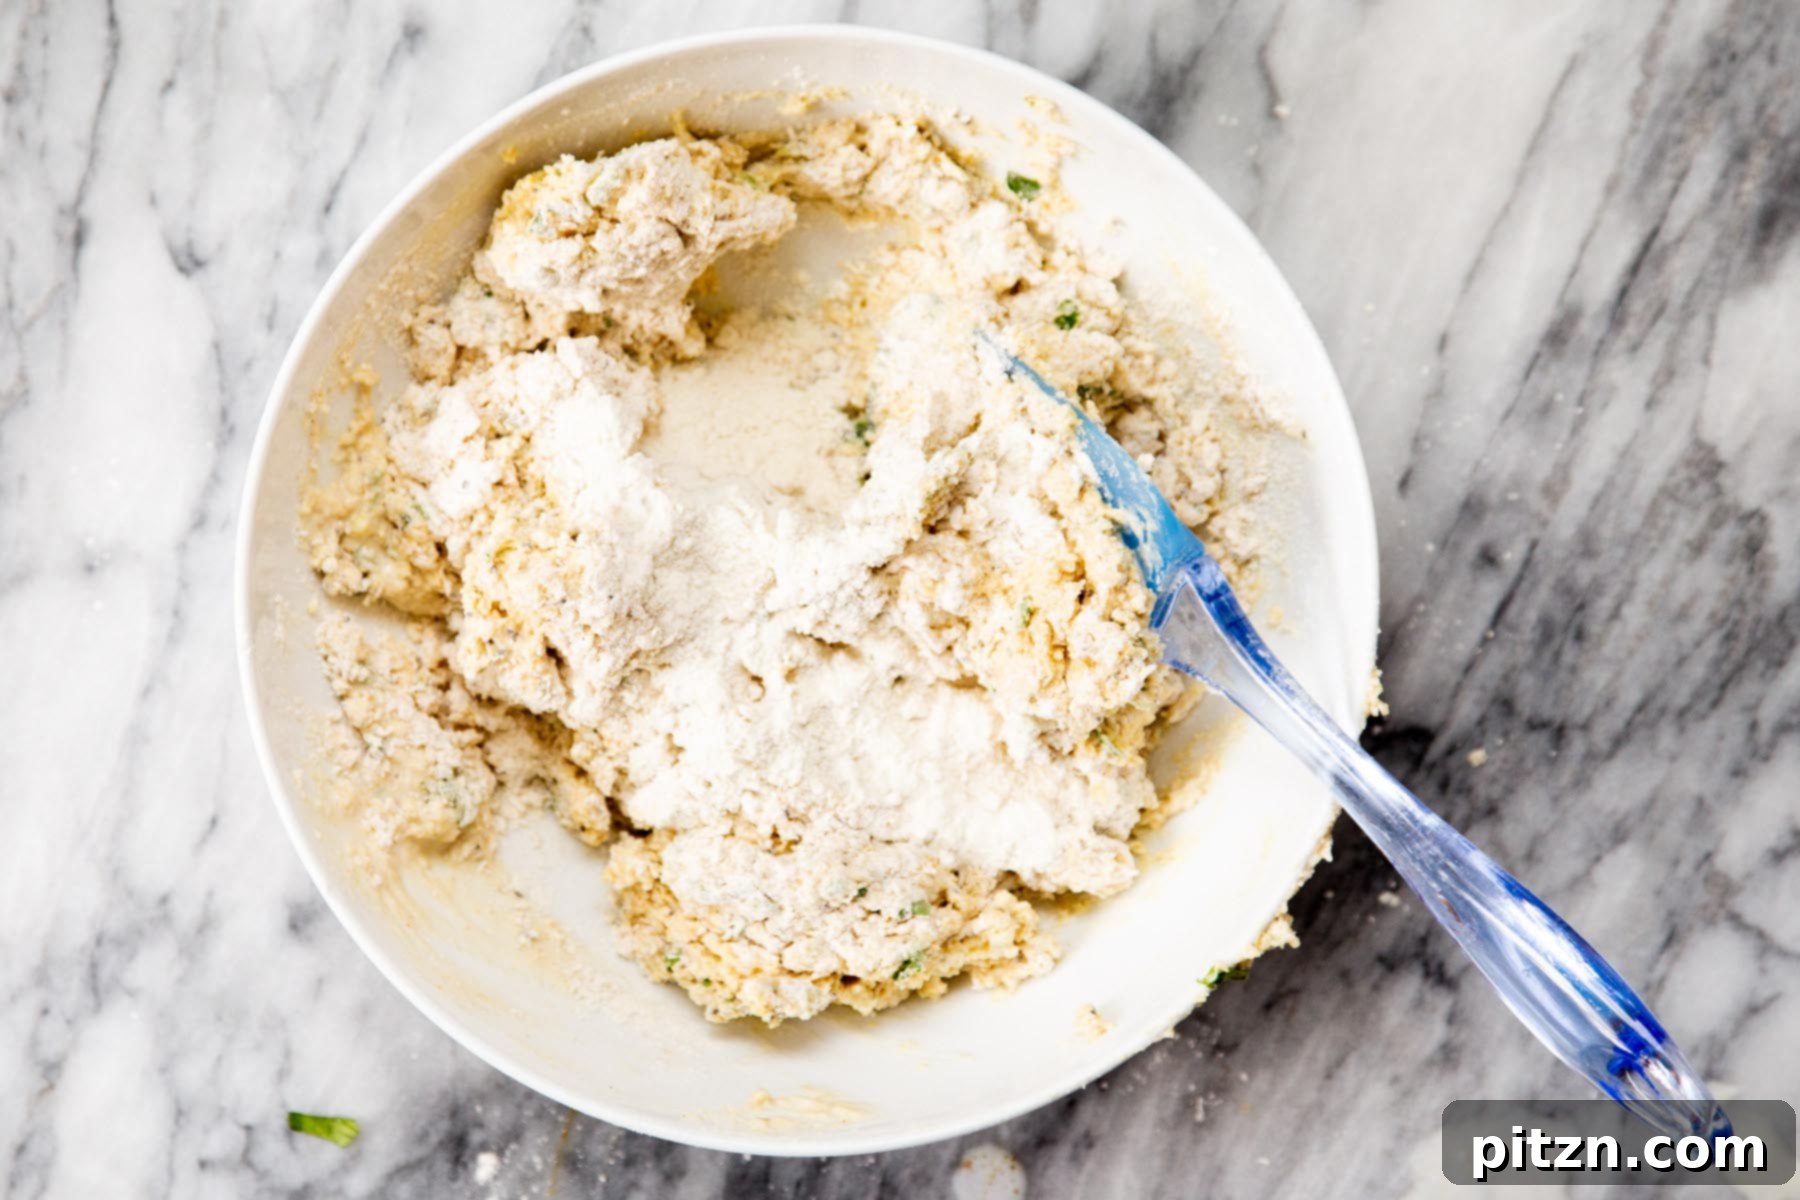
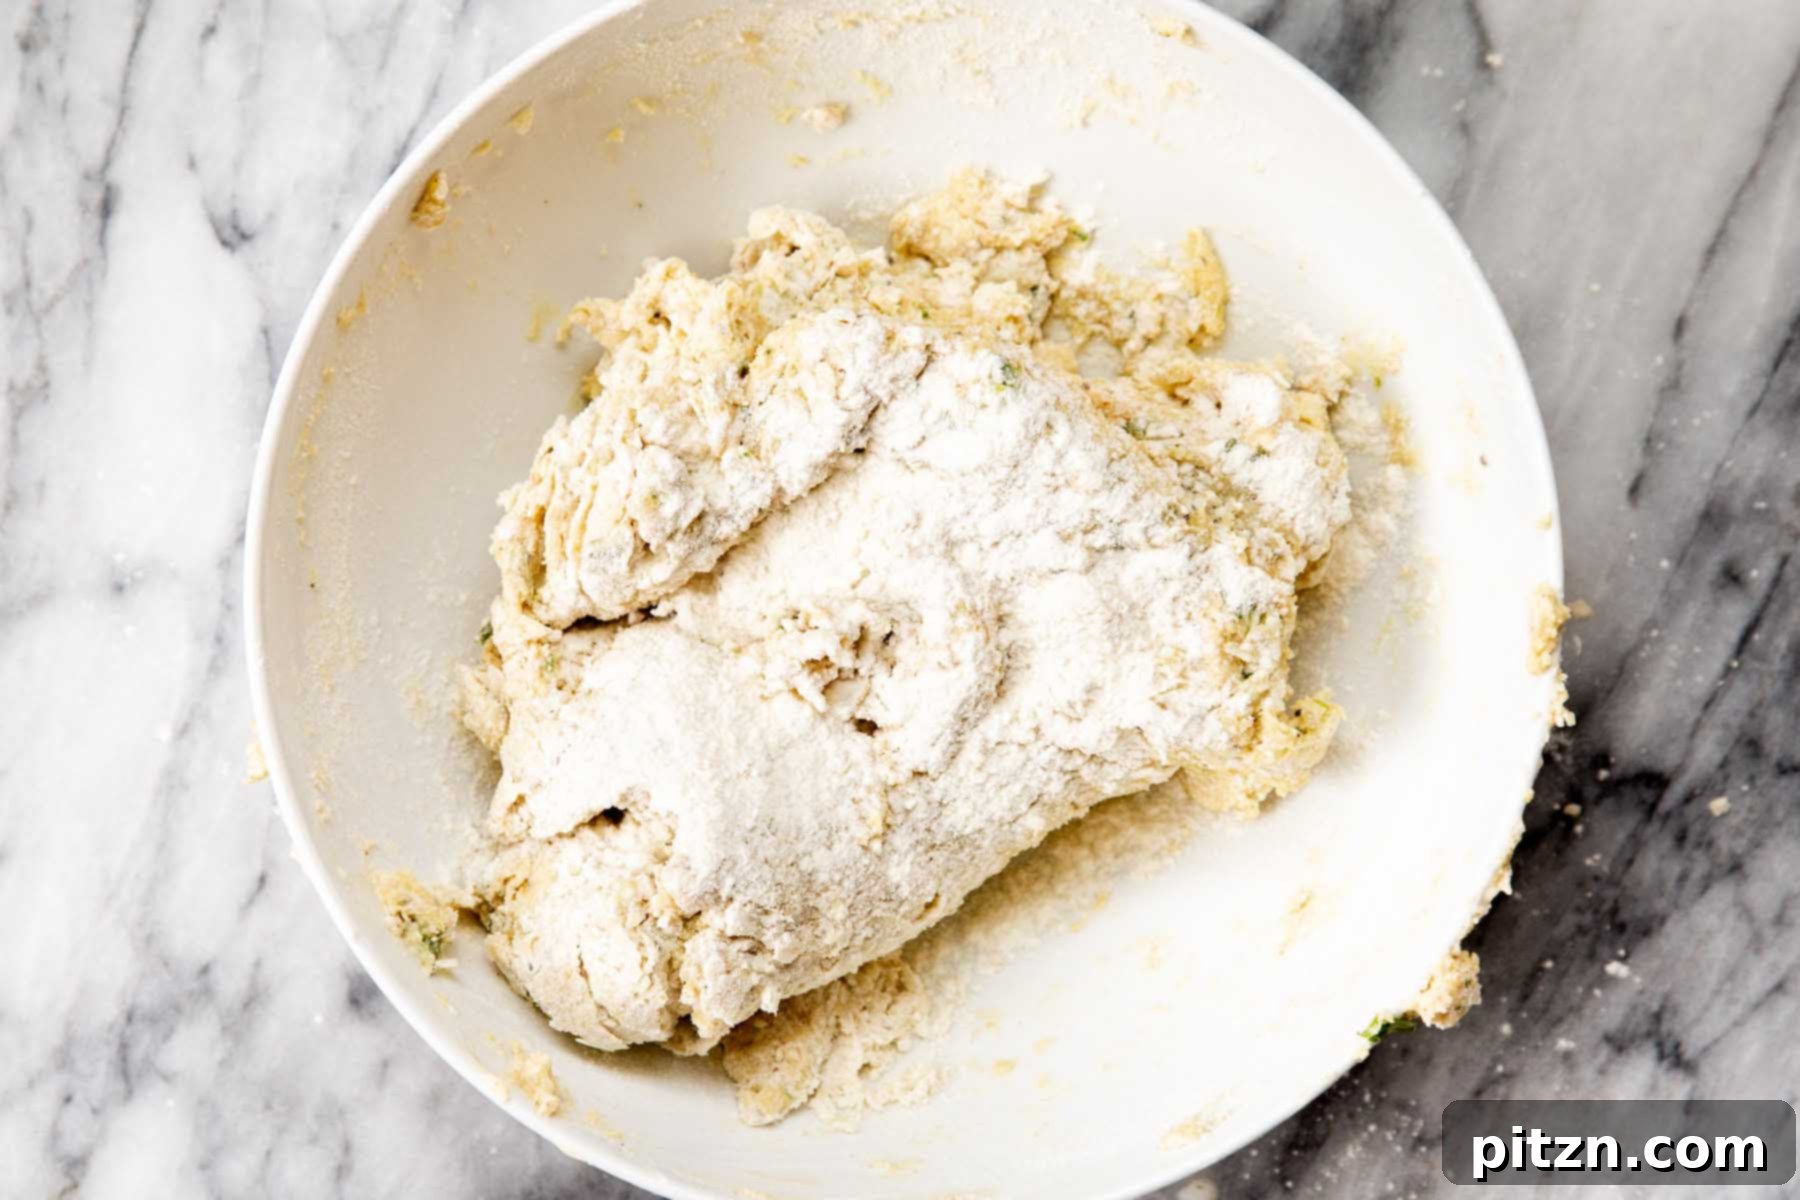
- Adjust Dough Consistency: At this point, the dough might feel quite sticky. This is normal, but if it’s too sticky to handle, add 1-2 tablespoons of flour at a time, mixing well after each addition. Continue this process until the dough comes together into a soft, slightly tacky ball that is manageable but not dry. The goal is a dough that is soft and elastic, which will yield tender rolls. The exact amount of flour needed can vary based on humidity and your specific non-dairy milk.
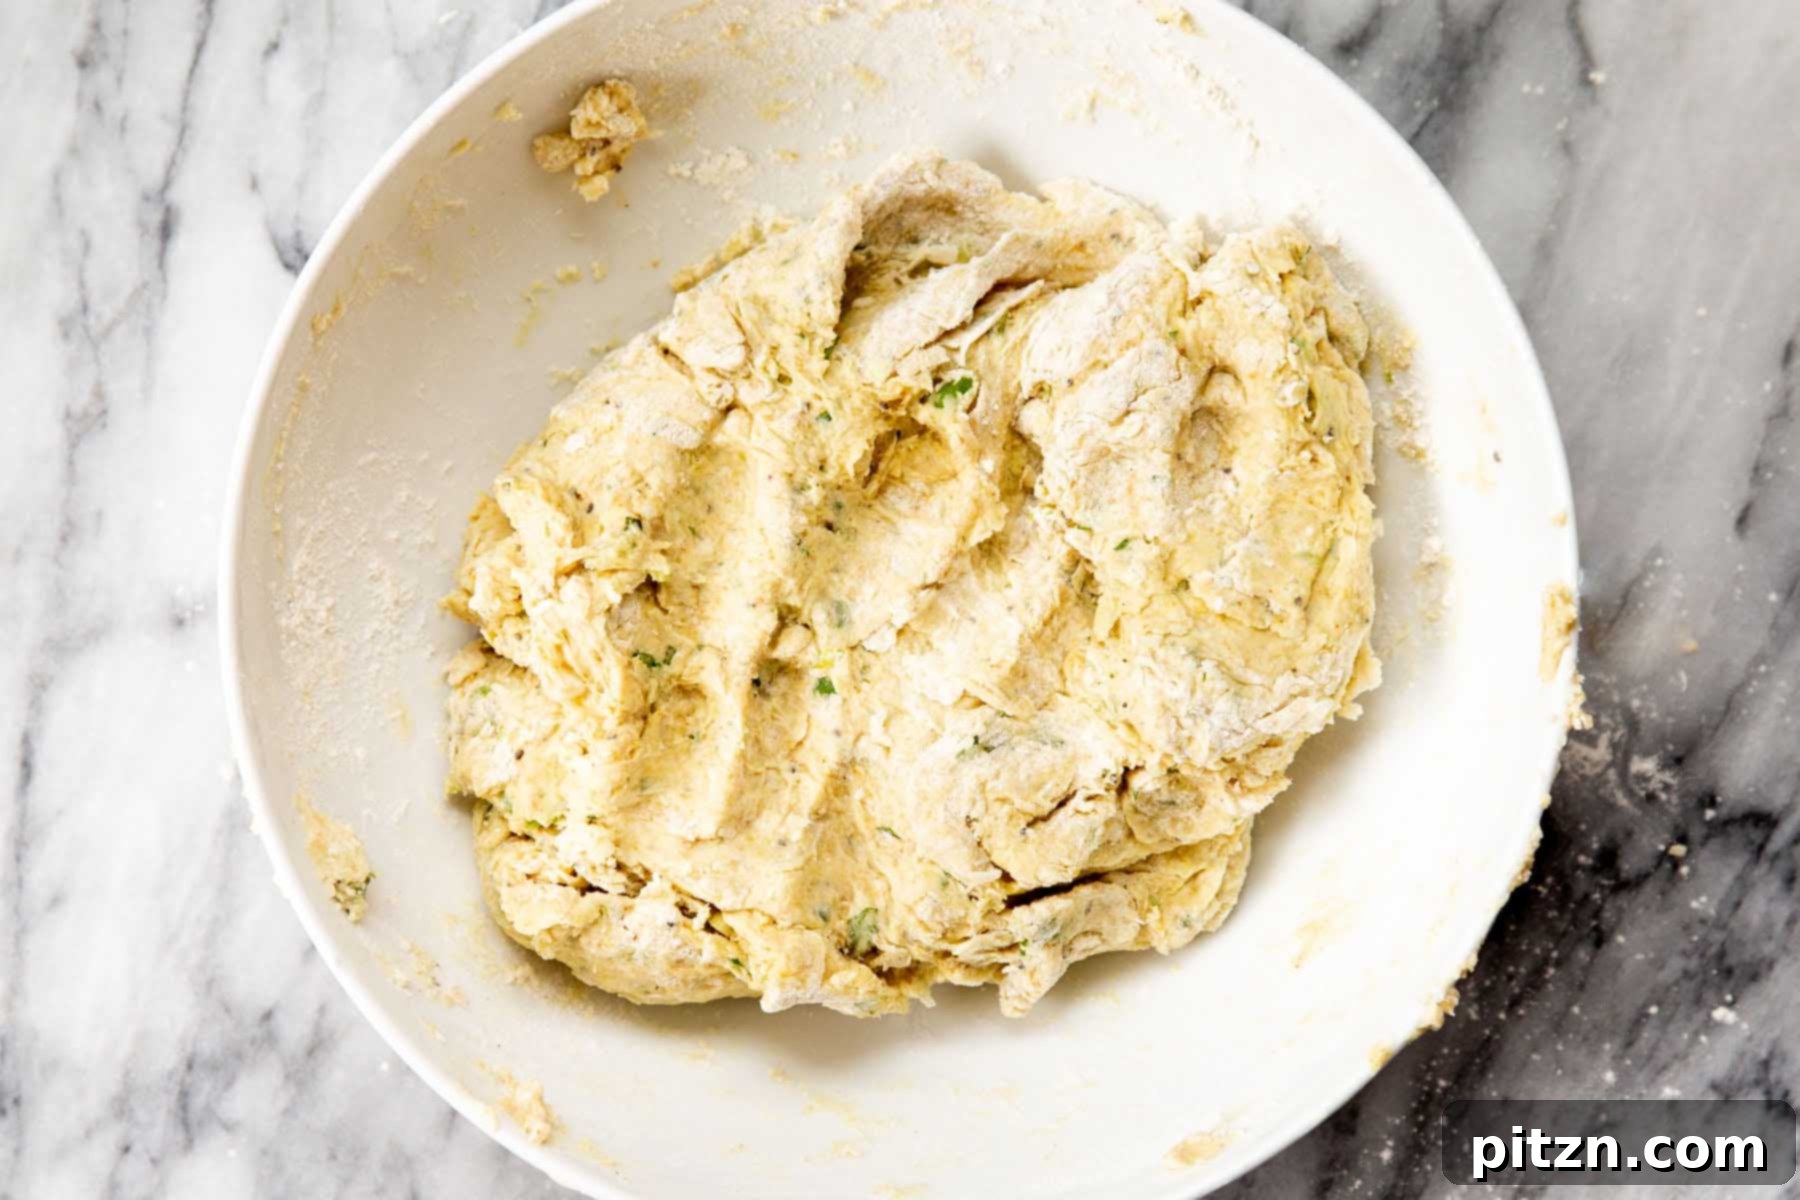
- First Rise (Bulk Fermentation): Place the dough in a lightly oiled bowl, turning it once to coat all sides with oil. Cover the bowl with a clean kitchen towel or plastic wrap to prevent drying. Let it rise in a warm, draft-free spot until it has doubled in size. This usually takes between 40 to 60 minutes, depending on your kitchen’s temperature and the vitality of your yeast. This first rise is crucial for developing flavor and texture.
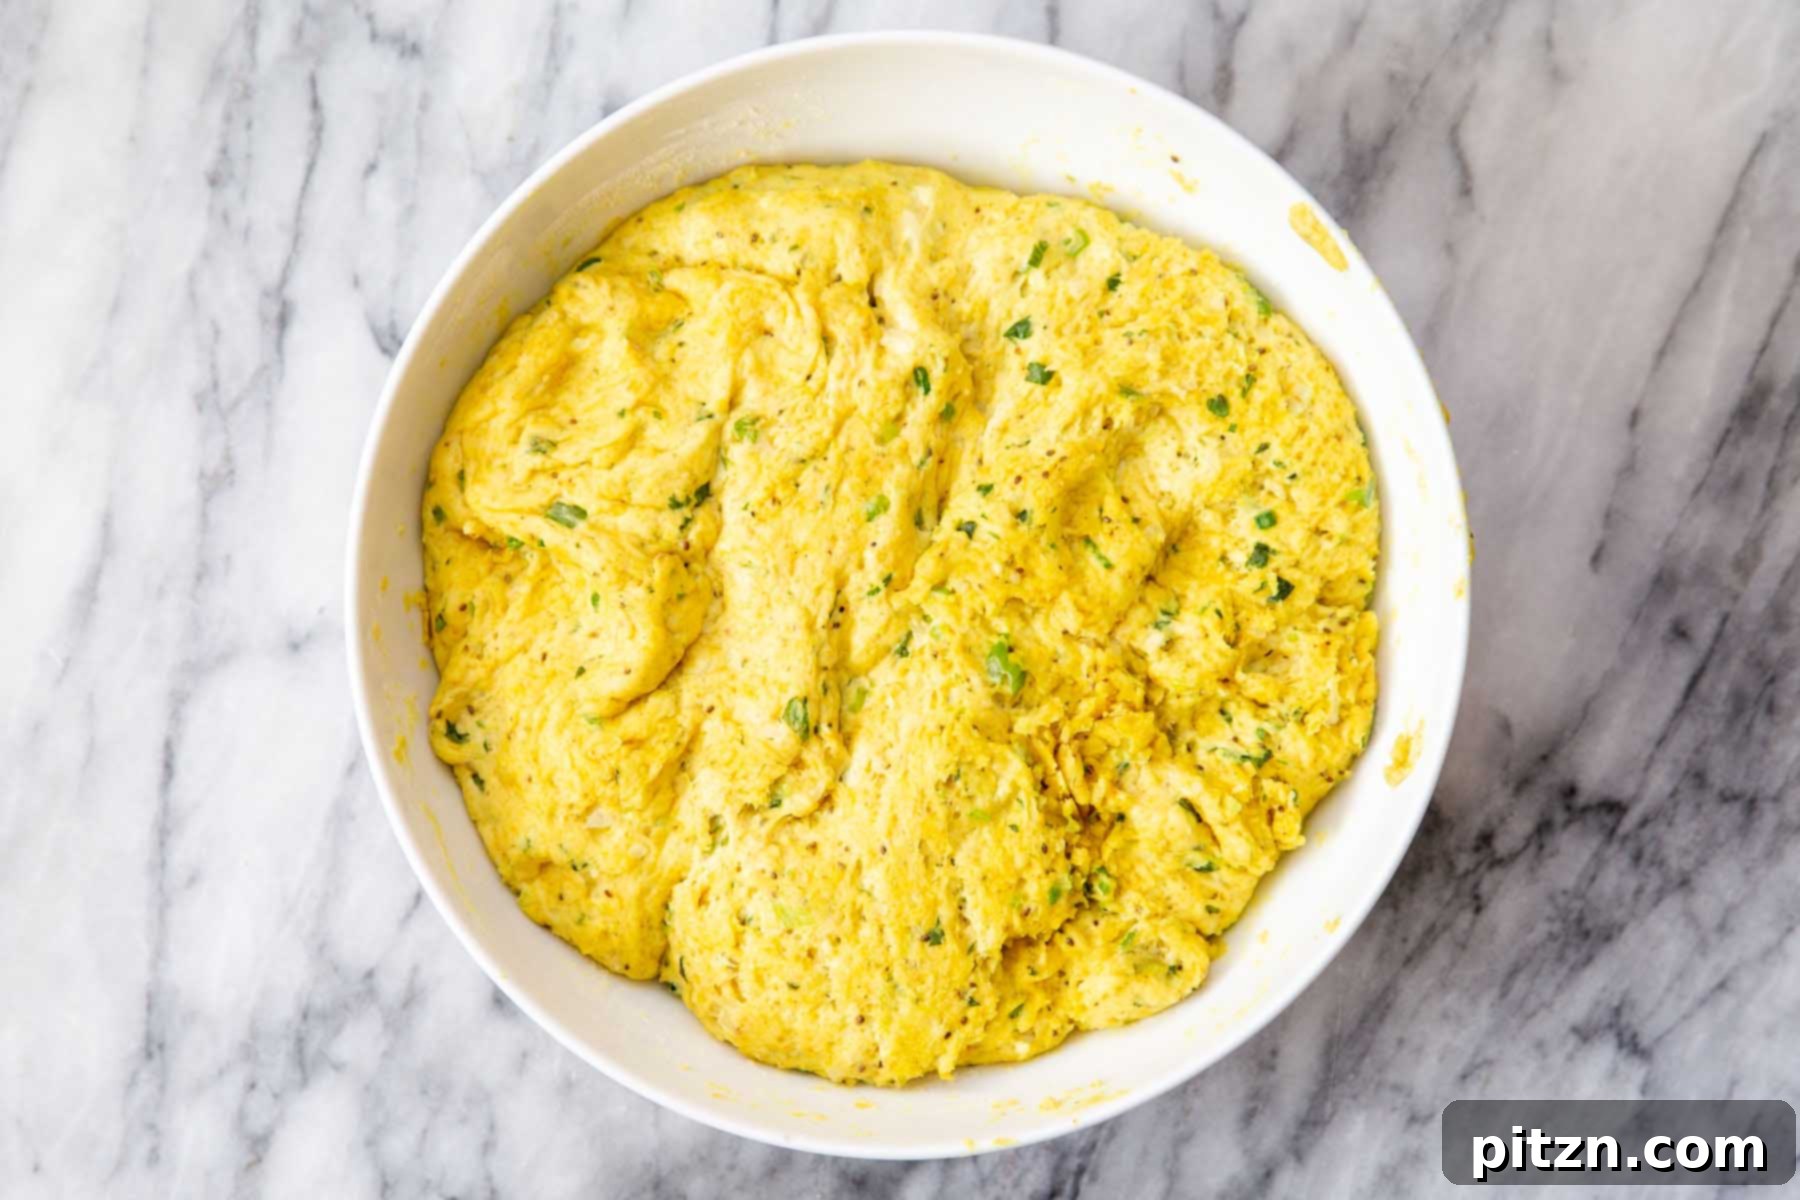
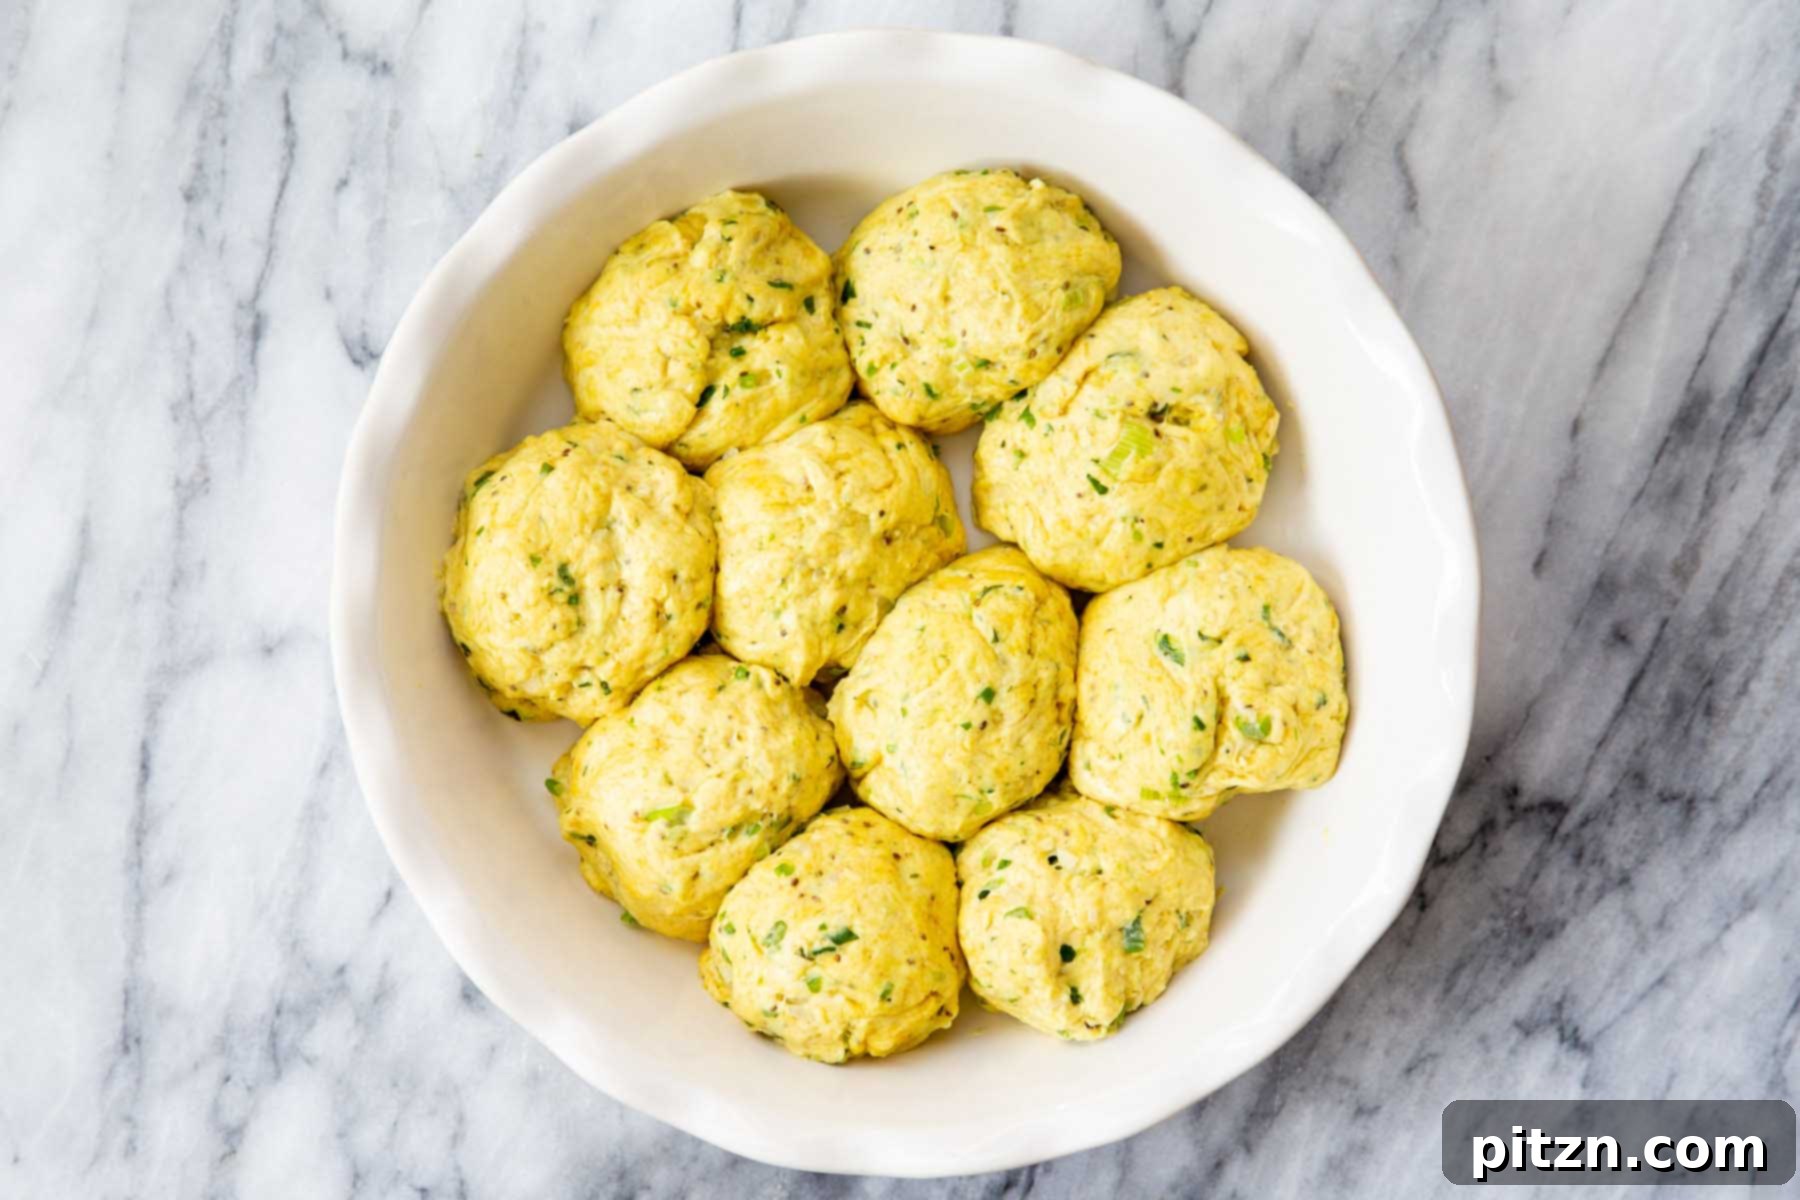
- Shape the Rolls: Once the dough has doubled, gently punch it down to release the air. Transfer the dough to a lightly floured surface. Briefly knead it for about a minute to create a smooth ball. Divide the dough into 10 equal portions. Roll each portion into a smooth, tight ball. Prepare a 9-inch pie dish or a similar round baking pan by greasing it well or lining it with parchment paper. Arrange the shaped dough balls evenly in the dish, leaving a small gap between them as they will expand.
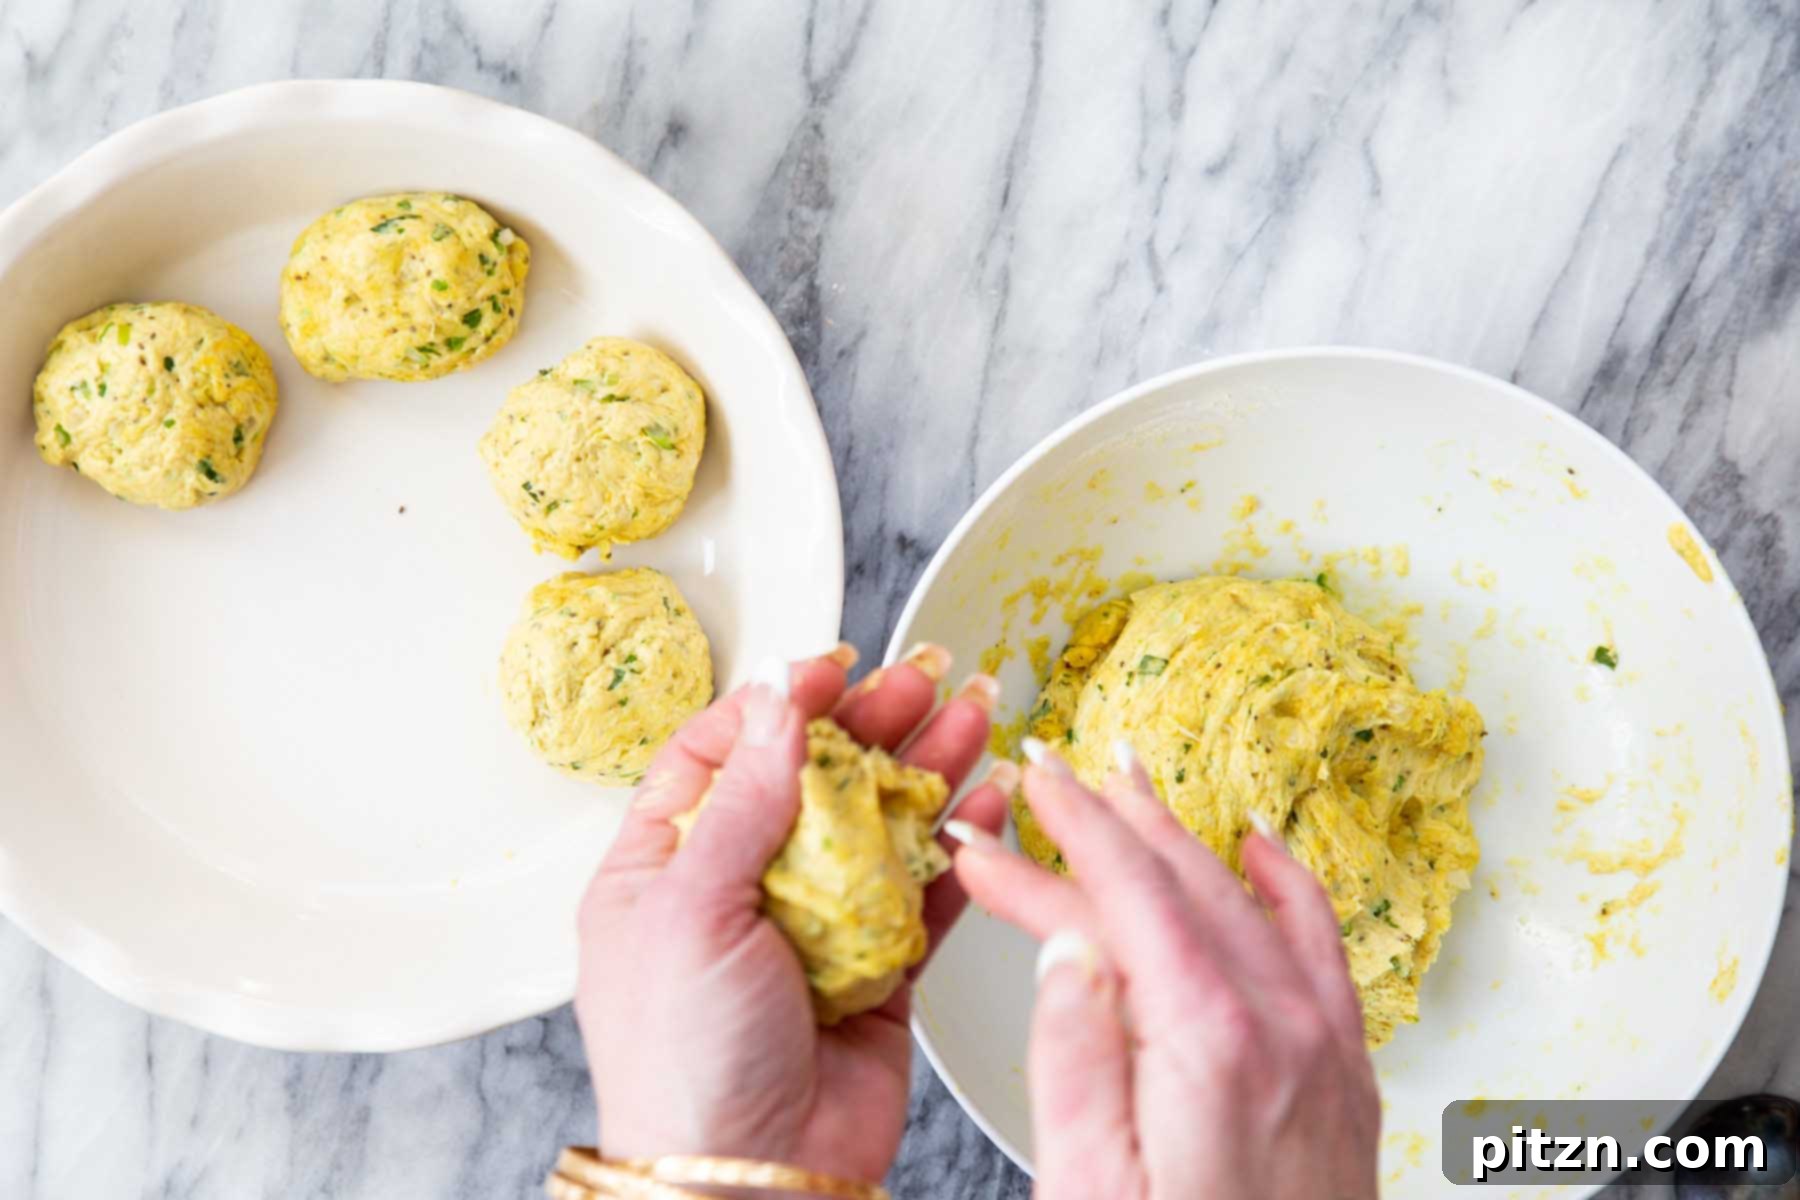
- Second Rise (Proofing): If desired, you can sprinkle some shredded vegan cheese on top of each dough ball at this stage for added flavor and a cheesy crust. Alternatively, brush the tops with a little warm water to help with browning. Cover the pie dish again with a clean kitchen towel and let the rolls rise in a warm place for another 15-20 minutes. This final rise will make your rolls exceptionally light and airy.
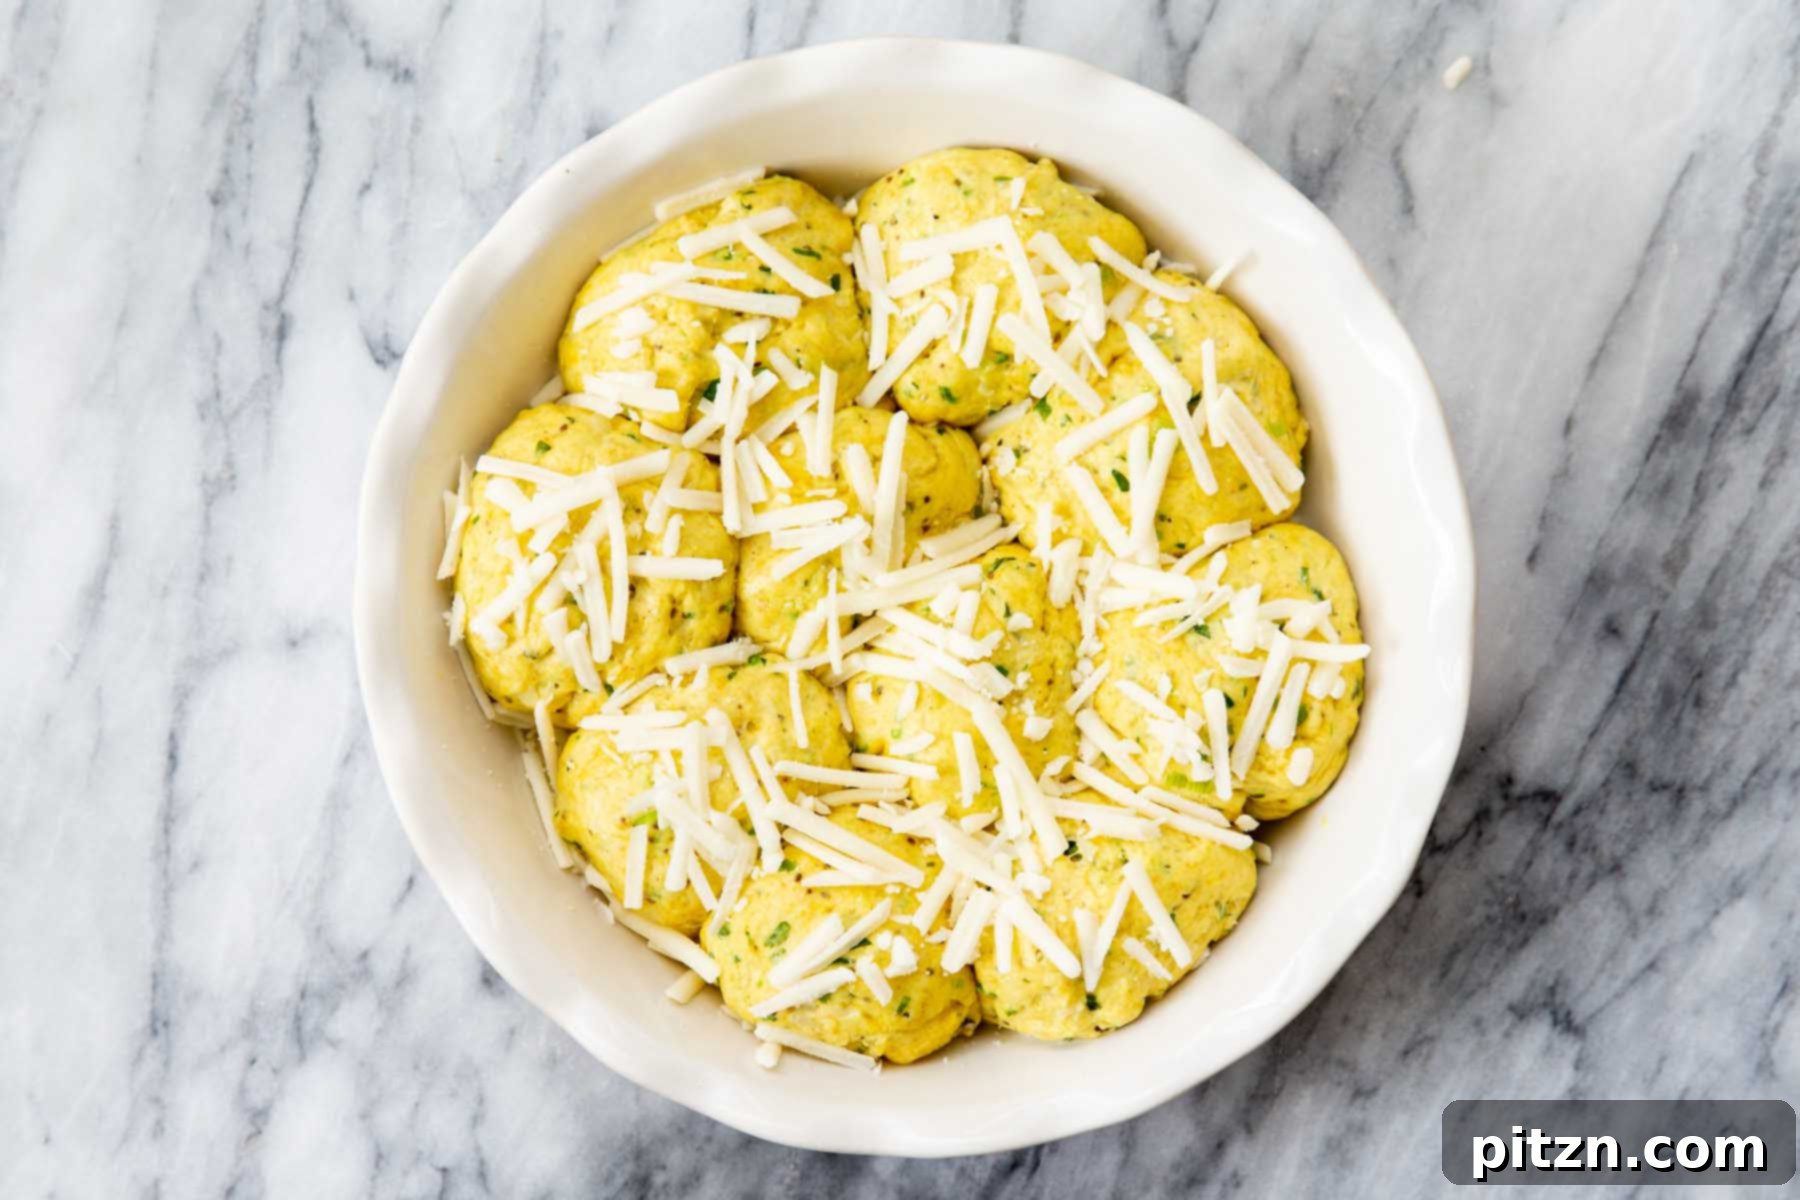
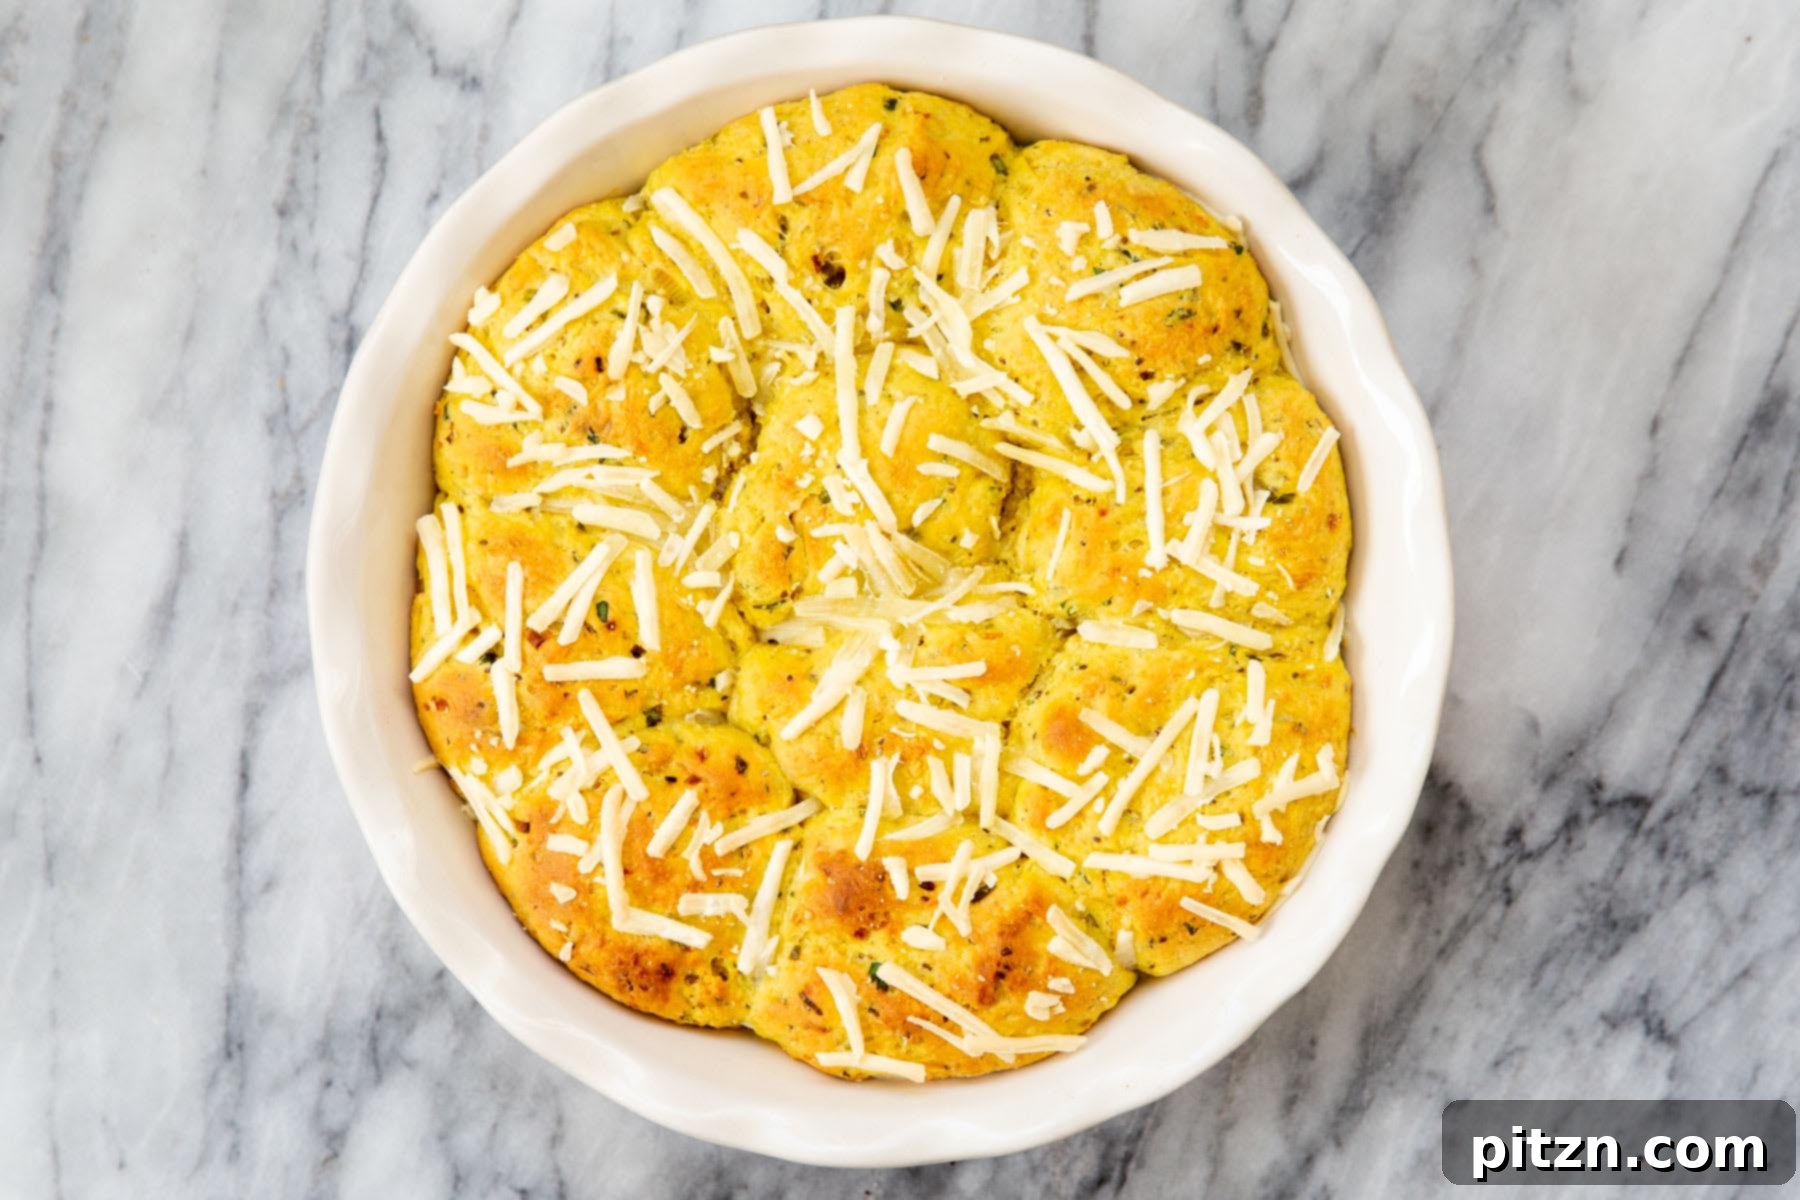
- Bake the Rolls: While the rolls are completing their second rise, preheat your oven to 375°F (190°C). Once ready, place the pie dish into the preheated oven and bake for approximately 25 minutes. The rolls should turn a beautiful golden brown on top. For an extra crisp and darker top, you can turn on the broiler for the last 1-2 minutes, but watch them very closely to prevent burning.
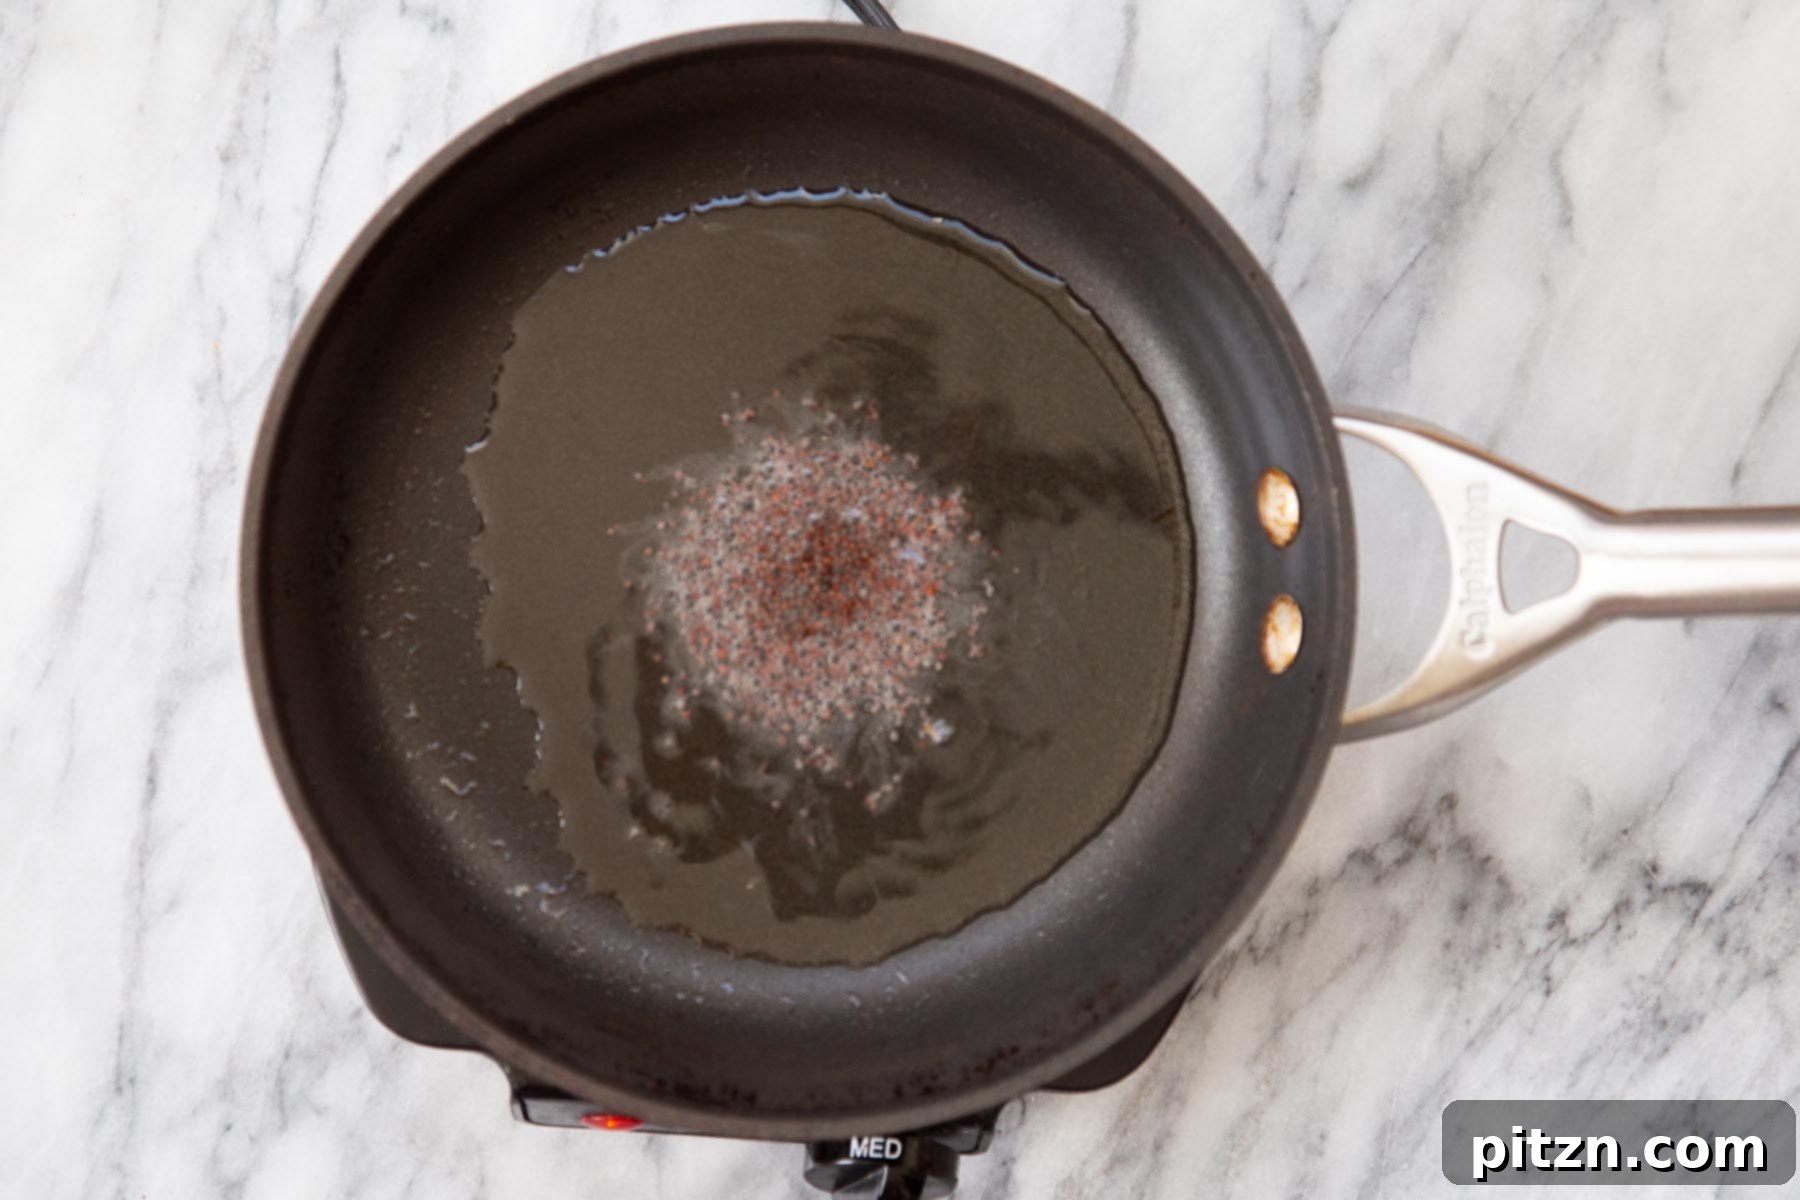
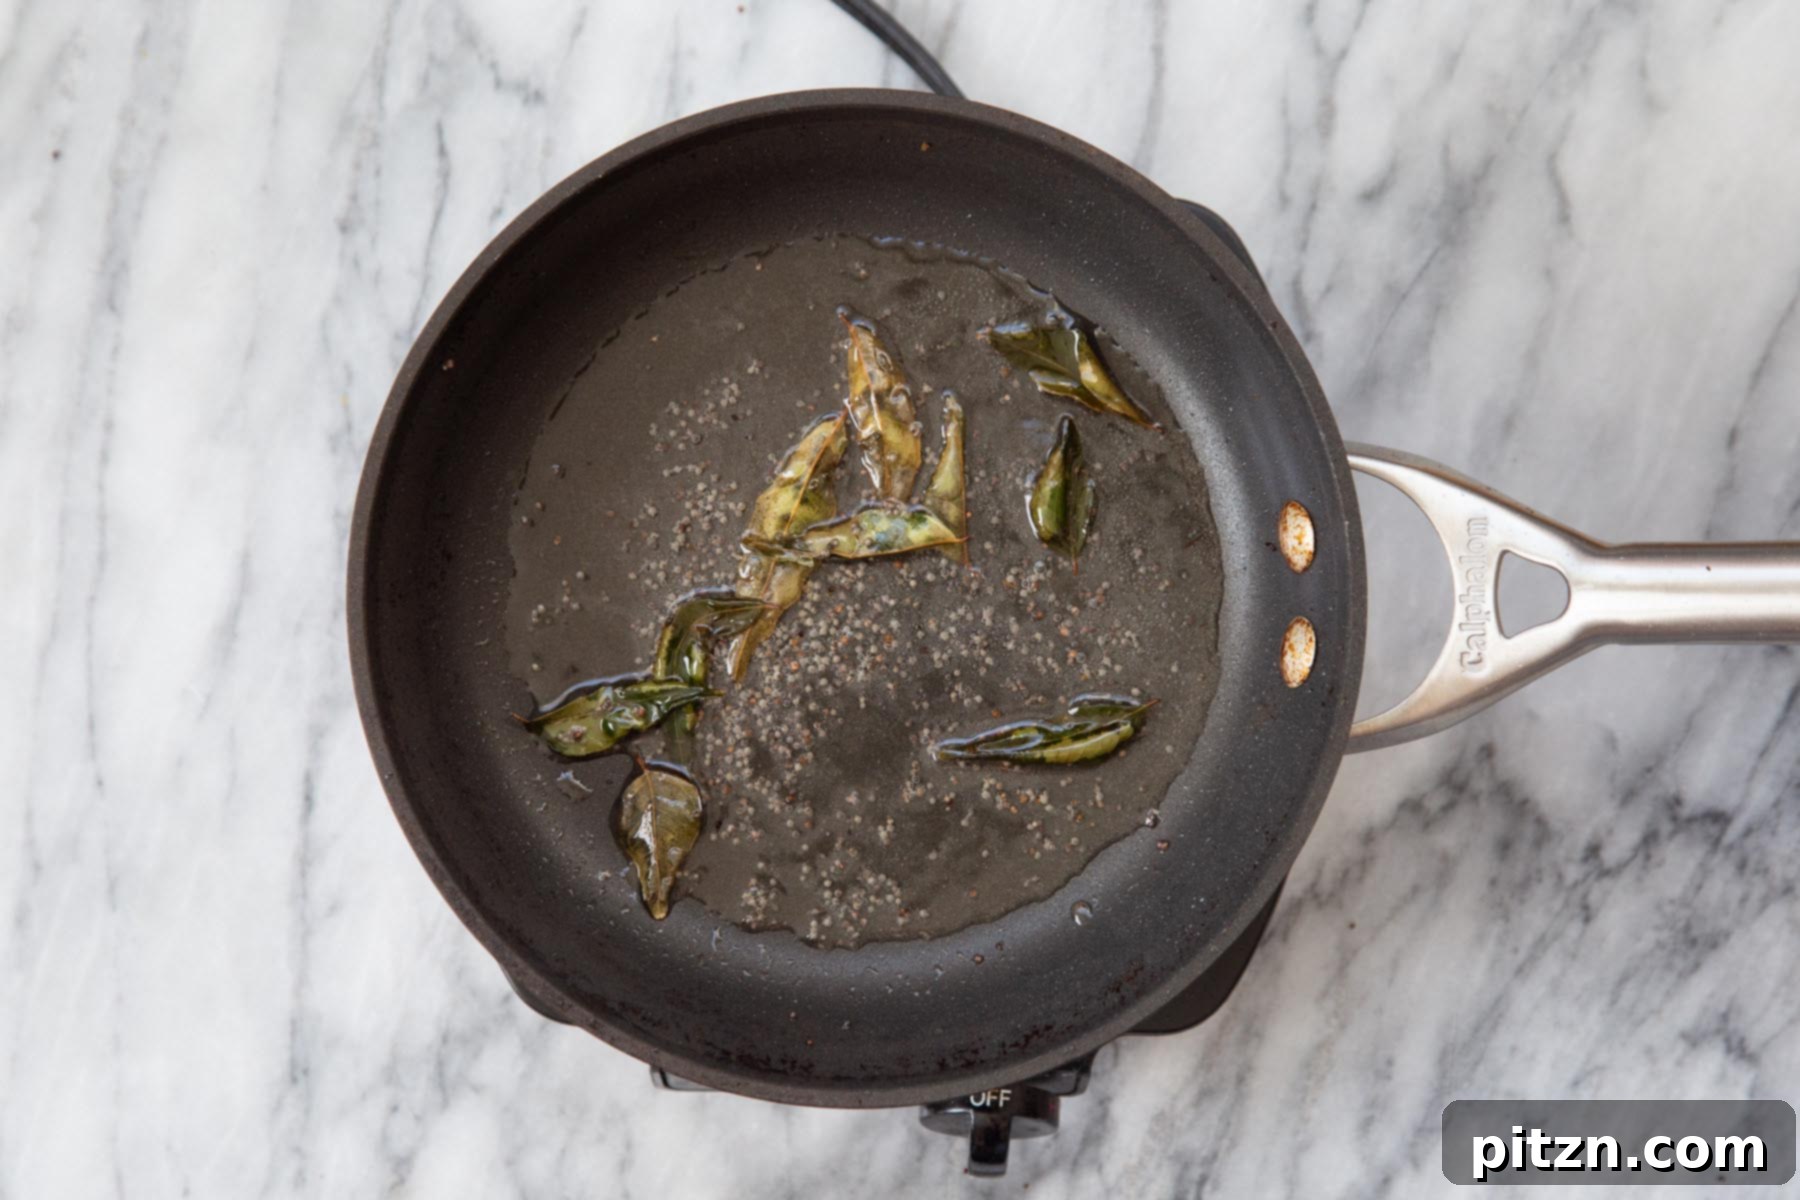
- Prepare the Tempering (Tadka): While the rolls are baking, prepare your aromatic tadka. Heat 2 teaspoons of oil in a small skillet over medium-high heat. Once the oil is hot and shimmering, add 1 teaspoon of mustard seeds. Stand back slightly, as they will begin to splutter and pop rapidly. As soon as they start popping (usually within 10-15 seconds), add the 10 fresh or frozen curry leaves. They will immediately crisp up and release their intoxicating aroma. Remove the skillet from the heat to prevent burning.
- Finish and Serve: Once the rolls are baked, remove them from the oven and let them cool in the pie dish for a few minutes. Then, gently drizzle the freshly prepared mustard seed and curry leaf tempering generously over all the warm rolls. Finally, squeeze 2 teaspoons of fresh lime juice over them. The combination of warm rolls, fragrant tadka, and zesty lime is truly magical.
Serve these incredible Vegan Coconut Dinner Rolls immediately and savor their unique blend of flavors and textures. They are perfect as a side, a snack, or even a light meal!
Expert Tips for the Best Rolls
Achieving perfect, soft, and flavorful coconut dinner rolls is easier than you think with a few expert tips:
- Patience with Rising: The most crucial tip for exceptionally soft rolls is patience during the rising process. Allow your dough to rise to its full potential, even if it takes a little longer than expected. A fully proofed dough will be light and airy, resulting in rolls that are incredibly tender and moist. Rushing this step will lead to dense, heavy rolls.
- Warm Milk is Key: Ensure your non-dairy milk is adequately warmed (105-115°F or 40-46°C) before adding the yeast. This optimal temperature awakens the yeast, allowing it to multiply and create the gases needed for a good rise. If the milk is too cold, the yeast will be sluggish; if too hot, it will be killed. If you accidentally use milk that’s too cool, don’t worry, the dough will still rise, but it might take significantly longer.
- Dough Consistency Matters: The amount of flour needed can fluctuate based on factors like the humidity in your kitchen and the specific brand of coconut milk. Start with the recommended 3 cups, but pay close attention to the dough’s texture. It should be soft, pliable, and slightly tacky to the touch – not overly sticky and difficult to handle, nor stiff and dry. Adjust by adding 1-2 tablespoons of flour at a time until you reach the perfect consistency.
- Don’t Over-knead: While kneading develops gluten, over-kneading can make the rolls tough. Knead until the dough is smooth and elastic, but stop once it reaches this stage. For this recipe, a short kneading period after the initial mix is usually sufficient.
- Warm Environment for Rising: Yeast thrives in warmth. If your kitchen is cool, find a warm spot for your dough to rise. This could be a slightly warmed oven (turned off!), near a sunny window, or on top of a warm appliance.
- Fresh Curry Leaves for Tempering: While dried curry leaves can be used in a pinch, fresh or frozen curry leaves will provide the most potent and authentic aroma for your tempering. They are worth seeking out from an Indian grocery store.
- Watch the Broiler Closely: If you decide to use the broiler for browning the tops of your rolls, exercise extreme caution. Broilers can toast very quickly, and a minute too long can result in burnt rolls. Keep a constant eye on them.
Frequently Asked Questions
Yes, absolutely! This versatile recipe can certainly be adapted to make a delicious savory bread loaf. To do so, follow all the dough preparation steps as instructed, including the first rise. However, instead of dividing the dough into small balls, leave the entire lump of dough intact after the first rise. Gently shape it into a loaf and place it into a greased loaf pan. Allow it to undergo a second rise in the loaf pan, then bake. You’ll need to adjust the baking time: bake it for approximately 20 minutes longer than the recipe suggests for rolls, typically around 45-50 minutes in total. It’s a good practice to check for doneness around the 30-minute mark by inserting a wooden skewer or toothpick; if it comes out clean, the loaf is likely ready. This helps prevent overcooking, ensuring a moist and flavorful loaf.
If your coconut rolls turn out gummy or excessively dense, it’s usually an indication that there was too much moisture relative to the amount of flour in the dough, or perhaps the dough was over-mixed. The key is to achieve a soft, slightly sticky dough that is still manageable. If you notice during the mixing stage that your dough is unusually wet and difficult to work with, simply add a bit more flour, one to two tablespoons at a time, until it reaches a soft and pliable consistency. Also, ensure you don’t over-knead the dough once it comes together; excessive kneading can overdevelop gluten, leading to a chewy, gummy texture rather than a light and fluffy one.
Yes, you can adapt these coconut rolls to be oil-free, though the texture might be slightly different. To do so, omit the oil completely from both the dough and the tempering. When preparing the dough, you’ll likely need a few tablespoons less flour, as the absence of oil changes the overall hydration. I recommend using light coconut milk or another slightly thicker, higher-fat non-dairy milk as a substitute for regular full-fat coconut milk in the dough to help retain some moisture and richness. For the tempering, you can simply skip it. If you still want some of the flavor, you could try a “dry tadka” by lightly toasting the mustard seeds and curry leaves in a dry pan until fragrant, then crumbling them over the rolls with the lime juice. This will impart flavor without added oil.
Absolutely! For a delicious gluten-free version of these coconut dinner rolls, I recommend following the method and ingredient ratios specified in my Gluten-Free Dinner Rolls recipe. You can then incorporate the unique Indian spices (turmeric, black pepper, cayenne, green chilies, ginger, onion, shredded coconut) and top with the flavorful mustard seed and curry leaf tempering from this recipe. Remember that gluten-free doughs can behave differently and may require slightly more attention to consistency and rising times. Using a good quality gluten-free all-purpose flour blend is key for the best results.