
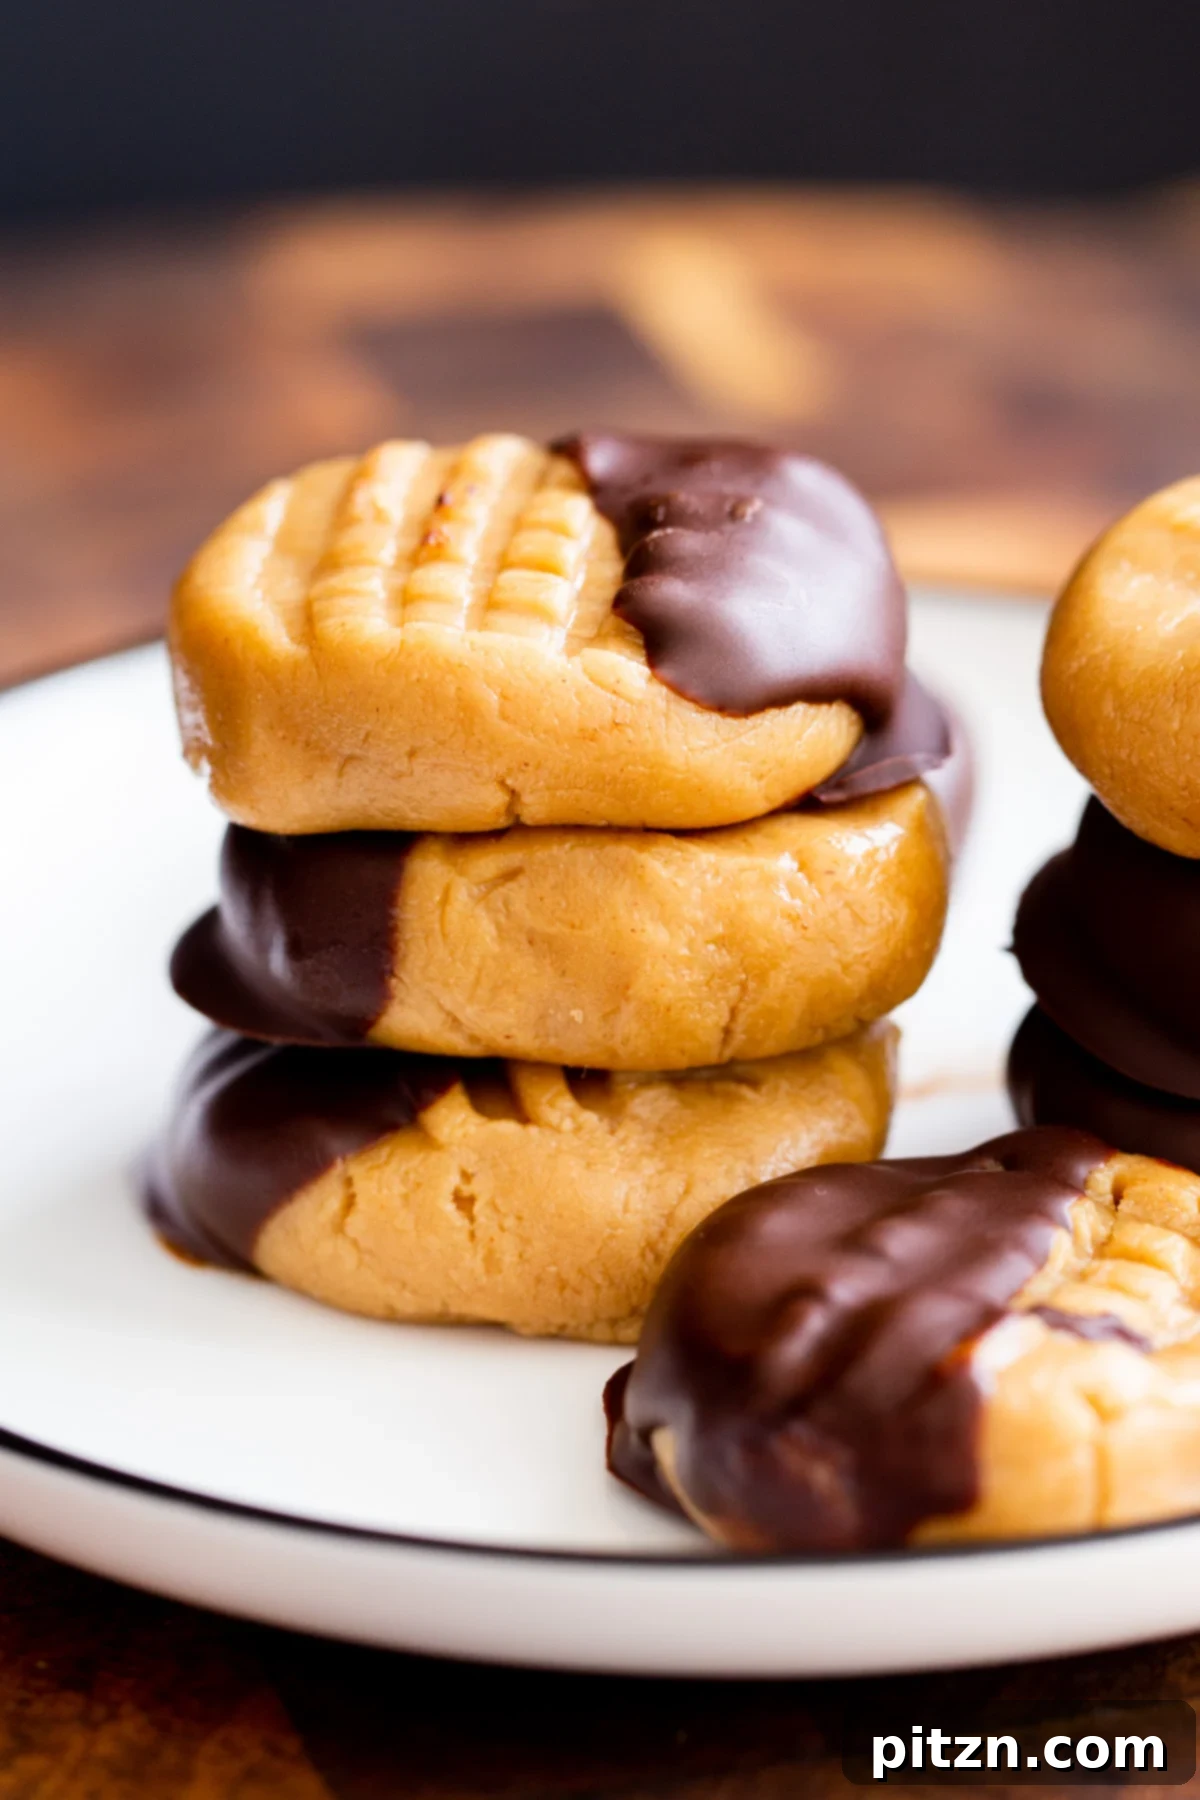
Craving something sweet and satisfying but don’t want to turn on the oven? Look no further! These incredible No-Bake Peanut Butter Cookies are an absolute dream come true. Requiring just a handful of simple ingredients and minimal effort, they come together quickly to deliver a delightful fusion of cookie, fudge, and a quick, irresistible snack. Whether you’re a seasoned baker or a kitchen novice, this recipe guarantees delicious results every time. It’s the perfect treat for warm weather, busy days, or whenever that sweet tooth calls for a quick fix.
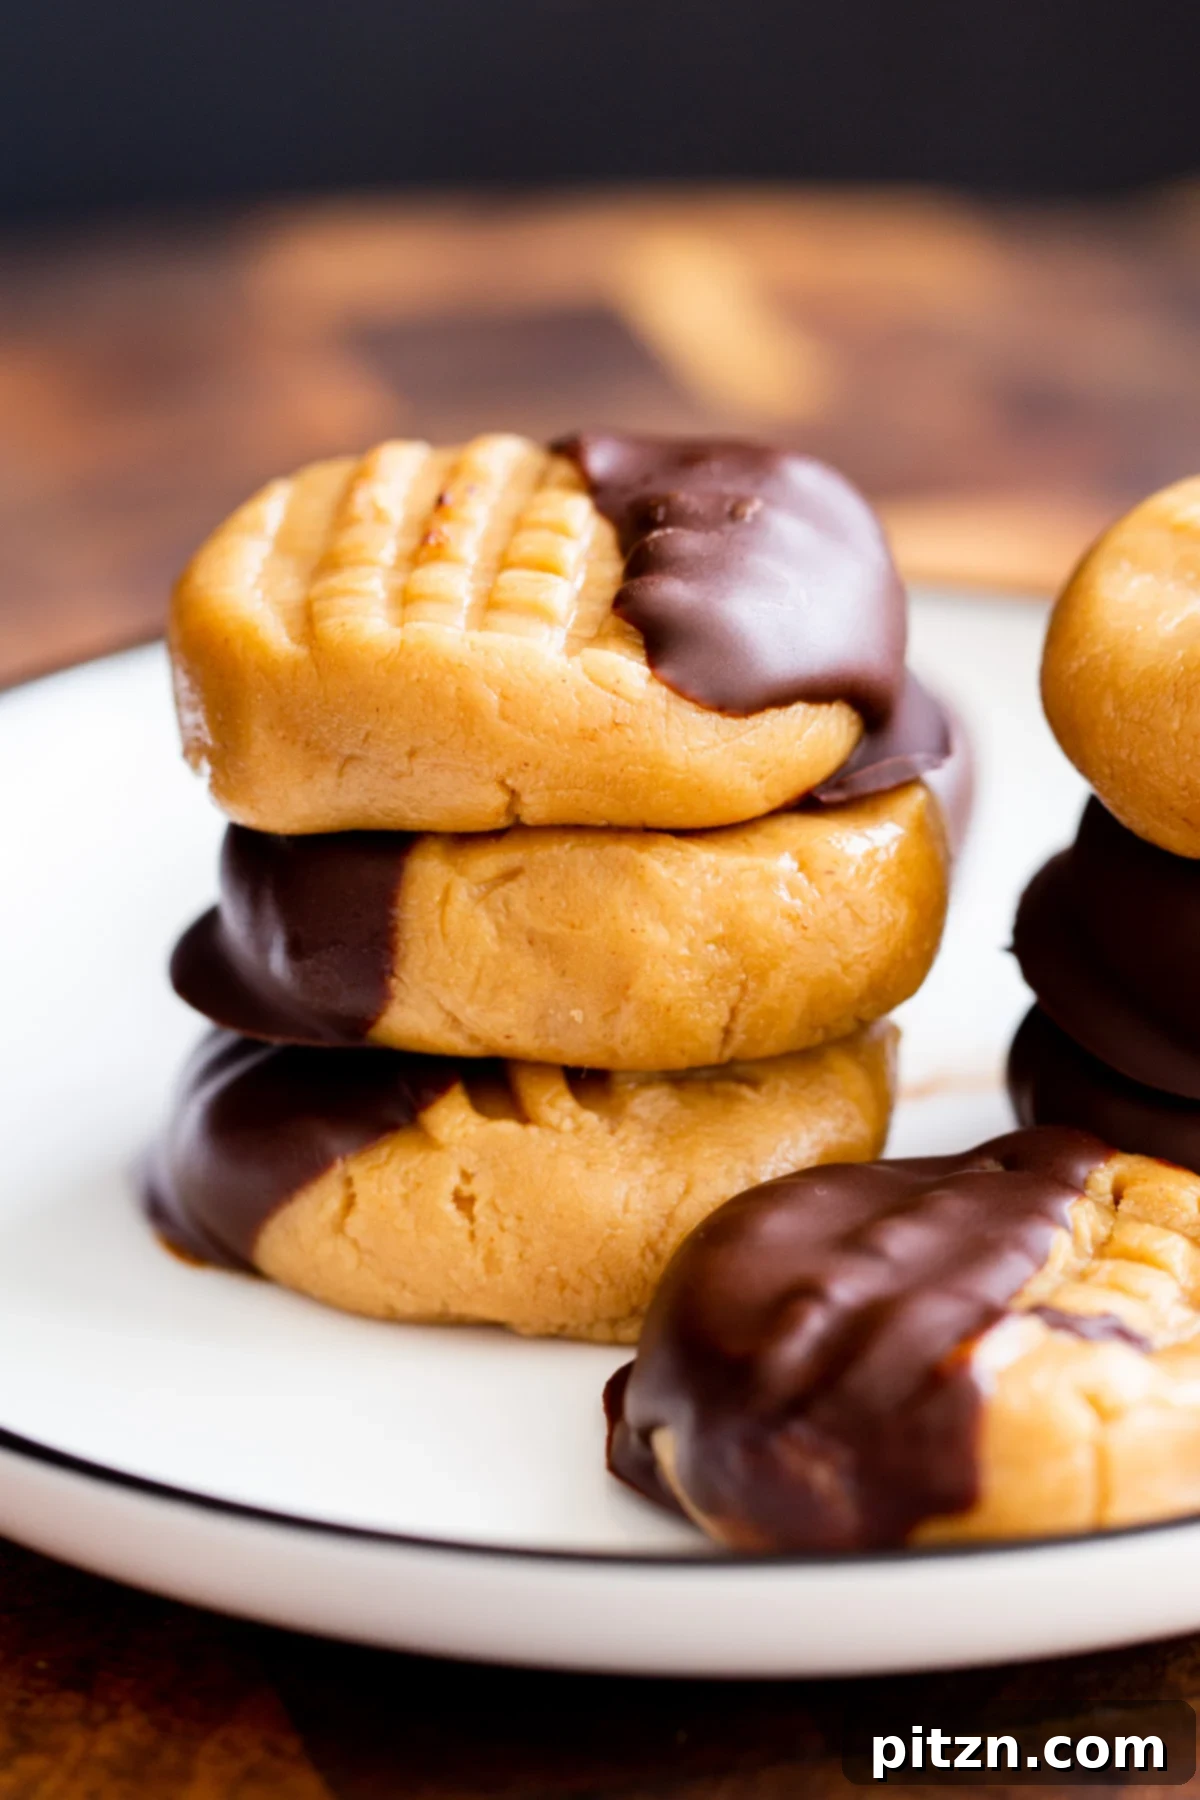
These Peanut Butter & Chocolate No-Bake Cookies have quickly become a cherished favorite in our home, and we’re confident they’ll win your heart too. Their effortless preparation means you can whip up a batch in virtually no time, eliminating the need for any baking. This makes them an ideal solution for those without an oven, or when the mercury rises and the thought of heating your kitchen is unbearable. Imagine sinking your teeth into a rich, creamy peanut butter cookie, enveloped in a crisp layer of chocolate, all without a single minute of baking!
Why You’ll Fall in Love with These No-Bake Cookies
There are countless reasons to adore these simple yet decadent no-bake cookies. Beyond their incredible taste, their convenience is unmatched. Here’s why they’re a must-try:
- Effortlessly Easy: With only 5 core ingredients and no baking required, this recipe is perfect for beginners or anyone looking for a stress-free dessert.
- Quick to Prepare: From mixing to chilling, these cookies are ready in about 30 minutes of active time, making them ideal for last-minute cravings or entertaining.
- Perfect for Any Weather: No oven means no added heat to your kitchen, making them the ultimate summer treat, though they’re equally enjoyable year-round.
- Customizable for Dietary Needs: Easily adapt the recipe to be peanut-free, nut-free, or gluten-free, ensuring everyone can enjoy these delightful bites.
- Rich & Satisfying: They hit all the right notes – the creamy texture of fudge, the comforting flavor of a cookie, and the satisfying richness of peanut butter and chocolate.
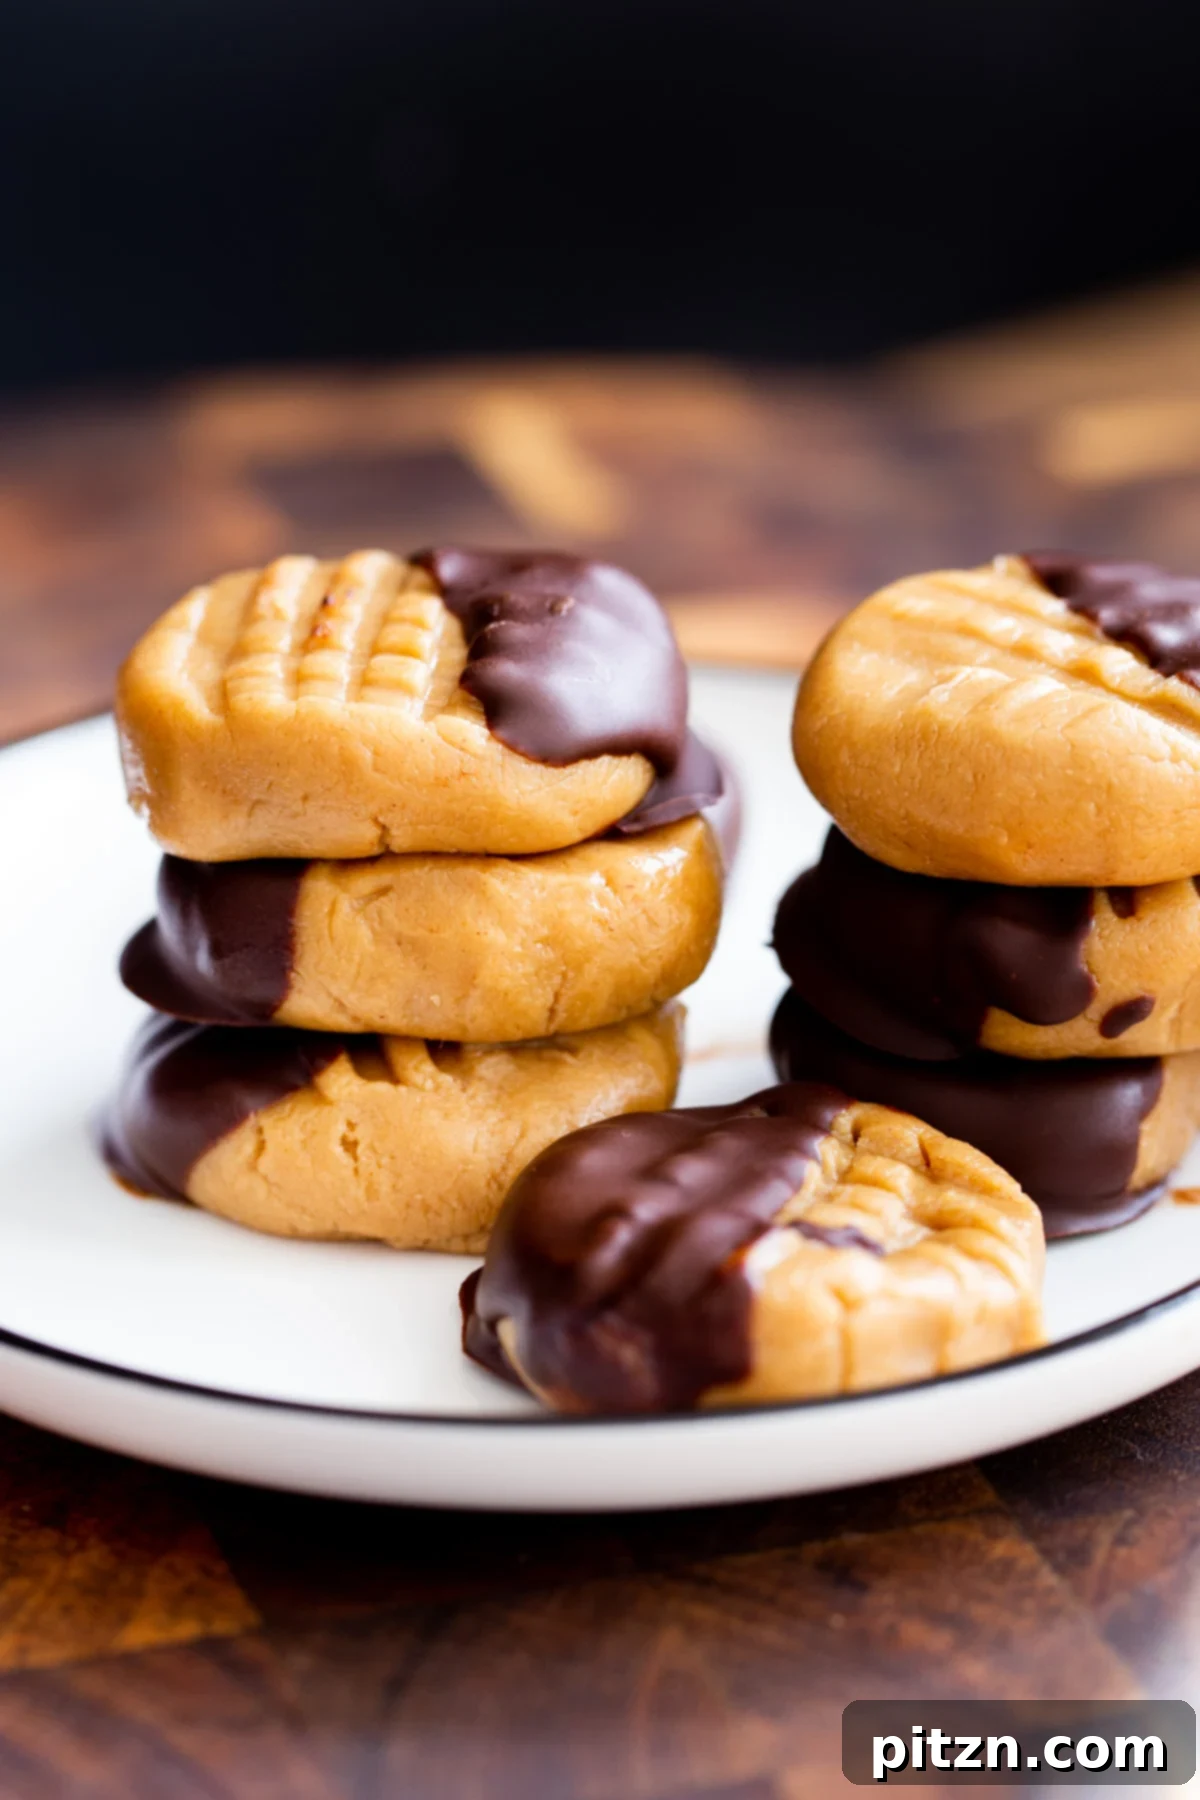
The magic begins with a base of smooth, high-quality peanut butter. This hero ingredient is simply combined with warm maple syrup, a hint of vanilla, a pinch of salt, and your choice of flour (gluten-free options are perfectly suitable). A quick stir, a chill in the fridge, and a delightful chocolate dip – and voilà, your irresistible cookies are ready! The quality of your peanut butter truly shines through here, so opt for a natural, creamy variety for the best flavor and texture. For those special occasions or holiday gatherings, consider enhancing the batter with a touch of cinnamon, apple pie spice, or pumpkin spice for an extra layer of warmth and festivity.
Essential Ingredients for Your No-Bake Delight
The beauty of these cookies lies in their simplicity, primarily relying on just five key ingredients. Each plays a crucial role in creating the perfect texture and flavor. Here’s a closer look at what you’ll need:
- Peanut Butter: This is the star of the show! Opt for a smooth, high-quality natural peanut butter. If your peanut butter is unsalted, you might want to add a tiny bit more salt to balance the sweetness. Natural peanut butter tends to have a looser consistency, which works well here. If you use a very thick, processed peanut butter, you might need to slightly adjust the flour amount.
- Maple Syrup: Our chosen sweetener and binder. Maple syrup not only adds a wonderful depth of flavor but also helps bind the ingredients together. For best results, warming it slightly helps it mix seamlessly with the peanut butter.
- Flour of Choice: This ingredient is essential for achieving the right cookie dough consistency. For gluten-free options, almond flour, oat flour, or coconut flour work beautifully. If you prefer, all-purpose flour can also be used. *A note on raw flour: If using all-purpose flour, it’s recommended to lightly toast it before use to eliminate potential bacteria. This can be done in a skillet over low-medium heat for 5-7 minutes, or in an oven at 350°F (175°C) for 5-6 minutes. Raw flours like almond or oat flour are typically safe as they are simply ground nuts or grains.*
- Vanilla Extract: A few drops of vanilla elevate the flavor profile, adding a warm, comforting aroma and taste that complements the peanut butter and chocolate perfectly. This is an optional but highly recommended addition.
- Salt: A pinch of salt is vital to balance the sweetness and enhance the rich flavors of the peanut butter and chocolate. If your peanut butter is already salted, you might need less, so taste as you go!
For the Chocolate Coating:
- Vegan Semi-Sweet Chocolate Chips or Chunks: Choose your favorite vegan chocolate. Semi-sweet varieties offer a lovely balance without being overly bitter.
- Coconut Oil (Optional): A small amount of coconut oil helps thin out the melted chocolate, making it smoother and easier to dip, and giving it a beautiful sheen once set.
Step-by-Step Guide: Crafting Your Perfect No-Bake Peanut Butter Cookies
Making these cookies is a delightful and straightforward process. Follow these steps for the ultimate no-bake treat:
1. Prepare the Cookie Dough Base
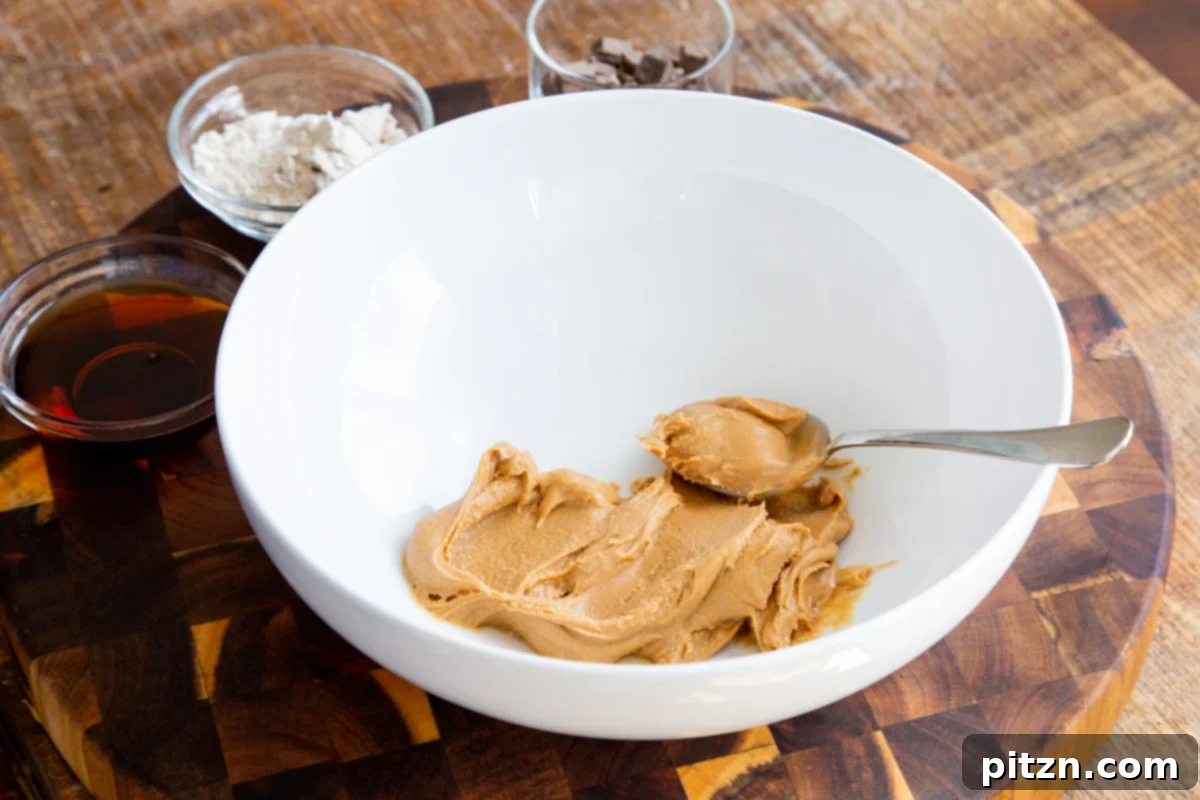
Start by ensuring your peanut butter is soft and pliable. If it’s too stiff, let it sit at room temperature for a while, or gently microwave it for 15-30 seconds until softened. Transfer the smooth peanut butter to a mixing bowl.
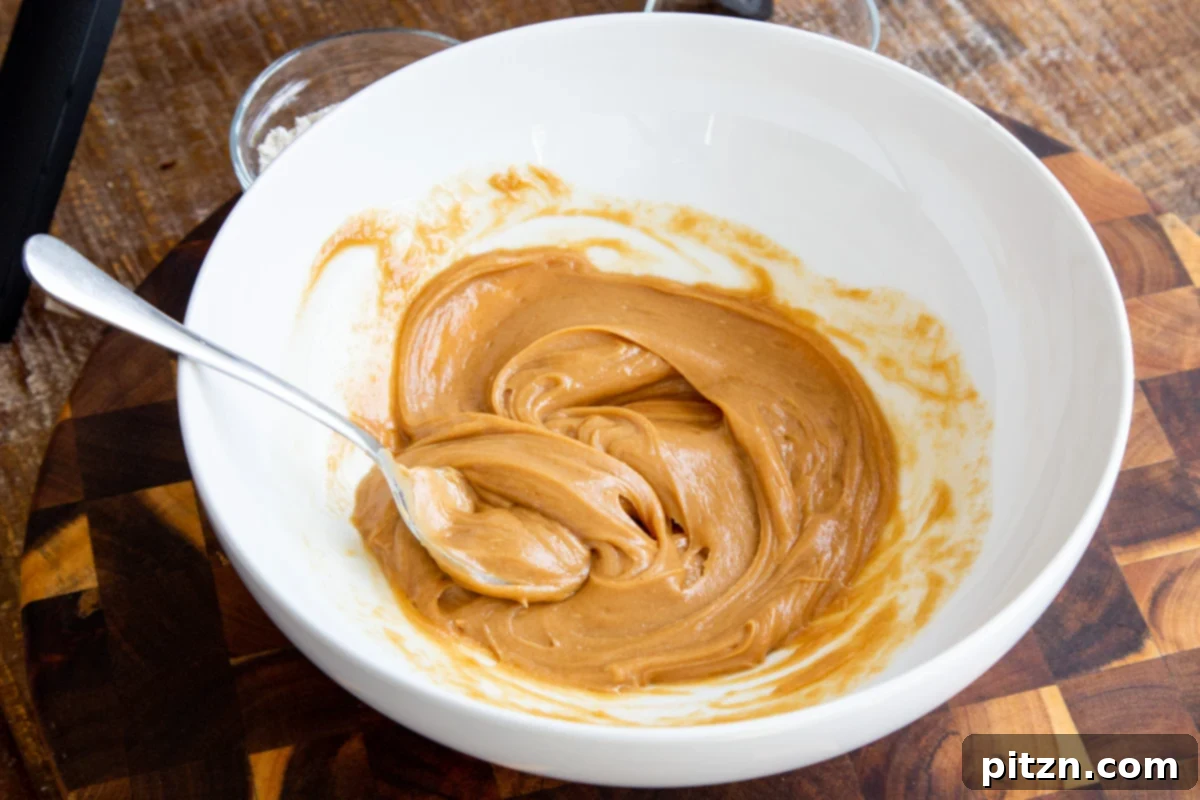
Next, gently heat your maple syrup. You can do this in the microwave for a few seconds or in a small saucepan over low heat on the stovetop until it’s warm to the touch. This helps it combine smoothly with the peanut butter.
Pour the warm maple syrup into the bowl with the peanut butter. Now is the time to add any optional flavorings, such as a few drops of vanilla extract, a pinch of cinnamon, or pumpkin spice. Mix everything together thoroughly. It might take a minute or so of vigorous stirring, but you’ll notice the mixture becoming wonderfully smooth and well-combined.
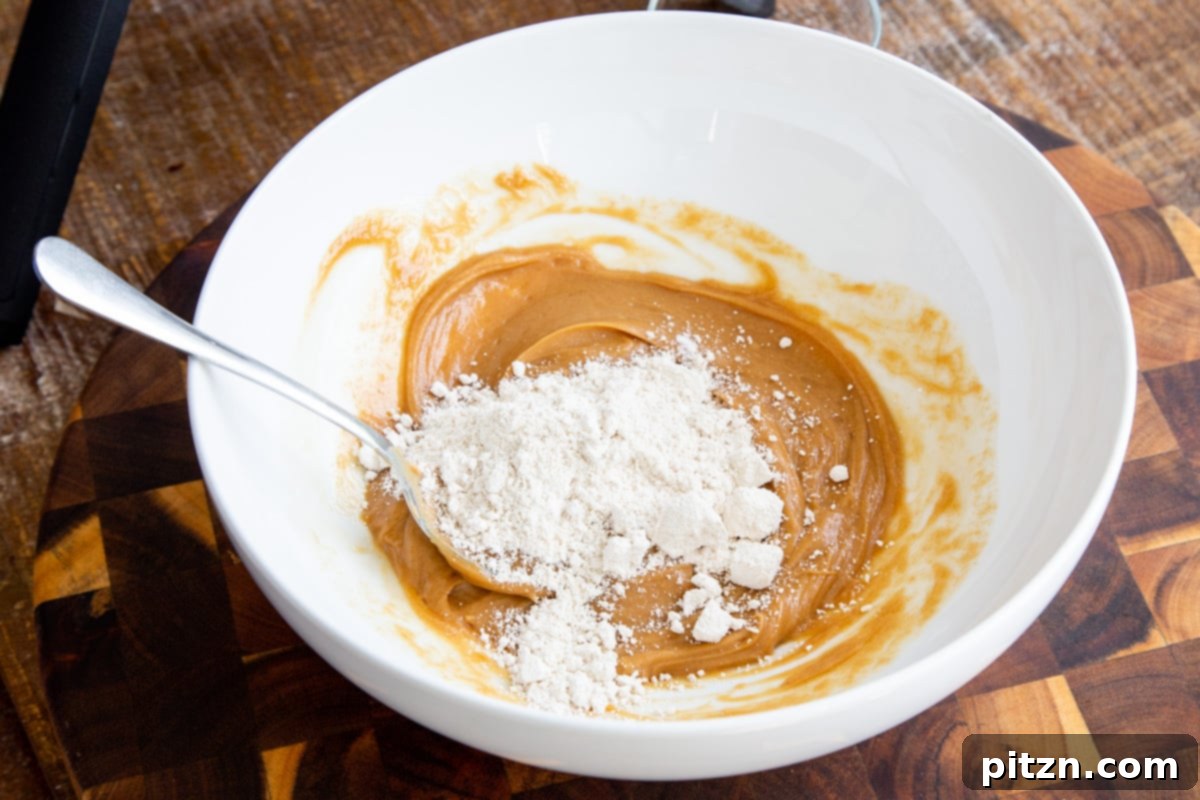
Add the salt and your chosen flour to the mixture. Begin with about 2 tablespoons of flour. Mix it in well. The consistency of the dough is crucial here; you want it to be soft and slightly sticky, but firm enough to hold its shape. Let the mixture sit for 5-10 minutes. This allows the peanut butter to start firming up a little as it cools, and the flour to fully absorb the wet ingredients.
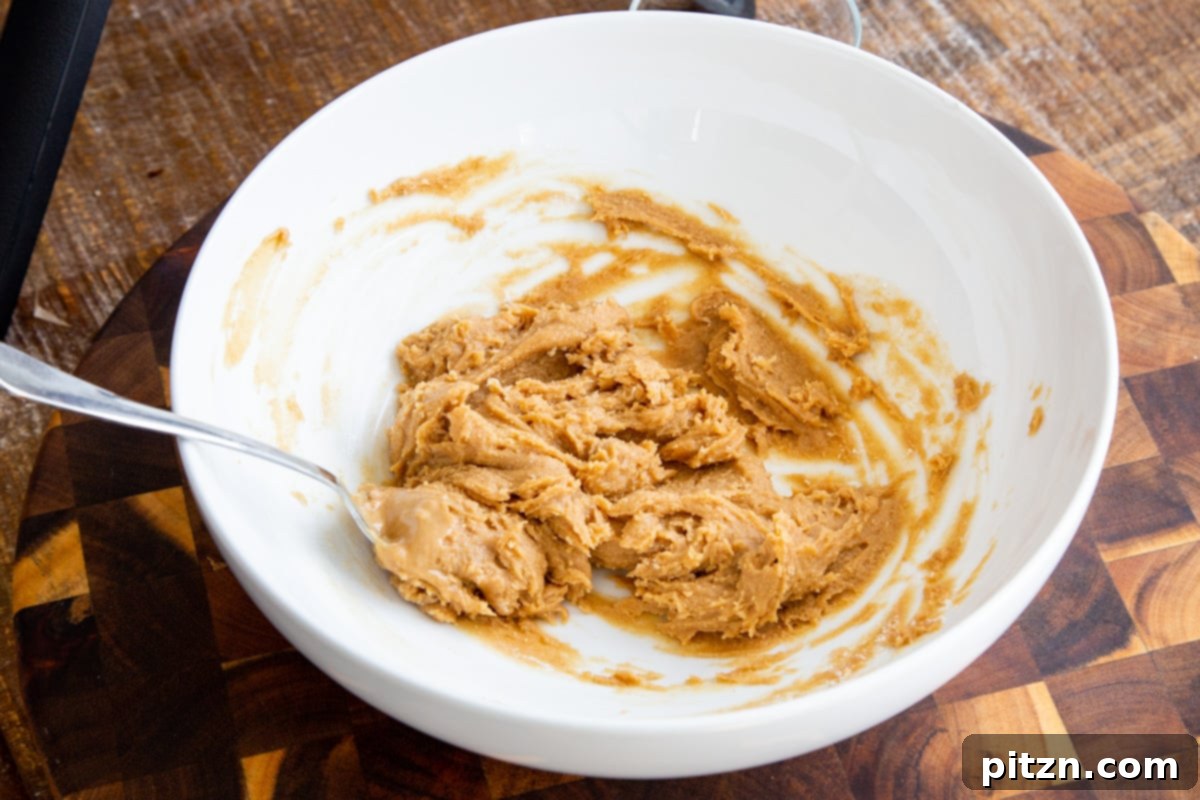
After the resting period, if the dough still feels overly sticky, add another tablespoon of flour, mixing it in completely. Repeat this process, adding one tablespoon at a time, until you reach a soft, slightly sticky dough that can be easily rolled into balls without being crumbly or overly dry. The exact amount of flour can vary based on the consistency of your peanut butter.
2. Chill the Dough
Once your dough has reached the ideal consistency, place the bowl into the refrigerator to chill for about 20-25 minutes. This chilling period is essential as it firms up the dough, making it much easier to handle and shape into cookies.
3. Prepare the Chocolate Coating
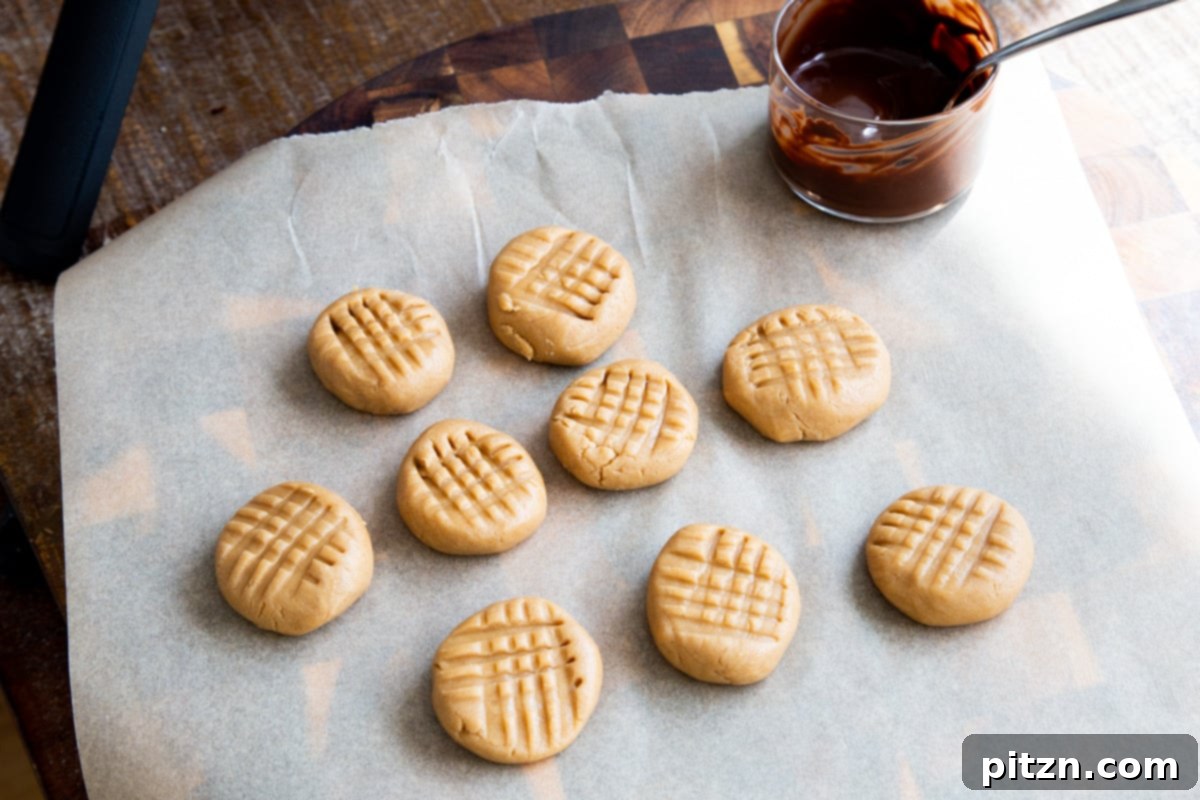
While the cookie dough chills, it’s time to prepare your luscious chocolate coating. You can melt the chocolate using a double boiler on the stovetop or in the microwave. If using the microwave, combine your vegan semi-sweet chocolate chips (or chopped chocolate chunks) with the optional coconut oil in a microwave-safe bowl. Microwave in 30-second intervals, stirring thoroughly after each interval. As soon as the chocolate begins to melt, remove it and continue whisking until it’s completely smooth and glossy. Be careful not to overheat the chocolate, as it can seize.
4. Shape and Dip the Cookies
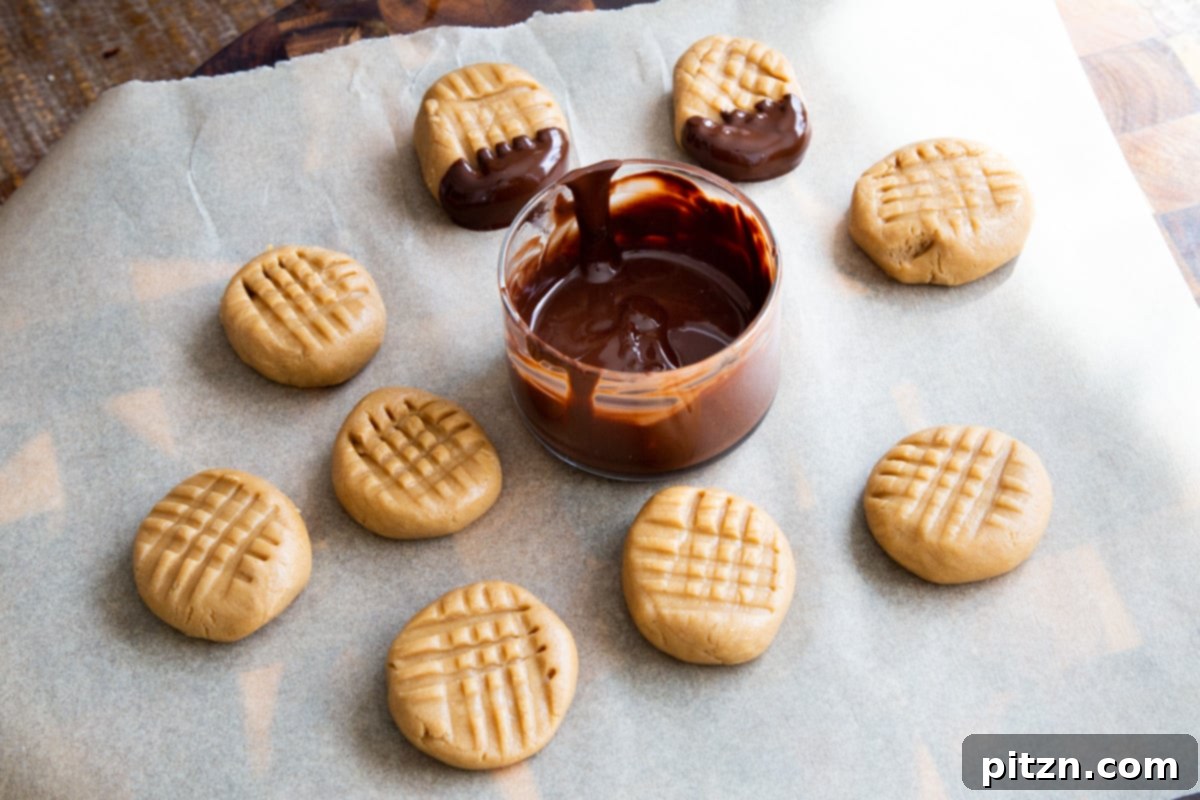
Retrieve the chilled cookie dough from the refrigerator. Using a cookie scoop or a spoon, divide the dough into equal portions. Roll each portion into a smooth ball. Place these balls on a sheet of parchment paper or a plate. Using a fork, gently press down on each ball to create the classic crisscross pattern characteristic of peanut butter cookies.
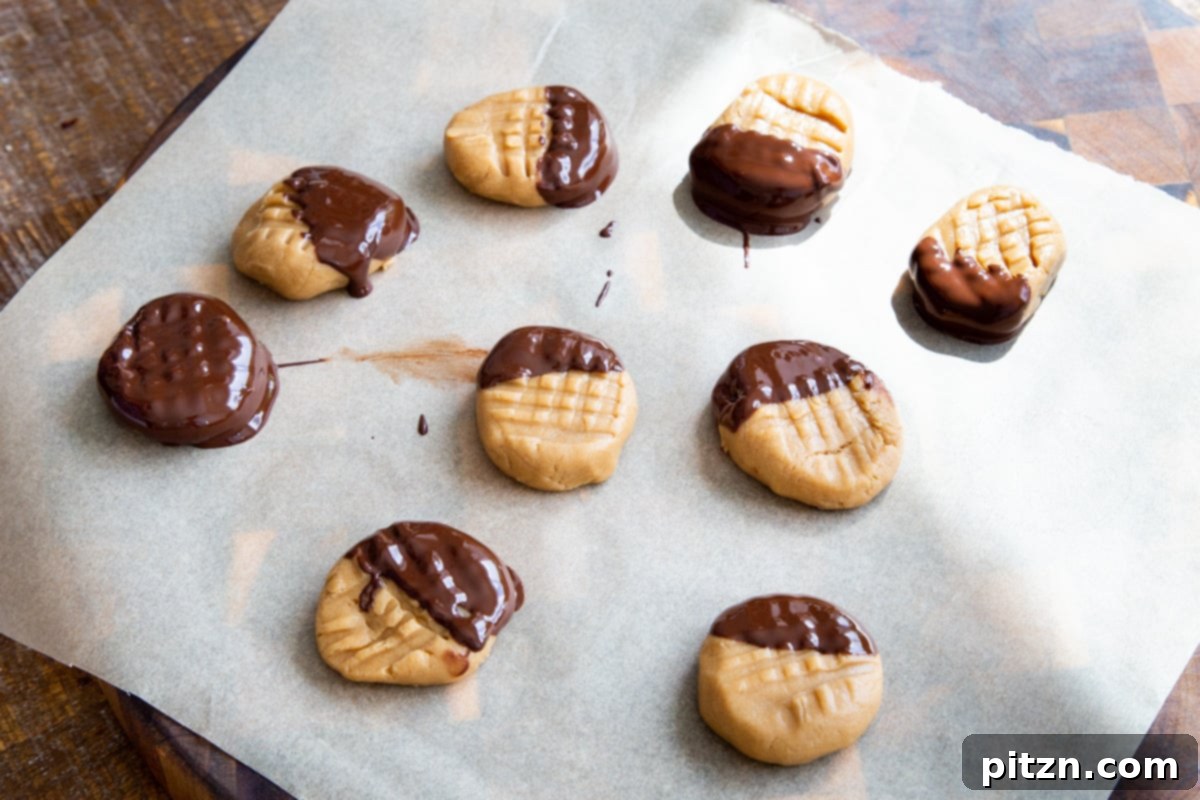
Now for the fun part! Dip each shaped cookie into the melted chocolate. You can dip them halfway, fully submerge them, or simply drizzle chocolate artfully over the tops. For an added textural contrast and flavor boost, sprinkle some crushed peanuts or other nuts on top of the wet chocolate before it sets.
5. Final Chill and Serve
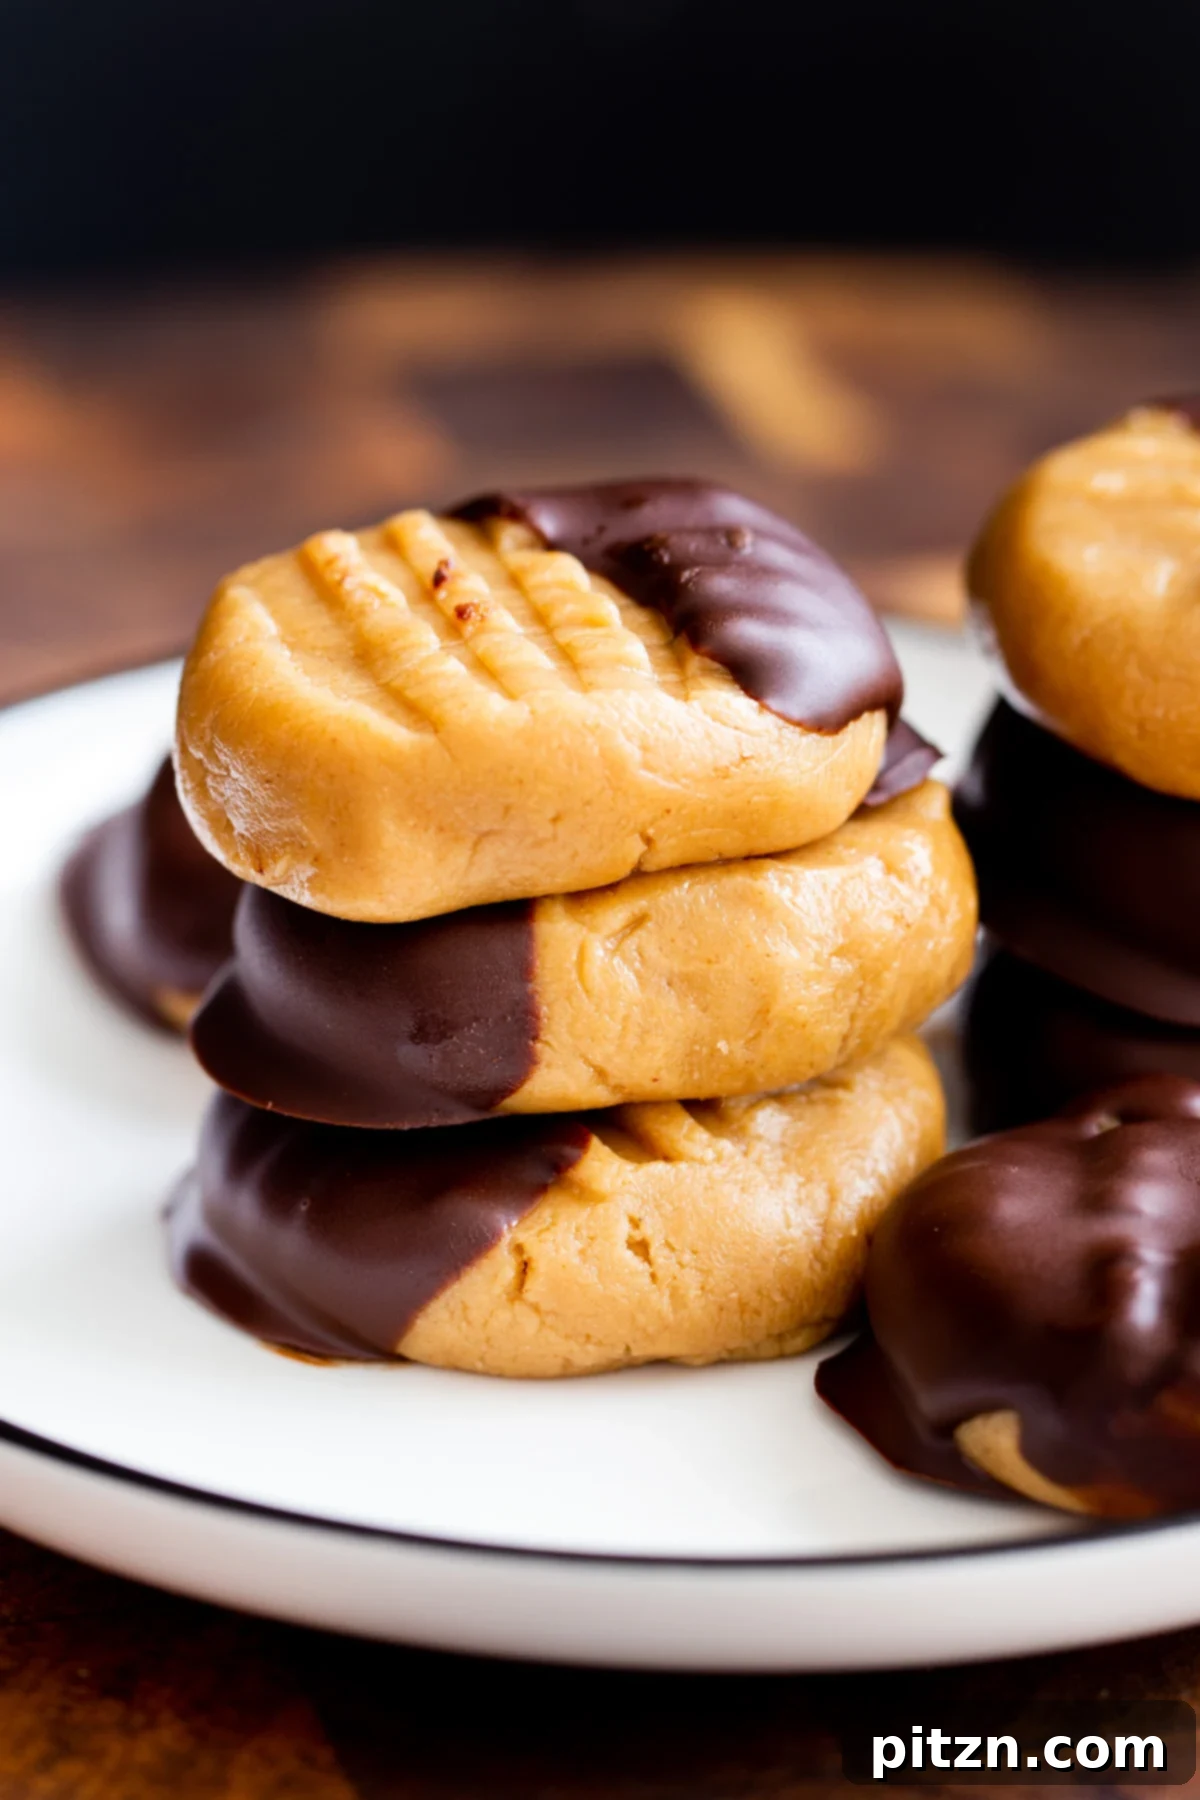
Once dipped, return the cookies to the refrigerator for another 20 minutes. This allows the chocolate coating to firm up and set beautifully. Once the chocolate is solid, your delectable No-Bake Peanut Butter Cookies are ready to be served and devoured!
Pro Tips for Perfect No-Bake Peanut Butter Cookies
To ensure your no-bake cookies are nothing short of perfection, consider these expert tips and variations:
- Peanut Butter Quality Matters: A good quality, natural creamy peanut butter makes a significant difference in flavor and texture. Avoid overly oily or overly dry varieties. If using a very thick peanut butter, you might need slightly less flour.
- Nut-Free & Peanut-Free Alternatives: For those with allergies, this recipe is incredibly versatile. Substitute almond butter for a peanut-free version, or use sunflower seed butter (like SunButter) to make them completely nut-free. The consistency might vary slightly, so adjust flour as needed.
- Flavor Boosts: Elevate your cookies with spices! A pinch of cinnamon, pumpkin pie spice, or apple pie spice mixed into the dough can add a wonderfully cozy flavor, especially perfect for fall or winter holidays.
- Chocolate Customization: Not a fan of semi-sweet chocolate? Feel free to use milk chocolate, white chocolate, or even a dark chocolate with a higher cocoa content for dipping. You can also skip the chocolate coating entirely for a simpler cookie.
- Texture Play: For an irresistible crunch, press some chopped peanuts, almonds, or even sprinkles onto the wet chocolate coating before it sets.
- Flour Safety for All-Purpose: If you choose to use all-purpose flour, remember to lightly toast it first. This is a food safety measure to kill any potential bacteria that might be present in raw flour. Simply spread it on a baking sheet and bake at 350°F (175°C) for 5-6 minutes, or toast in a dry skillet over medium-low heat for 5-7 minutes, stirring occasionally. Cool completely before adding to the dough. (Note: Almond flour and oat flour are generally safe raw.)
- Dough Consistency: The dough should be soft but manageable. If it’s too crumbly, add a tiny bit more maple syrup or a neutral liquid like plant-based milk. If too sticky, add a little more flour (1 tablespoon at a time).
Storage and Freezing Instructions
These delightful no-bake cookies store exceptionally well, making them perfect for meal prepping your treats or keeping a stash on hand for cravings:
- Refrigeration: Store the cookies in an airtight container in the refrigerator for up to 5-7 days.
- Freezing: For longer storage, these cookies freeze beautifully! Place them in a single layer on a parchment-lined baking sheet and freeze until solid. Once frozen, transfer them to a freezer-safe airtight container or bag, separating layers with parchment paper to prevent sticking. They will keep well in the freezer for up to one month. Thaw in the refrigerator or at room temperature for a quick treat.
Frequently Asked Questions (FAQs)
Q: Can I use a different sweetener instead of maple syrup?
A: Yes, you can! Agave nectar or brown rice syrup would be good substitutes as they have a similar liquid consistency and binding properties. Keep in mind that the flavor profile might shift slightly. Powdered sugar mixed with a small amount of plant-based milk could also work, but maple syrup offers the best flavor and texture.
Q: My dough is too sticky/crumbly. What should I do?
A: If your dough is too sticky after adding the initial flour and chilling, try adding another tablespoon of your chosen flour, mixing well, and letting it rest for a few minutes. If it’s too crumbly, it might be too dry. Add a teaspoon or two of additional maple syrup or a neutral liquid like plant-based milk, mixing until it comes together. The consistency of natural peanut butter can vary, so minor adjustments are often needed.
Q: Do I have to dip them in chocolate?
A: Not at all! While the chocolate coating adds an extra layer of decadence, these no-bake peanut butter cookies are absolutely delicious on their own. You can skip the chocolate entirely or add a simple dusting of powdered sugar if you prefer.
Q: How long do these cookies need to chill?
A: The initial chill for the dough is about 20-25 minutes to make it easier to handle. After dipping in chocolate, they need another 20 minutes or so for the chocolate to set completely. Total chilling time is approximately 40-45 minutes, plus active prep time.
Q: Are these cookies healthy?
A: These cookies are made with wholesome ingredients like natural peanut butter and maple syrup, and they are vegan and easily adaptable to be gluten-free or nut-free. While they are a treat, they can be enjoyed in moderation as part of a balanced diet. The nutrition information provides an approximation per serving.
More Peanut Butter Delights
If you’re a true peanut butter aficionado, you’ll love exploring these other incredible recipes:
- Peanut Butter Chocolate Tart
- Peanut Butter Mousse
- Snickers Peanut Butter Cups
- Peanut Butter and Jelly Cake or Bread
- Peanut Sesame Noodle Salad
- Miso Peanut Butter Whole Roasted Cauliflower
- Peanut Butter Cup Chocolate Bark
No Bake Peanut Butter Cookies
By: Vegan Richa
Prep: 25 mins • Cook: 5 mins • Total: 30 mins
Servings: 10 • Course: Dessert • Cuisine: American

These 5-ingredient No-Bake Peanut Butter Cookies come together very quickly and satisfy the cookie, fudge, and quick snack craving! Use almond butter to make them peanut-free and sunflower seed butter for nut-free.
Ingredients
For the Cookies:
- 3/4 cup smooth peanut butter
- 1/4 cup maple syrup
- A pinch of salt (add a pinch more if peanut butter is unsalted)
- Few drops of vanilla extract (optional)
- 2 to 4 tablespoons of flour of choice (such as coconut flour, oat flour, almond flour for gluten-free, or all-purpose flour – see note about raw flour)
For the Chocolate Coating:
- 1/3 cup vegan semi-sweet chocolate chips or chunks
- 1/2 teaspoon coconut oil (optional)
Instructions
- Make the cookie dough: Let the peanut butter sit at room temperature to soften. Alternatively, microwave it slightly. Add to a bowl.
- Heat the maple syrup in a microwave or a saucepan until hot. Add it to the peanut butter. Stir in optional flavorings like vanilla or cinnamon. Mix very well until the mixture is smooth, which should take about a minute.
- Add the salt and 2 tablespoons of your chosen flour. Mix well. Let the mixture sit for 5-10 minutes to cool and allow the flour to absorb.
- If the dough is still very sticky, add 1 more tablespoon of flour at a time, mixing thoroughly, until it forms a soft, slightly sticky cookie dough that holds its shape (not stiff).
- Place the bowl in the refrigerator to chill for 20 to 25 minutes.
- In the meantime, melt your chocolate. Use a double boiler or microwave. Combine chocolate and coconut oil (if using) in a bowl. Microwave in 30-second intervals, stirring after each, until the chocolate is fully melted and smooth. Set aside.
- Remove the cookie dough from the fridge. Using a scoop or spoon, divide the dough into equal portions and roll them into balls.
- Press these balls onto parchment paper or a plate using a fork to create the classic cookie pattern.
- Dip each cookie into the melted chocolate. You can dip them halfway, fully, or drizzle chocolate over them. For extra crunch, sprinkle crushed peanuts on top of the wet chocolate.
- Chill these cookies again for 20 minutes, or until the chocolate is fully set, then serve.
Video
Notes
- Storage: These cookies will last in the fridge for a week. Freeze for up to a month.
- Use almond butter for a peanut-free option or sunflower seed butter for a nut-free version.
- Add cinnamon or pumpkin pie spice for extra cozy flavor.
- For crunch, add crushed peanuts or other nuts on top of the dipped chocolate.
- All-purpose flour: Toast before using. Lightly toast in a skillet over low-medium heat for 5-7 mins, or in the oven at 350°F (175°C) for 5-6 mins, to kill any bacteria.
- Raw flours such as almond flour and oat flour are generally safe as they are simply blended nuts or oats.
Nutrition
Calories: 132 kcal, Carbohydrates: 13g, Protein: 5g, Fat: 7g,
Saturated Fat: 1g, Sodium: 105mg, Potassium: 148mg,
Fiber: 1g, Sugar: 7g, Calcium: 18mg, Iron: 0.4mg
Nutrition information is automatically calculated, so should only be used as an approximation.