
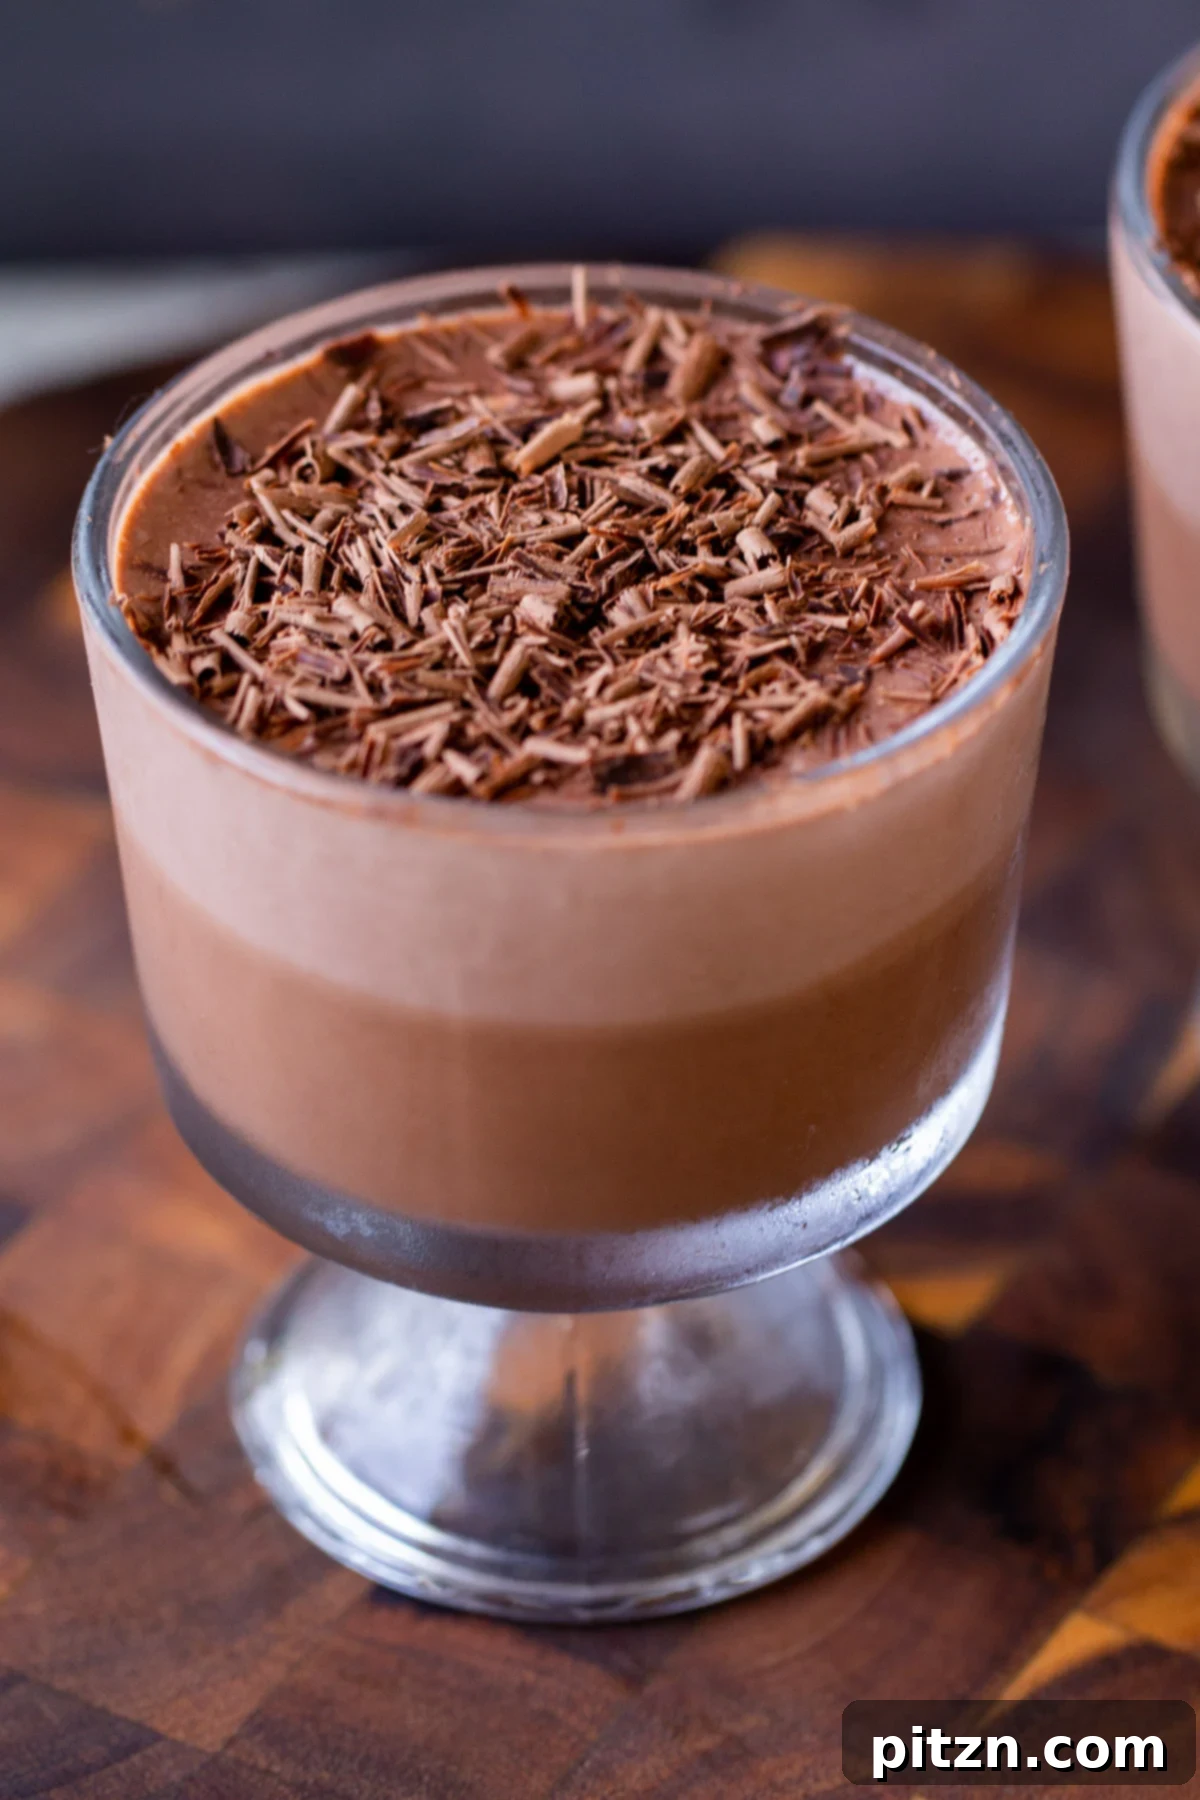
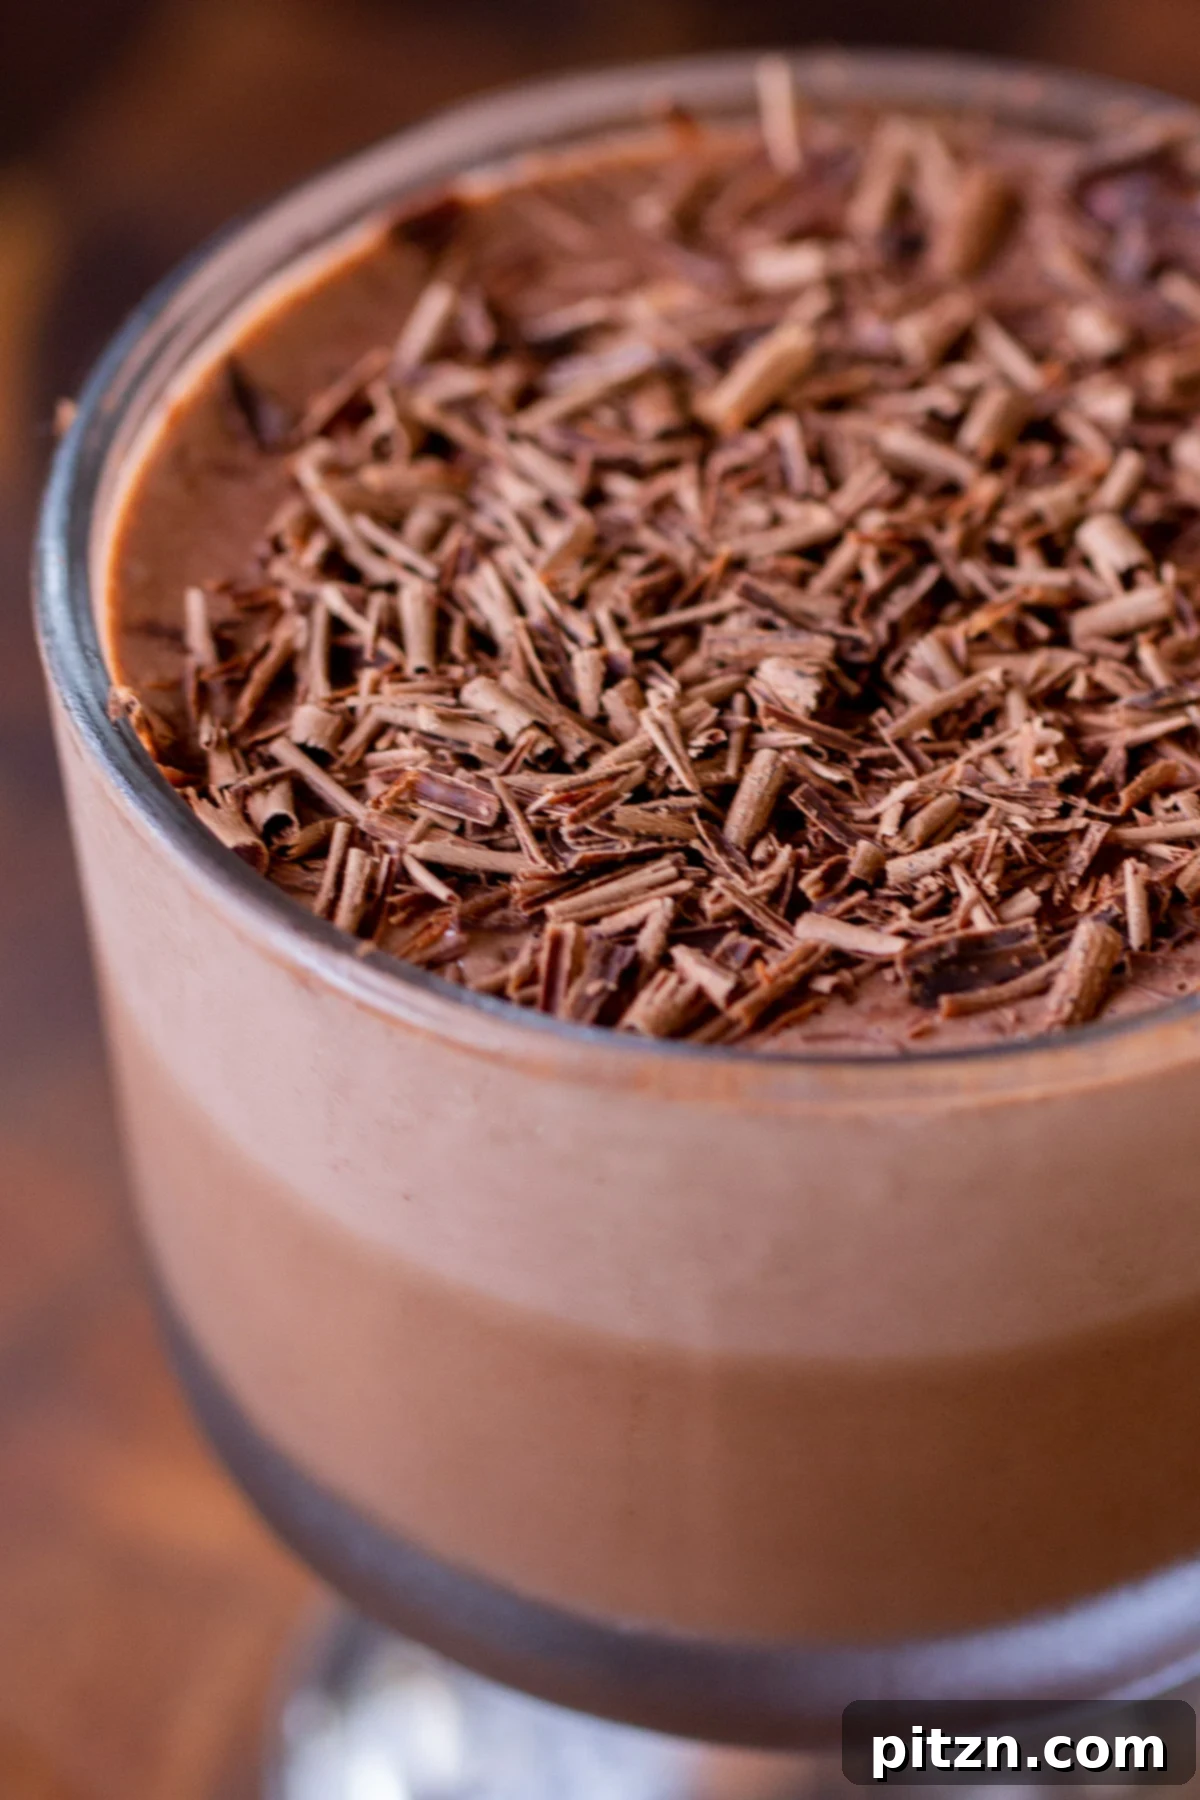
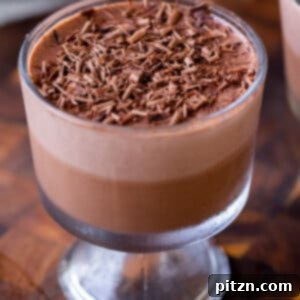
Indulge in the ultimate chocolate experience with this incredibly easy vegan chocolate pudding. Featuring a delightful dual-layer design, it combines a light, airy chocolate mousse with a richer, darker chocolate layer, creating a truly decadent dessert that’s perfect for satisfying any sweet craving. Garnish with a dusting of cocoa powder or elegant grated dark chocolate for a presentation that’s as dreamy as its taste.
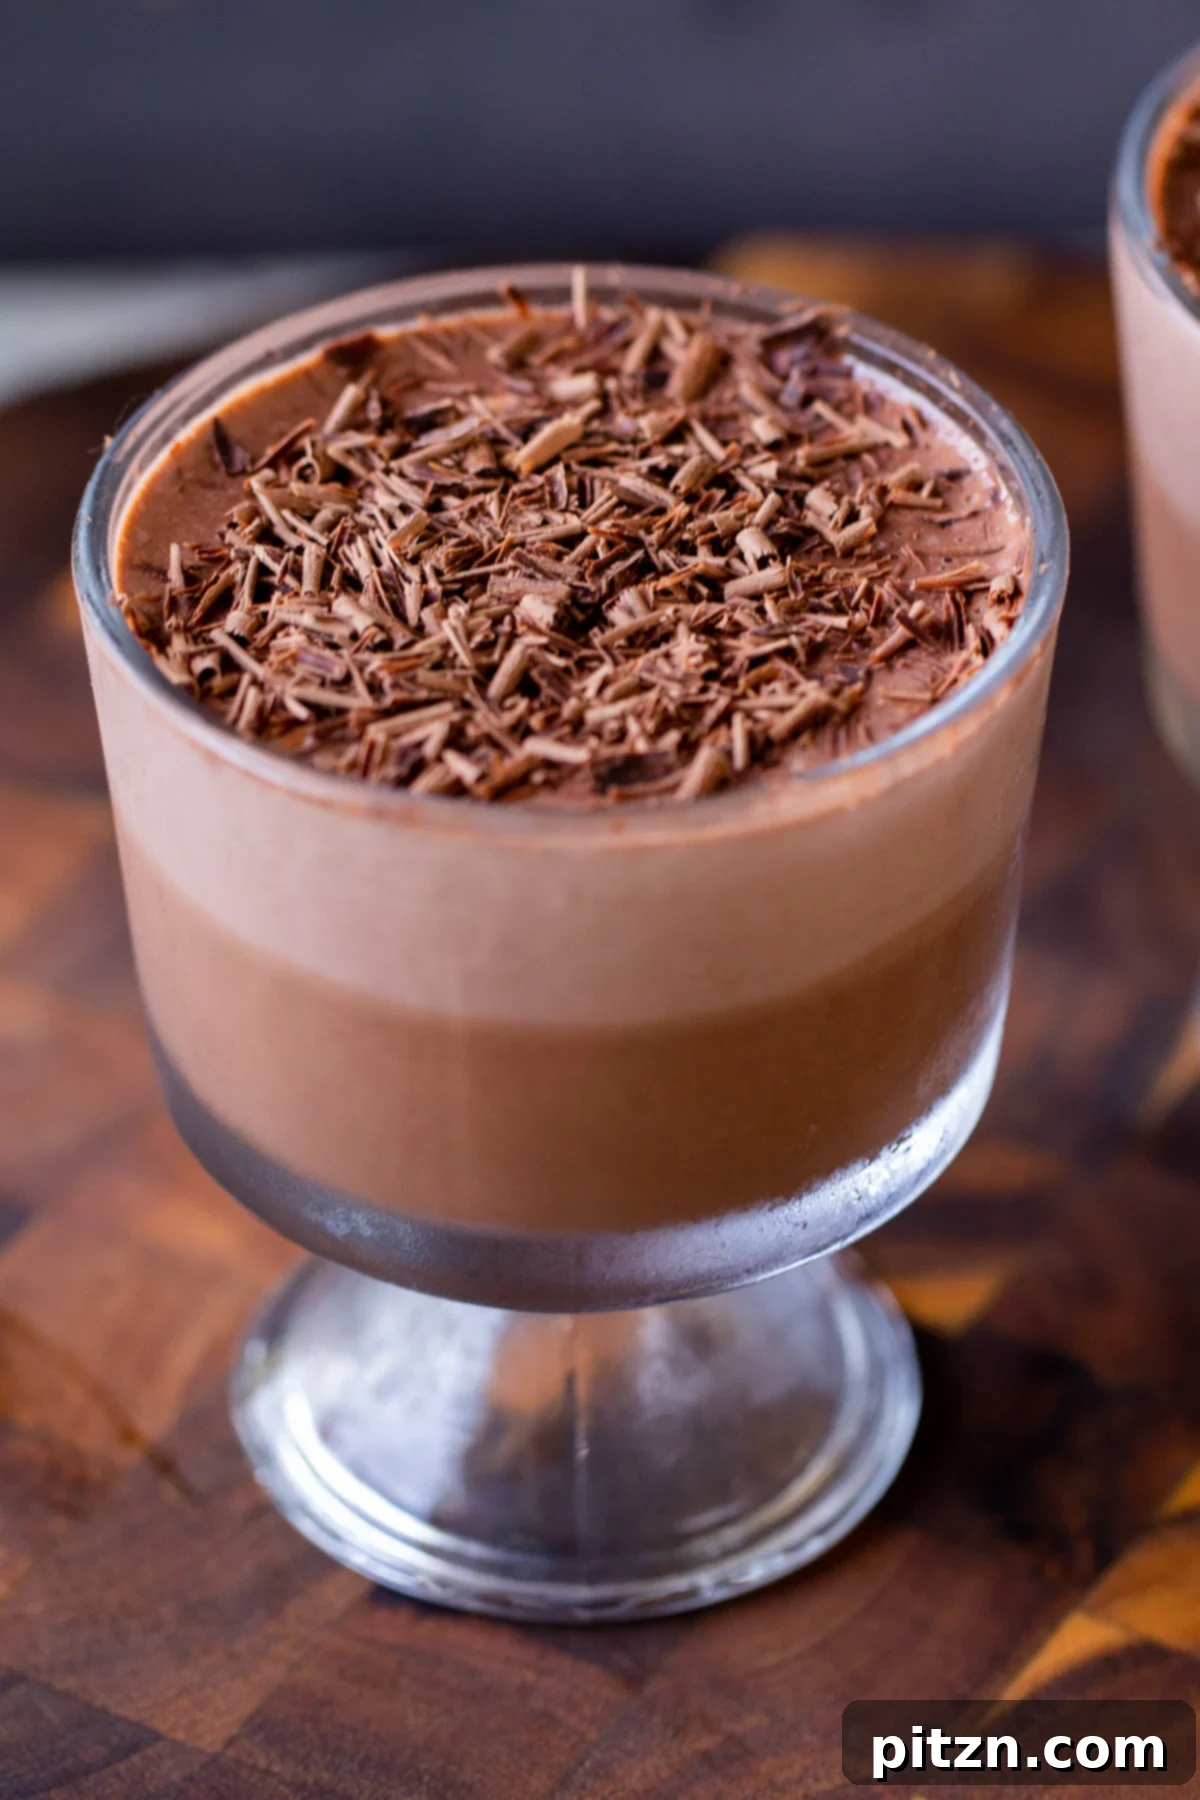
Table of Contents
- Why You’ll Adore This Vegan Chocolate Pudding
- More Irresistible Vegan Chocolate Desserts
- Creamy Vegan Chocolate Pudding Recipe
- Essential Ingredients and Smart Substitutions
- Expert Tips for Perfect Pudding
- Step-by-Step Guide: Crafting Your Chocolate Pudding
- Frequently Asked Questions
- Serving and Storage Suggestions
- Customizing Your Vegan Chocolate Pudding
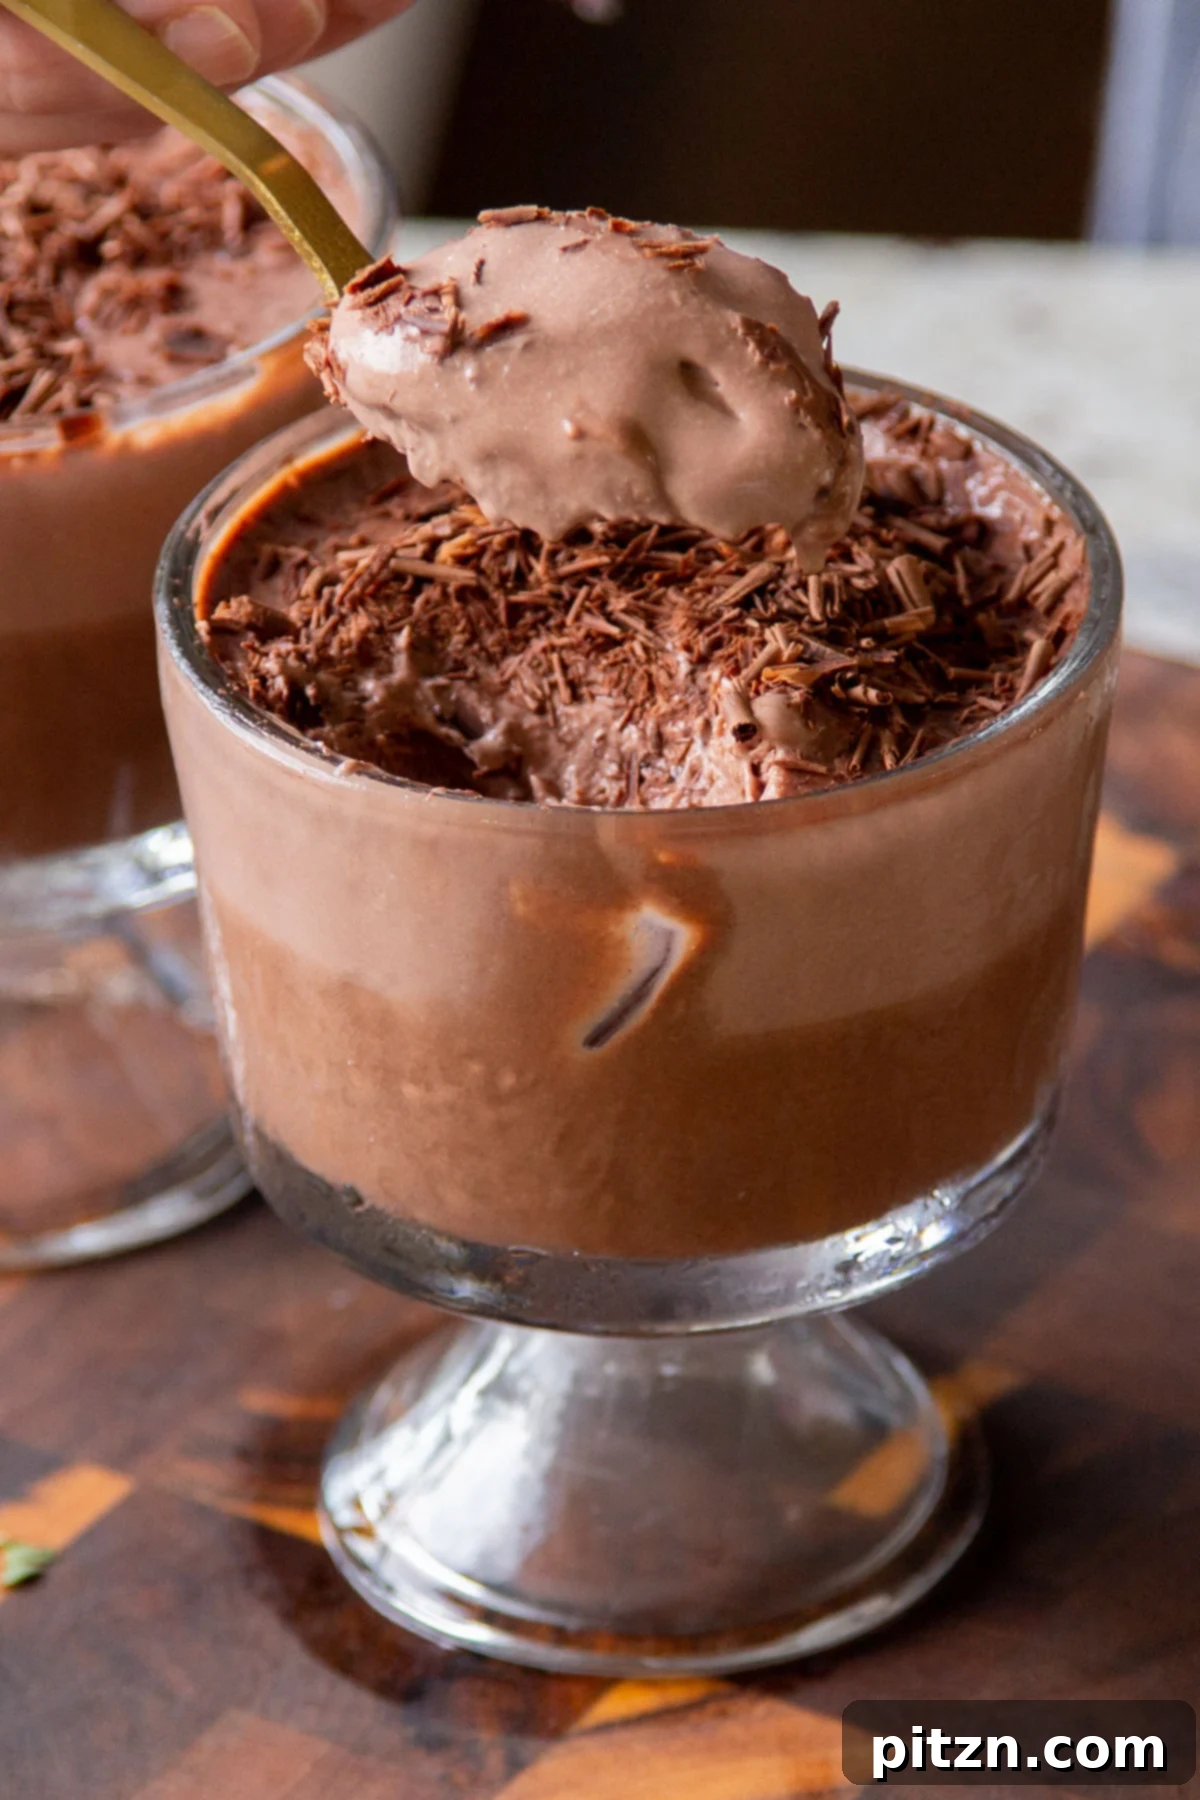
This vegan chocolate pudding isn’t just a dessert; it’s a luscious, creamy, and deeply satisfying experience designed to banish any chocolate craving. Its texture is a delightful fusion, sitting perfectly between a rich chocolate mousse and a smooth, classic pudding. You have the flexibility to tailor its consistency: a brief chill in the freezer will give it a light, mousse-like fluffiness, while extended refrigeration allows it to set into a denser, more traditional pudding texture. Either way, it promises an exquisite treat.
What makes this recipe truly outstanding is its simplicity. Requiring only a handful of common ingredients – typically just six to eight – and coming together effortlessly in a blender, it’s a quick solution for an elegant dessert. Once prepared, enhance its visual appeal and flavor by dusting with a fine layer of cocoa powder or by artfully shaving dark chocolate over the top. This simple garnish elevates an already delicious pudding into a gourmet delight.
Beyond being a standalone dessert, this versatile vegan chocolate pudding can transform into other incredible treats. Imagine it as a rich frosting or filling for your favorite vegan chocolate cake, adding an extra layer of moisture and intense flavor. Or, for a refreshing twist, simply freeze it to create a decadent homemade chocolate ice cream that’s wonderfully creamy and satisfying. Its adaptability ensures it can be enjoyed in many delightful forms, making it a staple in any vegan dessert repertoire, and a perfect choice for those seeking easy dairy-free dessert options.
Why You’ll Adore This Easy Vegan Chocolate Pudding
There are countless reasons why this particular vegan chocolate pudding recipe stands out and is destined to become a household favorite. From its luxurious taste to its inclusive ingredients, it hits all the right notes for a perfect dairy-free chocolate dessert.
- Unbelievably Rich and Creamy: Prepare for a truly indulgent experience. This pudding boasts a velvety smooth consistency that melts in your mouth, combined with a fluffy, mousse-like lightness that prevents it from being too heavy. It’s the ideal balance of decadence and delicate texture, making it a top-tier creamy vegan dessert.
- Double the Chocolate, Double the Delight: What makes this recipe uniquely special is its innovative two-layer structure. You get a lighter, creamy chocolate mousse layer perfectly complemented by a distinct, thicker, and intensely dark chocolate layer. This contrast in texture and flavor elevates a simple pudding into a gourmet treat, offering varied chocolate intensity in every spoonful.
- Simple Ingredients, Extraordinary Taste: Despite its sophisticated flavor, this dessert relies on just 8 simple, wholesome ingredients. You likely have most of them in your pantry already, making it an accessible and fuss-free option for a spontaneous sweet craving or planned dessert. This easy chocolate recipe proves that simple can be spectacularly delicious.
- Naturally Gluten-Free and Soy-Free: Catering to various dietary needs, this pudding is inherently free from gluten and soy. This ensures that more people can enjoy this delightful treat without worry, making it an excellent choice for gatherings or everyday enjoyment as a naturally gluten-free chocolate pudding.
- Adaptable for Nut-Free and Coconut-Free Diets: We understand the importance of dietary flexibility. That’s why this recipe includes straightforward options to easily adapt it for those with nut allergies or sensitivities to coconut, ensuring everyone can savor this delicious chocolate creation. These simple modifications make it truly inclusive, allowing for a delicious nut-free chocolate pudding or coconut-free alternative.
More Irresistible Vegan Chocolate Desserts to Explore
If you’re a true chocolate enthusiast, this vegan chocolate pudding is just the beginning. Dive deeper into the world of dairy-free chocolate delights with these other fantastic recipes that promise to satisfy your sweet tooth and expand your repertoire of easy vegan desserts:
- Decadent Chocolate Peanut Butter Cake
- Amazing Vegan Snickers Cake
- The Ultimate Vegan Brookie (Brownie-Cookie Hybrid)
- Rich Gluten-Free Chocolate Cake
- Classic Vegan Chocolate Chip Cake
Creamy Vegan Chocolate Pudding
Pin Recipe
Print Recipe
Sign up for our newsletter to receive weekly recipe inspiration and never miss out on delicious vegan recipes!
Subscribe Now
Equipment You’ll Need
-
High-Speed Blender: Essential for achieving a super smooth and creamy mousse base. A good blender ensures no gritty cashew bits remain.
-
Double Boiler: Ideal for gently melting chocolate chips to a silky consistency without scorching. If you don’t have one, a heat-safe bowl set over a pot of simmering water works perfectly.
-
Serving Glasses or Small Bowls: For elegant presentation of your layered pudding. Clear glasses truly showcase the beautiful two-tone effect.
Ingredients
For the Creamy Mousse Base:
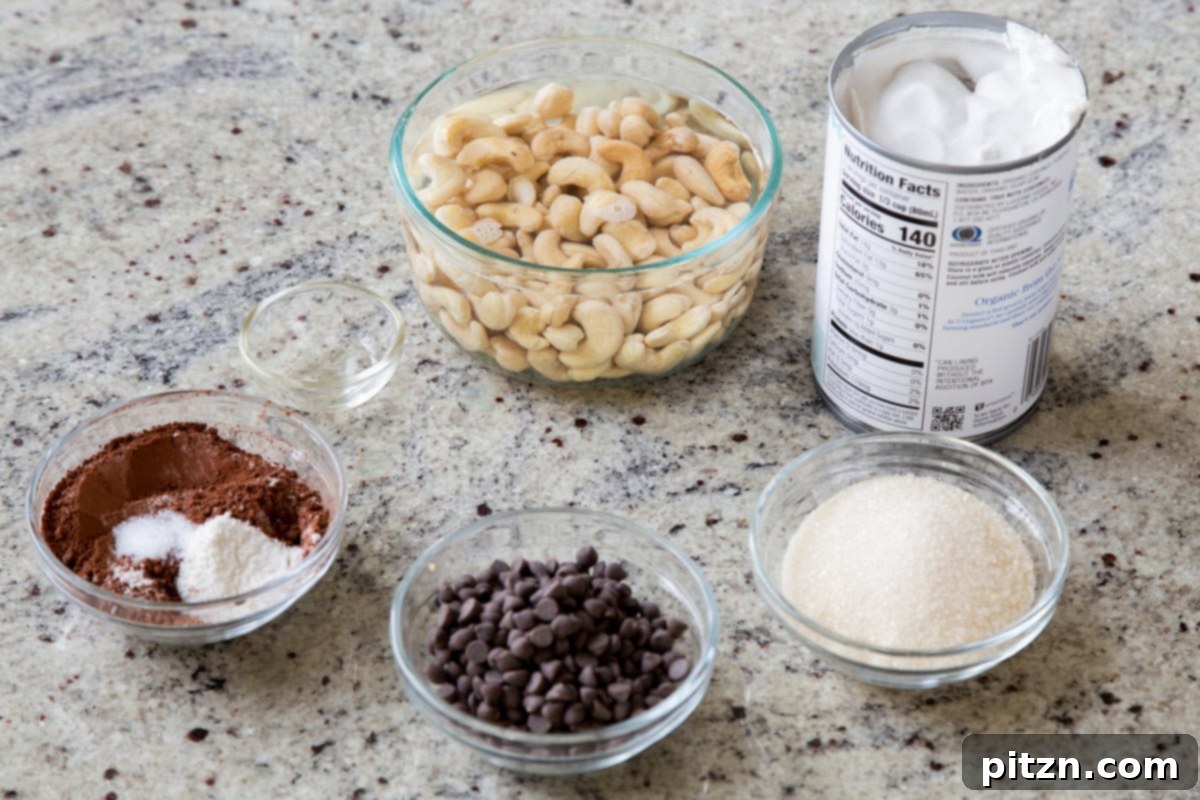
- 1 cup raw cashews (soaked, see instructions)
- 15- ounce can full-fat coconut milk (chilled overnight for best creaminess)
- 1 teaspoon vanilla extract
- 1/4 teaspoon almond extract (optional, but highly recommended for depth)
- 2 tablespoons unsweetened cocoa powder (Dutch-processed or natural)
- 1/4 teaspoon fine sea salt (crucial for enhancing chocolate flavor)
- 3 tablespoons granulated sugar (adjust to your preferred sweetness, or use maple syrup)
For the Richer Darker Layer:
- 1/4 cup vegan semi-sweet chocolate chips (ensure dairy-free, or use chopped dark chocolate bar)
For Optional Toppings:
- Cocoa powder (for dusting), or chocolate ribbons made from a grated dark chocolate bar. For extra indulgence, consider a dollop of whipped coconut cream or a scoop of vegan vanilla ice cream. Fresh berries also make a fantastic garnish.
Instructions
Step 1: Prepare the Creamy Mousse Base
- Begin by soaking your raw cashews. For quicker softening, immerse them in hot water for at least 15 minutes or preferably for an hour. For optimal creaminess, especially if you have time, soak them in room temperature water for an hour or even overnight. Once softened, drain them thoroughly and add to a high-speed blender.
- Into the blender with the cashews, add the full-fat coconut milk (ensure it’s well-chilled and shake the can before opening), vanilla extract, almond extract (if using), cocoa powder, salt, and sugar.
- Blend the mixture for about one minute until it begins to emulsify and smooth out. Stop the blender, scrape down any ingredients clinging to the sides, and let the mixture rest for 5 minutes. This pause allows the cashews to further soften. Blend again for another minute. Repeat this blend-and-rest cycle one more time until the mixture is incredibly smooth, completely lump-free, and has a slightly fluffy, aerated texture. This thorough blending is crucial for a luxurious mousse consistency.
Step 2: Create the Richer Dark Chocolate Layer
- Set up a double boiler. Place your vegan semi-sweet chocolate chips in the top bowl of the double boiler and gently melt them over simmering water, stirring occasionally until completely smooth and glossy. Once melted, remove the bowl from the heat.
- Carefully add exactly half of your freshly blended chocolate mousse mixture into the melted chocolate in the bowl. Mix thoroughly until the two components are fully combined, creating a darker, more intense chocolate layer. If your mousse mixture was very cold, it might cause the melted chocolate to seize slightly. Should this happen, simply return the bowl to the double boiler for a few seconds, stirring continuously until the mixture becomes smooth and homogeneous again.
- Divide this darker chocolate mixture evenly among your chosen serving cups, glasses, or small bowls. To ensure distinct layers, place these filled containers in the freezer for 15 to 30 minutes. This chilling period will allow the dark chocolate layer to set slightly, providing a firm base for the lighter mousse layer.
Step 3: Assemble and Chill Your Pudding
- Once the darker layer has firmed up slightly in the freezer, retrieve your serving bowls. Gently pour the remaining half of the lighter chocolate mousse mixture over the set dark chocolate layer in each cup.
- Transfer the assembled chocolate puddings to the refrigerator and chill them for at least an hour. For the best flavor development and firmest pudding-like texture, refrigerate for 2-4 hours, or even overnight. If you prefer a more mousse-like consistency, a shorter chilling time or a brief return to the freezer before serving will suffice (refer to notes for more details).
- Before serving, add your desired toppings. A simple dusting of unsweetened cocoa powder adds elegance. For a more sophisticated look, use a vegetable peeler to create delicate chocolate ribbons from a dark chocolate bar. Alternatively, for an extra touch of indulgence, crown your pudding with a generous dollop of whipped coconut cream or a scoop of your favorite vegan vanilla ice cream.
Watch the Recipe Video
Chef’s Notes & Pro Tips
Texture Control: For an airier, more mousse-like texture, place the layered chocolate pudding in the freezer for about 30 minutes just before serving. This brief chill helps it firm up beautifully. For a classic, denser pudding consistency, ensure it chills in the refrigerator for at least 2-4 hours, or ideally, overnight, allowing it to fully set.
Nut-Free Alternative: If you or your guests have nut allergies, you can easily make this pudding nut-free. Simply substitute the 1 cup of raw cashews entirely with 1 cup of thick coconut cream. Coconut cream is the solid, white part that separates from the translucent liquid when a can of full-fat coconut milk is chilled. Only use this thick, white cream for the best results, ensuring a creamy base without nuts.
Coconut-Free Alternative: For those avoiding coconut, increase the raw cashews to a total of 2 cups. After soaking and draining, blend these 2 cups of cashews with approximately 3/4 cup of water or your preferred non-dairy milk (such as oat milk or soy milk, ensuring it’s plain and unsweetened to maintain the chocolate flavor profile). Adjust liquid quantity as needed to achieve your desired creamy consistency.
Sweetness Adjustment: The recipe calls for 3 tablespoons of sugar, but feel free to adjust this to your personal preference. For a richer, less sweet pudding, reduce the sugar. For a sweeter treat, add an extra tablespoon or two. You can also experiment with other sweeteners like maple syrup or agave, adjusting amounts for desired sweetness and consistency.
Quality of Chocolate: The flavor of your pudding will heavily depend on the quality of chocolate you use. Opt for good quality vegan semi-sweet chocolate chips or a chopped dark chocolate bar (ensure it’s dairy-free). A higher cocoa percentage in your dark chocolate will yield a more intense chocolate flavor for the darker layer.
Nutritional Information (per serving)
Calories: 318kcal
Carbohydrates: 30g
Protein: 7g
Fat: 20g
Saturated Fat: 6g
Sodium: 151mg
Potassium: 317mg
Fiber: 3g
Sugar: 18g
Vitamin A: 6IU
Vitamin C: 0.2mg
Calcium: 67mg
Iron: 3mg
Nutrition information is automatically calculated and provided for approximation purposes only. Actual values may vary based on specific ingredients and preparation methods.
Loved this recipe? Share your experience!
Rate and comment below to let us know how your vegan chocolate pudding turned out. Your feedback helps us improve!
Essential Ingredients and Smart Substitutions
Crafting this incredible vegan chocolate pudding starts with a selection of simple yet powerful ingredients. Each component plays a crucial role in achieving that rich, creamy, and decadent flavor profile. Here’s a closer look at what you’ll need and how you can adapt the recipe to suit your preferences or dietary requirements, ensuring a perfect dairy-free chocolate dessert every time.
- Raw Cashews and Full-Fat Coconut Milk: These two ingredients form the luxurious, creamy backbone of our pudding. Raw cashews, once soaked and blended, create an incredibly smooth and rich texture that mimics dairy cream beautifully. Full-fat coconut milk adds another layer of creaminess and a subtle tropical hint that complements the chocolate. For a different flavor profile or if you’re not keen on coconut, you can increase the amount of cashews (as noted in the “Coconut-Free” tip) or experiment with other thick, plant-based milks. If using only coconut milk, ensure it’s the full-fat variety, chilled overnight, and you only use the thick cream layer for maximum richness.
- Vanilla and Almond Extracts: These extracts are not merely optional additions; they are flavor enhancers that elevate the entire dessert. Vanilla extract provides a classic, comforting aroma and taste, while a touch of almond extract adds a sophisticated, nuanced depth that pairs wonderfully with chocolate, making the pudding taste even more indulgent and complex. Don’t skip these for the best flavor, as they significantly contribute to the overall gourmet experience of this easy vegan pudding.
- Unsweetened Cocoa Powder: This is where the magic of chocolate truly comes alive. Using good quality unsweetened cocoa powder ensures a deep, rich chocolate flavor without excessive sweetness. You can use Dutch-processed cocoa for a darker color and milder flavor, or natural cocoa powder for a slightly fruitier, more intense chocolate taste. Choose what you prefer for your desired chocolate intensity in this homemade chocolate pudding.
- Salt and Sugar: A small but mighty pinch of salt is essential. It doesn’t make the pudding salty, but rather acts as a flavor amplifier, bringing out the inherent richness and complexity of the chocolate. Granulated sugar provides the perfect balance of sweetness. Feel free to adjust the quantity of sugar to your personal taste, or explore alternatives like maple syrup or agave nectar for a refined sugar-free option. Keep in mind that liquid sweeteners might slightly alter the final consistency, so add them judiciously.
- Vegan Semi-Sweet Chocolate Chips: These are critical for creating the distinct, darker, and more intense bottom layer of the pudding. Opt for high-quality vegan chocolate chips or a finely chopped vegan dark chocolate bar. The melting chocolate adds a profound depth and a slightly firmer texture to the bottom layer, creating a wonderful contrast with the lighter mousse on top. Ensure your chosen chocolate is certified dairy-free to keep the recipe fully vegan.
- Optional Toppings for Embellishment: The beauty of this pudding can be enhanced with various toppings. A simple dusting of cocoa powder is elegant and classic. For a more sophisticated touch, create delicate chocolate ribbons using a vegetable peeler on a dark chocolate bar. For ultimate indulgence, consider a dollop of homemade whipped coconut cream or a scoop of your favorite vegan vanilla ice cream. Fresh berries, a sprinkle of toasted nuts (if not making nut-free), or a drizzle of caramel sauce can also add delightful texture and flavor variations, making each serving a unique culinary creation.
Expert Tips for Perfect Vegan Chocolate Pudding
Achieving the perfect consistency and flavor in your vegan chocolate pudding is easier than you think, especially with these insider tips. Following these guidelines will ensure a smooth, creamy, and utterly delicious dessert every time you make this easy vegan pudding.
- The Importance of Soaking Cashews: This step is absolutely crucial for a truly silky-smooth pudding. Don’t be tempted to skip it! Soaking raw cashews, whether in hot water for a quick 15-30 minutes or in cold water for a few hours (or even overnight), softens them significantly. This allows them to blend down completely, eliminating any grittiness and creating the incredibly creamy, luxurious base texture we’re aiming for. A good soak makes all the difference in achieving that desired creamy vegan mousse consistency.
- Blend, Rest, Blend Again for Ultimate Smoothness: Merely blending once isn’t always enough to achieve that perfect mousse-like consistency. After the initial blend, allow the mixture to sit for 5-10 minutes. This pause gives the cashews more time to absorb liquid and further soften. Blending again after this rest period ensures an exceptionally smooth, aerated, and slightly fluffy texture, which is key to a superior pudding. Repeat this cycle until you’re confident there are no cashew bits remaining, ensuring your dairy-free chocolate dessert is perfectly smooth.
- Chilling Time Dictates Texture: The amount of time you chill your pudding directly impacts its final consistency. For a lighter, more ethereal, mousse-like texture, refrigerate it for a shorter period, around 1-2 hours, or even pop it into the freezer for 30 minutes just before serving. If you prefer a denser, more traditional pudding consistency that holds its shape well, extend the refrigeration time to 4 hours or preferably overnight. Plan your chilling time according to your desired result for this versatile vegan dessert.
- Use High-Quality Chocolate: Since chocolate is the star here, its quality will significantly affect the overall taste of your pudding. Invest in good quality vegan semi-sweet or dark chocolate chips. Better chocolate melts more smoothly and offers a richer, more complex flavor profile, making your dessert truly standout. This is especially important for the darker layer to ensure an intense flavor.
- Adjust Sweetness to Your Liking: The sweetness level in desserts is very personal. The recipe provides a good starting point, but don’t hesitate to taste the mousse mixture (before adding the melted chocolate for the dark layer) and adjust the sugar content if needed. You can add more sugar or a liquid sweetener like maple syrup for extra sweetness, or a touch more cocoa powder for a deeper, less sweet chocolate flavor.
- Experiment with Extracts: While vanilla and almond extracts are classic choices, don’t be afraid to experiment! A tiny dash of espresso powder can intensify the chocolate flavor without adding a coffee taste. A hint of peppermint extract could transform it into a mint chocolate delight. Citrus zests, like orange or tangerine, also pair wonderfully with chocolate for interesting flavor variations.
Step-by-Step Guide: Crafting Your Easy Vegan Chocolate Pudding
Follow these detailed steps to create a show-stopping two-layered vegan chocolate pudding that’s as impressive to look at as it is delicious to eat. Each step is designed to ensure success, leading to a perfectly creamy and rich dairy-free chocolate dessert that will delight everyone.
Step 1: Prepare the Creamy Mousse Layer
The foundation of this exquisite dessert is a silky-smooth, creamy mousse. This layer will be made first and then split to create both the light and dark components, ensuring a cohesive flavor profile throughout the pudding.
Begin by soaking your raw cashews. For a faster process, place them in a bowl and cover with hot water, allowing them to soak for a minimum of 15 minutes. This quick soak helps soften them. If time permits, soaking them in room temperature water for an hour or even overnight yields an even creamier, lump-free result, which is ideal for this creamy vegan pudding. Once sufficiently softened, drain the cashews thoroughly, discarding the soaking water.
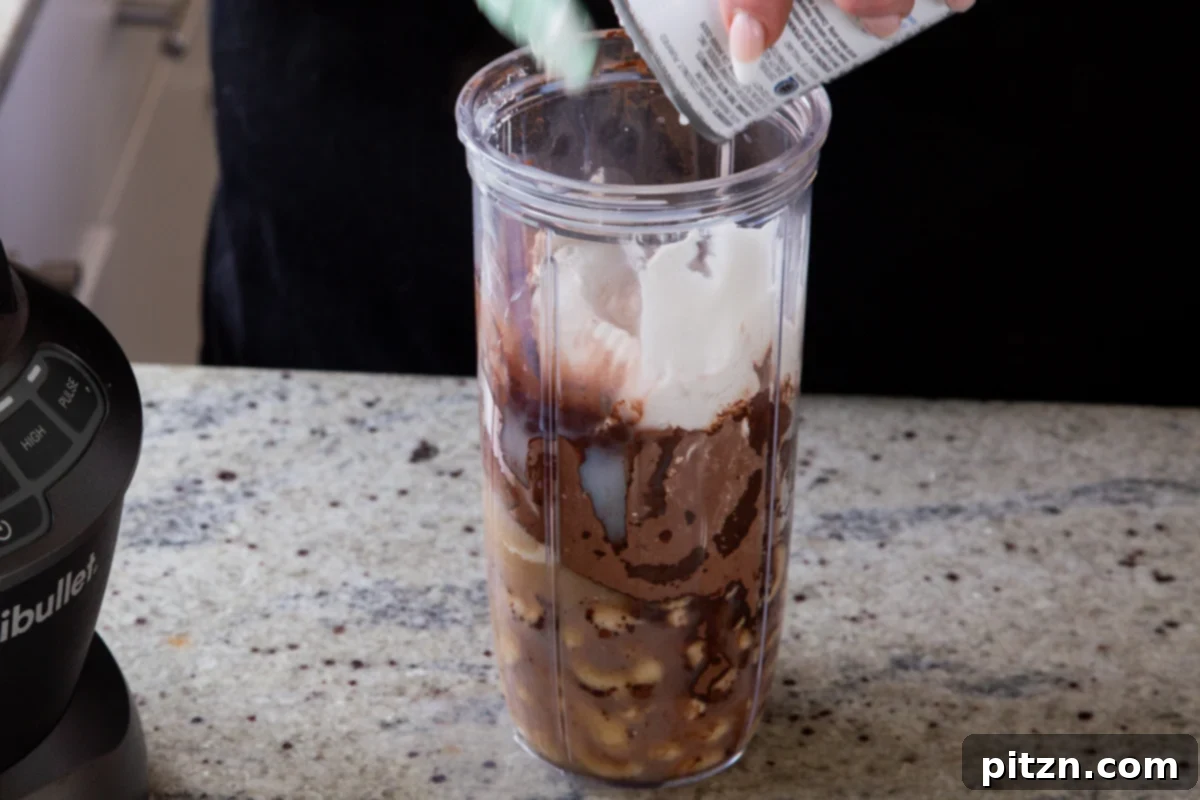
Transfer the drained cashews to a high-speed blender. Add the full-fat coconut milk (ensure it’s well-chilled and shake the can before opening to homogenize), vanilla extract, almond extract (if desired for an extra layer of flavor), unsweetened cocoa powder, a pinch of salt to enhance the chocolate, and your chosen sugar. Blend all these ingredients together for about one minute until they start to combine and smooth out.
After the initial blend, stop the blender, scrape down any ingredients clinging to the sides, and let the mixture sit undisturbed for 5 minutes. This brief pause allows the cashews to further absorb liquid and ensures a more homogenous blend. Blend again for another minute. Repeat this blend-and-rest cycle until the mixture is exceptionally smooth, free of any grainy texture, and has a visibly light and fluffy consistency. This thorough blending is crucial for a luxurious mousse texture in your homemade chocolate pudding.
Step 2: Create the Richer Dark Chocolate Layer
Now, we’ll transform a portion of your delicious mousse into a darker, more intense chocolate experience, forming the bottom layer of your pudding. This creates the delightful contrast in color and flavor.
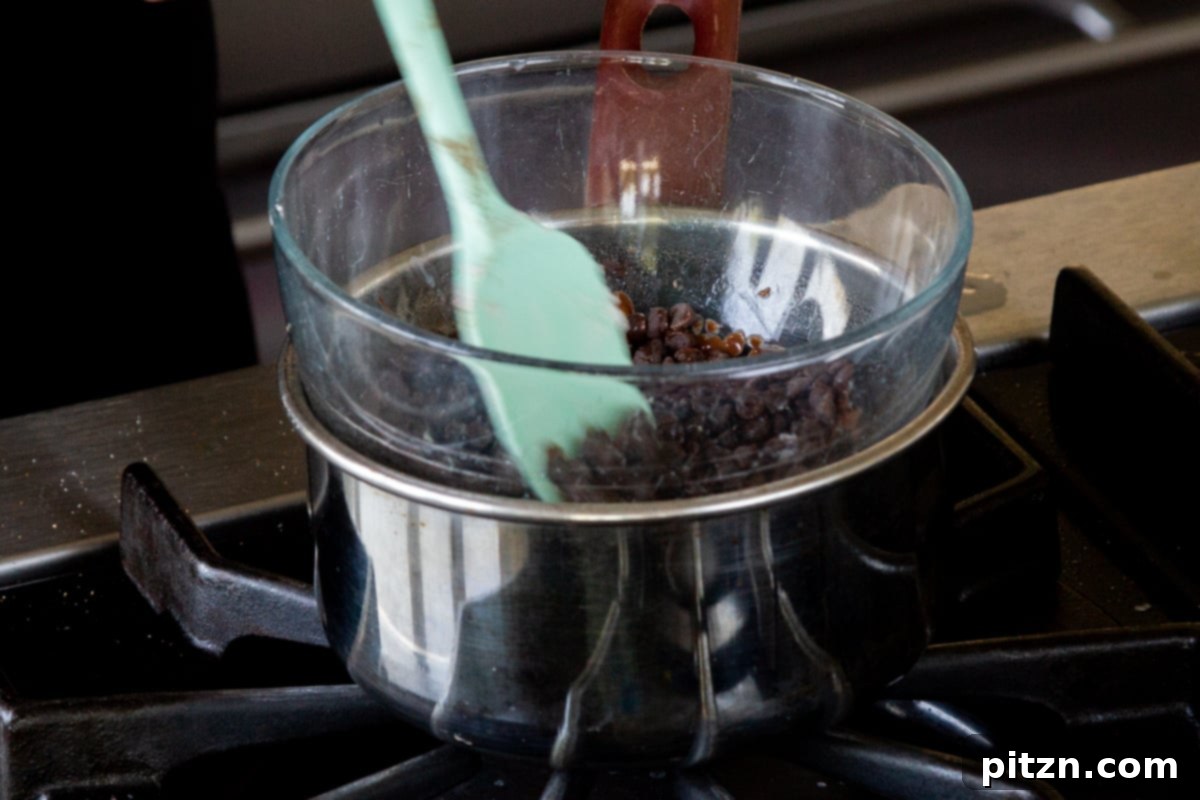
Prepare a double boiler. Place your vegan semi-sweet chocolate chips (or finely chopped dark chocolate, ensuring it’s dairy-free) in the top bowl. Heat gently over simmering water, stirring continuously until the chocolate is completely melted and beautifully smooth, without any lumps. The gentle heat of a double boiler prevents the chocolate from scorching. Once melted, carefully remove the bowl from the heat source.
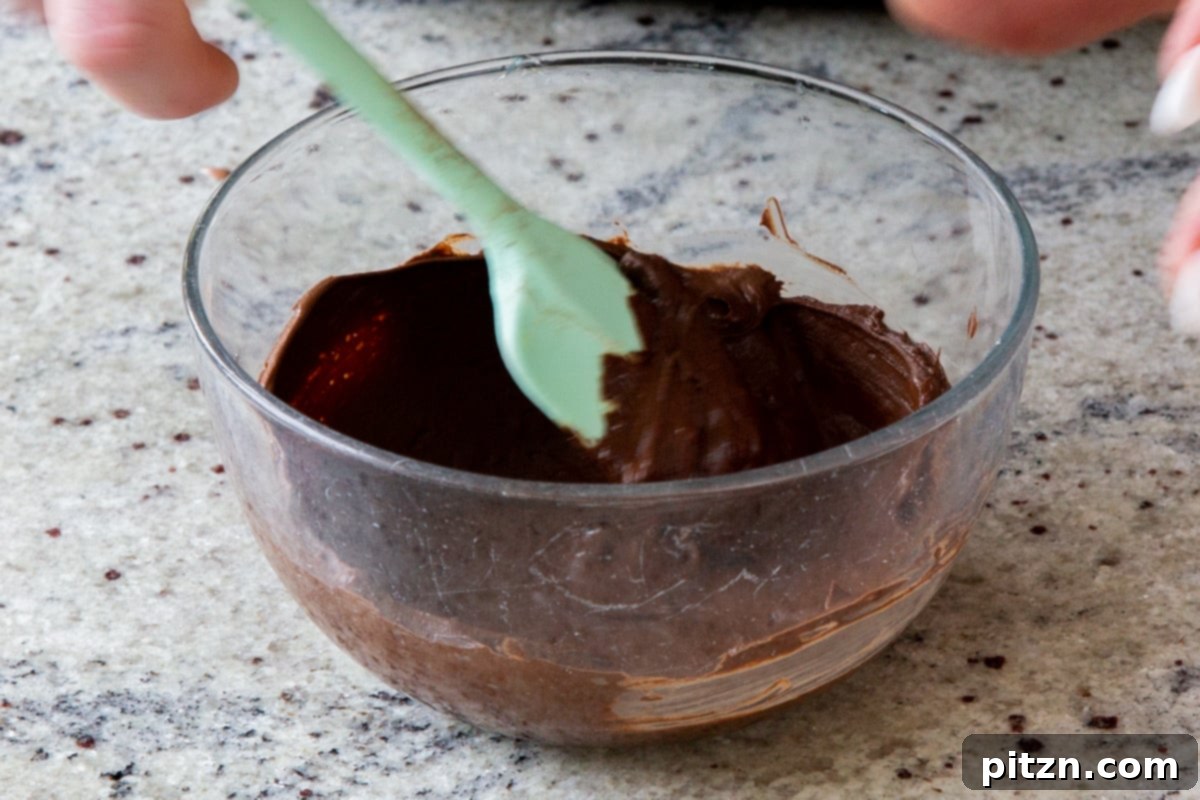
Now, add precisely half of your pre-blended chocolate mousse mixture into the bowl with the melted chocolate. Gently fold and stir until the mousse and melted chocolate are perfectly combined, creating a uniform, richer, and darker chocolate mixture. This careful integration ensures a smooth transition between layers, forming the dark chocolate layer of your easy vegan pudding.
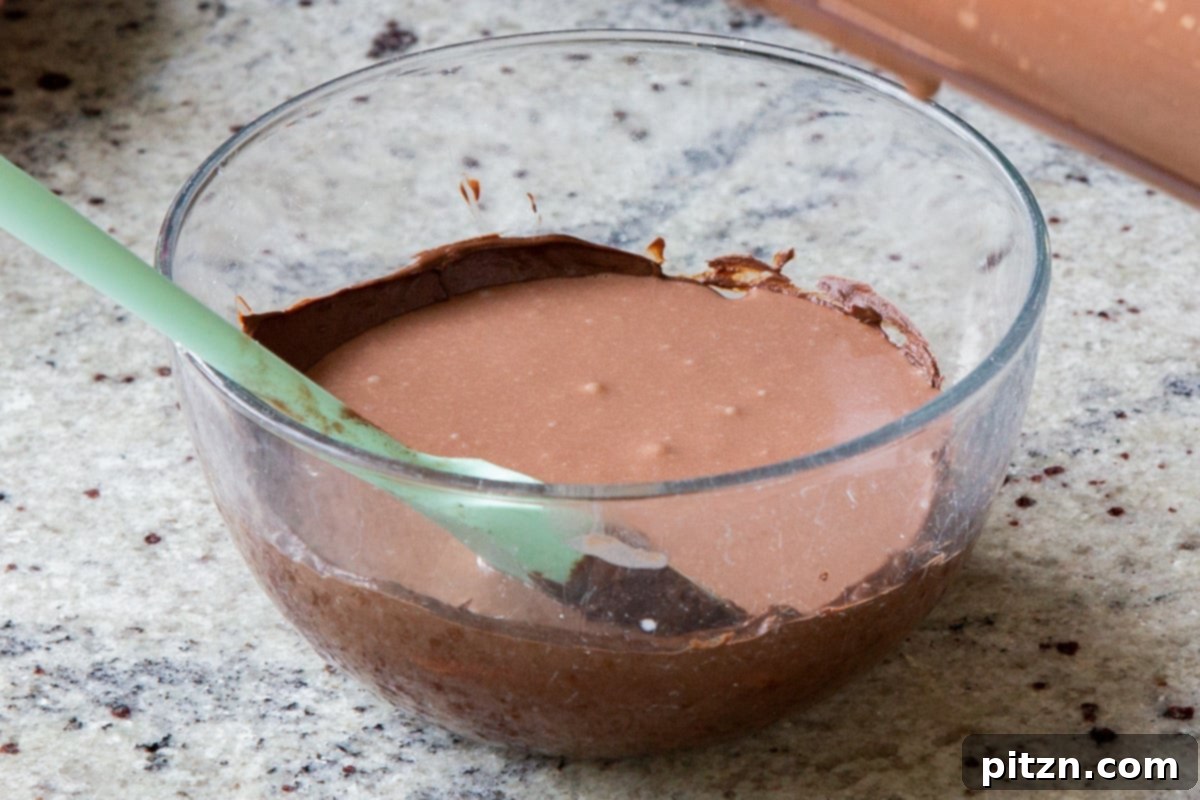
A crucial tip: if your blended coconut milk mixture was particularly cold, it might cause the warmer melted chocolate to firm up or seize a bit upon mixing. If this occurs, simply place the bowl back on the double boiler for a few seconds over very gentle heat, continuously stirring until the mixture becomes smooth and well combined again. Avoid overheating to maintain the silky texture of your dark chocolate dessert.
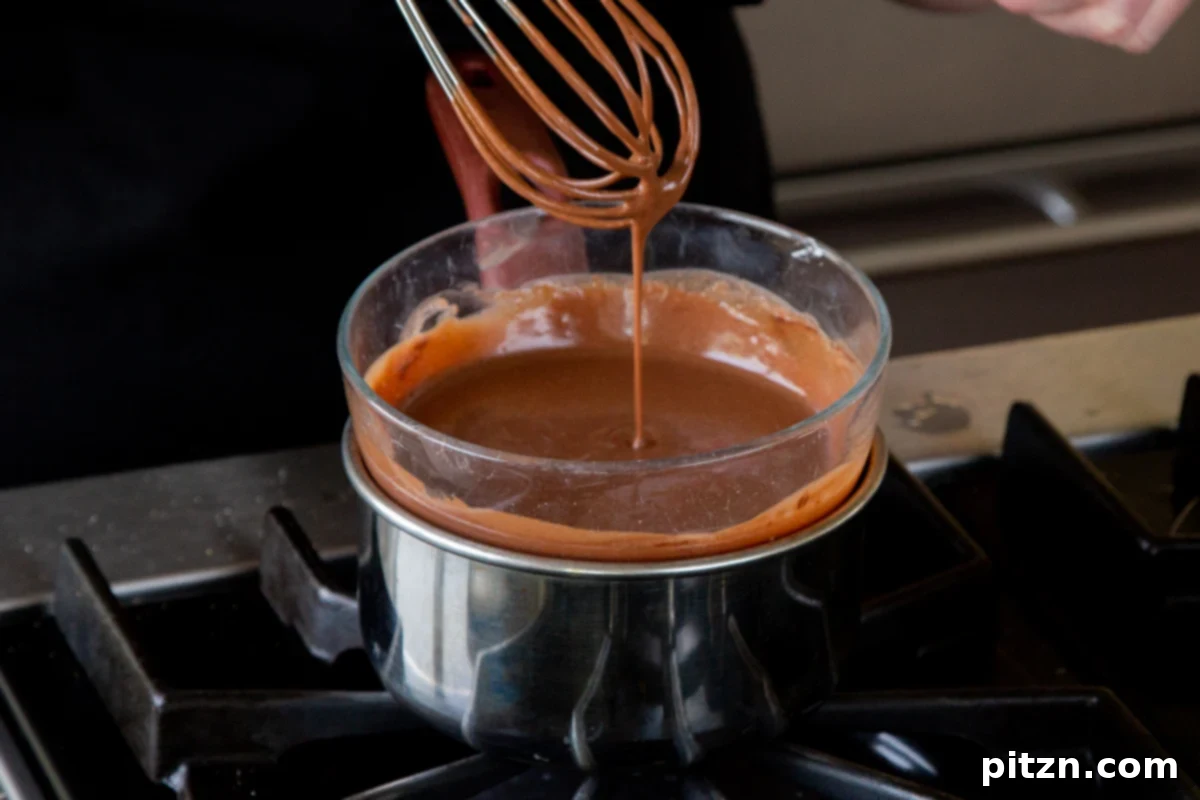
Carefully divide this darker, richer mixture among your individual serving cups, glasses, or small bowls. To ensure the layers remain distinct, place these in the freezer for a brief period of 15 to 30 minutes. This quick chill will allow the bottom layer to set sufficiently, creating a stable base for the lighter mousse layer that will follow, preventing them from mixing.
Step 3: Assemble and Perfectly Chill Your Vegan Chocolate Pudding
With both chocolate layers prepared, it’s time to assemble your beautiful, layered vegan chocolate pudding and let it chill to perfection. This final step brings everything together into a cohesive, delectable dessert.
Remove the serving bowls from the freezer once the darker bottom layer has firmed up slightly. Now, gently and evenly pour the remaining half of the lighter chocolate mousse mixture over the semi-set dark chocolate layer in each cup. Take care to pour slowly and steadily to maintain clean, distinct layers, showcasing the elegant two-tone effect of this dairy-free chocolate dessert.
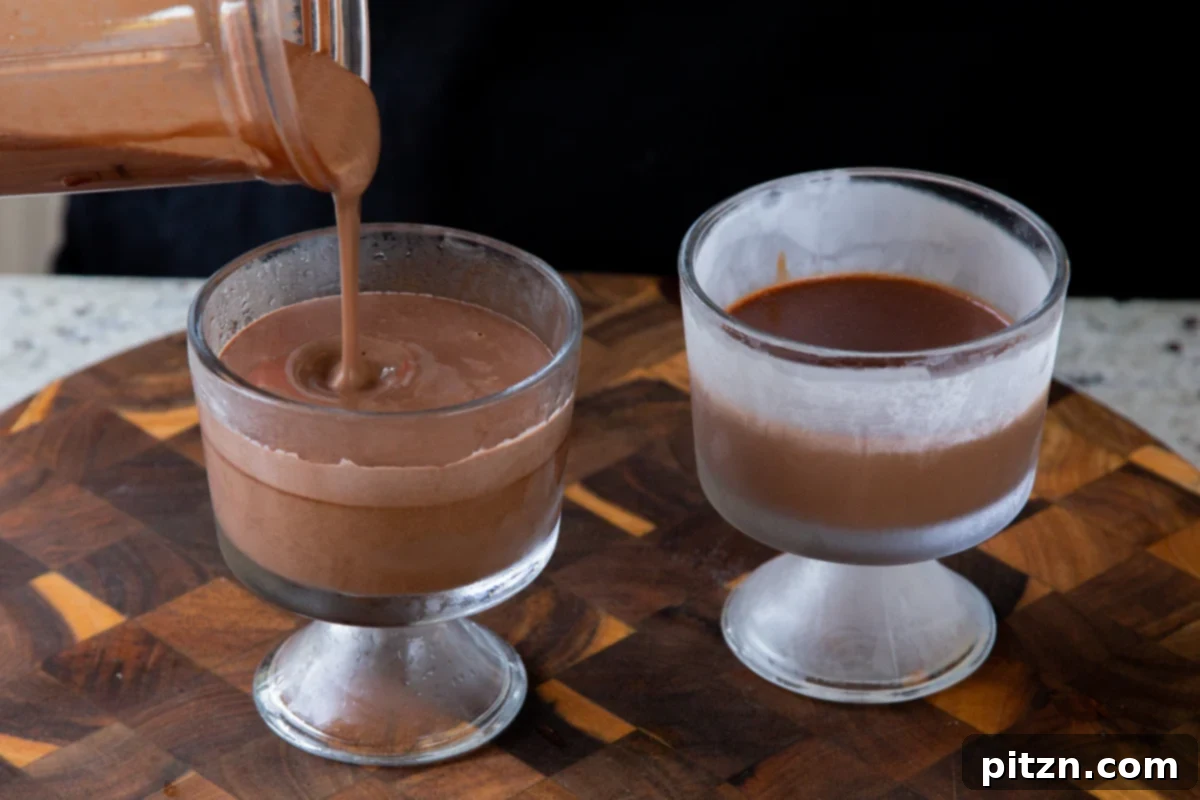
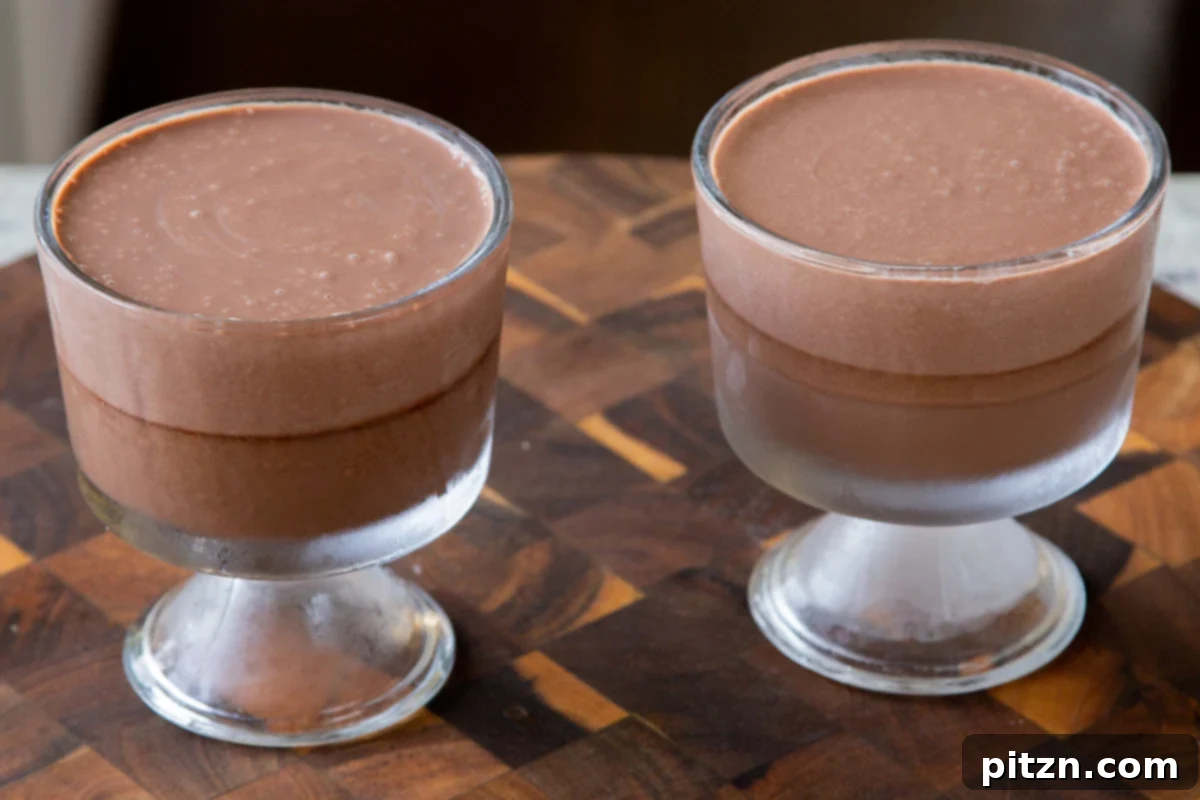
Once both layers are in place, transfer the assembled chocolate puddings to the refrigerator. Chill them for at least one hour to allow them to fully set and for the flavors to meld beautifully. For an even firmer, more traditional pudding consistency, refrigerate for 2-4 hours, or ideally, overnight. If a mousse-like texture is desired, a shorter chill or a brief stint in the freezer before serving is perfect (see the Chef’s Notes section for more details on achieving different textures).
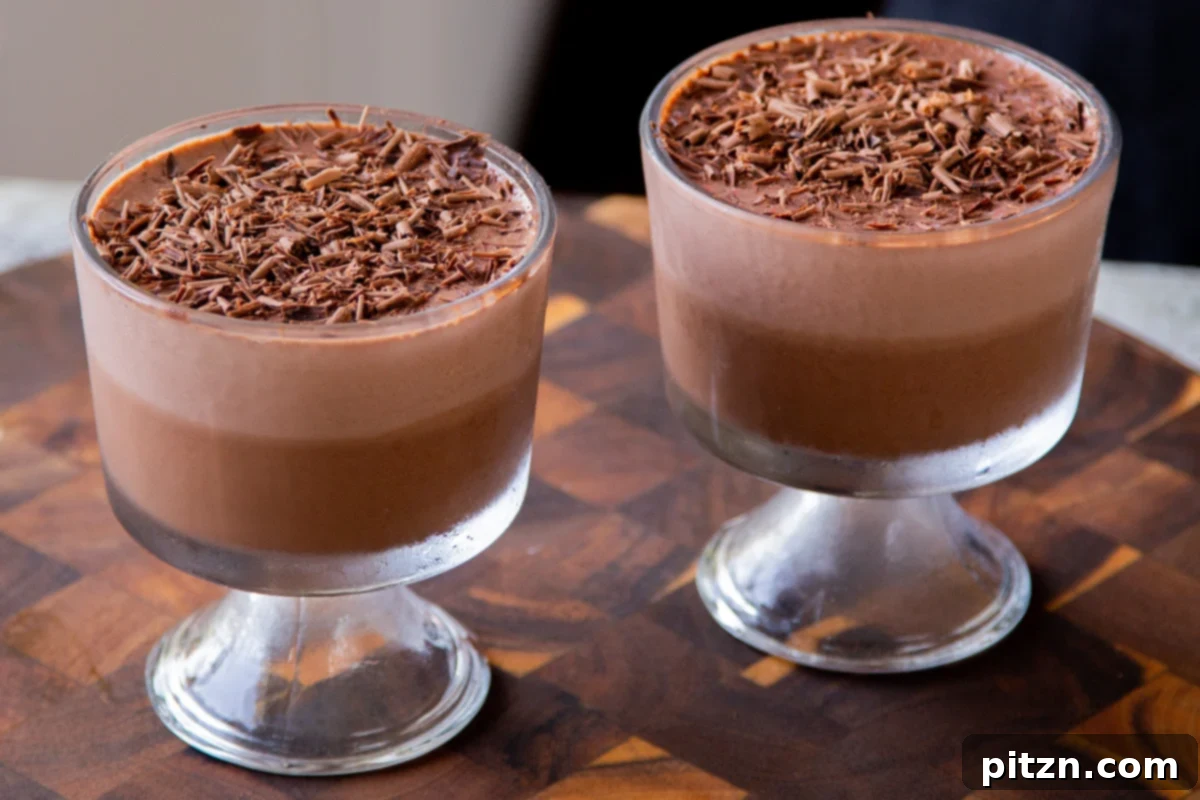
Before presenting your masterpiece, add your preferred elegant toppings. A light dusting of unsweetened cocoa powder creates a classic, sophisticated finish. For impressive chocolate ribbons, simply use a vegetable peeler to shave thin curls directly from a cold dark chocolate bar onto the puddings. As an extra touch of indulgence, consider adding a dollop of fluffy whipped coconut cream or a scoop of your favorite creamy vegan vanilla ice cream. These garnishes not only add visual appeal but also enhance the overall flavor and texture experience, making this easy vegan pudding truly unforgettable.
Frequently Asked Questions About Vegan Chocolate Pudding
Here are some common questions about making and enjoying this delightful vegan chocolate pudding, along with helpful answers to guide you in creating this perfect dairy-free chocolate dessert.
Coconut cream refers to the thick, opaque, white solid part that naturally separates and rises to the top when a can of full-fat coconut milk is chilled, typically overnight. It’s denser and richer than the translucent liquid underneath and is prized in vegan cooking for its creamy texture and ability to replicate dairy cream. For best results in recipes like this creamy vegan pudding, use only this firm, white part, avoiding the watery liquid.
Vegan pudding can be crafted from a variety of plant-based ingredients! This particular easy vegan pudding recipe utilizes a luxurious base of soaked cashews and full-fat coconut milk, creating a wonderfully creamy texture. Other popular bases include silken tofu, avocados (for chocolate puddings, often masked by cocoa), plant-based milks thickened with cornstarch or agar-agar, or even sweet potatoes. The versatility allows for many delicious dairy-free variations, catering to diverse tastes and dietary needs.
Yes, this recipe is designed to be highly accommodating for various dietary needs! It is naturally both soy-free and gluten-free, making it a safe choice for many who enjoy a gluten-free chocolate pudding. We also offer straightforward modifications to cater to specific allergies:
- To make this recipe nut-free: Substitute the 1 cup of raw cashews entirely with 1 cup of pure coconut cream. Remember, coconut cream is the solid white portion found at the top of a chilled can of full-fat coconut milk. Use only this thick cream for the creamy base, ensuring a delicious nut-free chocolate pudding treat.
- To make this recipe coconut-free: Instead of using coconut milk, increase the raw cashews to a total of 2 cups. After soaking and draining them thoroughly, blend these 2 cups of cashews with approximately 3/4 cup of water or your preferred non-dairy milk (such as oat milk or rice milk). You may need to adjust the liquid amount slightly to achieve your desired thick and creamy consistency, creating a delightful coconut-free chocolate dessert.
Serving and Storage Suggestions for Your Vegan Chocolate Pudding
Maximizing the enjoyment and longevity of your homemade vegan chocolate pudding is simple with these helpful tips. Whether you’re serving it immediately or planning ahead, these suggestions will ensure your creamy vegan dessert remains perfect.
Serving Your Decadent Pudding
This two-layered vegan chocolate pudding is a treat best served chilled. The distinct layers become more pronounced and the flavors deeper after a good chill in the refrigerator. Before serving, consider how you want to present it for the best visual and taste experience:
- Classic Presentation: Serve in individual clear glasses or elegant dessert bowls to beautifully showcase the two-tone layers. This allows guests to admire the craftsmanship of your easy vegan pudding.
- Garnish for Impact: A simple dusting of unsweetened cocoa powder adds an immediate touch of sophistication. For impressive chocolate ribbons, use a vegetable peeler to shave thin curls directly from a cold dark chocolate bar onto the puddings. These garnishes elevate the dessert from delicious to gourmet.
- Extra Indulgence: For an ultimate dessert experience, top each serving with a generous dollop of vegan whipped cream (coconut-based is excellent and complements the flavors) or a scoop of your favorite creamy vegan vanilla ice cream. Fresh berries like raspberries or strawberries also offer a lovely contrast in flavor and color, adding a burst of freshness to your dairy-free chocolate dessert.
- Dessert Transformation: Don’t limit yourself! This versatile vegan chocolate pudding can be used as a luscious filling for vegan tarts, a rich frosting for cupcakes, or even swirled into plain vegan yogurt for an indulgent breakfast treat. For a delightful frozen dessert, pour it into popsicle molds and freeze for a healthier chocolate pop, perfect for warmer days.
Storage Tips
Proper storage ensures your vegan chocolate pudding remains fresh, creamy, and delicious for days, allowing you to enjoy your easy vegan pudding whenever a craving strikes.
- Refrigeration: Store any leftover pudding in an airtight container in the refrigerator for up to 3-4 days. This allows it to maintain its creamy texture and rich flavor. Always ensure the container is well-sealed to prevent any absorption of refrigerator odors.
- Freezing for Longer Storage: If you’ve made a larger batch or want to enjoy this treat later, individual portions can be frozen. Transfer the pudding to freezer-safe containers with airtight lids. It will keep well in the freezer for up to 1 month without significant loss of quality. This is an excellent way to prepare ahead for future events or simply to have a ready-made dairy-free chocolate dessert.
- Thawing Frozen Pudding: To enjoy frozen pudding, simply transfer it from the freezer to the refrigerator a few hours before you plan to serve it. Allow it to thaw gently until it reaches your desired consistency. You can also enjoy it partially thawed for a firmer, almost ice-cream-like texture, which is a delightful variation.
- Preventing Skin Formation: To prevent a “skin” from forming on top of the pudding (which can happen, though less common with this recipe’s rich composition), you can press a piece of plastic wrap directly onto the surface of the pudding before sealing the container. This creates an airtight barrier that keeps the top layer moist and fresh.
Customizing Your Vegan Chocolate Pudding: Creative Variations
While this recipe for easy vegan chocolate pudding is perfect as is, it also serves as an excellent base for various delicious customizations. Feel free to unleash your culinary creativity and make this dairy-free chocolate dessert uniquely yours, exploring different flavor combinations and textures!
- Mint Chocolate Bliss: For a refreshing twist, add 1/4 to 1/2 teaspoon of pure peppermint extract to the mousse base during the blending stage. This will create a delightful mint chocolate flavor, perfect for holiday seasons or a cool treat. Garnish with a fresh mint leaf for an elegant touch.
- Orange Chocolate Zest: Incorporate the finely grated zest of half an orange into the mousse mixture. The bright, citrus notes of orange pair beautifully with dark chocolate, adding an aromatic and slightly tangy contrast to the richness of the pudding.
- Spicy Mexican Chocolate: For a subtle kick that warms the palate, add a tiny pinch of cayenne pepper or chili powder (start with 1/8 teaspoon and adjust to taste) along with the cocoa powder. A hint of ground cinnamon also works wonderfully to round out the traditional Mexican chocolate profile.
- Nutty Crunch (if not nut-free): If you’re not adhering to a nut-free diet, sprinkle chopped toasted almonds, pecans, or walnuts between the layers or on top of your finished pudding. This adds a delightful textural contrast and a rich, nutty flavor that complements the chocolate beautifully.
- Coffee Lover’s Dream: A teaspoon of instant espresso powder or finely ground coffee added to the mousse base will deepen the chocolate flavor and add a subtle coffee undertone without making it taste explicitly like coffee. This enhances the chocolate notes, creating a more complex and sophisticated flavor profile.
- Berry Swirl: Gently fold a few tablespoons of raspberry or cherry puree into a portion of the mousse for a beautiful fruity swirl before assembling the layers. The tartness of the berries will provide a lovely counterpoint to the sweet chocolate.
- Caramel Drizzle: A generous drizzle of homemade vegan caramel sauce over the top before serving adds another layer of sweetness and decadence. This sticky, sweet addition transforms your easy vegan pudding into an even more indulgent treat.
- Salted Caramel Finish: After adding a caramel drizzle, sprinkle a few flakes of sea salt for a popular salted caramel chocolate combination. The salt highlights the sweetness of the caramel and the bitterness of the chocolate, creating a perfectly balanced flavor.