
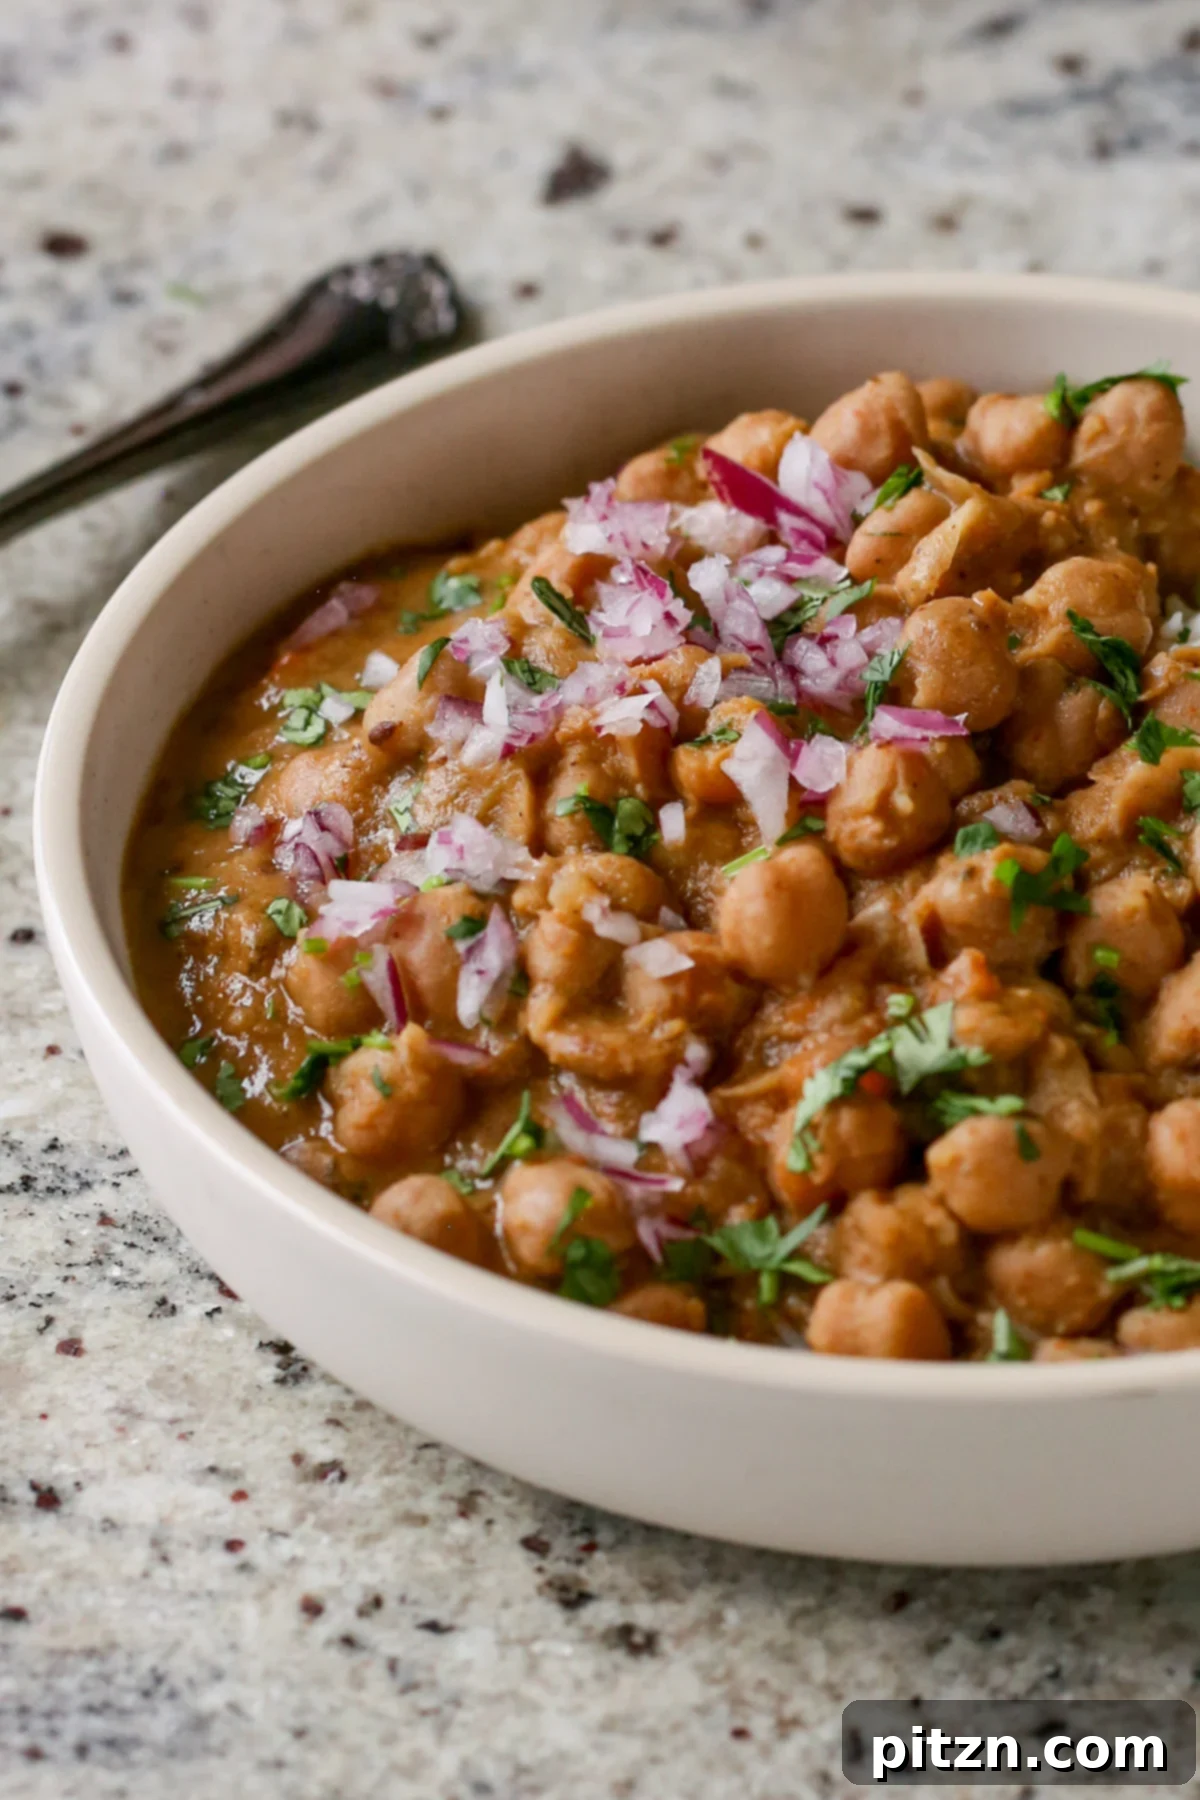
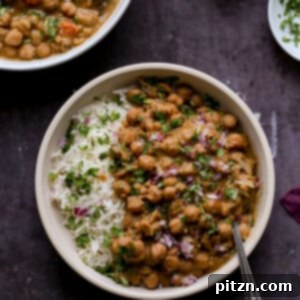
Embark on a culinary journey to North India with this exceptional Punjabi Chole recipe, a chickpea curry celebrated for its unique and profoundly delicious blend of flavors. This Instant Pot version simplifies the process, allowing the chickpeas to simmer directly in the rich, aromatic sauce until they achieve an unbelievably tender, melt-in-your-mouth texture. Perfectly versatile, this hearty curry can be enjoyed with fluffy rice, warm naan bread, or your favorite homemade flatbread. Beyond its incredible taste, this recipe is naturally gluten-free, soy-free, and nut-free, making it a wonderful option for various dietary needs.
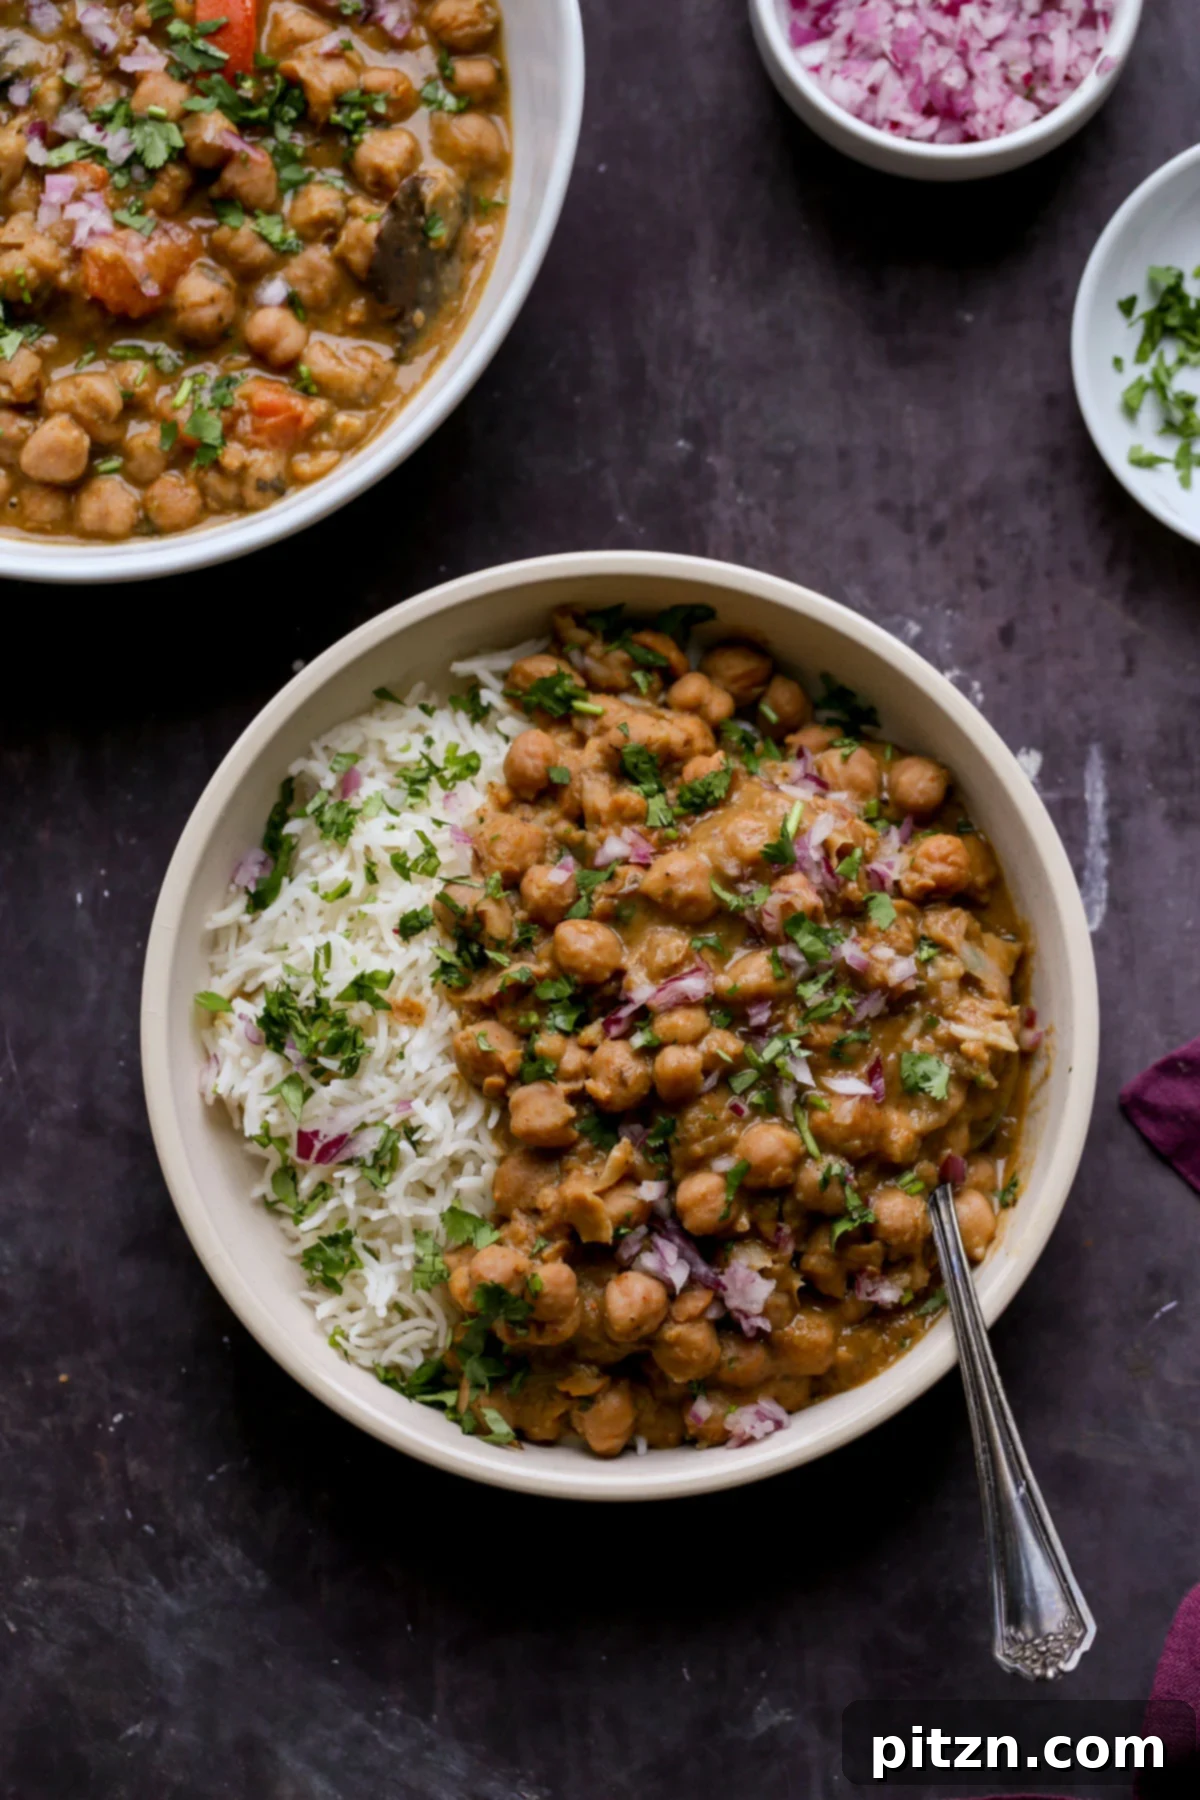
Table of Contents
- Why You’ll Love This Authentic Punjabi Chole
- More Delicious Vegan Instant Pot Curries
- Authentic Punjabi Chole (North Indian Chickpea Curry) Recipe
- Essential Ingredients and Smart Substitutions
- 💡 Expert Tips for Perfect Punjabi Chole
- Step-by-Step: Making Punjabi Chole in the Instant Pot
- Frequently Asked Questions About Punjabi Chole
Chole, also widely known as Chana Masala, is a beloved chickpea curry deeply rooted in the culinary traditions of various northern states of India. While “Chana Masala” has become a broader term encompassing many chickpea curries, “Punjabi Chole” specifically hails from the vibrant state of Punjab. It distinguishes itself with a unique and robust flavor profile that speaks of home-cooked comfort and generations of culinary expertise. The magic lies in the carefully caramelized onions, the warmth of whole spices like black cardamom, the pungent kick of fresh ginger and garlic, and the deeply tender chickpeas that nearly dissolve into the rich, dark sauce. Once you experience the authentic taste of this restaurant-style chickpea curry, it’s bound to become a staple in your kitchen, beckoning you to make it again and again.
The heart of this Punjabi Chole recipe lies in its incredibly flavorful sauce. We build this depth of flavor by extensively caramelizing onions, allowing them to transform into a sweet, savory base. The aromatic foundation is further enhanced with whole spices such as earthy black cardamom, fragrant ginger, sharp garlic, and a specialized chole masala blend. This unique spice blend is readily available at most Indian grocery stores or online. However, if chole masala is hard to come by, a good quality garam masala can serve as a suitable, though slightly different, alternative.
A defining characteristic of true Punjabi Chole is the exceptionally soft texture of its chickpeas. Unlike chickpeas used in salads or lighter dishes, those in chole are cooked for an extended period until they are super soft, almost melting into the sauce. This long cooking process allows them to fully absorb the complex flavors of the gravy, and their color often becomes beautifully integrated with the deep hue of the sauce itself. This is why the pressure cooking time for this recipe is considerably longer than what you might typically use for just-cooked chickpeas.
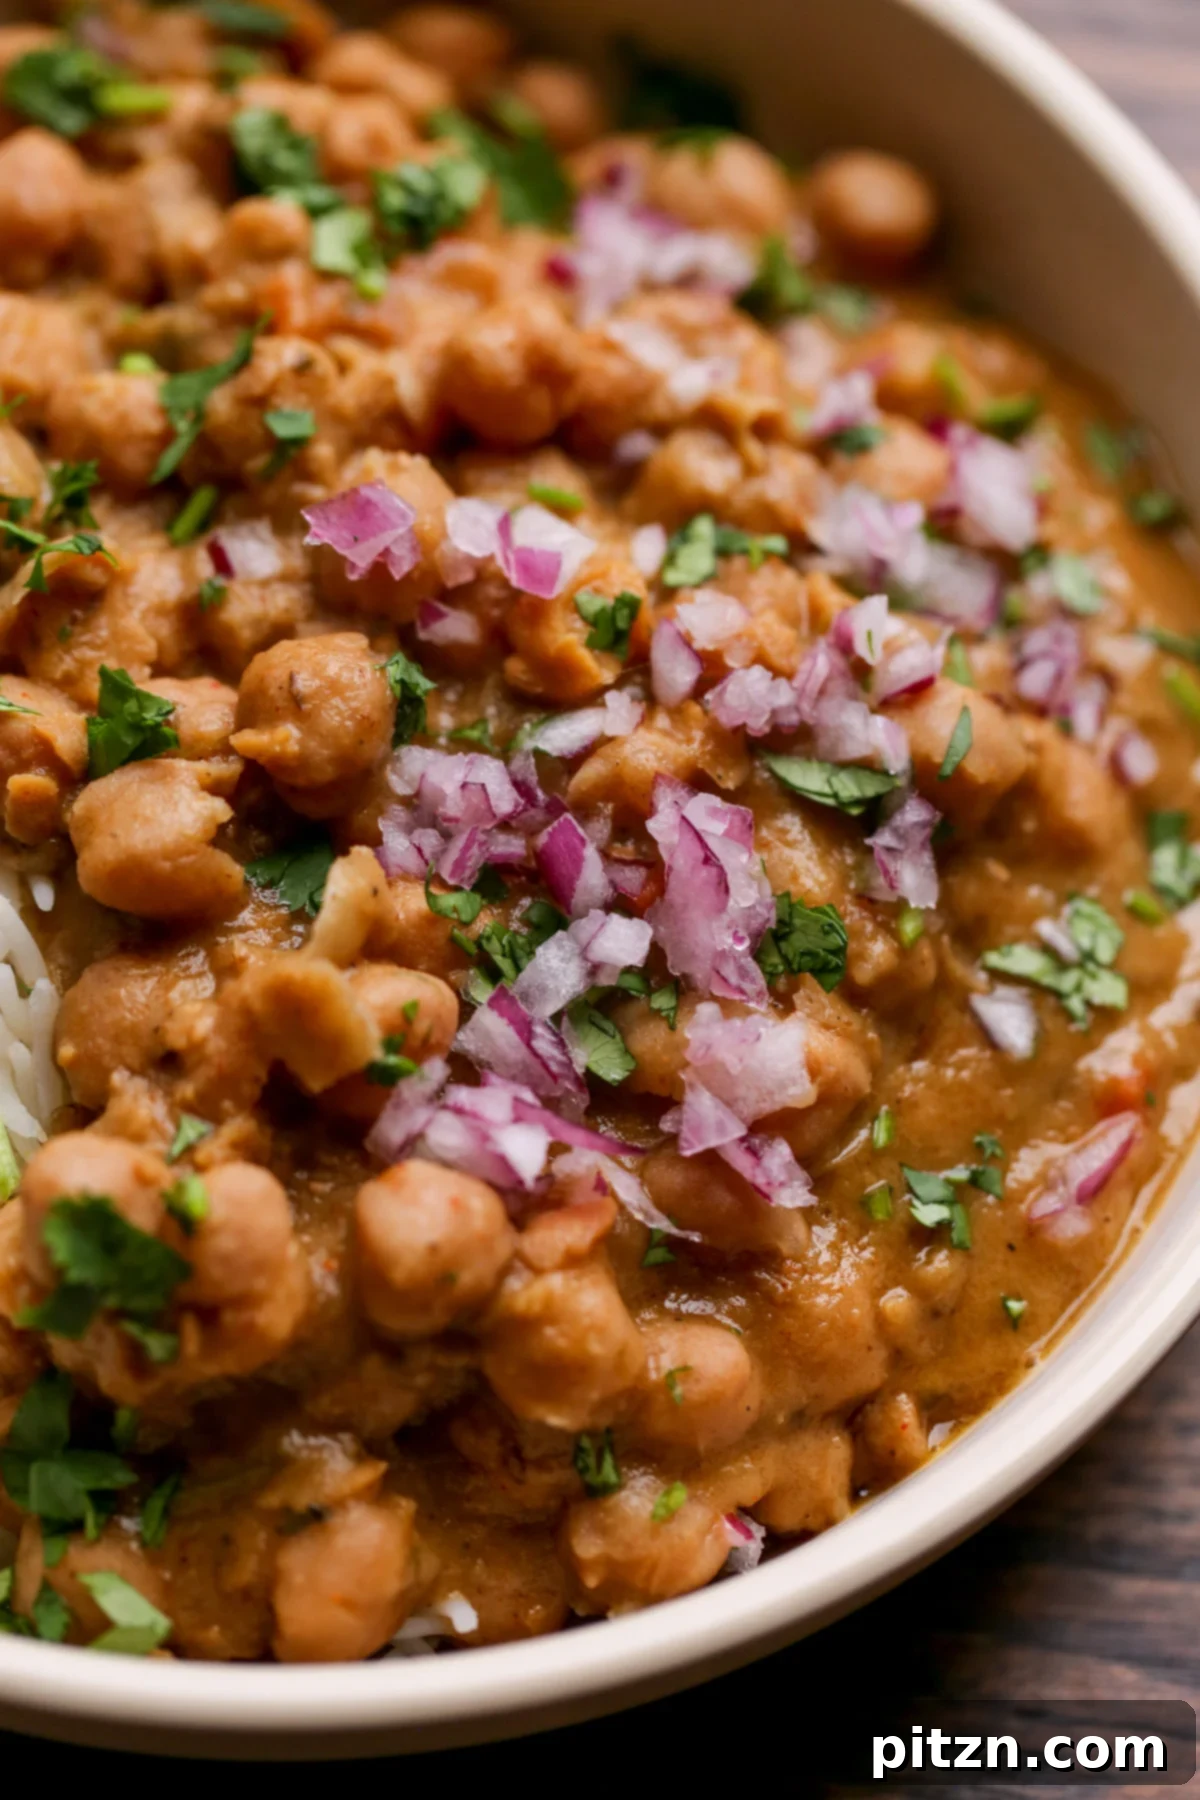
This extended cooking approach is not unique to Punjabi Chole; it’s a common technique in many other bean or legume-based Indian dishes. Just like a slow-cooked chili, this method encourages all the ingredients to meld and caramelize, deepening the aromas and flavors. The beans begin to subtly break down, thickening the sauce and ensuring every bite is infused with the rich essence of the spices and aromatics. When you follow this recipe precisely, you’ll achieve that authentic, deeply flavorful, and incredibly tender texture that is the hallmark of traditional Punjabi Chole. It’s a texture that signifies comfort, warmth, and culinary mastery, transforming simple chickpeas into an extraordinary experience.
While the traditional preparation calls for melt-in-your-mouth chickpeas, we understand that personal preferences vary. If you prefer a slightly firmer chickpea texture, you can simply adjust the pressure cooking time to about half of what is recommended. The dish will still be delicious and flavorful, offering a different, yet equally enjoyable, culinary experience. This flexibility allows you to tailor the recipe to your liking without compromising on taste.
The versatility of this curry extends beyond just chickpeas. The sauce, being the star of the dish, carries an incredible depth of flavor that can complement a variety of legumes. Feel free to experiment with other beans like kidney beans, white beans, butter beans, or black beans. The rich, aromatic gravy will perfectly coat and infuse whichever bean you choose, creating a delightful and equally satisfying meal.
It’s important to clarify the distinction: Chole is the original, authentic Indian chickpea curry, particularly Punjabi Chole. “Chana Masala,” while often used interchangeably, has evolved into a simpler, more generalized term, with many regional and even non-authentic interpretations around the world. For those seeking the true, unparalleled flavors of a traditional Indian chickpea curry, this Punjabi Chole recipe is the real deal. Prepare to fall in love with chickpeas all over again as you savor the layers of spice and comfort in this exquisite dish.
Why You’ll Love This Authentic Punjabi Chole
This Punjabi Chole is more than just a meal; it’s an experience. Here’s why it’s destined to become a beloved favorite in your home:
- Unforgettable Texture and Flavor: Prepare for chickpeas that are so tender they truly melt in your mouth, enveloped in a creamy, deeply caramelized sauce. Each spoonful is packed with an incredible medley of authentic Indian spices, creating a symphony of flavors that will transport your taste buds straight to Punjab. It’s rich, complex, and utterly satisfying.
- Effortless Preparation in the Instant Pot: While traditional chole can be time-consuming, this recipe harnesses the power of the Instant Pot, drastically reducing cooking time without sacrificing any of the authentic flavor or texture. You can also easily adapt it for stovetop cooking if preferred, offering flexibility for any kitchen.
- Dietary Friendly & Wholesome: Enjoy this delicious curry knowing it’s naturally gluten-free, soy-free, and nut-free. This makes it an excellent choice for those with specific dietary requirements or allergies, ensuring everyone at your table can savor its wholesome goodness without compromise. It’s a nourishing meal that doesn’t skimp on flavor.
Explore More Delicious Vegan Instant Pot Curries
If you’ve enjoyed the ease and flavor of making Punjabi Chole in your Instant Pot, you’ll be thrilled to discover a world of other vibrant vegan curries that can be prepared with the same convenience. Expand your culinary repertoire with these enticing Instant Pot recipes:
- Creamy Instant Pot Coconut Chicken Curry (Vegan)
- Hearty Instant Pot Japanese Curry (Vegan)
- Flavorful Instant Pot Chickpea Coconut Curry
- Wholesome Instant Pot Eggplant Sweet Potato Lentil Curry
- Comforting Instant Pot Red Lentil Butternut Squash Curry
Authentic Punjabi Chole (North Indian Chickpea Curry)
Vegan Richa
10
1 30
1 40
4
Main, Main Course
Indian, North Indian
Print Recipe
Authentic Punjabi Chole is a North Indian chickpea curry renowned for its unique and delicious blend of deep, complex flavors. In this Instant Pot version, the chickpeas cook directly in the aromatic sauce until they are incredibly tender and melt in your mouth. Serve this comforting vegan, gluten-free, soy-free, and nut-free dish with rice, naan, or flatbread for an unforgettable meal.
Ingredients
- 1 1/2 cups dried chickpeas, washed and soaked overnight or for at least five hours, then drained
For the Aromatic Sauce
- 2-4 teaspoons oil
- 1 teaspoon whole cumin seeds
- 2 bay leaves
- 2 black cardamom pods, opened slightly
- 2 green cardamom pods, opened slightly
- 2 whole cloves
- 1 1/2 cup chopped or sliced onion
- 1/4 teaspoon salt
- 2 tablespoons ginger garlic paste, or use 8 cloves of garlic and 1” of ginger, minced
- 1 hot green chile, such as serrano or Indian chili, finely chopped
- 2 tablespoons chopped cilantro stems, reserve the leaves for garnish
- 1 tablespoon ground coriander
- 1-1.5 teaspoon Kashmiri chili powder, or use paprika
- 2 teaspoons chole masala blend (see notes for homemade option), or use garam masala
- 1/2 teaspoon dried fenugreek leaves, (kasuri methi)
- 1/4 teaspoon black pepper
- 2.5-3 cups water
For Finishing and Garnish
- 1/4 cup non-dairy yogurt
- 1/2 teaspoon salt, or more if needed
- 1 large tomato, chopped into 3/4 inch cubes
- lime juice, to taste
- chopped cilantro leaves and chopped onion, for garnish
Instructions
- Prepare Chickpeas: If you haven’t already, ensure your dried chickpeas are thoroughly washed and soaked overnight (or for a minimum of five hours). Drain them well and set aside.
- Bloom Whole Spices: Initiate the Instant Pot on ‘Sauté’ mode and add the oil. Once the oil is shimmering hot, add the whole cumin seeds. Sauté, stirring occasionally, until the cumin seeds become incredibly fragrant and slightly change color. This typically takes 1 to 4 minutes, depending on your Instant Pot model’s heating efficiency.
- Sauté Aromatics: As soon as the cumin seeds are fragrant, add the bay leaves, black cardamom, green cardamom, cloves, chopped onion, and 1/4 teaspoon of salt. Mix thoroughly and continue to sauté for about 3 minutes, allowing the onions to soften.
- Incorporate Pastes and Ground Spices: Stir in the ginger garlic paste, finely chopped green chili, cilantro stems (reserving leaves for garnish), and all the ground spices (ground coriander, Kashmiri chili powder or paprika, chole masala or garam masala, dried fenugreek leaves, and black pepper). Mix everything together very well to combine with the aromatics.
- Develop Flavors: Continue cooking this aromatic mixture for another 3 to 4 minutes. If the onion mixture starts to stick or scorch, add small splashes of water to deglaze the pot and prevent burning, ensuring even caramelization. (Alternatively, you can add ground spices after whole spices, mix, then add onion and cook 4 mins, then add ginger garlic, cilantro stems, chili and mix and cook another 4 mins).
- Add Chickpeas and Pressure Cook: Cancel the ‘Sauté’ mode. Add the drained, soaked chickpeas and 3 cups of water to the pot. Stir thoroughly to ensure all ingredients are well combined.
- Pressure Cook for Tenderness: Secure the Instant Pot lid and set it to ‘Pressure Cook’ on ‘Bean Mode’ or ‘High Pressure’ for 1 hour. Once cooking is complete, allow the pressure to release naturally for 15 minutes, then perform a quick release of any remaining pressure before carefully opening the lid.
- Finish the Curry: Stir in the non-dairy yogurt and 1/2 teaspoon of salt. Start the ‘Sauté’ mode again and bring the mixture to a gentle boil. While it boils, use the back of a spoon or a potato masher to lightly mash some of the chickpeas against the side of the Instant Pot. This helps to thicken the curry and release their starchy goodness. Continue to boil for another 2 to 3 minutes.
- Final Adjustments: Mix in the chopped fresh tomato. Taste the curry and adjust the salt and other flavors as needed. If desired, add an extra dash of salt and a generous squeeze of fresh lime juice to brighten the flavors. Cancel ‘Sauté’ mode and let the chole rest for a few minutes; this resting period allows the flavors to meld beautifully.
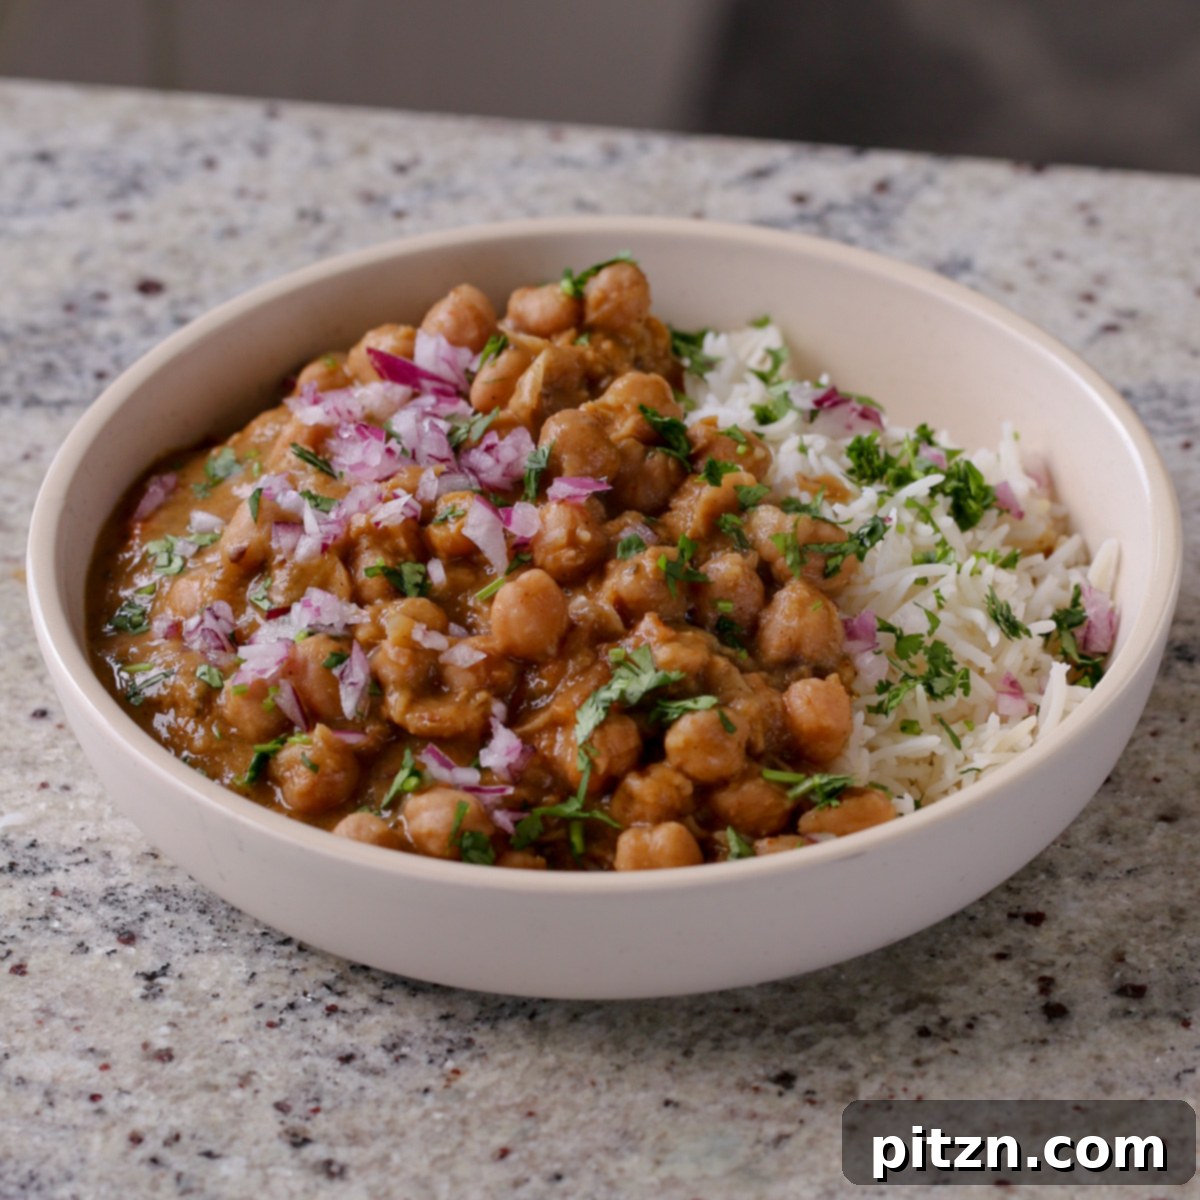
- Garnish and Serve: Garnish generously with fresh cilantro leaves, a sprinkle of chopped onion, and an additional squeeze of lime juice for a burst of freshness. Serve your authentic Punjabi Chole hot with flatbread, steamed rice, or fluffy naan for a complete and satisfying North Indian meal.
Video Tutorial
Recipe Notes & Variations
Stovetop Cooking Method: For a saucepan rendition, follow all the ingredient preparations and sautéing steps as described above. When sautéing the onion, cook for an additional 5 minutes or until they achieve a lovely golden hue before introducing the chickpeas. Add an extra 1 to 2 cups of water (totaling 4-5 cups) along with the chickpeas, then cover the pot and simmer over medium heat for at least 2 hours, or until the chickpeas reach your desired tenderness. Monitor the liquid level and add more water if it evaporates too quickly, stirring every 20 minutes to prevent sticking.
Traditional Color Boost: For a darker, more traditional color, you can add 1/4 teaspoon of loose black tea leaves (placed in a tea ball or muslin pouch) along with the chickpeas before pressure cooking or simmering. Remove before serving.
Allergy-Friendly Notes: This recipe is inherently gluten-free. To maintain its nut-free and soy-free status, ensure you select a non-dairy yogurt that is specifically free from nuts and soy. For a tomato-free version, simply omit the chopped tomatoes added at the end.
Craft Your Own Chole Masala Blend: While pre-made Chole Masala or Indian Chana Masala blend is convenient and widely available, creating your own is incredibly rewarding. Here’s a quick guide to make a fresh batch: grind the following spices together to a fine powder and store in an airtight container:
- 1 tablespoon Coriander seeds (or ground coriander)
- 1/2 teaspoon Cumin seeds (or ground cumin)
- 1-2 Black cardamom pods
- 1 Green cardamom pod
- 8 Black peppercorns (adjust for desired heat)
- 1.5 teaspoon Kashmiri chili powder
- 1 teaspoon Dry mango powder (amchur)
- 1/2 teaspoon Chaat masala or 1/8 teaspoon Indian black salt (kala namak)
- 1 Bay leaf, 1 whole clove (or 1/8 teaspoon ground clove)
Optional additions for deeper flavor: a generous pinch of cinnamon, a small amount of dried fenugreek leaves, or a pinch of carom seeds.
Using Canned or Pre-Cooked Chickpeas: If opting for convenience, use 3 to 3.5 cups of canned or pre-cooked chickpeas. Reduce the water added to only 1.5 cups. Pressure cook for 10 minutes or simmer in a saucepan for 20-25 minutes, then continue with the recipe steps as directed.
Oil-Free Preparation: To make this recipe oil-free, dry toast the whole cumin seeds in a hot skillet until fragrant and slightly changed in color. Then, add 3-4 tablespoons of vegetable broth (or water) to the Instant Pot on sauté mode instead of oil and proceed with the remaining steps, adding splashes of broth as needed to prevent sticking.
Nutrition Information
Carbohydrates: 57g,
Protein: 16g,
Fat: 7g,
Saturated Fat: 1g,
Sodium: 519mg,
Potassium: 884mg,
Fiber: 16g,
Sugar: 13g,
Vitamin A: 509IU,
Vitamin C: 18mg,
Calcium: 141mg,
Iron: 6mg
Nutrition information is automatically calculated and should be used as an approximation.
Loved this recipe? Share your experience below!Rate and comment to let us know how your Punjabi Chole turned out!
Essential Ingredients and Smart Substitutions
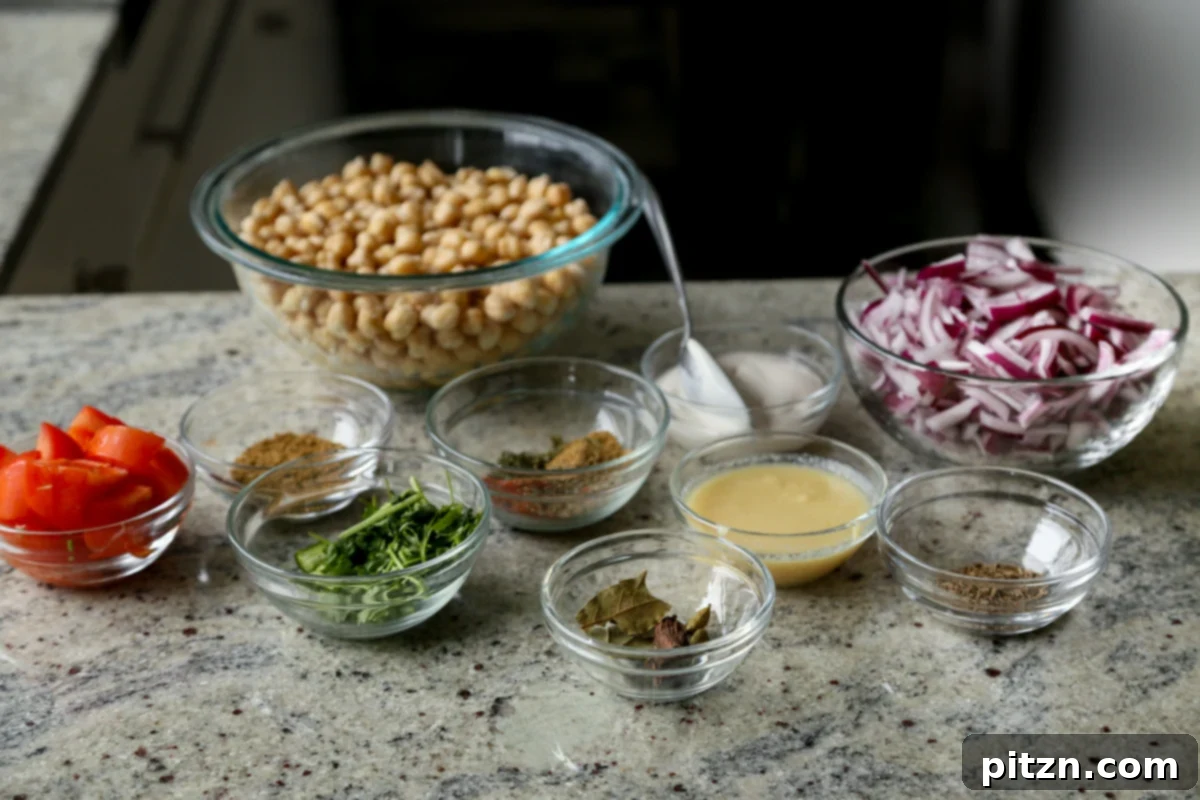
Crafting the perfect Punjabi Chole relies on a thoughtful selection of ingredients that build layers of flavor. Here’s a breakdown of what you’ll need and how you can adapt the recipe:
- Dried Chickpeas: These are the star of the dish. Proper soaking is crucial for achieving that signature melt-in-your-mouth texture and significantly reduces cooking time. Aim for at least 5 hours, but an overnight soak is ideal.
- Oil: Used to toast the whole spices and caramelize the onions. Any neutral cooking oil works well. For an oil-free version, see the notes section.
- Whole Spices: This forms the aromatic foundation of the curry. Cumin seeds, bay leaves, black and green cardamom pods, and whole cloves are essential. Each spice contributes a distinct flavor: cumin for earthiness, cardamom for warmth, and cloves for a subtle sweetness. While omitting one or two won’t ruin the dish, having them all creates the most authentic profile.
- Onion: Caramelized onion provides a crucial depth of sweetness and umami, forming the rich base of the sauce. Don’t rush this step; slow caramelization is key to the chole’s distinctive flavor.
- Ginger Garlic Paste: A powerhouse of flavor, adding a pungent, spicy kick and an incredible aromatic depth. If you don’t have pre-made paste, mince fresh ginger and garlic (about 8 cloves of garlic and a 1-inch piece of ginger) for equally excellent results.
- Hot Green Chili: For that characteristic warmth. Serranos or Indian green chilies are excellent choices. Adjust the quantity according to your preferred spice level.
- Cilantro: Both the stems and leaves are utilized. The chopped stems are cooked into the sauce to infuse it with a fresh, herbaceous flavor, while the leaves are reserved for a vibrant garnish, adding a burst of freshness at the end.
- Ground Spices: These build upon the base, adding complexity. Ground coriander provides citrusy notes, Kashmiri chili powder (or paprika) offers a beautiful red hue and mild heat, chole masala blend (or garam masala) ties all the flavors together, dried fenugreek leaves (kasuri methi) impart a unique, slightly bitter aroma, and black pepper adds a subtle sharpness.
- Non-Dairy Yogurt: This ingredient is stirred in at the end to lend a creamy texture and a slight tang, enriching the sauce. Cashew cream or a vegan sour cream can be used as effective substitutes.
- Fresh Tomato: Chopped fresh tomato is incorporated towards the end, adding a bright acidity, a touch of sweetness, and a lovely textural element to the finished curry.
- Lime Juice: A finishing squeeze of lime juice is indispensable, providing a vibrant tang that balances the rich, earthy flavors of the spices and chickpeas.
💡 Expert Tips for Perfect Punjabi Chole
Achieving restaurant-quality Punjabi Chole at home is simple with these expert tips:
- Mindful Spice Roasting: When toasting the whole spices, constant stirring is key to prevent them from burning. Different Instant Pot models heat at varying rates, so pay close attention. Continue cooking until the spices release a profound, fragrant aroma, which indicates they are perfectly bloomed. This step is crucial for unlocking their full flavor potential.
- Prevent Onion Scorching: Caramelizing onions properly takes time, but don’t let them dry out and stick to the pot. If the onions start to scorch during cooking, simply add small splashes of water to deglaze the bottom of the pot. This not only adds essential moisture but also helps the onions brown more evenly, contributing to the sauce’s rich, deep flavor without any bitterness.
- Soaking is Non-Negotiable: While some Instant Pot recipes claim no-soak beans, for authentic, melt-in-your-mouth Punjabi Chole, soaking dried chickpeas for at least 5 hours (preferably overnight) is essential. It drastically improves texture and reduces cooking time.
- Taste and Adjust: Always taste your curry before serving and adjust seasonings. A little extra salt, a squeeze of lime, or a pinch of chole masala can elevate the flavors significantly. The final touch of lime juice is especially important for balancing the richness.
- Mash Some Chickpeas: Don’t skip the step of mashing some chickpeas against the pot. This naturally thickens the sauce, creating a creamier, more cohesive texture that is characteristic of authentic Punjabi Chole.
- Storage and Reheating: Punjabi Chole tastes even better the next day! Store leftovers in an airtight container in the refrigerator for up to 4-5 days. It also freezes beautifully for up to 3 months. Thaw overnight in the fridge and reheat gently on the stovetop or in the microwave, adding a splash of water or broth if needed to adjust consistency.
Step-by-Step: Making Punjabi Chole in the Instant Pot
Creating this authentic Punjabi Chole in your Instant Pot is a straightforward process that yields incredibly flavorful results. (For stovetop directions, please refer to the recipe card notes section below!)
Step 1: Prepare Your Chickpeas. First things first, ensure your dried chickpeas are ready. If you haven’t already, make sure to wash and soak them for at least 5 hours, though overnight is ideal. This crucial step ensures they cook to perfection. Once soaked, drain them thoroughly and set them aside.
Step 2: Bloom the Whole Spices. Turn on your Instant Pot and select the ‘Sauté’ mode. Add the oil to the inner pot. As soon as the oil is hot and shimmering, carefully add the whole cumin seeds. Let them cook, stirring frequently, until they become deeply fragrant and their color intensifies, signaling that their aromatic oils have been released. This typically takes anywhere from 1 to 4 minutes; the exact timing can vary based on your Instant Pot model.
Step 3: Build the Aromatic Base. Once the cumin seeds are fragrant, add the bay leaves, black cardamom, green cardamom, cloves, chopped onion, and 1/4 teaspoon of salt to the pot. Stir everything together meticulously, ensuring the onions are coated. Continue to sauté this mixture for 3-4 minutes, allowing the onions to soften and begin to caramelize, building the foundation of flavor for your chole.
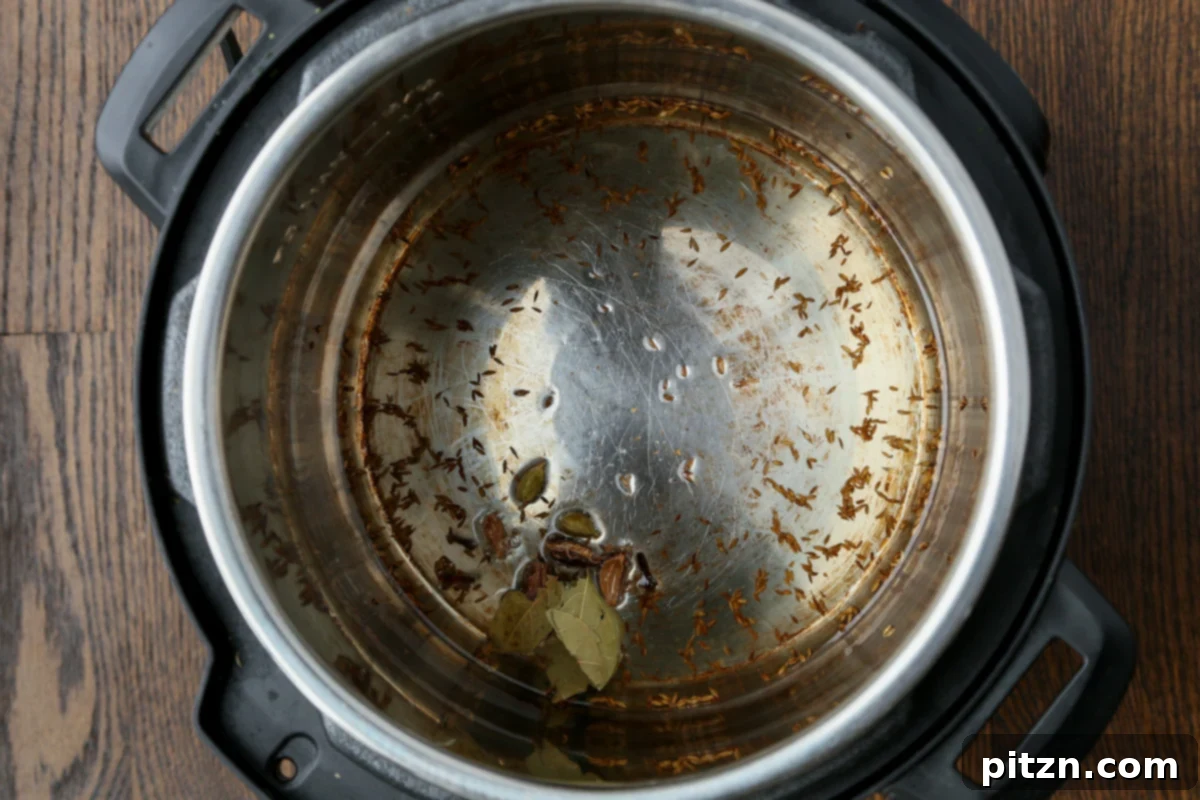
Step 4: Introduce Pastes and Ground Spices. Now, it’s time to add more layers of flavor. Stir in the ginger garlic paste, the finely chopped green chili, and the cilantro stems (remember to keep the leaves for garnishing later!). Following this, incorporate all your ground spices: ground coriander, Kashmiri chili powder (or paprika), chole masala blend (or garam masala), dried fenugreek leaves (kasuri methi), and black pepper. Mix vigorously until everything is thoroughly combined and a rich paste forms around the onions.
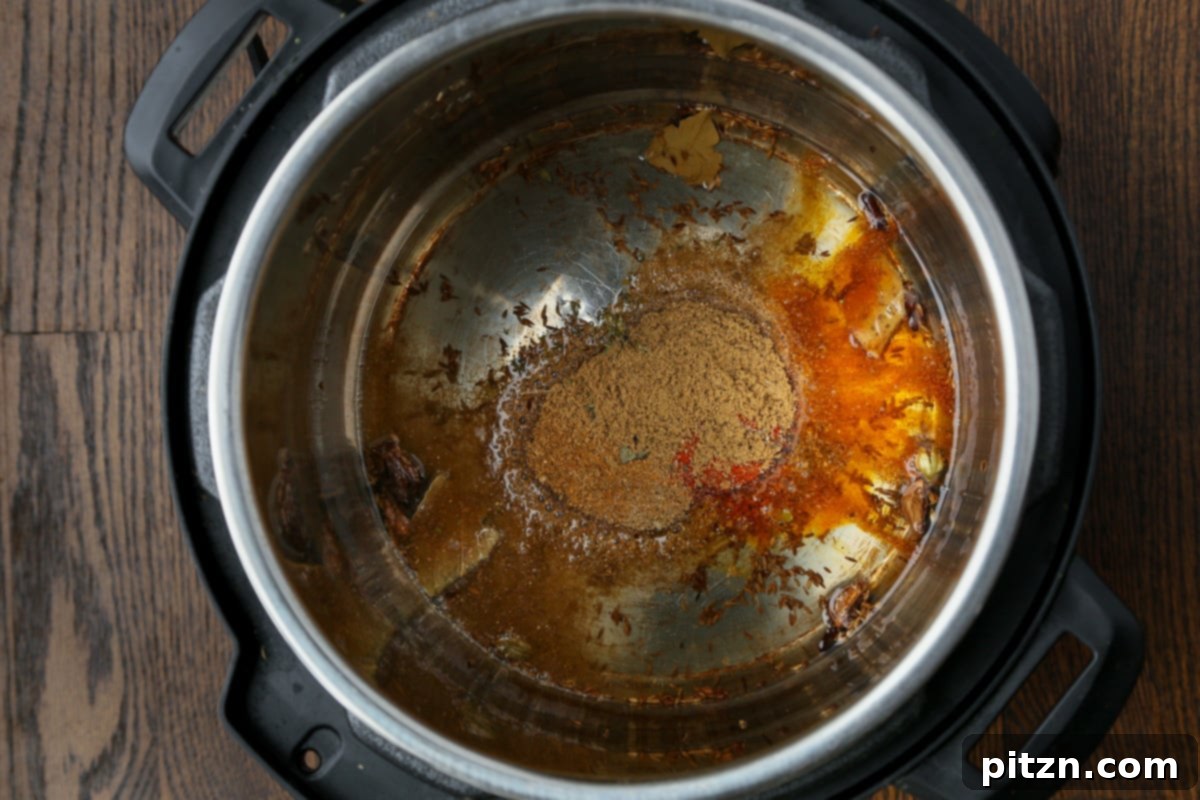
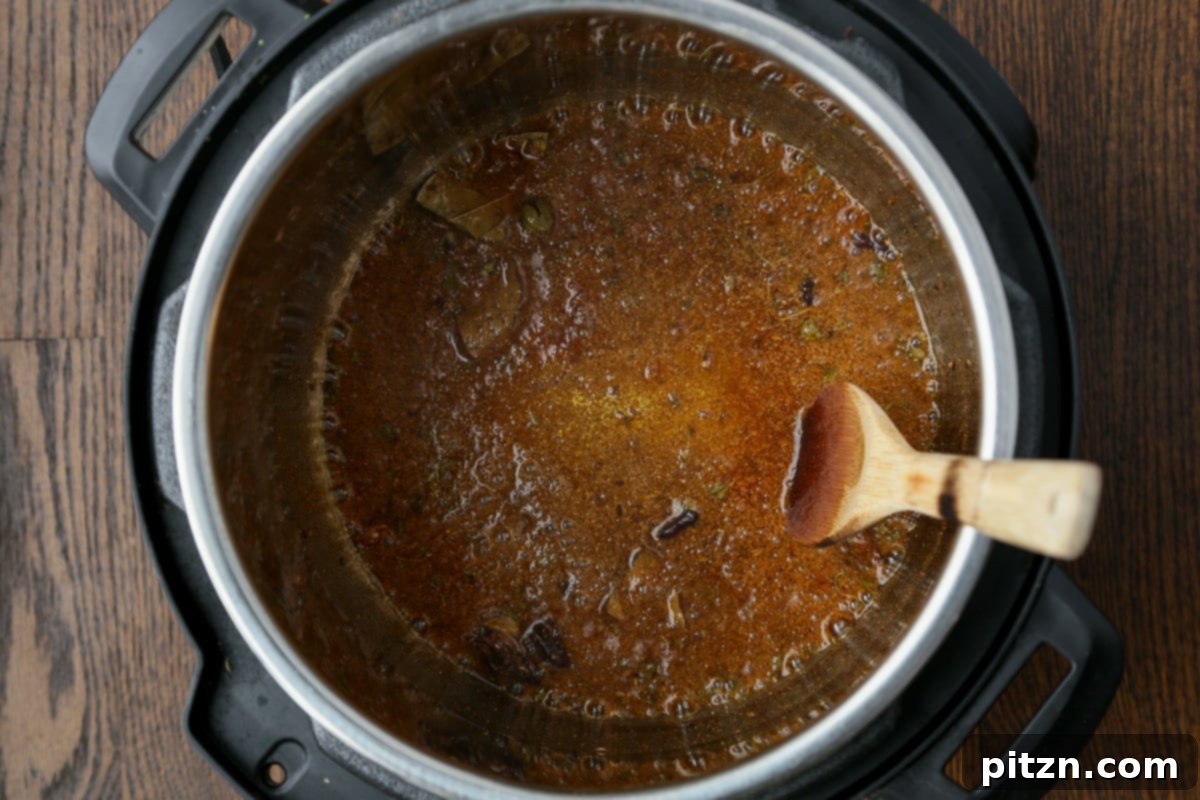
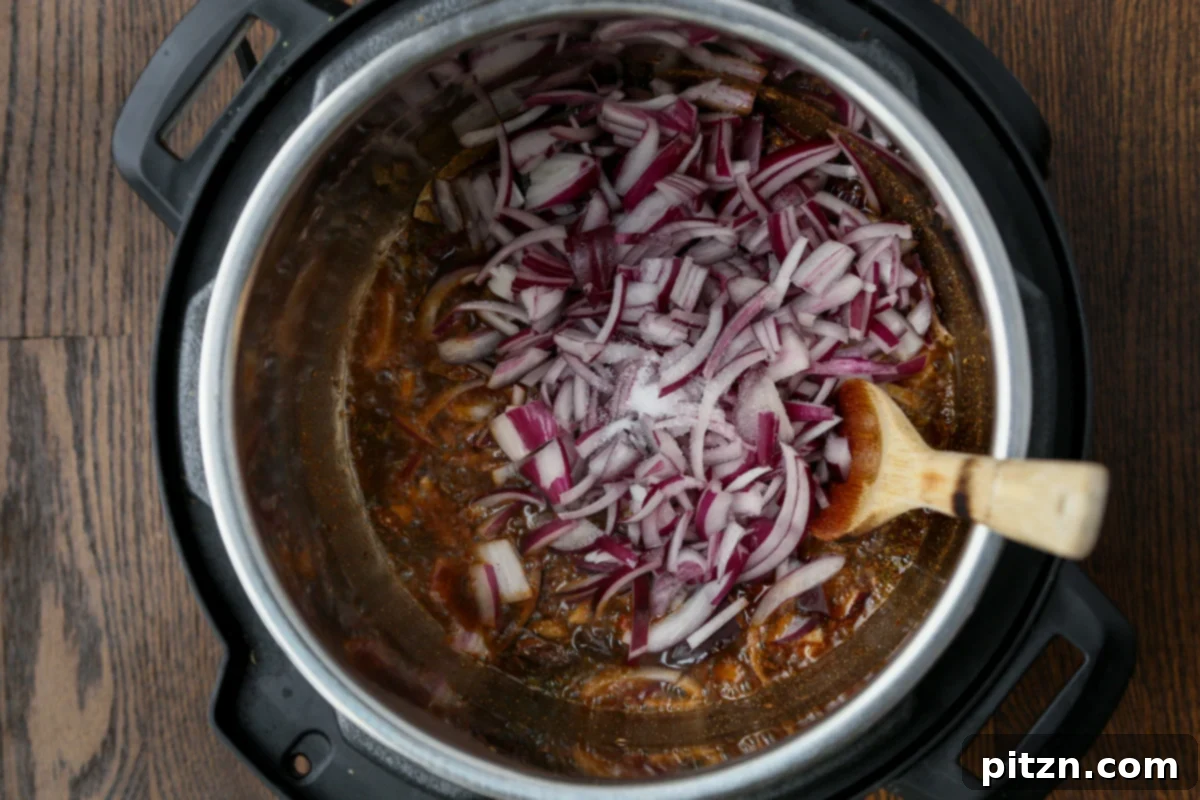
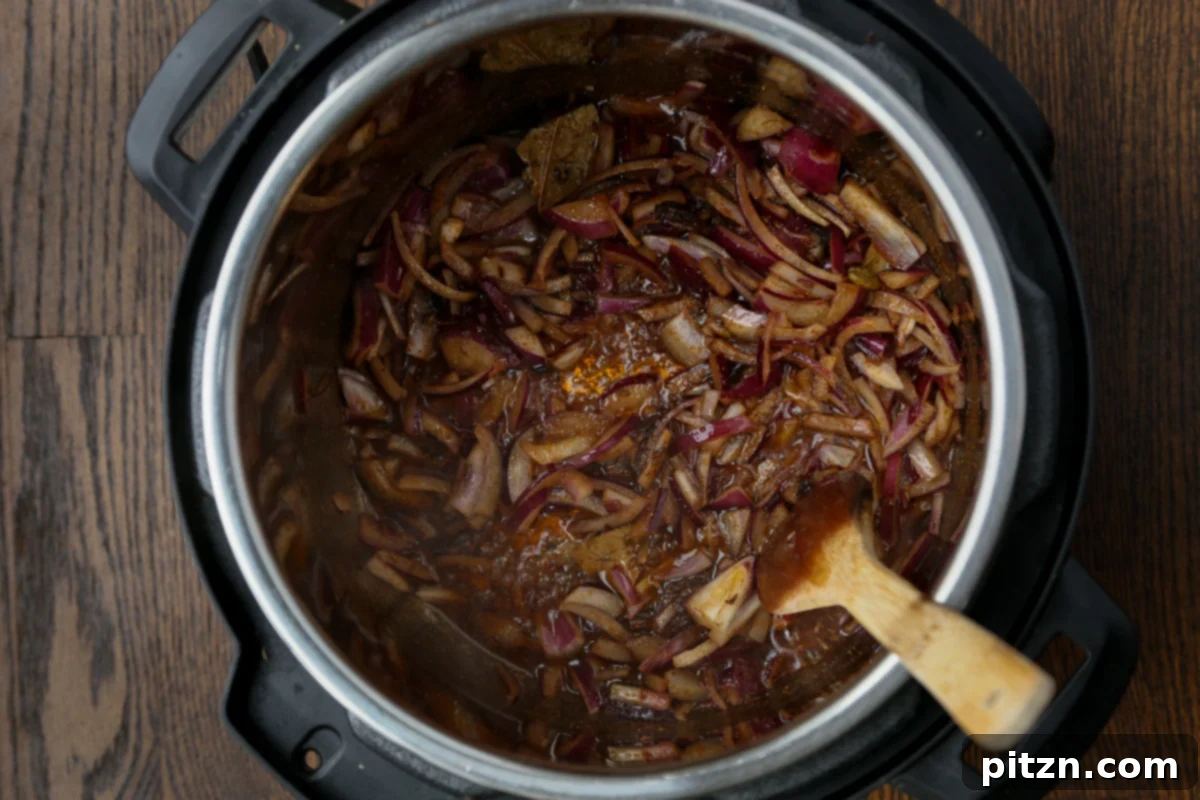
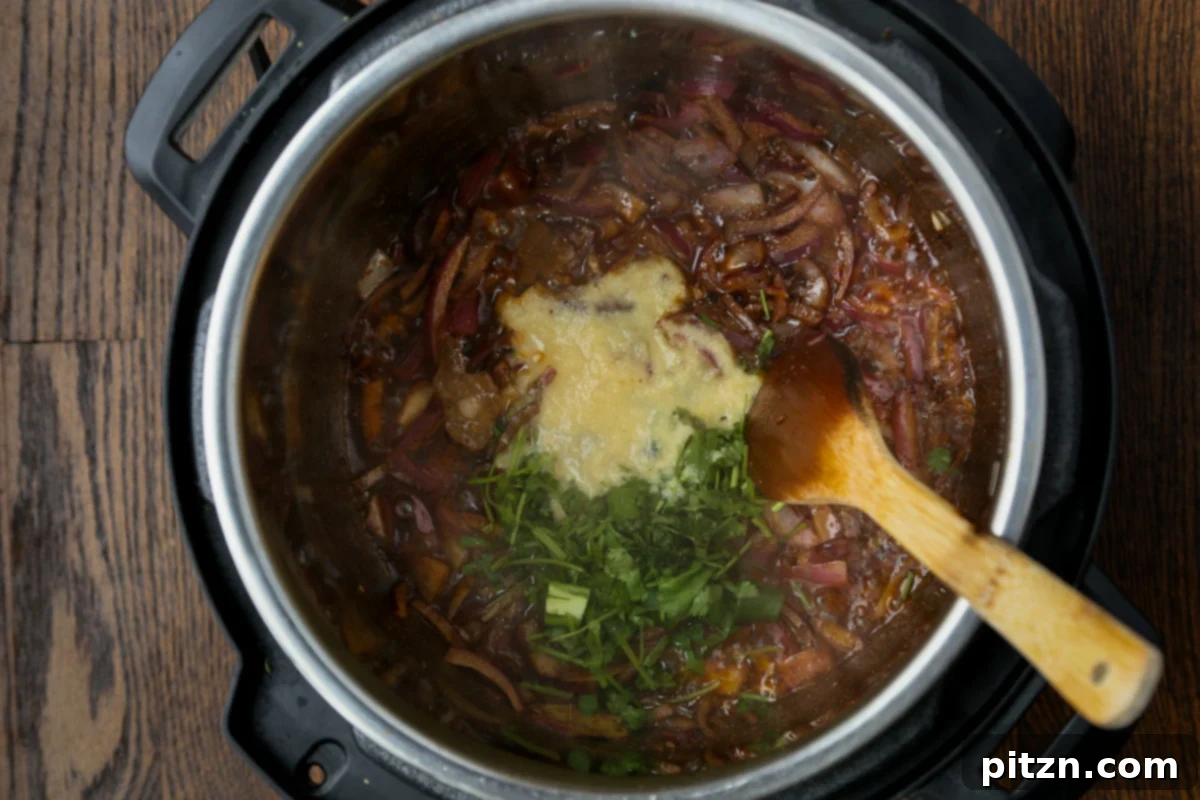
Step 5: Continue to Develop Flavors. Allow this rich mixture to cook for another 3 to 4 minutes. It’s crucial during this stage to prevent scorching; if you notice the onion and spice mixture sticking to the bottom of the pot, simply add small splashes of water to deglaze it. This helps deepen the flavors and ensures everything cooks evenly. (An alternative approach is to add the ground spices after the whole spices, mix them in, then add the onion and cook for 4 minutes, followed by the ginger garlic, cilantro stems, and chili, mixing and cooking for another 4 minutes.)
Step 6: Add Chickpeas and Water for Pressure Cooking. Once the spices are beautifully fragrant and the onions are caramelized, cancel the ‘Sauté’ mode. Add your drained, soaked chickpeas along with 3 cups of water into the Instant Pot. Stir everything thoroughly to ensure the chickpeas are submerged and well-coated in the aromatic sauce.
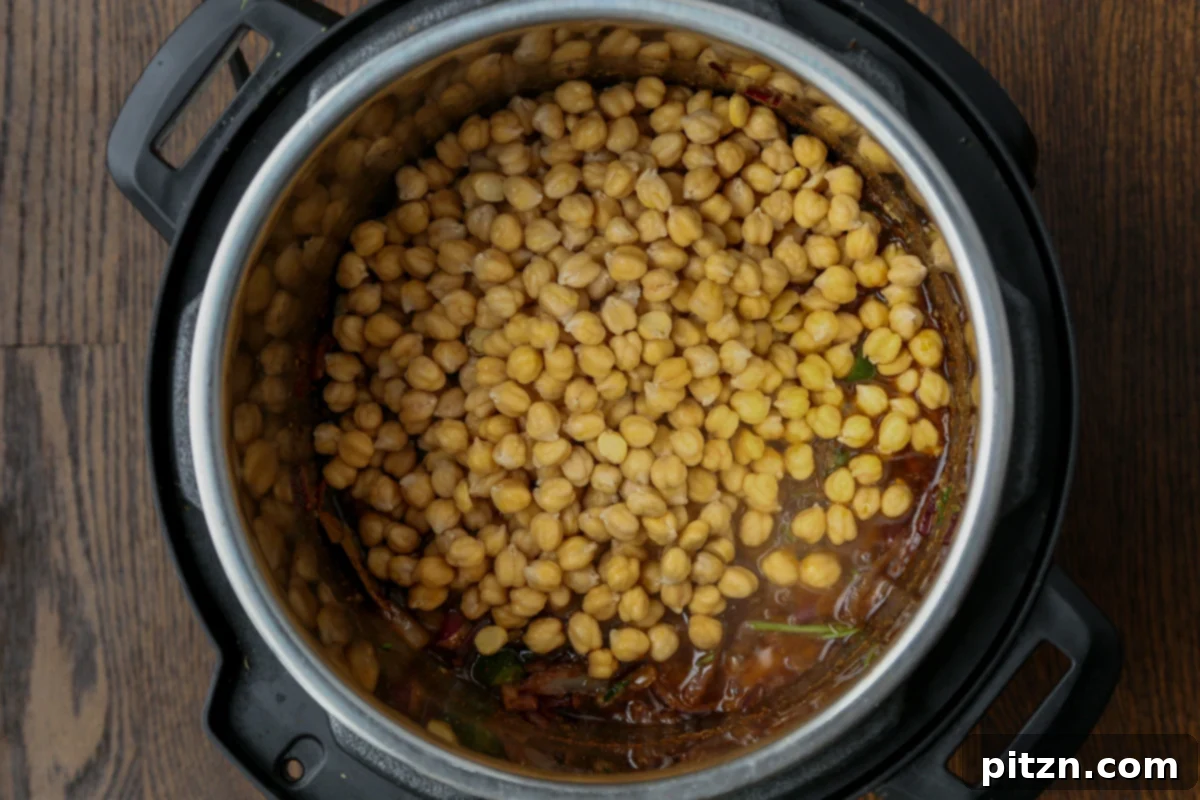
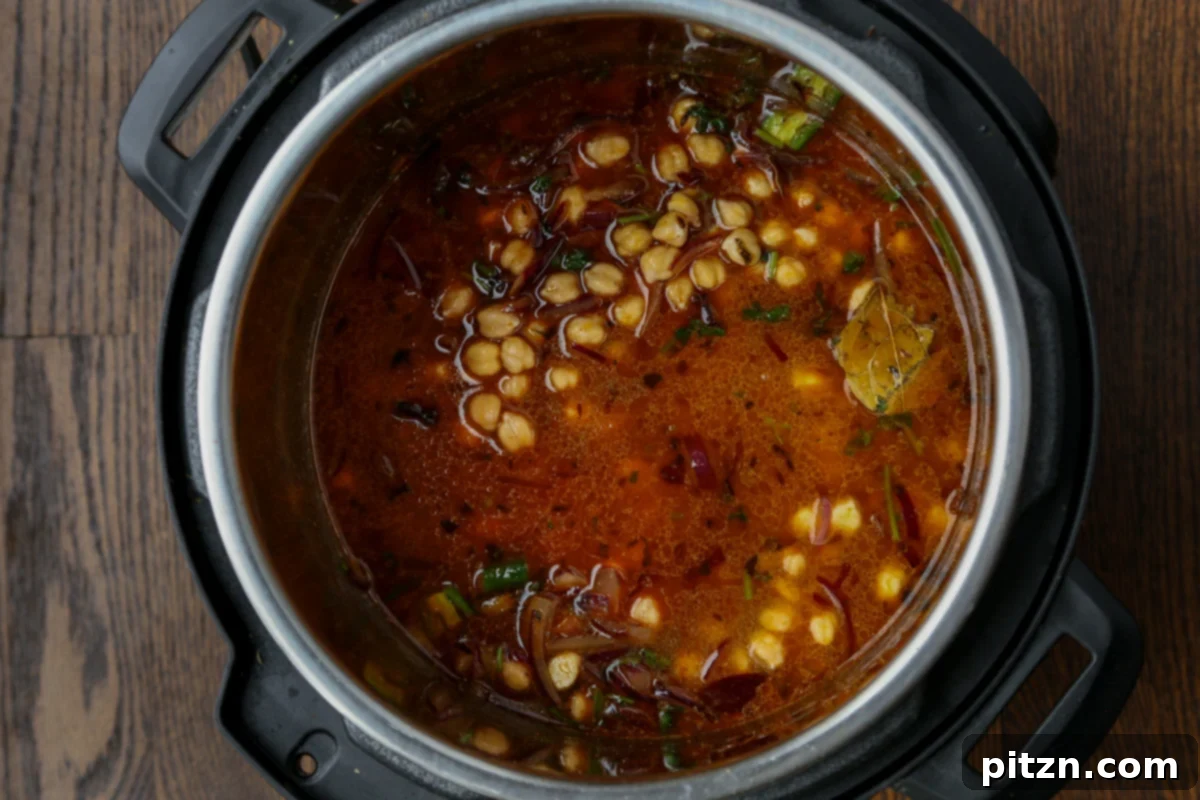
Step 7: Pressure Cook for Melt-in-Your-Mouth Chickpeas. Secure the lid of your Instant Pot. Select ‘Bean Mode’ or set it to ‘High Pressure’ and cook for 1 hour. This extended cooking time is key to achieving the signature melt-in-your-mouth texture of authentic Punjabi Chole. After the cooking cycle completes, allow the pressure to release naturally for 15 minutes. Once the natural release is done, perform a quick release of any remaining pressure before carefully opening the lid.
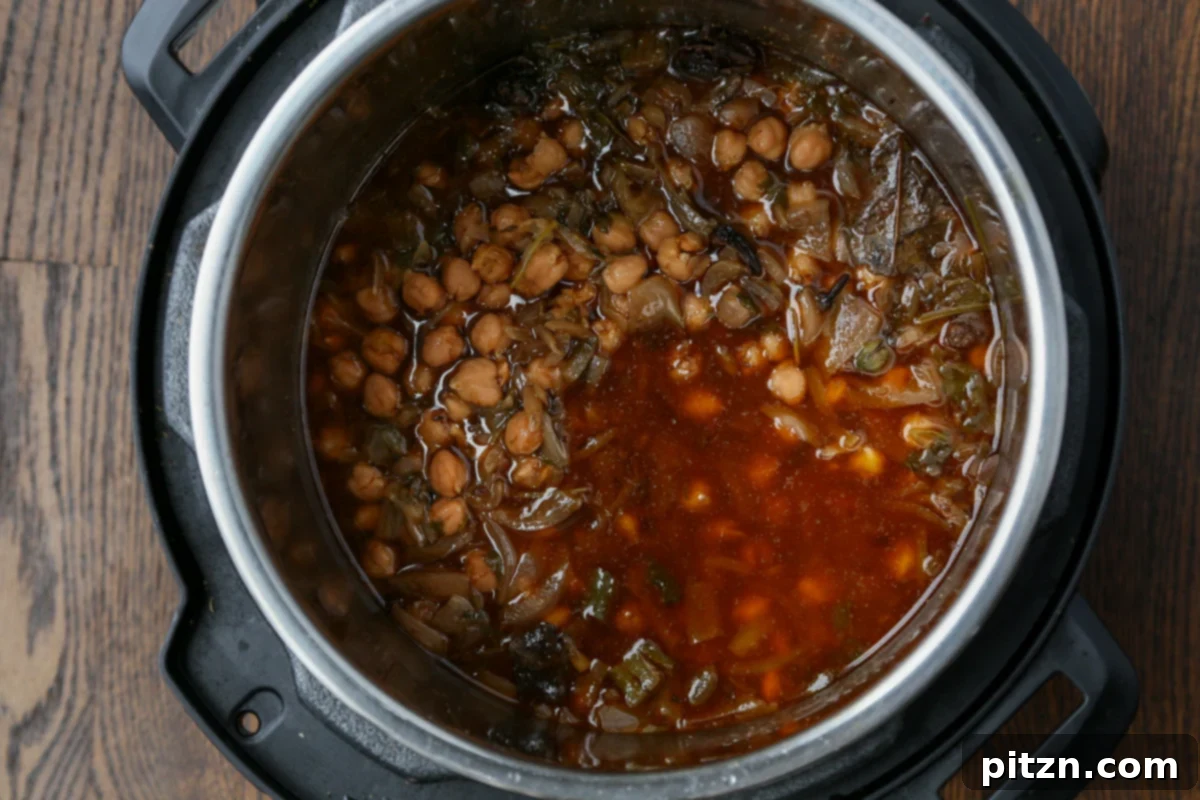
Step 8: Final Touches for Creaminess and Texture. Stir in the non-dairy yogurt and the remaining 1/2 teaspoon of salt. Reactivate the ‘Sauté’ mode and bring the curry to a gentle boil. While it simmers, use the back of a sturdy spoon or a potato masher to lightly mash some of the chickpeas against the side of the Instant Pot. This helps release their starches, thickening the sauce and enhancing its creamy texture. Continue to boil for another 2 to 3 minutes, allowing the flavors to deepen and meld.
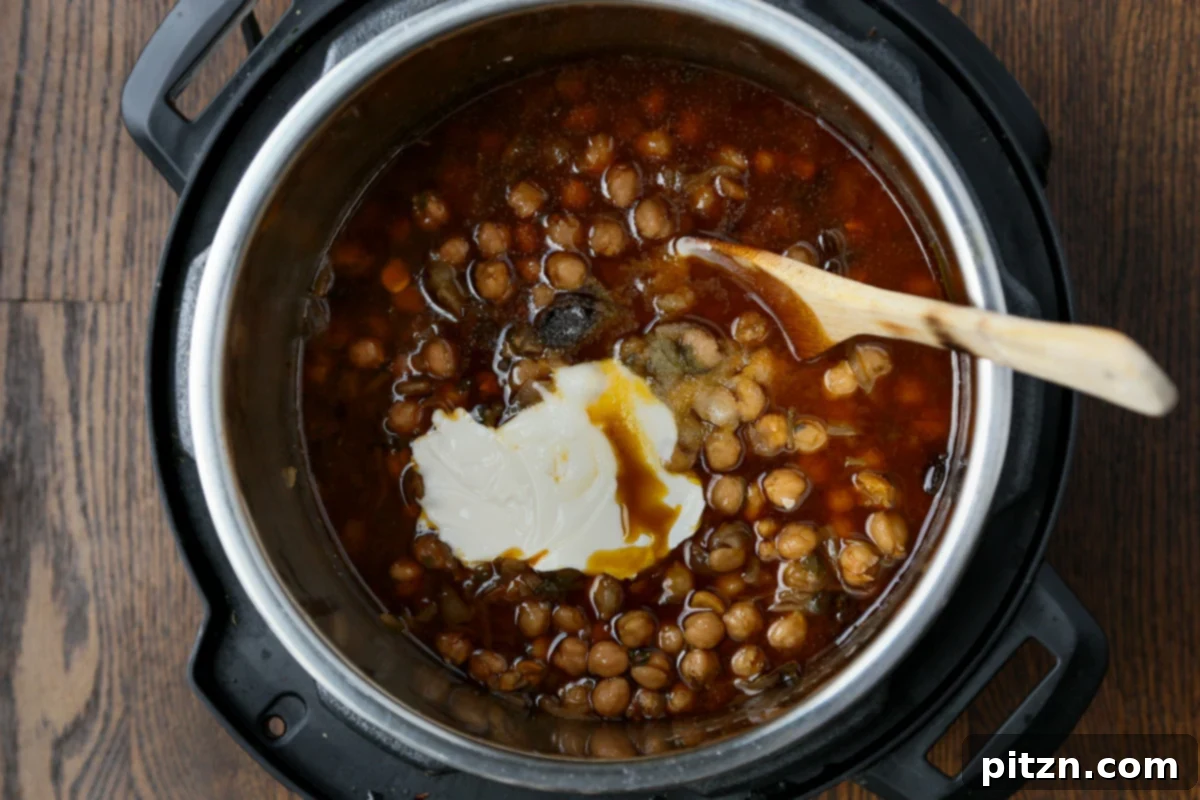
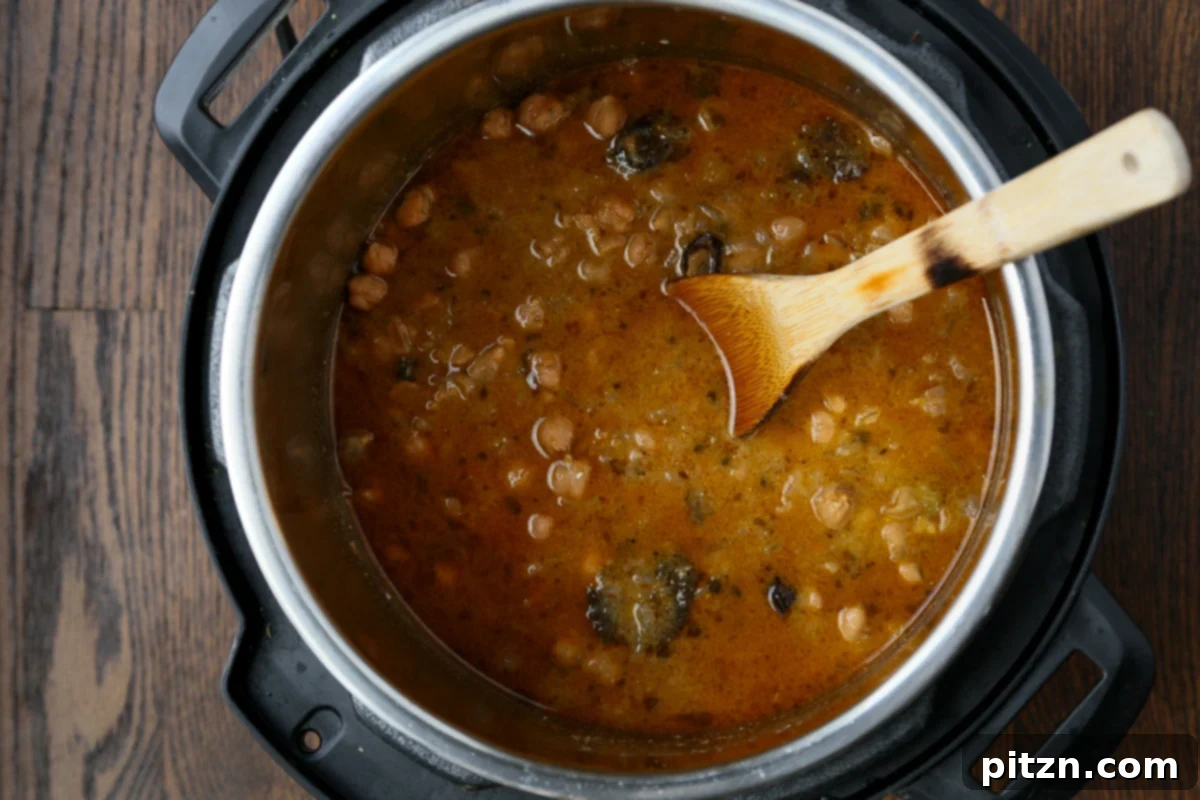
Step 9: Adjust Flavors and Serve. Finally, stir in the chopped fresh tomato. Taste the chole and adjust the seasoning as needed. You might want to add a bit more salt, or a generous dash of fresh lime juice to brighten all the rich flavors. Cancel the ‘Sauté’ mode and let the curry rest for a few minutes; this allows the flavors to truly harmonize and become even more complex.
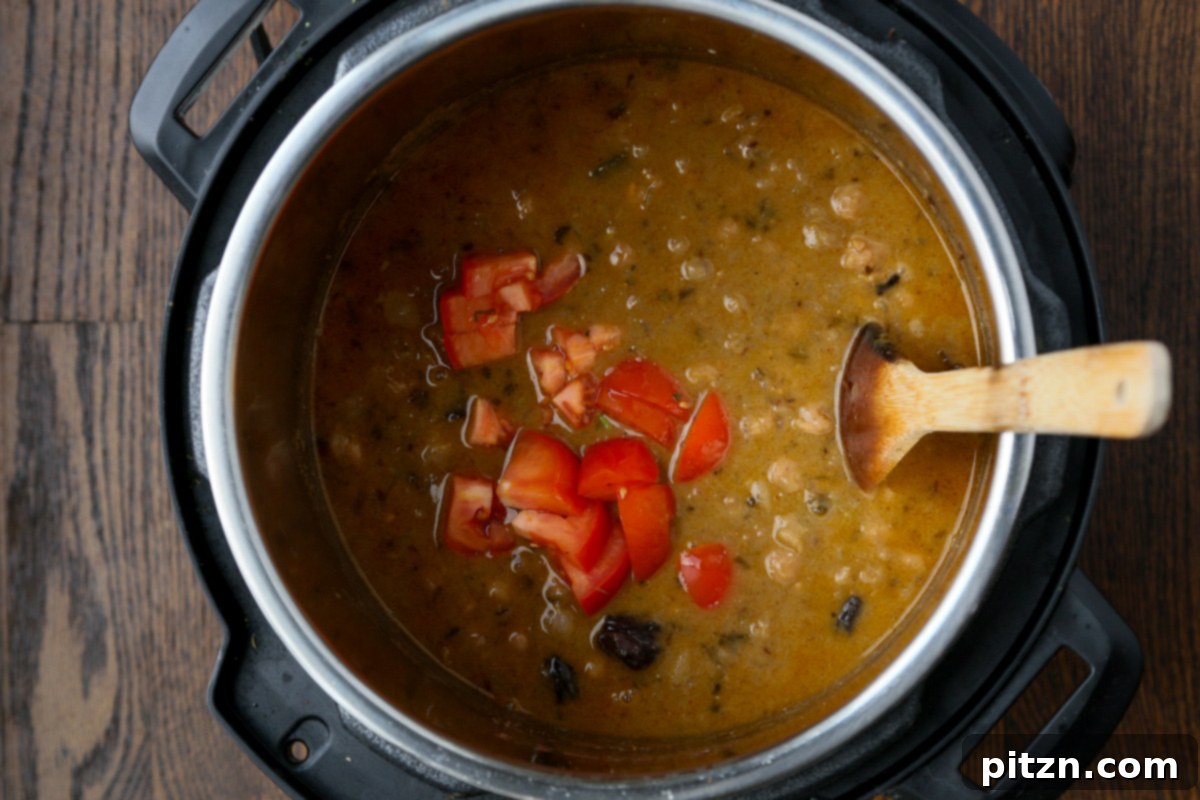
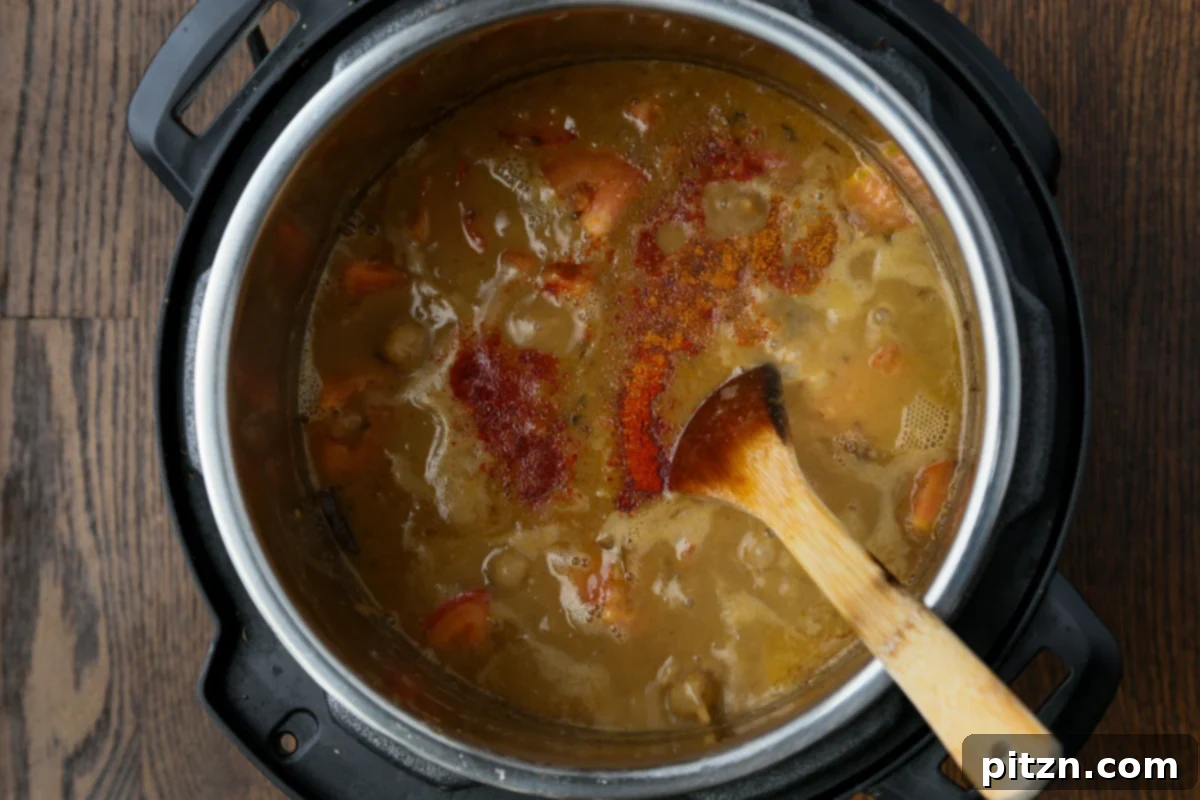
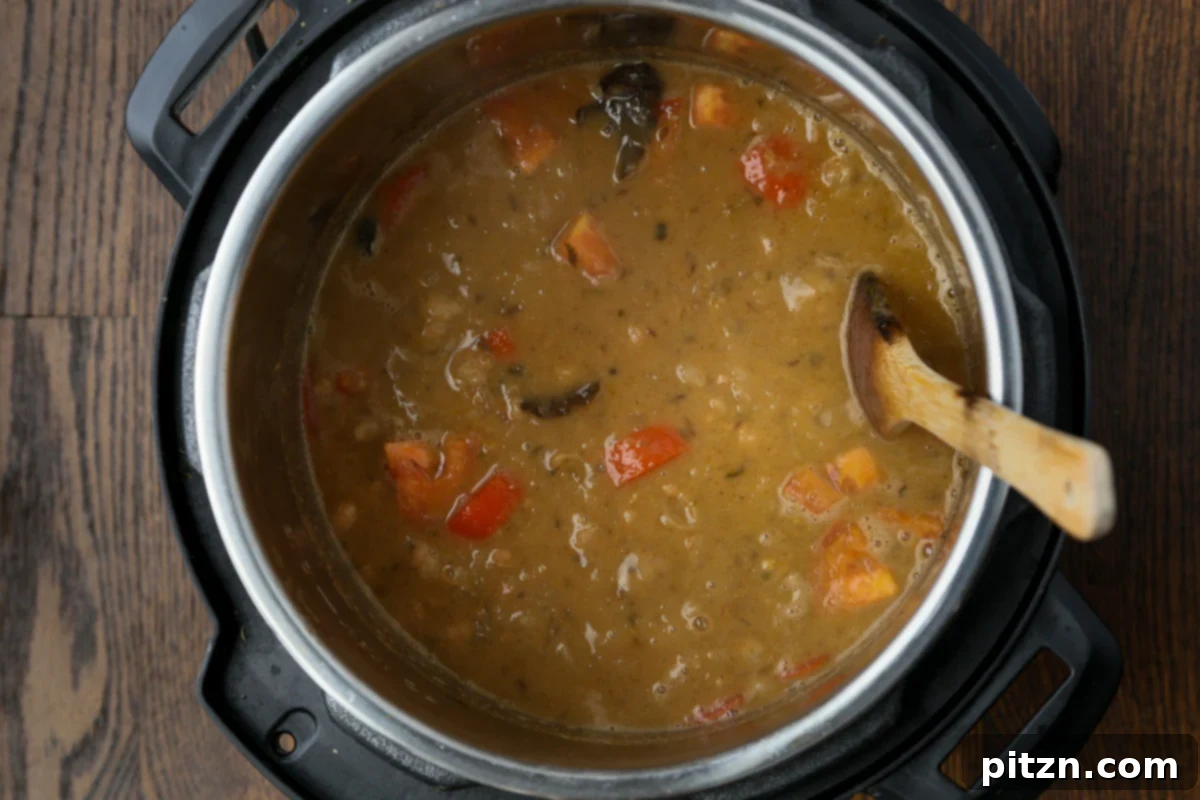
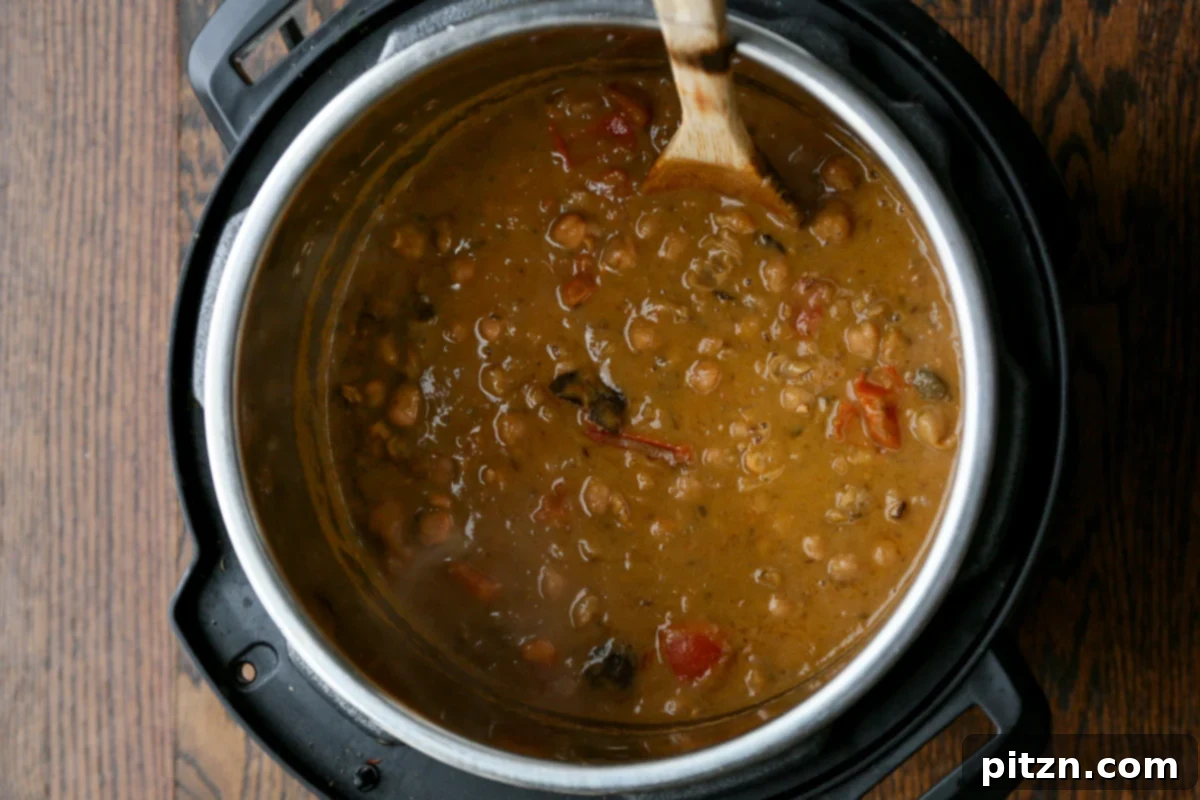
Step 10: Garnish and Enjoy! To complete your culinary masterpiece, garnish generously with fresh cilantro leaves, a sprinkle of chopped onion, and another squeeze of fresh lime juice. Serve this exquisite Punjabi Chole with your favorite flatbread, fluffy steamed rice, or warm naan for an authentic and deeply satisfying North Indian meal. Enjoy!
Frequently Asked Questions About Punjabi Chole
Absolutely! This recipe is designed to be naturally gluten-free. It’s also suitable for nut-free and soy-free diets, provided you ensure that any non-dairy yogurt you use is specifically free from nuts and soy. Always check product labels to confirm.
To prepare Punjabi Chole in a saucepan, begin by following all the initial sautéing instructions up to adding the onions. When sautéing the onions, cook them for an additional 5 minutes or so, until they turn golden brown, before adding the chickpeas. Then, increase the water by an extra 1 to 2 cups (making it 4-5 cups total). Cover the pot and simmer over medium heat for at least 2 hours, or until the chickpeas reach your desired tenderness. You may need to add more liquid periodically if it evaporates too quickly. Stir the curry every 20 minutes or so to prevent sticking.
While often used interchangeably, there’s a distinction. “Chana Masala” has become a broad term for chickpea curries, with many varied interpretations globally. “Chole,” particularly Punjabi Chole, represents the original, more traditional Indian chickpea curry from Punjab, known for its specific blend of spices and deeply tender chickpeas. This recipe delivers an authentic Chole experience.
Yes, you certainly can! If using canned or pre-cooked chickpeas, you will need approximately 3 to 3.5 cups. Reduce the water added during the pressure cooking step to only 1.5 cups. Pressure cook for a shorter duration of 10 minutes, or if cooking on the stovetop, simmer for 20-25 minutes to allow the flavors to meld, then continue with the rest of the recipe as directed.
Absolutely! The flavorful sauce is the star, making this recipe incredibly versatile. Feel free to substitute chickpeas with other beans such as kidney beans, white beans, butter beans, or black beans. Adjust cooking times according to the specific bean you choose, ensuring they are cooked until tender and infused with the rich curry sauce.