
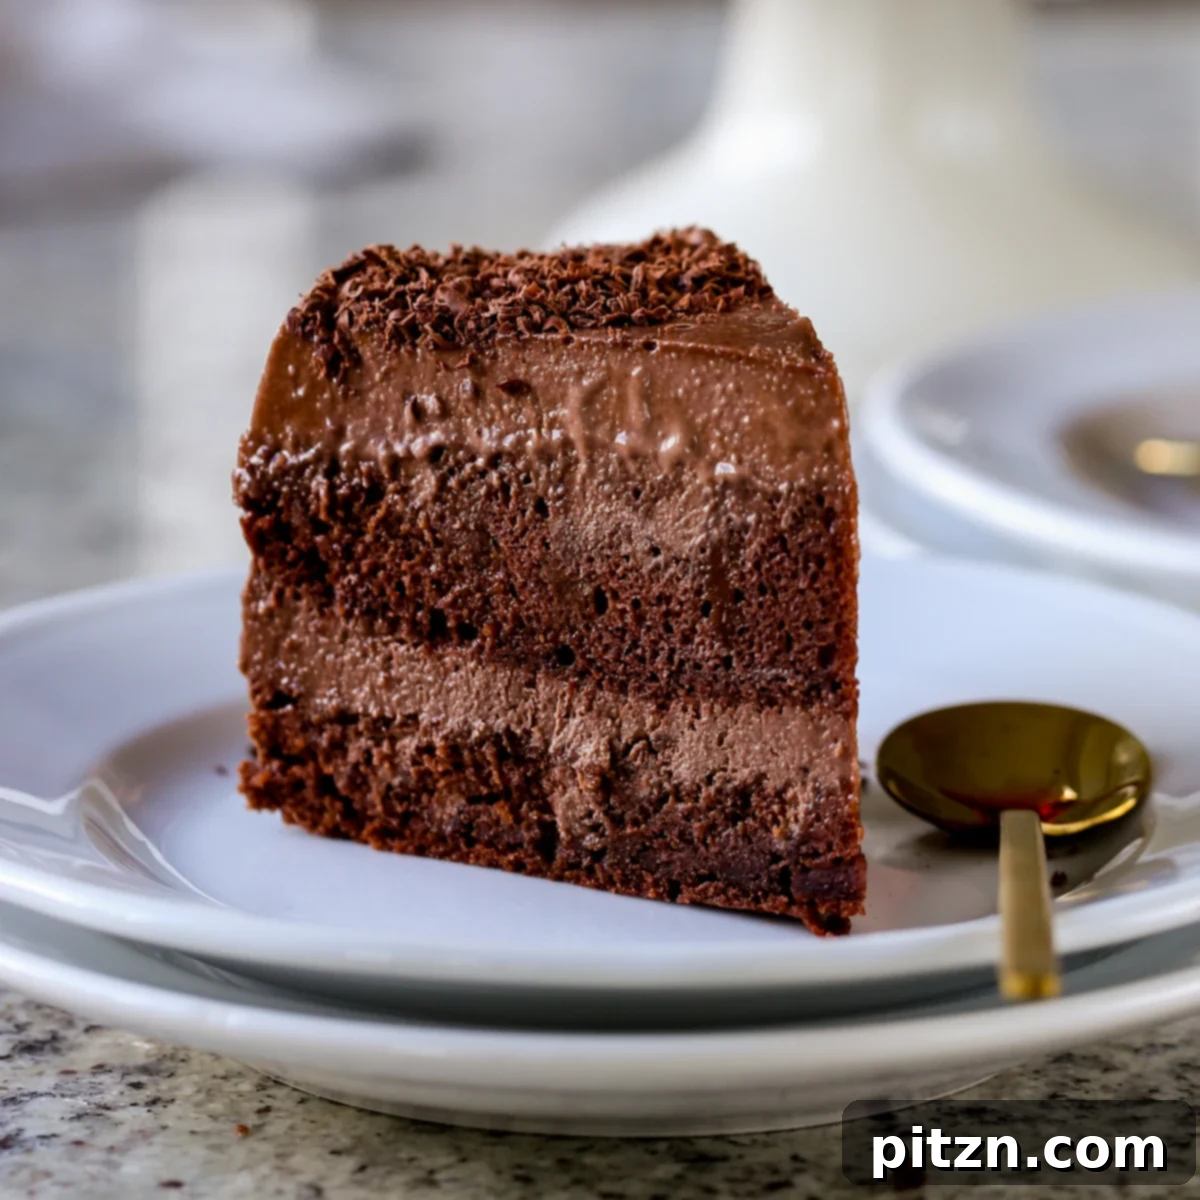
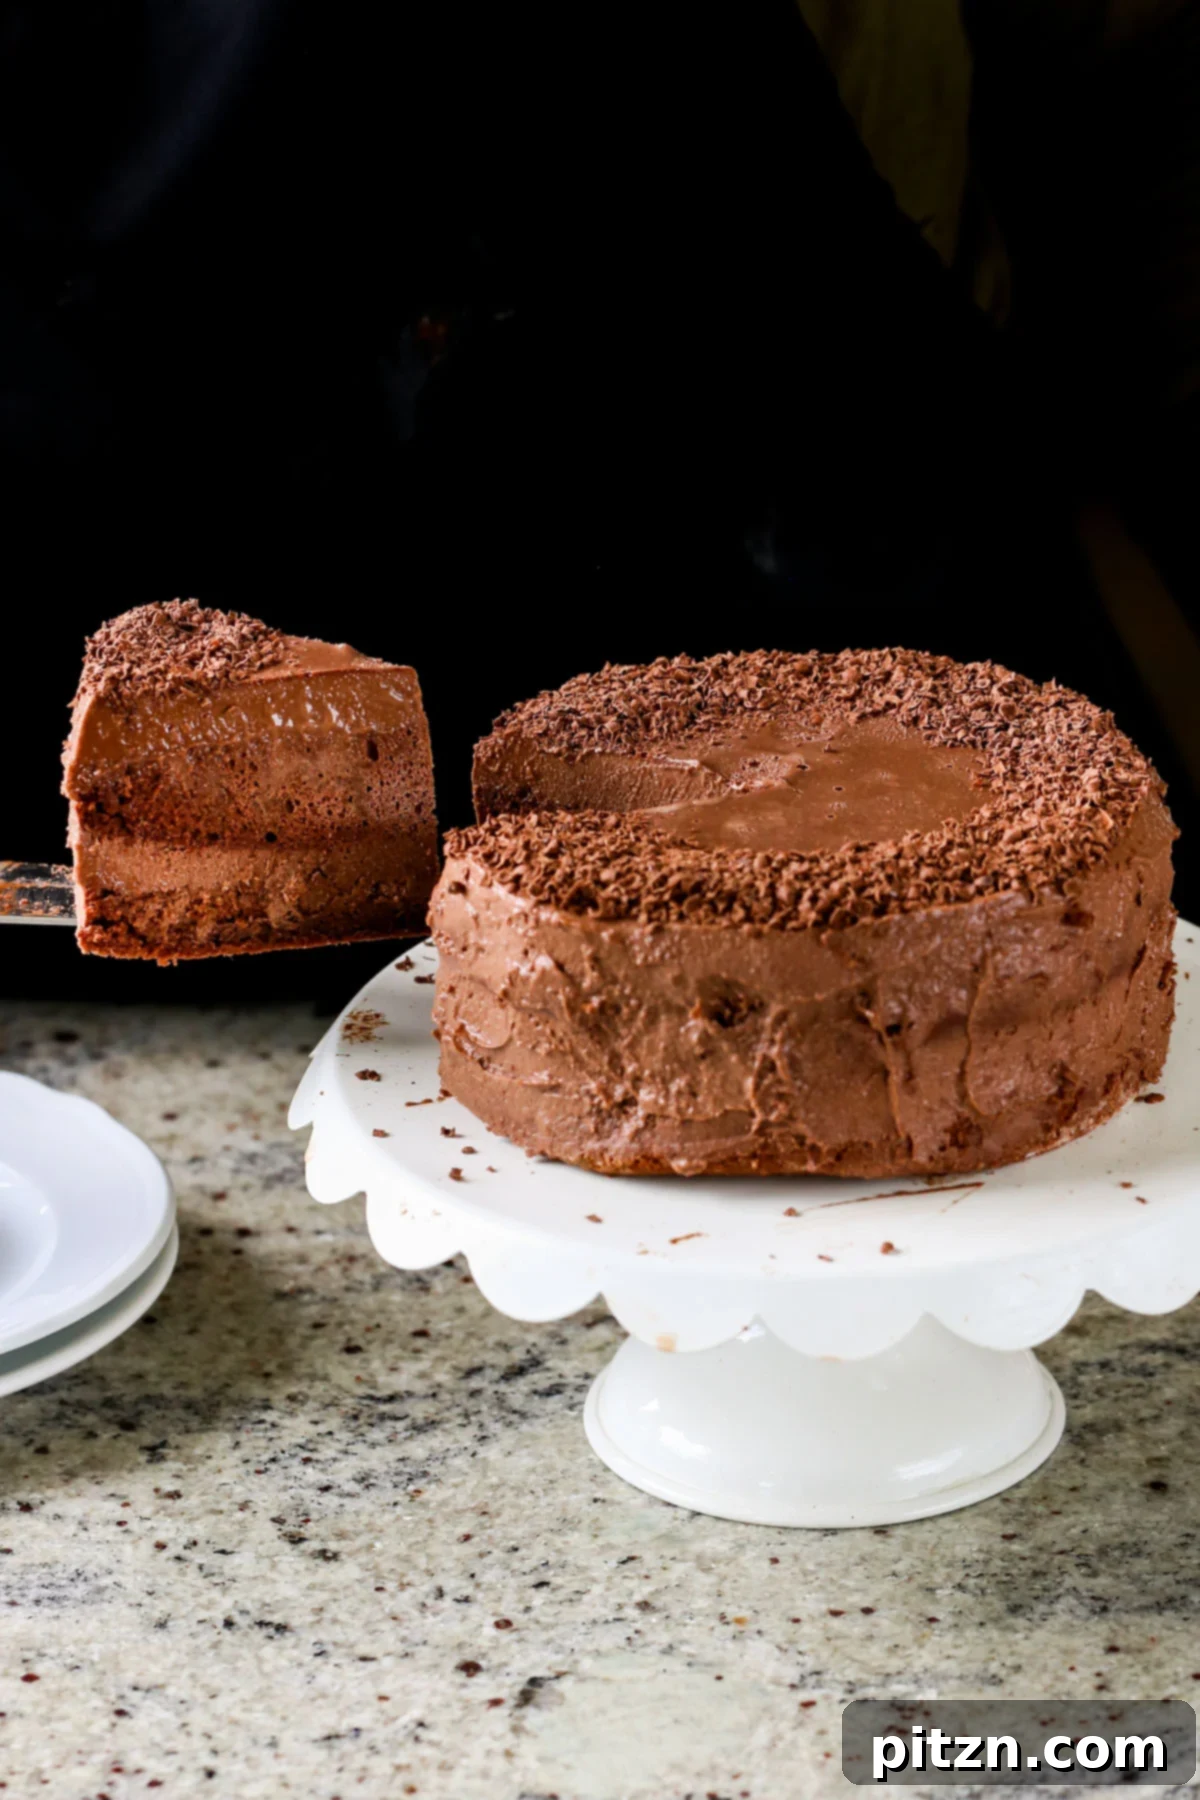
Indulge in a truly remarkable dessert experience with our Vegan Mocha Chocolate Mousse Cake. This showstopping creation combines a wonderfully moist chocolate cake with a rich, velvety mocha mousse layer, delivering an exquisite balance of deep chocolate and invigorating coffee flavors. Despite its elegant appearance, this cake is surprisingly simple to prepare, making it perfect for both seasoned bakers and beginners alike. The highlight is undoubtedly the creamy, airy mousse frosting, which comes together effortlessly in a blender, requiring no butter or excessive sugar often found in traditional buttercream recipes. Get ready to impress your guests and delight your taste buds with this irresistible vegan treat!
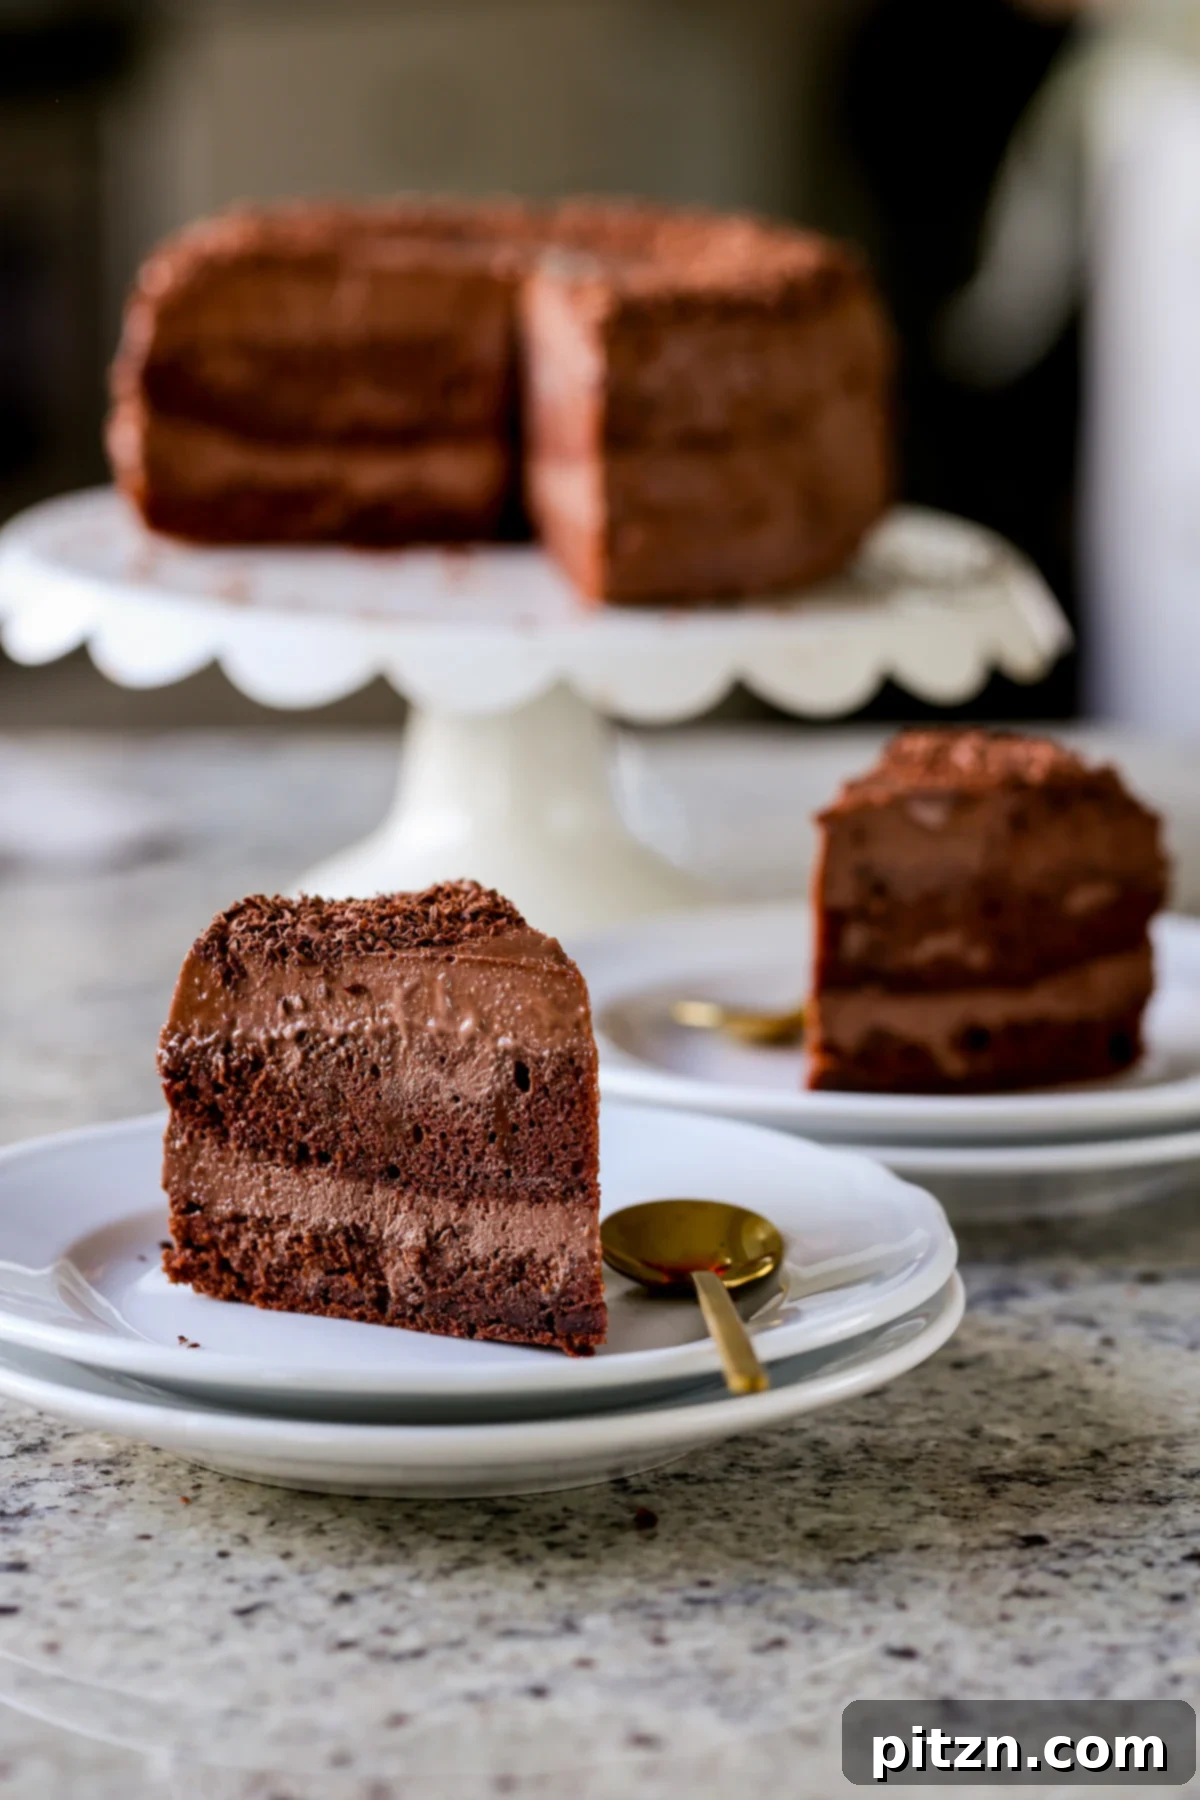
Table of Contents
- Why You’ll Love This Vegan Mocha Cake
- Key Ingredients and Smart Substitutions
- Expert Tips for the Perfect Vegan Mocha Cake
- Crafting Your Vegan Mocha Cake: A Step-by-Step Guide
- Vegan Mocha Cake Recipe
- More Incredible Vegan Cake Recipes
- Frequently Asked Questions
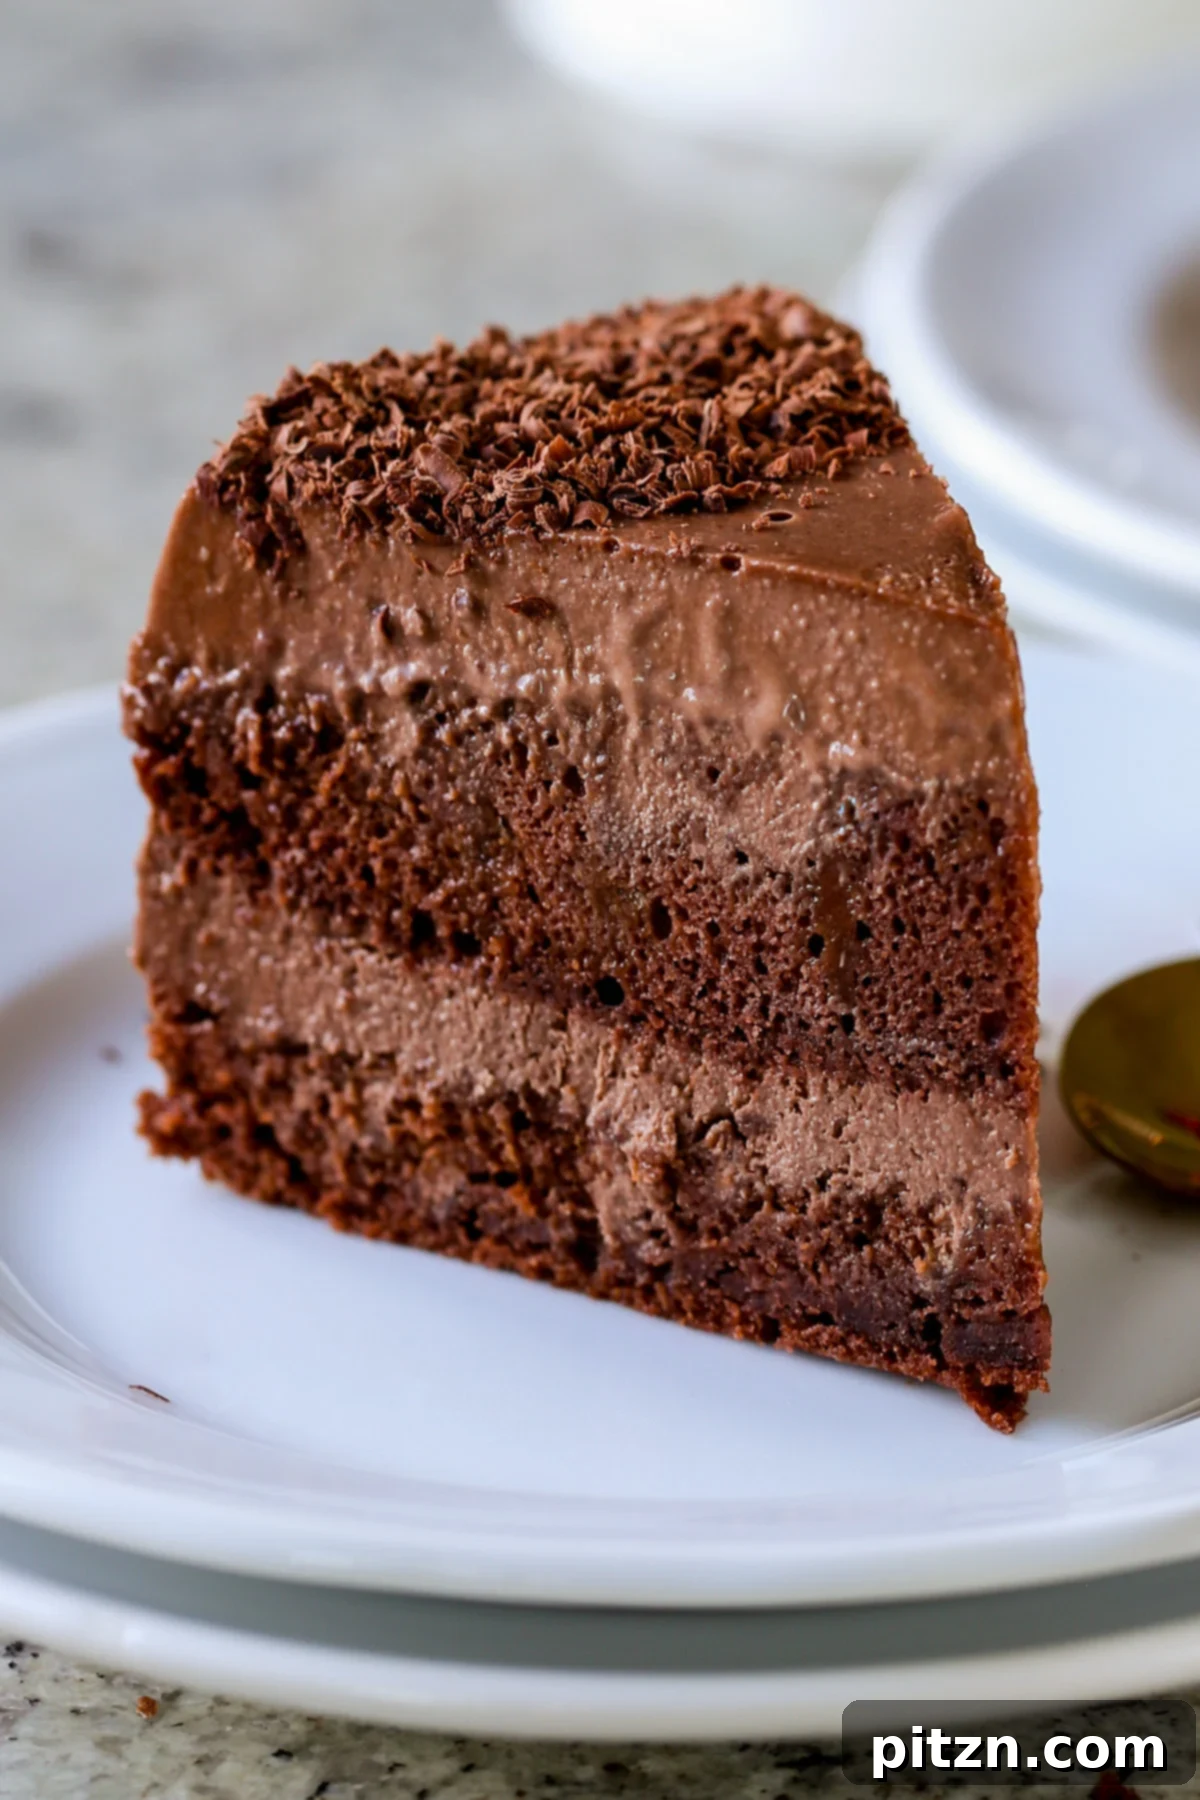
Inspired by the classic tiramisu, this vegan mocha cake celebrates the harmonious marriage of coffee and chocolate. We begin with a luscious chocolate cake base, which is then generously drizzled with a robust coffee syrup to infuse every bite with that signature mocha aroma. The star of the show is the thick, creamy mocha chocolate mousse, artfully layered between the cake tiers to create a truly decadent texture. Unlike heavy buttercreams, this mousse offers a lighter, yet incredibly satisfying, richness that elevates the entire dessert.
This effortless blender mousse recipe is a game-changer. It eliminates the need for whipping copious amounts of butter and sugar, making it a healthier and quicker alternative for achieving a luxurious frosting. The result is a flawlessly smooth and decadent chocolate mocha mousse cake that’s perfect for any special occasion. I recently made this for my husband’s birthday, and it was an instant hit! We crafted two beautiful 6-inch layer cakes – one for the celebration and another for creating recipe videos. The leftover slices were quickly spirited away to the freezer, and upon their disappearance, a longing request for more immediately followed. It’s a testament to how truly addictive this cake is!
While the mocha flavor is sublime, this recipe offers wonderful flexibility. If you prefer a pure chocolate experience, simply omit the coffee syrup. For an added layer of complexity and a delightful tart contrast, consider incorporating a thin layer of raspberry preserves. No matter how you customize it, this vegan mocha cake is guaranteed to be the centerpiece of your next gathering or birthday celebration.
Why You’ll Love This Vegan Mocha Cake
There are countless reasons why this Vegan Mocha Chocolate Mousse Cake will become your new favorite dessert. Here are just a few:
- Unforgettable Flavor and Texture: Each bite offers a harmonious blend of rich, moist mocha-infused chocolate cake intertwined with layers of smooth, creamy mocha mousse. The mousse doesn’t just add flavor; it contributes significantly to the overall moisture and luxurious mouthfeel of the cake.
- Effortless Preparation: Say goodbye to complicated baking! The cake batter comes together in a single bowl, minimizing cleanup, while the entire mousse is prepared in a blender. This streamlined process makes sophisticated baking accessible to everyone.
- Lighter Frosting Alternative: Our innovative mousse frosting requires significantly less sugar and absolutely no butter compared to traditional buttercreams. It’s a healthier indulgence that doesn’t compromise on taste or texture, offering a light yet decadent topping.
- Simple Coffee Syrup: The delicious coffee syrup used to moisten the cake is a quick two-ingredient concoction that requires no cooking. Just mix and drizzle for an instant boost of coffee flavor.
- Dietary-Friendly Options: This recipe is naturally soy-free (when using soy-free chocolate chips) and offers easy adaptations to make it gluten-free or nut-free, ensuring almost everyone can enjoy a slice of this delightful cake.
Key Ingredients and Smart Substitutions
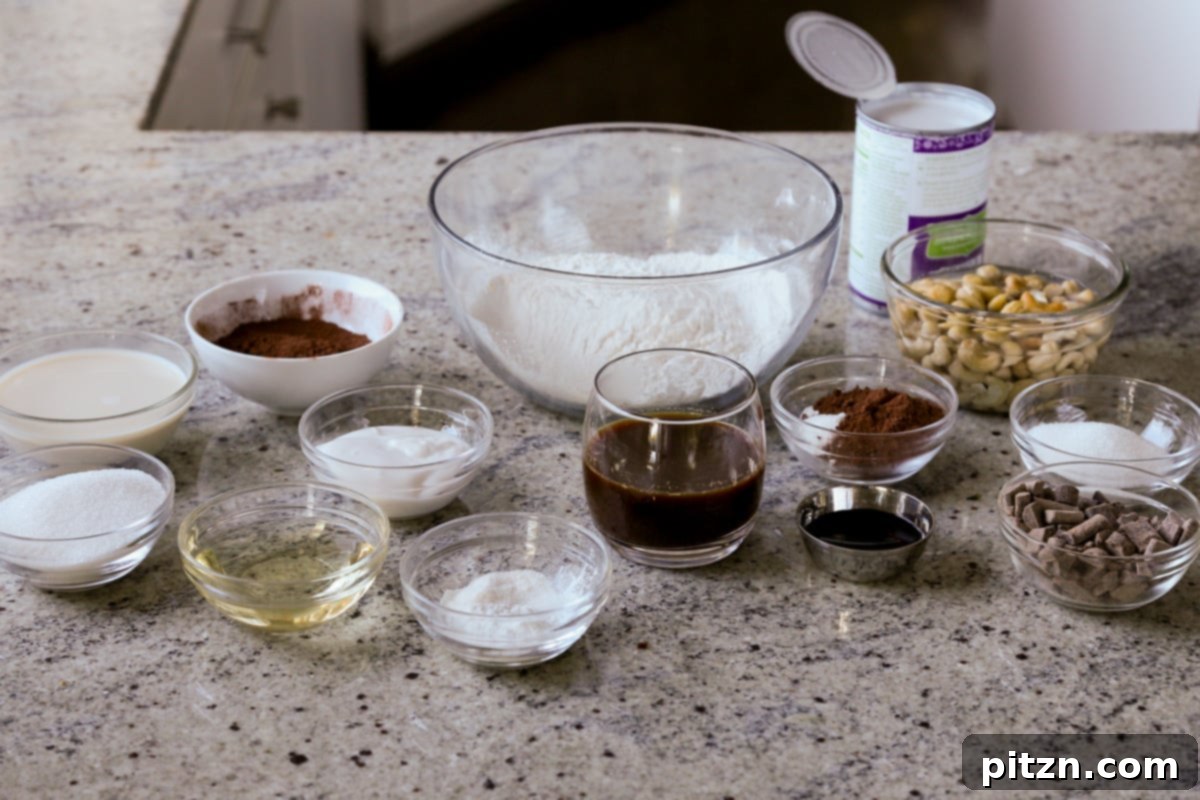
Crafting this incredible Vegan Mocha Cake involves a thoughtful selection of plant-based ingredients that deliver on flavor, texture, and ease. Understanding each component and its potential substitutions can help you customize the recipe to your dietary needs and preferences.
- All-Purpose Flour: This forms the foundational structure of our moist cake. For a gluten-free version, use a specialized blend: combine 1 cup of almond flour, 1/2 cup of oat flour, and 1/2 cup of potato starch. This combination provides a similar texture and crumb to traditional flour.
- Cocoa Powder: Essential for the rich chocolate flavor in both the cake and the mousse. Choose a good quality unsweetened cocoa powder for the best results.
- Sugar: Sweetens both the cake and the mousse layers. Feel free to adjust the amount slightly to suit your preference for sweetness. Brown sugar can also be used for a deeper molasses note in the cake.
- Baking Powder, Baking Soda, and Salt: These are crucial leavening agents that ensure the cake rises beautifully and achieves a light, airy texture. A pinch of salt also plays a vital role in enhancing the chocolate and coffee flavors, making them pop.
- Oil: Any neutral-flavored vegetable oil, such as canola, sunflower, or grapeseed oil, works well to add moisture and tenderness to the cake.
- Non-Dairy Yogurt: A secret ingredient for ultimate moisture and a subtle tang that balances the sweetness. Plain, unsweetened almond or soy yogurt are excellent choices.
- Vanilla Extract: A universal flavor enhancer, vanilla extract adds depth and warmth to both the mocha cake batter and the rich mocha mousse. Don’t hesitate to use a high-quality extract for a more pronounced flavor.
- Non-Dairy Milk: Provides necessary moisture to the cake batter. Almond, soy, or oat milk are all great options. Ensure it’s unsweetened for better control over the cake’s sweetness.
- Coffee: The star of our mocha flavor! For the coffee syrup, use strong brewed coffee or combine 2 shots of espresso with enough water to make 1/2 cup. This concentrated coffee flavor is key.
- Maple Syrup: This natural sweetener helps create a simple, no-cook coffee syrup. Agave nectar or a dissolved sugar syrup can be used as alternatives if maple syrup isn’t available.
- Vegan Semi-Sweet Chocolate: Choose high-quality vegan chocolate chips or a chopped bar to achieve a deeply rich chocolate flavor in the mousse. Ensure your chosen brand is soy-free if you need a completely soy-free option.
- Raw Cashews: These soaked cashews are foundational for achieving the incredibly creamy and smooth texture of the mousse without any dairy. For a nut-free version, substitute 1 cup of the thick, creamy part from a can of full-fat coconut milk (often referred to as coconut cream).
- Full-Fat Coconut Milk: The remaining coconut milk in the can is essential for blending into the mousse, contributing to its luscious texture and richness. Make sure to use full-fat for optimal creaminess.
Expert Tips for the Perfect Vegan Mocha Cake
Achieving a bakery-quality vegan mocha cake at home is entirely possible with these expert tips:
- Parchment Paper is Your Best Friend: Never skip lining your baking pan with parchment paper strips! This simple step makes removing the delicate cake layers from the pan incredibly easy and prevents sticking, ensuring your beautiful cake remains intact.
- Perfecting Your Batter Consistency: When adding boiling water to the cake batter, do so slowly and incrementally. The goal is a smooth, flowy batter – not too thin, not too thick. Factors like humidity and slight measuring variations can affect the exact amount of water needed. Stop as soon as you achieve the desired consistency. If it seems too thick, a tablespoon more of boiling water can make all the difference.
- The Secret to Silky Smooth Mousse: For the creamiest, most luxurious mocha mousse, patience with your blender is key. After the initial blend of the mousse ingredients, allow the mixture to rest for 5-10 minutes. This gives the cashews (or coconut cream) time to absorb more moisture, leading to a smoother, more refined texture. Blend again in short bursts (30 seconds at a time) with brief rests in between until the mousse is incredibly smooth and velvety.
- Taste and Adjust: Always taste your mousse before the final chill! This is your opportunity to fine-tune the flavors. If you prefer a richer chocolate, add more cocoa powder. For a stronger coffee kick, a dash more coffee syrup. And for a sweeter profile, an extra tablespoon of sugar or maple syrup can be incorporated. Blend well after each addition to fully incorporate the new flavors.
- Chilling for Structure: The chilling steps are critical for the mousse to set properly. Don’t rush this process. Freezing helps the mousse achieve its stable, fluffy texture, while refrigeration maintains it. A well-chilled cake is much easier to slice and serve, ensuring clean, elegant layers.
Crafting Your Vegan Mocha Cake: A Step-by-Step Guide
Embark on the journey of creating this spectacular Vegan Mocha Chocolate Mousse Cake with these detailed instructions. Precision and patience will lead to a truly magnificent dessert.
Step 1: Prepare Your Baking Environment
Begin by preheating your oven to 350°F (177°C). The right pan choice is essential: an 8×8-inch or 9×9-inch brownie pan, a 9-inch tall or regular circular cake pan, or two 6-inch tall cake pans will work perfectly. To ensure easy cake removal, line your chosen pan(s) with two strips of parchment paper. These strips should be long enough to overhang the sides of the pan, acting as convenient handles once the cake is baked.
Step 2: Bake the Moist Mocha Cake
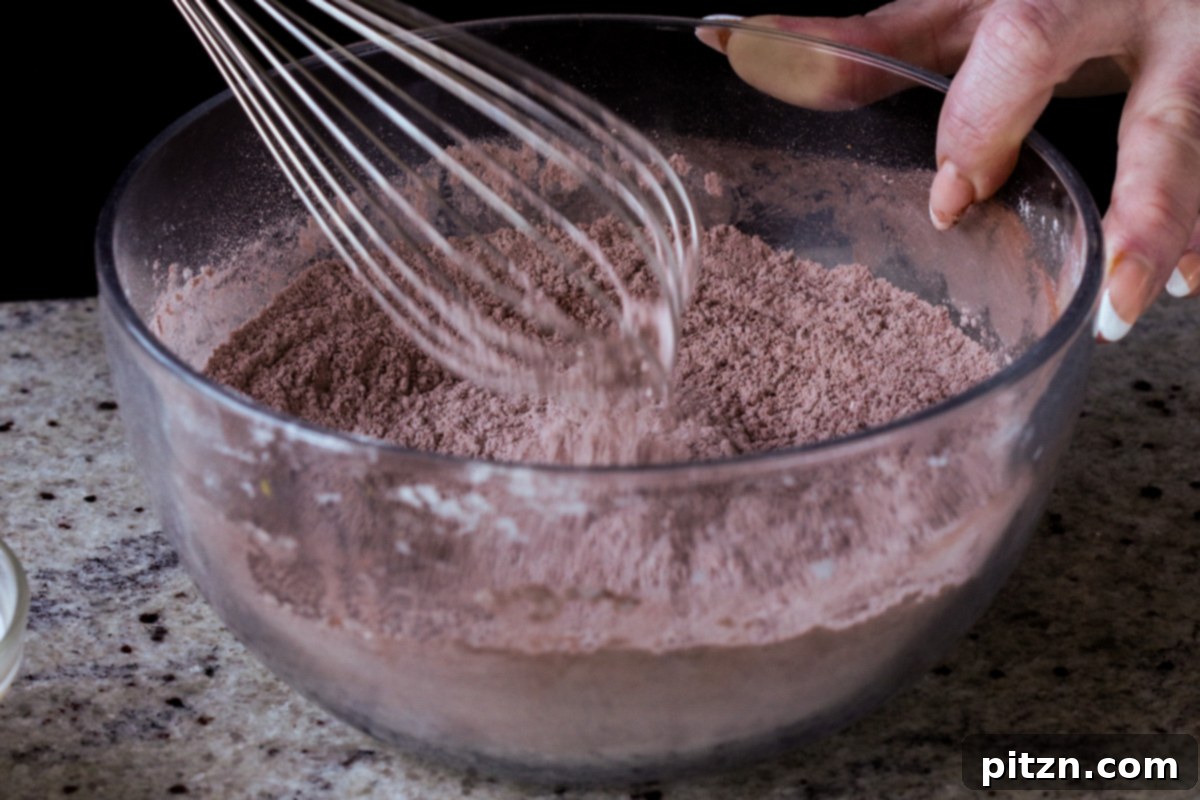
The first step in assembly is to bake the chocolate cake, allowing it ample time to cool. In a large mixing bowl, combine all the dry ingredients for the cake, stirring until they are thoroughly blended. Next, add the wet ingredients: oil, non-dairy yogurt, vanilla extract, and non-dairy milk. Mix these just lightly to combine.
Now, slowly incorporate the boiling water into the batter, mixing continuously. You’re looking for a smooth, pourable consistency – not overly thin, but definitely fluid. Slight variations in measurement can mean you might need a touch more or less water; stop adding as soon as the batter achieves this smooth, flowing state. If it feels too thick, a single extra tablespoon of boiling water can adjust it perfectly.
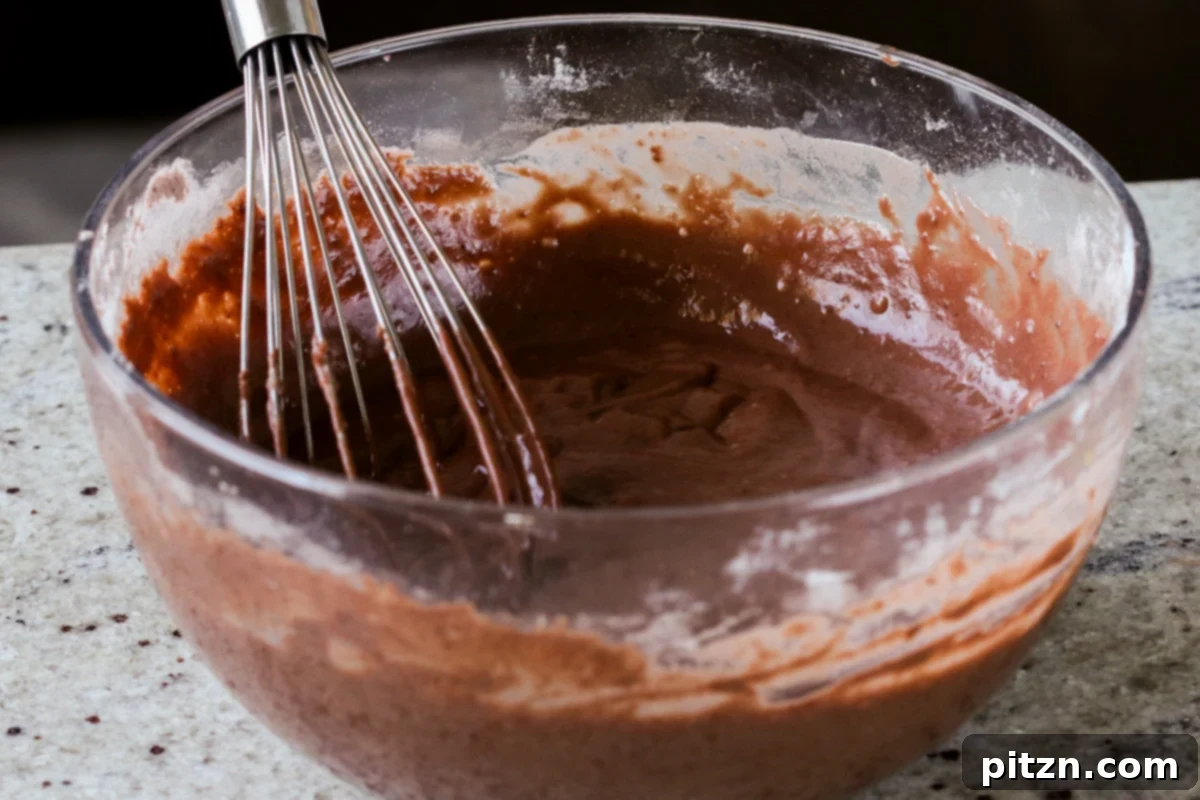
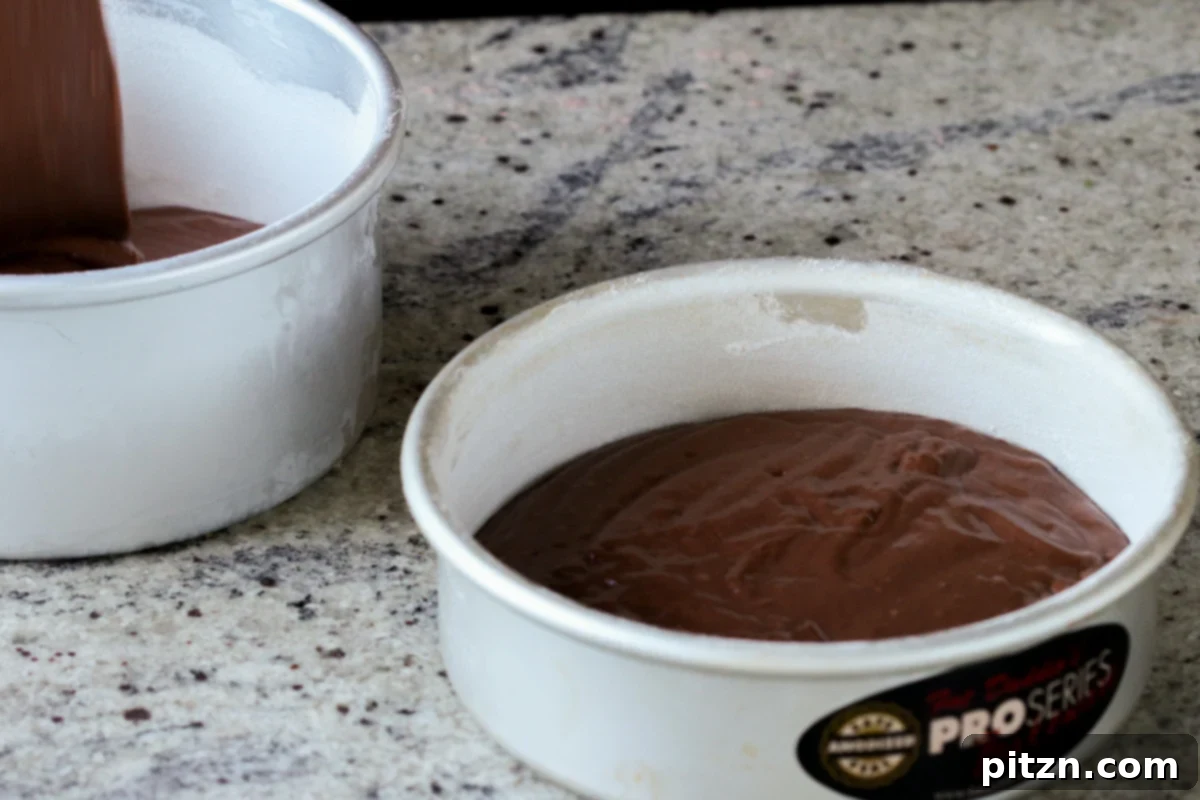
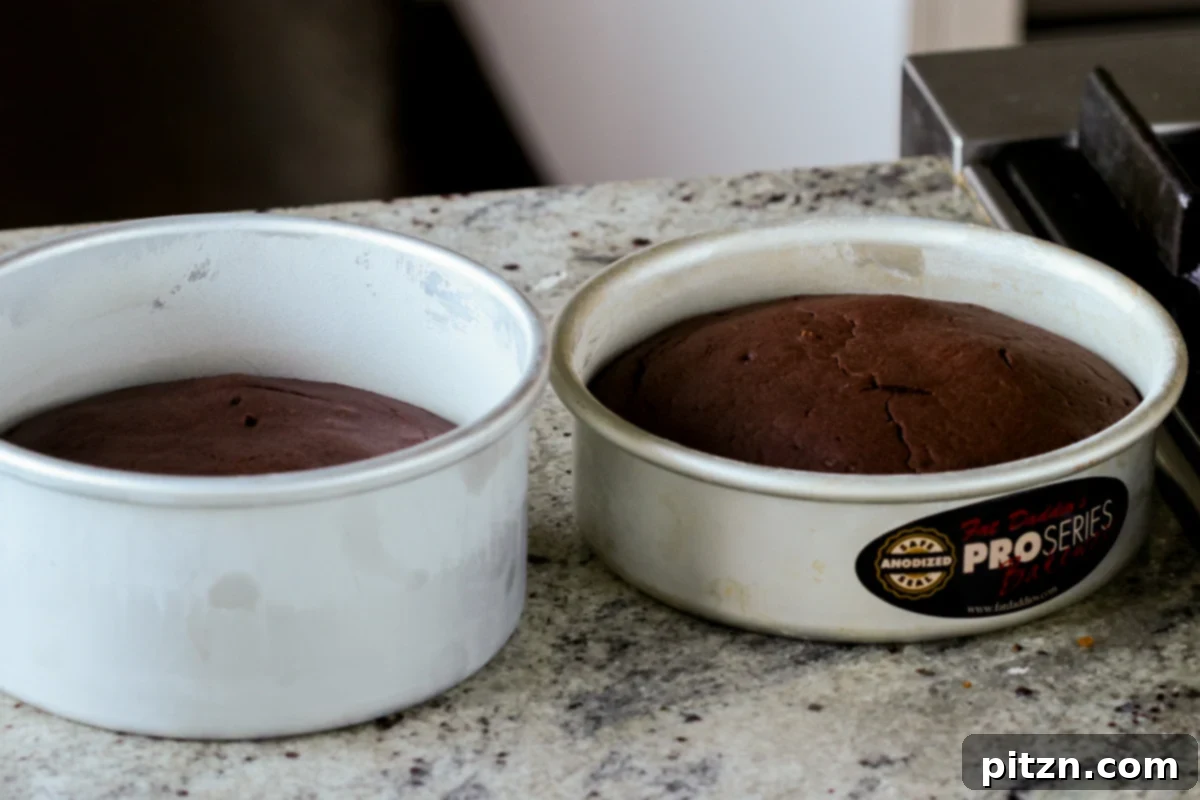
Pour the batter evenly into your prepared pan(s). Baking times will vary based on pan size: 6-inch pans typically take about 18 minutes, while larger pans like 8×8 or 9-inch rounds may require around 28-30 minutes. Test for doneness by inserting a toothpick into the center; it should come out clean. Once baked, remove the cake from the oven, let it cool on the counter for 5 minutes, then transfer it to the fridge to cool completely while you prepare the remaining elements.
Step 3: Craft the Aromatic Coffee Syrup
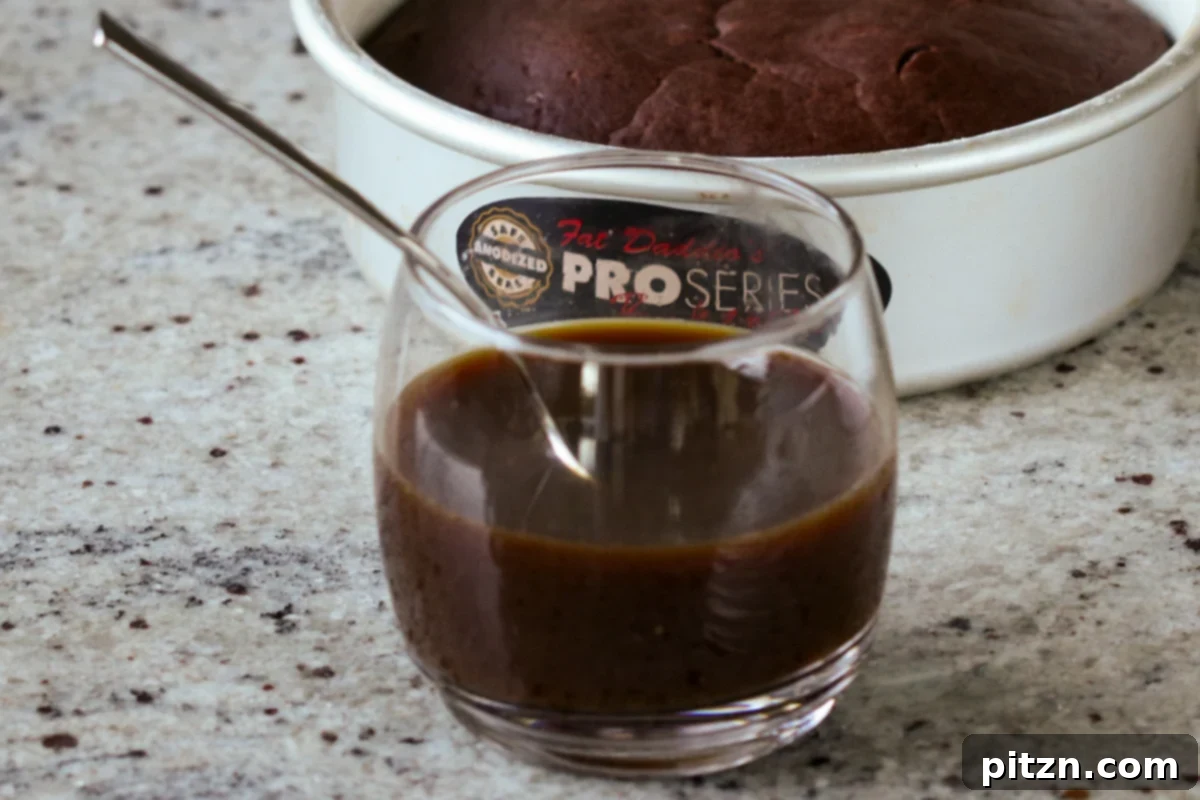
This simple, yet crucial, component adds the “mocha” to our cake. In a small bowl, thoroughly combine the brewed coffee and maple syrup. If you desire a sweeter cake, now is the time to stir in an extra tablespoon of sugar until fully dissolved.
Step 4: Prepare the Decadent Mocha Mousse Layer
The mousse brings the ultimate creamy indulgence. First, melt the vegan semi-sweet chocolate. You can do this by adding the chocolate to a skillet with about 1/4 cup of the full-fat coconut milk over medium heat. Stir well; as the milk begins to boil, the chocolate will melt. Remove from heat and continue stirring until the chocolate is completely smooth. Alternatively, microwave the chocolate in 30-second bursts, stirring vigorously after each interval until fully melted.
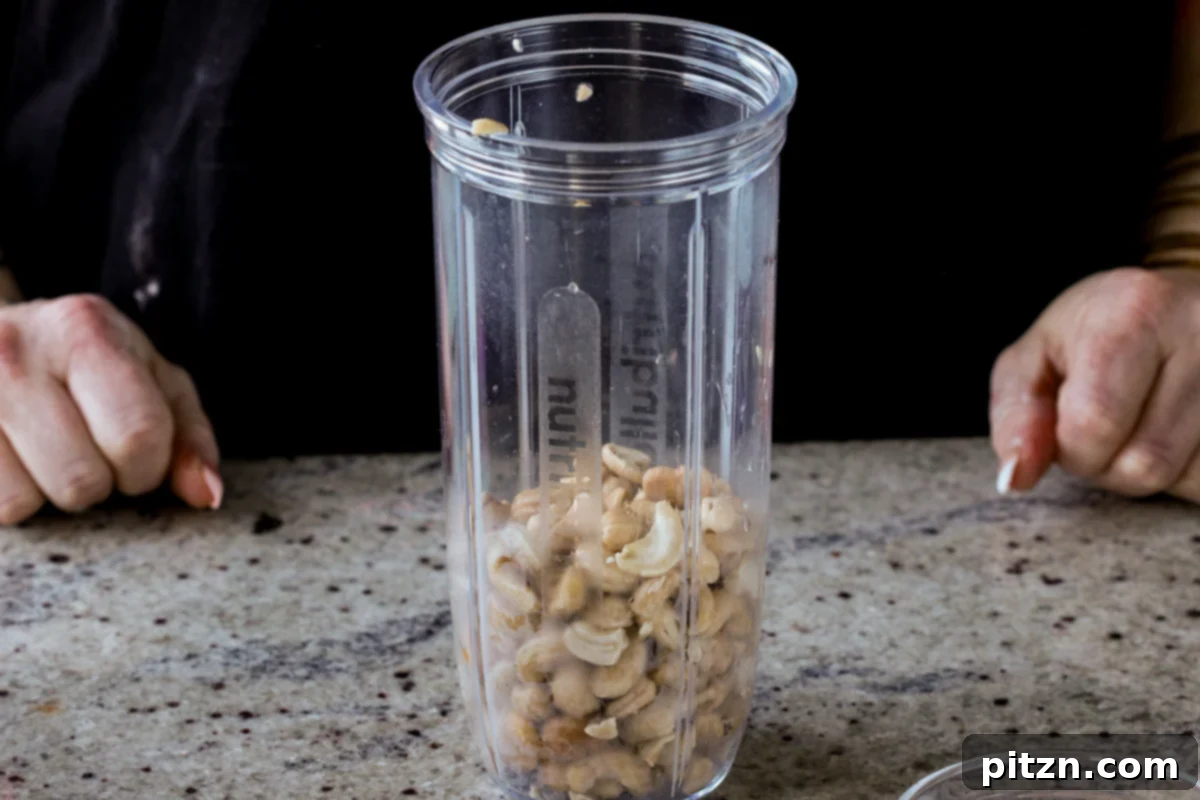
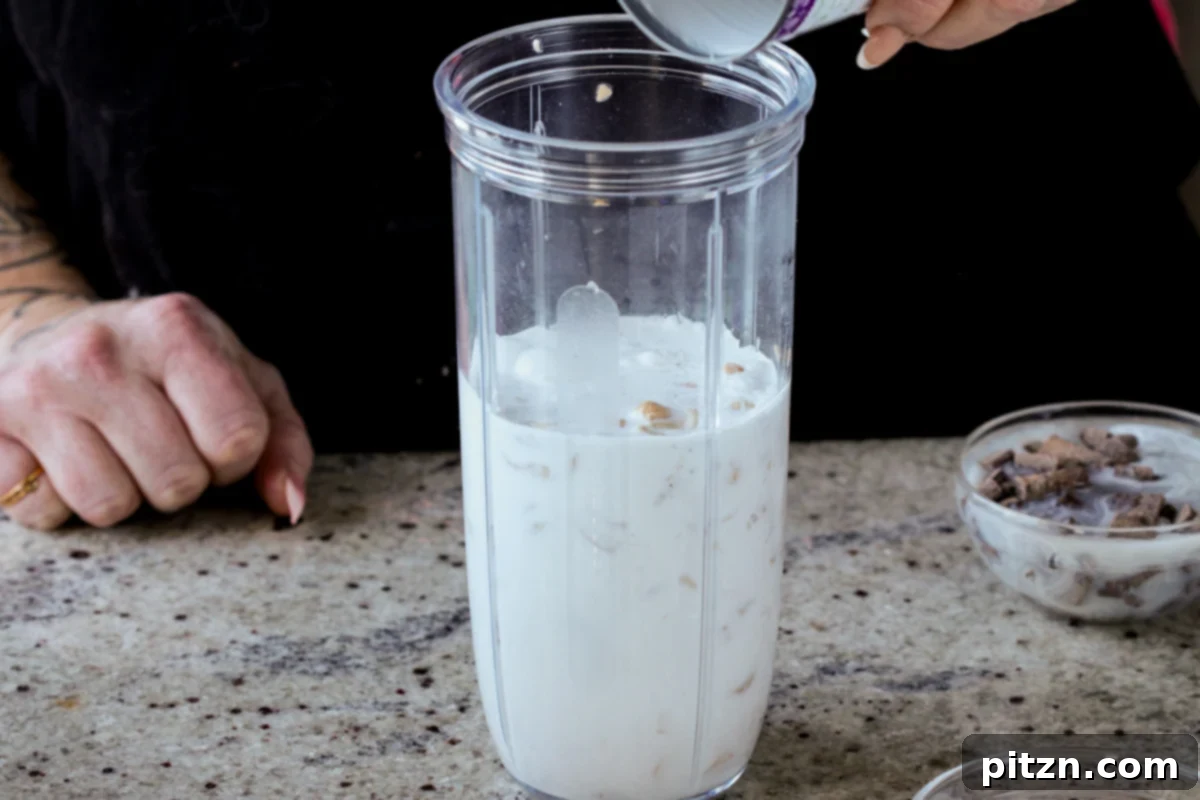
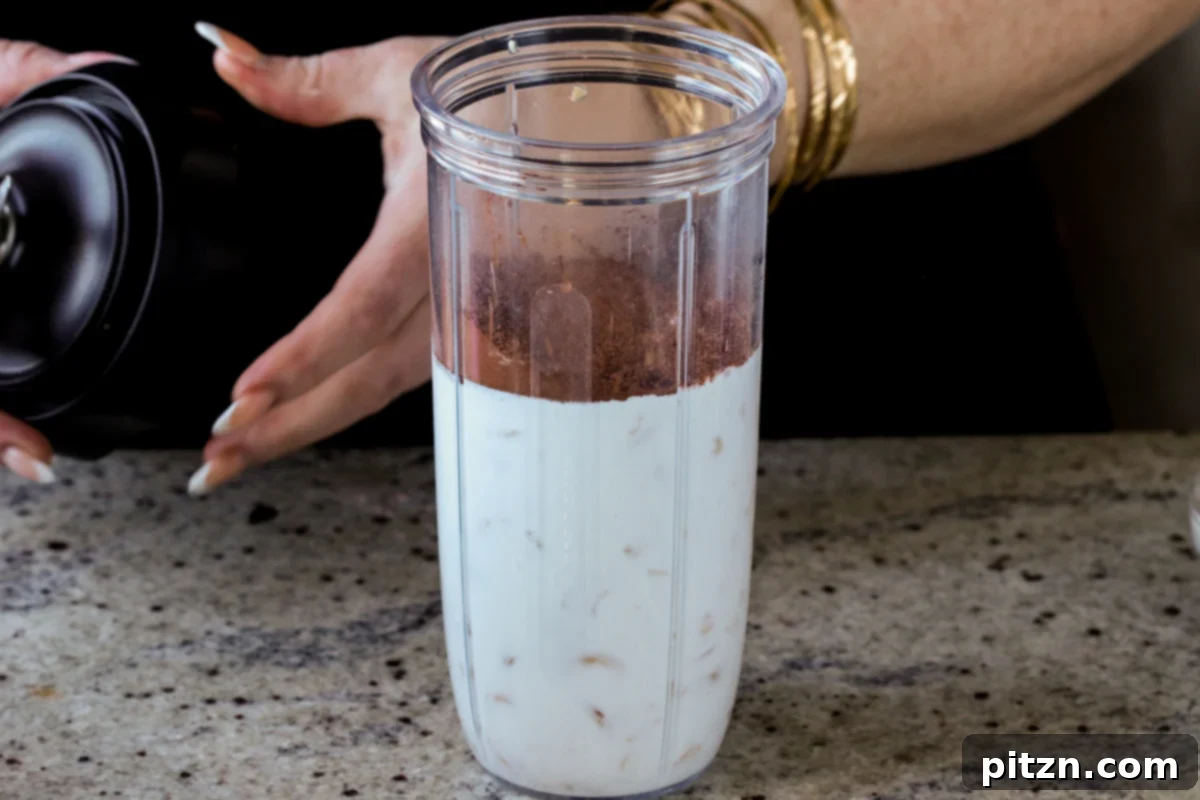
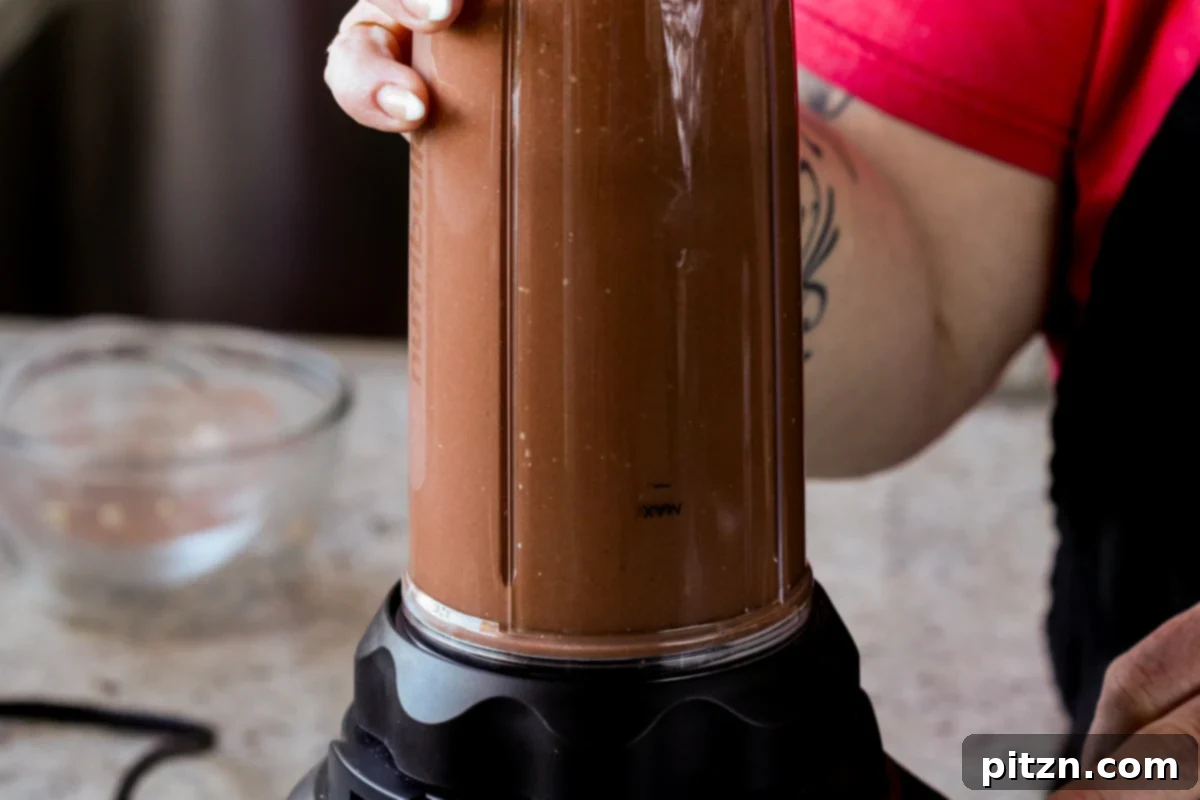
Next, gather your blender. Add the soaked cashews (or coconut cream for nut-free), the remaining full-fat coconut milk, cocoa powder, vanilla extract, sugar, salt, the melted chocolate, and one tablespoon of your prepared coffee syrup. Blend until completely smooth. For an exceptionally creamy mousse, blend for one minute, then let it rest for 5-10 minutes to allow the cashews to absorb more liquid. Blend again for 30 seconds, rest for a minute, and repeat until the mixture is incredibly velvety. Transfer the mousse to the refrigerator for 15-30 minutes to allow it to thicken slightly.
Step 5: Assemble Your Magnificent Cake
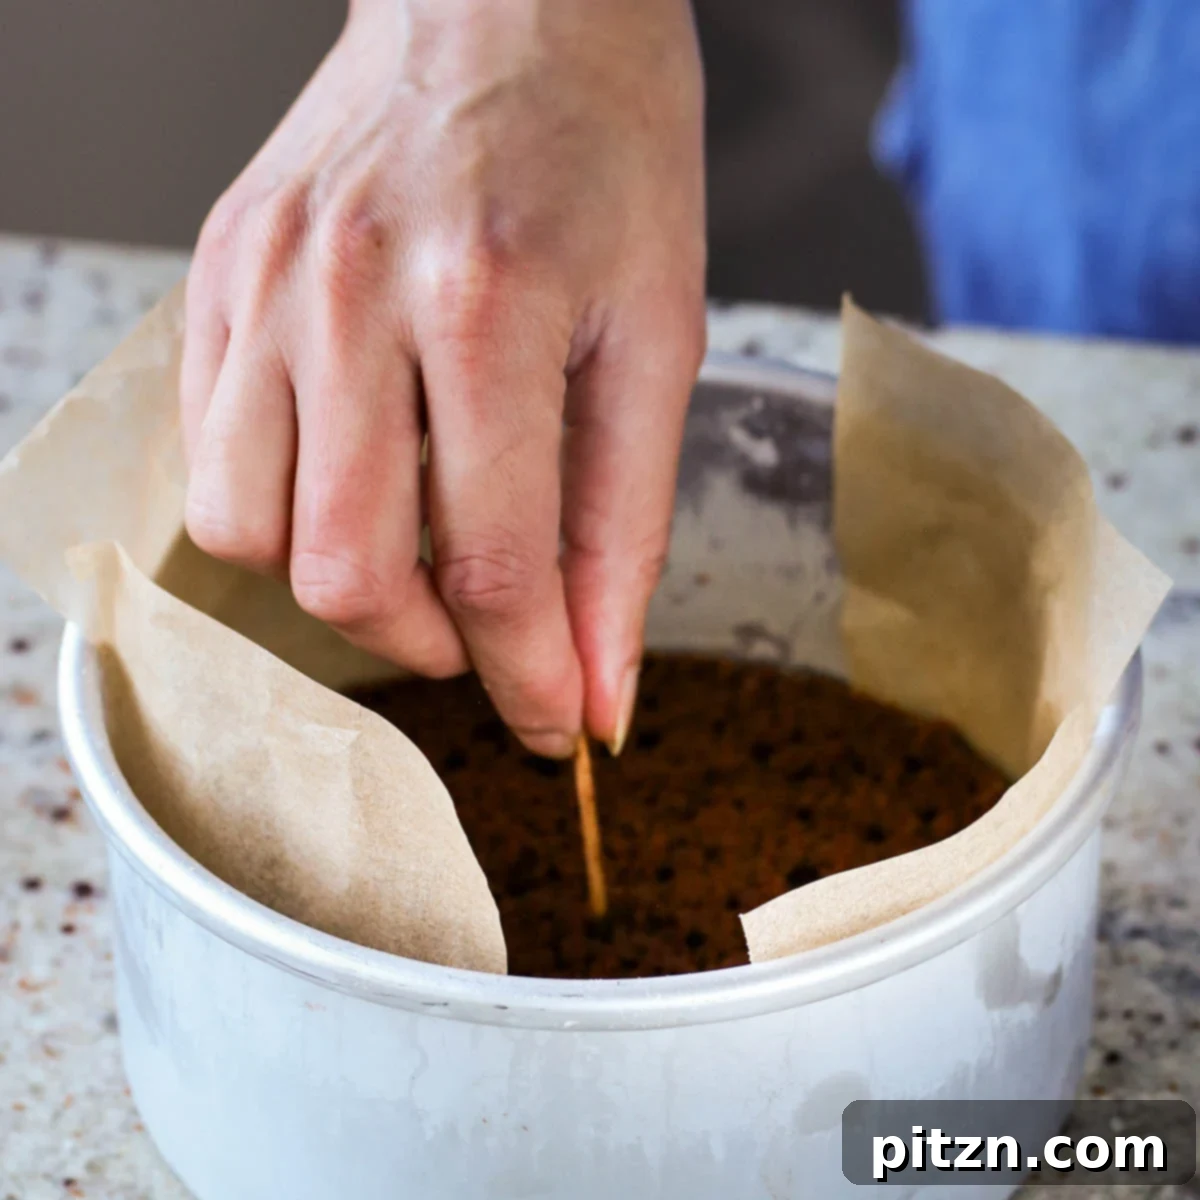
By now, your cake should be thoroughly chilled from the fridge. Gently remove it from the pan by tapping the bottom, then use the parchment paper handles to lift it out. Using a serrated knife, carefully slice the cooled cake(s) horizontally in half, creating two even layers for each cake. With a toothpick, poke numerous holes across the surface of all cake layers.
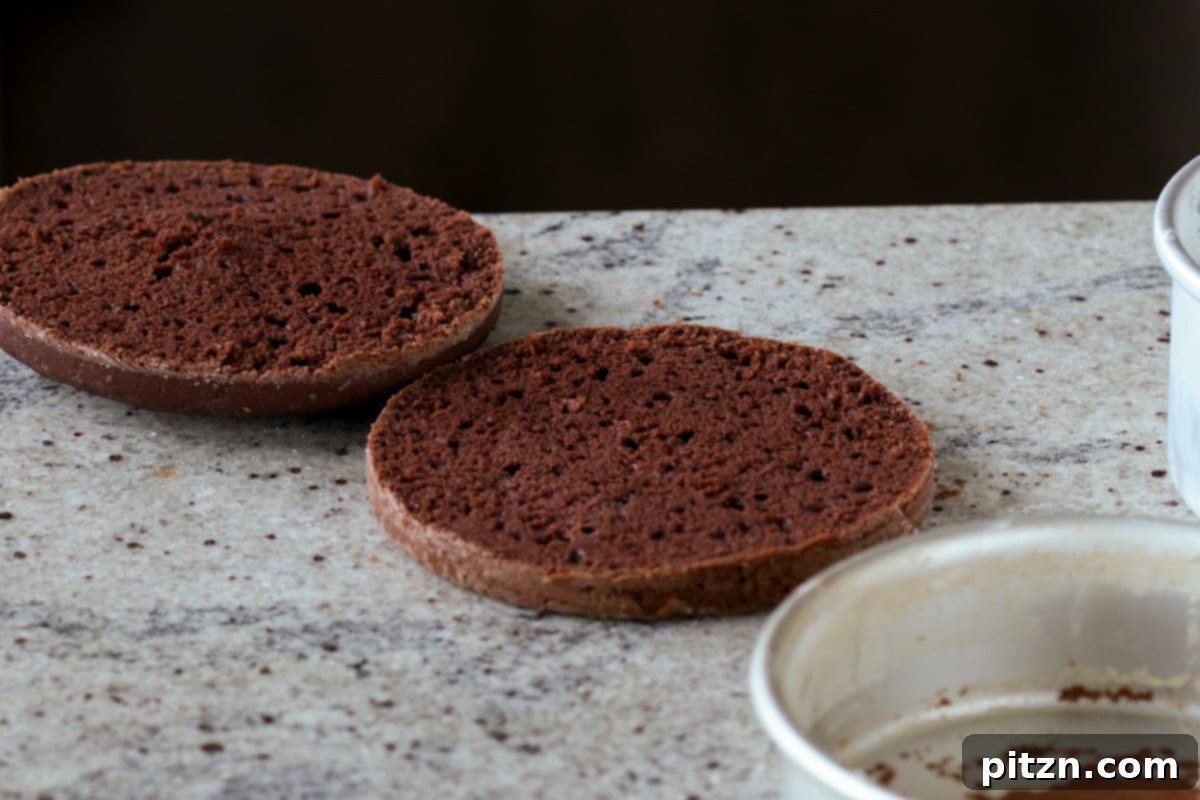
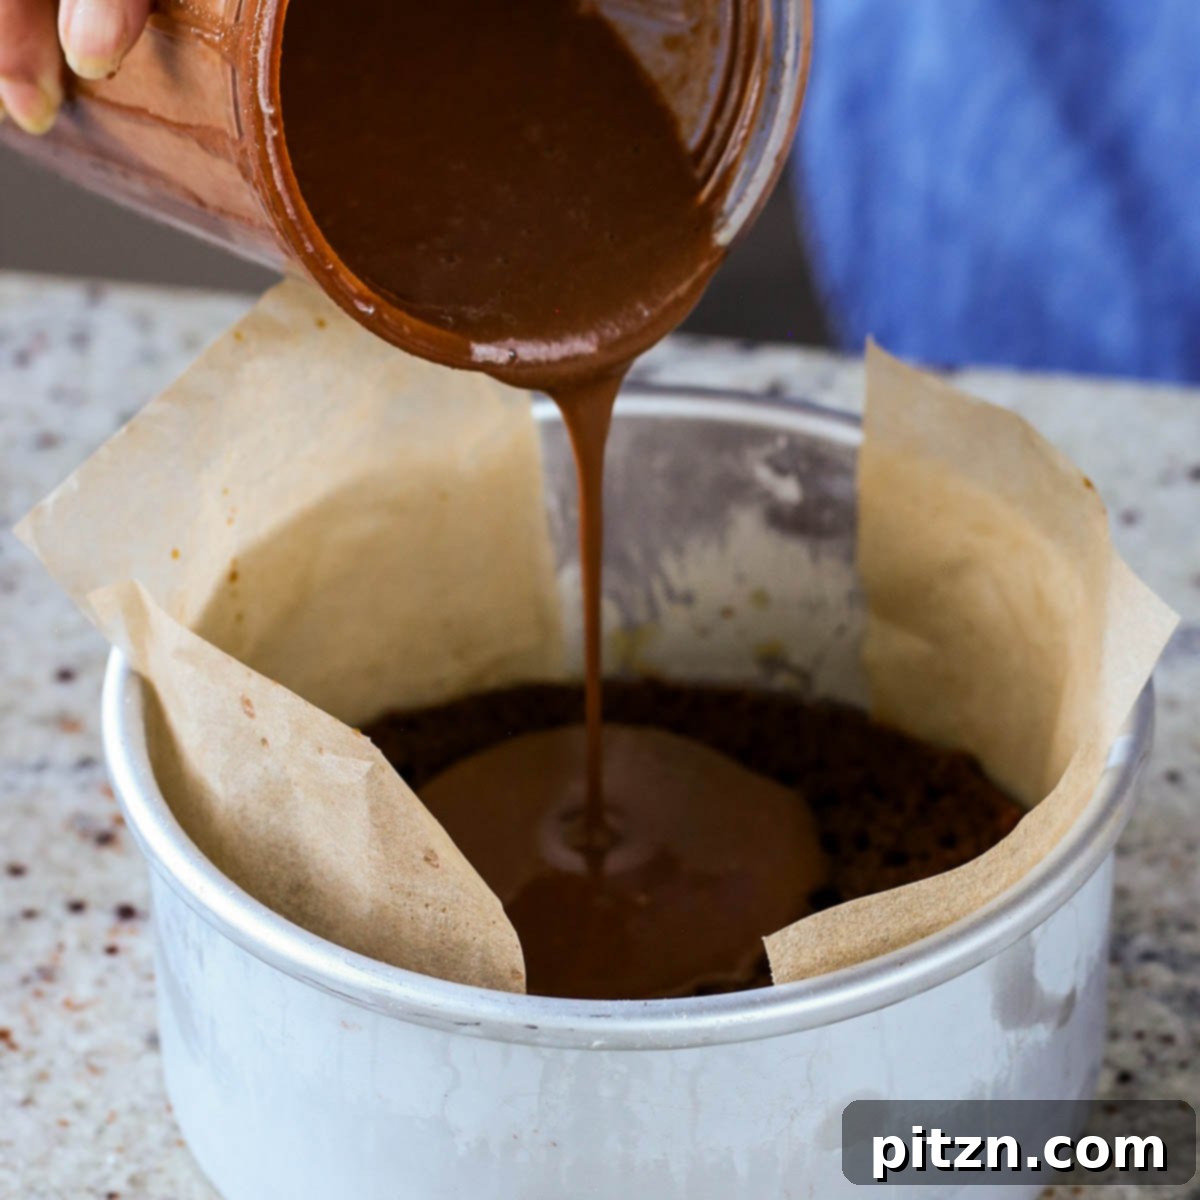
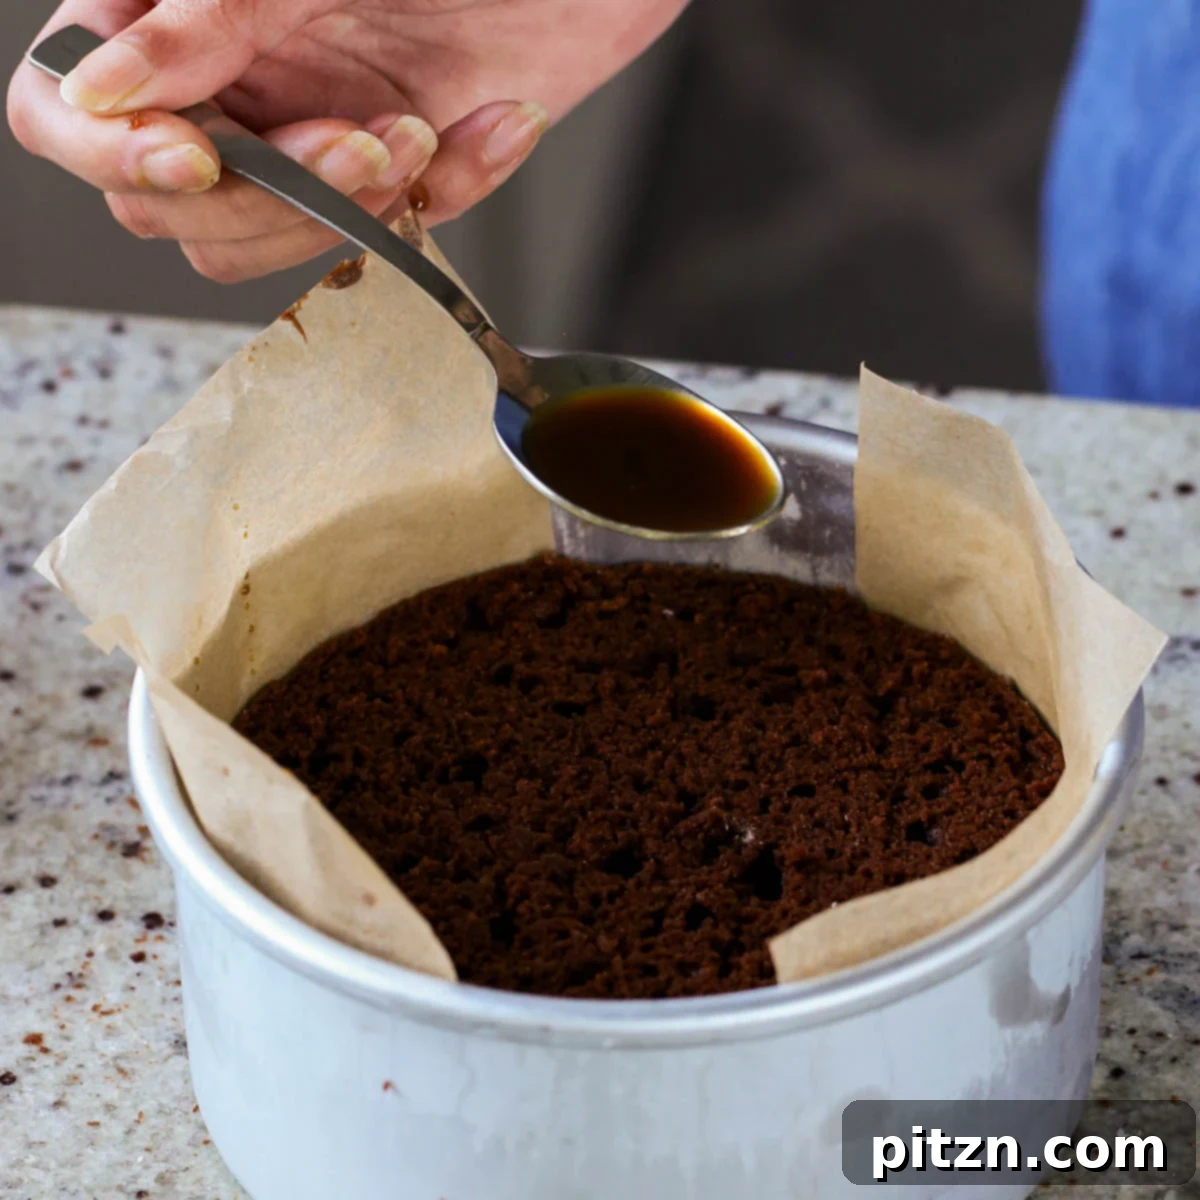
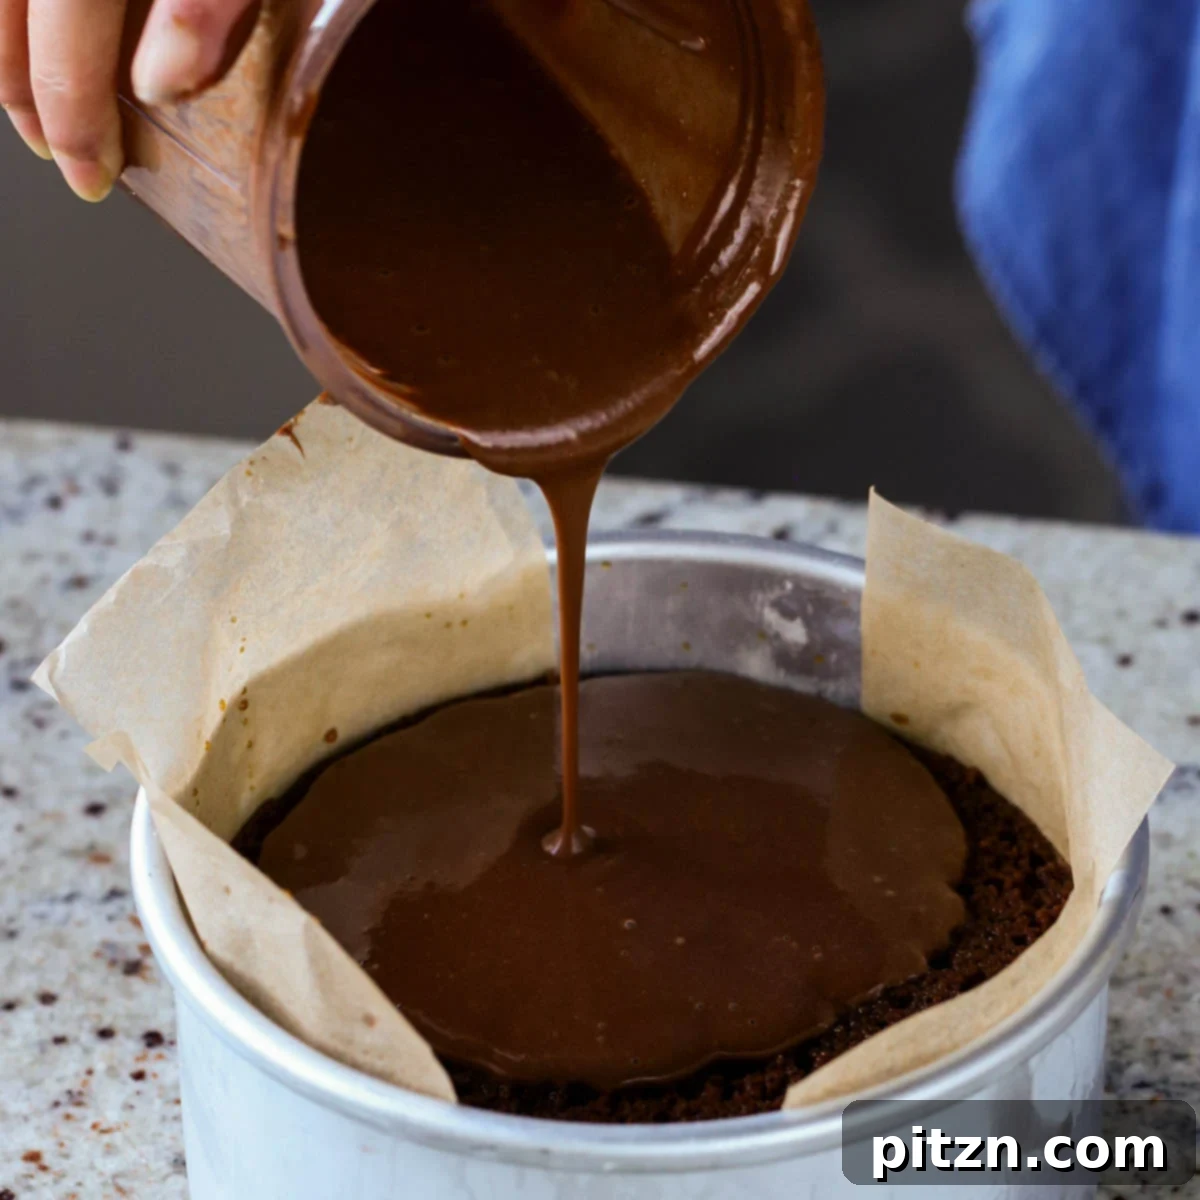
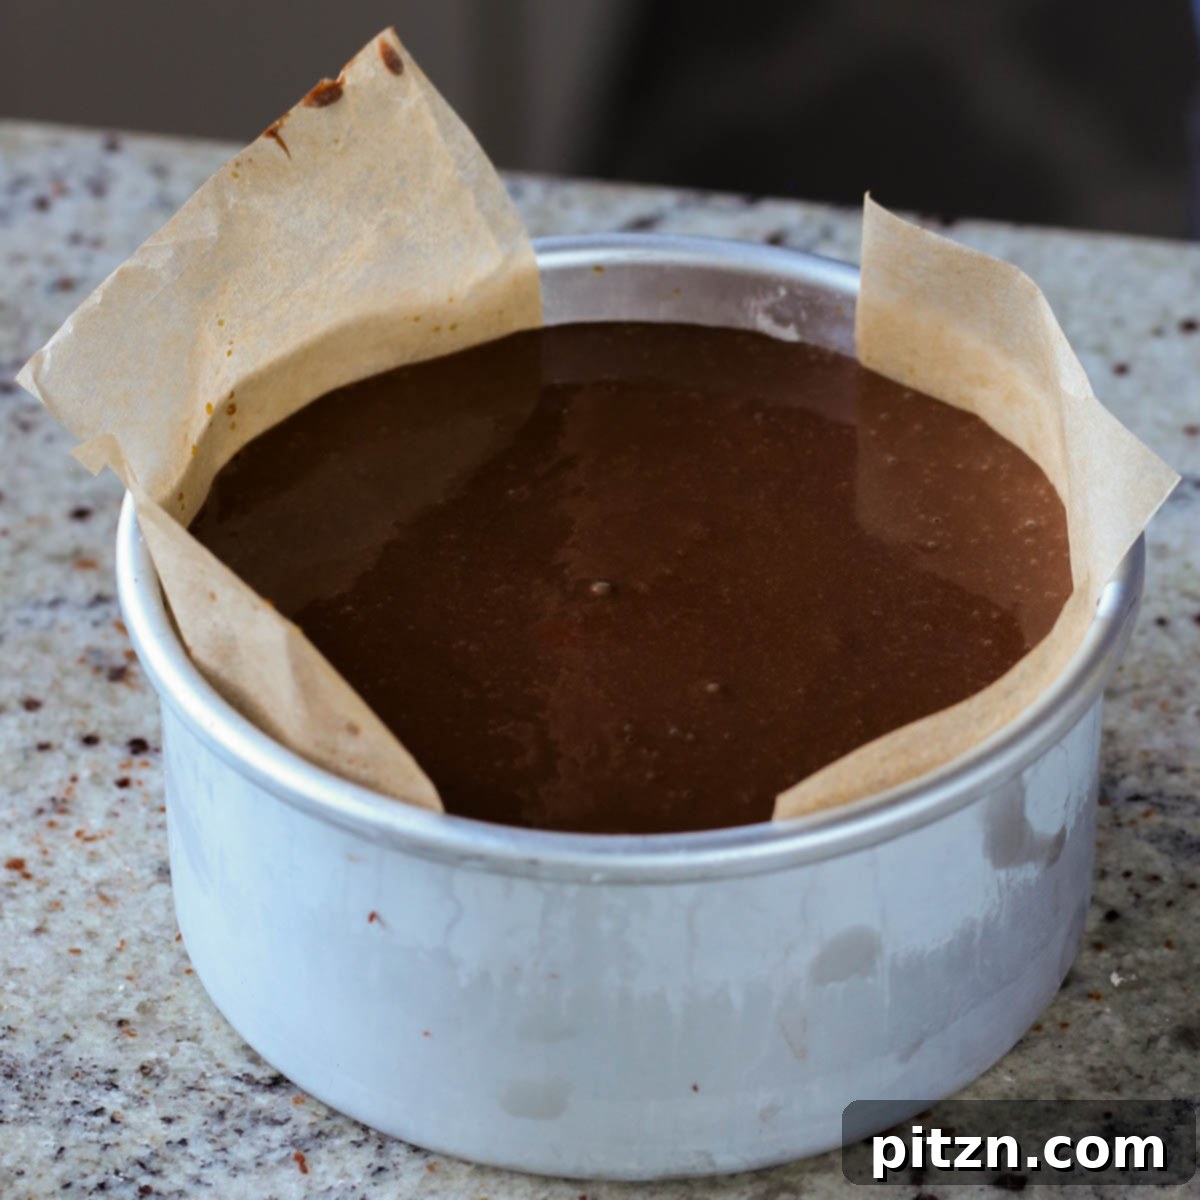
Place one cake layer back into the greased or lined pan(s), sliced-side-up. Generously drizzle some of the coffee syrup over this layer, allowing it to soak into the poked holes. Then, pour half of the mocha chocolate mousse evenly over the syrup-soaked cake. Gently place the second cake layer, sliced-side-up, on top of the mousse. Lightly press down to ensure an even surface, then drizzle the remaining coffee syrup over this top layer. Finally, pour the remaining chocolate mousse over the entire cake, spreading it evenly. Tap the pan gently on the counter to release any trapped air bubbles, ensuring a smooth top surface.
Step 6: Chill, Decorate, and Serve
Transfer the assembled cake to the freezer for at least 2 hours. This crucial step allows the chocolate mousse to set into a firm, yet delightful, texture. Once semi-frozen, you can move it to the refrigerator for up to 3 days, where the mousse will maintain its texture beautifully. Alternatively, cover the cake pan with parchment paper and freeze the entire cake for up to 3 months for future indulgence.
When you’re ready to serve, remove the cake from the freezer. Place the cake pan in a shallow bowl of hot water for a minute or two; this will gently loosen the cake from the pan. Use the overhanging parchment paper strips to carefully lift the cake onto your chosen cake stand.
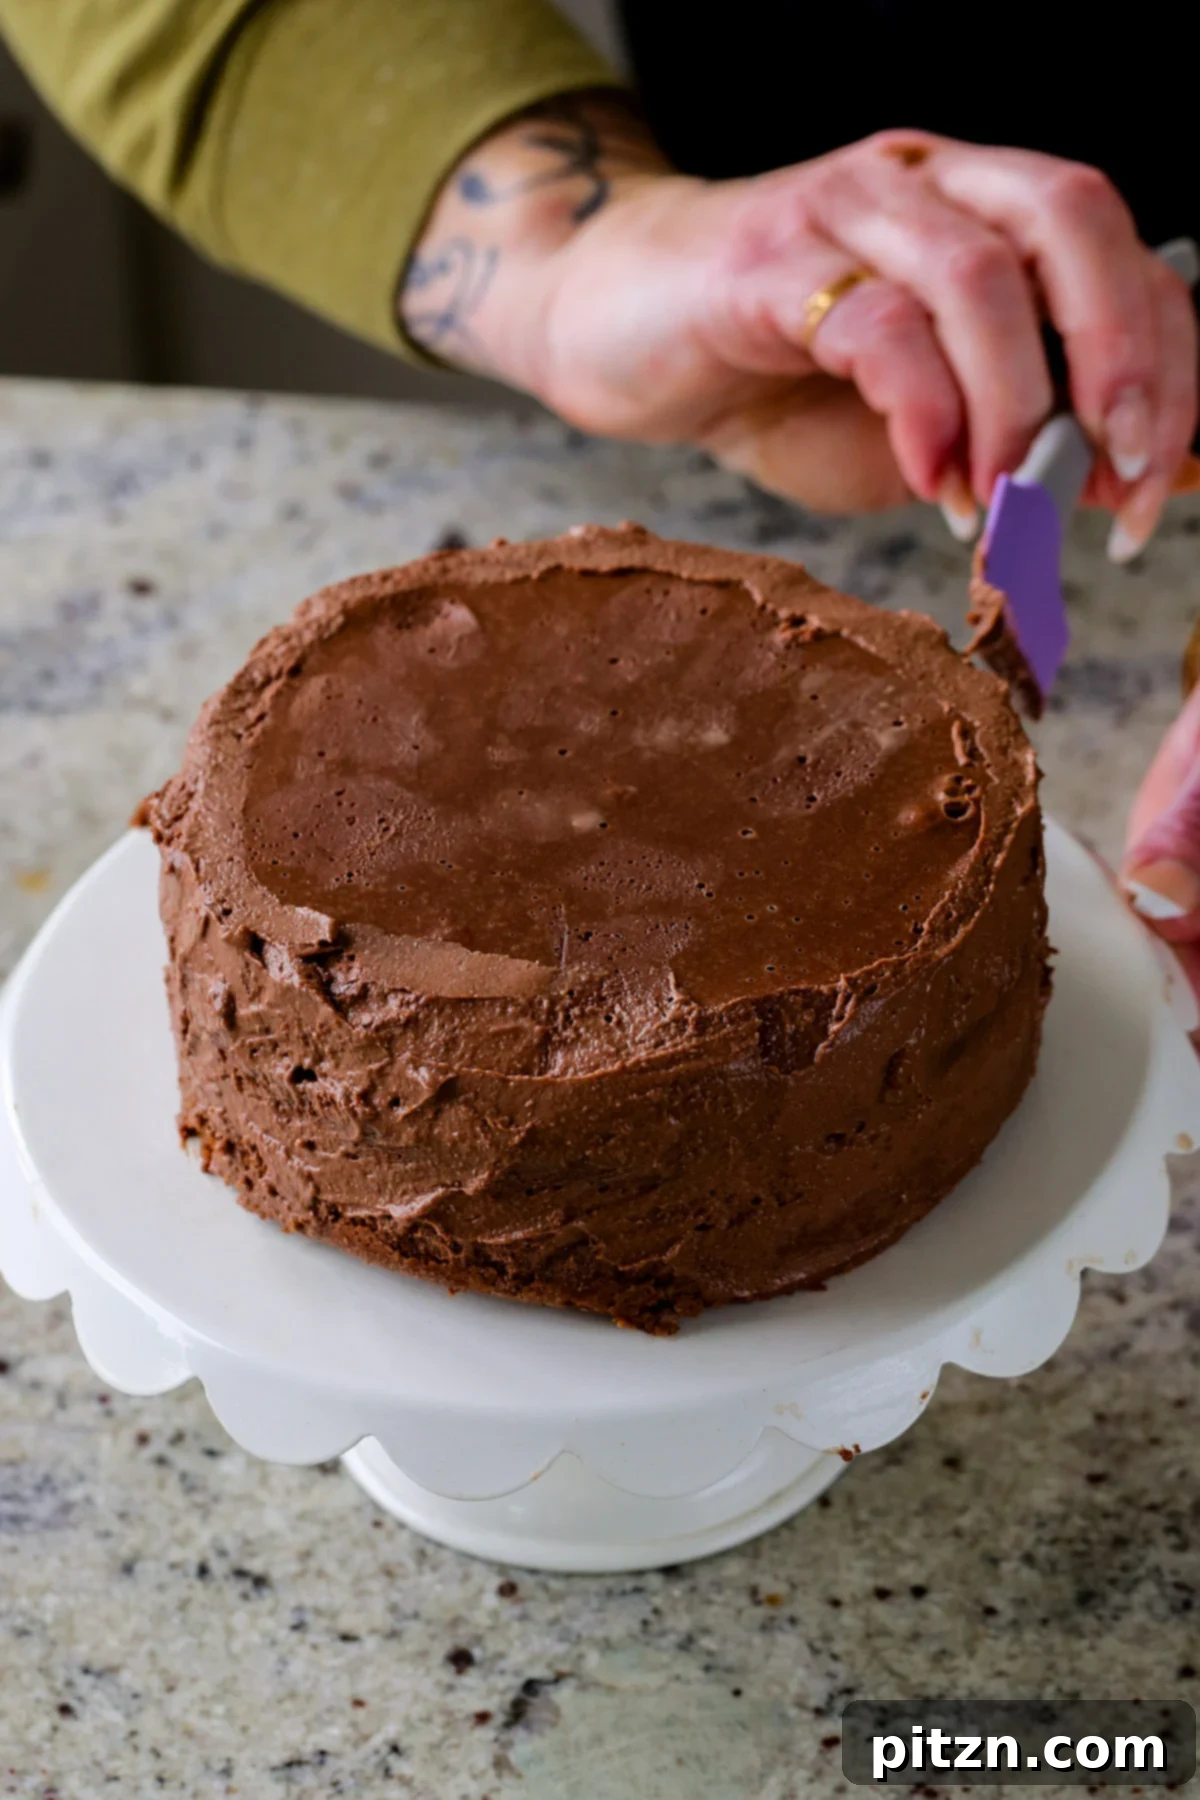
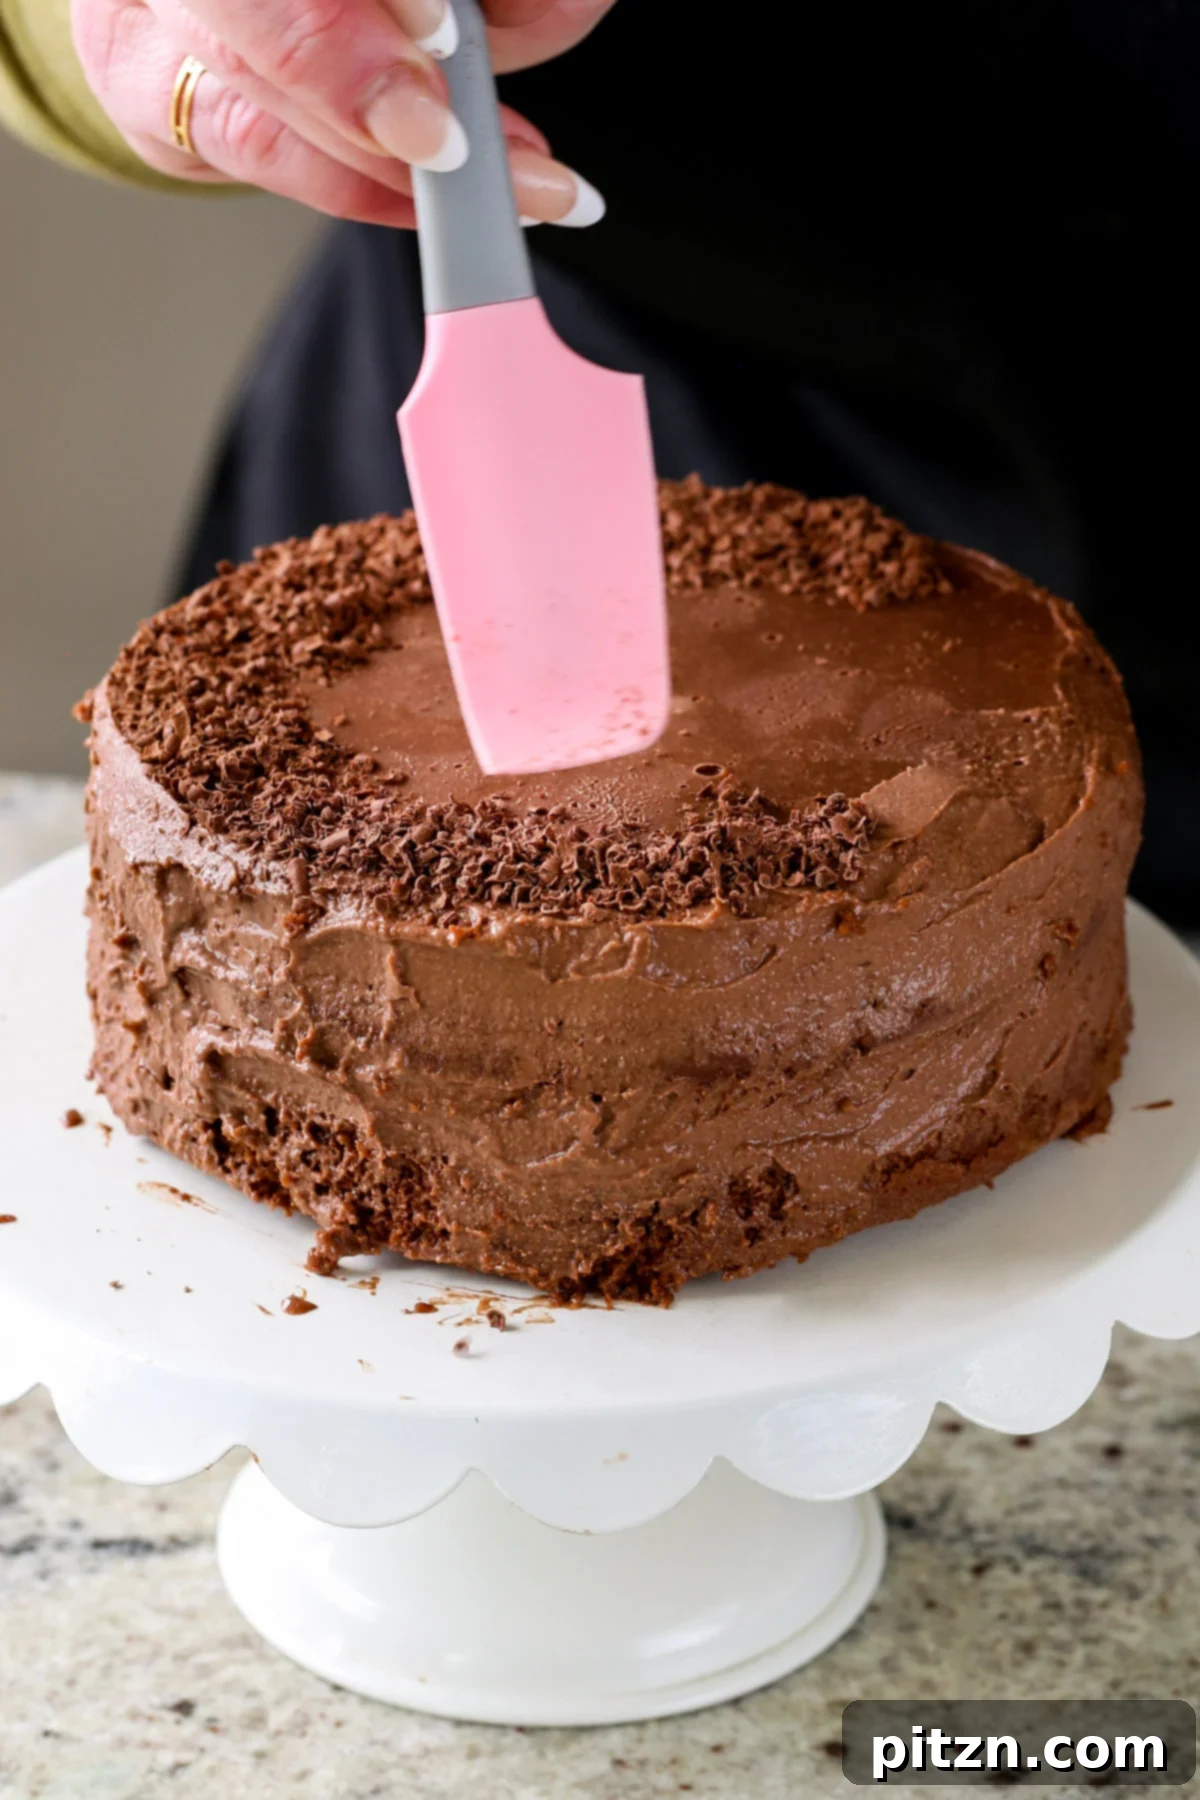
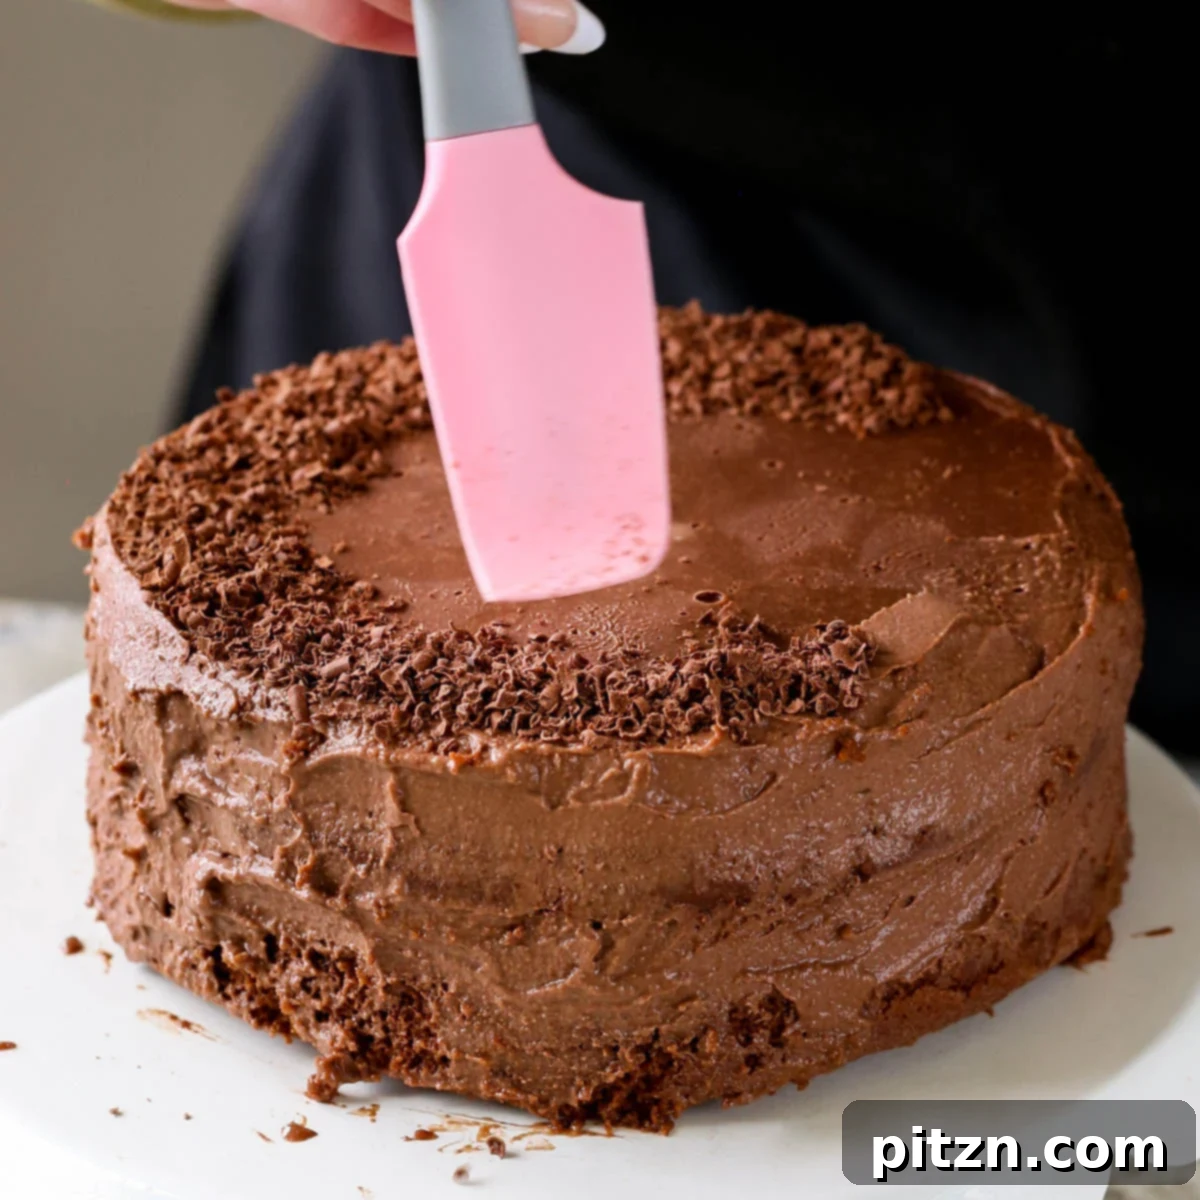
At this point, you have a couple of decorating options. You can simply smooth out the slightly softened mousse along the edges to create a neatly frosted cake appearance. Or, for an extra touch of elegance, press plenty of shaved chocolate onto the sides of the cake. The top is already adorned with a lovely chocolate cream, but the edges will reveal the distinct layers of cake and mousse, making shaved chocolate a beautiful textural and visual accent.
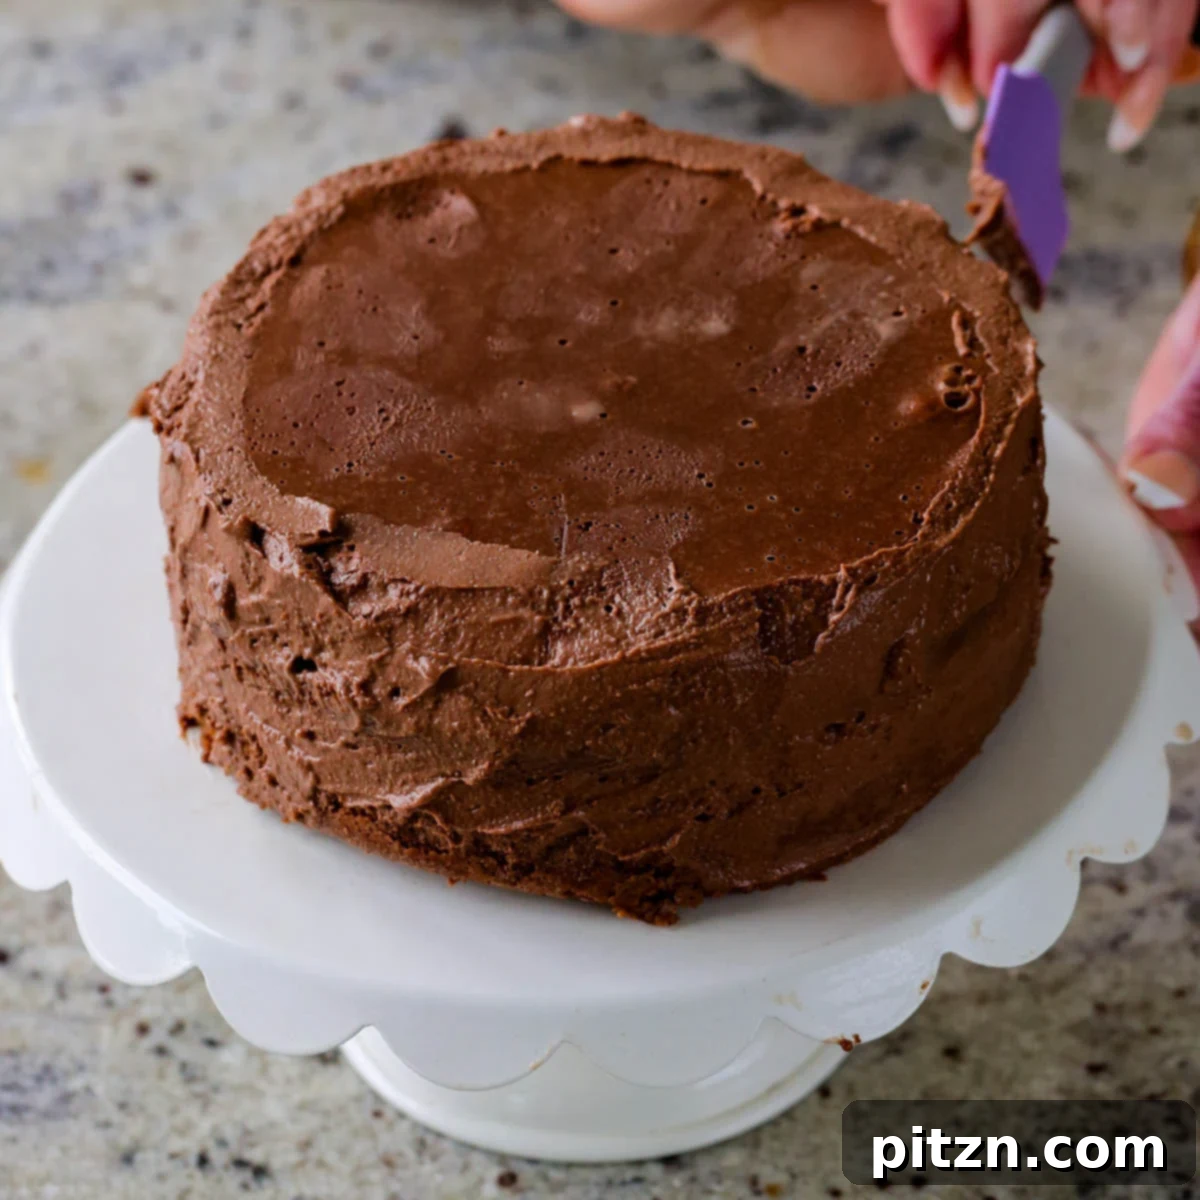
Allow the cake to sit at room temperature for at least 15 minutes if it was completely frozen; this allows the mousse to soften slightly and become wonderfully creamy. Then, slice and serve this exquisite Vegan Mocha Chocolate Mousse Cake. Enjoy! You can store any leftovers in the refrigerator for up to 3 days, or slice and freeze them in an airtight container for up to 3 months. Remember to let frozen slices sit on the counter for 10-15 minutes before serving for optimal texture.
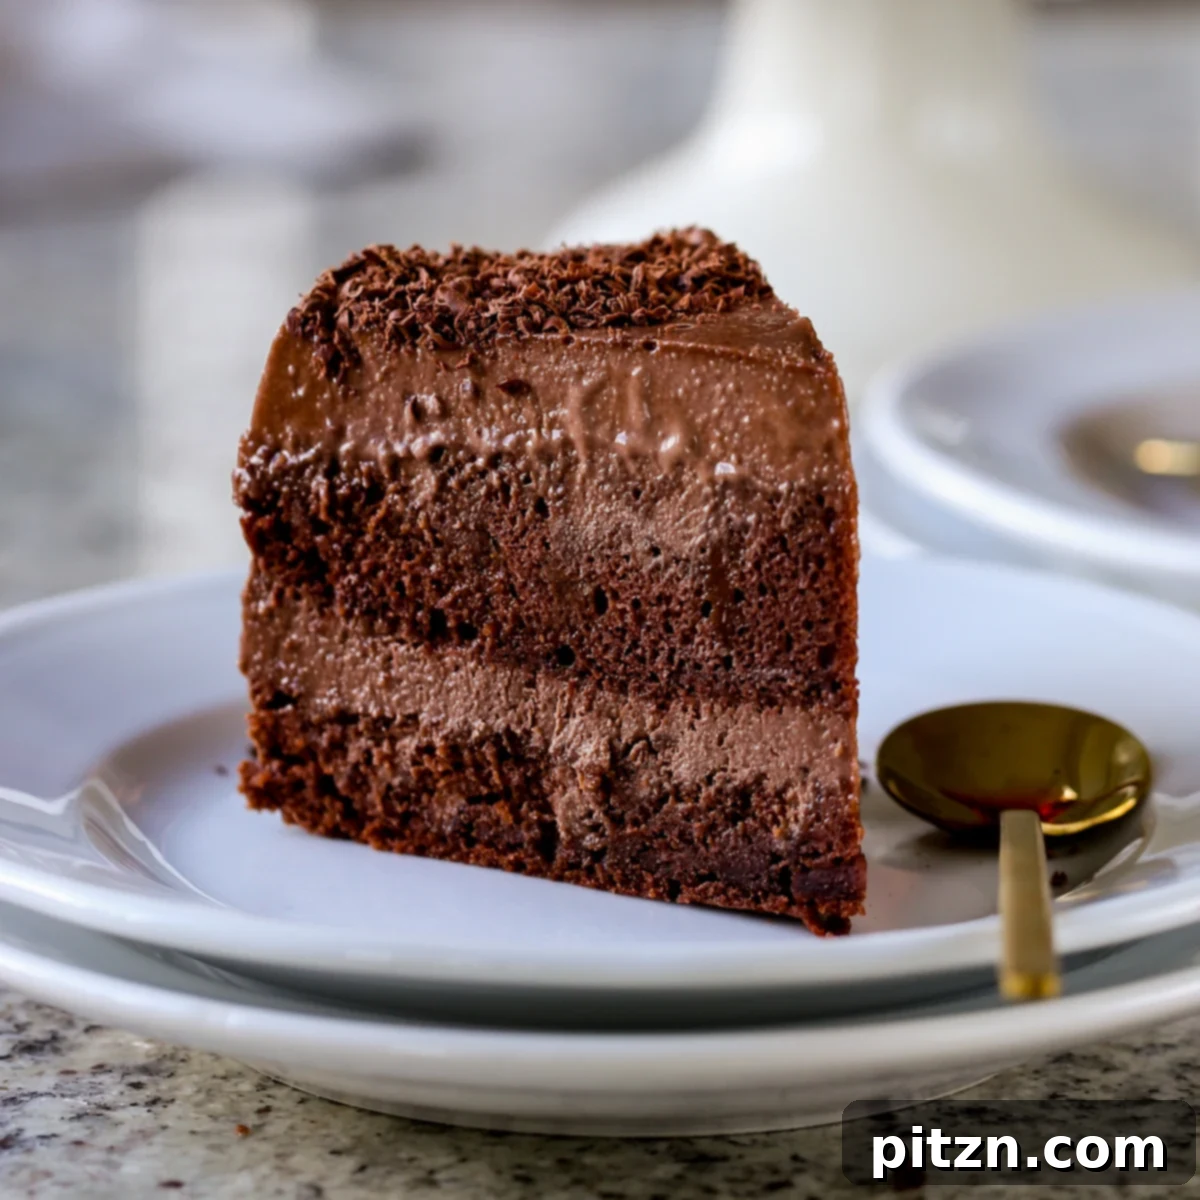
Vegan Mocha Cake
Vegan mocha cake with a layer of rich chocolate mocha mousse is a showstopping dessert that’s surprisingly easy to make. The cake is moist and that creamy layer of mousse is an easy blender mousse without butter and loads of sugar!
Ingredients
Dry Ingredients
- 1 1/2 cups all-purpose flour
- 3 tablespoons cocoa powder
- 1/3 cup sugar, plus 2 tablespoon more for sweeter
- 1 1/2 teaspoons baking powder
- 1/4 teaspoon baking soda
- 1/4 teaspoon salt
Wet Ingredients
- 3 tablespoons oil
- 2 tablespoons non-dairy yogurt
- 1/2 teaspoon vanilla extract, or more
- 3/4 cup non-dairy milk
- 1/2 cup boiling water
For the Coffee Syrup
- 1/2 cup coffee, (use 2 shots of espresso plus enough water to make it 1/2 cup)
- 1 tablespoon maple syrup
For the Mocha Mousse Layer
- 1/2 cup vegan semi-sweet chocolate
- 1 cup raw cashews, soaked for at least 15 minutes in hot water
- 15 ounce can full-fat coconut milk
- 2 tablespoons cocoa powder
- 1/4 teaspoon vanilla extract
- 1/3 cup sugar
- 1/4 teaspoon salt
- 1 tablespoon coffee syrup from above
Instructions
-
Preheat the oven to 350°F (177° C), and line either an 8×8” or 9×9” brownie pan or a 9” tall or regular circle cake pan, or you can use 2 tall 6” pans. To line the pan, put 2 strips of parchment paper across the bottom of the pan which are long enough to hang over the sides of the cake pan, so that it’s easy to remove the cake from the pan.
Make the mocha cake.
-
In a bowl add all of the dry ingredients and mix until well combined. Add in the oil, yogurt, vanilla, and milk, and just lightly mix together.
-
Add the boiling water slowly and keep mixing until you get a nice smooth batter. Depending on any measuring and scaling errors, you may need more or less water. While you’re pouring the boiling water, stop as soon as you get a smooth batter. If the batter is too thick, you can add in another tablespoon of boiling water. You want the batter not to be too thin but just about smooth and flowy.
-
Drop the batter into the pan (or pans) and even it out. Bake for 18 to 30 minutes, depending on the size of your pan. Check with a toothpick in the middle for doneness – it should come out completely clean. If you’re using 2 6” pans, check at about 18-minute mark. If you’re using the larger pans, check at about the 28-minute mark. When done, remove the cake from the oven, and let it cool for 5 minutes on the counter, then put it in the fridge to cool further while you prepare the rest of the elements.
Make the coffee syrup.
-
Mix the coffee and the maple syrup really well. If you want your cake to be sweeter, you can add in a tablespoon of sugar to this coffee mixture, and mix it really well.
Make the mocha chocolate mousse layer
-
First, melt the chocolate. Add the chocolate to a skillet with about 1/4 cup of the coconut milk over medium heat, and mix really well. Once the milk starts boiling, the chocolate will start melting. Switch off the heat. Continue to mix until the chocolate is completely smooth. You can also just microwave the chocolate in bursts of 30 seconds, and once it starts to melt on the edges, whisk really well until all of chocolate is melted.
-
Add the cashews, remaining coconut milk, cocoa powder, vanilla, sugar, salt, and the melted chocolate to a blender, along with a tablespoon of the coffee syrup, and then blend. I usually blend it for a minute, then let the blender sit for 5 to 10 minutes, so the cashews can soak up more moisture, and then blend again for 30 seconds. Then, wait for a minute, then blend again for 30 seconds, and repeat until the mixture is very smooth. Refrigerate for 15 minutes to thicken
-
Taste and adjust the sweetness and flavor, if you like. You can add more cocoa powder, coffee or more vanilla or sugar, and blend well after adding.
Decorate and chill again.
-
Meanwhile, the cake has cooled in the fridge. Remove the cake from the fridge, and tap to release it from the pan. Then, using a serrated knife, slice the cake or cakes in half. Using a toothpick, poke holes in all of the cake layers.
-
Place one layer of cake back into the greased or lined cake pan or cake pans, sliced-side-up. Drizzle some of the coffee syrup all over that cake layer, then pour on half of the chocolate mousse, and place the other cake piece sliced-side-up on top of the chocolate mousse layer. Press it down slightly to even it out, then drizzle the remaining coffee syrup over that cake layer, as well, to cover, then pour the remaining chocolate mousse all over this layer of the cake. Even it out on top by tapping, so that if there are any air bubbles, they will pop out.
Alternatively, chill the chocolate frosting for an hour, it will thicken enough so you can frost the cakes like a buttercream frosting. Then skip the next steps, slice and serve.
-
Put this cake in the freezer for up to 2 hours. This will help set the chocolate cream into a nice mousse texture. Move it to the fridge to store it for up to 3 days. The mousse will maintain its texture, even after thawing in the refrigerator.
-
Once you remove the cake from the freezer, put some hot water in a shallow bowl, and put the cake pan in the hot water. This will loosen the cake from the pan. Then, use the hanging sides of the parchment paper to remove the cake from the cake pan.
-
Place the cake on your cake stand, and you can either just smooth out the slightly-softened mousse on the edges so, that it covers the cake and it looks like a frosted cake, or you can stick some shaved chocolate on the sides of the cake, so that it looks pretty. The top is already covered with a nice, chocolate cream, but the edges will have that layered look of the cake and the mousse, so you can just stick lots of shaved chocolate on the edges to make it pretty.
-
Let it sit on the counter for at least 15 minutes, if it’s completely frozen, so that the texture of the mousse becomes more soft, and then you can slice and serve, or you can store it in your refrigerator for up to 3 days, or slice and freeze in a closed container for upto 3 months. Let sit on the counter for 10-15 mins before serving the frozen cake
Notes
Lazy cake: make the cake, soak in coffee, pour frosting (chilled or not) on cake slices and serve 🙂
To make this gluten-free, use a mix of 1 cup of almond flour, 1/2 cup of oat flour and 1/2 cup of potato starch, and then use this for making the cake.
To make this nut free, use 1 cup of coconut cream instead of the cup of cashews. Coconut cream is the thick, white part that separates out in a full-fat coconut milk can.
This recipe is soy-free as long as your chocolate chips are soy-free.
PS: my desserts are usually less sweet. If you like yours sweeter, add a couple of tbsps more sugar for both the cake and the frosting.
Troubleshooting:
– Cake didn’t rise well or was gummy: this can be caused by old baking powder or too much moisture in the batter
– Frosting didn’t thicken: chill it for longer in the fridge or put it in the freezer for an hour. Brands of coconut milk and chocolate chips affect the thickening process.
Nutrition
Nutrition information is automatically calculated, so should only be used as an approximation.
Did you make this recipe? Rate and comment below!
More Incredible Vegan Cake Recipes
If you loved this Vegan Mocha Cake, be sure to explore more of our delightful plant-based dessert creations. Here are a few recommendations to satisfy your sweet tooth:
- Kulfi Tiramisu
- German Chocolate Loaf Cake
- Eggless Vanilla Cake
- Gingerbread Cake
- Baklava Cake
Video Tutorial: Watch How It’s Made!
Frequently Asked Questions
Yes, with a few easy modifications! To make this cake entirely gluten-free, substitute the all-purpose flour with a blend of 1 cup almond flour, 1/2 cup oat flour, and 1/2 cup potato starch. For a nut-free version, simply replace the raw cashews in the mousse with 1 cup of rich, full-fat coconut cream (the thick, solid part from a chilled can of coconut milk). This recipe is also soy-free, provided you use soy-free vegan chocolate chips.
In the culinary world, particularly with desserts and coffee drinks, “mocha” refers to a delightful flavor combination of chocolate and coffee. Our vegan mocha cake captures this essence beautifully by infusing both the cake layers and the creamy mousse with complementary notes of rich cocoa and aromatic coffee, much like the beloved Italian beverage, the “mocaccino.”
This cake is incredibly versatile when it comes to storage. You can keep it fresh in an airtight container in the refrigerator for up to 3 days. For longer storage, slice the cake and freeze individual portions in a sealed container for up to 3 months. When serving from frozen, allow the slices to thaw at room temperature for 10-15 minutes to achieve the perfect mousse consistency.
Absolutely! While our preferred method involves layering for distinct mousse tiers, you can certainly use the mocha mousse as a frosting. Simply chill the mousse in the refrigerator for a bit longer, perhaps an hour or until it reaches a thick, spreadable consistency akin to buttercream. Once it’s firm enough, you can frost the entire cake as you would with any traditional frosting. This method is perfect if you prefer a completely covered cake aesthetic.