
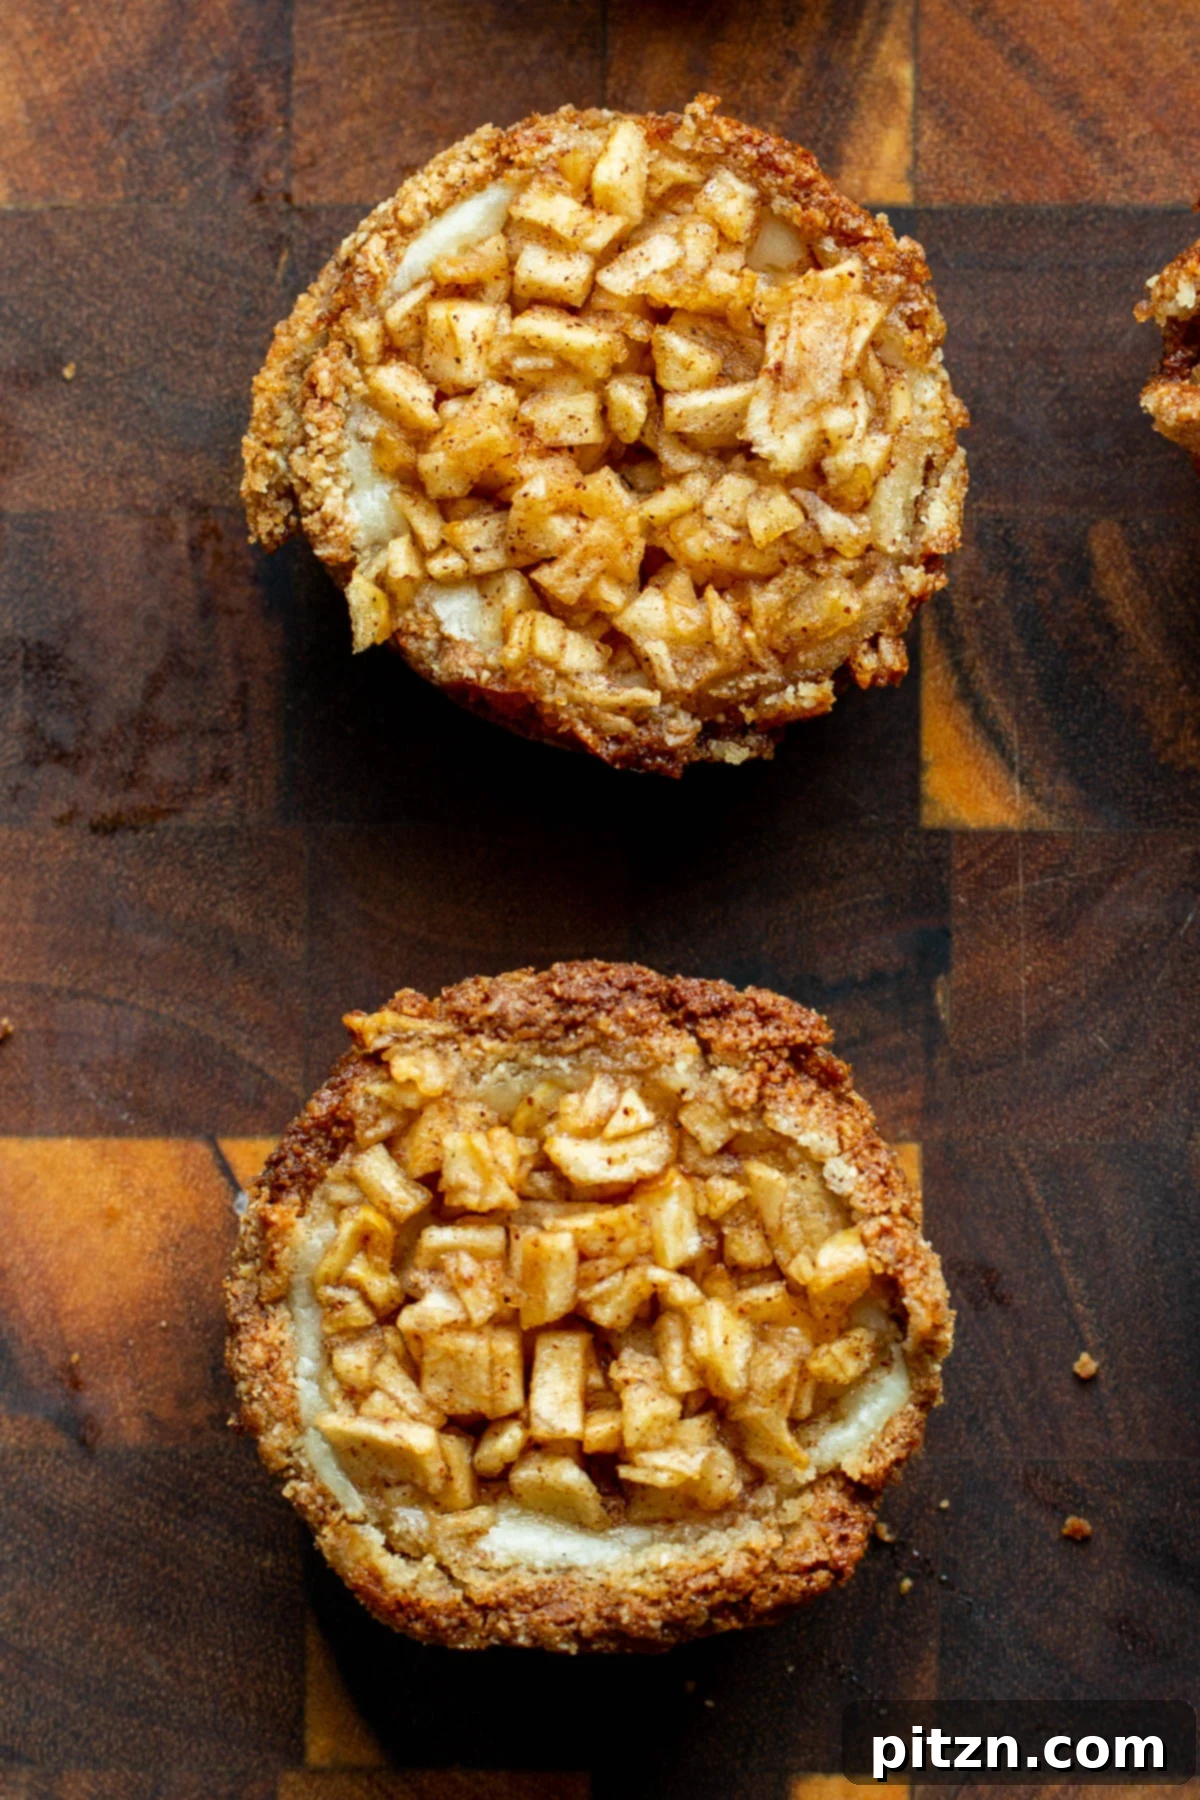
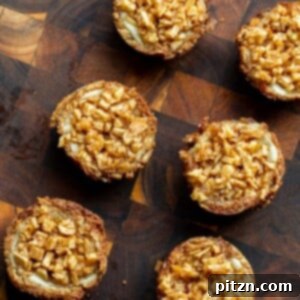
Welcome to the world of effortless vegan desserts with these delightful bite-sized vegan apple pie cheesecakes! Imagine the comforting flavors of a classic apple pie perfectly blended with the creamy indulgence of cheesecake, all in a convenient, mini package. This recipe promises a dessert experience that is not only incredibly easy and utterly delicious but also completely gluten-free, making it the ideal treat for holiday gatherings, casual potlucks, or simply a sweet moment to yourself.
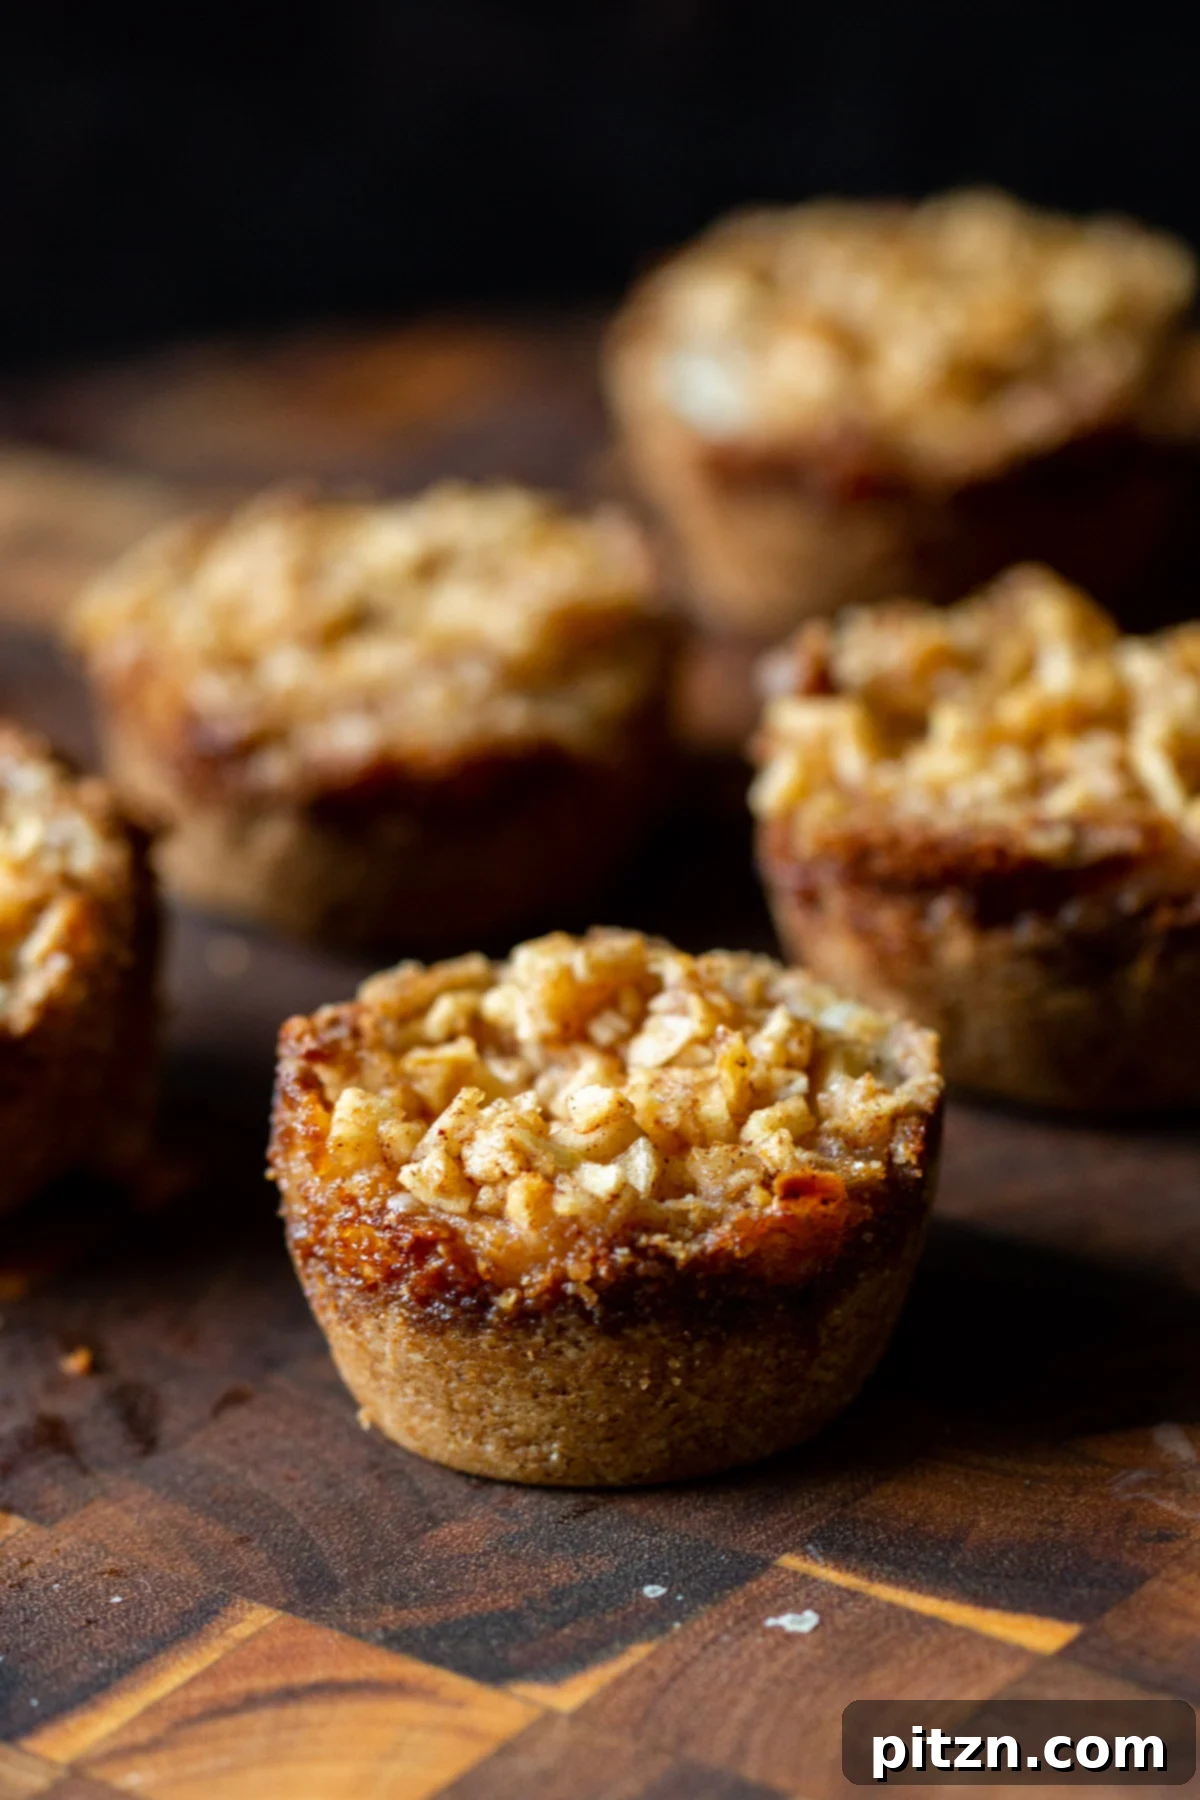
Holiday meals are often a grand affair, leaving little room for a heavy dessert. That familiar question – “Who has room for dessert?” – often elicits a unanimous “Maybe in a bit!” This is precisely why these individual-sized Mini Apple Pie Cheesecakes are the perfect culinary solution. They offer a light, refreshing, and manageable portion of sweetness, allowing everyone to savor the festive flavors without feeling overwhelmed.
The beauty of these mini treats lies in their sheer simplicity. Forget the fuss of pre-baking crusts or pre-cooking apple fillings. We’ve meticulously crafted this recipe so that the finely chopped apples, combined with the rich, creamy cheesecake layer and crisp crust, all bake to perfection simultaneously. This streamlines your baking process, giving you more time to enjoy the festivities.
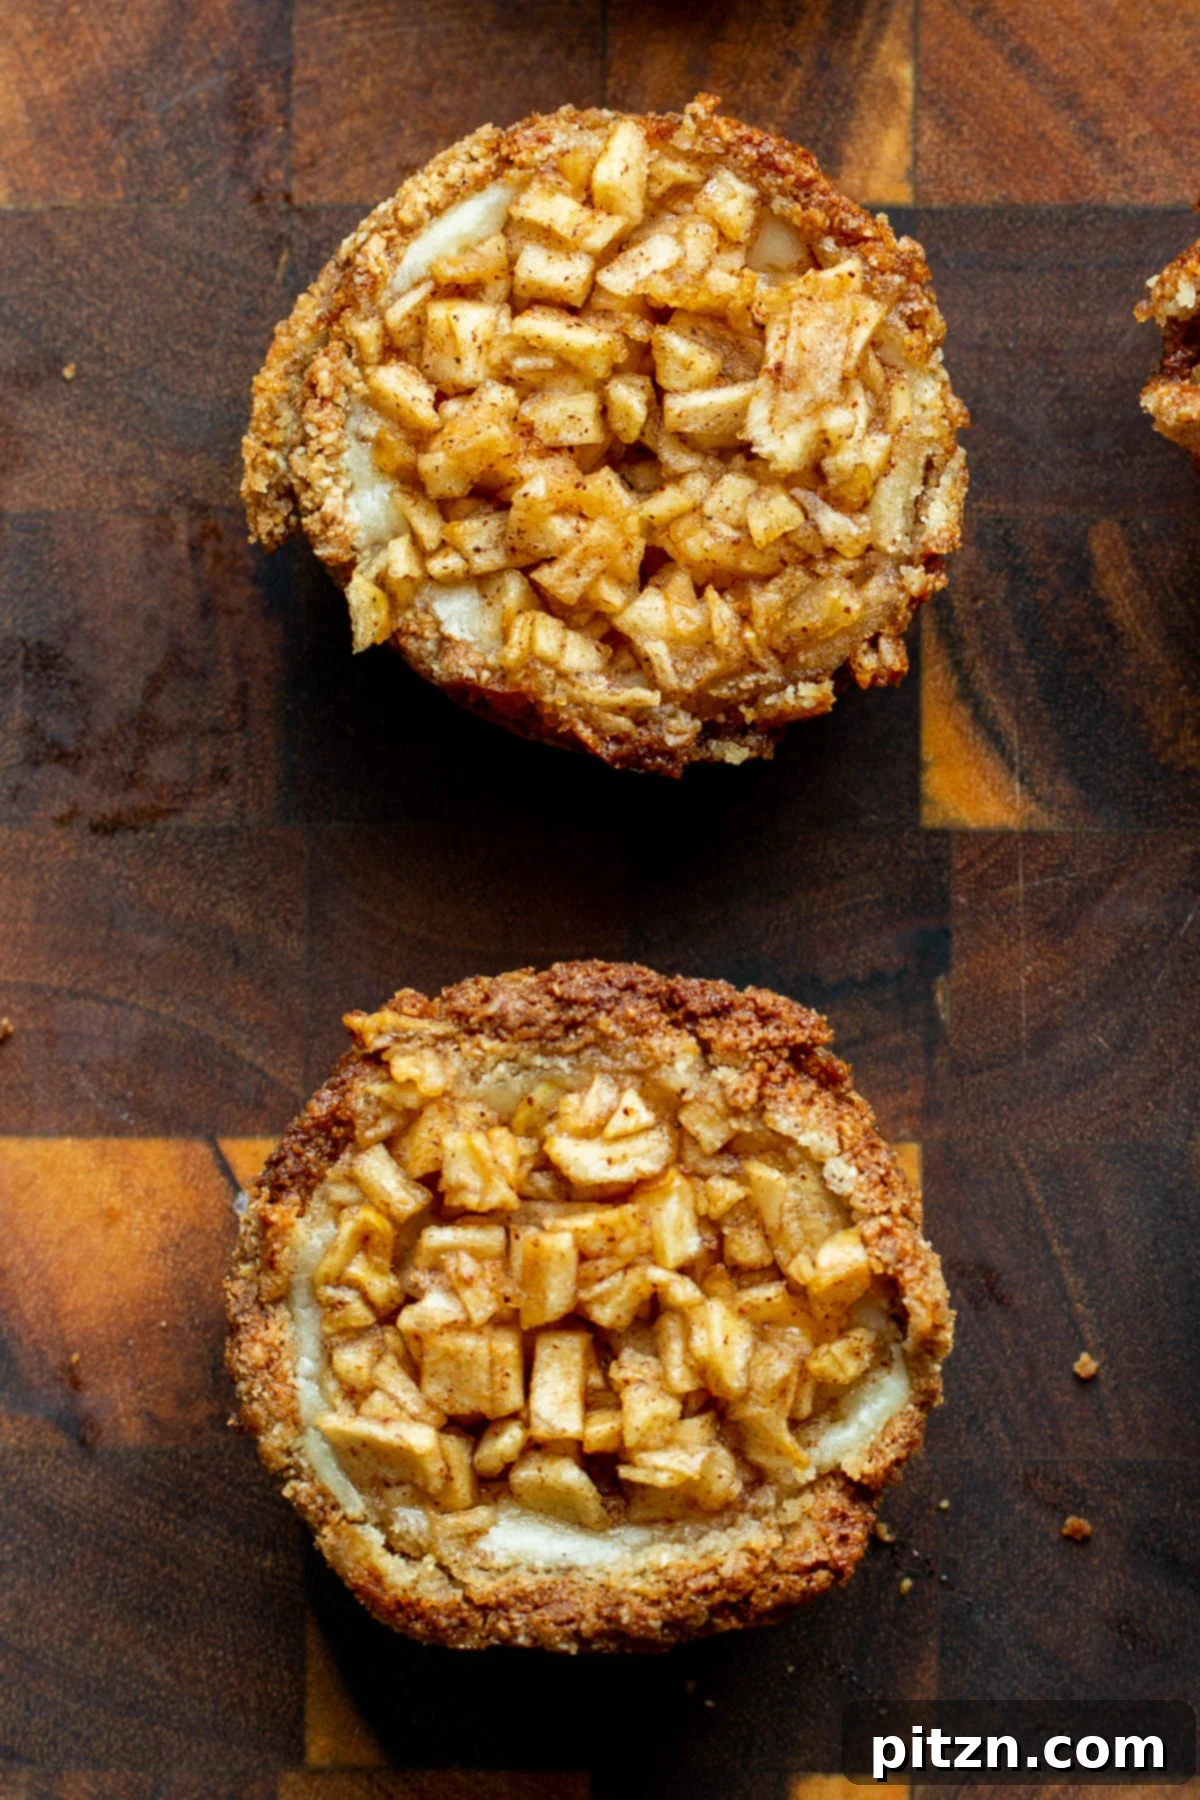
The recipe is designed for maximum flavor with minimal effort. The secret to their success is the meticulous balance of ingredients and a smart baking approach. By cutting the apples very finely, we ensure they soften and meld beautifully with the cheesecake filling and crisp almond flour crust, creating a harmonious texture and taste in every single bite. These mini cheesecakes are a testament to the fact that incredibly delicious and visually appealing desserts don’t have to be complicated or time-consuming.
Why You’ll Adore These Vegan Apple Pie Cheesecake Bites
- Perfectly Portioned & Bite-Sized: Say goodbye to unwieldy slices! These mini cheesecakes are designed for easy serving and enjoyment, offering a satisfying sweet treat without overindulgence.
- Remarkably Easy to Make: Simplicity is key. This recipe eliminates the need for advanced baking techniques, making it accessible for bakers of all skill levels. You won’t need to par-bake the crust or pre-cook the apple filling, saving you precious time and effort.
- Gluten-Free & Grain-Free: Crafted with almond flour for the crust, these cheesecakes are naturally gluten-free and grain-free, catering to various dietary preferences without compromising on taste or texture.
- Ideal for Any Season, Especially the Holidays: While perfect for festive holiday tables, their delightful flavor profile makes them a welcome addition to any gathering throughout the year.
- No Pre-baking the Crust Required: This innovative approach means less time in the kitchen and fewer steps, allowing the crust, filling, and topping to bake together flawlessly.
- Make-Ahead Convenience: Prepare these beauties in advance, refrigerate them, and simply bring them out when ready to serve. This feature is a lifesaver when entertaining!
- Impressive Presentation: Despite their ease, these mini cheesecakes look elegant and sophisticated, making them a show-stopping addition to any dessert spread.
- Dairy-Free Indulgence: Made with plant-based ingredients, they offer a rich, creamy cheesecake experience without any dairy, making them suitable for vegan diets and those with lactose intolerance.
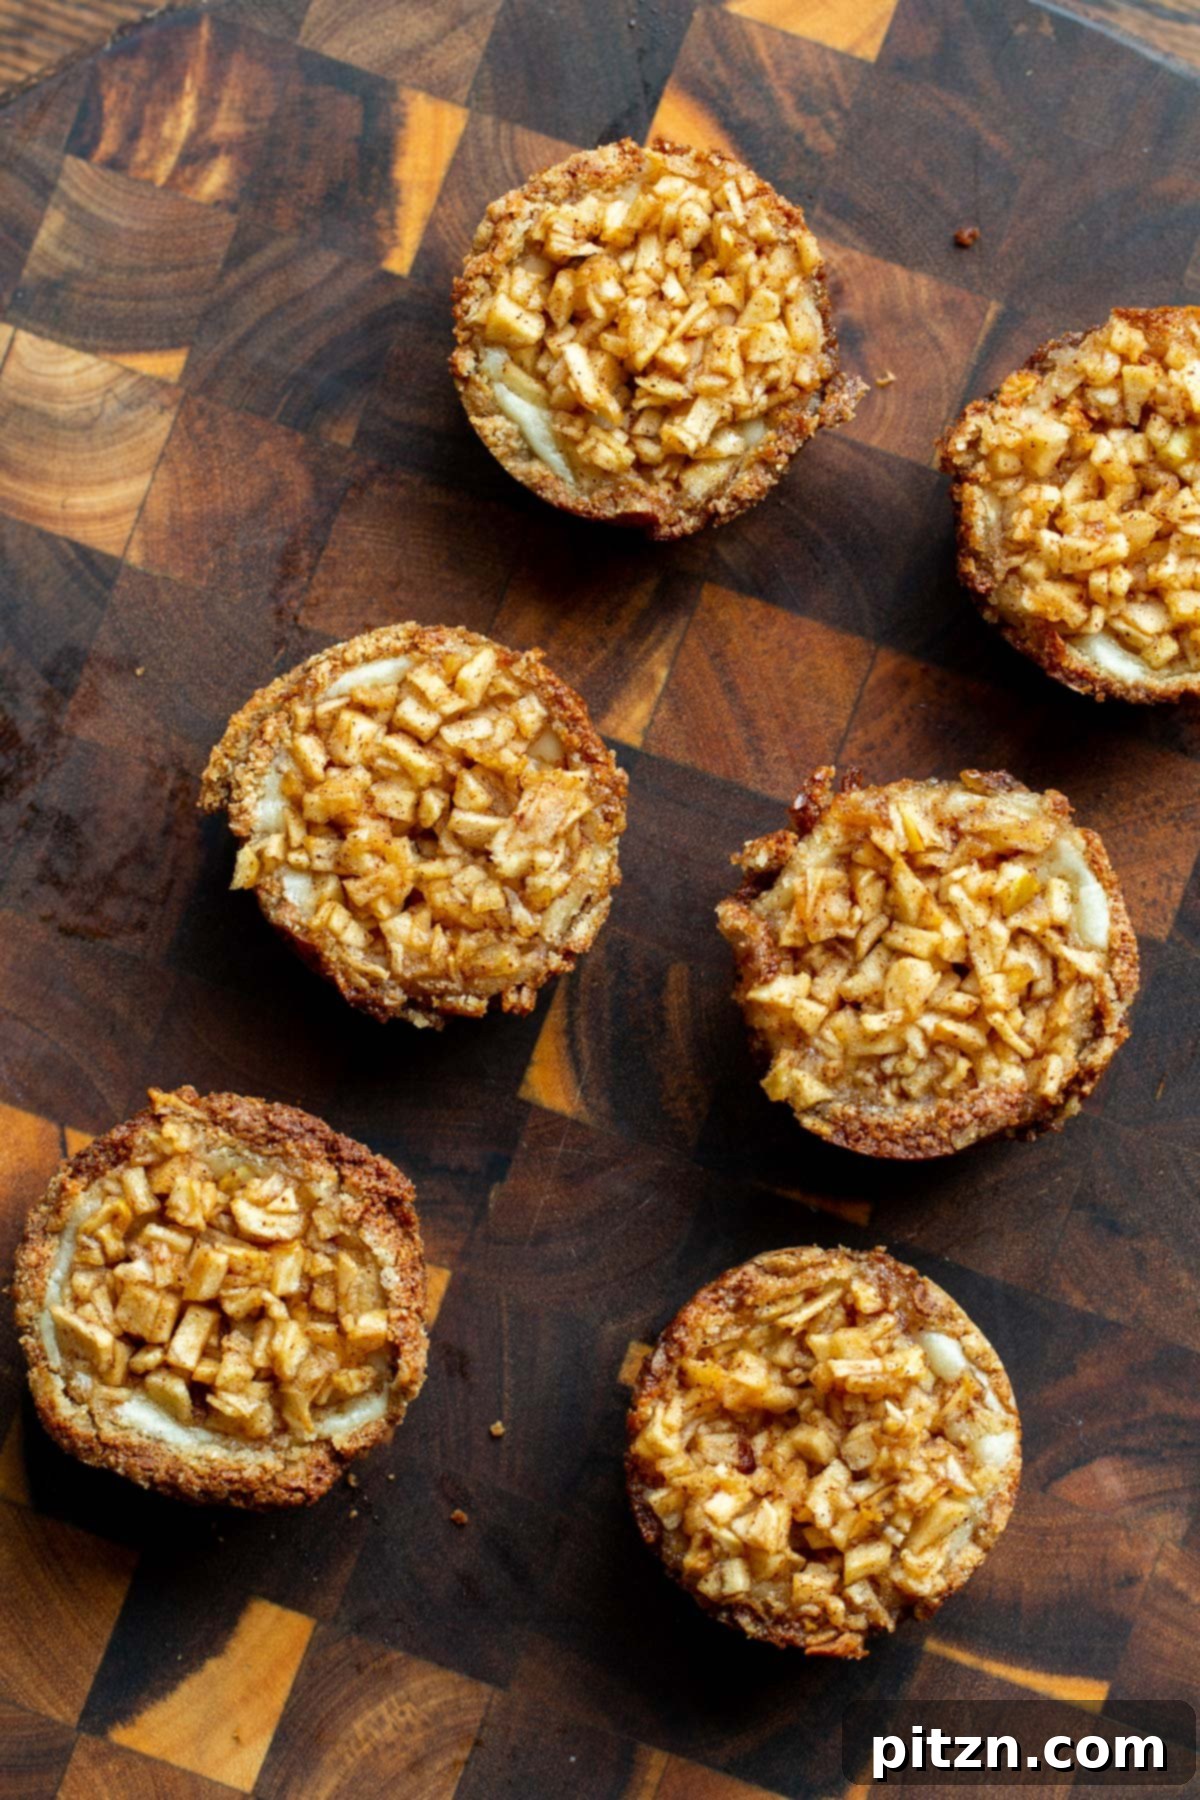
Explore More Apple-Inspired Vegan Desserts:
If you’re a fan of the comforting taste of apples, you’ll love exploring these other delicious plant-based recipes:
- Gluten-Free Apple Pear Crisp (Vegan)
- Apple Custard Squares
- Apple Pie Bars
- Apple Cinnamon Scones (No Oil, Low Fat)
- Apple Cake with Cinnamon Custard
- Apple Pie Baked Oatmeal
Mini Apple Pie Cheesecakes (Single Serve Vegan Apple Pie Cheesecake)
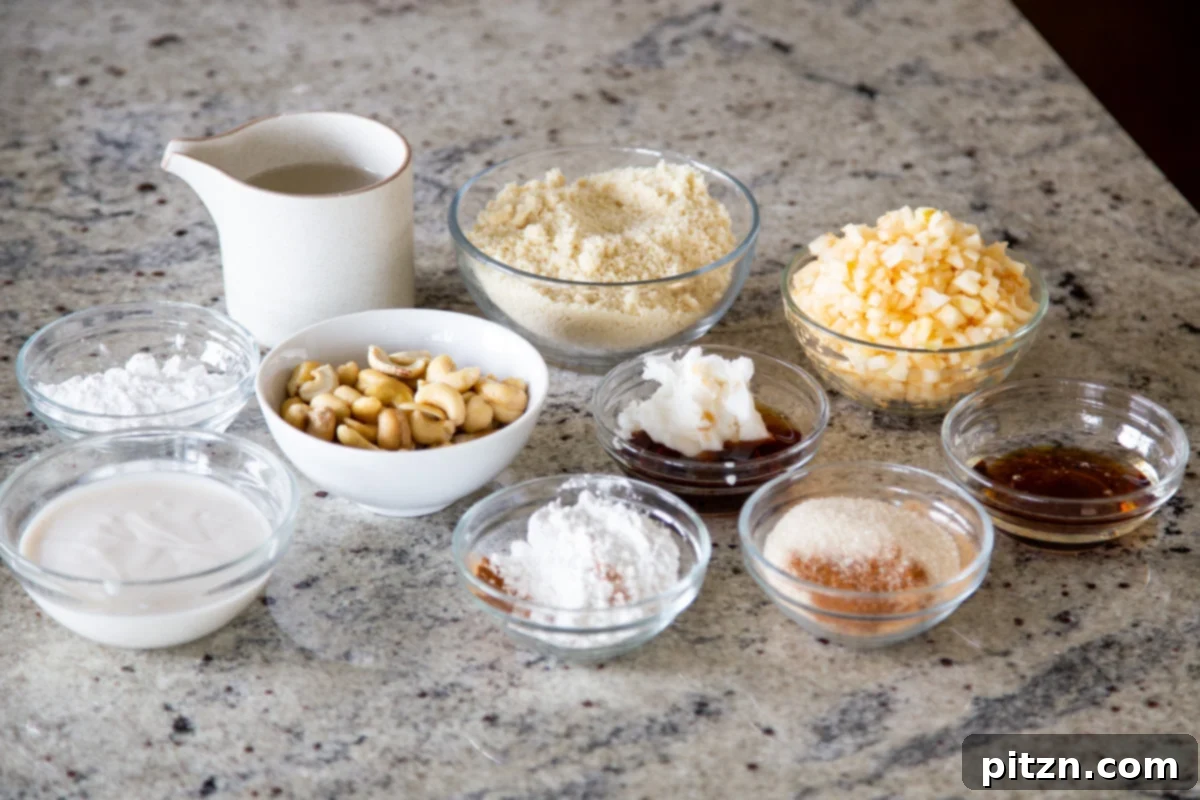
Ingredients
For the Crust:
- 1 cup blanched super fine almond flour, or use natural almond flour
- 3 tablespoons tapioca starch or other starch
- 1/8 teaspoon baking soda
- 1/8 teaspoon salt
- 1/2 teaspoon cinnamon
- 1 tablespoon sugar
- 1 tablespoon semi-solid refined coconut oil, melt before using
- 3-4 tablespoons maple syrup
For the Cheesecake Filling:
- 3/4 cup vanilla non-dairy yogurt, such as Kite Hill
- 3/4 cup cashews, soaked for at least 15 minutes in hot water
- 4 tablespoons sugar
- 1/4 – 1/2 teaspoon vanilla extract or as needed
For the Apple Pie Topping:
- 1 cup finely chopped apples, peeled and chopped
- 1 teaspoon oil
- 1 teaspoon maple syrup
- 3 tablespoons sugar
- 1/2 teaspoon cinnamon
Instructions
-
Prepare the Crust: In a medium-sized mixing bowl, combine all the dry ingredients for the crust: almond flour, tapioca starch, baking soda, salt, cinnamon, and sugar. Use a spoon or your hands to mix them thoroughly, ensuring there are no lumps in the almond flour.
-
Melt the coconut oil if it’s solid, then add it to the dry ingredients along with 3 tablespoons of maple syrup.
-
Mix and press the ingredients together using your hands or a spoon until a slightly dry, cohesive dough forms. If the mixture feels too dry to come together, add additional maple syrup one teaspoon at a time, being careful not to add too much. Excessive maple syrup will result in a sticky, soft dough that is difficult to handle. Once the dough reaches the right consistency, set it aside.
-
Make the Cheesecake Filling: Combine all the cheesecake filling ingredients (vanilla non-dairy yogurt, soaked cashews, sugar, and vanilla extract) in a high-speed blender. Blend until the mixture is perfectly smooth and creamy. Depending on your blender’s power and the initial consistency of your yogurt and cashews, you may need to add 2-4 tablespoons of water to achieve the desired smoothness.
-
Add water gradually, one tablespoon at a time, blending after each addition. For best results, blend for about 30 seconds, then let the mixture rest for 5 minutes to allow the cashews to rehydrate thoroughly before blending again. Repeat this process 3-4 times, checking the consistency after each blend. The goal is a thick, creamy filling – avoid adding too much water, which can make it runny. Once smooth, set the filling aside.
-
Prepare your muffin tin by lining it with parchment paper or muffin liners. Alternatively, grease the tin very well and add a parchment paper strip or rectangle across each muffin cup. This parchment “handle” will greatly assist in easily removing the baked cheesecakes.
-
If you are using a high-quality non-stick muffin tin, simply greasing it thoroughly might suffice. However, for older or less reliably non-stick tins, muffin liners are highly recommended to prevent sticking and ensure a clean release.
-
Once the muffin tin is prepared, take small portions of the crust mixture and press them evenly into the bottom and slightly up the sides of each muffin cup. Aim for a thin crust, spreading it out to cover the entire base. Next, spoon the blended cheesecake filling over the crusts, filling each cup a little over halfway, as space is needed for the apple topping. This recipe typically yields 6-8 mini cheesecakes.
-
Assemble the Apple Pie Topping: In a separate bowl, combine the finely chopped apples, oil, maple syrup, sugar, and cinnamon. Mix all the ingredients thoroughly until the apples are evenly coated. Generously spoon this delicious apple topping over each mini cheesecake, ensuring a good amount of apple goodness on top of the creamy filling.
-
Preheat your oven to 335ºF (170ºC). Place the filled muffin tin on a baking sheet, then carefully transfer it into the preheated oven. Bake for approximately 18 minutes. At this point, check to see if the crust has started to turn golden brown and if the apples appear tender. If not, continue baking for an additional 4-8 minutes, keeping a close eye on them as baking times can vary slightly depending on your oven and the thickness of your crust.
-
Once baked, remove the muffin pan from the oven and allow the cheesecakes to cool in the pan for about 15 minutes before gently popping them out. For serving, you can enjoy them at room temperature for a softer, more delicate texture, or chill them in the refrigerator for at least one hour to achieve a firmer, more classic cheesecake consistency.
Video
Notes
- For a Luscious Caramelized Apple Topping: If you desire a richer, saucier, and more deeply caramelized apple layer, consider cooking the finely chopped apples in a skillet beforehand. Sauté them with a touch of the topping oil, sugar, and cinnamon for 5-8 minutes over medium heat until they soften and develop a beautiful, jam-like consistency. This extra step elevates the apple flavor to a whole new level.
- Nut-Free Alternative: To make this recipe entirely nut-free, you’ll need to adjust both the crust and the filling.
- Crust: Instead of the almond flour crust, use a standard pie crust recipe made with regular all-purpose or a gluten-free flour blend (ensure it’s nut-free) and vegan butter. Press this into the muffin tin as described.
- Filling: For a cashew-free filling, substitute the cashews with 1.5 cups of a thick, plain, unsweetened vegan yogurt (like soy or coconut yogurt). To ensure the filling sets properly during baking, add 1 tablespoon of cornstarch or tapioca starch to the yogurt mixture before blending. This will act as a thickener, providing that desirable cheesecake texture.
- Oil-Free Option: To reduce or eliminate oil, simply omit the coconut oil from the crust mixture. To maintain the crust’s texture and binding, add an extra 1-2 teaspoons of maple syrup. This will provide enough moisture to help the almond flour hold its shape. You may also omit the 1 teaspoon of oil from the apple topping, though it won’t significantly impact the overall texture.
Nutrition
Nutrition information is automatically calculated, so should only be used as an approximation.
Understanding the Ingredients: Crafting the Perfect Vegan Mini Apple Pie Cheesecakes
Each component of these vegan mini apple pie cheesecakes plays a vital role in creating their unique flavor and texture. Let’s delve into the key ingredients:
- For the Crust:
- Almond Flour (Blanched or Natural): This gluten-free powerhouse forms the base of our crust, offering a tender, slightly nutty flavor and a delicate crumb. Blanched almond flour provides a finer, lighter texture, while natural almond flour contributes a more rustic feel.
- Tapioca Starch: Essential for binding the crust ingredients and giving it a pleasant crispness. It helps achieve that perfect balance between crumbly and firm.
- Baking Soda: A small amount is used to help the crust achieve a slightly airy, crisp texture as it bakes.
- Salt: A pinch of salt enhances all the other flavors, balancing the sweetness and adding depth to the crust.
- Cinnamon: This warming spice is added to both the crust and the apple topping, weaving a cohesive, comforting flavor throughout the entire dessert.
- Sugar & Maple Syrup: We use a combination of granulated sugar for texture and maple syrup for natural sweetness and to help bind the crust without making it too crumbly.
- Refined Coconut Oil (Semi-Solid): When melted, coconut oil acts as a binder, bringing the crust ingredients together to form a workable dough and contributing to its rich, satisfying texture.
- For the Cheesecake Filling:
- Vanilla Non-Dairy Yogurt (e.g., Kite Hill): This is the secret to a light, tangy, and creamy vegan cheesecake filling. Opt for a thicker, full-fat variety for the best results.
- Cashews (Soaked): Soaked cashews are the foundation of many creamy vegan desserts. When blended, they create an incredibly smooth, rich, and decadent texture that mimics traditional cream cheese. Soaking ensures they blend perfectly.
- Sugar: Sweetens the cheesecake filling to perfection, balancing the tanginess of the yogurt.
- Vanilla Extract: A classic pairing with cheesecake and apples, vanilla adds a warm, aromatic depth to the filling.
- For the Apple Pie Topping:
- Finely Chopped Apples (Peeled): The star of the show! Finely chopping them ensures they cook quickly and evenly alongside the crust and filling. Use your favorite apple variety – tart apples like Granny Smith offer a nice contrast, while sweeter varieties like Fuji or Honeycrisp provide more natural sweetness.
- Oil: A tiny bit of oil helps the apples soften and glisten, contributing to a desirable texture and appearance.
- Maple Syrup: Adds natural sweetness and moisture to the apples, helping them caramelize slightly as they bake.
- Sugar & Cinnamon: This classic combination creates that unmistakable apple pie flavor, enhancing the natural sweetness of the apples and adding a cozy, autumnal spice.
Tips & Creative Variations for Your Vegan Mini Apple Pie Cheesecakes
While the recipe as written is fantastic, don’t hesitate to experiment! These tips and variations will help you customize your mini cheesecakes to suit your taste and dietary needs, making each batch uniquely yours.
- Enhance the Apple Topping with Pecans or Caramelization:
- Add Chopped Pecans: For an extra layer of texture and nutty flavor, fold a handful of finely chopped pecans into the apple topping mixture before spooning it over the cheesecakes. Walnuts would also be delicious!
- For a “Caramello” Pie-Like Topping: To achieve a richer, saucier, and more deeply caramelized apple layer, you can pre-cook the apples. Sauté the finely chopped apples with the topping oil, sugar, and cinnamon in a skillet over medium heat for 5-8 minutes. Cook until they soften and develop a beautiful, jam-like, slightly sticky consistency. This extra step truly intensifies the apple flavor and adds a wonderful depth. A tiny pinch of sea salt added during this cooking process can also enhance the caramel notes.
- Nut-Free Adaptation:
- Alternate Crust: If nuts are a concern, swap the almond flour crust for a conventional pie crust. You can make this using an all-purpose flour or a certified nut-free gluten-free flour blend, combined with your favorite vegan butter. Prepare it as you would a regular pie crust, then press it into the muffin tin.
- Nut-Free Filling: For the cheesecake layer, replace the soaked cashews with an additional 1.5 cups of a thick, plain, unsweetened vegan yogurt (such as soy or coconut yogurt). To ensure this cashew-free filling thickens and sets properly during baking, stir in 1 tablespoon of cornstarch or tapioca starch before blending. These starches will activate with heat, giving you that desirable creamy, set cheesecake texture.
- Oil-Free Preparation:
- To make the crust oil-free, simply omit the 1 tablespoon of semi-solid refined coconut oil. To compensate for the lack of moisture and binding, add an extra 1-2 teaspoons of maple syrup to the crust mixture. This will help the almond flour come together into a workable dough.
- You can also omit the 1 teaspoon of oil from the apple topping with minimal impact on the final result, though it does contribute to the apples’ glistening appearance.
- Additional Topping Ideas:
- Vegan Caramel Drizzle: Once cooled, a swirl of homemade or store-bought vegan caramel sauce makes these cheesecakes extra decadent.
- Coconut Whipped Cream: A dollop of light and airy coconut whipped cream is a perfect complement.
- Cinnamon Sugar Dusting: A simple sprinkle of cinnamon sugar just before serving adds a lovely finish.
- Flavor Boosters:
- Spiced Variation: Add a pinch of nutmeg or a tiny bit of ground ginger to the apple topping for an even warmer spice profile.
- Lemon Zest: A little lemon zest in the cheesecake filling can brighten the flavors and add a subtle tang.
How to Master These Vegan Mini Apple Pie Cheesecakes: A Step-by-Step Guide
Creating these delightful mini cheesecakes is a straightforward process. Follow these detailed steps to ensure perfect results every time.
Step 1: Preparing the Flawless Gluten-Free Crust
To begin, grab a spacious mixing bowl. Into this bowl, add all the dry ingredients intended for the crust: the almond flour, tapioca starch, baking soda, salt, cinnamon, and sugar. It’s crucial to mix these components thoroughly. Take a moment to press and mix, breaking up any potential lumps in the almond flour, ensuring a consistent and even texture for your base.
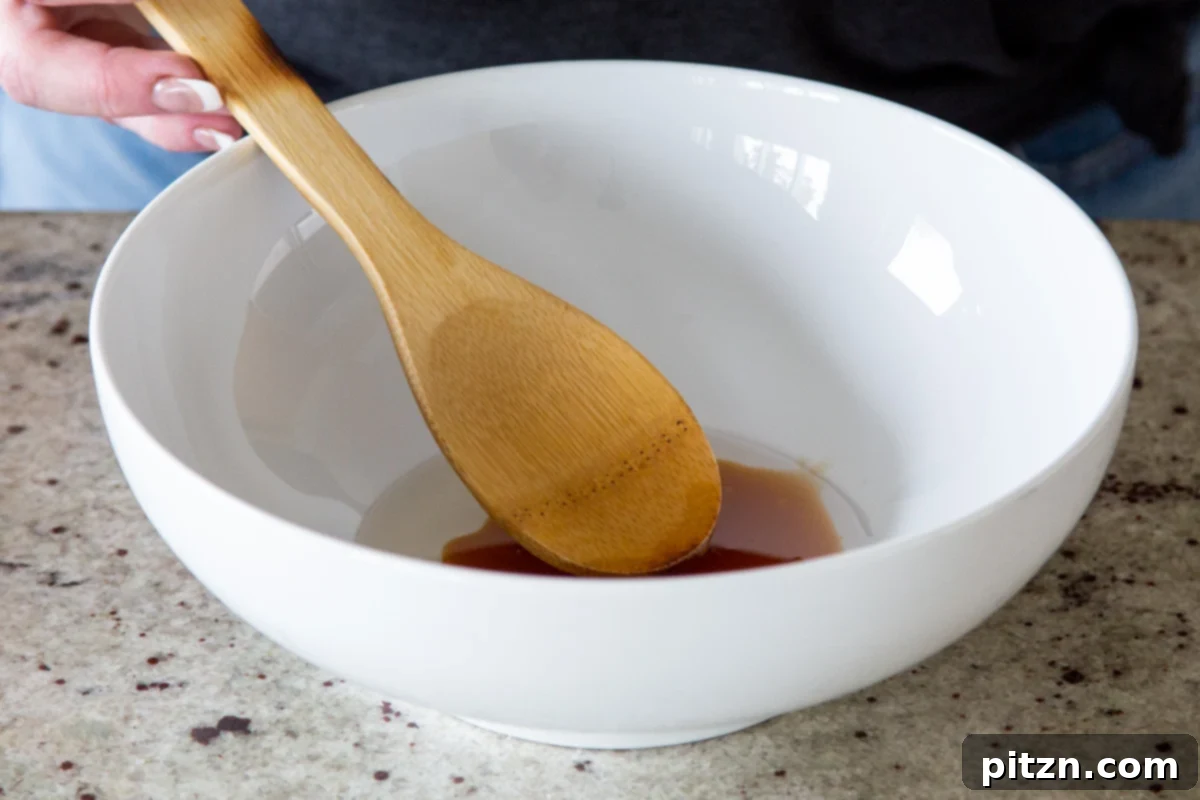
If your coconut oil is solid, gently melt it until it’s in a liquid state. Then, pour the melted coconut oil into the bowl with your dry crust ingredients. Add the initial 3 tablespoons of maple syrup at this stage as well.
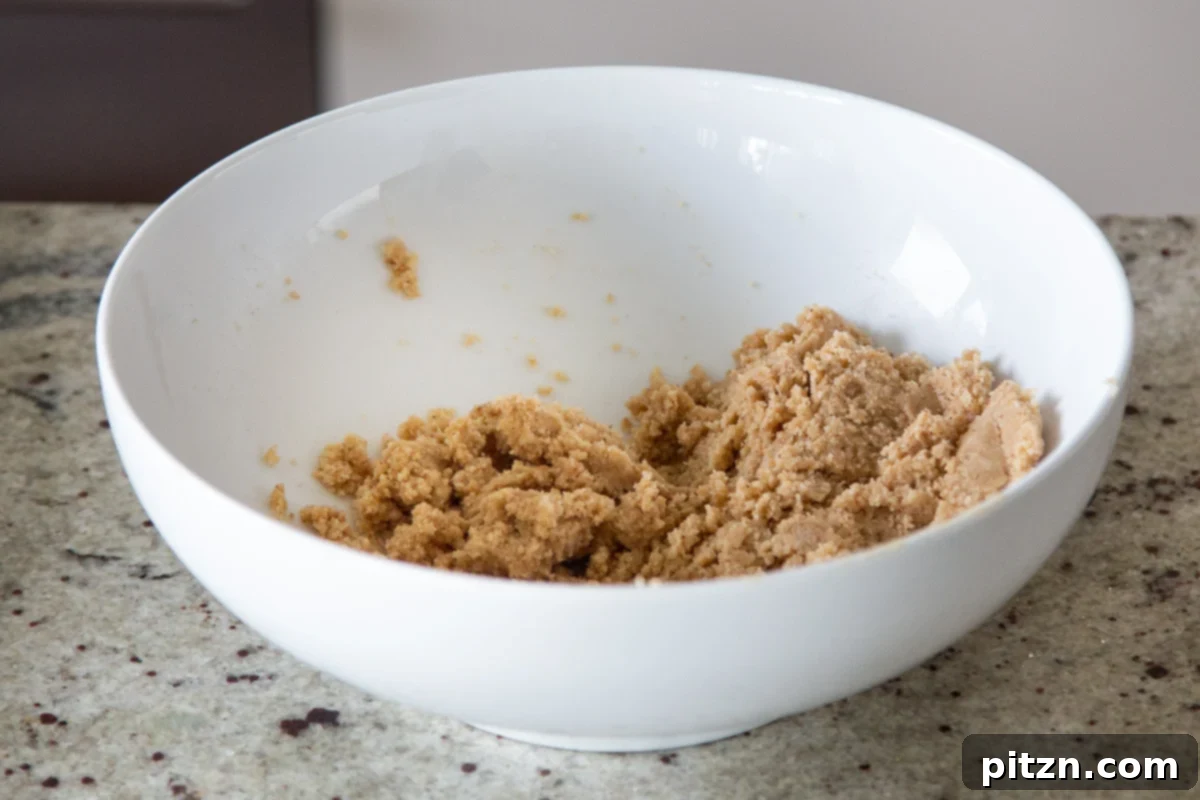
Now, it’s time to get hands-on (or use a sturdy spoon!). Vigorously press and mix the ingredients until they coalesce into a slightly dry, yet cohesive dough. The mixture should hold together when squeezed. Exercise caution when adding more liquid; only incorporate additional maple syrup one teaspoon at a time if the dough is too crumbly to form. Adding too much maple syrup can quickly transform the mixture into a soft, sticky, cookie-dough consistency that becomes challenging to handle. Once your perfect crust dough is formed, set it aside.
Step 2: Crafting the Creamy Cheesecake Filling
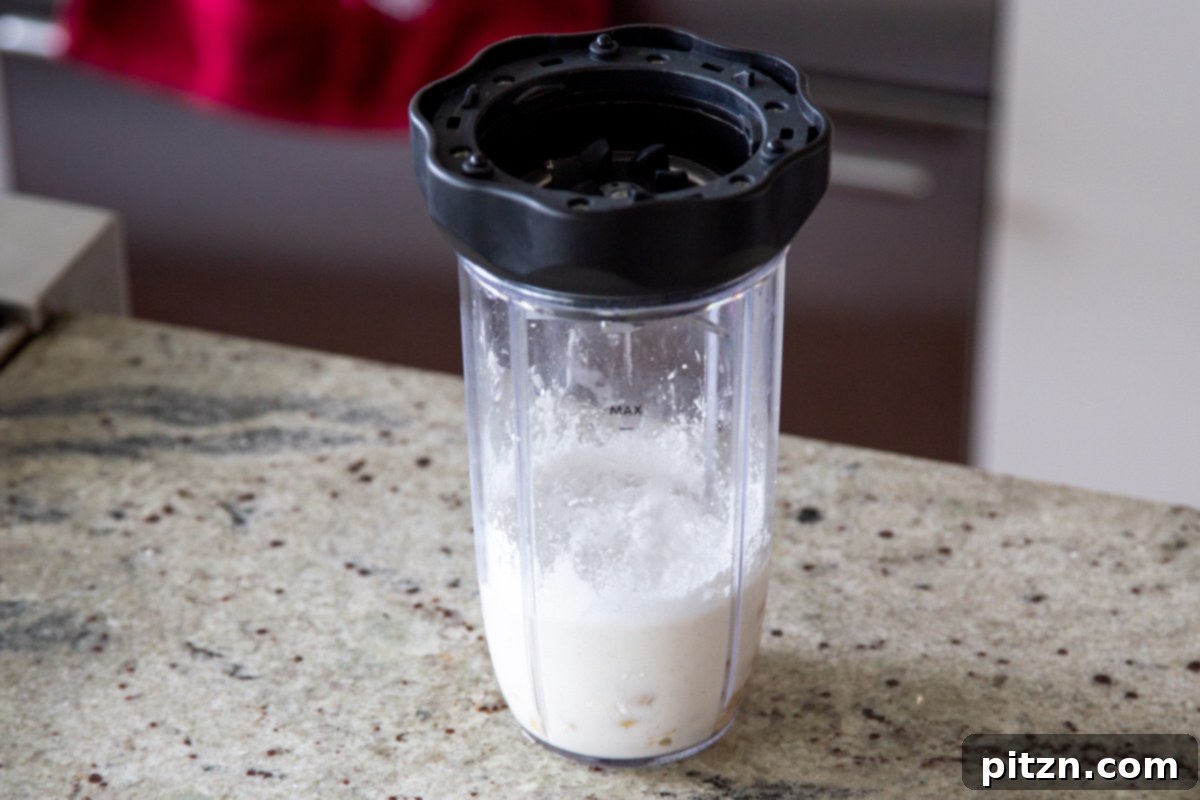
Transfer all the cheesecake filling ingredients—vanilla non-dairy yogurt, the well-soaked cashews, sugar, and vanilla extract—into a high-speed blender. Blend these ingredients until you achieve an incredibly smooth, velvety consistency. The amount of water needed can vary based on your blender’s power and the original thickness of your yogurt and cashews; you might need to add 2-4 tablespoons of water to reach that ideal smooth texture.
Integrate the water judiciously, adding one tablespoon at a time and blending thoroughly after each addition. A helpful technique is to blend for about 30 seconds, then allow the mixture to sit undisturbed for 5 minutes. This pause gives the cashews ample time to rehydrate fully, resulting in a silkier blend. Repeat this blend-and-rest process 3 or 4 times. Throughout this, continuously check the consistency and add more water only if absolutely necessary. The aim is a thick, creamy filling, not a thin, runny one. Once perfected, set your luscious filling aside.
Step 3: Assembling the Mini Cheesecakes
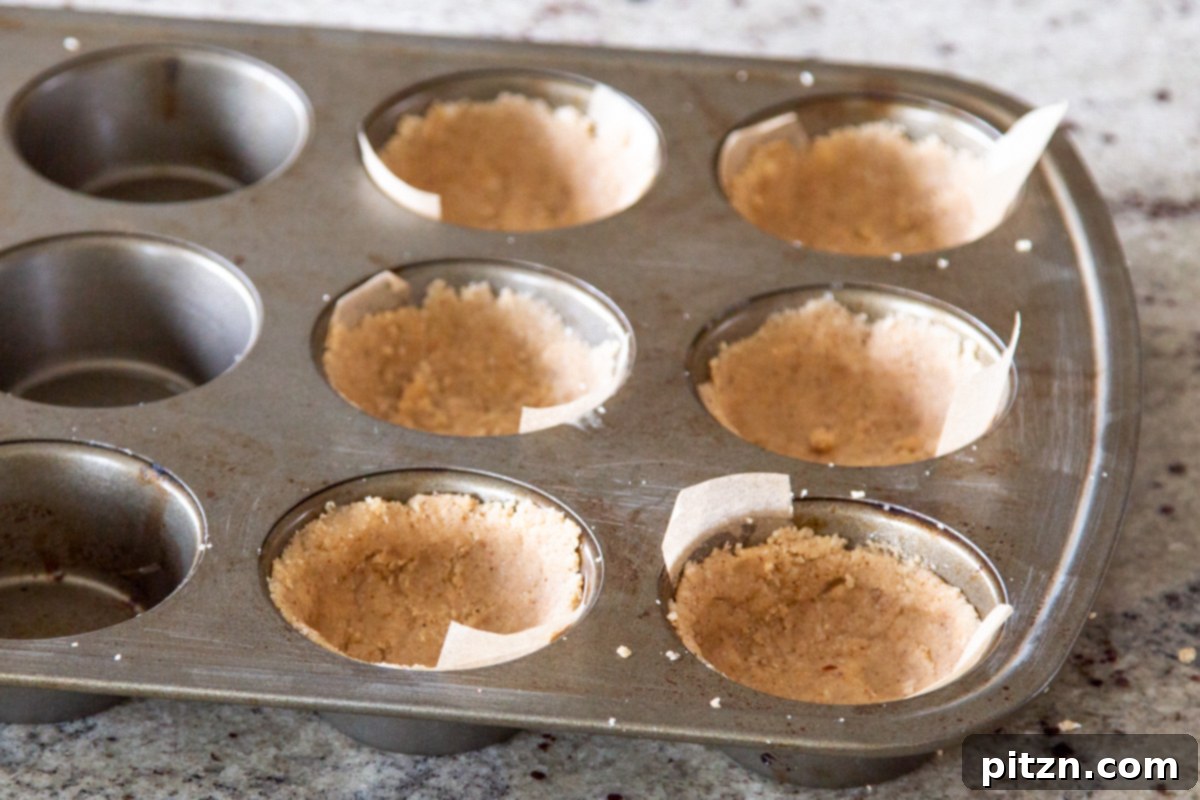
Prepare your muffin tin by lining each cup with parchment paper or individual muffin liners. For an easier release, you can also grease the tin exceptionally well and then place a strip or rectangle of parchment paper across each muffin cup. This paper acts as a convenient holder, making it simple to lift out the baked cheesecakes.
If you are fortunate enough to have a high-quality non-stick muffin tin, a thorough greasing might be sufficient. However, for older tins or those prone to sticking, using muffin liners is strongly recommended to ensure your beautiful cheesecakes pop out cleanly without any breakage.
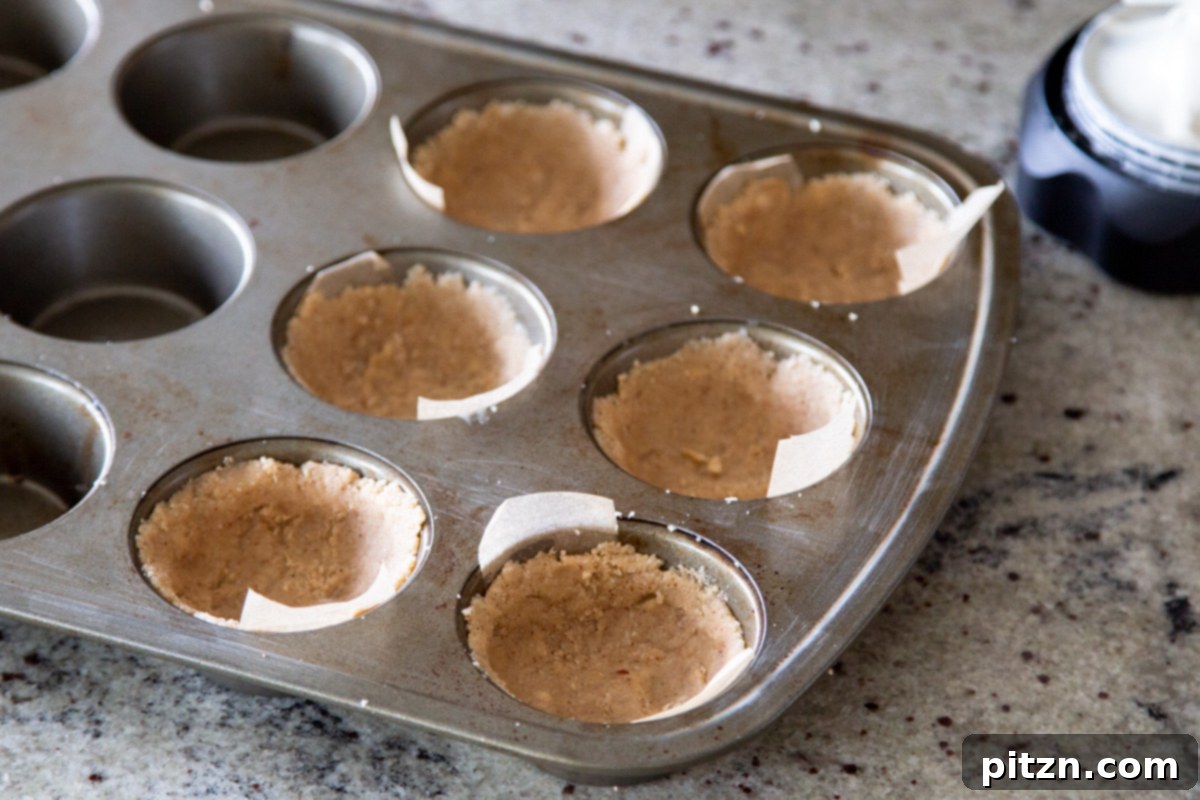
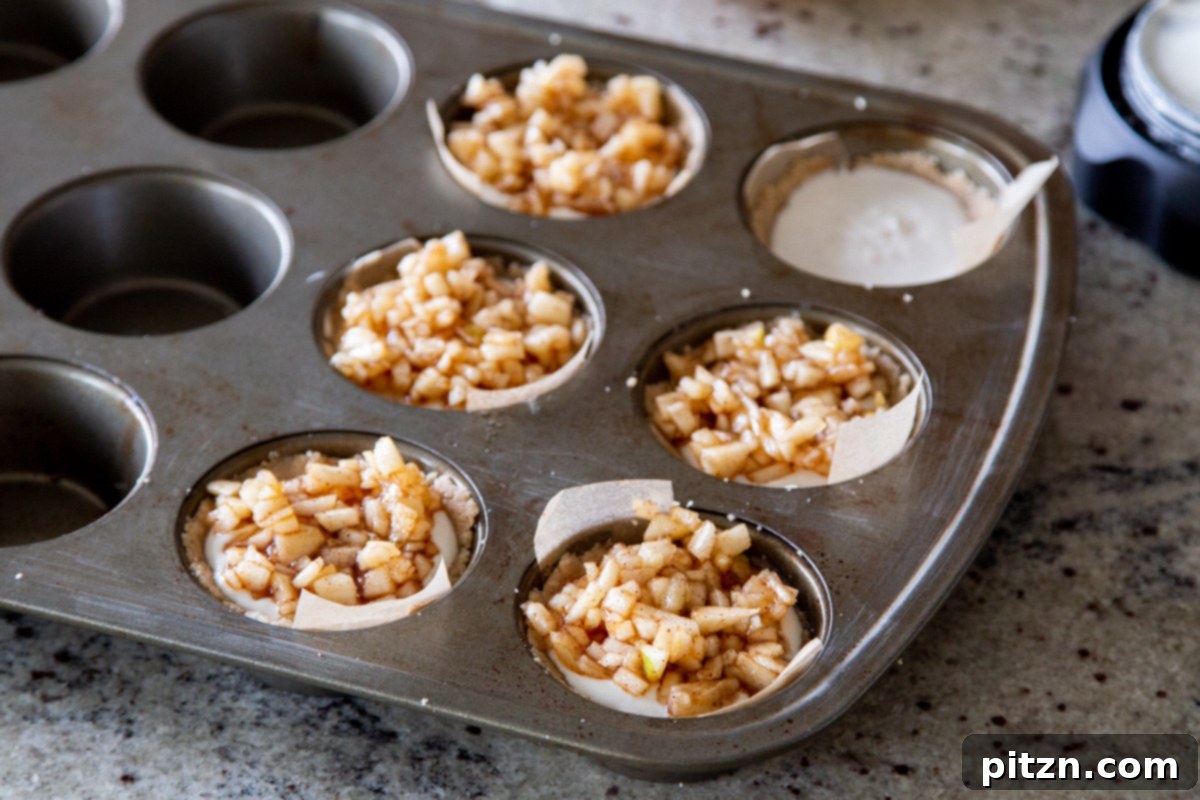
With your muffin tin ready, take small, manageable portions of the prepared crust mixture. Press each portion firmly and evenly into the bottom of each muffin cup, extending it slightly up the sides. Aim for a relatively thin crust; over-thickening it can make the bottom too dense. Once the crusts are in place, carefully spoon the blended cheesecake filling over each one. Fill them a bit over halfway, leaving enough space for the apple topping that will be added next. Depending on how generously you fill them, you should yield between 6 to 8 mini cheesecakes.
Step 4: Adding the Delectable Apple Topping
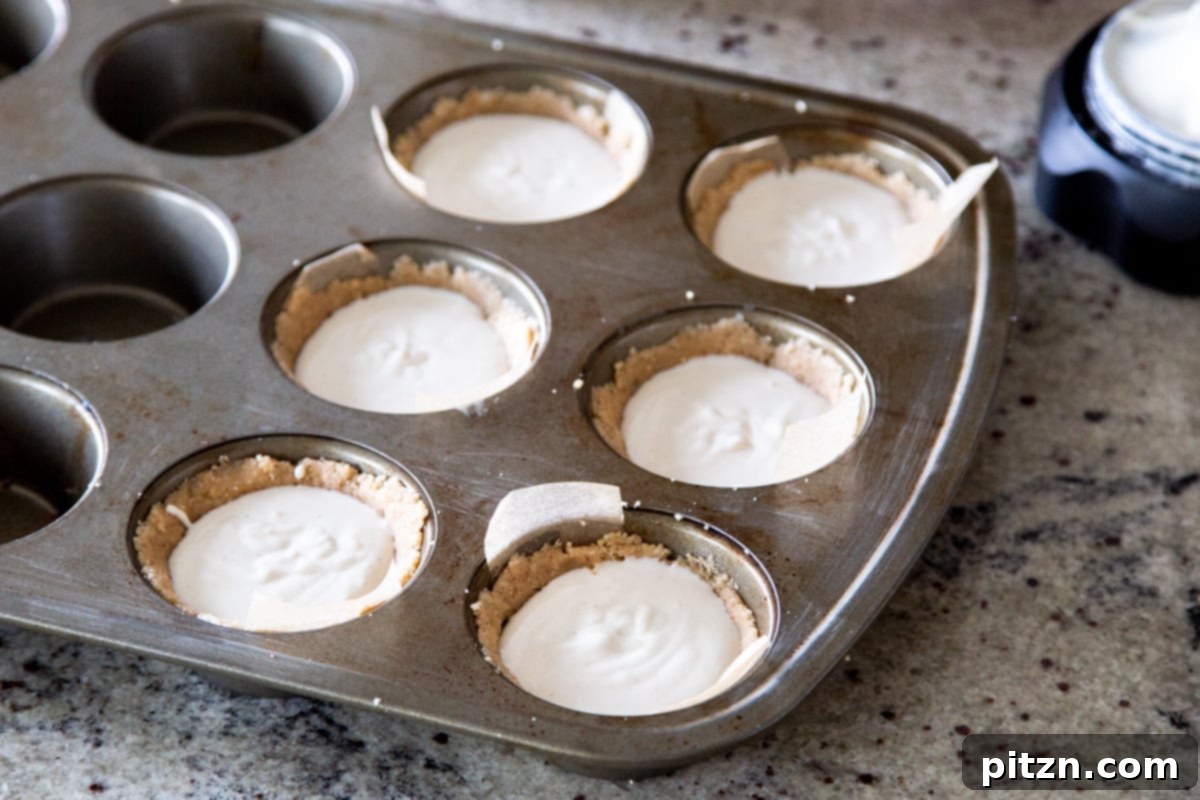
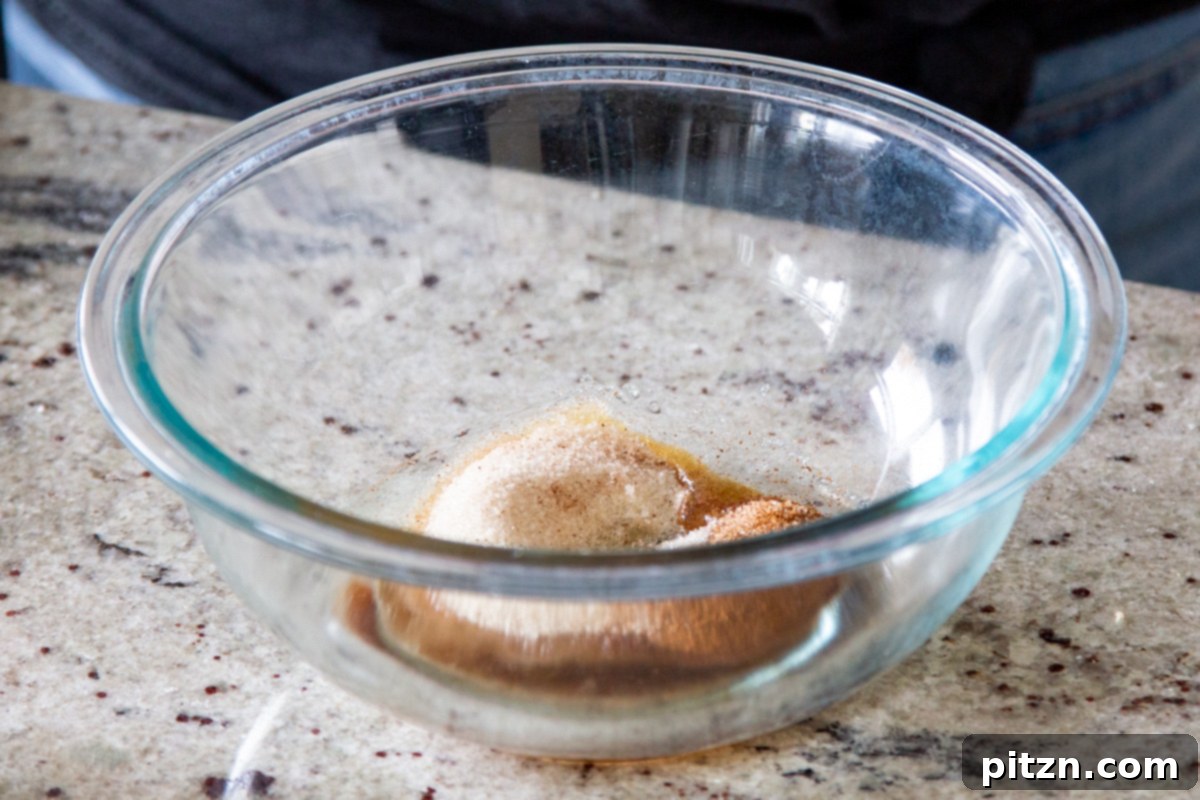
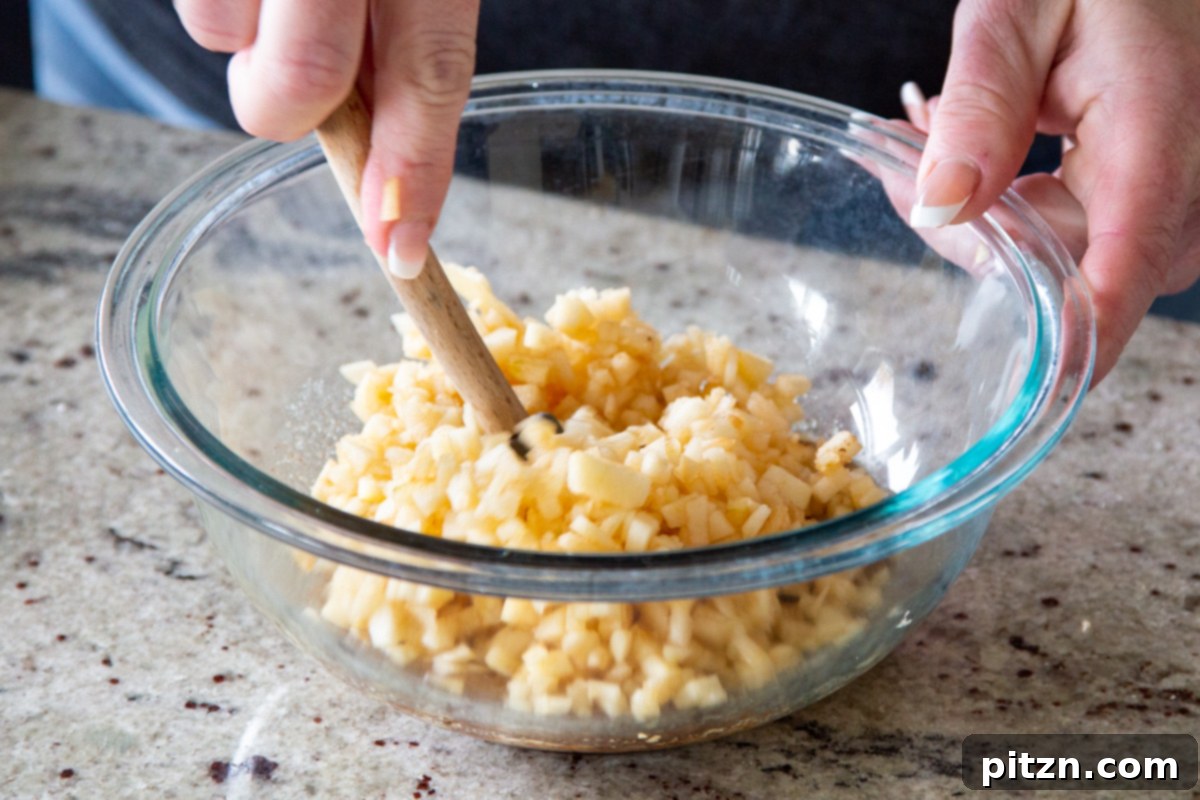
In a separate bowl, combine all the ingredients for the apple pie topping: the finely chopped apples, a touch of oil, maple syrup, sugar, and cinnamon. Mix these thoroughly until every apple piece is beautifully coated. This ensures even flavor distribution. Now, generously spoon this fragrant apple mixture over the cheesecake filling in each muffin cup. Don’t be shy – a good amount of apple topping is what gives these mini cheesecakes their signature appeal.
Step 5: Baking to Golden Perfection
Preheat your oven to 335ºF (170ºC). Carefully place the muffin tin, now filled with your mini cheesecakes, onto a baking sheet. This provides a stable base and catches any potential drips. Slide the baking sheet into the preheated oven. Bake for approximately 18 minutes. At this 18-minute mark, gently check the cheesecakes: look for a golden hue on the crust and ensure the apples on top appear softened and lightly baked. If they need more time, continue baking for an additional 4 to 8 minutes. Keep a close watch, as baking times can fluctuate depending on your specific oven and the precise thickness of your crust layer.
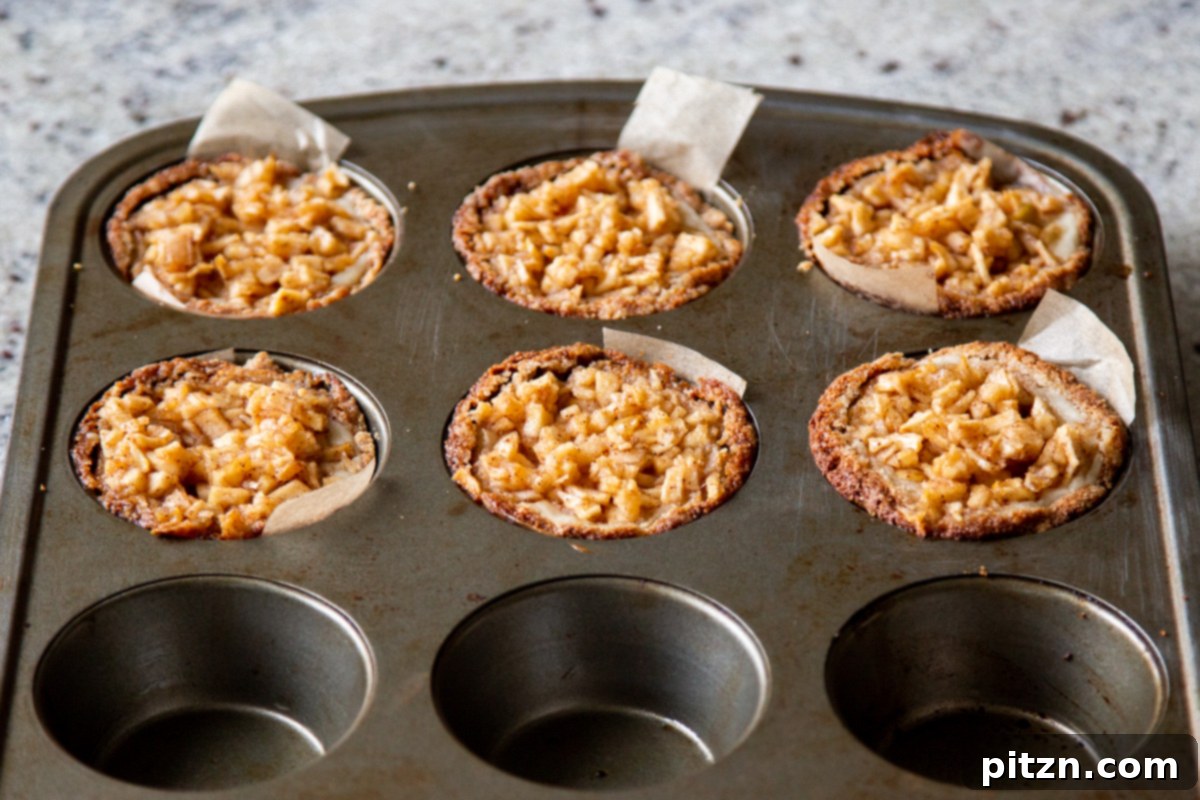
Once baked to perfection, remove the muffin pan from the oven. Allow the cheesecakes to cool in the pan for at least 15 minutes. This cooling period is crucial, as it allows them to firm up slightly before you attempt to remove them. After cooling, gently pop the cheesecakes out. You can serve them immediately at room temperature for a softer, more crumbly texture, or for a firmer, more traditional cheesecake consistency, let them chill in the refrigerator for at least one hour before serving. Enjoy your homemade, delightful vegan mini apple pie cheesecakes!
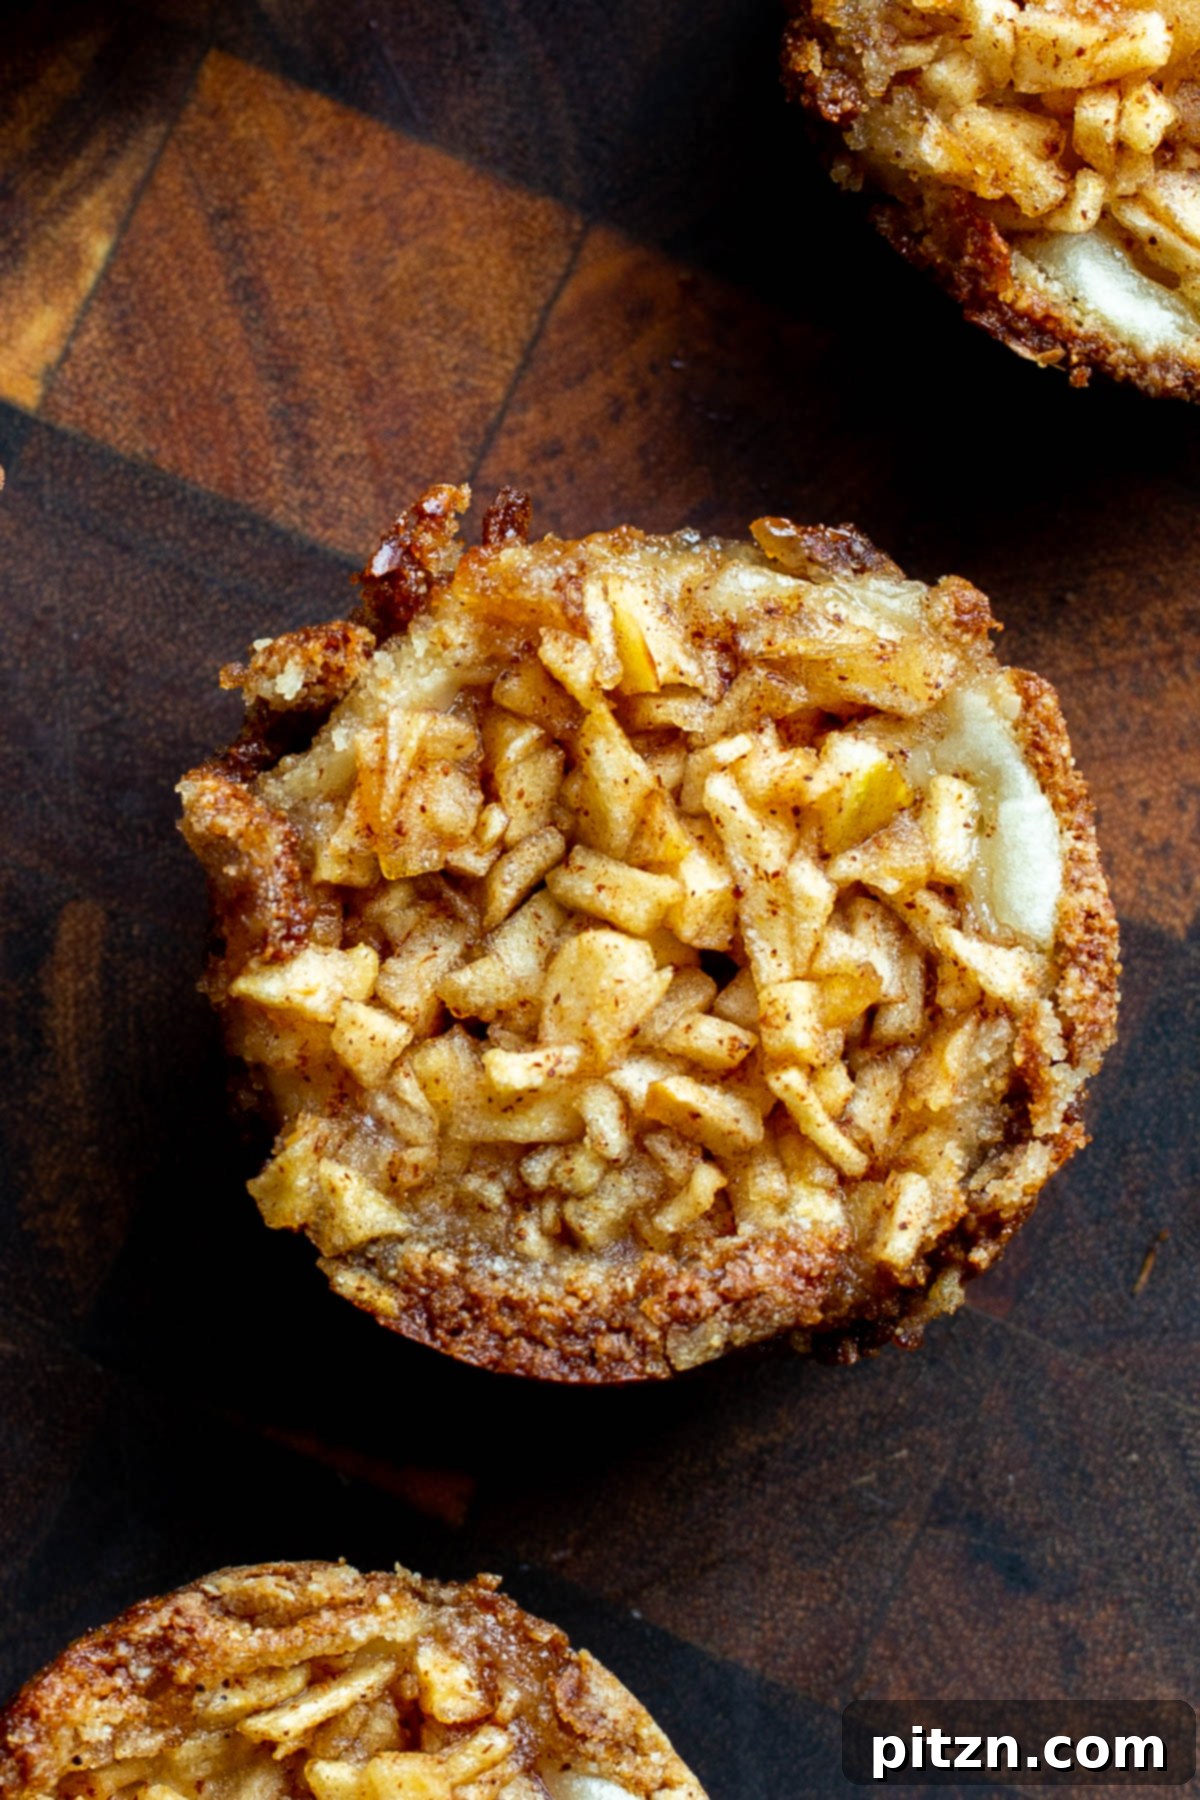
Storage Solutions for Your Vegan Mini Apple Pie Cheesecakes
These mini cheesecakes are fantastic for making ahead, and they store beautifully. To keep them fresh and delicious, here’s how to store them:
Refrigeration: Place any leftover mini cheesecakes in an airtight container. They will maintain their delightful flavor and texture when refrigerated for up to 4 days. Storing them chilled also helps to firm up the cheesecake filling, making them even more enjoyable.
Freezing for Longer Enjoyment: For extended storage, these cheesecakes freeze exceptionally well. Arrange the completely cooled mini cheesecakes in a single layer on a baking sheet and freeze for about 1-2 hours, or until solid. Once frozen, transfer them to a freezer-safe airtight container or a heavy-duty freezer bag. This step prevents them from sticking together. They can be stored in the freezer for up to 1-2 months.
Thawing and Serving from Frozen: When you’re ready to enjoy a frozen cheesecake, simply transfer it from the freezer to the refrigerator and let it thaw overnight. Alternatively, you can let it sit at room temperature for about 30-60 minutes for a quicker thaw, though the texture might be slightly softer. Enjoy them chilled or at room temperature after thawing.