
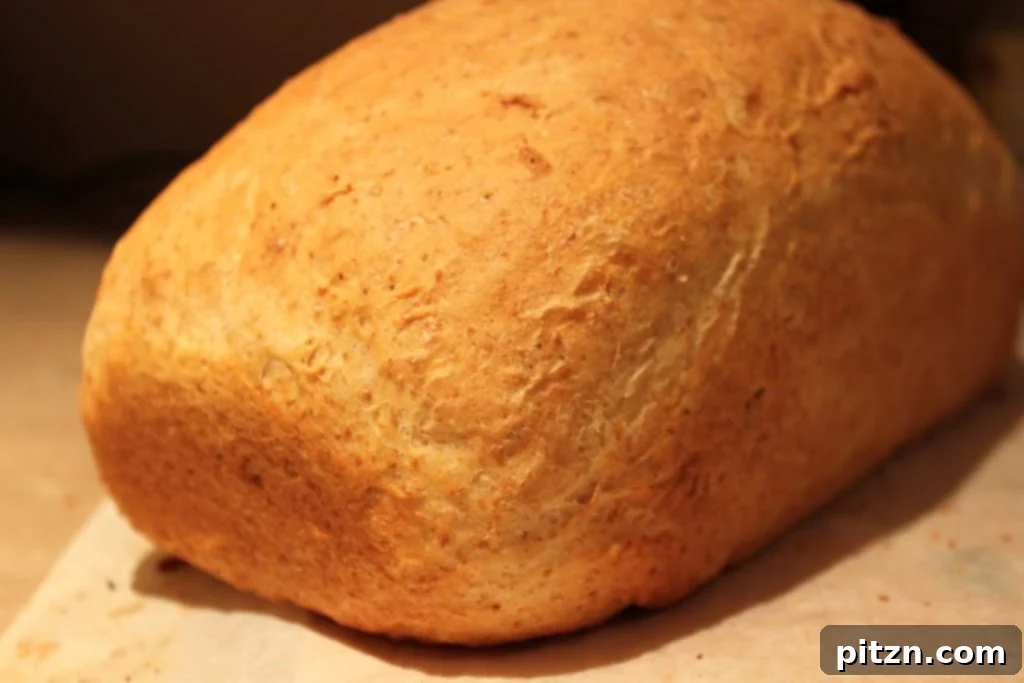
Mastering the Vegan Olive Oil Loaf: Your Ultimate Sandwich Bread & Pizza Base Recipe
Discover the incredible versatility of homemade vegan bread with this simple yet profound recipe for an Olive Oil Sandwich Loaf that doubles as a perfect thin-crust pizza base. Imagine the aroma of freshly baked bread filling your kitchen, the soft, pliable texture ready for your favorite sandwich fillings, or a crisp, flavorful foundation for your next pizza night. This recipe is designed to be straightforward, yielding a deliciously satisfying bread that is entirely plant-based and incredibly rewarding to make.
Whether you’re an experienced baker or just starting your journey into the world of homemade bread, this comprehensive guide will walk you through every step, ensuring a successful and delightful outcome. Forget about store-bought options; once you taste this artisanal olive oil bread, you’ll be captivated by its rich flavor and delightful texture. It’s not just bread; it’s an experience, a canvas for culinary creativity, and a wholesome addition to any meal, promising a taste of homemade comfort with every bite.
Olive oil, a cornerstone of Mediterranean cuisine, lends its distinctive fruity notes and healthful monounsaturated fats to this bread. This not only contributes to its tender crumb and subtle richness but also makes for a healthier alternative to many conventional bread recipes. The thoughtful combination of bread flour and whole wheat flour provides a perfect balance of strong gluten development for structure and a rustic, hearty flavor. This blend ensures the loaf is both robust enough for hearty sandwiches and light enough for a delicate pizza crust. For our vegan friends, a simple yet effective flax egg acts as a brilliant binder, flawlessly replacing traditional eggs and ensuring the dough comes together beautifully without any animal products.
This recipe truly shines in its dual functionality. As a sandwich loaf, it’s robust enough to hold generous fillings without crumbling, yet soft and tender enough to bite through effortlessly. When lightly toasted, it offers a delightful crunch, while fresh, it’s wonderfully yielding, making it ideal for classic deli-style sandwiches or even a simple piece of toast. When transformed into a pizza base, it bakes to a glorious golden crisp, providing the ideal foundation for an endless array of toppings. The goal with this dough is to achieve a truly thin crust, meaning every bite is a perfect harmony of flavorful toppings and a satisfying, delicate crunch that sets it apart from thicker, doughier alternatives.
Beyond the Loaf: Crafting the Perfect Thin-Crust Vegan Pizza
While this recipe excels as a classic sandwich loaf, I often find myself gravitating towards its potential as a pizza base, especially when craving a truly authentic thin-crust experience. The inherent beauty of homemade dough lies in the freedom to control its thickness, texture, and flavor profile. With this specific recipe, a delightfully crisp and airy crust is not just a possibility, but an effortlessly achievable reality, transforming your kitchen into a pizzeria.
Imagine a bustling evening in your home, the kitchen alive with the promise of a delicious meal. I typically prepare a larger batch of this versatile dough, often kneading perhaps three times the quantity specified in the core recipe. This generous amount allows for grand culinary creations, such as a substantial 16-inch pizza that becomes the vibrant centerpiece of a family dinner or gathering, alongside a smaller, more humble loaf for everyday enjoyment and spontaneous sandwich cravings. There’s an undeniable charm and unparalleled satisfaction that comes with fresh, hot pizza straight from your own oven – a simple pleasure that never fails to impress and utterly delights everyone at the table.
After the first essential rise, a period where the yeast works its magic and the dough doubles in size, the dough becomes incredibly cooperative and easy to work with. This is the moment to transform it into your desired shape. For a true thin-crust pizza, I love to roll it out to a mere 1/8th-inch thickness, aiming for that signature delicate yet crisp texture. Once rolled, a light brush of good quality olive oil forms the initial glaze over the surface. This not only provides a foundational layer of rich flavor but also helps the subsequent toppings adhere beautifully and achieve a wonderful texture as they bake. Then, the real fun begins: creating your edible masterpiece with a vibrant medley of fresh, thinly sliced bell peppers (red, yellow, or green for a colorful mosaic), sweet red onions that caramelize slightly in the heat, burst-of-flavor cherry tomatoes, aromatic minced garlic, earthy mushrooms, and for those who enjoy a little heat, a hint of spicy Thai chilies. Fresh herbs like fragrant basil and bright cilantro are then scattered generously, adding bursts of aroma and taste. For a purely vegan pizza, plant-based mozzarella shreds or a generous sprinkle of nutritional yeast can provide that desired cheesy umami and gooey texture, ensuring a truly satisfying experience. Baked at a scorching 425 degrees Fahrenheit for just 10-12 minutes, the pizza emerges from the oven gloriously golden, bubbly, and utterly irresistible. The edges are perfectly crisp, the toppings beautifully cooked, and the entire experience is nothing short of awesome!
This method not only creates a fantastic pizza but also allows for endless customization, ensuring no two pizza nights are ever exactly alike. Consider experimenting with other delicious vegan toppings such as caramelized onions, sun-dried tomatoes, roasted red peppers, tender spinach, various types of olives, or even a sophisticated drizzle of balsamic glaze added after baking for a touch of sweet acidity. The possibilities for creative expression are truly boundless, making each pizza a unique culinary adventure. The intentional thinness of the crust ensures that the focus remains squarely on the fresh, vibrant, and diverse toppings, rather than being overwhelmed by a heavy, overly doughy bread base, allowing every ingredient to shine.
Olive Oil Sandwich Loaf and Pizza Base – The Recipe
By: Vegan Richa
Prep Time: 35 mins
Cook Time: 30 mins
Total Time: 1 hr 5 mins
Servings: 10 servings
Course: Bread
Cuisine: Vegan
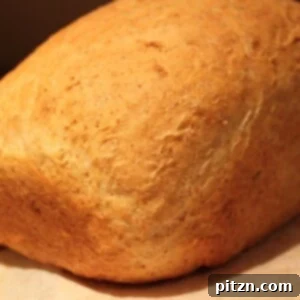
This simple recipe provides a robust and flavorful olive oil bread that can be enjoyed as a versatile sandwich loaf or transformed into a delicious thin-crust pizza base. Its vegan composition makes it accessible for a wide range of dietary preferences, while its straightforward preparation ensures a rewarding baking experience for all skill levels.
Essential Ingredients You’ll Need
Gather these high-quality ingredients to create your perfect vegan olive oil loaf and pizza base. Each component plays a crucial role in achieving the desired flavor and texture, from the foundational flours that give structure to the active yeast that brings our dough to life with a beautiful rise.
- 3-4 cups bread flour: This is the workhorse of your bread, essential for developing strong gluten networks during kneading. Gluten is what gives the bread its characteristic chewiness, elasticity, and structural integrity, allowing it to hold its shape and trap air during rising.
- 1 cup whole wheat flour: Incorporating whole wheat flour adds a delightful nutty flavor, a slightly denser yet satisfying texture, and significantly boosts the nutritional fiber content of your bread. It also imparts a beautiful golden hue.
- 1/2 cup olive oil: More than just a fat, olive oil is a key flavor enhancer in this recipe. It contributes rich moisture, a distinctive Mediterranean flavor, and incredible tenderness to the dough, ensuring a soft crumb. Opt for a good quality extra virgin olive oil for the best aromatic and taste results.
- 1 flax egg: To prepare, mix 1 tablespoon of ground flaxseed meal with 3 tablespoons of water, then let it sit for 5-10 minutes until it thickens to a gelatinous consistency. This acts as a fantastic vegan binder, replacing traditional eggs, while also contributing healthy omega-3s and a subtle nutty undertone.
- 1 cup water: The fundamental liquid base for the dough, crucial for activating the yeast and properly hydrating both the bread and whole wheat flours. Ensure the water is lukewarm (around 105-115°F or 40-46°C) for optimal yeast activity, but not too hot, which can kill the yeast.
- 1 teaspoon sugar: A small amount of sugar acts as immediate food for the yeast, helping it to activate and proof effectively. This initial boost leads to a more vigorous rise and contributes to a lighter, airier texture in the finished bread.
- 1.5 teaspoons quick rise yeast and 0.5 teaspoon active dry yeast: This specific combination is designed for efficient and reliable rising. Quick rise yeast (also known as instant yeast) speeds up the fermentation process, while active dry yeast provides a steady, robust rise and excellent flavor development, giving the bread more character.
- 1 teaspoon salt: Crucial for enhancing the overall flavor of the bread and tempering the sweetness. Beyond taste, salt plays a vital role in controlling yeast activity, preventing the dough from over-proofing too quickly, and strengthening the gluten structure. Don’t skip it!
- 1/4 teaspoon black pepper: A subtle addition that provides a gentle warmth and a hint of peppery spice, beautifully complementing the savory notes of the olive oil and enhancing the overall complexity of the bread’s flavor profile.
Step-by-Step Baking Instructions for Your Vegan Bread
Follow these detailed instructions carefully to ensure your olive oil bread or pizza base turns out perfectly. Patience, precise measurement, and attention to detail are key to achieving a beautifully risen, flavorful dough with an ideal texture.
-
Activating the Yeast (The Foundation of Your Bread)
Begin by activating your yeast. In a small, clean bowl, warm 1/4 cup of water to a comfortable lukewarm temperature, ideally between 105-115°F (40-46°C). This specific warmth is crucial, as it provides the perfect environment for waking up the dormant yeast without harming it. Stir in the 1 teaspoon of sugar until it is fully dissolved. The sugar will serve as the initial food source for the yeast. Next, gently sprinkle both the 1.5 teaspoons of quick rise yeast and 0.5 teaspoon of active dry yeast over the surface of the sugary water. It’s important not to stir vigorously at this stage. Allow the mixture to sit undisturbed for about 10 minutes. You’ll know the yeast is active, healthy, and ready to work its magic when the mixture becomes notably frothy and bubbly, forming a creamy, foamy head on top. If no foam appears, your yeast might be old or the water temperature was incorrect, and you should start again with fresh yeast.
-
Combining Dry Ingredients (Preparing the Flour Base)
While your yeast is diligently activating, take this time to prepare your dry ingredients. In a large mixer bowl (if you’re using a stand mixer for kneading) or a spacious mixing bowl (if you plan to knead by hand), combine the specified 3-4 cups of bread flour, 1 cup of whole wheat flour, 1 teaspoon of salt, and 1/4 teaspoon of black pepper. Use a whisk or a large spoon to mix these dry ingredients thoroughly until they are well combined. This crucial step ensures that the salt and pepper are evenly distributed throughout the flours, preventing any undesirable pockets of uneven seasoning in your final product.
-
Kneading the Dough (Developing the Gluten)
Once your yeast mixture is frothy and vibrant, it’s time to bring all the ingredients together to form your dough. Add the 1/2 cup of olive oil, the remaining 3/4 cup of water (ensure this water is also lukewarm, similar to the yeast water), the prepared flax egg, and the activated yeast mixture to the mixer bowl with your dry ingredients. If you’re using a stand mixer, attach the dough hook and knead the dough for a sustained period of 10-12 minutes on medium-low speed. If you are kneading by hand, turn the dough out onto a lightly floured surface and knead vigorously for a longer duration, typically 15-20 minutes, using a push-fold-turn motion. If your stand mixer starts to feel warm, it’s wise to give it occasional breaks (3-4 minutes) to prevent overheating. Scrape down the sides of the bowl as needed to ensure all ingredients are fully incorporated into the dough. A perfectly kneaded dough will exhibit several key characteristics: it will be soft, highly elastic, pliable, and, crucially, no longer sticky to the touch. You can perform the “windowpane test” – take a small piece of dough and gently stretch it; if you can stretch it thin enough to see light through it without it tearing, your gluten is beautifully developed, and your dough is ready for the next stage.
-
First Rise (The Essential Proofing Stage)
Lightly grease a large, clean bowl or container with a small amount of olive oil. Place your freshly kneaded dough into this oiled container, turning it over once to ensure all sides are coated with a thin film of oil. This prevents the dough from sticking to the bowl and from drying out during its rise. Cover the container tightly with plastic wrap or a clean, damp kitchen towel. This creates a warm, humid environment that is ideal for yeast activity. Place the dough in a warm spot in your kitchen, ideally around 75-80°F (24-27°C), for approximately 1.5 hours, or until it has visibly doubled in size. A warm oven (turned off, with just the light on to provide gentle warmth) or a sunny spot near a window can be excellent, consistent proving locations.
-
Punching Down and Shaping (Preparing for its Final Form)
Once your dough has successfully doubled in size, indicating a robust first rise, gently punch it down. This action releases the carbon dioxide gases that have built up within the dough, helps to redistribute the yeast, and prepares the gluten structure for its final rise, ultimately contributing to a finer, more even crumb in the finished product. Now, your versatile dough is ready for shaping, whether you choose to transform it into a wholesome sandwich loaf or an enticing pizza base.
To Bake a Delicious Bread Loaf
-
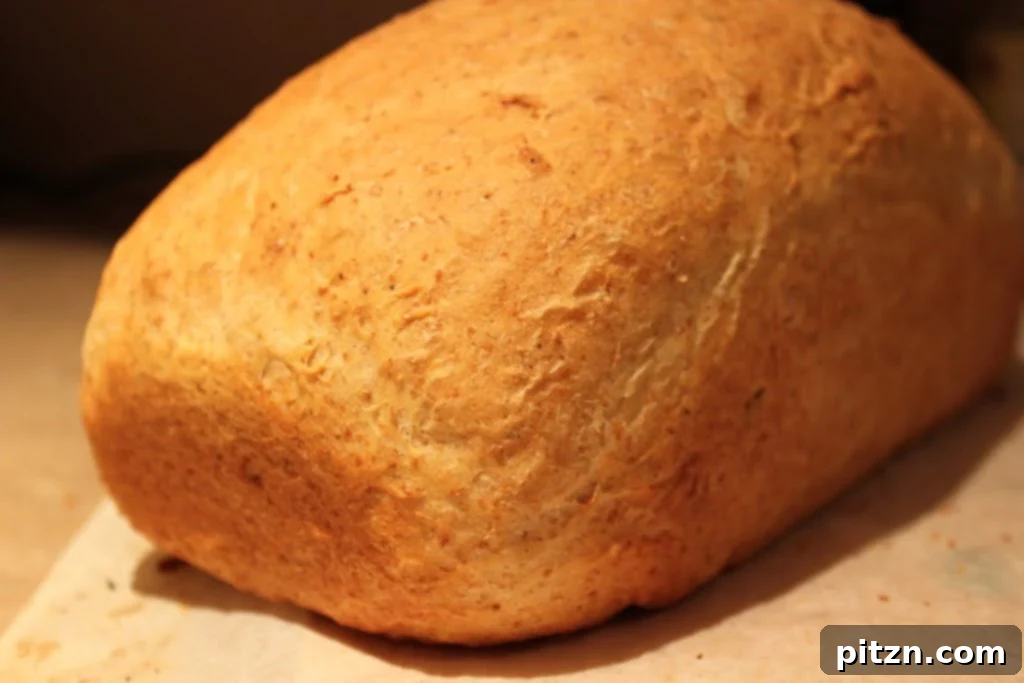
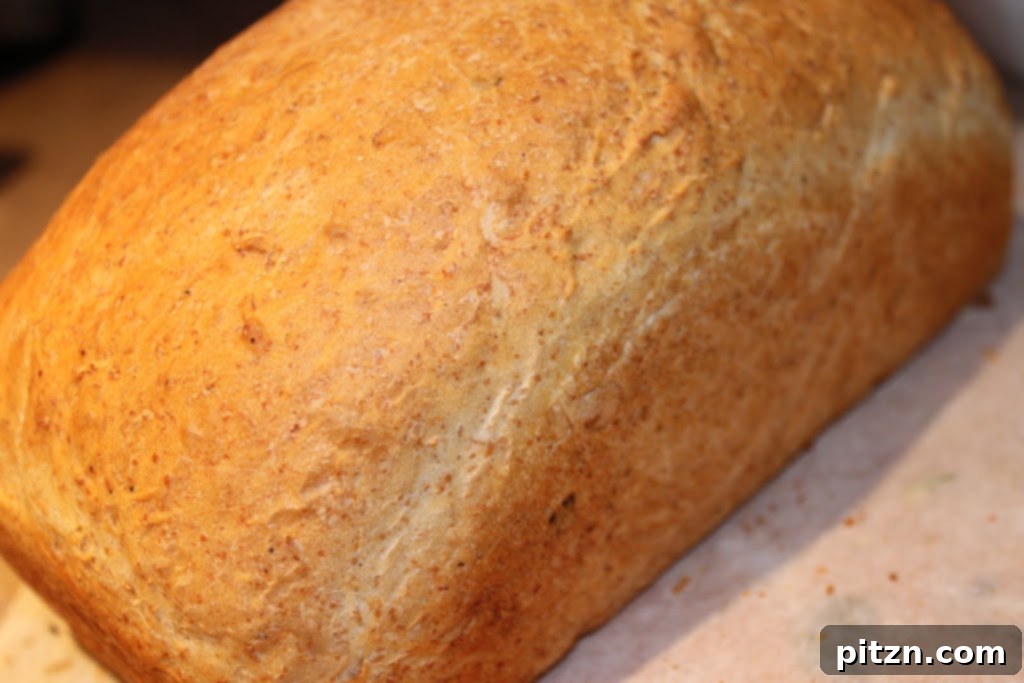
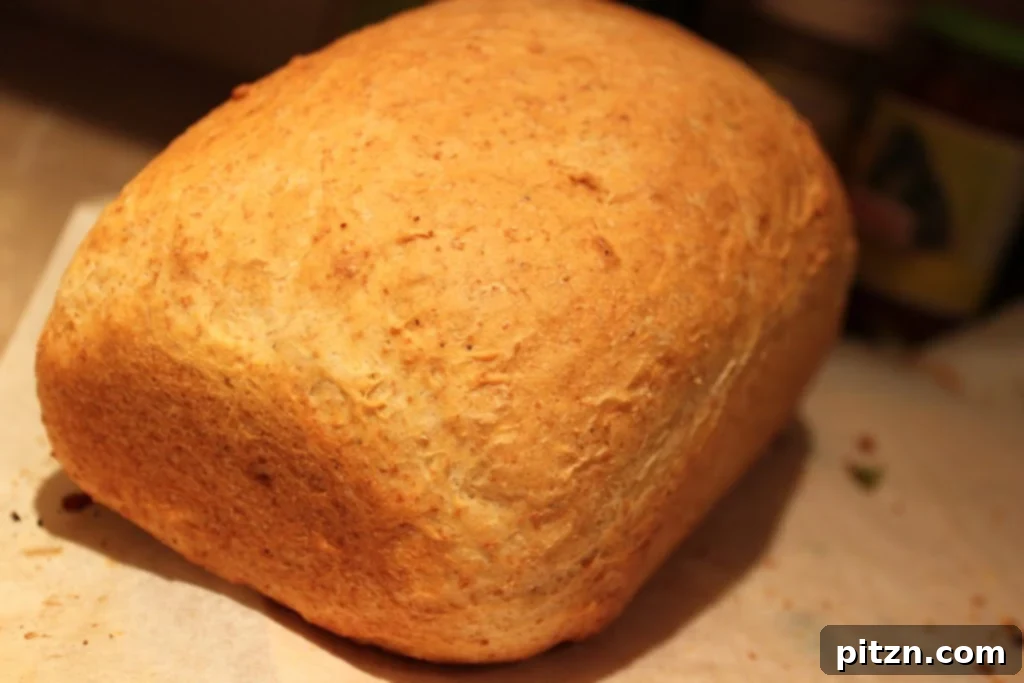
After gently punching down the dough, shape it into a neat, rectangular loaf. Prepare a standard 9×5-inch bread pan by lightly greasing it with olive oil or lining it with parchment paper to prevent sticking. Carefully place the shaped loaf into the prepared pan. Cover the pan loosely with a clean kitchen towel and allow the loaf to rise for another 30 minutes in a warm spot. This second rise, often called “proof,” is crucial for developing a light and airy texture and a beautiful oven spring. While the loaf is proofing, preheat your oven to 375 degrees F (190°C). Once the oven is ready and the loaf has finished its second rise, bake it for approximately 30 minutes, or until the top is golden brown and it sounds hollow when gently tapped on the bottom. If the crust begins to brown too quickly, you can loosely tent it with aluminum foil to prevent over-browning. Once baked, immediately remove the loaf from the pan and let it cool completely on a wire rack before slicing. This prevents the interior from becoming gummy and allows the flavors and texture to fully set.
To Create a Fantastic Thin-Crust Pizza Base
-
If you’re making a pizza base, divide the punched-down dough into your desired number of portions. For a single 16-inch thin-crust pizza, you might use about one-third of the total dough; adjust for thicker crusts or smaller pizzas. On a lightly floured surface or a piece of greased parchment paper, roll out the dough to your preferred thickness – ideally about 1/8th inch for that signature thin and crispy crust. Carefully transfer the rolled-out base to a baking sheet lined with greased parchment paper or onto a preheated pizza stone. Allow the pizza base to rest and slightly rise for about 15 minutes before adding your toppings. This brief rest period, known as a mini-proof, helps to create a lighter, more tender crust. Preheat your oven to a high 425 degrees F (220°C). For the crispiest bottom crust, if using a pizza stone, place it in the oven during preheating. Once topped with your favorite vegan sauce and an array of fresh ingredients, bake the thin-crust pizza for 10-12 minutes, or until the crust is golden brown and crispy, and the toppings are cooked through and bubbly. For an even crispier result, consider placing the pizza directly on a preheated pizza stone for the last few minutes of baking.
Chef’s Notes & Tips for Success with Your Vegan Bread
A few additional tips and insights to ensure your baking experience is smooth, enjoyable, and that your final product is consistently exceptional:
- Proving Time is Crucial for Texture: Please note that the “Total Time” listed in the recipe (1 hour 5 minutes) does not include the essential 1.5 hours of initial proving time for the dough. It’s vital to factor this fermentation period into your baking schedule. Allowing the dough to rise fully is absolutely essential for developing a light, airy, and flavorful texture in your final bread or pizza crust.
- Yeast Freshness is Key: Always, without exception, check the expiration date on your yeast package before you begin. Old or inactive yeast is by far the most common reason for bread failing to rise. If your yeast mixture does not froth and become bubbly during the activation step, discard it immediately and start over with fresh, reliable yeast.
- Accurate Flour Measurement: For the most consistent and accurate results, avoid scooping your flour directly from the bag with your measuring cup, as this can compact the flour and lead to an excess amount. Instead, gently spoon your flour into the measuring cup until it overflows, then level it off with a straight edge (like the back of a knife). This method prevents over-packing the flour, which could result in a dry, dense dough.
- Adjusting Hydration (Listen to Your Dough): The precise amount of flour required can vary slightly due to factors like ambient humidity, the brand of flour, and how densely it’s packed. Start with 3 cups of bread flour and gradually add more (up to 4 cups) if the dough feels excessively sticky and difficult to handle after kneading. The ultimate goal is to achieve a dough that is soft, highly pliable, and no longer sticky to the touch.
- Olive Oil Quality Matters: The quality of your olive oil directly impacts the flavor of your bread. Using a high-quality extra virgin olive oil will significantly enhance the flavor profile of your bread and pizza base, imparting a rich, aromatic depth that cheaper oils simply cannot match.
- Storage Guidelines: Your freshly baked sandwich loaf can be stored at room temperature in an airtight container for 2-3 days, retaining its freshness and softness. For longer storage, it can be securely wrapped and frozen for up to 3 months. Likewise, pizza bases can be par-baked for a few minutes, cooled, and then frozen, making them incredibly convenient for quick future pizza nights.
- Flavor Variations & Customization: Feel absolutely free to experiment and personalize your bread! Consider adding dried Italian herbs, a touch of garlic powder, or onion powder to the dry ingredients for an extra savory kick. For a unique twist, incorporate finely chopped sun-dried tomatoes or olives into the dough during the last few minutes of kneading.
- Vegan Cheese Options for Pizza: If you’re preparing pizza, the market now offers many excellent vegan mozzarella shreds and plant-based parmesan alternatives. These options melt beautifully and provide a satisfying cheesy flavor and texture that perfectly complements the vegan crust.
Nutritional Information (Approximate)
Understanding the nutritional breakdown can help you integrate this delicious bread into your diet responsibly. Please remember that these values are automatically calculated based on the provided ingredients and should always be considered as approximations. Actual nutritional content can vary based on specific ingredient brands, exact measurements used, and preparation methods.
Based on 1 serving (approximately 1/10th of the total recipe yield):
- Calories: 284 kcal
- Carbohydrates: 37g
- Protein: 6g
- Fat: 12g
- Saturated Fat: 1g
- Sodium: 236mg
- Potassium: 106mg
- Fiber: 2g
- Calcium: 12mg
- Iron: 0.9mg
Nutrition information is automatically calculated and should only be used as an approximation. It can vary significantly based on specific ingredients, brand variations, and precise preparation methods. For exact dietary needs, consult a certified nutritionist.
We hope you thoroughly enjoy making and savoring this incredibly versatile and delicious vegan Olive Oil Sandwich Loaf and Pizza Base! There’s immense satisfaction in baking your own bread, and this recipe is designed to bring that joy right into your kitchen. We encourage you to share your beautiful creations and any feedback you have; happy baking!