
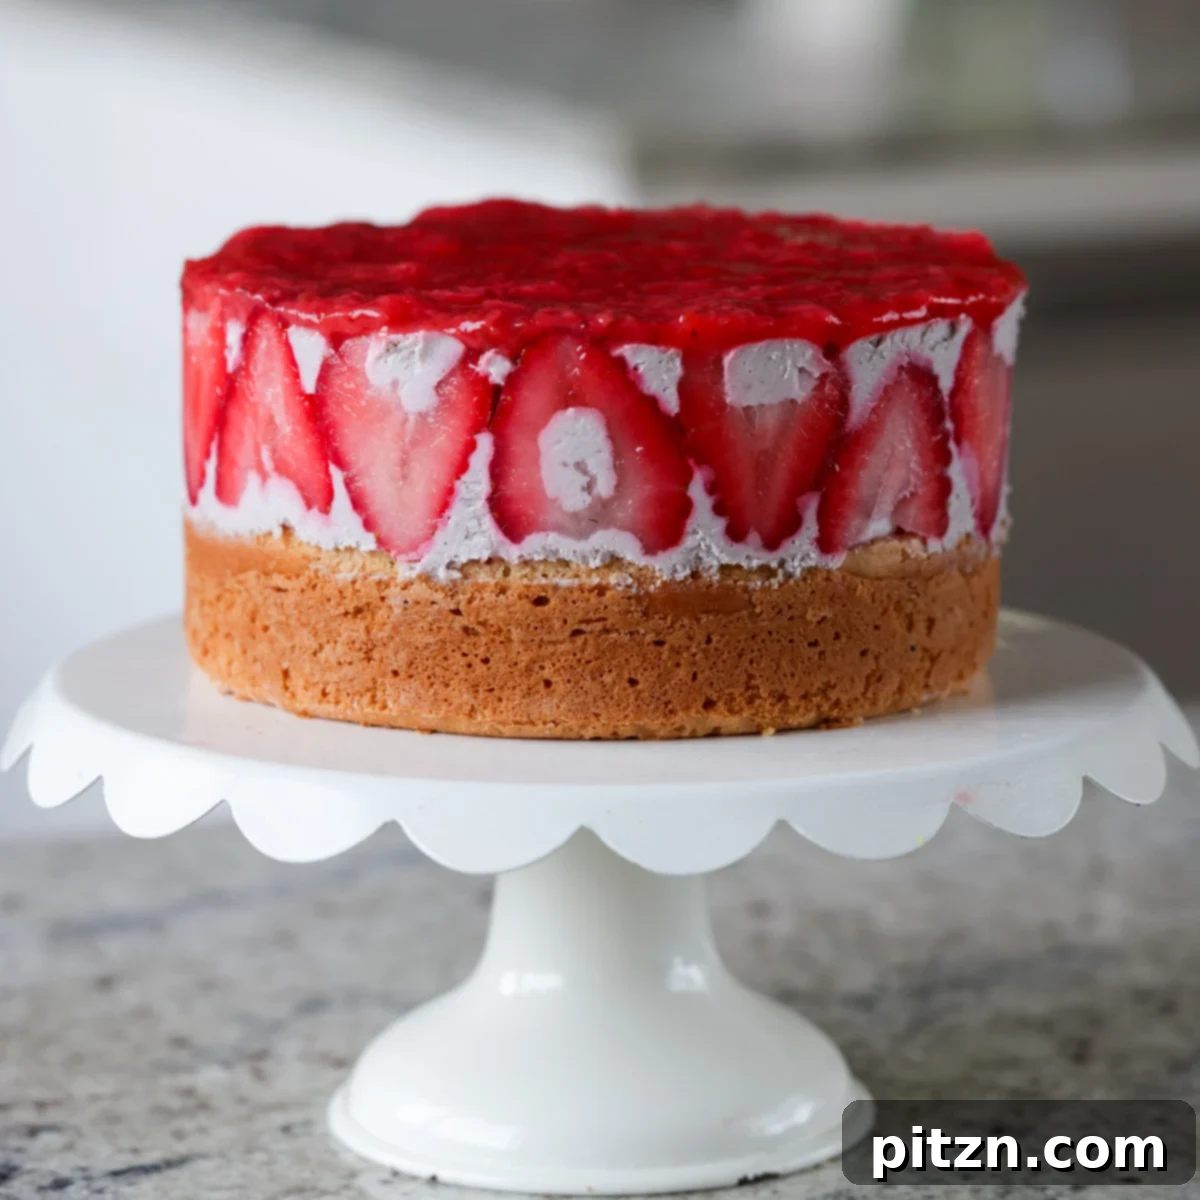
Embark on a delightful culinary journey with this exceptional strawberry mousse cake, a truly show-stopping dessert perfect for any occasion, especially if you’re seeking a vibrant alternative to chocolate-centric sweets. This elegant cake celebrates the sweet-tart essence of strawberries, featuring an irresistible combination of fresh berries, a luxurious strawberry compote, and a thick, velvety strawberry mousse layered over a delicate cake base. It’s a symphony of textures and flavors designed to impress.
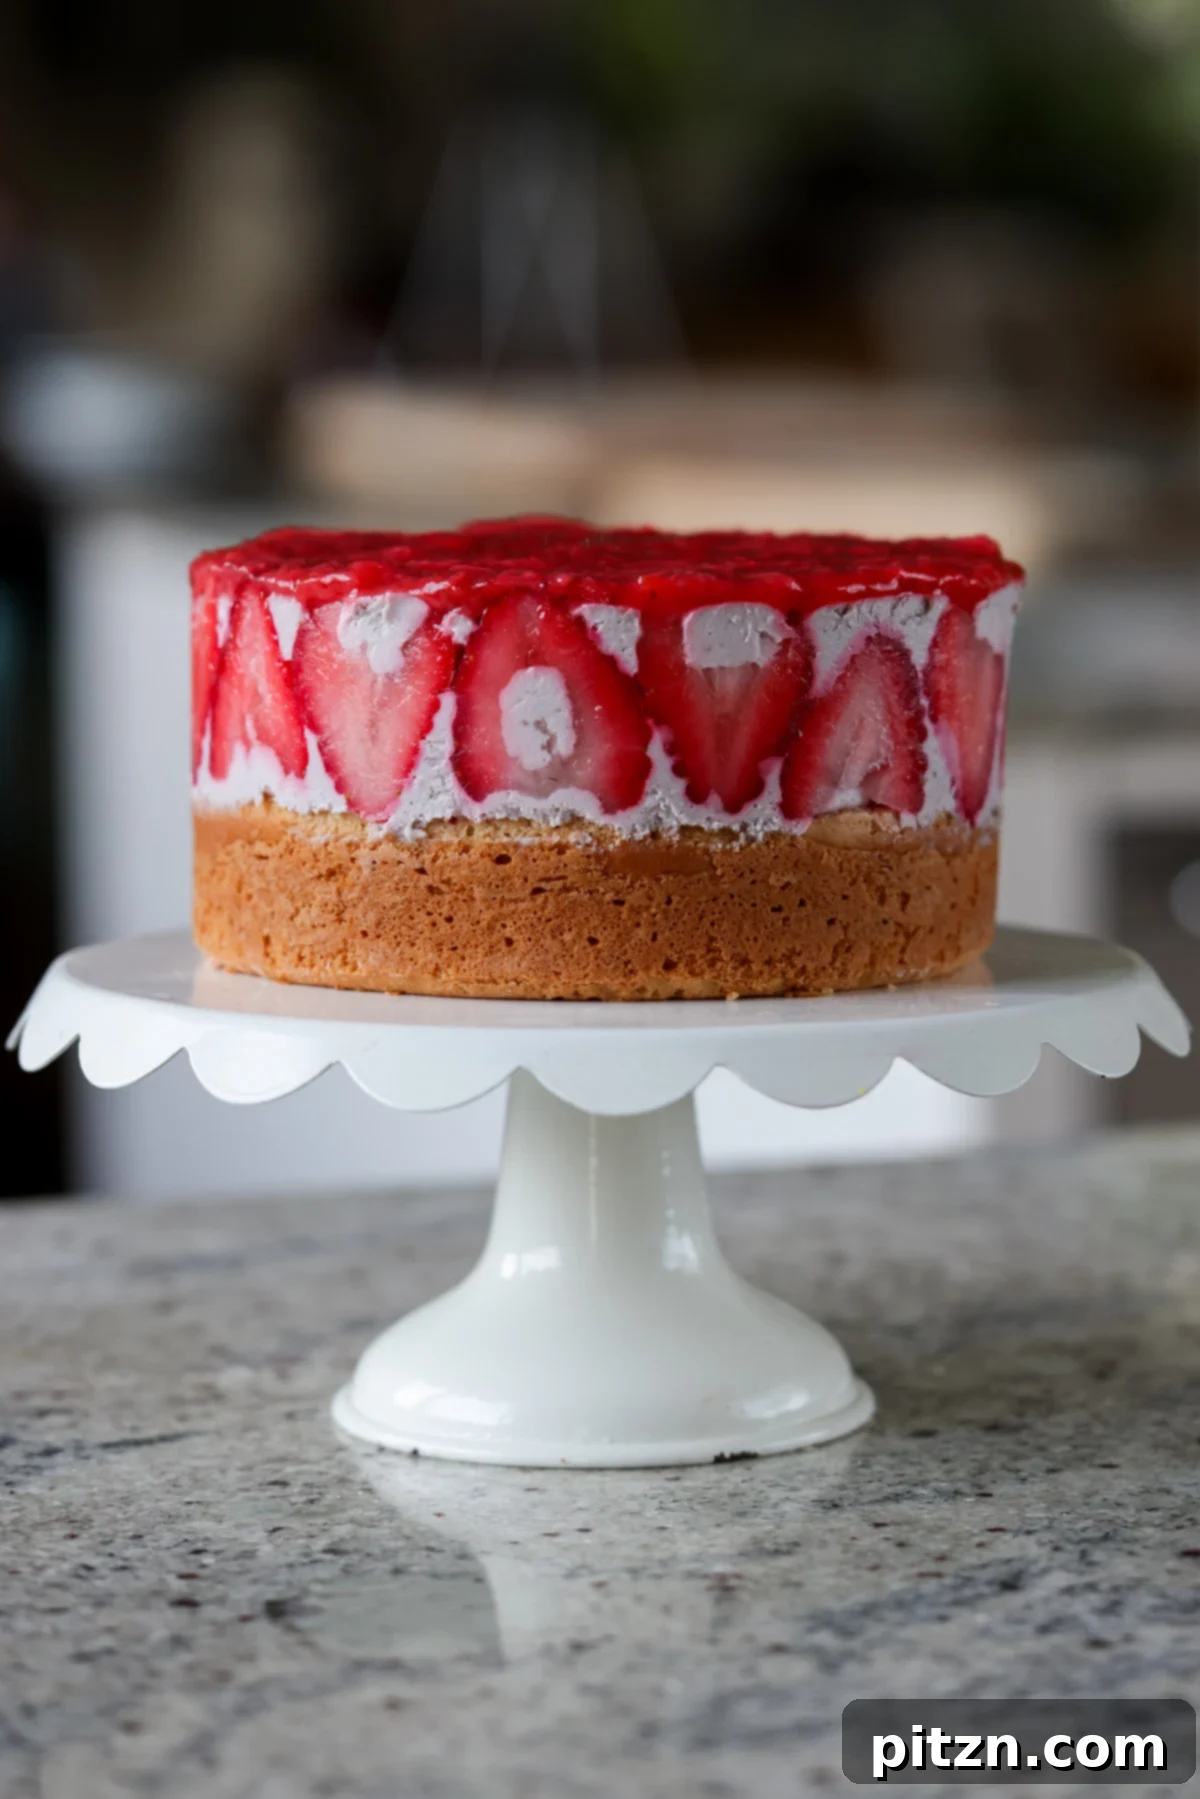
Table of Contents
- Why You’ll Love This Strawberry Mousse Cake
- 🍓 More Irresistible Strawberry Desserts
- Strawberry Mousse Cake Recipe
- Essential Ingredients and Smart Substitutions
- 💡 Expert Baking Tips
- Step-by-Step Guide: How to Make Strawberry Mousse Cake
- Frequently Asked Questions About Strawberry Mousse Cake
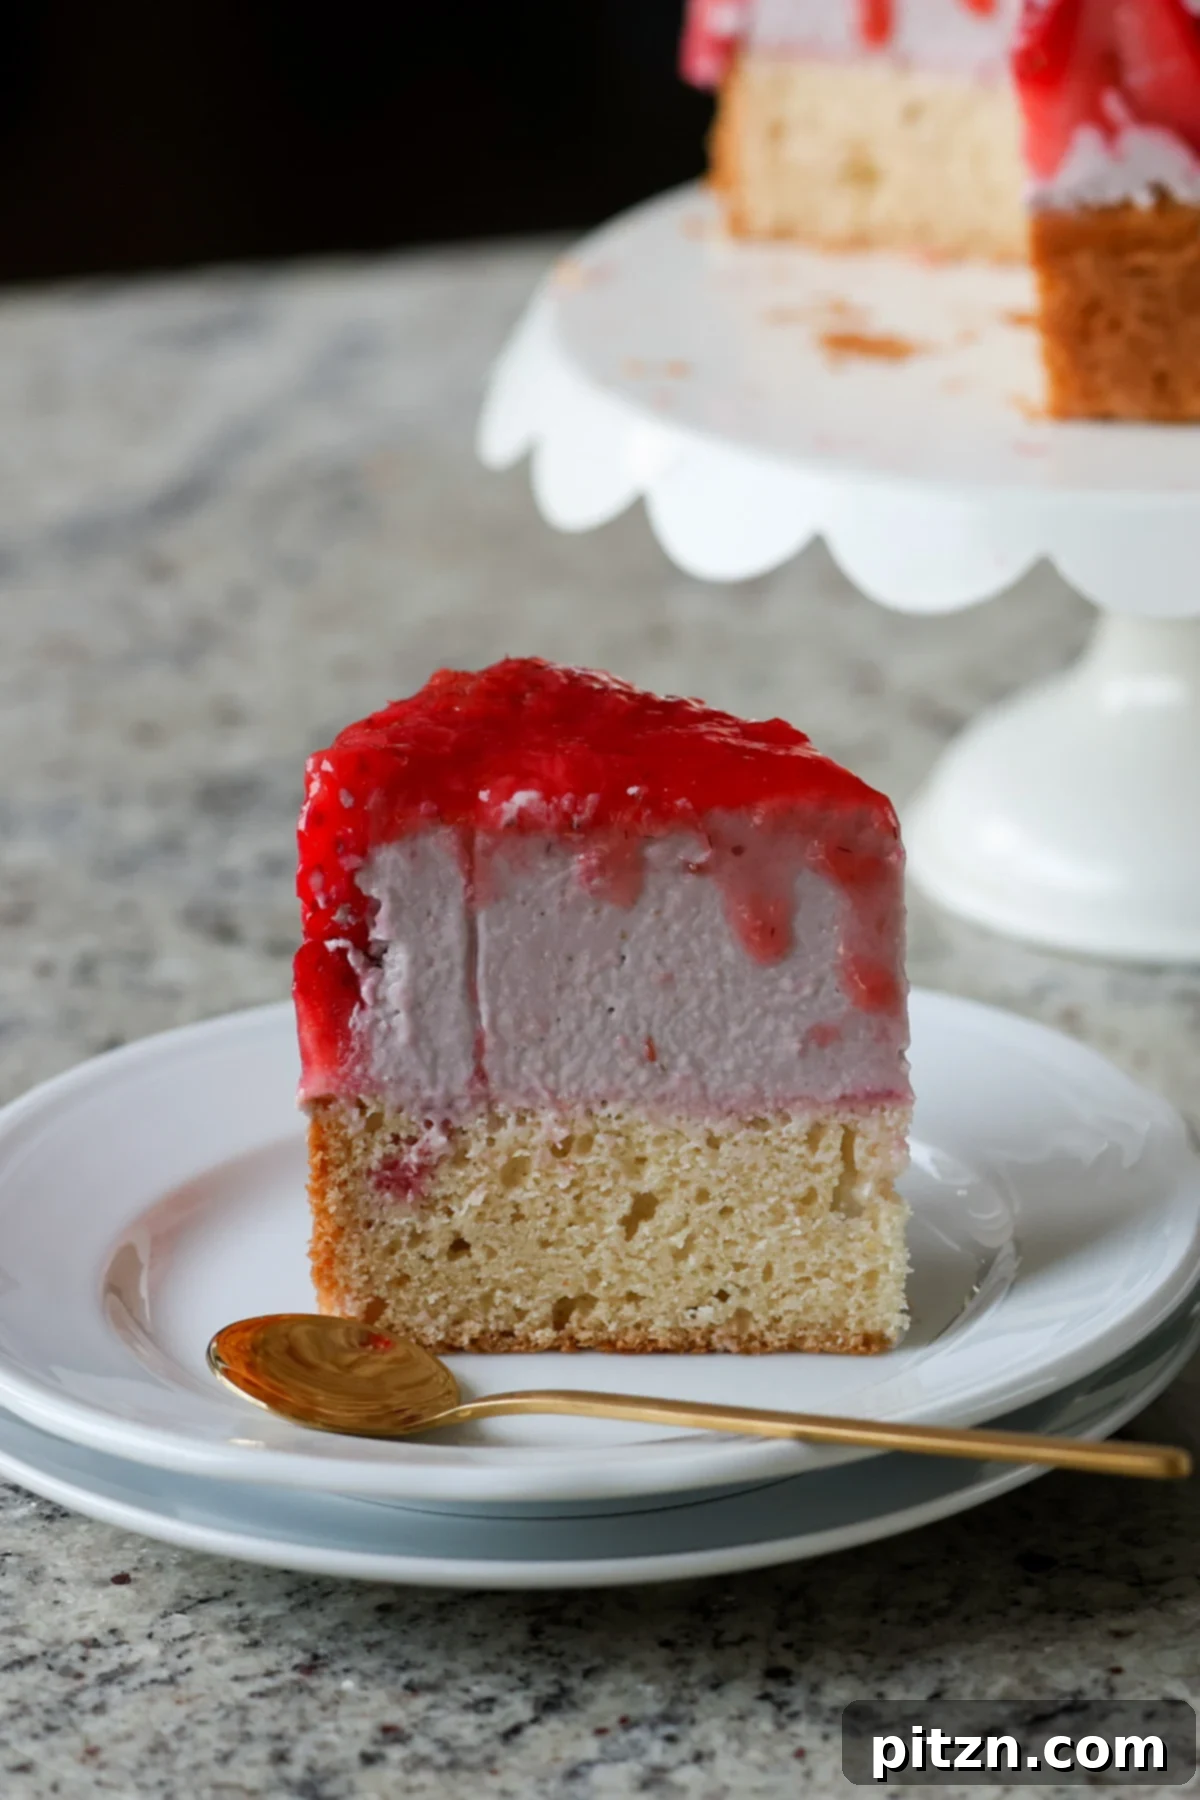
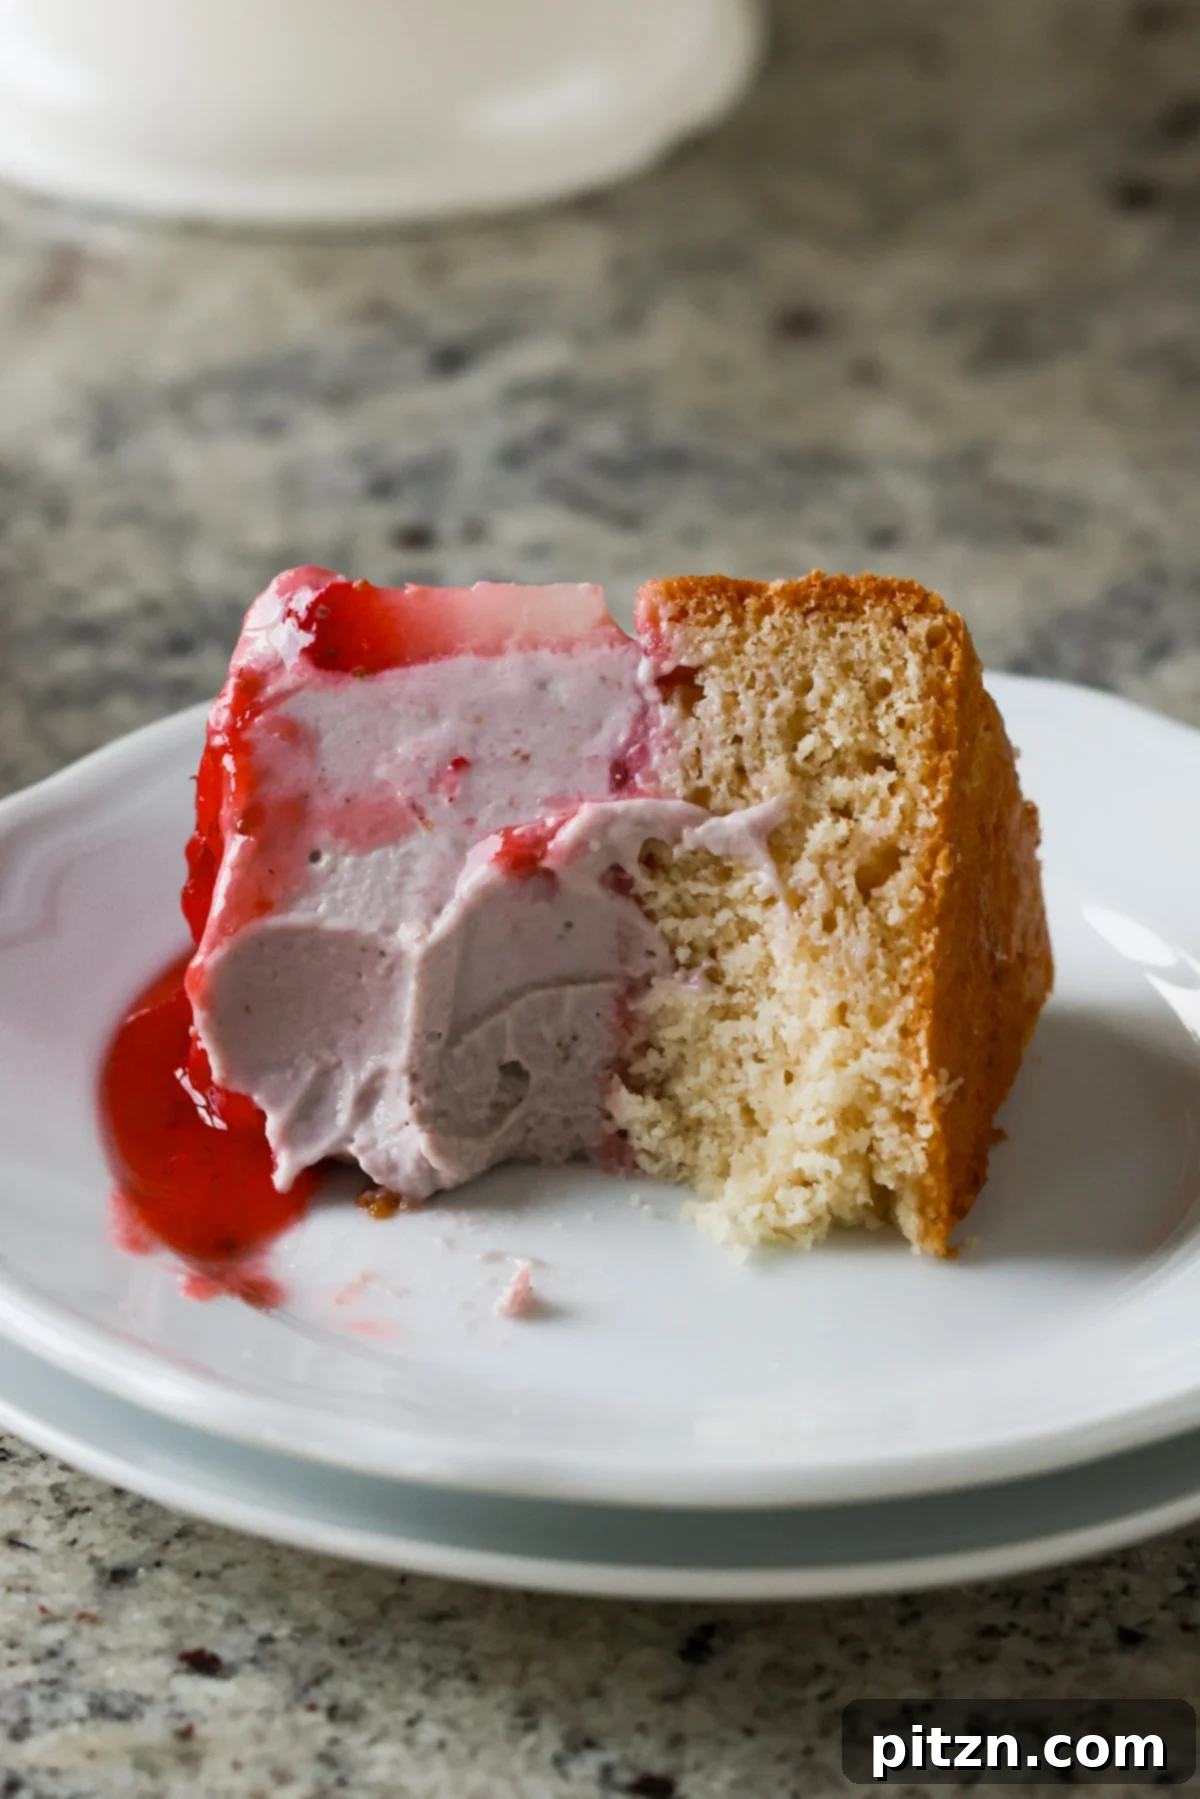
This dessert is a true masterpiece of flavors and textures, boasting strawberries prepared in three glorious ways: fresh, in a rich compote, and as a silky-smooth mousse. Imagine a delicate vanilla cake providing the perfect foundation, topped with a generous, creamy layer of strawberry mousse, adorned with fresh strawberry slices, and crowned with a luscious, homemade strawberry compote. Each bite offers an explosion of vibrant, fruity goodness that is truly mind-blowingly delicious and utterly unforgettable.
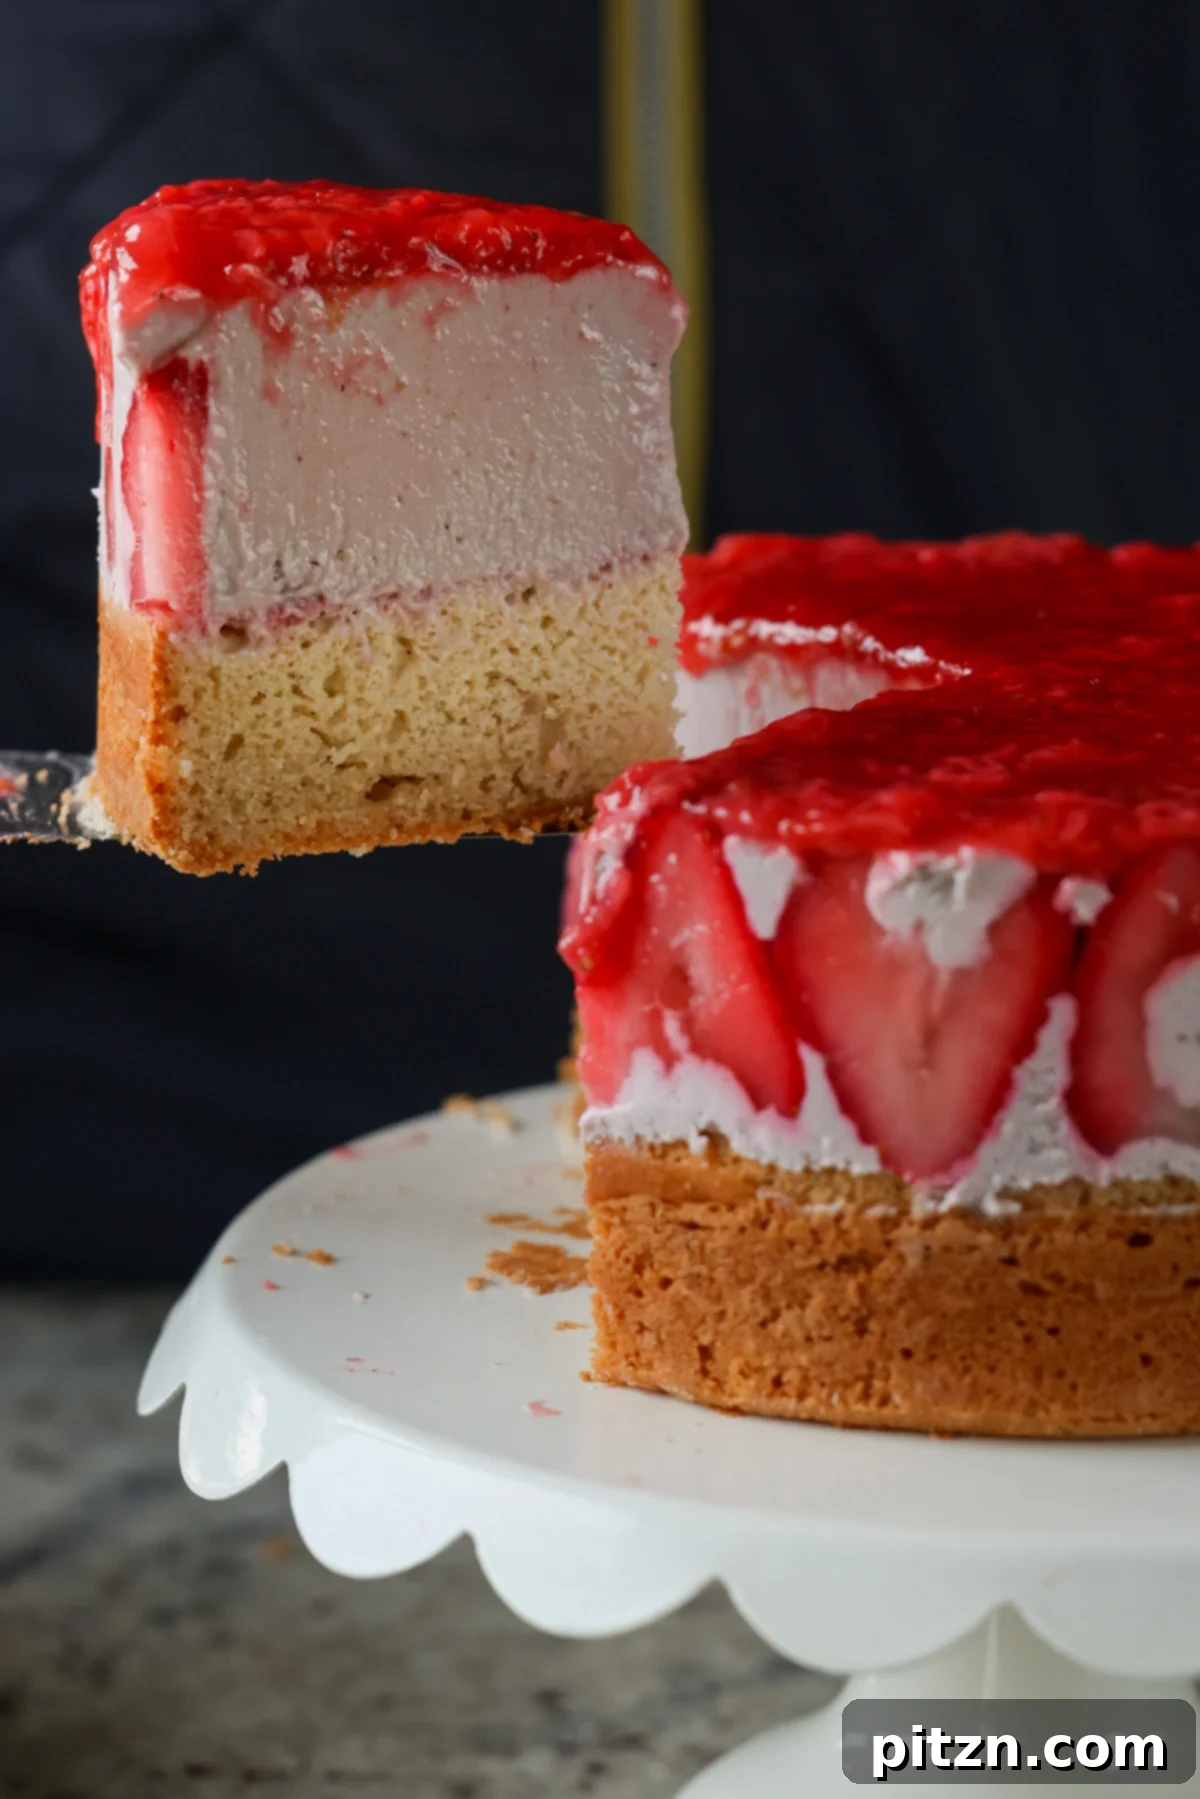
Crafting this elegant cake is surprisingly straightforward. Begin by preparing a simple, moist vanilla cake base. Next, whip up a quick strawberry compote on your stovetop, allowing the strawberries to soften and sweeten. Finally, blend the light and airy strawberry mousse right in your blender for ultimate ease. The assembly involves layering these exquisite components, a brief refrigeration period, and then the joy of slicing into your homemade masterpiece. This recipe offers flexibility regarding bakeware. A 6-inch cake pan, especially with a cake collar, works wonderfully for creating a tall, impressive dessert. If a cake collar isn’t available, a tall 6-inch pan will suffice. Alternatively, an 8-inch cake pan can be used; while it will result in thinner layers, the generous strawberry flavor will still shine through, ensuring a delightful treat for all.
For those using a standard pan without a cake collar, remember to line it with parchment paper before pouring the mousse. This simple step guarantees effortless removal of your beautifully set cake. The finished dessert is wonderfully summery and refreshing, reminiscent of a sophisticated ice cream mousse cake, yet with a rich, decadent quality that makes it truly special. Don’t hesitate to give this recipe a try and share your experience; we’d love to hear your thoughts and see your amazing creations!
Why You’ll Love This Strawberry Mousse Cake
- **An Exquisite Visual and Flavor Experience:** This cake is not only visually stunning with its vibrant pink and red hues but also bursts with an incredible, authentic strawberry flavor that will captivate your taste buds. It’s a true celebration of fresh berries.
- **Effortless Blender Mousse:** Forget complicated cooking steps for the mousse! Our creamy strawberry mousse comes together effortlessly in a blender, requiring no cooking and minimal cleanup, making it accessible for bakers of all skill levels.
- **Rich & Sweet Compote Topping:** The sticky-sweet strawberry compote topping adds another layer of intense berry flavor and a delightful texture contrast, elevating the entire dessert to gourmet status. It’s the perfect sweet and slightly tart crown.
- **Adaptable for Dietary Needs:** We understand the importance of inclusivity in baking. This recipe is designed to be easily adapted, with clear instructions for making it soy-free, nut-free, and gluten-free, ensuring almost everyone can enjoy a slice of this delicious cake.
🍓 More Irresistible Strawberry Desserts
- Strawberry Cheesecake Cookies
- Vegan Strawberry Galette
- Strawberry Brownies
- Chunky Strawberry Ice Cream
Strawberry Mousse Cake
Make the most of strawberry season with this amazing strawberry mousse cake! It is jam-packed with sweet-tart strawberries with a thick layer of rich strawberry mousse and strawberry compote on top. Gluten-free option available.
Equipment
-
Tall Cake Pan
-
Cake Collar (optional)
Ingredients
For the Cake (Wet Ingredients)
- 1/2 cup non-dairy milk
- 1.5 tablespoons non-dairy yogurt
- 2.5 tablespoons oil
- 1/4 cup sugar
- 1/2 teaspoon vanilla extract
For the Cake (Dry Ingredients)
- 1 cup all-purpose flour
- 1 tablespoon cornstarch, or tapioca starch
- 1 teaspoon baking powder
- 1/4 teaspoon baking soda
- 1/4 teaspoon salt
For the Strawberry Compote
- 13 to 14 large strawberries, leaves and stems removed
- 1/4 cup sugar
- 1/4 teaspoon salt
- 1/2 teaspoon vanilla extract
- 1/2 teaspoon lemon zest
- 1 tablespoon lemon juice
For the Strawberry Mousse
- 1 cup raw cashews, soaked in hot water for at least 15 minutes, then drained. (See notes for nut-free alternative.)
- 1 cup coconut cream
- 1/4 cup sugar
For Decoration
- 3 to 4 strawberries, leaves and stems removed and thinly sliced
Instructions
Prepare the Cake
-
Preheat your oven to 350° F (177° C).
-
In a large mixing bowl, combine all the wet ingredients (non-dairy milk, non-dairy yogurt, oil, sugar, and vanilla extract). Whisk thoroughly until the sugar has completely dissolved and the mixture is well combined.
-
In a separate smaller bowl, sift together the dry ingredients (all-purpose flour, cornstarch, baking powder, baking soda, and salt). Gradually add the dry mixture to the wet ingredients, mixing until a smooth batter forms. The ideal consistency should be slightly thicker than pancake batter. If it appears too stiff, incorporate 1 to 2 teaspoons of additional non-dairy milk until the desired consistency is achieved.
-
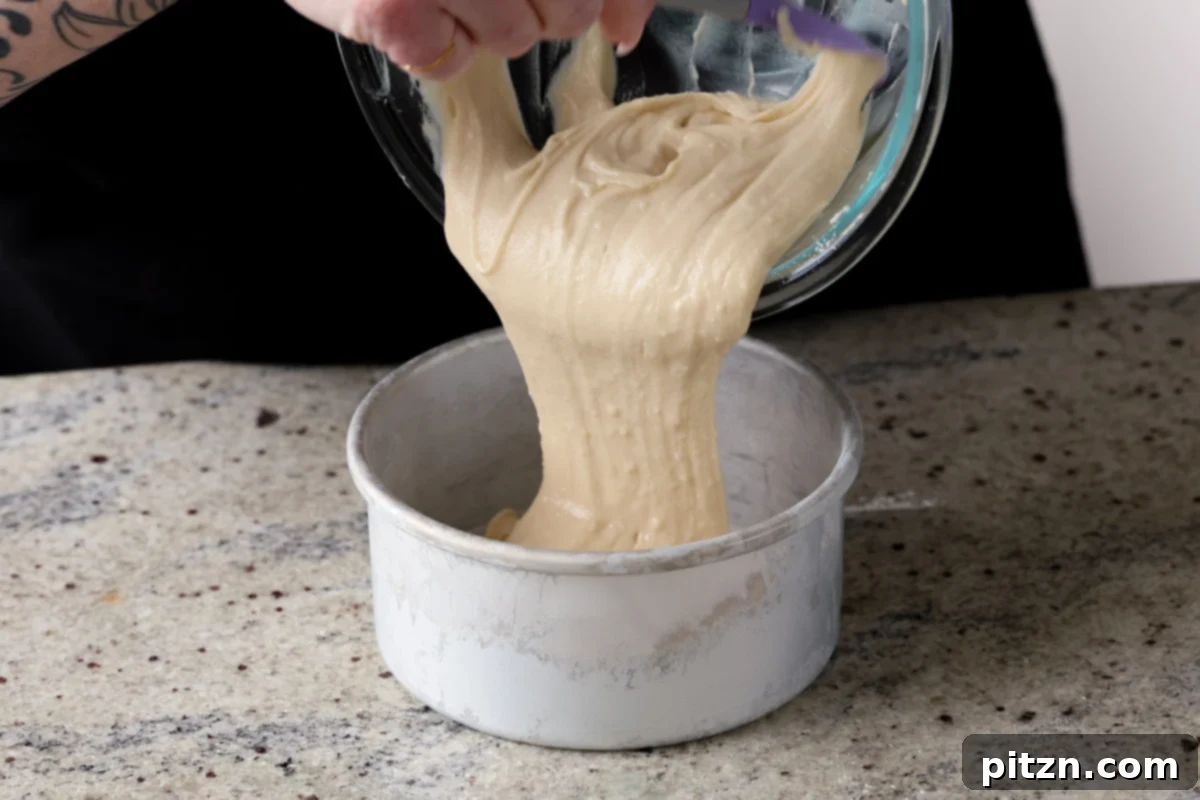
Pour the cake batter into a parchment-lined 6-inch or 8-inch cake pan, spreading it evenly with a spatula. Bake for 20 to 28 minutes. Baking time may vary depending on your oven and the size and material of your pan.
-
To check for doneness, insert a toothpick into the center of the cake at the 20-minute mark. If it comes out clean, the cake is ready. Remove the pan from the oven, allow it to cool for 5 minutes, then carefully remove the cake from the pan. Let it continue cooling on a wire rack, covered with a kitchen towel, while you prepare the remaining layers.
Make the Strawberry Compote
-
While the cake bakes and cools, finely chop the strawberries into approximately 1/2-inch pieces. Transfer them to a saucepan along with the remaining compote ingredients (sugar, salt, vanilla extract, lemon zest, and lemon juice). Cook over medium heat. If the strawberries are not immediately releasing their juices, you may add a tablespoon of water to initiate the process. Strawberries are naturally high in moisture, so typically minimal additional liquid is needed.
-
Once the strawberries begin to release their moisture, use a spatula to gently press them, aiding in their breakdown. Continue cooking until all the strawberries have softened and disintegrated, and the mixture thickens to a jam-like consistency. This process usually takes 6 to 10 minutes, depending on your pan and stovetop.
-
As soon as the compote reaches the desired thickness and the strawberries are fully broken down, remove the saucepan from the heat and set it aside to cool slightly before proceeding.
Prepare the Mousse
-
Ensure your cashews are thoroughly drained after soaking. Add them to a high-speed blender along with the coconut cream, sugar, and half of the cooled compote (ensure the compote is not hot). Blend this mixture until it achieves a perfectly smooth and creamy consistency. This may take a minute or two of initial blending. Allow the mixture to rest for five minutes to allow the cashews to absorb more liquid, then blend again for 30 seconds. Check if the mixture is blending easily; if not, add a tablespoon of coconut milk to assist. Repeat the blend-rest cycle (blend for 30 seconds, wait a minute) two to three more times until the mousse is exceptionally smooth and free of any cashew grittiness.
-
Taste the mousse and adjust the sweetness or flavor as desired. If you prefer it sweeter, add another tablespoon of sugar or a splash more vanilla extract. Please note that blended cooked strawberries may develop a slightly purplish hue, which is entirely normal. If a more vibrant pink color is desired, a few drops of food coloring can be added.
-
Once the mousse is perfectly smooth, transfer it to the freezer for 15 to 20 minutes to allow it to begin firming up slightly. This initial chill is crucial for proper layering.
Assemble the Strawberry Mousse Cake
-
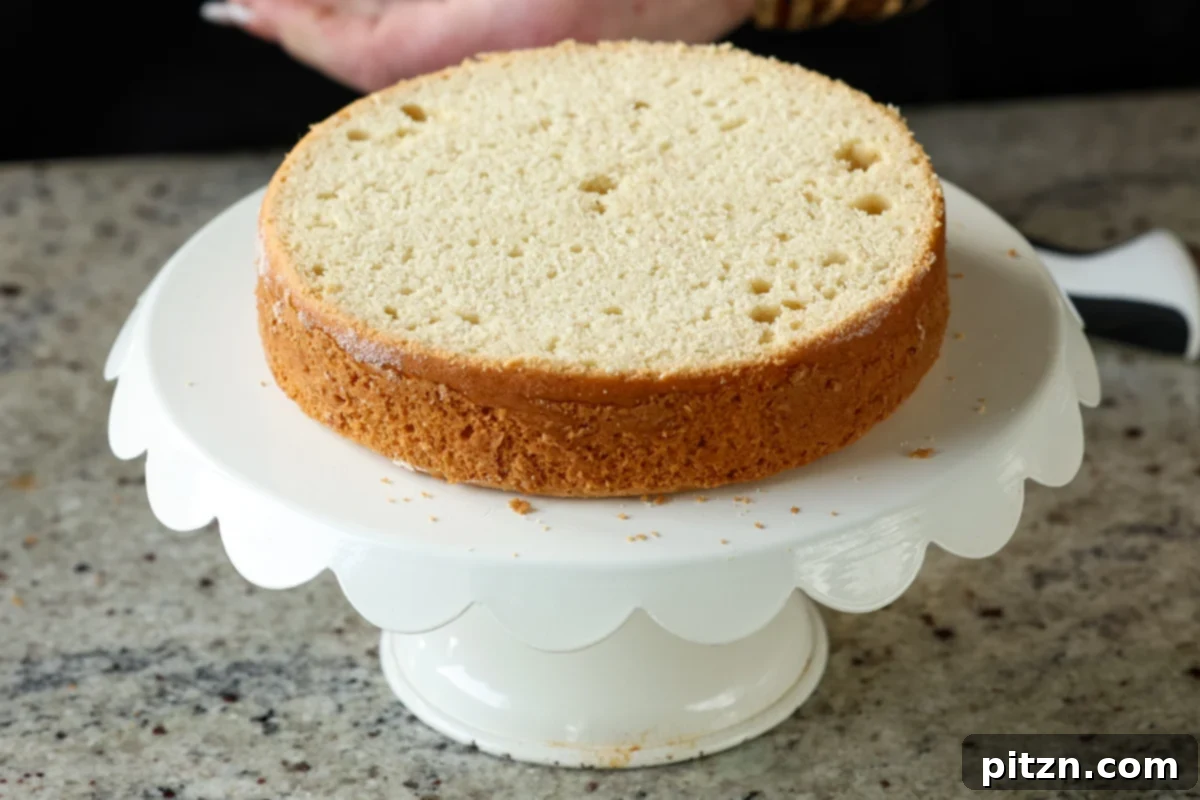
Retrieve the cooled cake from its pan. Using a serrated knife, carefully slice off the domed top of the cake to create a flat, even surface. This ensures a clean presentation and stable layering.
-
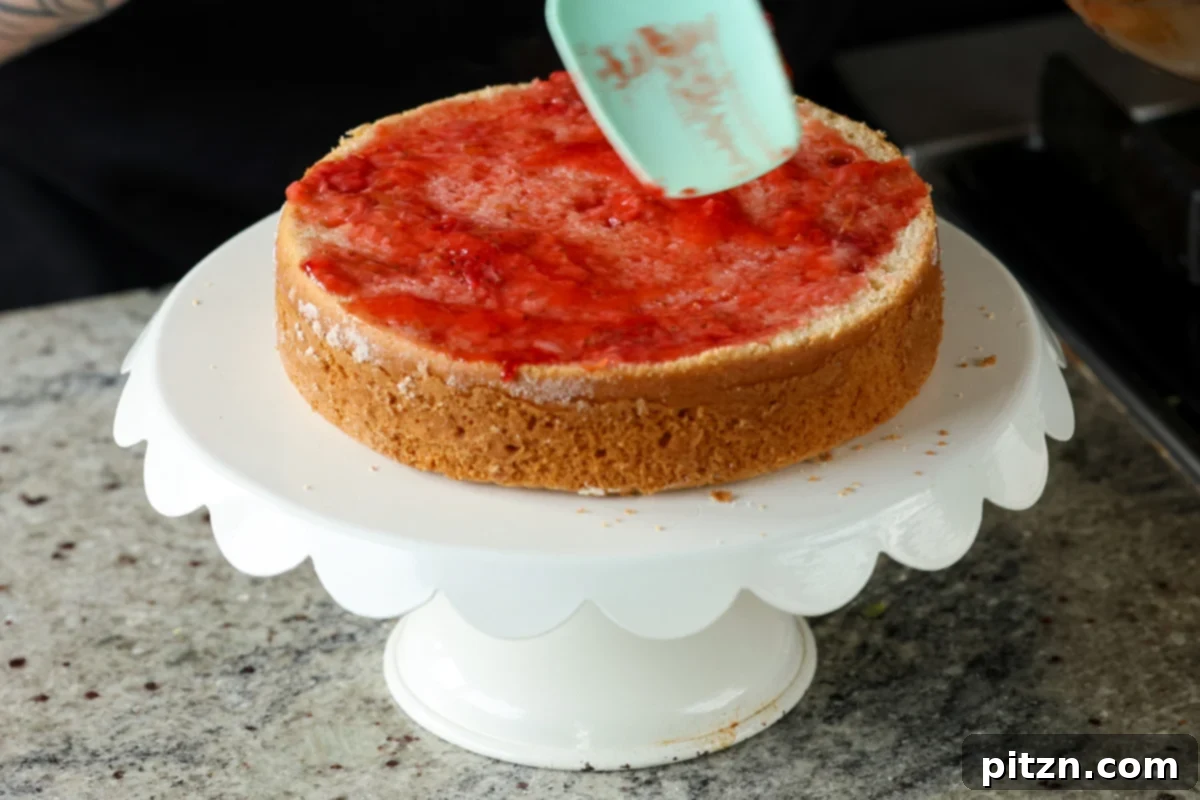
In a small bowl, combine 2 tablespoons of the strawberry compote with 1 tablespoon of water. Mix well to thin it slightly. Brush or spread this mixture evenly over the top of the cake. This step adds moisture and an extra burst of strawberry flavor to the cake base.
-
If you haven’t already, thinly slice the fresh strawberries for decoration. Remove the partially set mousse from the freezer.
-
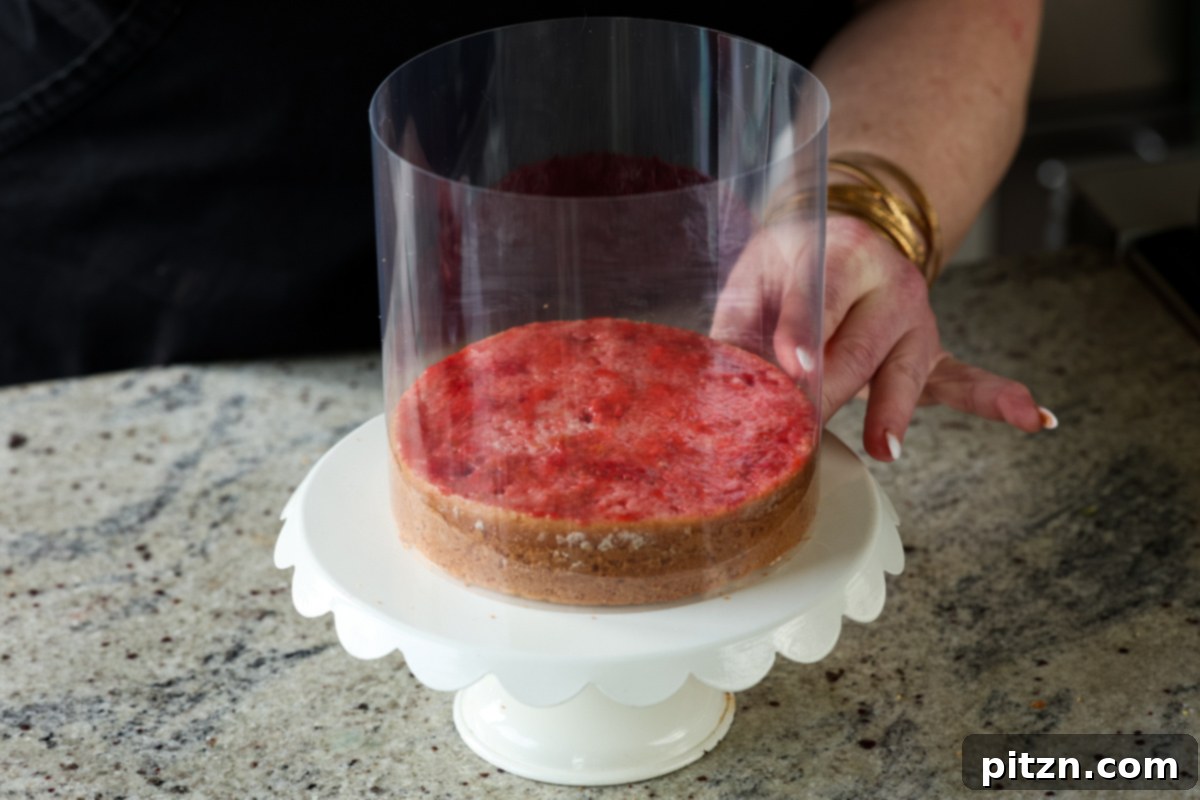
Place the cake onto your chosen serving plate or cake stand. If using a cake collar, position it securely around the cake. If using a tall 6-inch or regular 8-inch cake pan without a collar, ensure the pan is lined with parchment paper, then place the cake back into it. (For a visual reference on pan preparation, see our Lemon Mousse Cake recipe.)
-
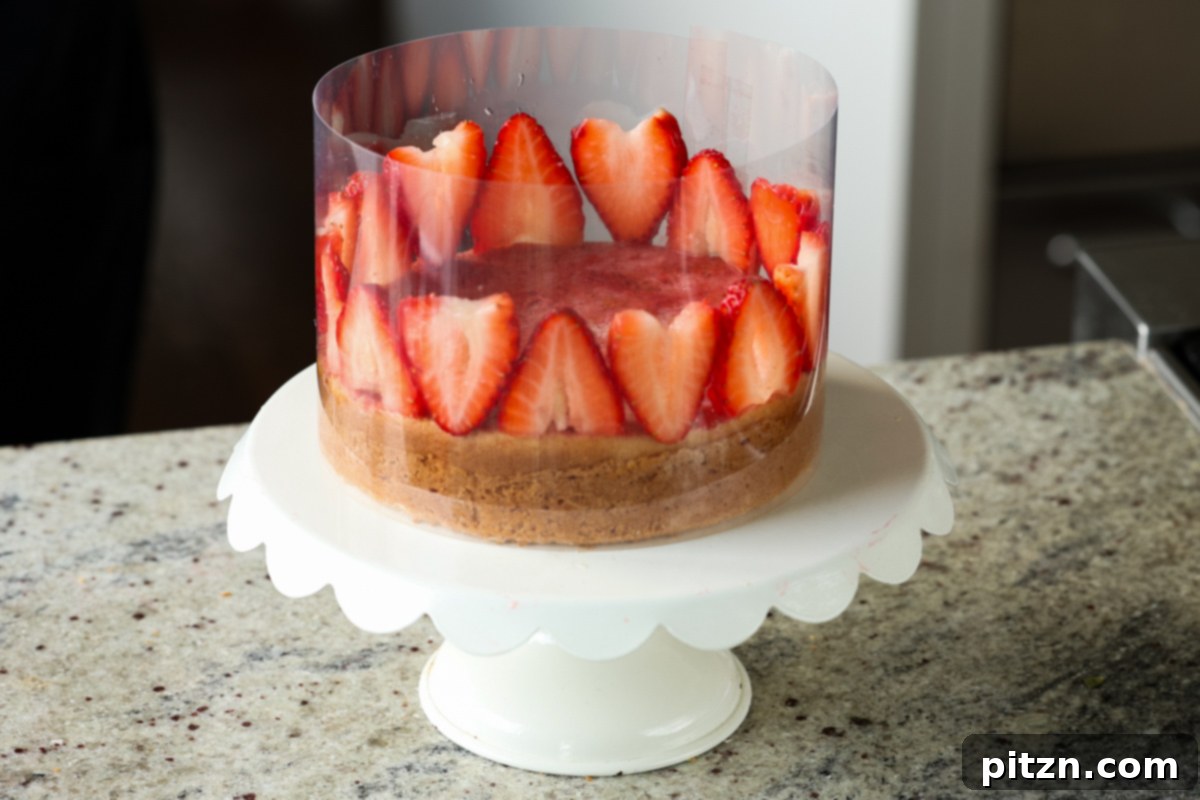
For an elegant presentation, arrange the thinly sliced strawberries standing upright around the inner edges of the cake collar or pan, creating a beautiful border. If using an 8-inch pan, you can also arrange fresh strawberries on top of the mousse later in the process.
-
Gently pour the chilled mousse over the cake base, spreading it evenly with a spatula. If you’re using an 8-inch cake pan, now is the time to place fresh strawberry slices around the edges on top of the mousse. Regardless of the pan size, return the cake to the freezer for approximately 30 minutes. This second chill helps the mousse set further, providing a stable surface for the final compote layer.
-
Once the mousse has firmed up, remove the cake from the freezer. Carefully spread all of the remaining strawberry compote evenly over the mousse layer. For the final and most crucial setting, place the assembled cake back into the freezer for at least 3 hours. This prolonged chill ensures the mousse reaches its optimal firm consistency, preventing it from becoming too soft. After this freezer period, the cake can be stored in the refrigerator for up to 3 days without losing its shape or becoming liquid. Serve directly from the fridge after allowing it to sit on the counter for about 15 minutes to slightly soften for perfect slicing.
Video
Notes
Storage: Your finished strawberry mousse cake can be stored in the refrigerator for up to 3 days, maintaining its delightful texture and flavor. For longer storage, slice the cake and freeze individual portions for up to two months. When ready to enjoy, thaw frozen slices in the fridge for a couple of hours or on the counter for 15 to 20 minutes before serving. This ensures it’s perfectly defrosted and ready to be savored.
Nut-Free Option: To make this recipe completely nut-free, substitute the cashews in the mousse with an additional 1 cup of coconut cream. Ensure you also use nut-free non-dairy milk and non-dairy yogurt for the cake base. This adjustment will yield a rich and creamy mousse without any nuts.
Coconut-Free Option: If you need to avoid coconut, this cake can still be made. Instead of coconut cream, use an extra cup of cashews (meaning a total of 2 cups of soaked cashews) for the mousse. Blend these 2 cups of soaked cashews with 3/4 cup of your preferred coconut-free non-dairy milk. Be aware that a coconut-free mousse tends to be slightly softer than its coconut counterpart, so extended freezing time will be beneficial for optimal setting.
Gluten-Free Option: For a gluten-free version, replace the all-purpose flour with a high-quality gluten-free flour blend. Alternatively, you can create your own blend using 1/2 cup almond flour, 1/4 cup oat flour, and 1/4 cup potato starch. Mix these ingredients thoroughly before incorporating them into the cake batter.
Quicker Parfait Option: Short on time but craving that strawberry mousse goodness? Transform this recipe into delightful mousse parfaits! Use pre-made cake slices or wafers as a base. Layer with the prepared strawberry compote and mousse, then refrigerate until set. Top with fresh strawberries before serving for a quick and elegant dessert.
Nutrition
Nutrition information is automatically calculated, so should only be used as an approximation.
Did you make this recipe? Rate and comment below!
Essential Ingredients and Smart Substitutions
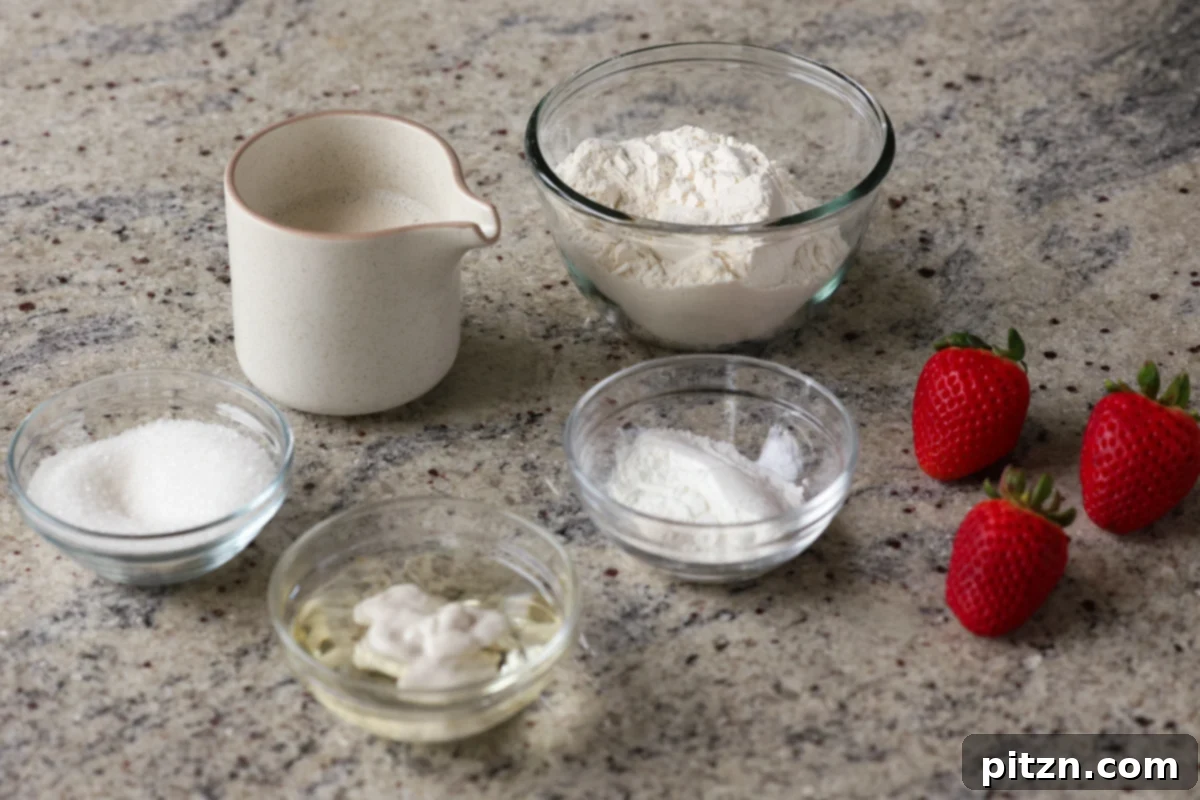
Creating this magnificent Strawberry Mousse Cake relies on a few key ingredients, each playing a crucial role in achieving the perfect balance of flavor and texture. Here’s a detailed look at what you’ll need and how you can adapt the recipe to suit various dietary preferences:
- **Non-dairy milk:** This is fundamental for adding moisture and richness to the cake batter. You have the flexibility to choose a variety that fits your dietary needs, such as almond, soy, oat, or coconut milk. Be sure to select a soy-free, nut-free, or coconut-free option if necessary for allergies.
- **Non-dairy yogurt:** Incorporating non-dairy yogurt contributes to a moist cake crumb and adds a subtle tang that balances the sweetness. Similar to non-dairy milk, opt for a yogurt that aligns with any specific dietary requirements, whether it’s soy-free, nut-free, or coconut-free.
- **Oil:** Essential for the cake’s tender texture and richness. It’s recommended not to omit this ingredient, as it significantly impacts the overall mouthfeel of the cake. A neutral-flavored oil like canola, sunflower, or melted coconut oil (if not avoiding coconut) works best.
- **Sugar:** This sweetens the cake, the vibrant strawberry compote, and the creamy mousse. Granulated sugar is typically used, but you can explore alternatives like organic cane sugar to ensure it’s vegan-friendly, or use a sugar-free substitute if you’re managing sugar intake.
- **Vanilla extract:** A classic flavor enhancer, vanilla extract brings warmth and depth to both the cake and the compote, complementing the bright strawberry notes beautifully. Use a good quality pure vanilla extract for the best results.
- **All-purpose flour:** This forms the primary structure of the cake. For those requiring a gluten-free option, a high-quality gluten-free flour blend can be used as a direct substitute. Alternatively, a homemade blend of 1/2 cup almond flour, 1/4 cup oat flour, and 1/4 cup potato starch provides an excellent gluten-free alternative.
- **Cornstarch (or tapioca starch):** Acts as a binding agent in the cake, helping to create a tender and cohesive crumb. Tapioca starch is a suitable alternative if cornstarch is unavailable or preferred.
- **Baking powder, baking soda, and salt:** These leavening agents are vital for giving the cake its rise and light texture. A small amount of salt is also crucial for enhancing the flavors in the strawberry compote, making the fruit taste even brighter.
- **Strawberries:** The star of the show! You’ll need fresh, ripe strawberries for multiple components: creating the luscious compote, crafting the vibrant mousse, and garnishing the finished cake for that final touch of freshness and beauty.
- **Lemon juice and zest:** These ingredients are key for brightening and enhancing the natural tartness and flavor of the strawberry compote. The acidity cuts through the sweetness, creating a more dynamic and refreshing taste profile.
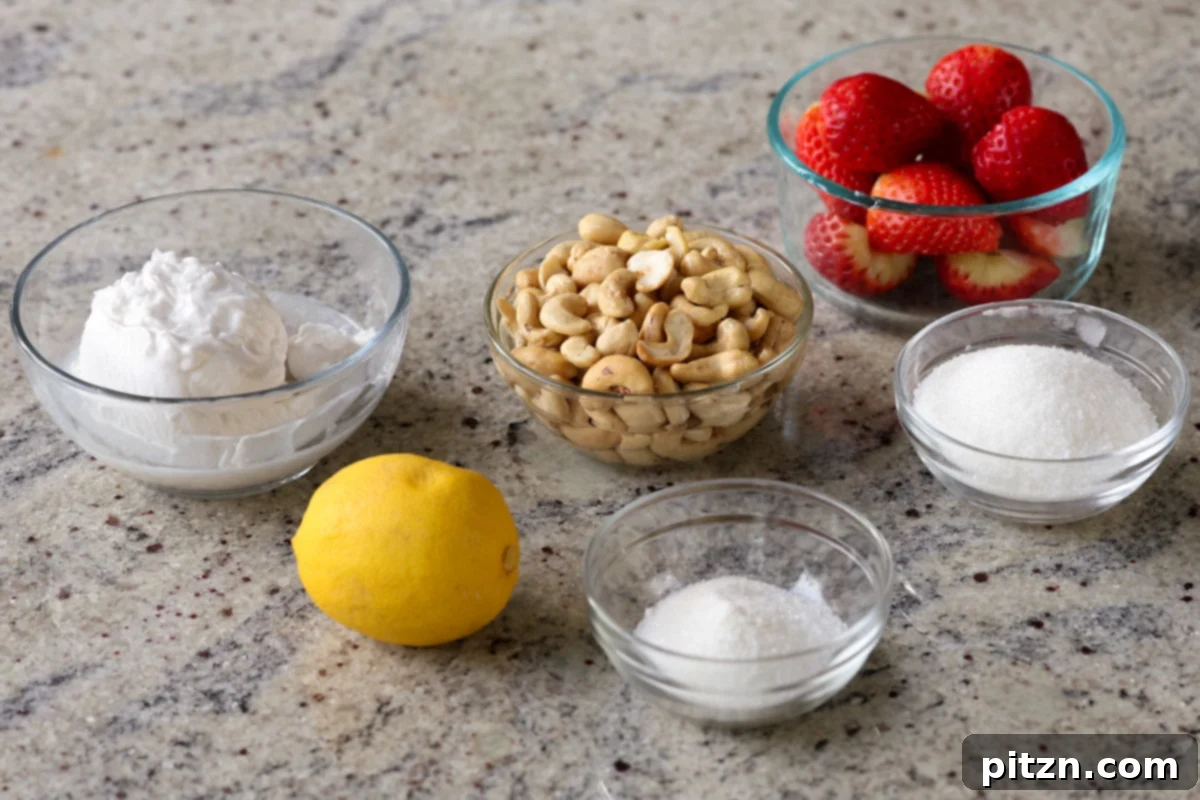
- **Raw cashews:** These are the secret to achieving the incredibly creamy and rich texture of the mousse. When soaked and blended, they create a smooth, dairy-free base. For a nut-free alternative, you can increase the amount of coconut cream used.
- **Coconut cream:** This rich ingredient is central to the mousse, providing a luxurious, decadent consistency. If you need a coconut-free option, you can substitute it with additional soaked cashews blended with a small amount of non-dairy milk, as detailed in the notes.
💡 Expert Baking Tips for a Perfect Strawberry Mousse Cake
- **Efficient Time Management with Overlapping Steps:** To streamline your baking process, think about overlapping tasks. For instance, while your cake is baking in the oven and subsequently cooling, you can be actively preparing both the strawberry compote and the creamy mousse. This multitasking approach significantly reduces overall preparation time.
- **Mastering the Strawberry Compote:** When making the compote, it’s crucial to actively mash the berries as they cook. This action helps them to release their natural moisture and ensures that they break down completely. Your goal is a thick, rich, and jammy consistency, which will provide a delightful burst of intense strawberry flavor in every bite of the cake.
- **Achieving Silky-Smooth Mousse:** The texture of your mousse is paramount. Blend the ingredients thoroughly for an extended period, ensuring that the cashews (if using) are completely pulverized and the mixture is utterly smooth and free of any grittiness. A truly smooth mousse contributes to the luxurious feel of the cake.
- **The Secret to a Flat Cake Top:** For the best possible presentation and to ensure your mousse layers sit perfectly even, always slice off the domed top of your baked cake. This simple step creates a flat surface, which is essential for stable layering and a polished, professional look.
- **Pan Preparation for Easy Release:** If you’re not utilizing a cake collar, make sure to diligently line the entire interior of your cake pan, including the sides, with parchment paper before pouring in the mousse. This critical step will prevent the mousse from sticking and ensure your beautiful cake releases effortlessly after chilling, preserving its structural integrity.
- **The Importance of Chilling Times:** Patience is key with this mousse cake, especially regarding chilling times. Each chilling interval is crucial for allowing the mousse to properly set and firm up. Insufficient chilling will result in a mousse that is too soft, making it difficult to slice cleanly and maintain its shape. Adhering to the recommended chilling periods guarantees a perfectly set, sliceable cake.
Step-by-Step Guide: How to Make Strawberry Mousse Cake
Follow these detailed instructions to create your exquisite Strawberry Mousse Cake, ensuring each layer is perfect and the final dessert is a masterpiece.
Step 1: Bake the Vanilla Cake Base
Begin by preheating your oven to a precise 350° F (177° C). This ensures the oven is at the correct temperature for even baking.
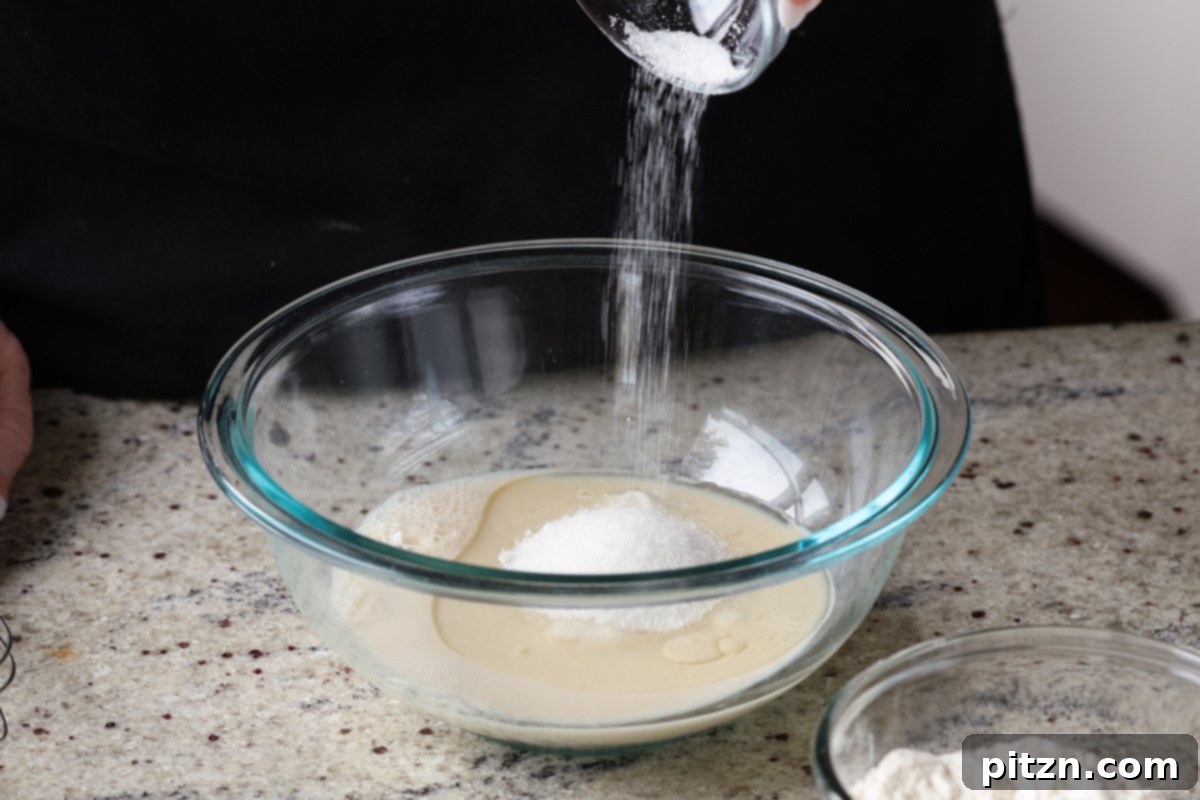
In a spacious mixing bowl, combine all your wet cake ingredients: the non-dairy milk, non-dairy yogurt, oil, sugar, and vanilla extract. Whisk these components together thoroughly until the sugar completely dissolves and the mixture is smooth and uniform. This initial mixing is crucial for the cake’s final texture and sweetness.
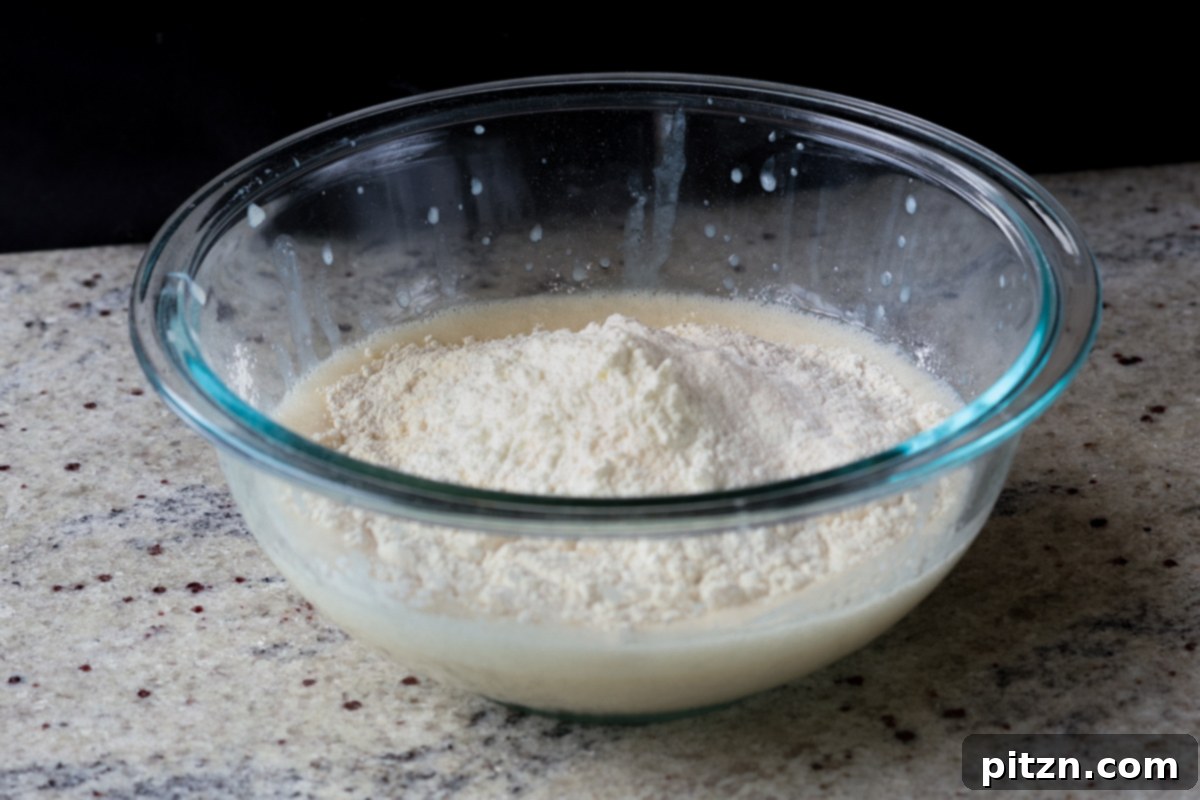
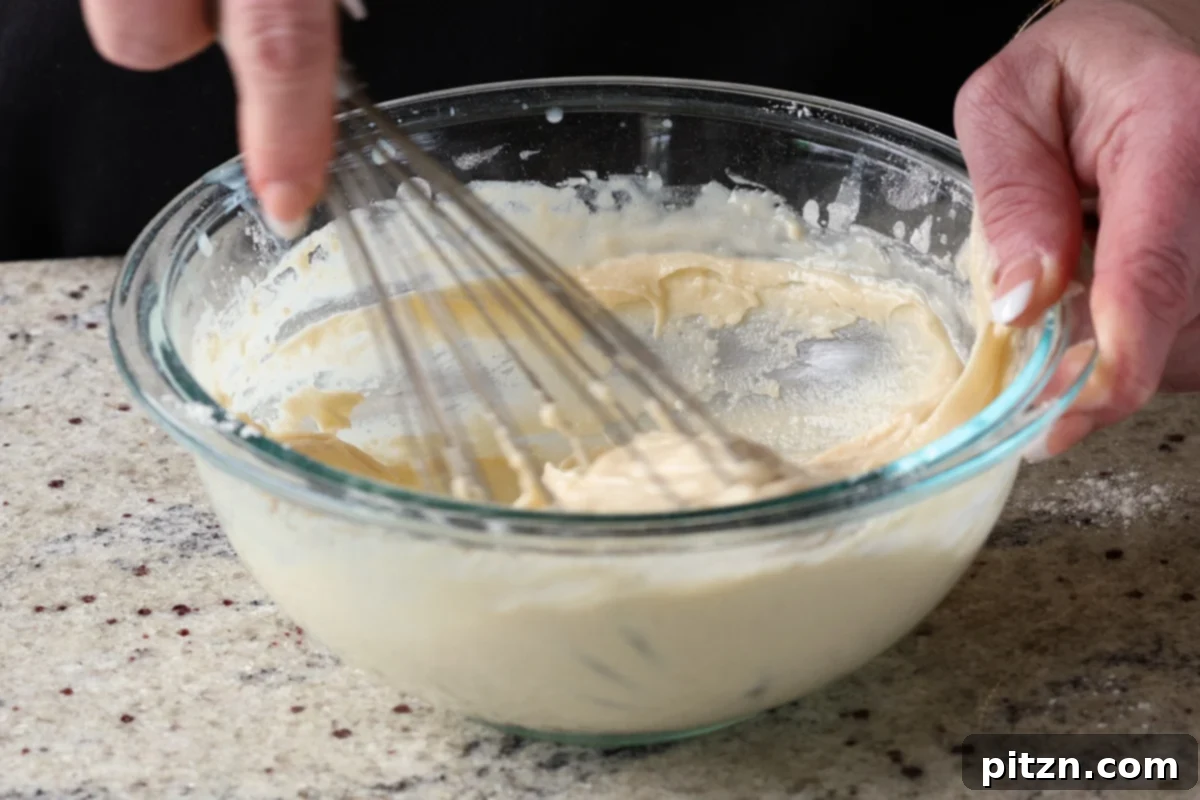
In a separate, smaller bowl, thoroughly mix your dry cake ingredients: the all-purpose flour, cornstarch (or tapioca starch), baking powder, baking soda, and salt. Once combined, gradually add this dry mixture to the wet ingredients. Mix until a smooth batter forms, being careful not to overmix. The ideal consistency should be slightly thicker than a standard pancake batter. If you find the batter too stiff, incorporate 1 to 2 teaspoons of additional non-dairy milk, mixing until the desired consistency is achieved.
Transfer the prepared batter into your parchment-lined 6-inch or 8-inch cake pan, spreading it out evenly with a spatula to ensure a flat cake. Bake for approximately 20 to 28 minutes. Baking times can vary significantly based on your oven’s calibration, the type of pan used, and its size, so keep an eye on it.
Check for doneness around the 20-minute mark by inserting a toothpick into the center of the cake. If the toothpick comes out clean, the cake is perfectly baked. Remove the pan from the oven and allow it to cool for about 5 minutes. Then, gently remove the cake from the pan and let it continue cooling completely on a wire rack, covered with a clean kitchen towel to retain moisture, while you prepare the remaining delicious layers.
Step 2: Craft the Luscious Strawberry Compote
While your cake is baking and cooling, turn your attention to the vibrant strawberry compote. This can be prepared concurrently to save time.
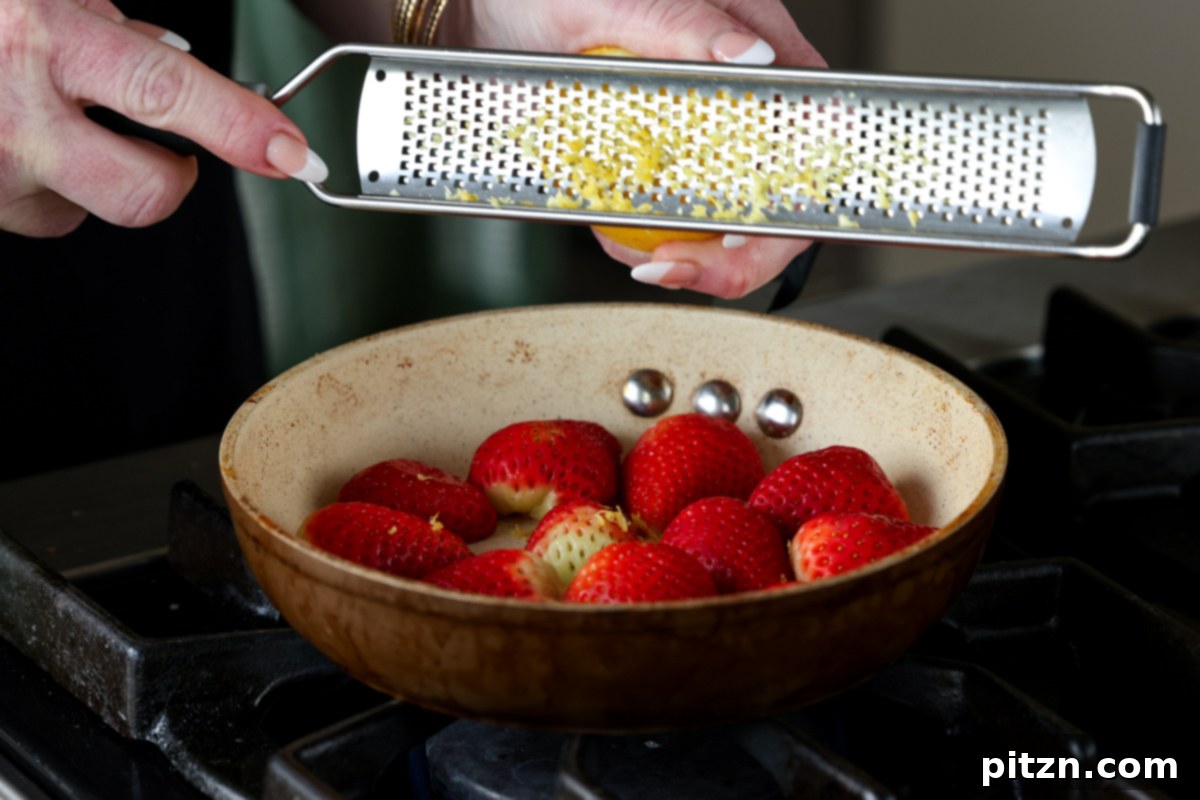
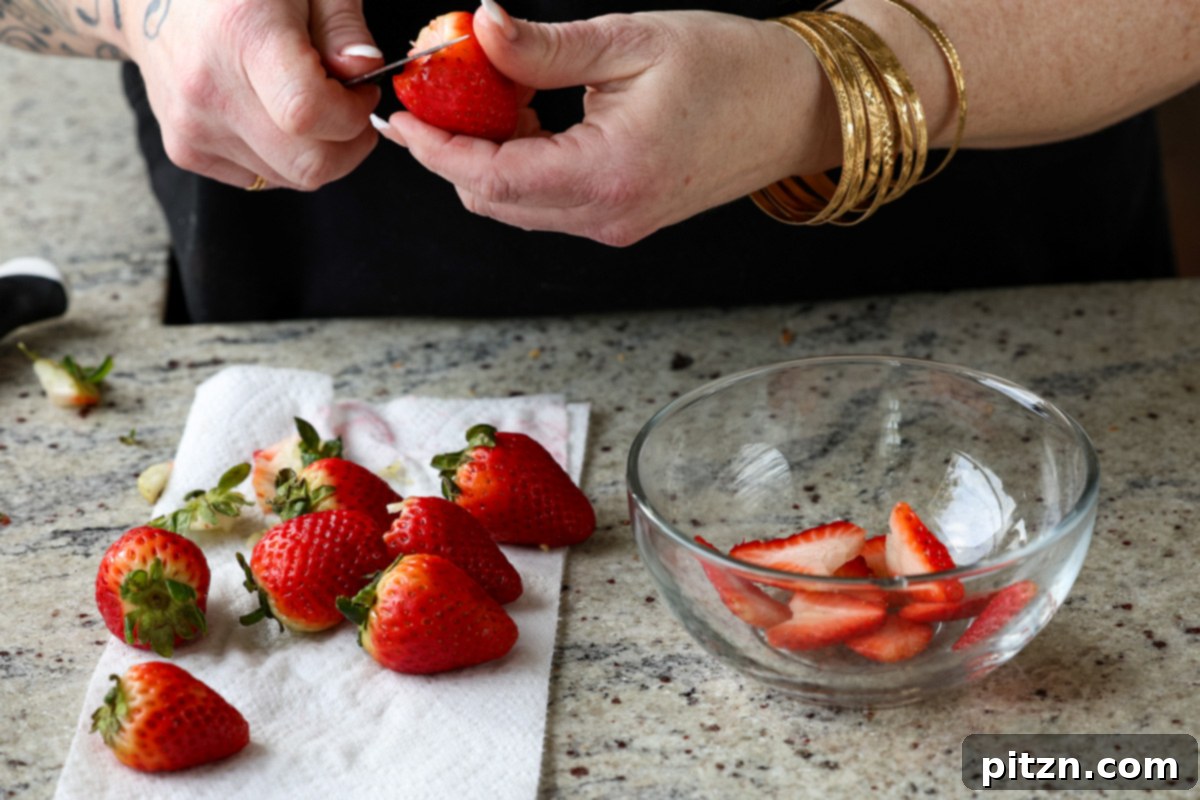
Begin by chopping your fresh strawberries into roughly 1/2-inch pieces, striving for uniform size to ensure even cooking. Place the chopped strawberries into a saucepan along with the sugar, salt, vanilla extract, lemon zest, and lemon juice. Cook this mixture over medium heat. If the strawberries initially seem reluctant to release their juices, adding a single tablespoon of water can help kickstart the process. Typically, strawberries are quite juicy and don’t require much additional liquid for compote preparation.
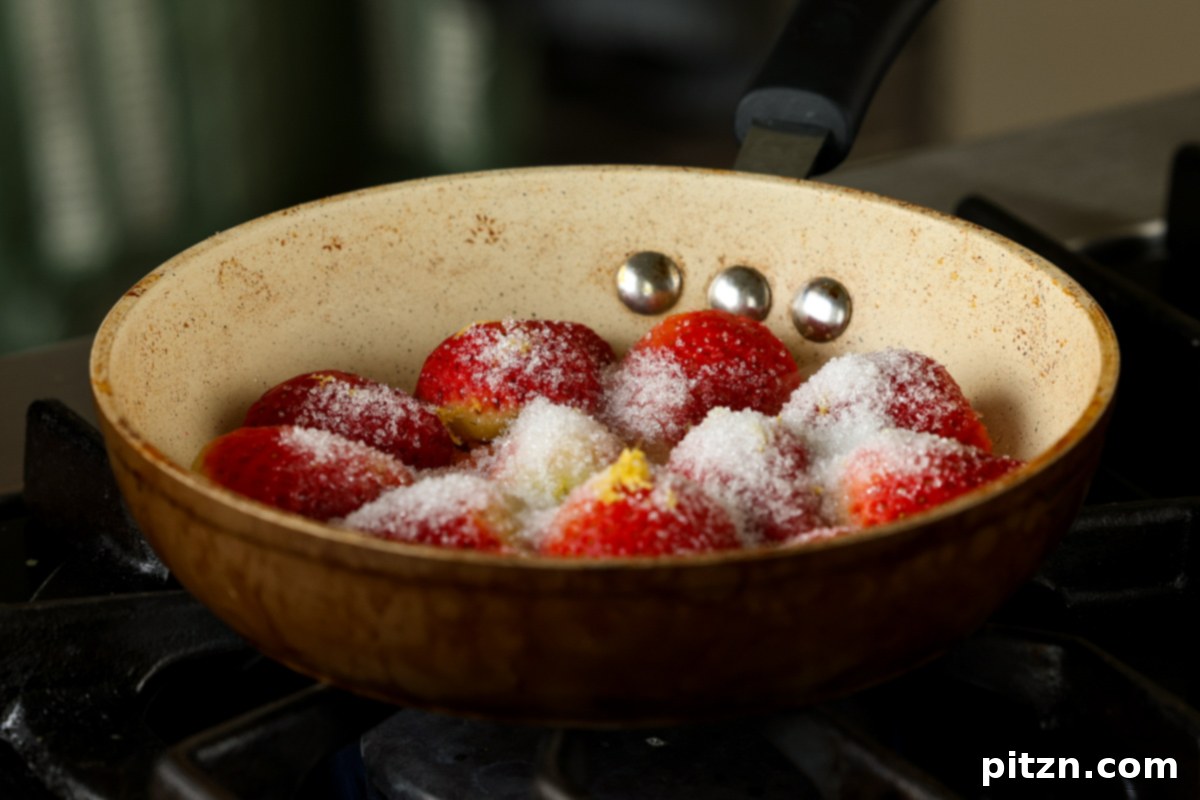
As the strawberries begin to leak their moisture and soften, use a spatula to gently press and mash them. Continue cooking and mashing until all the strawberries have completely broken down and the mixture transforms into a thick, jammy consistency. This usually takes between 6 to 10 minutes, with the exact time depending on your saucepan and stovetop heat. The goal is a rich, spreadable compote.
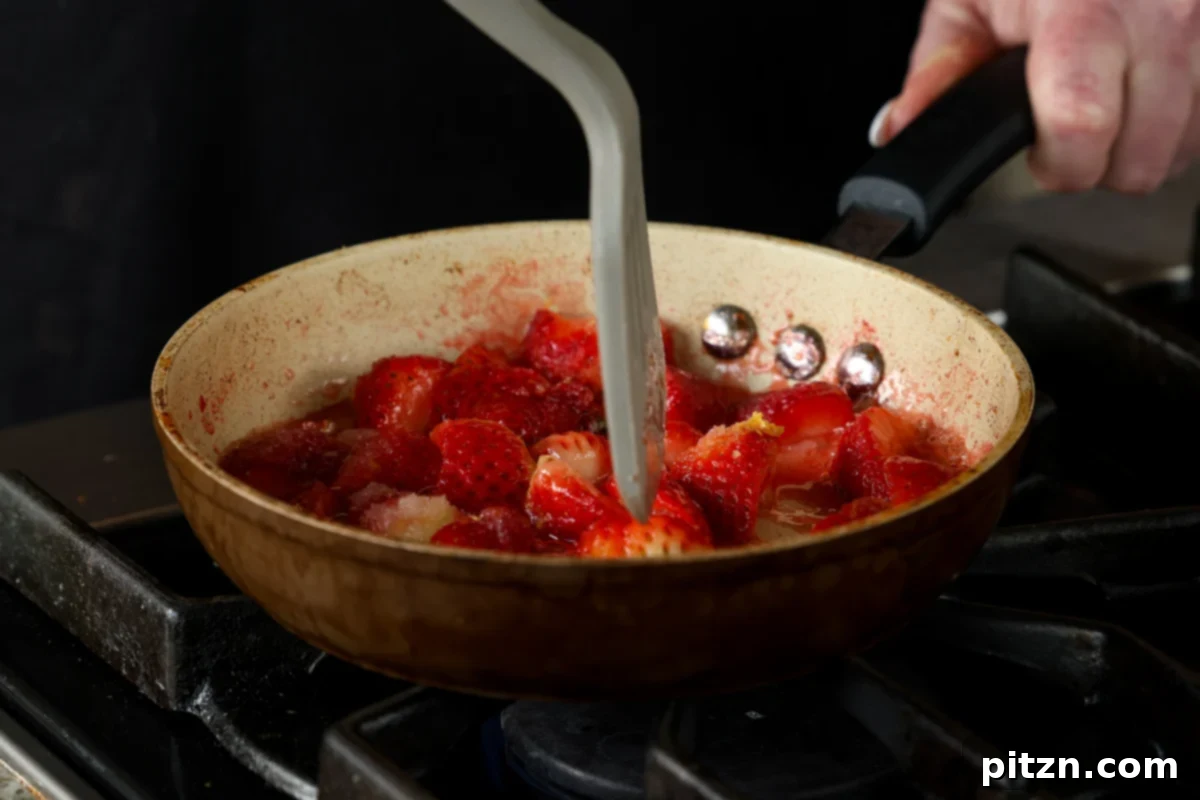
Once your strawberry compote has reached the desired jammy texture, remove the saucepan from the heat and set it aside. Allow it to cool completely before proceeding to the next step.
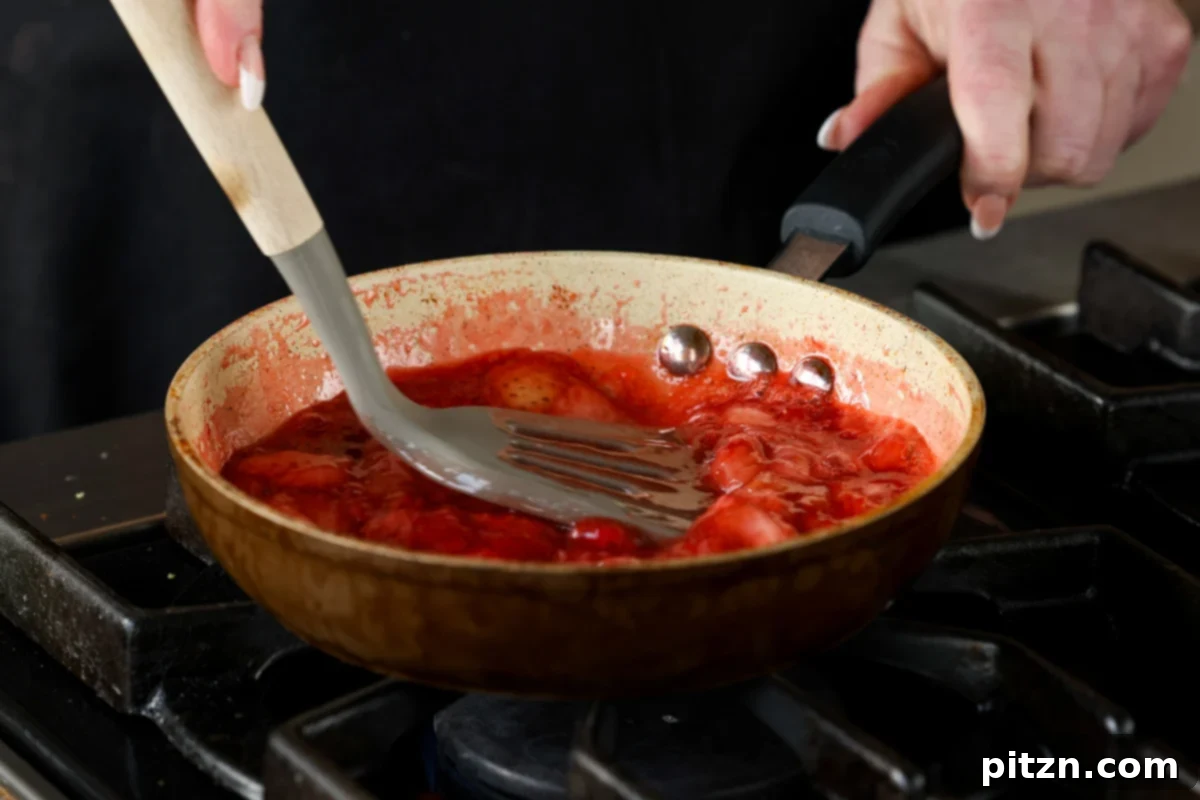
Step 3: Prepare the Velvety Strawberry Mousse
Now, let’s create the star layer: the smooth and creamy strawberry mousse. This can be made while the compote cools, optimizing your time in the kitchen.
First, ensure your soaked cashews are thoroughly drained. Transfer them to a high-speed blender. Add the coconut cream, sugar, and half of your now-cooled strawberry compote (it’s crucial that the compote is not hot when added). Blend this mixture until it becomes exceptionally smooth and creamy. The initial blending may take a minute or two to break down the cashews. Allow the mixture to sit for five minutes; this helps the cashews absorb more moisture. Then, blend again for 30 seconds. Check the consistency; if the mixture isn’t moving freely, add a tablespoon or so of additional coconut milk to facilitate blending. Repeat the cycle of blending for 30 seconds, resting for a minute, two to three more times until the mousse is utterly silky and free of any granular texture.
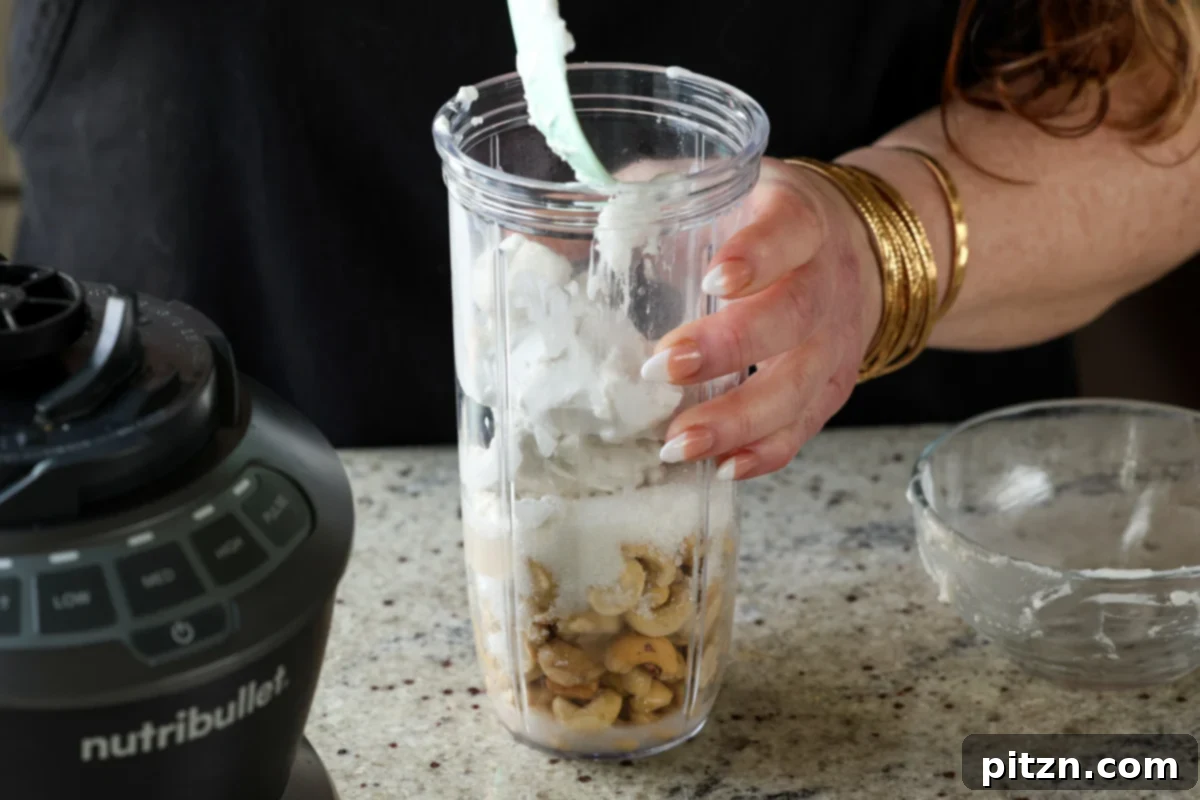
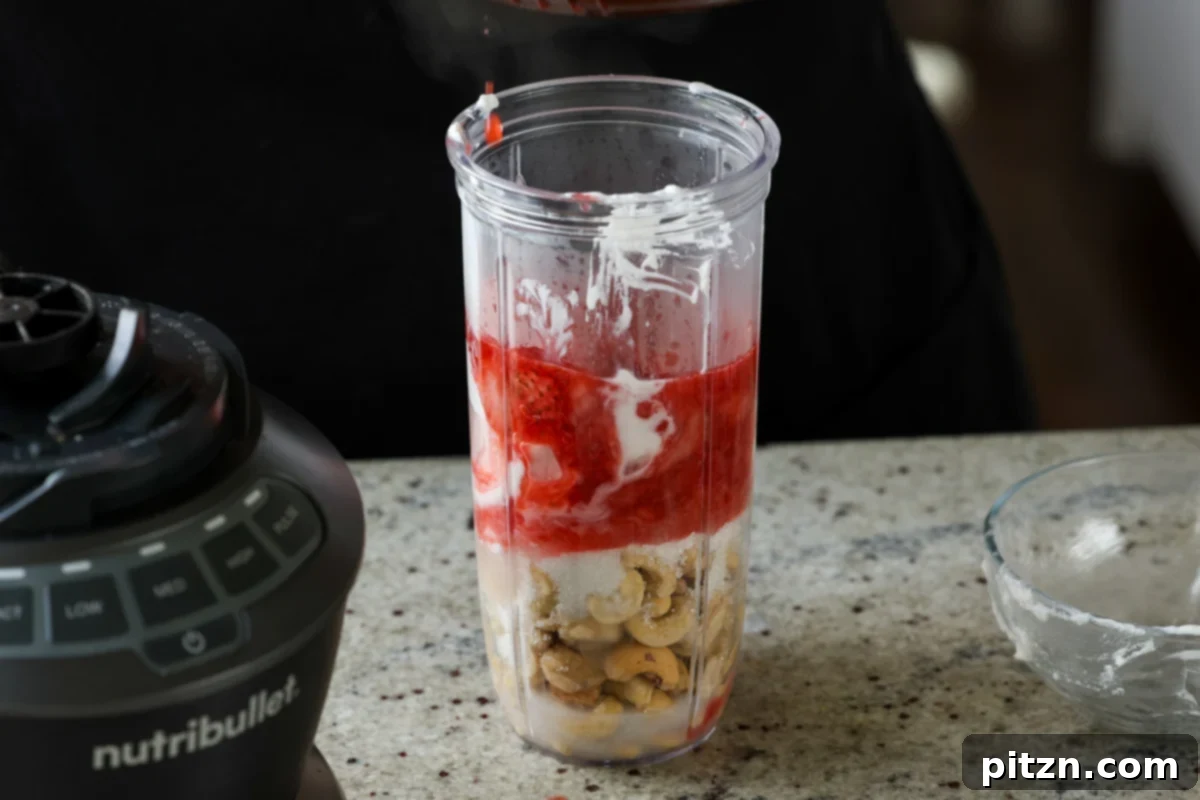
Taste the mousse and adjust the flavor as needed. If you desire a sweeter profile, add another tablespoon of sugar or a dash more vanilla extract. Don’t be alarmed if the cooked strawberries give the mousse a slightly purplish tint when blended; this is a natural color change. If you prefer a more vibrant pink, a few drops of food coloring can be added.
Once the mousse is perfectly blended and seasoned to your liking, transfer it to the freezer for a quick chill of 15 to 20 minutes. This initial setting time is vital to help the mousse thicken slightly before assembly, ensuring a beautiful, stable layer.
Step 4: Assemble Your Stunning Strawberry Mousse Cake
With your cake baked and cooled, your compote ready, and your mousse chilling, it’s time for the exciting assembly phase!
Carefully remove the cooled cake from its pan. Using a long serrated knife, level the top of the cake by slicing off any dome. This creates a flat surface, essential for neat and stable layering.
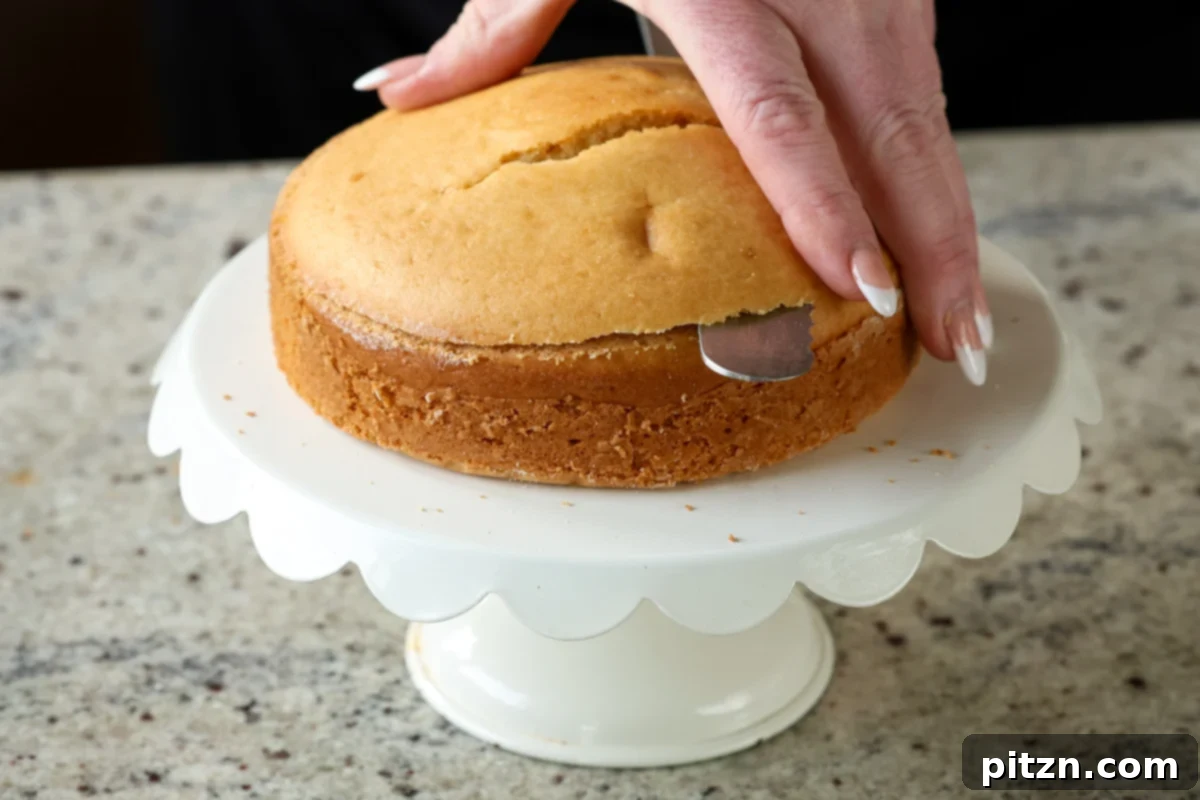
In a small bowl, combine 2 tablespoons of the remaining compote with an additional tablespoon of water, mixing until slightly thinned. Spread this thinned compote evenly over the top of the flattened cake. This acts as a delicious ‘soak,’ adding extra moisture and strawberry flavor to the cake base.
If you haven’t already, thinly slice your fresh strawberries for decoration. Retrieve your partially firmed mousse from the freezer.
Place the cake on your chosen serving platter or cake stand. If you are using a cake collar, carefully position it around the cake. If you’re utilizing a tall 6-inch or a regular 8-inch cake pan without a collar, ensure the pan is adequately lined with parchment paper, then place your cake back into it. This will help contain the mousse layers.
For an eye-catching presentation, arrange the thinly sliced fresh strawberries upright around the inner circumference of the cake collar or pan. This creates a beautiful visual border when the cake is finally unmolded. If using an 8-inch cake pan, you might also place these fresh strawberries on top of the mousse later.
Carefully pour the chilled strawberry mousse over the cake base, spreading it evenly with a spatula to create a smooth layer. If you are working with an 8-inch cake pan, now is the time to arrange fresh strawberry slices on top of the mousse, around the edges. Regardless of your pan setup, return the assembled cake to the freezer for another 30 minutes. This crucial chill allows the mousse to firm up further, making it easier to spread the final compote layer without disturbing the mousse.
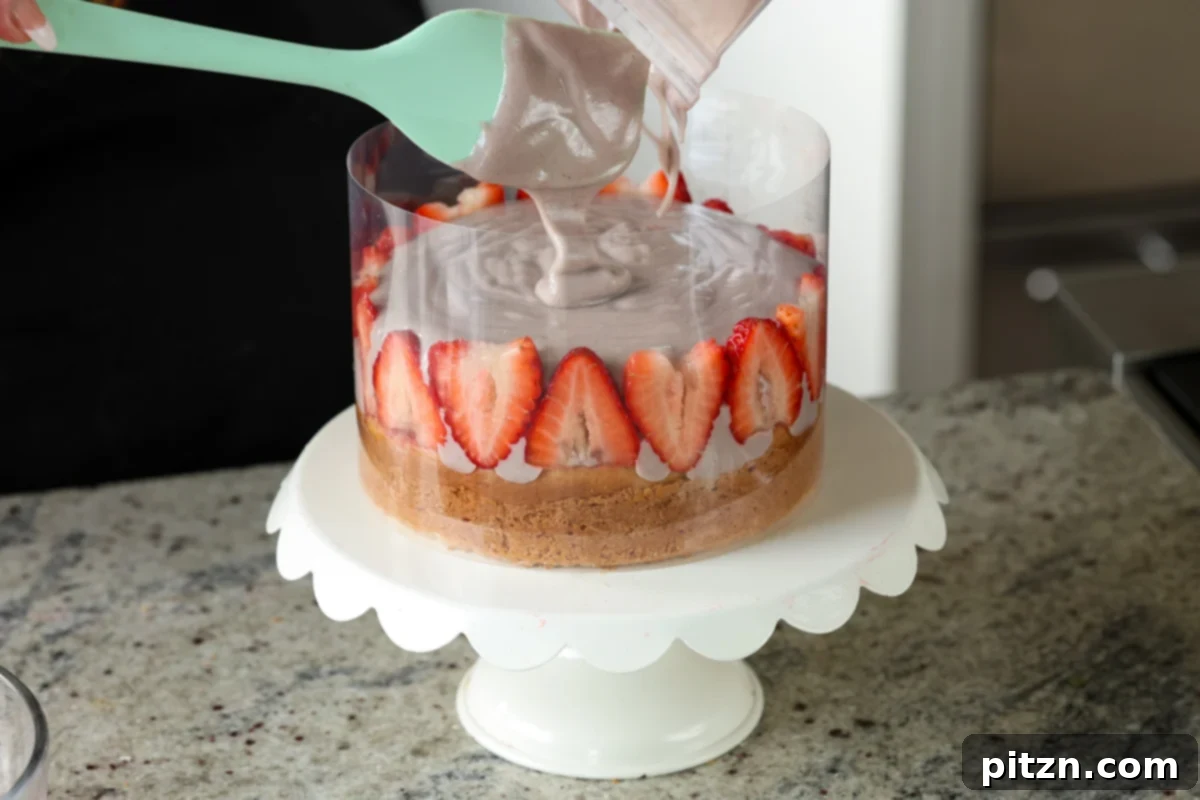
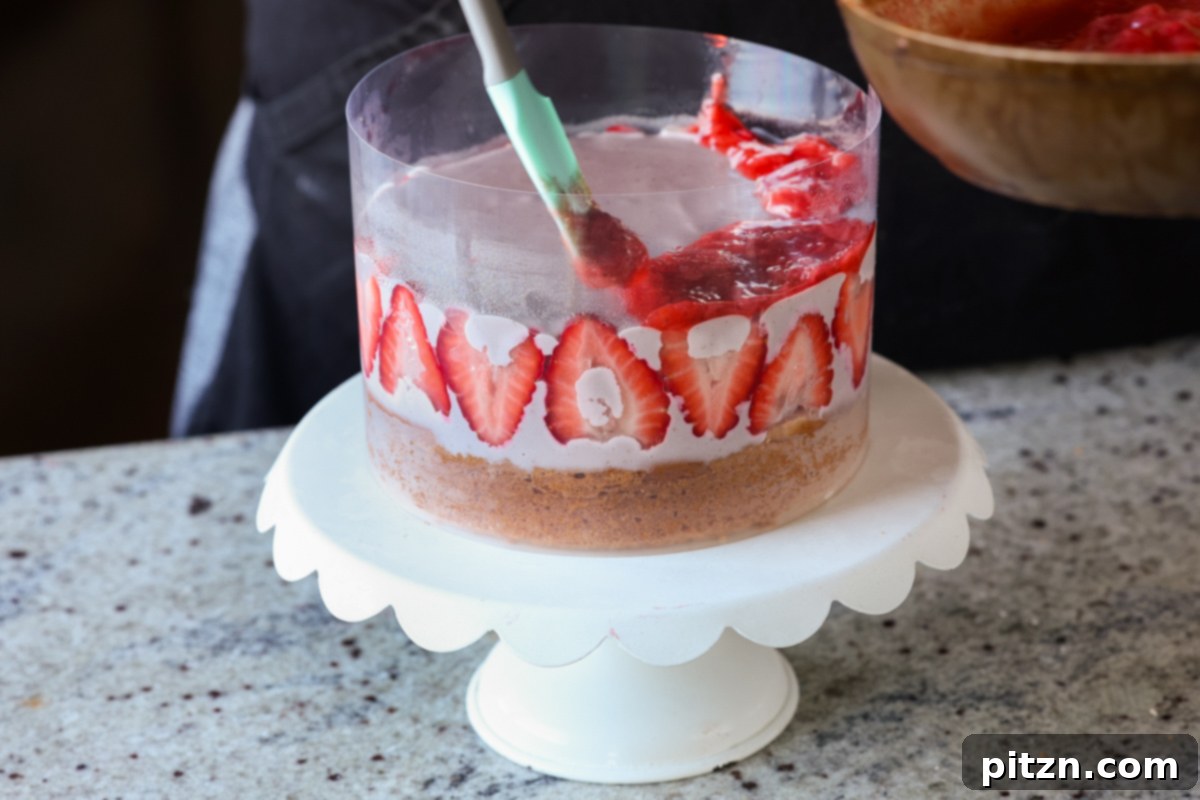
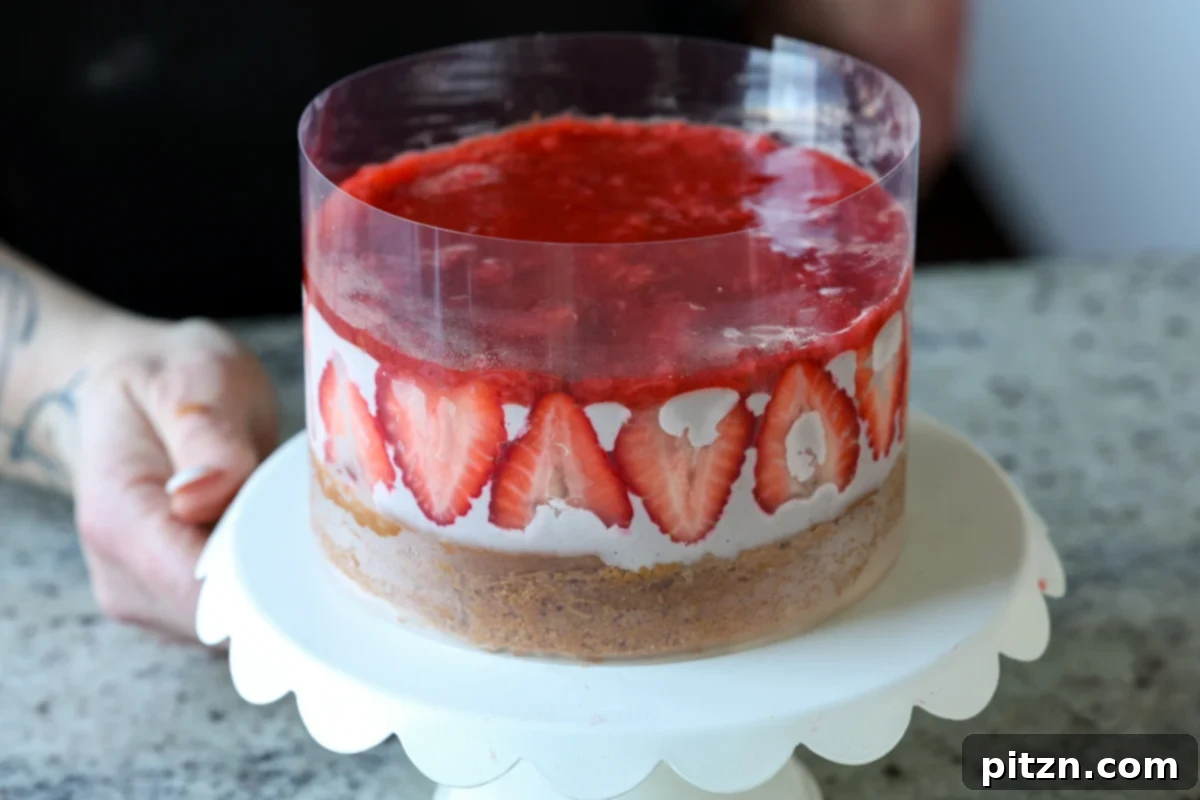
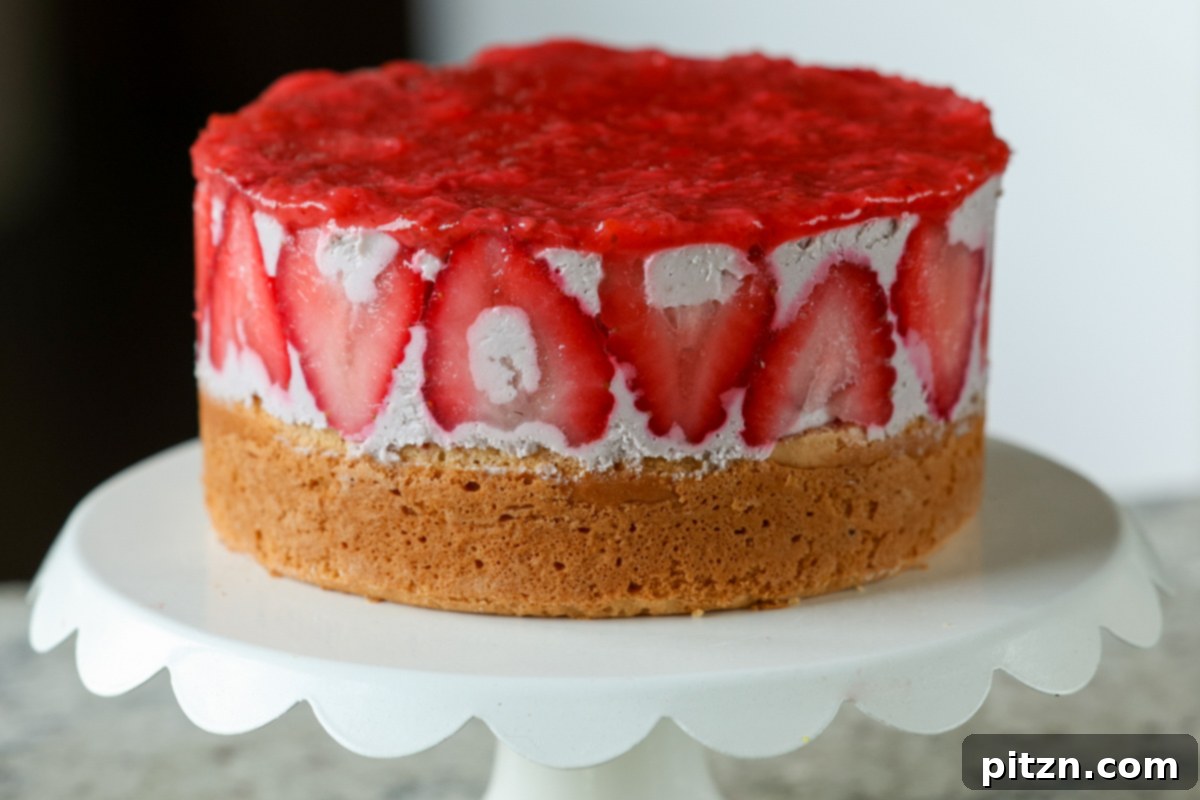
Once the mousse has set sufficiently after its second freezer chill, remove the cake. Carefully spread all of the remaining strawberry compote over the mousse layer, ensuring an even and attractive top. For the ultimate setting and stability, return the cake to the freezer for at least 3 hours. This final, extended chill is vital; it ensures the mousse becomes firm enough to hold its shape beautifully when sliced. Before this final freezer set, the mousse might still be a bit too soft. After setting, the mousse will remain stable in the refrigerator for at least three days without liquefying. Serve directly from the fridge, allowing it to sit on the counter for about 15 minutes before slicing to achieve the perfect serving texture.
Frequently Asked Questions About Strawberry Mousse Cake
Once fully assembled and set, your delightful strawberry mousse cake can be stored in the refrigerator for up to 3 days. For longer preservation, you can slice the cake into individual portions and freeze them for up to two months. To enjoy after freezing, simply thaw a slice in the refrigerator for a couple of hours or on the kitchen counter for approximately 15 minutes before serving. This ensures its optimal texture and flavor when you’re ready for a sweet treat.
Yes, this recipe is quite versatile and can be adapted to accommodate several dietary needs:
- To make this recipe without nuts: For a completely nut-free version, ensure you use nut-free non-dairy milk and yogurt for the cake. For the mousse, replace the 1 cup of cashews with an additional 1 cup of coconut cream, making a total of 2 cups of coconut cream.
- To make this recipe without coconut: If you need to avoid coconut, opt for coconut-free non-dairy milk and non-dairy yogurt for the cake. For the mousse, use an extra cup of cashews (totaling 2 cups of soaked cashews) instead of the coconut cream. Blend these 2 cups of soaked cashews with 3/4 cup of your preferred coconut-free non-dairy milk. Please note that the coconut-free mousse tends to be a bit softer than the coconut-based version, so allowing for a longer freezing time for setting is recommended.
- To make this recipe gluten-free: Substitute the all-purpose flour in the cake base with your favorite gluten-free flour blend. Alternatively, you can use a homemade blend consisting of 1/2 cup almond flour, 1/4 cup oat flour, and 1/4 cup potato starch. Mix these flours thoroughly before incorporating them into your cake batter.
The fully assembled strawberry mousse cake should be stored in the refrigerator for up to 3 days to maintain its fresh quality and firm texture. For long-term storage, you can slice the cake into individual servings and freeze them. These frozen slices will keep well for several months. When you’re ready to indulge, simply thaw a slice on the counter for about 15 minutes, or overnight in the refrigerator, and then serve. This method ensures you always have a delicious slice of cake ready to enjoy!